
Jackson's Interior Build Thread
 11-15-2011, 09:29 AM
#1
Registered User
Thread Starter

So as many of you know I'm obsessed with building my own custom pieces, and in an effort to expand my skills and show off a lil, I'm going to be doing an overhaul on the interior of my z.
This will serve as my ongoing thread for future projects. So make sure you sub'd to this one, cuz I guarantee it will be a good one.
I have had this idea for a couple months and now that its getting cold Im going to start knocking it out.
First project: new dash/center console.
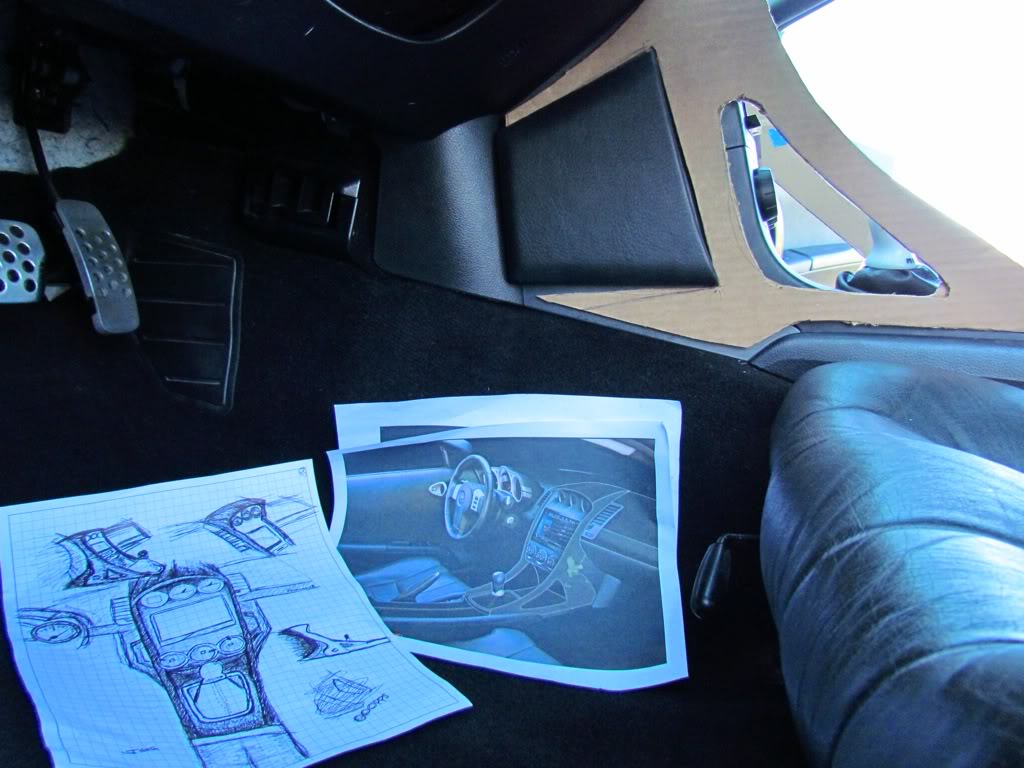
so it started out as a drunken sketch, then i refined it in illustrator to give myself a better idea of what it would look like. This past weekend I finally started on making this thing a reality. here's my concept. Not doing orange stitching just a visual to follow. thinking of doing Kevlar in the middle and suede and white stitch on the new pieces
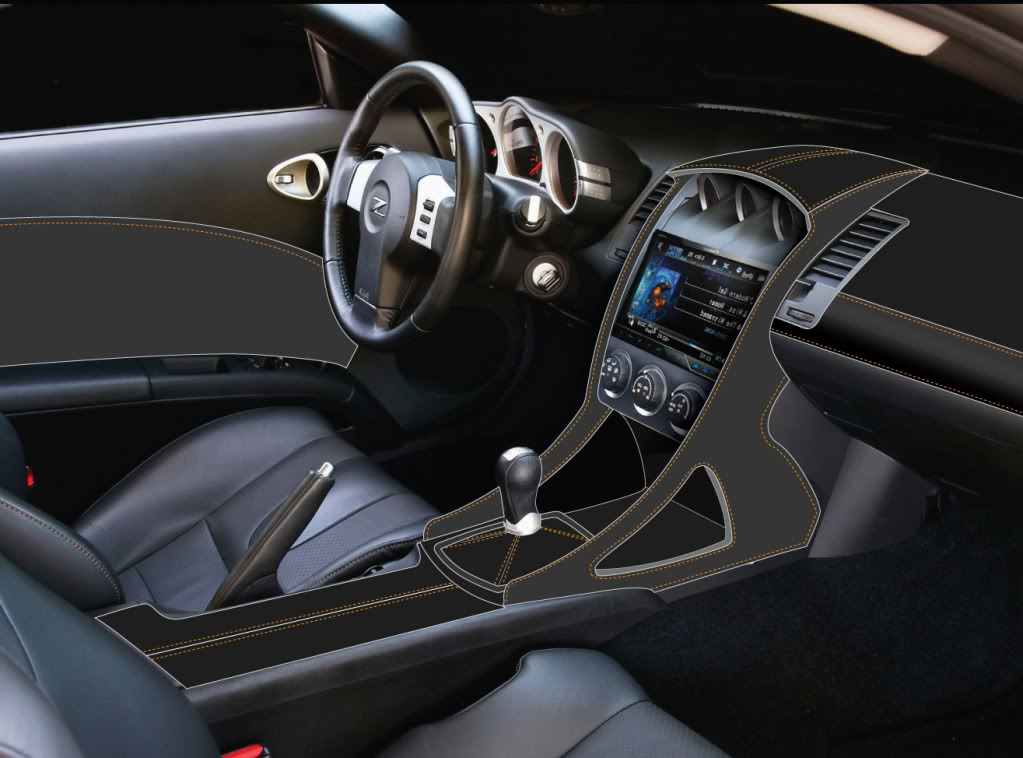
features: raised sides (aston martin like,) rectangular shift boot,hood over the console, ditch cubby and move radio & ac controls up, and triple gauges forward and down a bit.
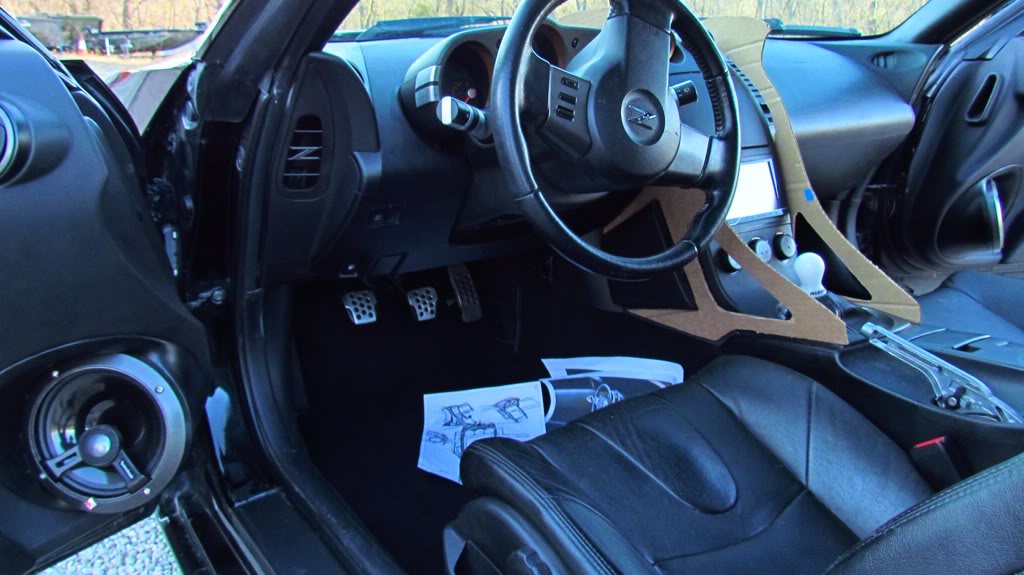
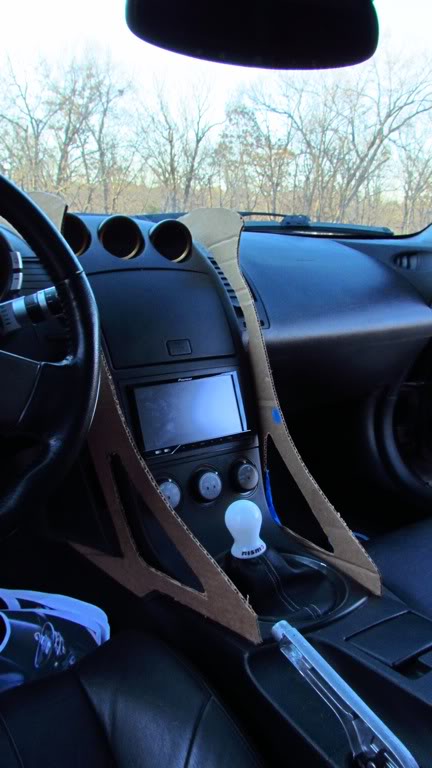
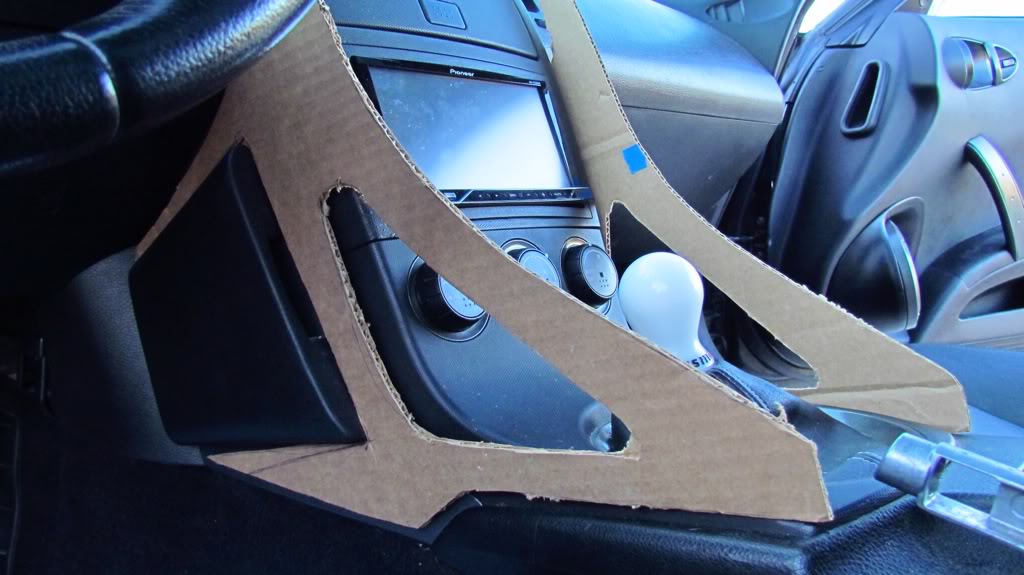
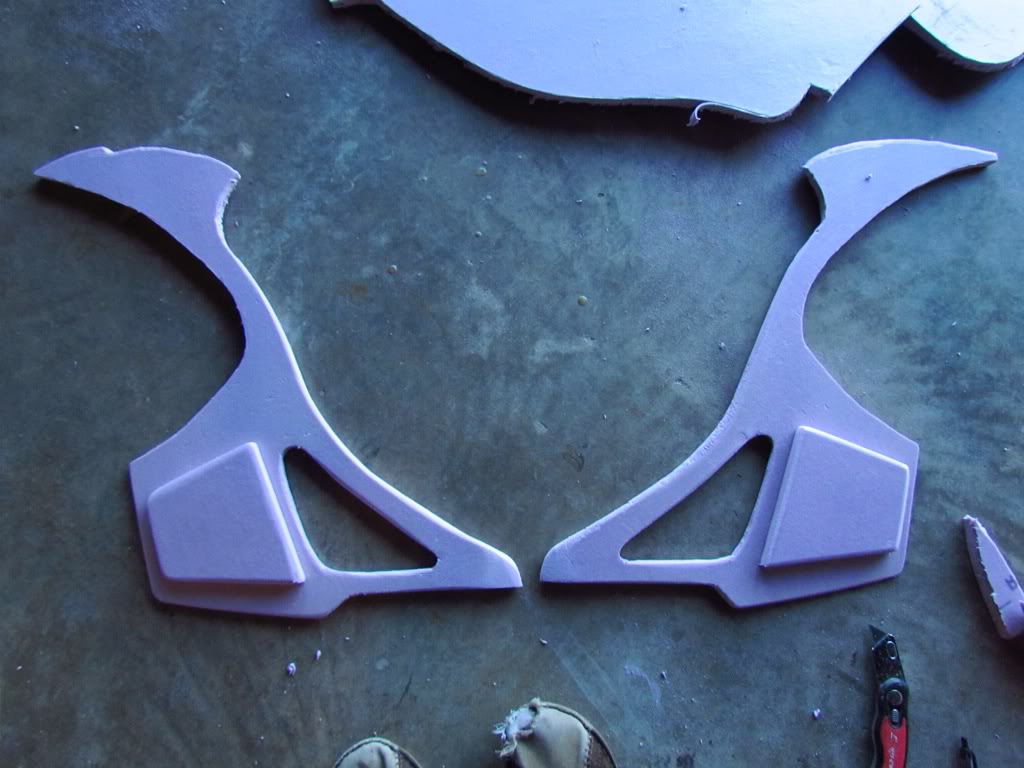
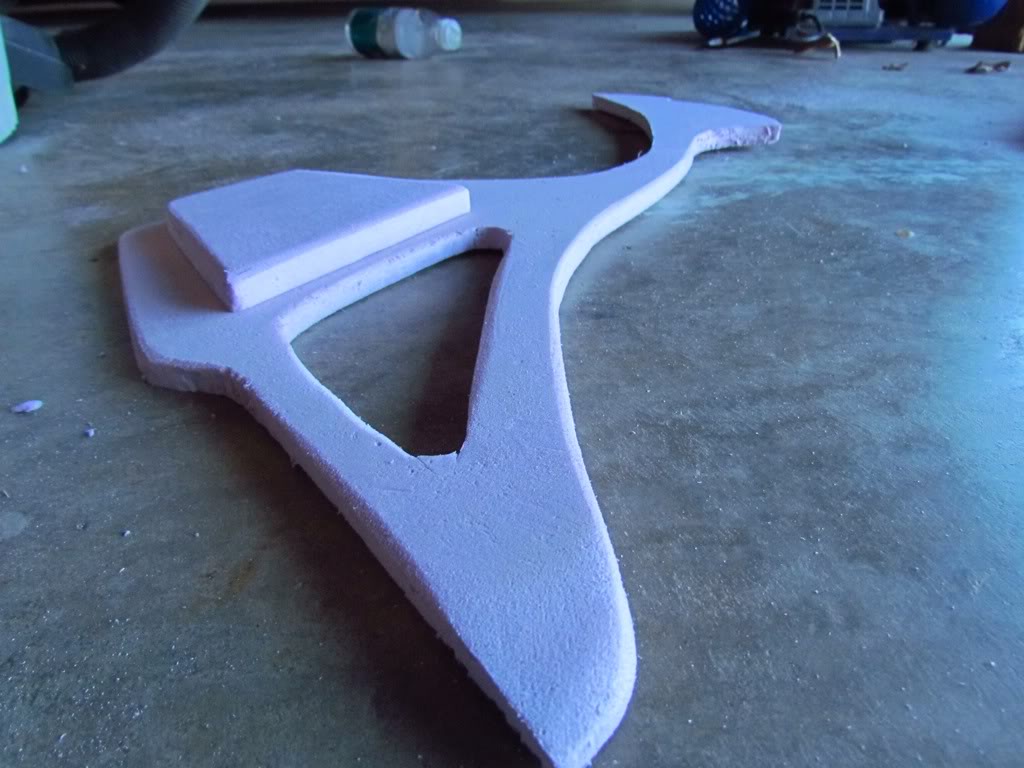
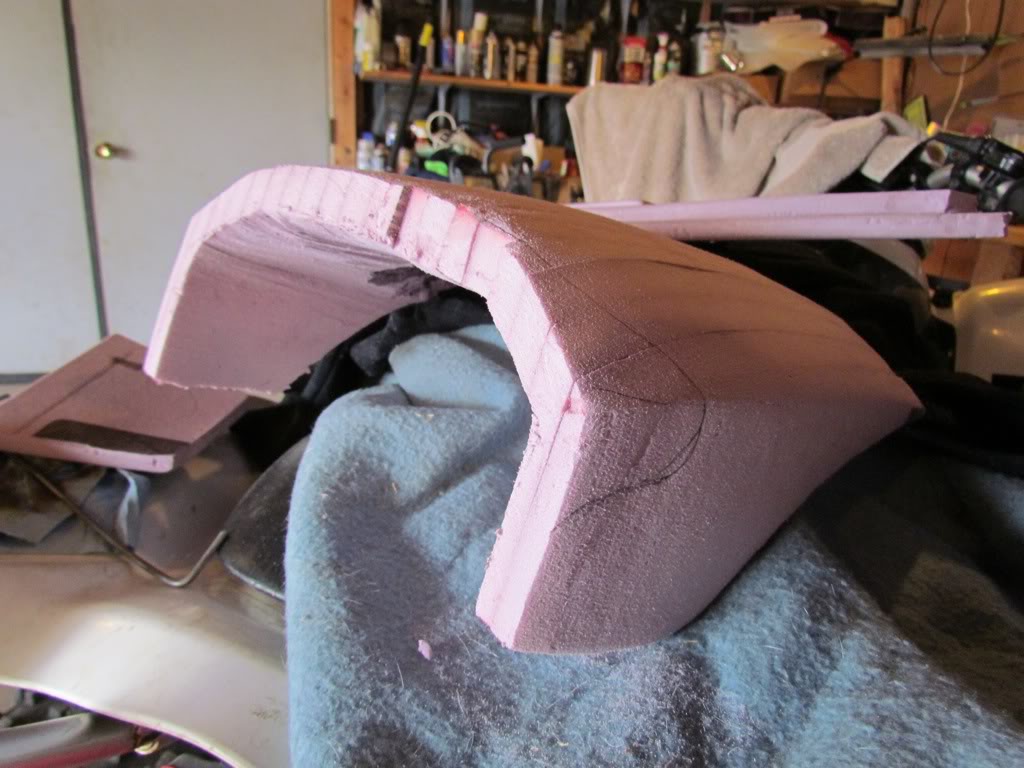
I decided that carving this out of foam first would probably be easier than build a skeleton/frame and fiber glassing it. Have the two sides completely carved out and shaped it fit nicely, the hood its only roughed out, still needs to be shaped. Hopefully this week I have it finished to I can start glassing these thing hard. Wasn't able to hold my foam pieces up and take the pictures, I only have shot of the original cardboard templates. The top of the two sides will be cut off and replaced with the hood.
Starting to debate wether I should eliminate the cubby and move the stereo or just leave it the way it it and just move the triple gauges so they fit under the hood/cover nicely.
Still pretty rough, but its time for pictures
After I finish this I will be moving on to a center console to complement this piece, then prolly door panels
Incase you haven't seen, here are some of my previous projects.
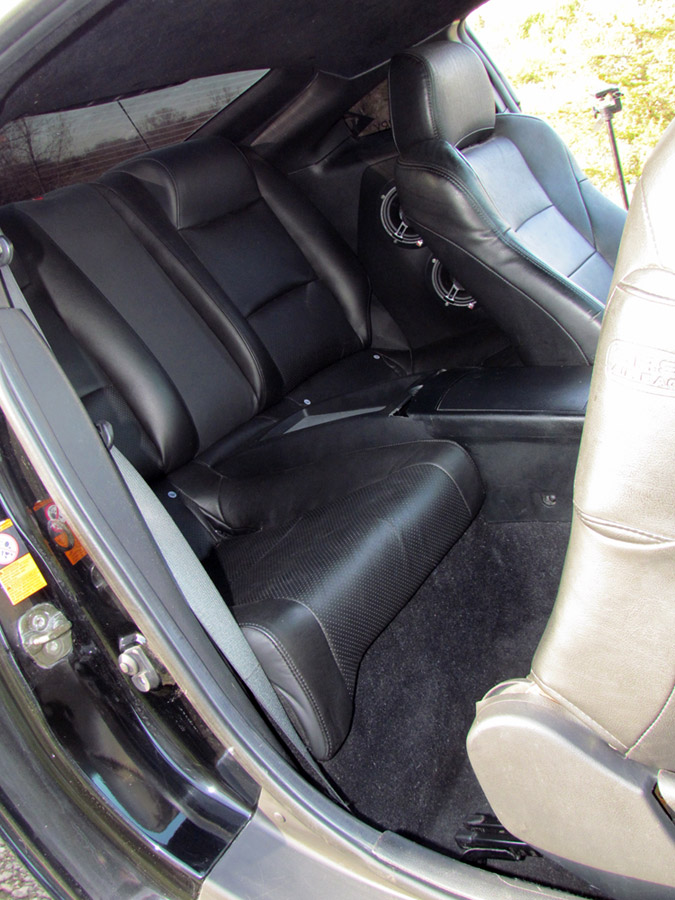
2+2 back seat addition.

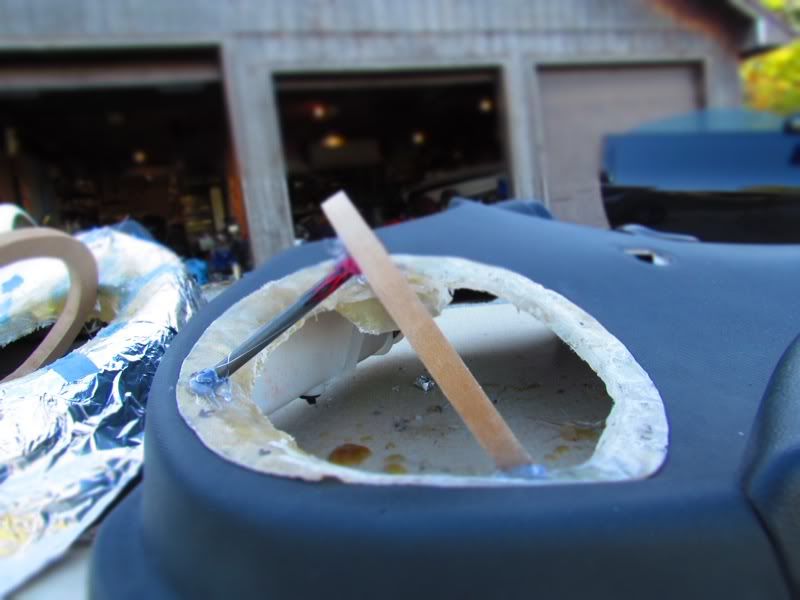
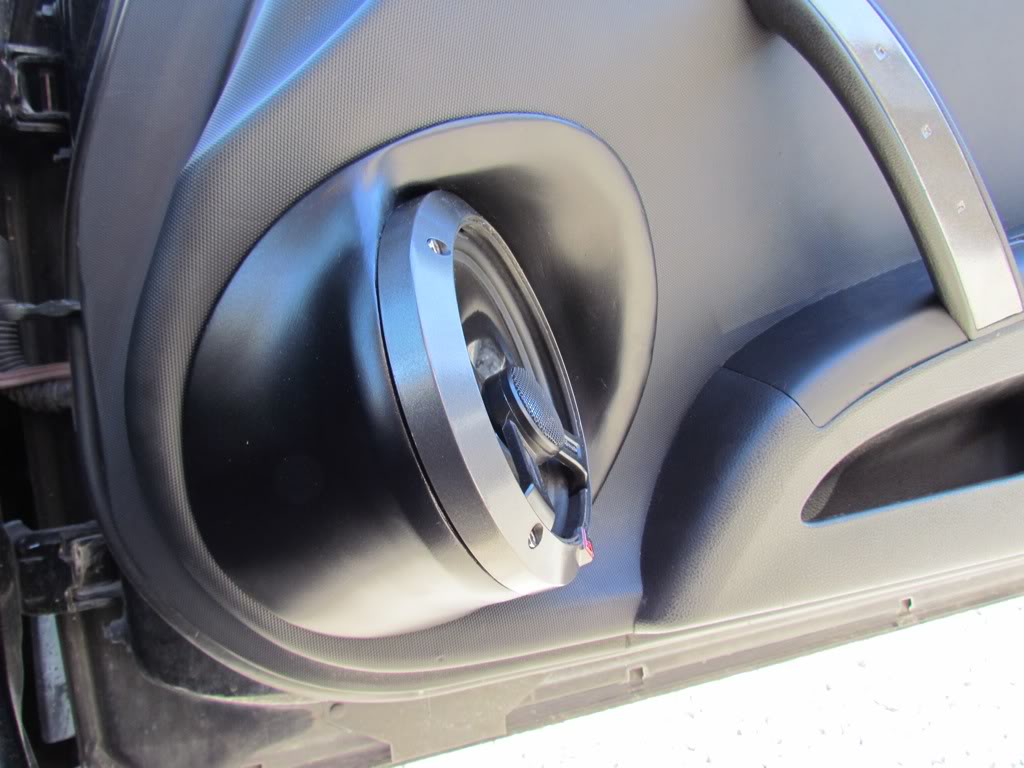
speaker pods
Iphone mount


sub box & amp rack

This will serve as my ongoing thread for future projects. So make sure you sub'd to this one, cuz I guarantee it will be a good one.
I have had this idea for a couple months and now that its getting cold Im going to start knocking it out.
First project: new dash/center console.
so it started out as a drunken sketch, then i refined it in illustrator to give myself a better idea of what it would look like. This past weekend I finally started on making this thing a reality. here's my concept. Not doing orange stitching just a visual to follow. thinking of doing Kevlar in the middle and suede and white stitch on the new pieces
features: raised sides (aston martin like,) rectangular shift boot,hood over the console, ditch cubby and move radio & ac controls up, and triple gauges forward and down a bit.
I decided that carving this out of foam first would probably be easier than build a skeleton/frame and fiber glassing it. Have the two sides completely carved out and shaped it fit nicely, the hood its only roughed out, still needs to be shaped. Hopefully this week I have it finished to I can start glassing these thing hard. Wasn't able to hold my foam pieces up and take the pictures, I only have shot of the original cardboard templates. The top of the two sides will be cut off and replaced with the hood.
Starting to debate wether I should eliminate the cubby and move the stereo or just leave it the way it it and just move the triple gauges so they fit under the hood/cover nicely.
Still pretty rough, but its time for pictures
After I finish this I will be moving on to a center console to complement this piece, then prolly door panels
Incase you haven't seen, here are some of my previous projects.
2+2 back seat addition.
speaker pods
Iphone mount
sub box & amp rack

 11-15-2011, 09:38 AM
#3
Registered User
Thread Starter
11-15-2011, 09:54 AM
#5

I ****ing love that iphone mount too. If you can get it done for under $100 I'll def
take one. Badass...
That said, you've definitely had dreams of the Porsche Cayenne Interior based on
your sketch. Why don't you take a look at one. Maybe you can use pieces out of
that to expedite your build. They've got some nice metal work too.
Sick stuff man.
take one. Badass...
That said, you've definitely had dreams of the Porsche Cayenne Interior based on
your sketch. Why don't you take a look at one. Maybe you can use pieces out of
that to expedite your build. They've got some nice metal work too.
Sick stuff man.
11-15-2011, 10:04 AM
#6
Registered User
Thread Starter
I ****ing love that iphone mount too. If you can get it done for under $100 I'll def
take one. Badass...
That said, you've definitely had dreams of the Porsche Cayenne Interior based on
your sketch. Why don't you take a look at one. Maybe you can use pieces out of
that to expedite your build. They've got some nice metal work too.
Sick stuff man.
take one. Badass...
That said, you've definitely had dreams of the Porsche Cayenne Interior based on
your sketch. Why don't you take a look at one. Maybe you can use pieces out of
that to expedite your build. They've got some nice metal work too.
Sick stuff man.


phone mounts will happen soon i promise........
11-15-2011, 10:22 AM
#7
Registered User
iTrader: (1)

Join Date: Oct 2011
Location: Atlanta
Posts: 402
Likes: 0
Received 0 Likes
on
0 Posts
in on this center console will look wicked when complete. more pics!!! all that stiching nom nom nom!!!
? tho, where do peoples heads go if they sit in the back?>
? tho, where do peoples heads go if they sit in the back?>
Trending Topics


 11-15-2011, 12:10 PM
#13

Wow!Really a aggressive project!
I am a huge admirer of Aston interiors.
Ergometrically,I can't warm up to your verticle console dividers.
Seems difficult to access the gear shift with this in the way??
Maybe make the side next to the driver smaller?
Also,the top stitching is more effective if more subdued.
Possibly you did not mean to have such a right contrast
in your mock up photos.
You would'nt see this in a Aston.
Maybe a Lambo.

 11-15-2011, 01:18 PM
#17
Registered User
Thread Starter
Thanks guys! The complements keep these projects coming along.
Doesn't get in the way of shifting at all, I've checked. And the picture is just a guide/idea what the shapes would look like. Color of the stitch and it's placement may change. If I would have used any other color u wouldn't have noticed it the sketch. Same with my various gray shades(didn't feel like using and gradients in my mock up)
I've thought about molding this (I know how to) but I'd prolly only make at most 4 or 5 (keep it limited) still haven't decided tho.


