sub box help
 05-29-2014, 09:41 AM
#1
New Member
Thread Starter

Join Date: Jan 2014
Location: Texas
Posts: 35
Likes: 0
Received 0 Likes
on
0 Posts
Need help building a sub box for the z.
I am building one for underneath the strut bar for 1 10.
Just really need help on finding out the dimensions and angles of underneath the srut bar
I am building one for underneath the strut bar for 1 10.
Just really need help on finding out the dimensions and angles of underneath the srut bar


 05-29-2014, 11:17 AM
#4
New Member
Thread Starter
Join Date: Jan 2014
Location: Texas
Posts: 35
Likes: 0
Received 0 Likes
on
0 Posts
im in south Arlington. if you could i just need the height of under the strut bar and if possible the angle of the strut bar since the bottom is wider then the top.
05-29-2014, 11:32 AM
#5
New Member
What are you planning to build it out of?
05-29-2014, 11:49 AM
#6
New Member
Thread Starter
Join Date: Jan 2014
Location: Texas
Posts: 35
Likes: 0
Received 0 Likes
on
0 Posts
Im building it out of mdf basically making the zenclosure 1 10 box but making it at the house to hopefully save on cost and I want the outside black vinyl instead of carpet.
Trending Topics
05-29-2014, 12:05 PM
#8
New Member
Do you have any experience?
You don't need the measurements.
1) Use a piece of cardboard.
2) Trace the contour from the back side.
3) Trim the cardboard to make a template.
4) Trace your template onto MDF
5) Cut on the outer edge of your pencil mark.
6) Test fit and shave to match exact.
7) Belt sand 1/16" extra after a perfect fit for vinyl.
05-30-2014, 11:54 AM
#10
Do you have any experience?
You don't need the measurements.
1) Use a piece of cardboard.
2) Trace the contour from the back side.
3) Trim the cardboard to make a template.
4) Trace your template onto MDF
5) Cut on the outer edge of your pencil mark.
6) Test fit and shave to match exact.
7) Belt sand 1/16" extra after a perfect fit for vinyl.
You don't need the measurements.
1) Use a piece of cardboard.
2) Trace the contour from the back side.
3) Trim the cardboard to make a template.
4) Trace your template onto MDF
5) Cut on the outer edge of your pencil mark.
6) Test fit and shave to match exact.
7) Belt sand 1/16" extra after a perfect fit for vinyl.
 05-30-2014, 11:59 AM
#11
New Member
lol I could really spoonfeed.
Soften the corners by hand. Use a fine paper if you're using MDF.
Use a good quality wood glue and 20-22ga. pins to nail.
Use a hole saw to cut your vents. If you don't have an insert, use a router bit with a bearing to round out the corners.
Once assembled, seal all your joints inside with silicone.
06-02-2014, 06:31 AM
#13

2. Silicone releases an acidic fume when drying. Either let the silicone dry for 24 hours before installing the subs (helps to put a fan blowing into the box) Or don't use it at all. I just put a good bead of wood glue on all my joints inside the box. I have no leaks and it hasn't failed me thus far.
06-02-2014, 06:42 AM
#14
New Member
That's cheap. Used boxes go for at least $100 around here.
A hole saw will make a nicer cut, faster than anything else. And it's a guaranteed circle. Based on the OP's original question, I was giving the easiest method.
I was talking about an insert for the vent. I've used polymer sleeves to give a finished look. If I don't have any, I router the edge to give a nicer appearance.
+1 on 24 cure time before use/sub install. I use Titebond for any furniture I make/repair so it's all I have in my garage. 1/4" bead along all edges, then wipe away excess once pieces are joined. It's sealed at this point, but I add silicone anyway. Personal preference
Do you just glue? Or do you pin as well?
1. I've never used a hole saw when building a sub box.... And if he doesn't have an insert for what?
2. Silicone releases an acidic fume when drying. Either let the silicone dry for 24 hours before installing the subs (helps to put a fan blowing into the box) Or don't use it at all. I just put a good bead of wood glue on all my joints inside the box. I have no leaks and it hasn't failed me thus far.
2. Silicone releases an acidic fume when drying. Either let the silicone dry for 24 hours before installing the subs (helps to put a fan blowing into the box) Or don't use it at all. I just put a good bead of wood glue on all my joints inside the box. I have no leaks and it hasn't failed me thus far.
I was talking about an insert for the vent. I've used polymer sleeves to give a finished look. If I don't have any, I router the edge to give a nicer appearance.
+1 on 24 cure time before use/sub install. I use Titebond for any furniture I make/repair so it's all I have in my garage. 1/4" bead along all edges, then wipe away excess once pieces are joined. It's sealed at this point, but I add silicone anyway. Personal preference
Do you just glue? Or do you pin as well?
Last edited by Syner; 06-02-2014 at 06:43 AM.
06-02-2014, 07:30 AM
#16
New Member
06-02-2014, 07:57 AM
#17
A hole saw will make a nicer cut, faster than anything else. And it's a guaranteed circle. Based on the OP's original question, I was giving the easiest method.
I was talking about an insert for the vent. I've used polymer sleeves to give a finished look. If I don't have any, I router the edge to give a nicer appearance.
+1 on 24 cure time before use/sub install. I use Titebond for any furniture I make/repair so it's all I have in my garage. 1/4" bead along all edges, then wipe away excess once pieces are joined. It's sealed at this point, but I add silicone anyway. Personal preference
Do you just glue? Or do you pin as well?
I prefer slot ports due to ease of build/design and it gives the box extra strength without having to run bracing. I also double baffle my boxes if it is a large baffle.
I use just plain wood glue on all my edges and then the same plain wood glue on the joints inside to make sure it is completely sealed. When I'm building I will cut all my pieces, then build it dry to make sure everything fits and I wont have any problems (mismarked cut etc...). I predrill and screw every board in multiple places. I have a drill block that is perfect for centering screw holes on 3/4" wood. The screws will clamp the pieces together while the glue sets.
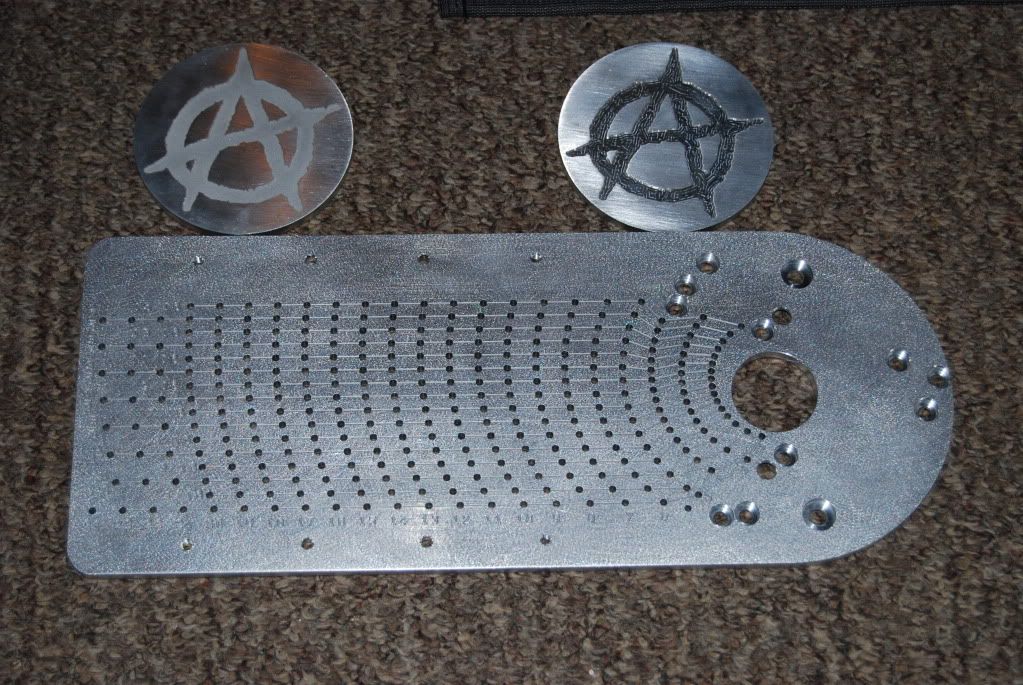
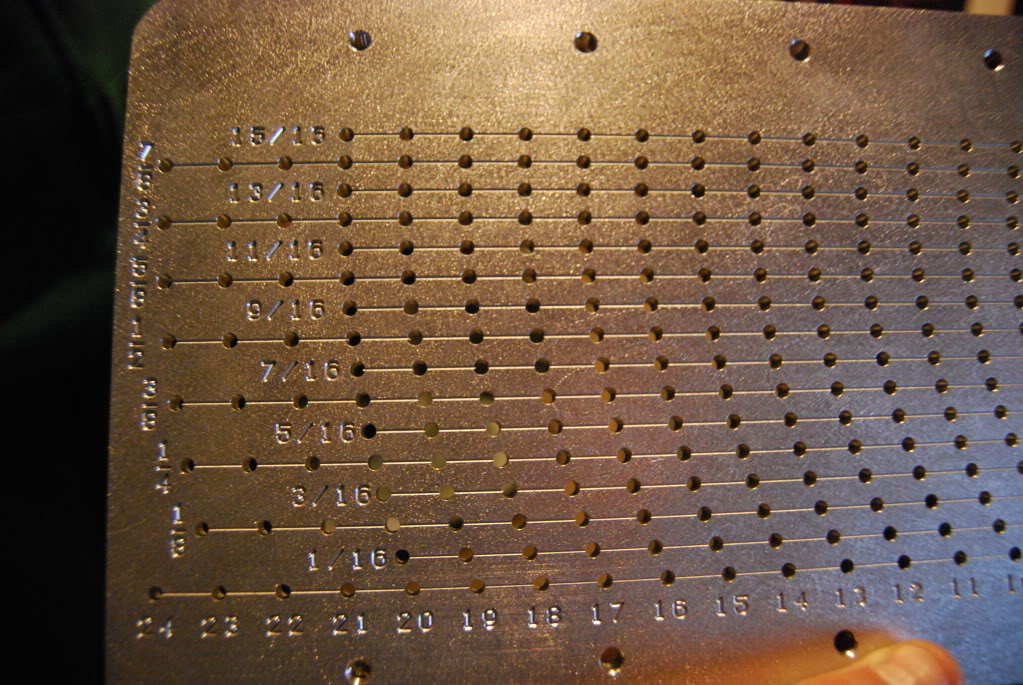
I've also been jiggin' the holes in my boxes but now that I have a router (Thank god no more sanding the edges!!!) I can get a Toolmaker circle jig to cut my circles.
I'm actually about to build a ported box for 2 10"s here in the next couple weeks for the Z. My single sealed 12 is wearing out.
06-02-2014, 08:18 AM
#18
New Member
I use just plain wood glue on all my edges and then the same plain wood glue on the joints inside to make sure it is completely sealed. When I'm building I will cut all my pieces, then build it dry to make sure everything fits and I wont have any problems (mismarked cut etc...). I predrill and screw every board in multiple places. I have a drill block that is perfect for centering screw holes on 3/4" wood. The screws will clamp the pieces together while the glue sets.
What type of drill block are you using? I use a vertias dowelling jig for furniture. They work great for dowels, barrel hinges, and setting pilots.
http://www.veritastools.ca/Products/Page.aspx?p=166
I've also been jiggin' the holes in my boxes but now that I have a router (Thank god no more sanding the edges!!!) I can get a Toolmaker circle jig to cut my circles.
I'm actually about to build a ported box for 2 10"s here in the next couple weeks for the Z. My single sealed 12 is wearing out.
I'm actually about to build a ported box for 2 10"s here in the next couple weeks for the Z. My single sealed 12 is wearing out.
 to router usefulness. My router table is one of my heaviest used tools.
I want one of those circle jigs. Now I just need to come up with a project to use it lol
06-02-2014, 11:18 AM
#19
LOL no I don't just cut a hole. Matched to whatever sub specs call for.
Screwing isn't a bad idea. I pin through wet glue essentially make a glued nail.
What type of drill block are you using?
to router usefulness. My router table is one of my heaviest used tools.
I want one of those circle jigs. Now I just need to come up with a project to use it lol
Screwing isn't a bad idea. I pin through wet glue essentially make a glued nail.
What type of drill block are you using?
to router usefulness. My router table is one of my heaviest used tools.I want one of those circle jigs. Now I just need to come up with a project to use it lol
I have a personal issue with nails. I refuse to use them on anything. Screws and bolts for me.
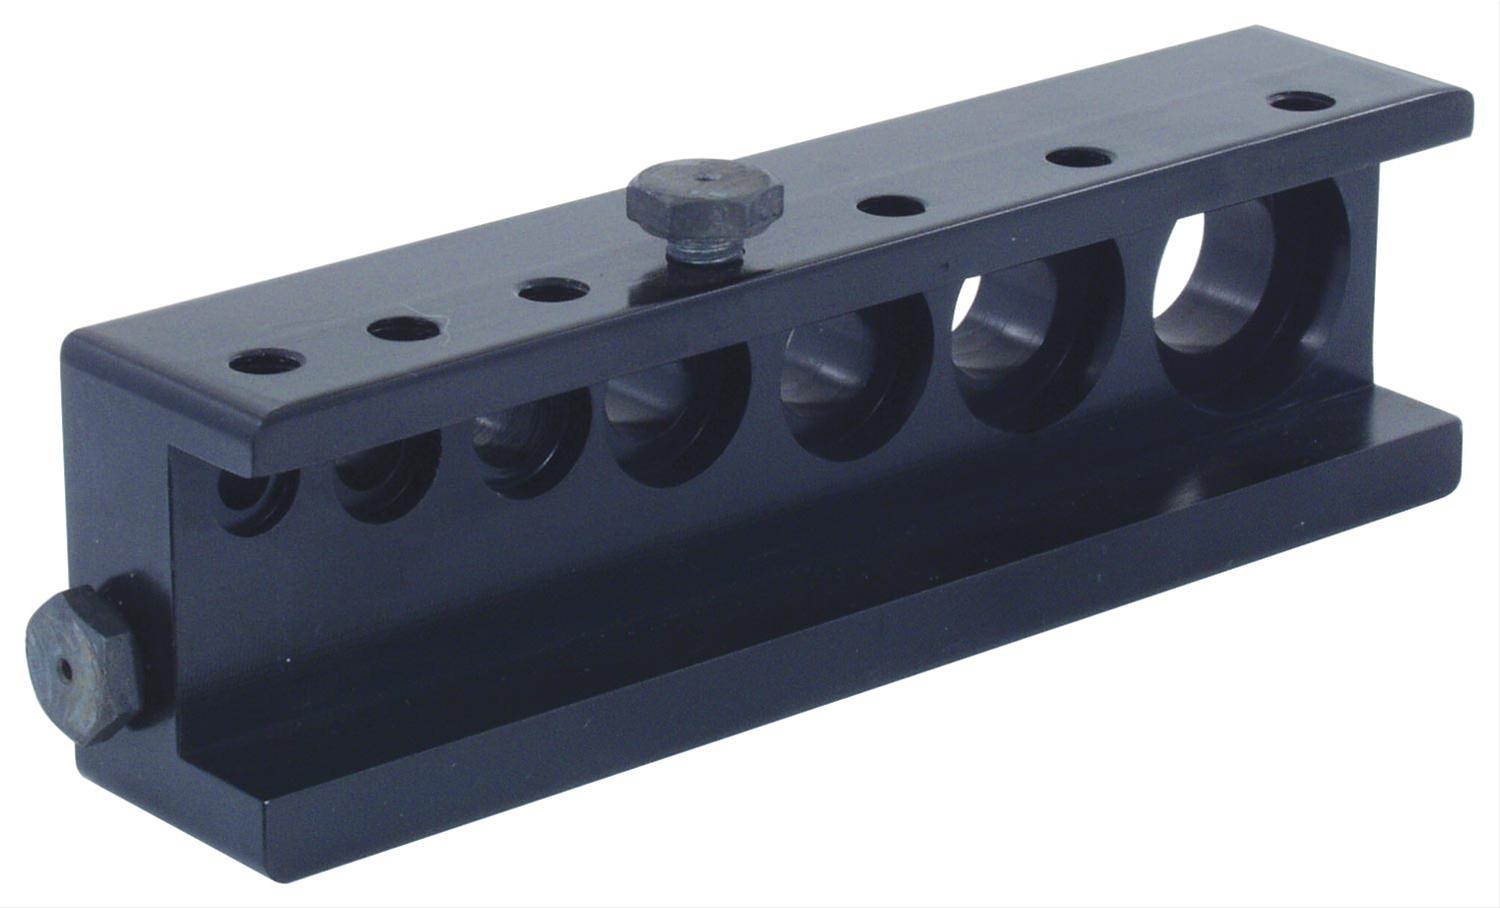
The drill block I have is one I acquired from a buddy that worked in an aircraft shop. It had little feet on it to space it up off the work surface so the shavings would come out but I found that the size/location of the holes in it is almost dead center with a 3/4" piece of wood if you hook the leg on the outside of the board. So I got the dremel out and chopped one leg off. Then you just hook it on the edge and slide it along drilling your holes. Sometimes you gotta lift it and get the sawdust cleared out but that's no biggie to have perfectly straight screws. I might take it to the local machine shop and have the bottom milled out a little to allow for clearing.
It was similar to this but without the bolts in the side and smaller holes in it and they are all centered.
I have hardly used my router but if you get a circle jig buy the one from toolmaker metalworkz. I've seen plenty of people ***** about the plastic jasper jigs breaking.
 06-02-2014, 12:57 PM
#20
New Member
LoL @ cut the hole bigger and bigger until it sounds good. I've seen people do weird sh*t as well.
I prefer nails. Especially with antique furniture where the old wood cracks even with huge pilots. 22ga pin goes in without any issues.
I'll definitely look into it. Thanks
I prefer nails. Especially with antique furniture where the old wood cracks even with huge pilots. 22ga pin goes in without any issues.
I'll definitely look into it. Thanks

