When you click on links to various merchants on this site and make a purchase, this can result in this site earning a commission. Affiliate programs and affiliations include, but are not limited to, the eBay Partner Network.
So I decided I didn't like the half assed job I did putting in my 1 3/4" kicker tweeters a few weeks ago. Time to learn something new. For anyone else thinking about making their own pods, so far, it's been a pain but I'm pretty happy with the progress and hopefully it'll end up ok.
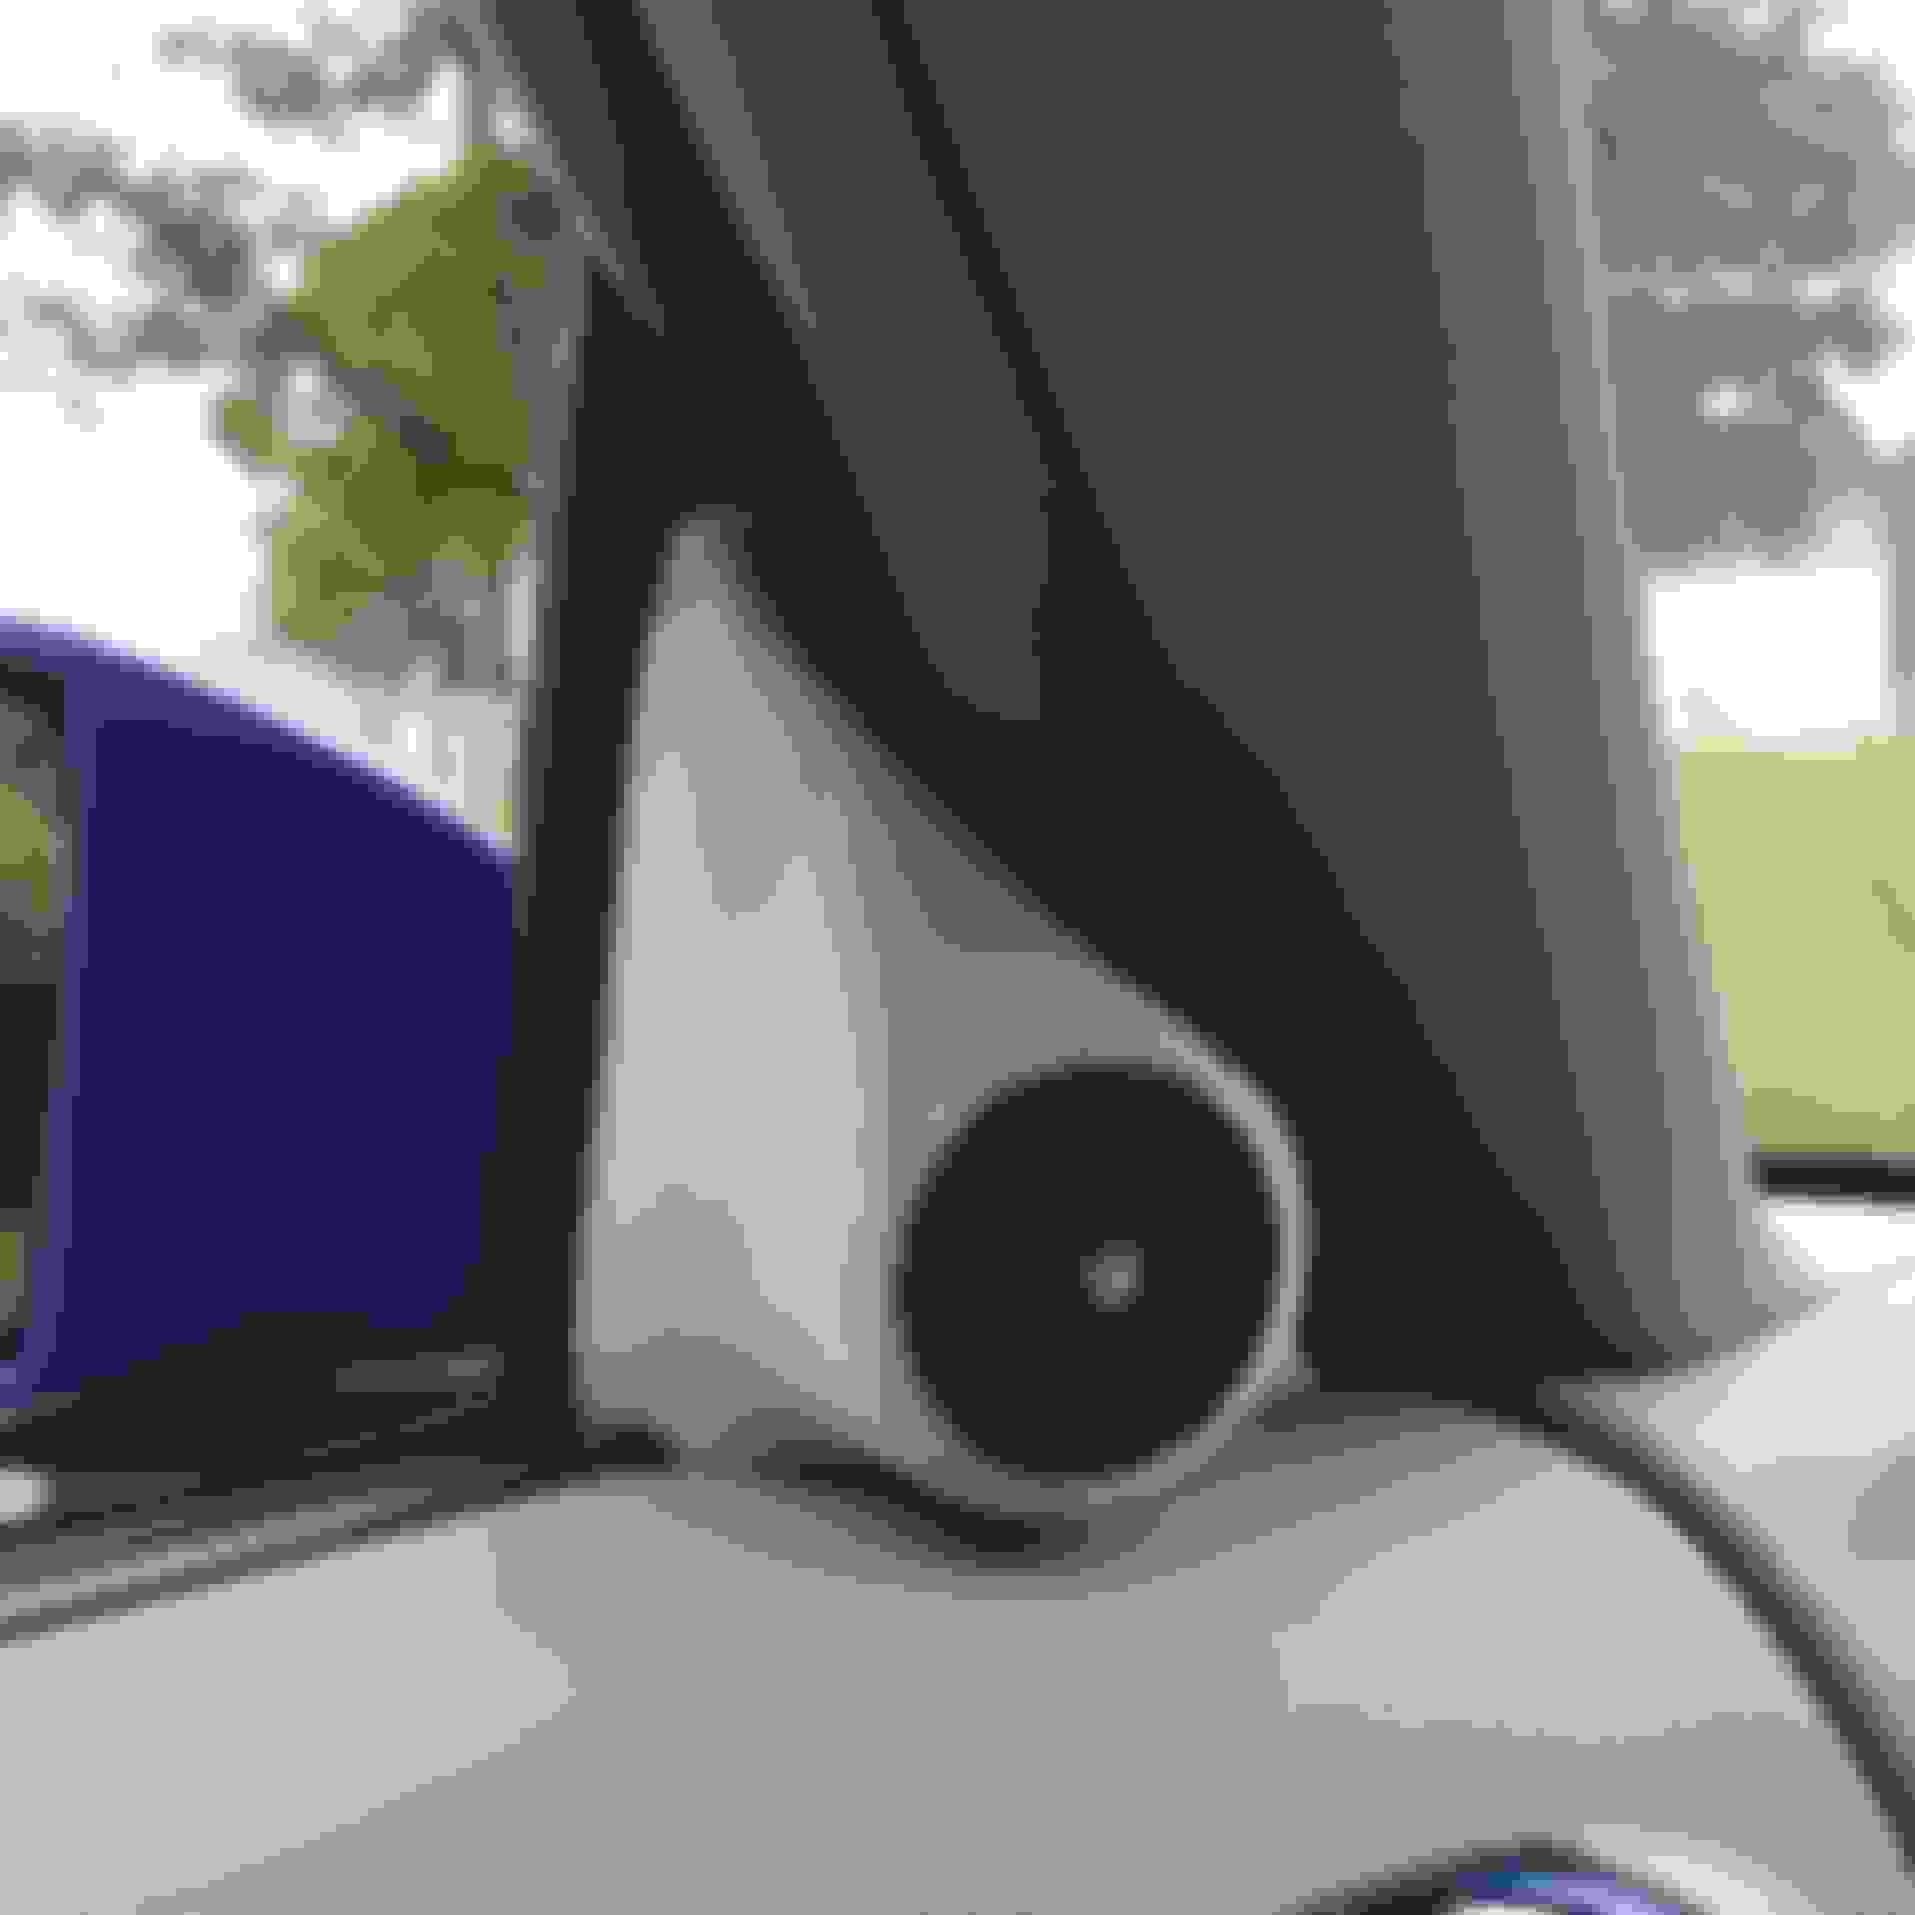
First, the terrible "drill a big hole and make it fit because I want new speakers" approach I took a couple weeks ago.
After too much googling and youtubing I decided to give making real mods a go, bought a big can of fiberglass resin, some bondo and I had a few thick cardboard tubes hanging around.
This is what I started with..
Build it up, threw it in the car to check that it was pointing in the right direction.
Cut up an old t-shirt, some spray adhesive (that stuff is no joke sticky)
First coat of resin, I went for another after this one just to be sure it was solid.
Slopped (and I mean slopped, never worked with it before, it was a mess) some bondo on and sanded.. and sanded.. needed a second batch of bondo after this pic.
Test fit after a second run of bondo and a lot more sanding.
More sanding and filling to do then it's time to start painting. I'll update as I progress but I thought someone out there may find the process useful if they're planning to do something similar.
Imaginative job- but I can't imagine wanting that big a tweeter in my Z. The MB Quart 1" tweets I have in the OEM sail panels have such crisp highs, they are ideal for my ears.
Imaginative job- but I can't imagine wanting that big a tweeter in my Z. The MB Quart 1" tweets I have in the OEM sail panels have such crisp highs, they are ideal for my ears.
There's a lot of sound loss in the roadster with the top down and they were part of the package with the 6.5" kicker woofers I got.. so might as as well make them look pretty And it's always fun to learn how to do something new.
As dkmura said, imaginative and I'll add, innovative. The one thing I'd be concerned with given all your hard work is directionality of the highs. I'm sure you'll be able to extract decent imaging but nothing quite like a full facing tweeter such as this surface mount....
Might save you some time in the future. However, I say "Good job!" on a clever solution. It truly is difficult to get decent highs in the Z.
i think buying new tweeter covers from the Nissan dealer , then using a 1 " silk tweeter , molded into the base of your a-pillar , will yield a better result
 07-04-2015, 12:37 PM


 And it's always fun to learn how to do something new.