The start of my 350Z sound project....PICS

 11-13-2008, 08:11 AM
#22
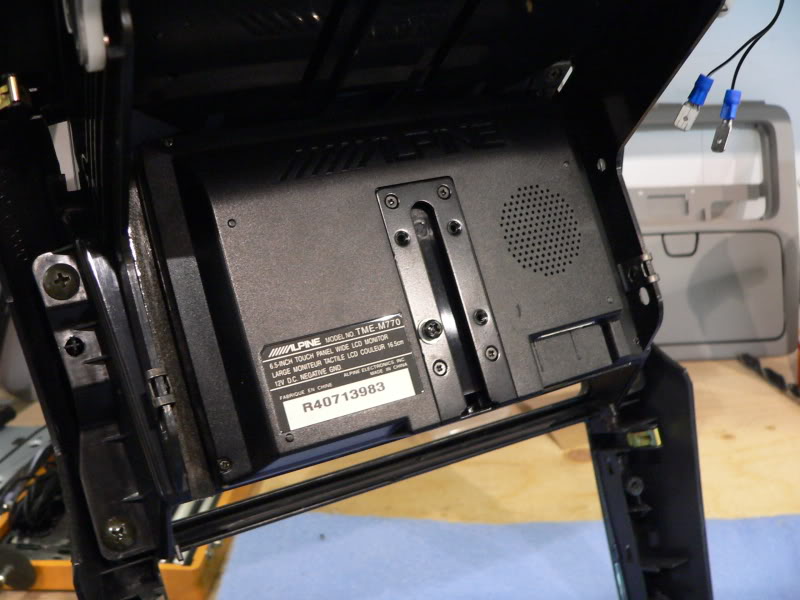
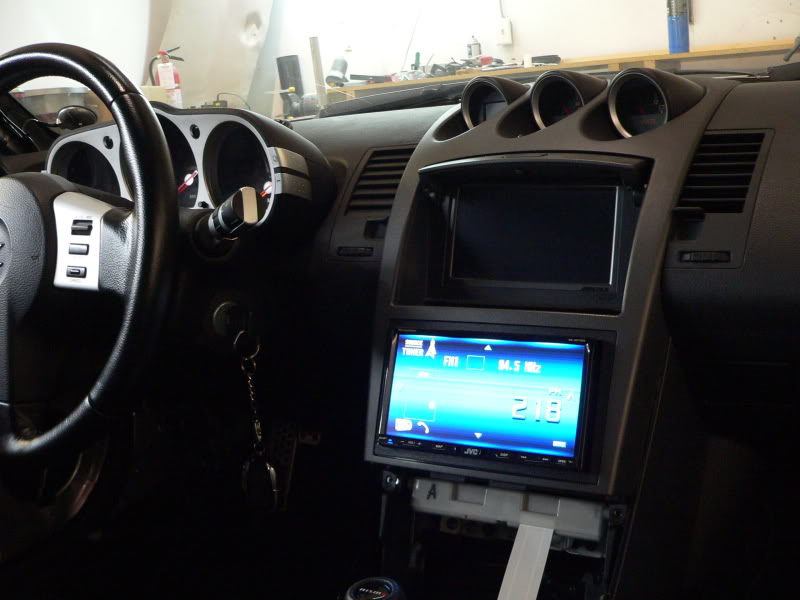
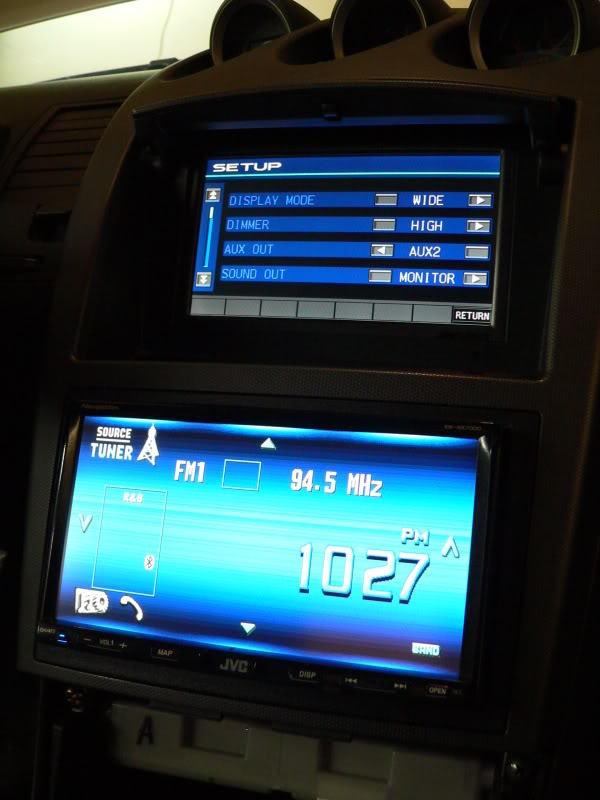
I have since removed the factory Nav unit alltogether because I am running the JVC Nav (which looks and performs infinitely better!). I am running the TMEM screen on the second zone of the JVC deck so I can run navigation or the display screen AND I can watch movies at the same time (not that I would while I am driving of course )
)
It'll make for a really concise and complete entertainment system.
)It'll make for a really concise and complete entertainment system.
Sorry I was just listening to some old Eminem in the car.


 11-19-2008, 06:44 PM
#35

Damn that is an awesome project. I definitely want to some sound deadening to my car. Way to many rattles and annoying tire noise.
Is there any way you can give a breakdown on how you took everything apart or is there a guide somewhere that you used? I am especially interested in how to take the door off?
Is there any way you can give a breakdown on how you took everything apart or is there a guide somewhere that you used? I am especially interested in how to take the door off?
11-19-2008, 08:11 PM
#36
Registered User
Thread Starter
iTrader: (4)

Join Date: Jul 2004
Location: Vancouver, BC
Posts: 515
Likes: 0
Received 0 Likes
on
0 Posts
Damn that is an awesome project. I definitely want to some sound deadening to my car. Way to many rattles and annoying tire noise.
Is there any way you can give a breakdown on how you took everything apart or is there a guide somewhere that you used? I am especially interested in how to take the door off?
Is there any way you can give a breakdown on how you took everything apart or is there a guide somewhere that you used? I am especially interested in how to take the door off?
For the Glass in the doors:
1) Remove door panel
2) There are two access holes which lead to the two bolts that hold the glass in place. Mark where the adjuster washer sits so its easier to line up later one when re-installing.
3) Take the two window bolts out **make sure you have a spotter to hold the glass in place!** then remove the window up and out.
4) Take the 8 or so 10mm bolts out of the metal outer skin. That outer skin will come off fairly easy but may need some persuading.
Thats pretty much it. When you are sound deadening make sure that you don't apply deadener to the seam between the crash beam and the door skin. Moisture needs to run down the door skin and past this seam to the bottom. If it can't, it will promote rust. I applied hushmat to the outer skin, the metal inner skin and all around the non-removeable inner skin (including the bottom of the door inside). Again, make sure you don't cover up the drain holes - they are there for a reason!!!
Hope this helps a bit.
11-25-2008, 05:33 PM
#38
Registered User
Thread Starter
iTrader: (4)
Join Date: Jul 2004
Location: Vancouver, BC
Posts: 515
Likes: 0
Received 0 Likes
on
0 Posts
- about 12 square feet per door
- about 14 square feet for the ceiling
- about 8 square feet per cubby
- about 14 square feet for the floor
- about 14 square feet for in front of the strut brace
- about 6 square feet per side for the B-C piller areas
- about 12 square feet for the hatch lid
- about 24 square feet for the trunk area
Those are estimates but should be pretty close
01-10-2009, 06:14 AM
#40
Registered User
iTrader: (5)

Join Date: Oct 2006
Location: Jacksonville, FL
Posts: 317
Likes: 0
Received 0 Likes
on
0 Posts
Awesome work man! I'll be getting some comps up front and a 10" sub soon and I wanted to deaden some of my car but not go as nearly as extreme as you did.. what do you think what are the most critical areas to deaden in a Z?