Kenwood Excelon System Build - '05 350z
 07-02-2009, 08:01 PM
#1

The audio system will be comprised mostly of Kenwood Excelon components and Stinger Electronics accessories. The install is being done at a stereo shop that I work at and will be the shop demo vehicle.
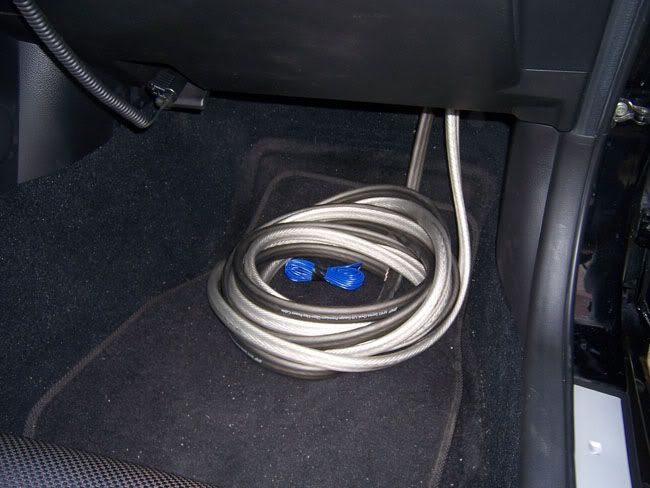
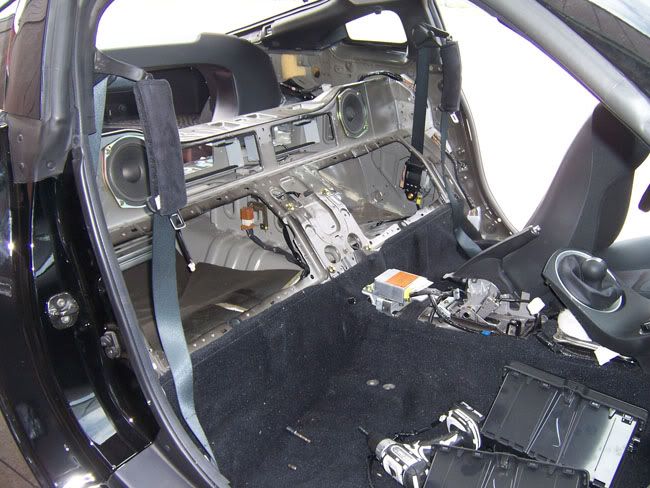
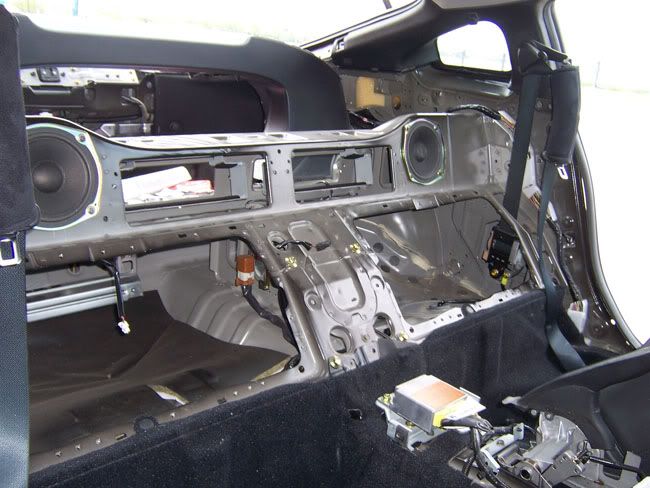
The wiring is really scary looking in the first pictures, but when it's all finished the wiring will be all neat and nicely tucked away.
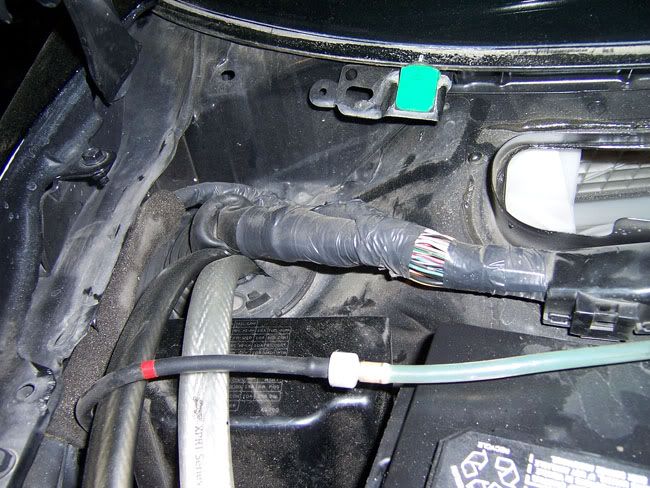
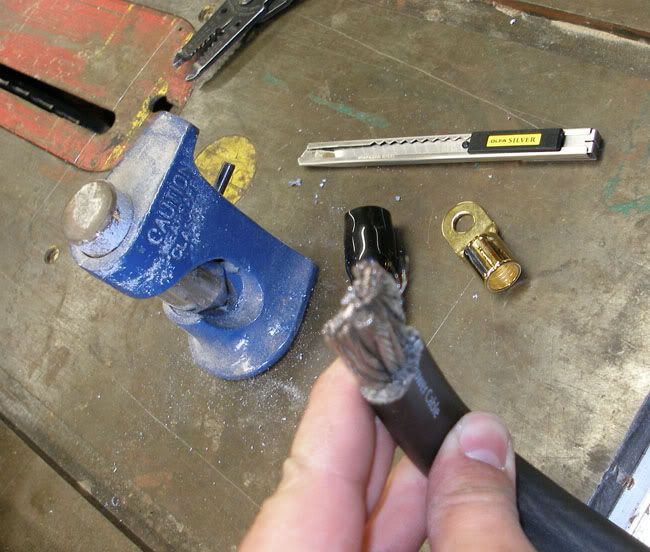
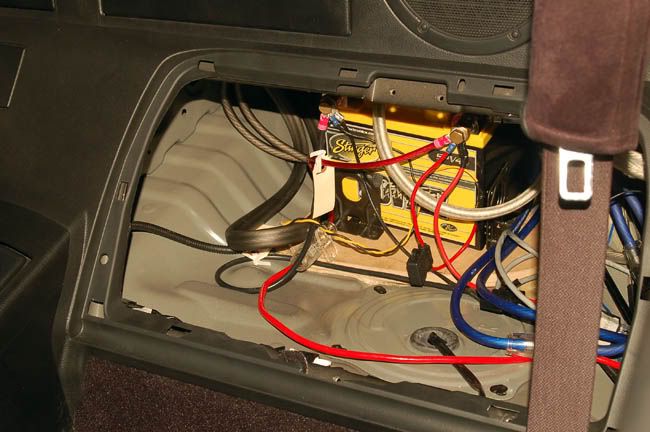
Started with zero gauge wiring to connect the new Stinger battery to the original battery. We'll have 2 batteries in the car now.
The wiring is really scary looking in the first pictures, but when it's all finished the wiring will be all neat and nicely tucked away.
Started with zero gauge wiring to connect the new Stinger battery to the original battery. We'll have 2 batteries in the car now.

 07-02-2009, 08:02 PM
#3
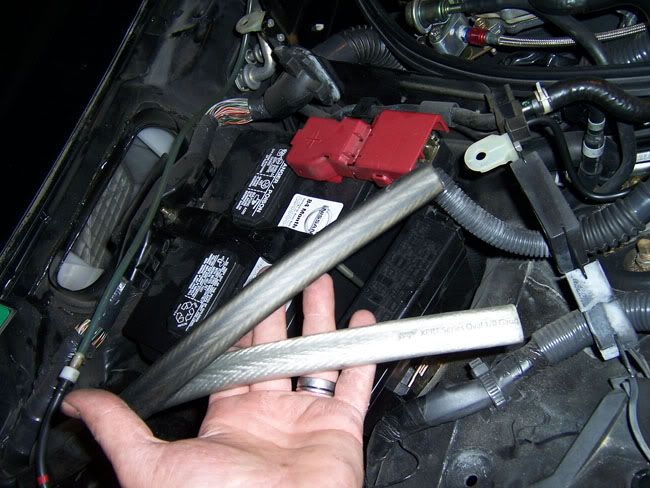
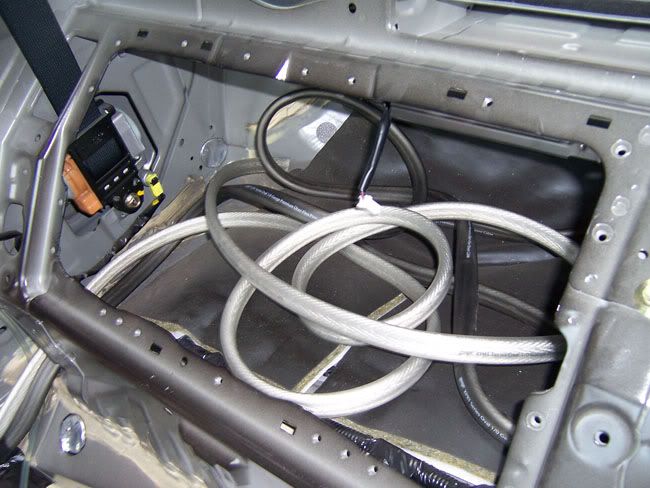
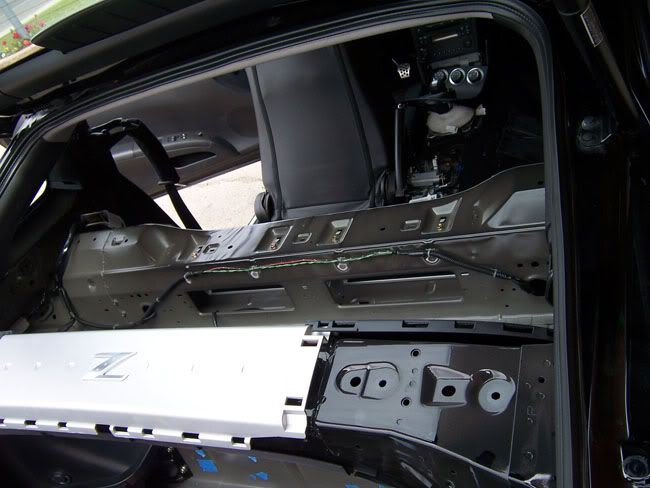
We're putting two amps in the back of the car, so the wiring will go from zero gauge to the second battery and then split into two sets of four gauge to the amps.
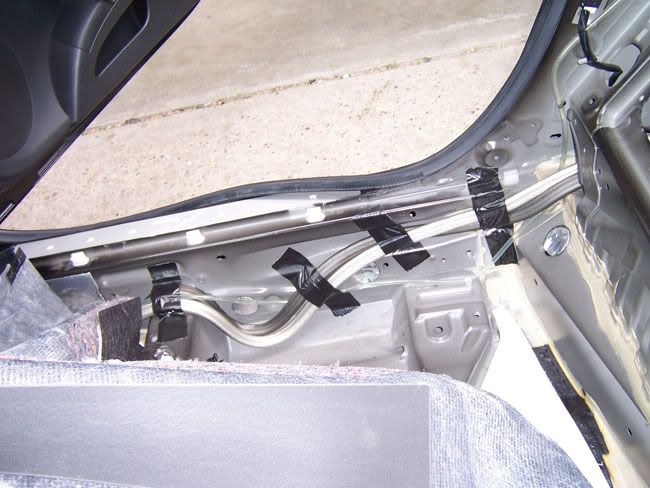
Between all of the 4 gauge, signal cables, nitrous wiring, nitrous main line, and speaker wire, we had to make a larger hole between the front and rear compartment:
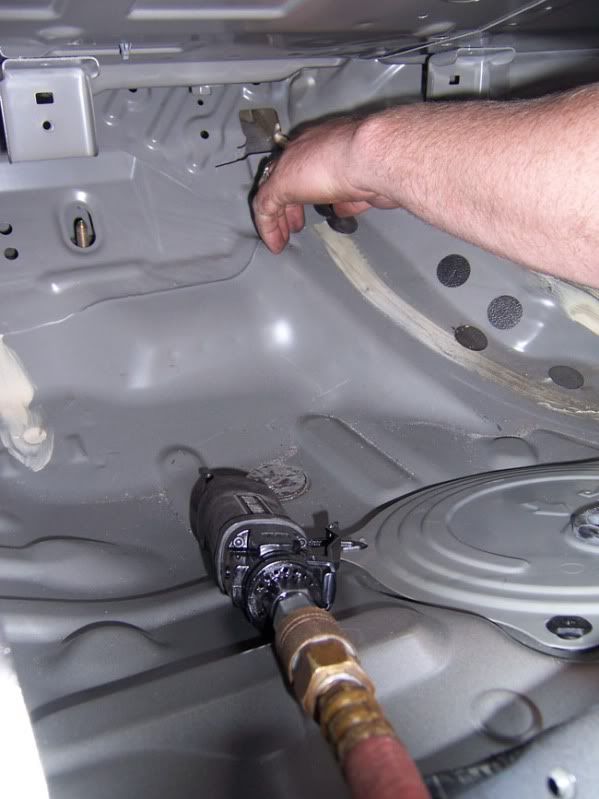
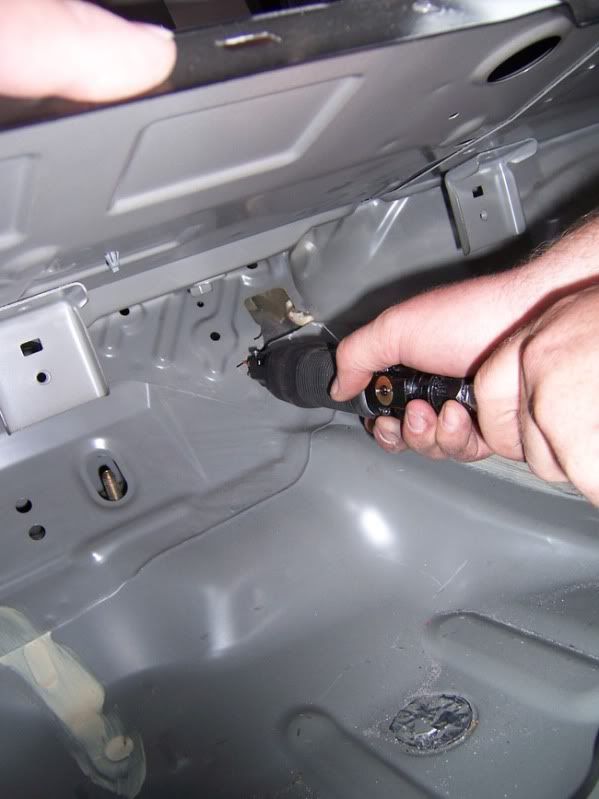
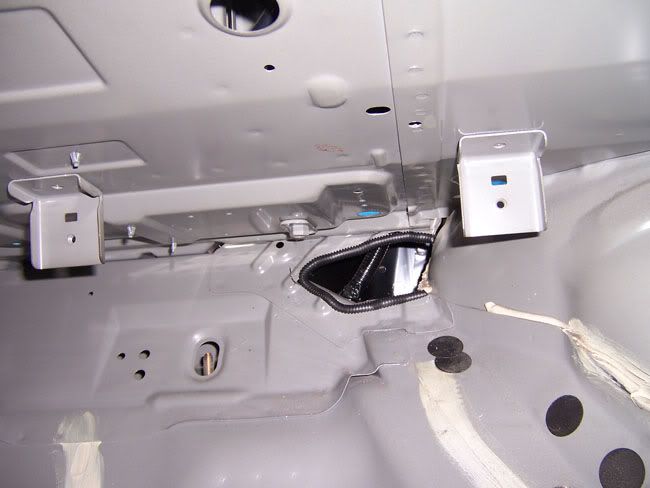
Between all of the 4 gauge, signal cables, nitrous wiring, nitrous main line, and speaker wire, we had to make a larger hole between the front and rear compartment:
07-02-2009, 08:03 PM
#4
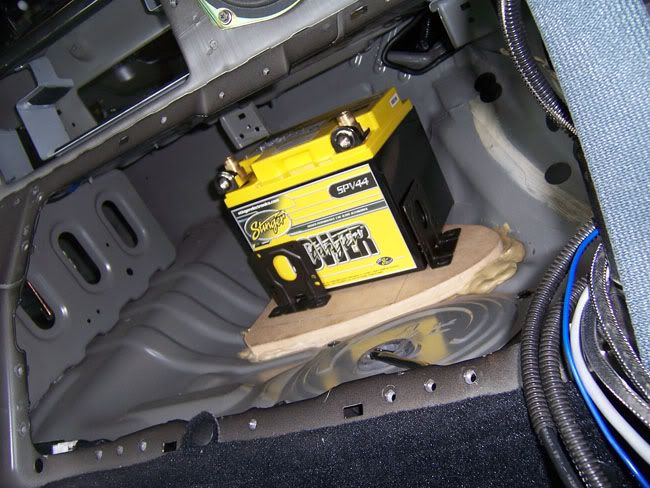
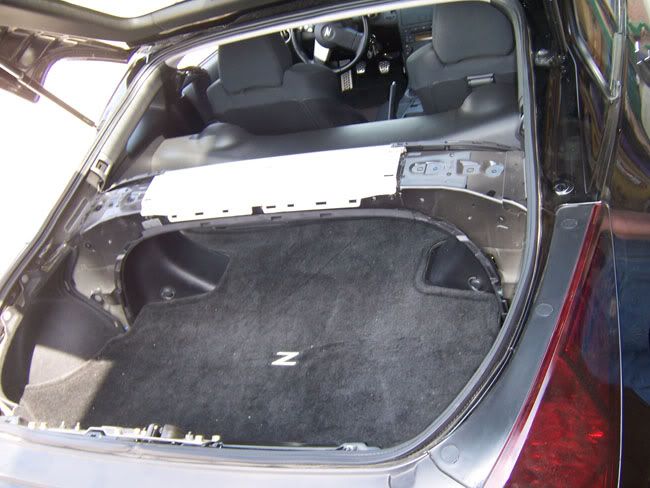
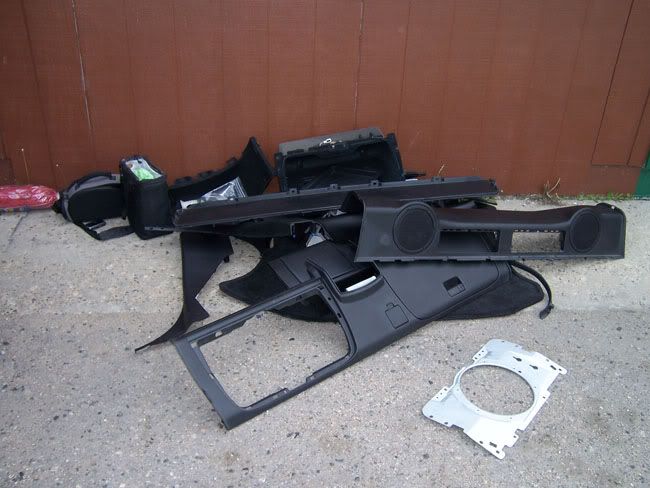
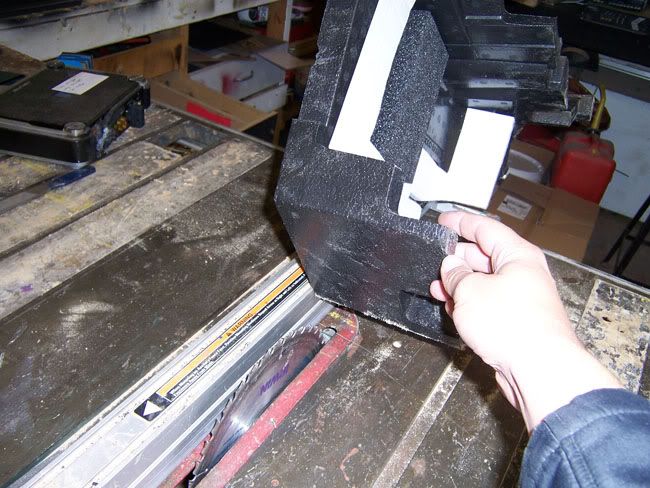
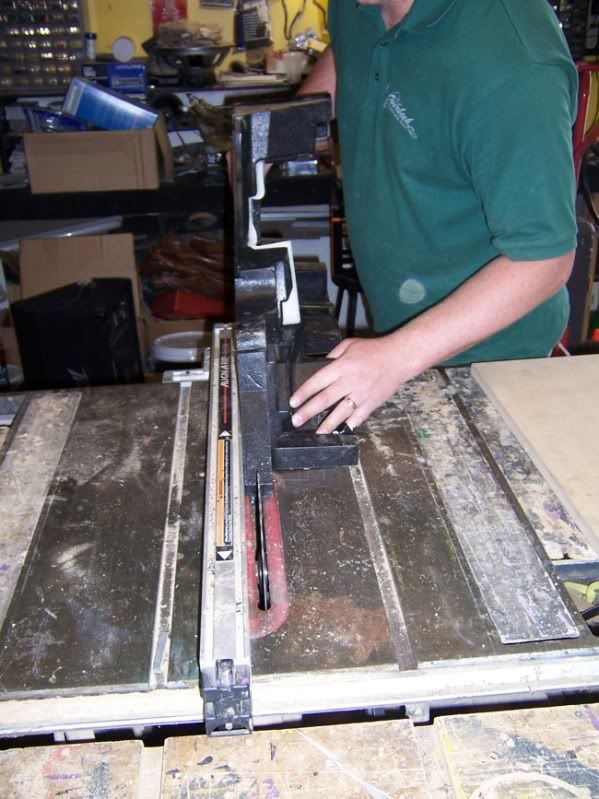
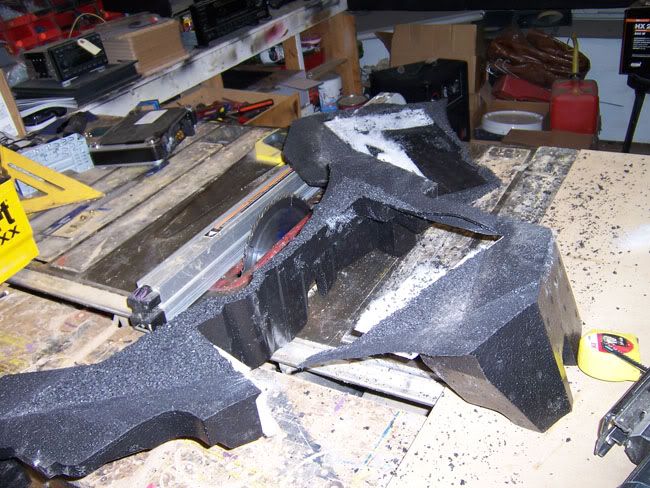
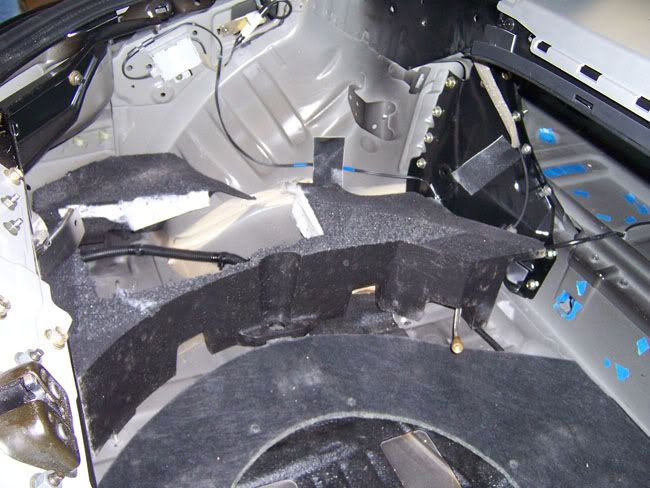
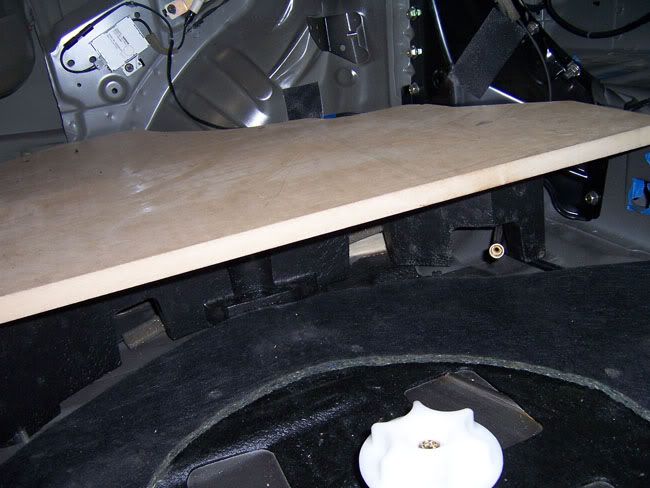
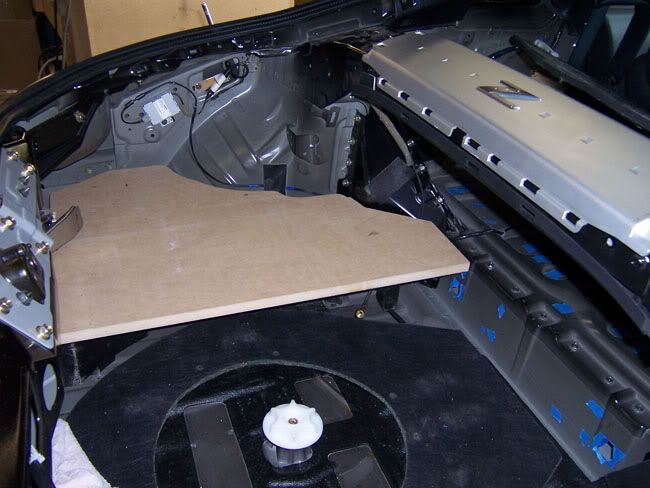
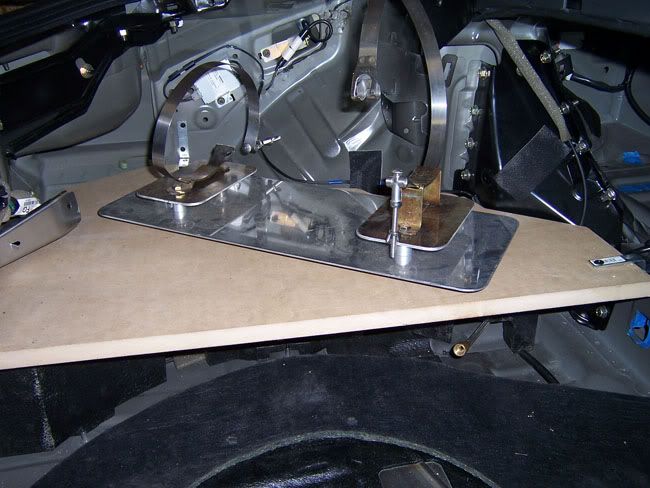
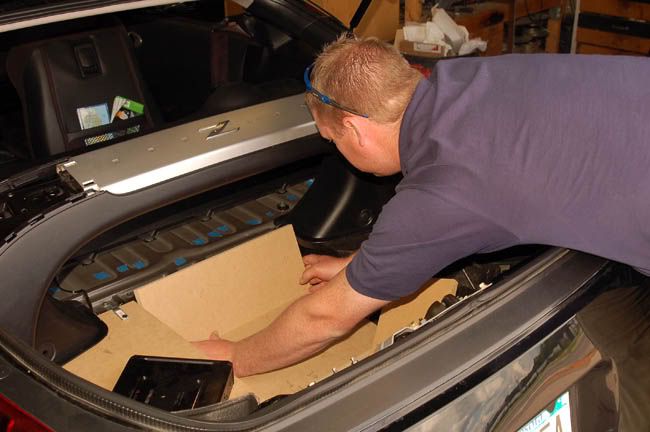
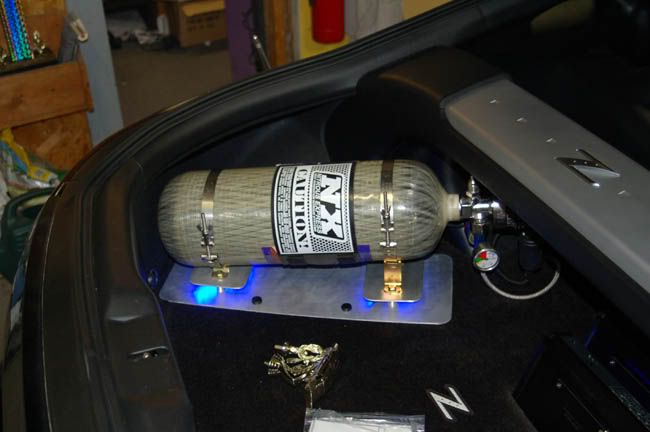
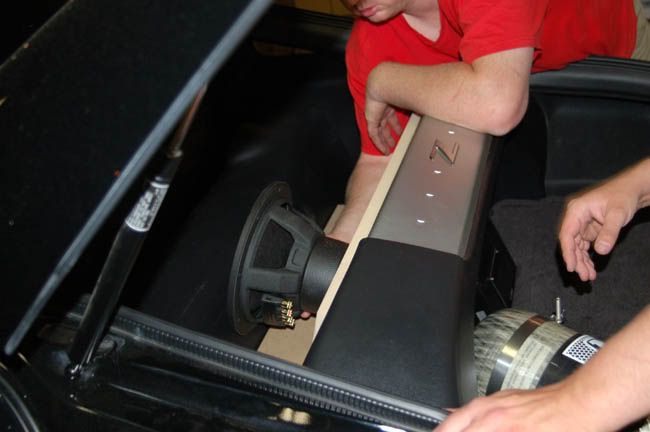
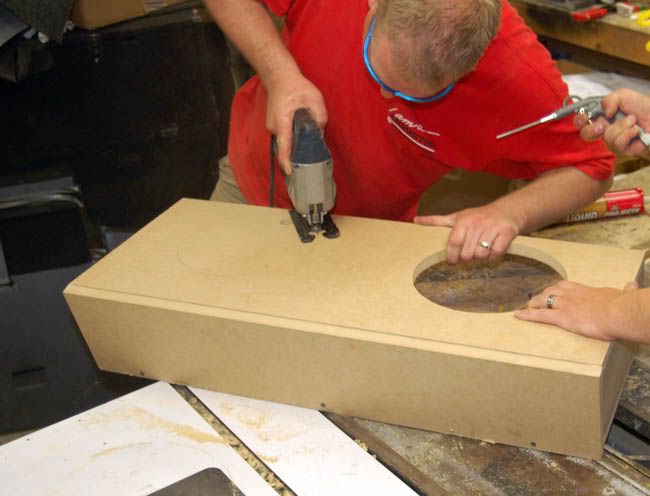
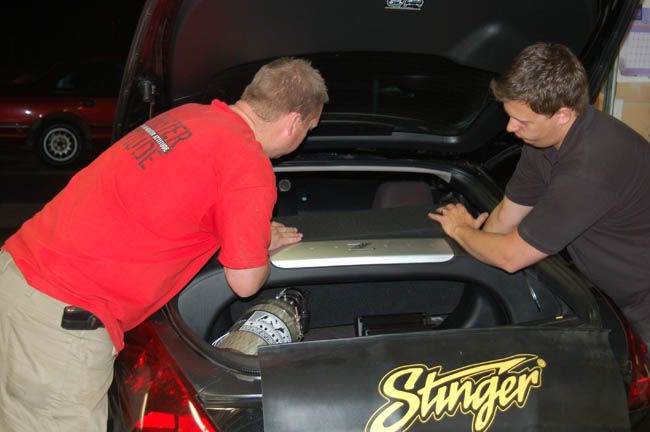
The nitrous bottle will be mounted in the trunk, but where we want it to go there is no suitable mounting spot, so we had to make one:
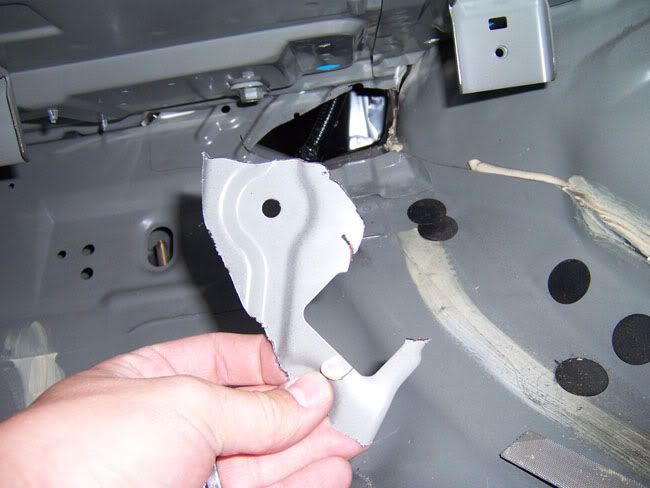
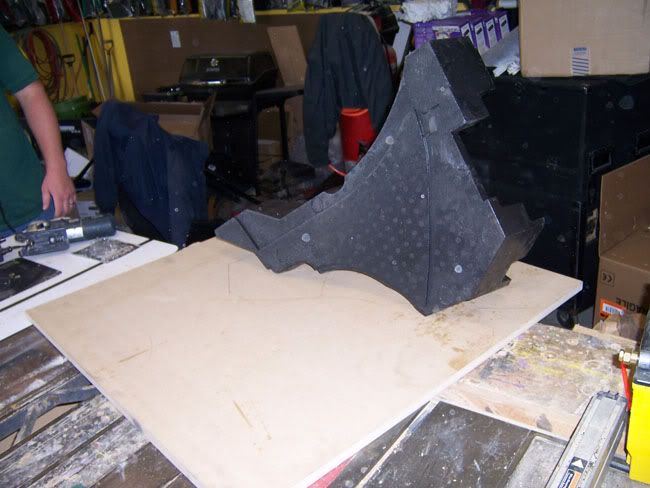
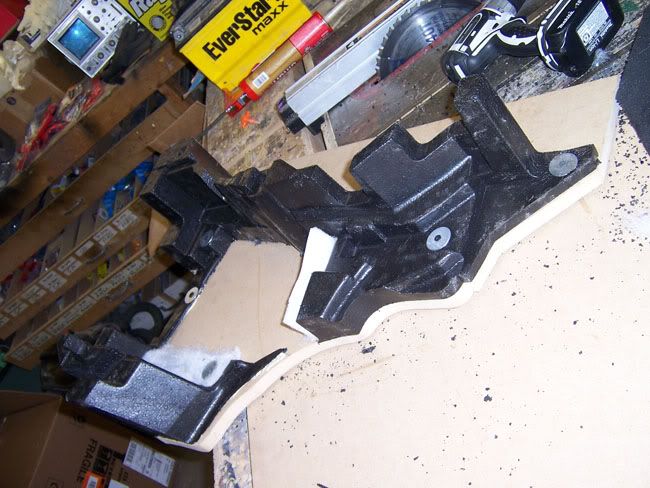
Notice the foam structure on the drivers side of the trunk:
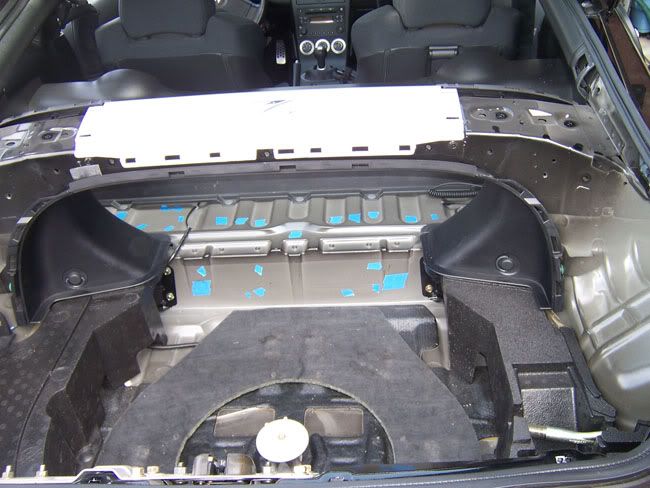
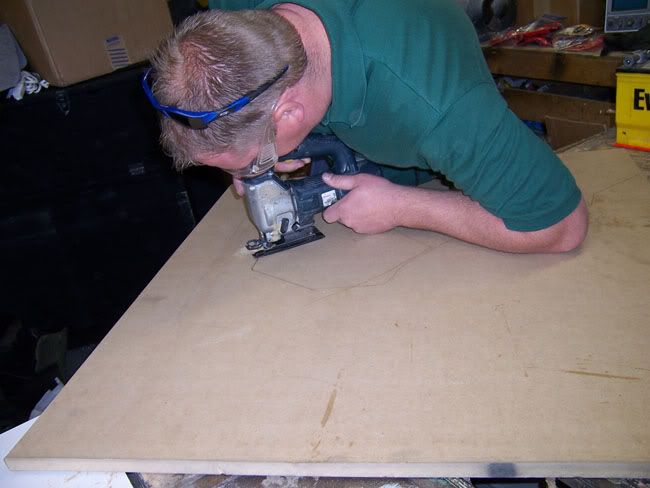
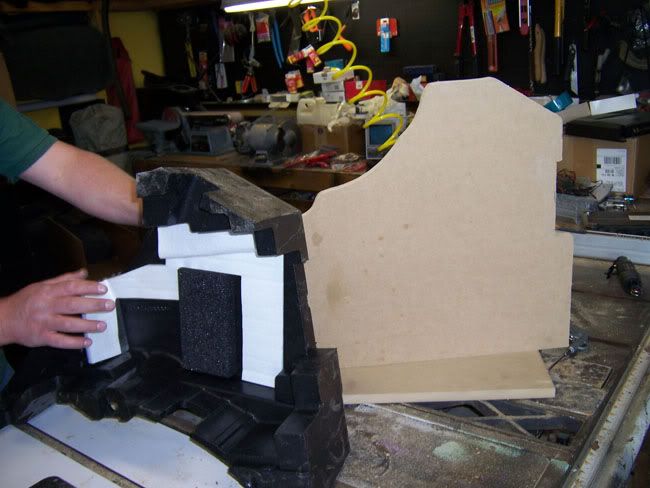
We removed it and traced it onto 3/4" MDF wood. Then cut the foam board to reuse the "legs" portion of it. After that we mounted the new board onto the foam and now we have a strong mount plate:
Notice the foam structure on the drivers side of the trunk:
We removed it and traced it onto 3/4" MDF wood. Then cut the foam board to reuse the "legs" portion of it. After that we mounted the new board onto the foam and now we have a strong mount plate:
07-02-2009, 08:04 PM
#5
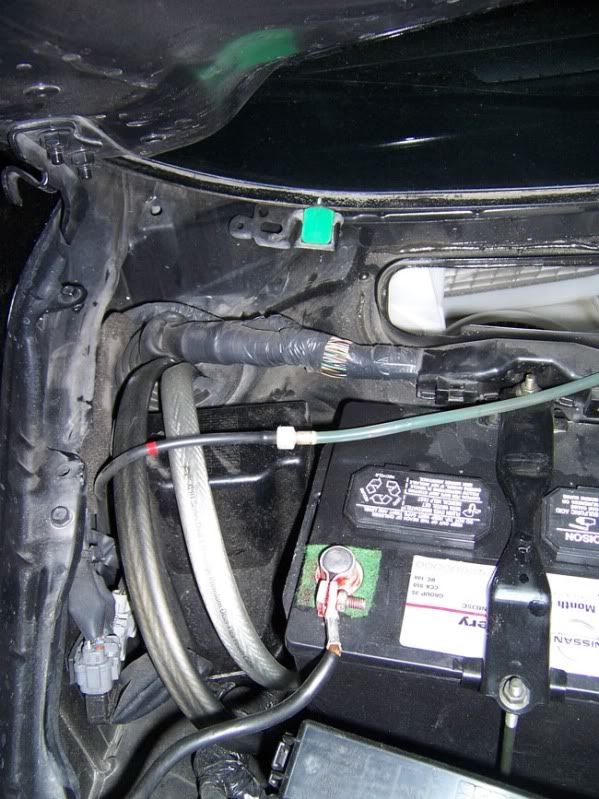
The first thing to do with the battery wiring was replace the factory ground at the battery. It was a 6 gauge, low-strand cable and we replaced it with the zero gauge oval cable with nice terminals.
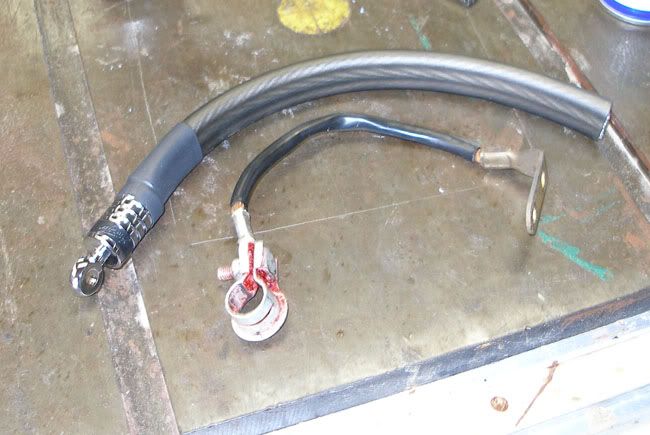
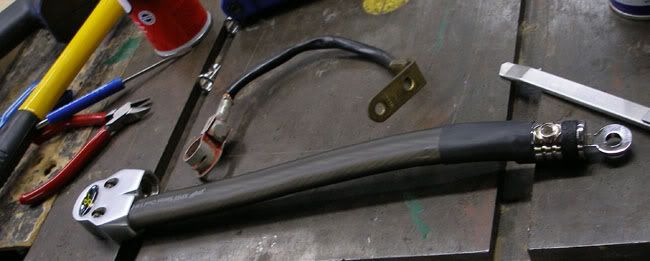
In this following picture, you can see a tiny little 10 gauge (or smaller) wire going from the chassis to the engine block, so we added a 4 gauge wire from the battery ground to the motor.
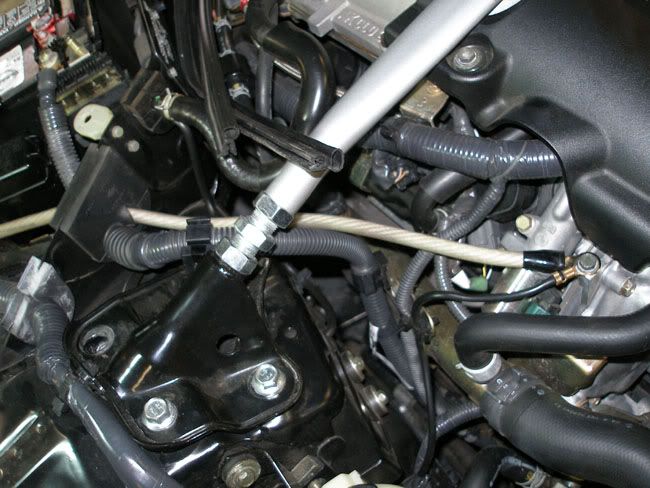
Upgrading all of these grounds will help make all of the electrical systems on the car function better, including alternator output and many times upgrading grounds on your car will increase horsepower by a small amount.
Next comes the switch panel, and finishing up the battery wiring.
In this following picture, you can see a tiny little 10 gauge (or smaller) wire going from the chassis to the engine block, so we added a 4 gauge wire from the battery ground to the motor.
Upgrading all of these grounds will help make all of the electrical systems on the car function better, including alternator output and many times upgrading grounds on your car will increase horsepower by a small amount.
Next comes the switch panel, and finishing up the battery wiring.
07-02-2009, 08:08 PM
#6
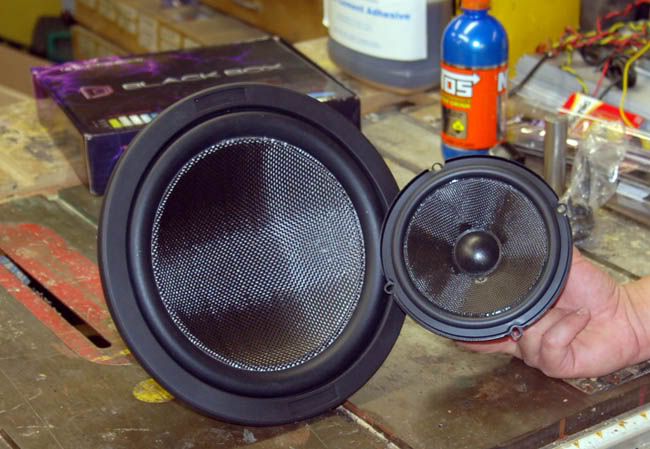
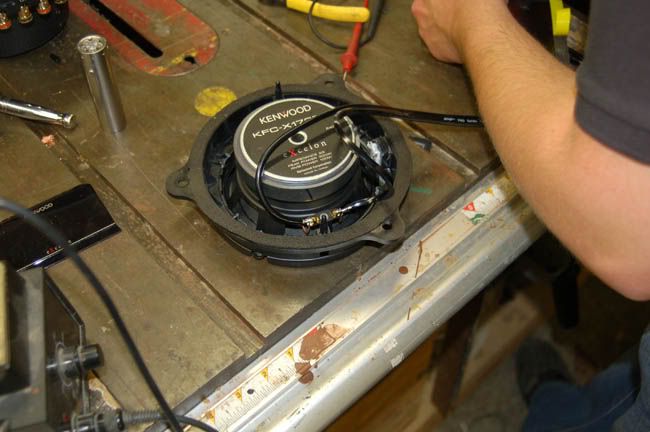
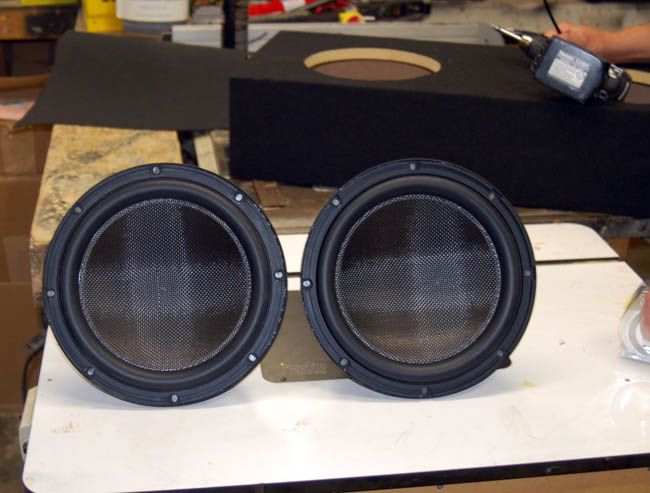
Here is a pic of the components we used for the front speakers:

6.5" component woofer next to the 10" subwoofer. Both use dry carbon fiber cones.
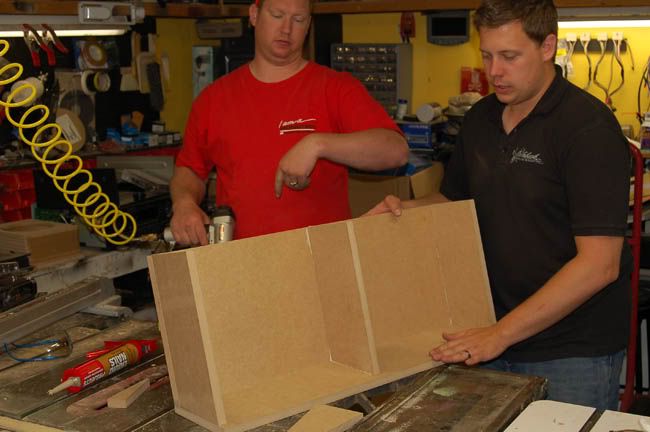
Base for the amp rack:

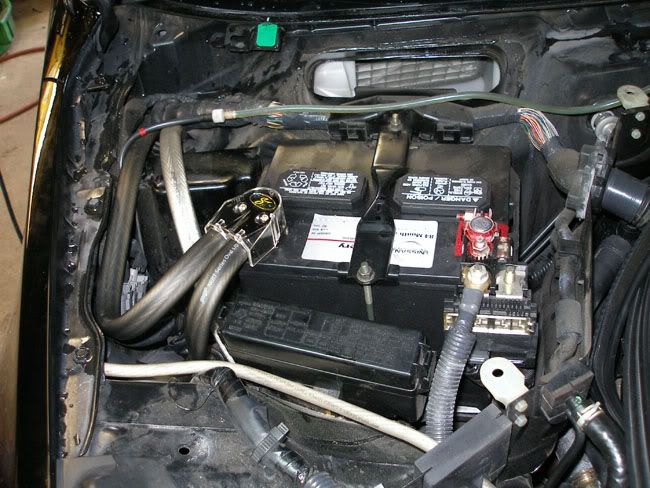
Secondary battery and wiring is finished. Just got to make it look pretty:
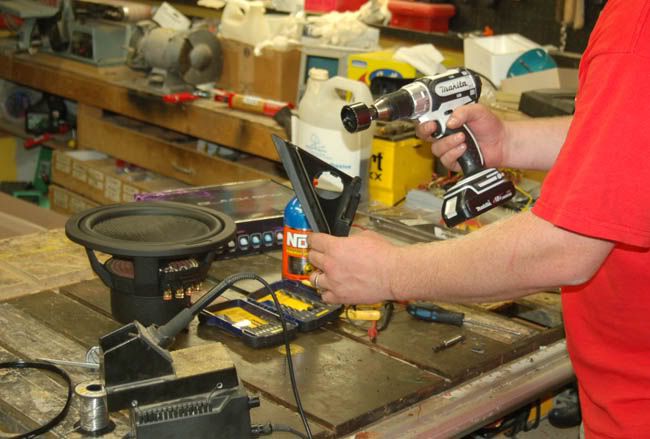
Getting the right angle for the amplifiers:
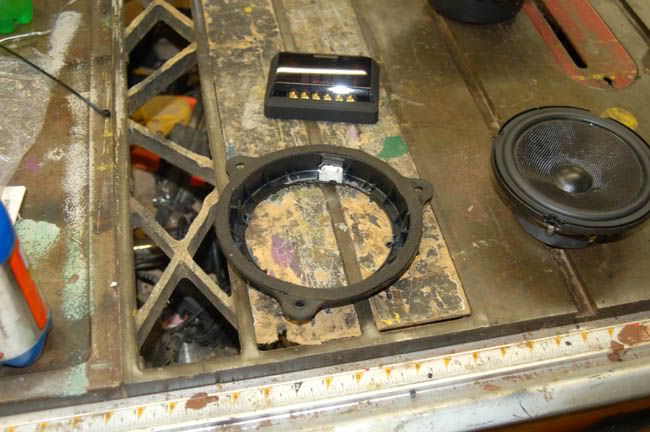
Had to cut the old factory speakers out of the mounting brackets:
Amp rack done and everything wired:

6.5" component woofer next to the 10" subwoofer. Both use dry carbon fiber cones.
Base for the amp rack:
Secondary battery and wiring is finished. Just got to make it look pretty:
Getting the right angle for the amplifiers:
Had to cut the old factory speakers out of the mounting brackets:
Amp rack done and everything wired:
07-02-2009, 08:10 PM
#7
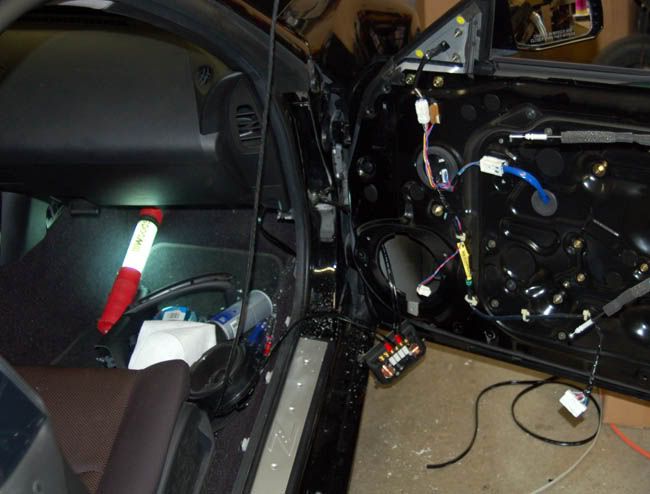
Had to drill through the Molex connectors in the doors then ran 12 gauge speaker wire from the amps into the doors for the new wiring of the components:
Removed the old factory tweeter, then modified the original tweeter location to accept the new one:
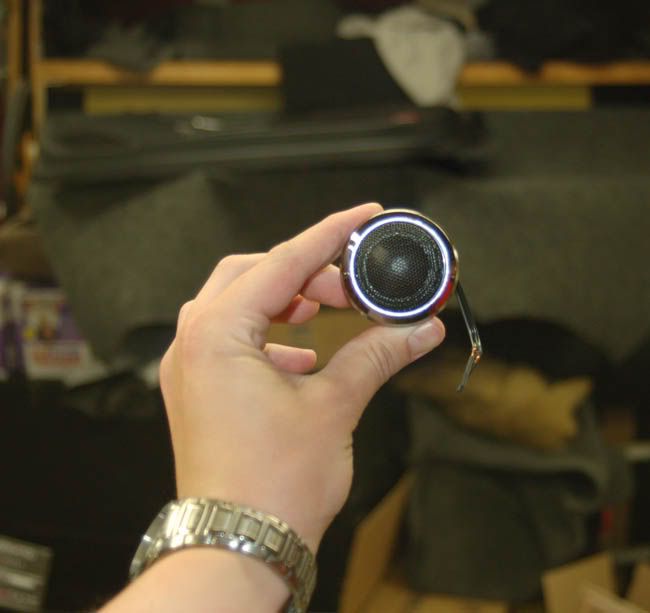
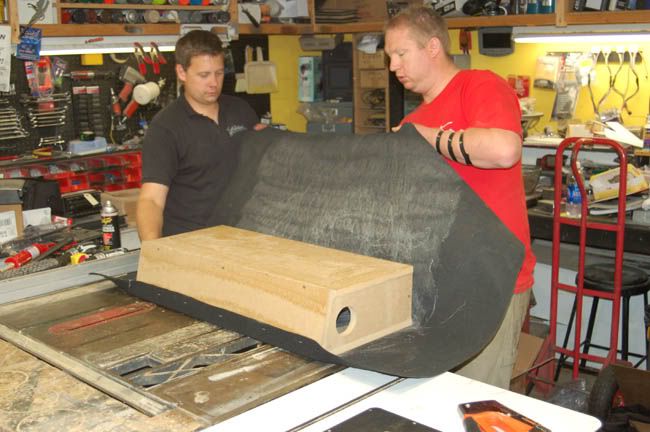
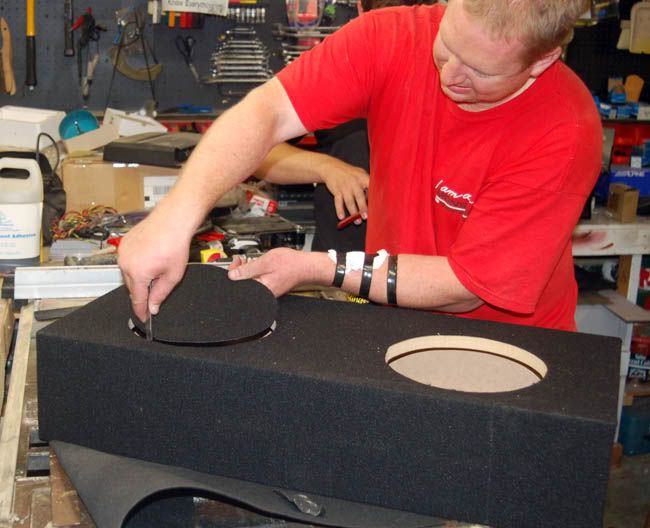
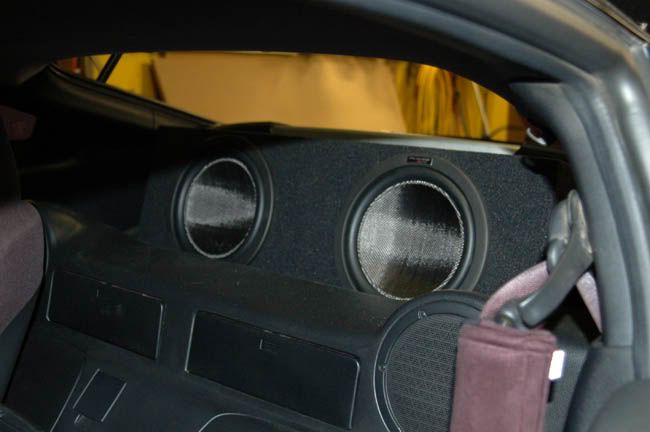
Then at around 2am we started on the sub box:

Removed the old factory tweeter, then modified the original tweeter location to accept the new one:
Then at around 2am we started on the sub box:
Trending Topics


 07-02-2009, 08:26 PM
#9
System Components:
KENWOOD EXCELON:
DNX9140 DVD/Nav/Bluetooth
KFC-172 6.5" Coaxials
KFC-1720P 6.5" Components
KFC-XW1022D x 2 10" Subwoofers
XR1S - Digital Mono 700w Amplifier
XR4S - Digital 4 Channel 120wx4 Amplifier
Stinger SPV44 Dry Cell Battery
KENWOOD EXCELON:
DNX9140 DVD/Nav/Bluetooth
KFC-172 6.5" Coaxials
KFC-1720P 6.5" Components
KFC-XW1022D x 2 10" Subwoofers
XR1S - Digital Mono 700w Amplifier
XR4S - Digital 4 Channel 120wx4 Amplifier
Stinger SPV44 Dry Cell Battery
11-03-2009, 11:24 AM
#11
Registered User
iTrader: (7)

Join Date: Aug 2006
Location: NJ
Posts: 2,136
Likes: 0
Received 0 Likes
on
0 Posts
Since you have a deep cycle dedicated and isolated for the audio system, it could be recommended that you use a starting battery for your main.
The battery that I prefer is the Exide Orbital.
http://links.exide.com/products/auto...t_orbital.html
The battery that I prefer is the Exide Orbital.
http://links.exide.com/products/auto...t_orbital.html


Thread
Thread Starter
Forum
Replies
Last Post
m_0g
Audio, Video & Electronics (DIY)
12
06-03-2021 10:05 AM
Workshop12
Exterior & Interior
256
03-23-2020 01:45 PM
bcoffee20
Zs & Gs For Sale
5
11-19-2015 06:39 PM