When you click on links to various merchants on this site and make a purchase, this can result in this site earning a commission. Affiliate programs and affiliations include, but are not limited to, the eBay Partner Network.
Sound System upgrade - 05 Enthusiast Coupe - starting from Base Nissan audio
I'll keep an update of the sound system upgrade on my Z in this thread. It is a 2005 Enthusiast Coupe with a manual transmission and the base audio system. My planned upgrades include the headunit, front and rear speakers and addition of an amplifier(s) and subwoofer. I have a JL audio stealthbox for the subs, and plan to install 2 10" Infinity Kappa's. I had previously changed the radio over for a basic Pioneer bluetooth DDIN one I had on-hand - though this will be further upgraded at a later date.
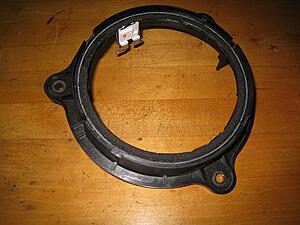
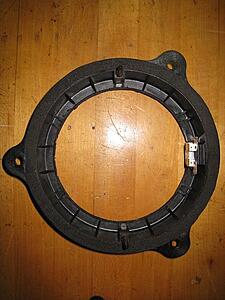
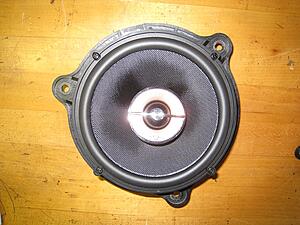
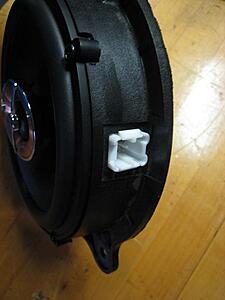
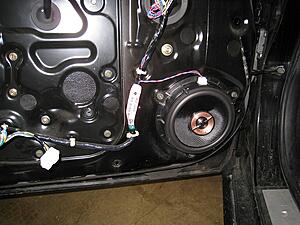
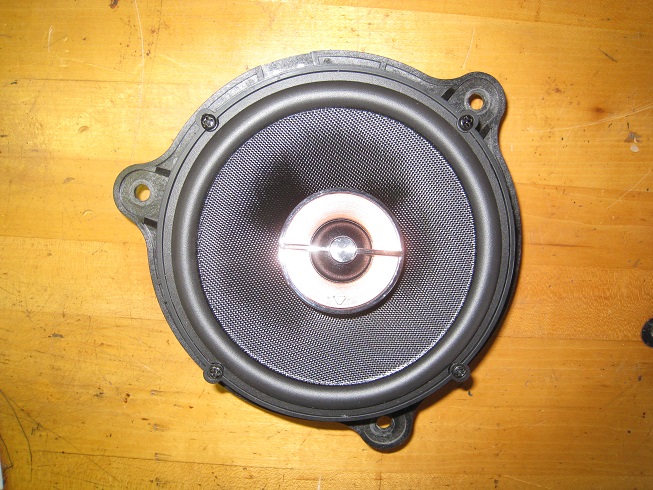
Today I installed the new front speakers. I used Infinity Kappa 62ix speakers, and mounted them in modified base speaker cradles. By that, I mean I cut out the base speaker cones and shaped the mount to accept the 62ix speaker. I also re-used the base speaker's connector, so that the OEM connection could be retained. I had first tried fitting some Infinity Perfect 600 components, but the woofer sits too deep into the door and I didn't want to modify the door panel to make them fit. I may still use them for the rear speakers, or I may save them for another project.
Some pictures:
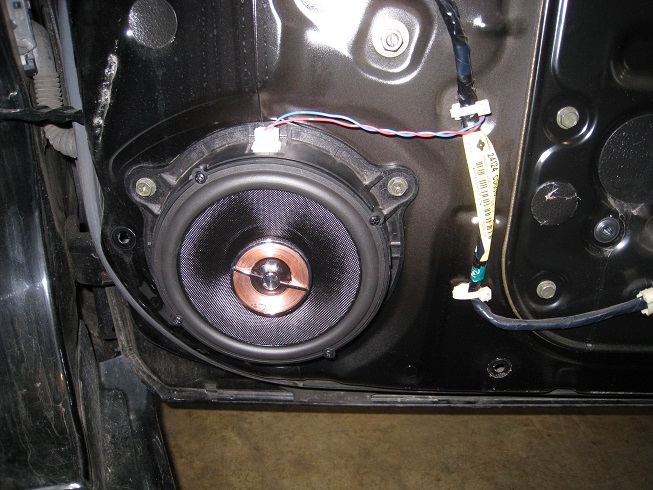
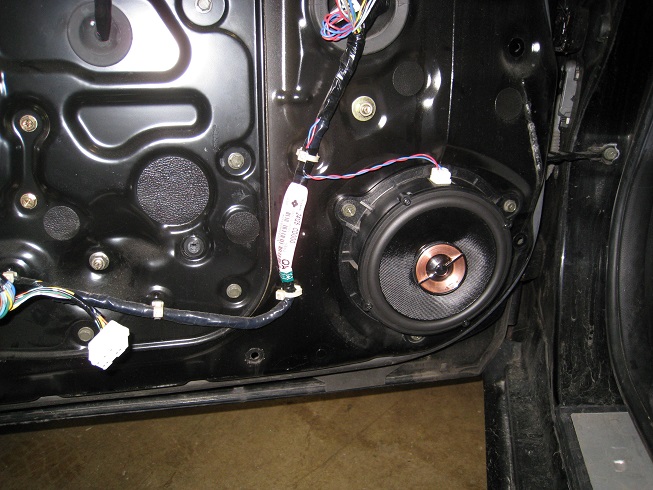
The speakers fit behind the door panel and stock speaker grilles without any clearance issues. They also don't interfere the window glass travel.
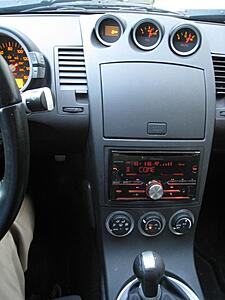
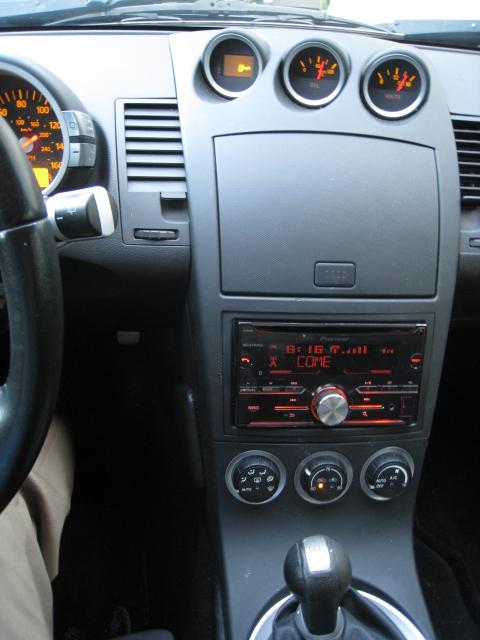
This is the radio that I am using, for now (previously installed):
OK, it's been a minute since worked on the sound system in my Z, but I am deep into it now. I have the interior out and am cleaning up after the mice, adding noise suppressing sound mat, and installing the amplifier and subs.
One of the challenges I had was deciding where to place the amplifier. I did finally settle on mounting it at the top of the glovebox I added behind the driver's seat. I cut out the top of the glovebox to have clearance for the amplifier, and to be able to access the settings and connections when needed. With the amp mounted to the underside of the rear speaker "tower", it is up and out of the way, so that there is still room for items in the glovebox, when needed. Here is a view looking up at the amplifier connections. It's not visible in the picture, but the amplifier gain and crossover settings are accessible this way, too.
I took a long time to finally decide on that location. At first, I wanted to put it under that glovebox, but then I found the fuel pump and fuel level sender access panels would be blocked (and it was a little too tight of a fit), so that was out. I thought about putting it under the passenger seat, but I really didn't want it exposed in case of water/spills/getting knocked around by stuff shoved behind the seat at some point. So, then this locaton came to mind and I'm pretty happy with it. I used rivet-nuts to screw it in to the that bulkhead, but if I did it over I would just use regular nuts (I went wih M5 bolts, too). I have the rivet-nuts mounted so that the threaded portion is underneath the bulkhead (on the amplifier side), and this allows some spacing to the bulkhead/shelf - which is needed, because it's not 100% flat in that area. So, if just using the bolts/nuts, then I would put a 1/4" or 3/8" spacer on each bolt for between the amplifier and the bulkhead.
Now I'm working on routing the power/ground to the amp.
Finished prepping the wiring between the amplifier and the headunit today. I have 3 pairs of RCAs sleeved with the front speaker wires, and I'll be routing that along the driver's/left side of the sill from the amp location above the left large glovebox (or where the factory sub) sits and up to the headunit.
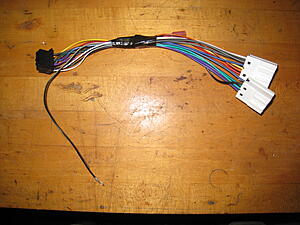
There is also a seperate subwoofer gain control included with the amplifier that is being routed up there, too (I'll probably mount that to the "ceiling" of the storage cubby), but I had to clip it and add an RJ12 connector to the clipped ends - the female-female interconnect arrives tomorrow (edit: it arrived...pic is below). I added that interconnect in order to be able to easily remove the radio/dash trim in the future for other repairs, otherwise I would have to leave the radio/dash/gauge trim dangle on that subwoofer gain control cable.
I also added a grommet and found a central location for where the wires will connect to the subwoofer speaker's connector. It routes through that plate and directly to that space behind the driver/left seat where the amplifier is mounted at the top of that cavity.
I finished lining the left/driver rear speaker cavity with sound mat today, and with the speakers connected and reinstalled, I also put the interior trim back over them. And then I re-discovered what the hole I enlarged for the grommet to pass through the wires for the subwoofer was really for...it's the center trim clip for the rear trim cover of that bulkhead (oops!). But, actually, by passing the subwoofer wires through the hole in that rear trim piece, everything lines up nicely
Finished the cleaning in the trunk, so I fixed a couple of broken interior panel clip towers and then reinstalled all the trunk trim and carpet. Then I connected and installed the subwoofer.
I've decided on the path for the amp to headunit wiring (going down the center tunnel), so I'll route that tomorrow. I also have to tap the reverse lights wire on the body harness to feed to the headunit and power the rear camera (I brought the camera power wire up to the front so that it will all be off of one connection point. I'm also installing a manual-override switch to activate the rear-facing camera whenver I like, and I've wired diodes into the manual power feed and reverse light trigger feed so that they don't interfere with one another.
After searching numerous threads, etc. and not finding good images, here are some pictures of where and how I tapped the reverse/back-up signal line for the back-up camera to the headunit. This is the wire I am trying to tap for the backup/reverse light signal. It is on the M12/B1 connector junction. On the M12 side, the wire is orange. On the B1 side, the wire is Light Green.
Here is the M12/B1 connector junction and its location under the driver/left side of the dash.
Looking at the back of the M12 connector, the Orange wire for the reverse / backup signal can be seen at position 64J (pointed out with the orange arrow).
I decided to tap the reverse signal from the orange wire at the back of the M12 connector, as it was already exposed there and I didn't need to open up the sheathing of the body harness (which would have been needed if trying to tap the Light Green wire on the body harness side). After soldering the connection, it was wrapped with 3M/Scotch Super 33+ electrical tape - it holds better across temperature.
I finished installing what I had of the noise mat last night. The main areas I covered were the roof, the back of the trunk, and inside the bulkhead with the large storage cubbies - then I ran out
We'll see what difference this makes, and I can always go back and add more under the seats and inside the doors, too. This box was 36sq.ft. of material, and it covered quite a bit.
I finished up the stereo installation today and it is all working. I just have some fine-tuning of the crossover and gain levels to make over the coming days, but it feels good to have it done!
The backup camera is working, too, as well as the manual turn-on function I wired for it.
 04-12-2021, 10:19 AM