DIY Remove Sub Bracket Behind Driver's Seat
 08-01-2008, 05:34 PM
#1
Registered User
Thread Starter
iTrader: (4)

Join Date: Feb 2007
Location: Hawaii
Posts: 485
Likes: 0
Received 0 Likes
on
0 Posts
hey guys,
I figured I'd share this with you all. Most of you who did audio already has done this. This is meant for those who think that it'll be a pain to take out the sub bracket. I spent 1 hour trying to find a write-up for this with no results. It's actually easy. Took me 30 min. Forgive the dirtiness of my car.
**This is a DIY. I'm not responsible if you break something **
**
The most important part of this is to take your time. If the plastics don't come out right away, don't try to gorilla it out. Do small tugs and eventually one tug should pop out the plastics.
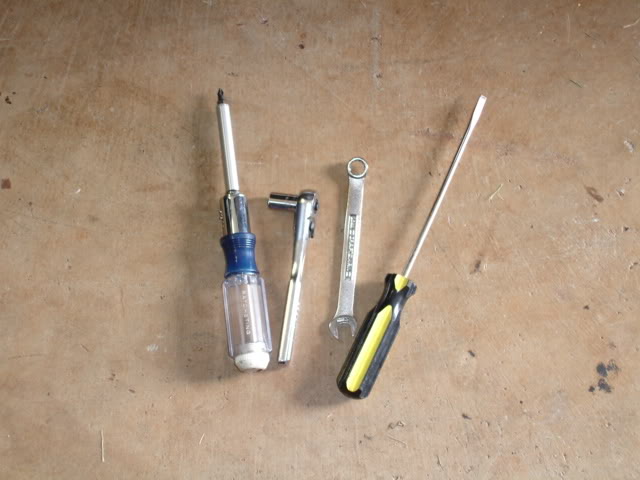
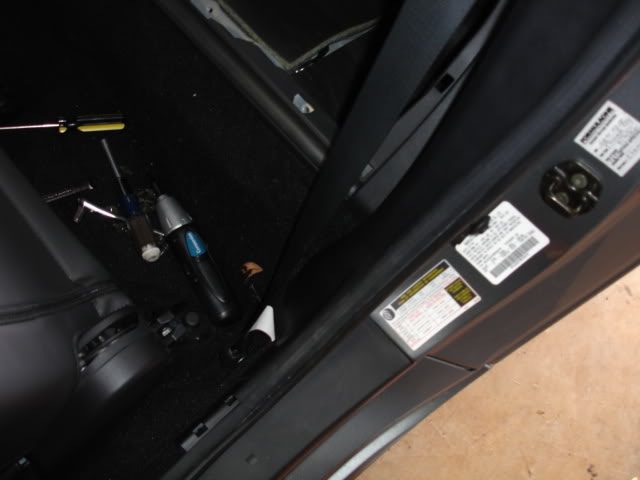
1. Tools Needed: Flat Head Screwdriver, philips head screw driver, 1/4 ratchet + 10 mm socket, 10 mm open end wrench
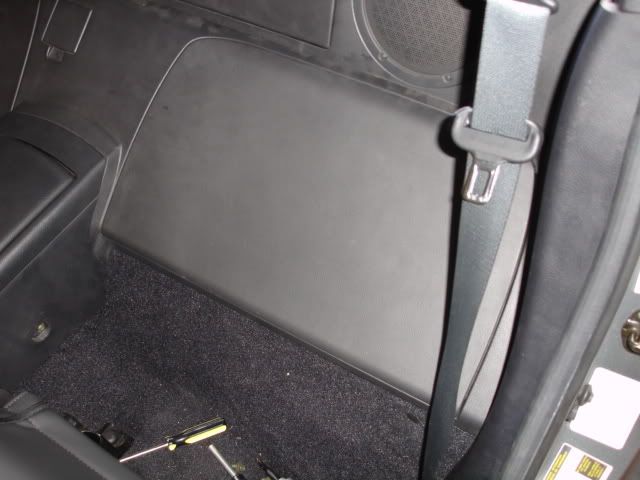
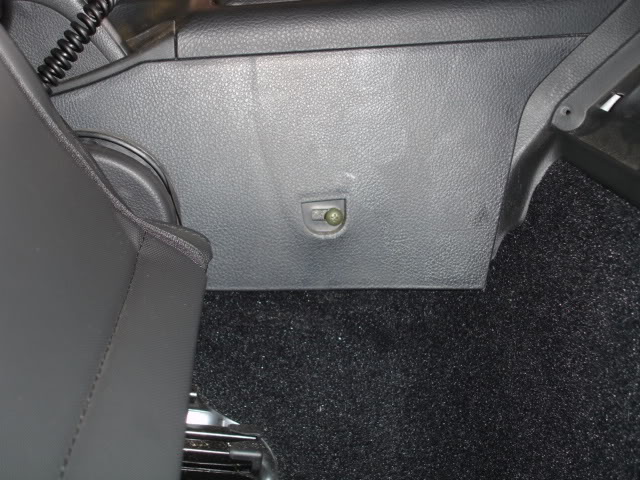
2. Pop off door hiding the bracket with the flat head to expose the sub bracket. I stuck it on the bottom left and the whole thing popped out. Careful not to mar the plastic.
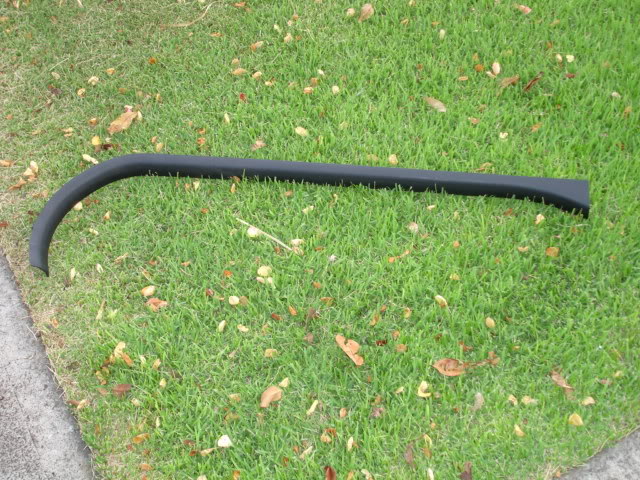
3. Pop off door sill (slim piece reaching to the front)
4. Pop off the side panel. I popped half of the front and half of the back. The center was the last to come off.
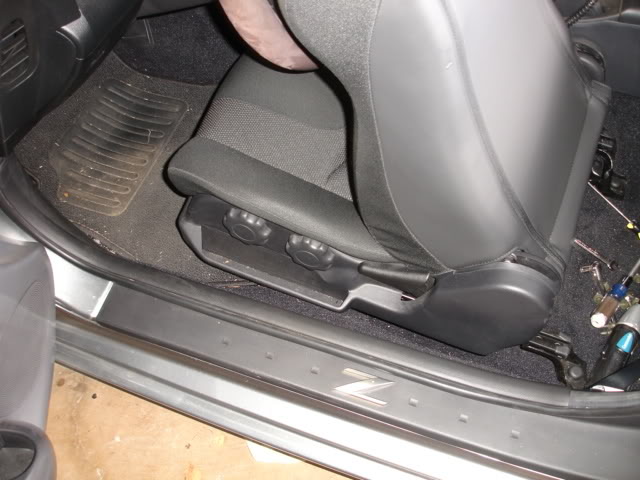
5. Use the philips screw driver to remove the 2 screws holding the rear portion of the center console (one on each side)
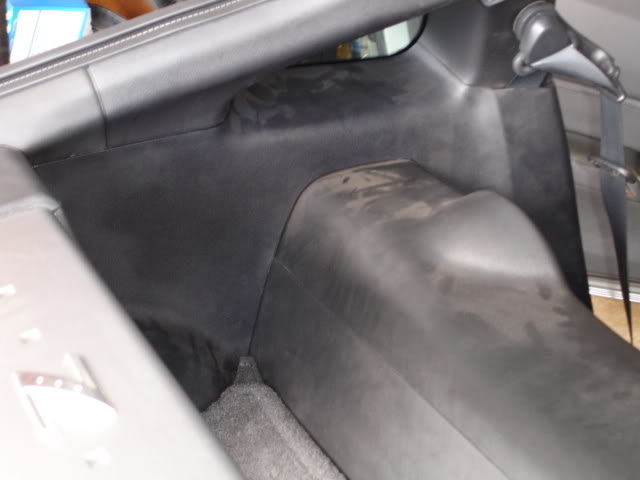
6. Pop off the portion surrounding the sub bracket. Give small tugs pulling towards the front of the vehicle (this one takes a little force). Once you get one tab to come out, work from there.
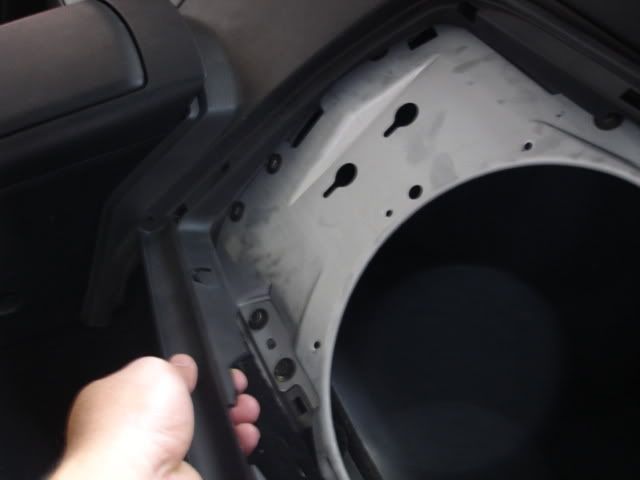
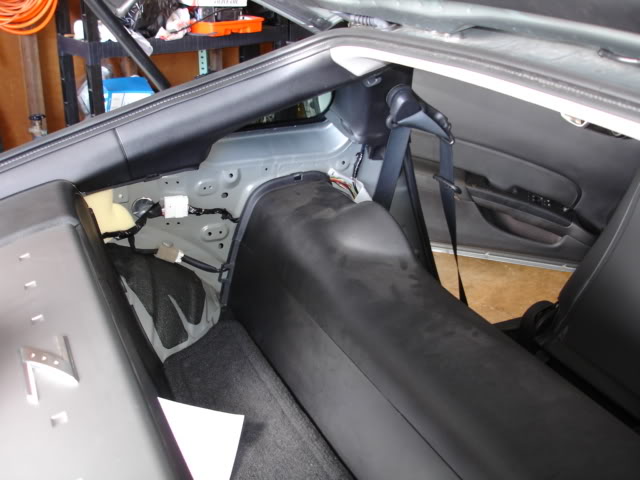
7. Now you should be able to maneuver everything to expose the bolts. Now remove all 14 bolts using the ratchet/10 mm socket and open end 10 mm.
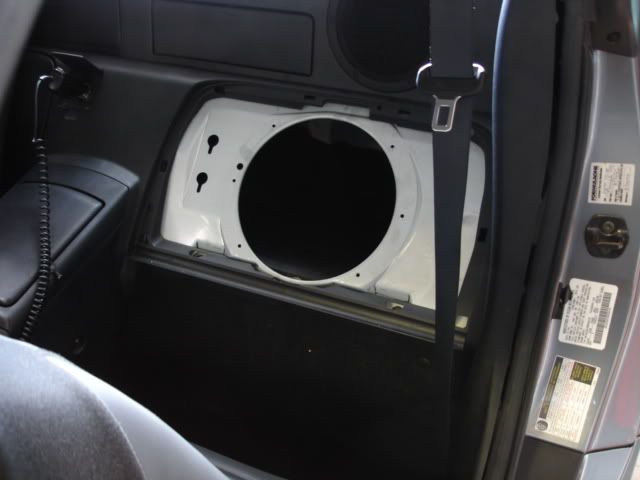
8. Remove metal sub bracket. Careful not to mar any plastics when it comes out.
9. Reinstall everything in reverse order.
I figured I'd share this with you all. Most of you who did audio already has done this. This is meant for those who think that it'll be a pain to take out the sub bracket. I spent 1 hour trying to find a write-up for this with no results. It's actually easy. Took me 30 min. Forgive the dirtiness of my car.
**This is a DIY. I'm not responsible if you break something
**The most important part of this is to take your time. If the plastics don't come out right away, don't try to gorilla it out. Do small tugs and eventually one tug should pop out the plastics.
1. Tools Needed: Flat Head Screwdriver, philips head screw driver, 1/4 ratchet + 10 mm socket, 10 mm open end wrench
2. Pop off door hiding the bracket with the flat head to expose the sub bracket. I stuck it on the bottom left and the whole thing popped out. Careful not to mar the plastic.
3. Pop off door sill (slim piece reaching to the front)
4. Pop off the side panel. I popped half of the front and half of the back. The center was the last to come off.
5. Use the philips screw driver to remove the 2 screws holding the rear portion of the center console (one on each side)
6. Pop off the portion surrounding the sub bracket. Give small tugs pulling towards the front of the vehicle (this one takes a little force). Once you get one tab to come out, work from there.
7. Now you should be able to maneuver everything to expose the bolts. Now remove all 14 bolts using the ratchet/10 mm socket and open end 10 mm.
8. Remove metal sub bracket. Careful not to mar any plastics when it comes out.
9. Reinstall everything in reverse order.


 10-01-2008, 06:50 AM
#5

i pulled this out when i first got the Z but did it without taking all the plastic off / just released the plastic piece holders nearest the bolts.
& then i:
1- bought a small black plastic **** from lowes and a thin metal dowel and hinged the bottom of the door (cost ~2 bucks)
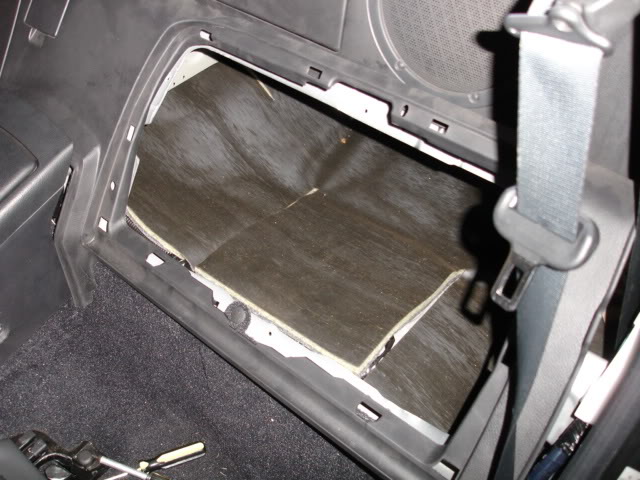
2- bought some carpet remnant and stuck it in there - i'd bought some adhesive spray but the force fit of the carpet keeps it all in place without any problem ( don't drill back in there as i believe the gas tank is right there!)
i store my helmet and track / autocross supplies in there - that space is pretty big the glove box on the p. side only uses about 1/2 of the available space - possible to pull that out / line the whole thing with carpet and have quite a decent luggage space
-on a cross country trip i had a queensized bed in there [really!, (well, one of those self inflating ones )] and our backpack of bathroom/shower stuff
[ & you kalifornians could get 20Ks in there back up from t.j.!]
& then i:
1- bought a small black plastic **** from lowes and a thin metal dowel and hinged the bottom of the door (cost ~2 bucks)
2- bought some carpet remnant and stuck it in there - i'd bought some adhesive spray but the force fit of the carpet keeps it all in place without any problem ( don't drill back in there as i believe the gas tank is right there!)
i store my helmet and track / autocross supplies in there - that space is pretty big the glove box on the p. side only uses about 1/2 of the available space - possible to pull that out / line the whole thing with carpet and have quite a decent luggage space
-on a cross country trip i had a queensized bed in there [really!, (well, one of those self inflating ones
)] and our backpack of bathroom/shower stuff[ & you kalifornians could get 20Ks in there back up from t.j.!]
10-04-2008, 07:25 PM
#6
Registered User

Join Date: Oct 2008
Location: Bessemer City, NC
Posts: 1
Likes: 0
Received 0 Likes
on
0 Posts
 Nice job. That is going to make life much easier for me!!! Im going to take out the glove box and factory sub to mold a fiberglass enclosure for 2 12"subs behind the seat. Future project.
RDY2RACE
Trending Topics


 03-04-2009, 02:07 PM
#18
Registered User
iTrader: (3)

Join Date: Feb 2009
Location: P'cola, FL
Posts: 127
Likes: 0
Received 0 Likes
on
0 Posts
I went to do this today and as soon as I popped off the cover I noticed a little difference, so I took everything apart and got a nice little surprise
03-04-2009, 07:06 PM
#20
Registered User
iTrader: (3)
Join Date: Feb 2009
Location: P'cola, FL
Posts: 127
Likes: 0
Received 0 Likes
on
0 Posts
Ya, I just bought the car last week. I knew it had a system in it before because the power cable is still attached to the battery minus the fuse, but I didn't know there was an amp hidden away.

