When you click on links to various merchants on this site and make a purchase, this can result in this site earning a commission. Affiliate programs and affiliations include, but are not limited to, the eBay Partner Network.
*** EDIT *** 06.21.16 Since my picture links died and Jason's picture links died, I have gone ahead and re-uploaded them again. Hopefully these don't die!
I have also added links if you want to download the DIY as both a Word doc and a PDF.
Figured I would go ahead and add this one to the site since there seemed to be quite a few requests for it. Initially I thought I would follow the directions in the service manual, but pretty much gave up after 30 seconds of reading it. Hopefully these directions are a little better.
Taking off the rear bumper didn't seem to be as hard as most people had mentioned and it shouldn't take you more than 2-3 hours in a worst case scenario, including beer runs!
BTW, just so you're not saying "WTF is going on? My bumper doesn't look like that!", I have the Vizage rear skirt mounted on top of my stock bumper. Underneath it's all the same as the stock bumper.
Overview Pictures
Below are a couple of pictures showing the rear of my car as well as a picture of the interior of the bumper once it had been removed. Just so you know what part of the car I am talking about, I decided to go ahead and put picture numbers in reference to that particular area of the bumper. Hopefully they make sense. BTW, I actually forgot to take a picture of the rear of my car before starting so I had to go dig an old one up that I could use as a reference.
Step 1: Taking Off The Tail lights/Tailights
After opening the hatch you will see three round "caps" running along the top of the tailights. Using a slot screwdriver, pop the caps off and you will see three 10mm bolts. Using a socket, remove them.
Step 1a: Unplug The Bulbs
After removing the three bolts, the tail light should lift out pretty easily. Just so the tailights don't get in the way, remove the bulbs from the assembly by slightly pushing the connector base and and turning it (counterclockwise, I think...).
REVISION (10/23/06):I have revised this picture to show one of the two fasteners that connect the tailight to the car. After you remove the three 10mm bolts, you want to pull the tail light assembly out almost sideways (look at the picture and note the angle). The other fastener is near the front (smaller part) of the tail light and may break when pulling the light out. Upon re installation I didn't replace the front clip since I broke one and the fit was fine as it is held in with the lower bigger fastener and the three aforementioned 10mm bolts.
Step 2: Remove The 10mm Bolt Behind The Tail light
The title pretty much says it all...
Step 3: Remove the Plastic Connector
This was kind of a b!tch for me, mainly because I didn't know what I was dealing with and I couldn't find one stupid 8mm wrench (plenty of 6mm, 7mm, 9mm and 10mm wrenches! ). It's under the top lip of the bumper so it's kind of hard to get a good grip on it (or take a picture of). Since I didn't have the proper wrench (and no other tool seemed to fit in there) I ended up using some long nose pliers and was finally able to turn it the required 90 degrees and you should feel it release. Hopefully the "closeup" picture of it will make it easier for you to deal with.
** EDIT - Also see my post # 45 for more pics of how to do STEP 3 - JasonZ-YA
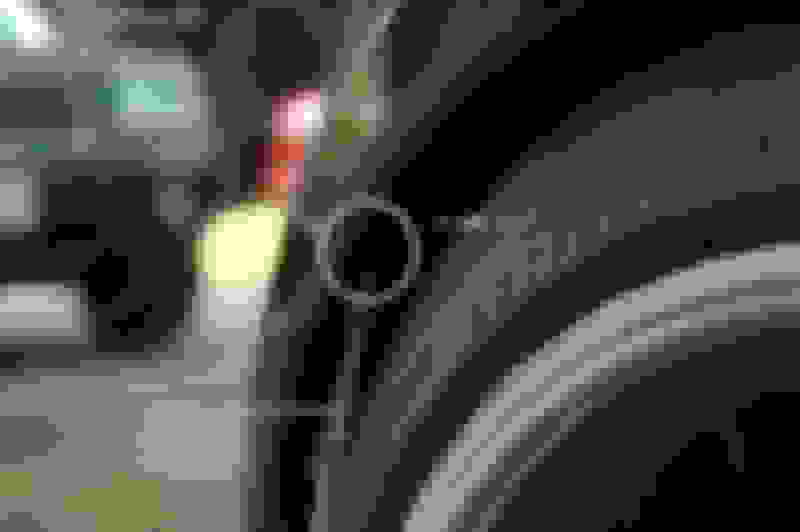
Step 4: Remove The 10mm Bolt In The Wheelwell
Pretty easy to do but the picture isn't much help except to give you a general idea of it's location. I will place the blame for the out of focus picture on beer, although the lens is supposed to be AF...
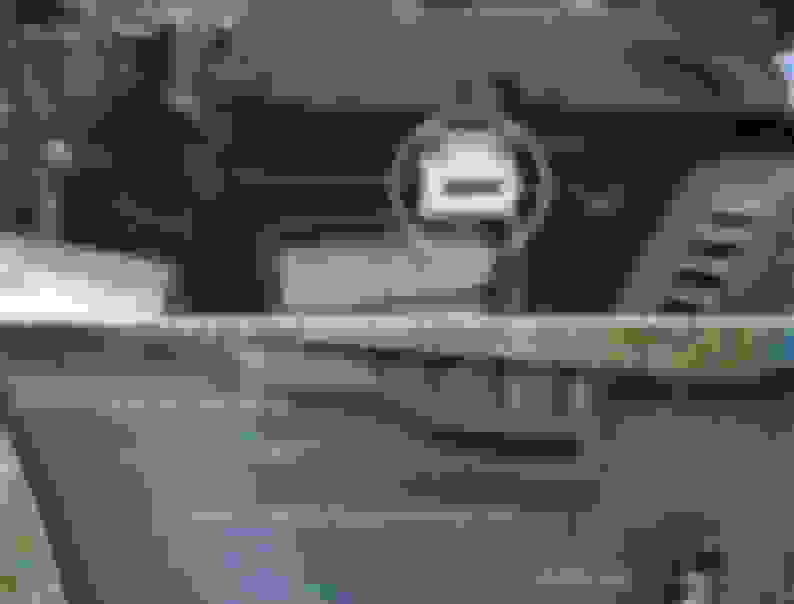
Step 5: Remove The 10mm Bolt Under The Car
Again, pretty easy to do and I even got a decent picture. Sweet!
Step 6: Remove The Two "Pop Rivets" By The Exhaust
You may need to slide under the car to see what's going on here. In addition I changed my exhaust out but I remember that the stock exhaust was quite a bit bigger. Hopefully everything is pretty much the same. In any event, there are two flexible plastic straps on the bumper that connect to the mounting plates in the picture with the "bigger" pop rivets. Use a screwdriver to "pop" out the center of the rivet and then you should be able to remove the pop rivet. Don't contemplate suicide if you destroy them - you can pick them up for ~$1.00 a piece if you're on good terms with the Nissan parts person.
Great news: these are the last two bolts/fasteners/rivets holding the bumper onto the car! Grab a beer to celebrate!
Step 7: Disconnecting The Top Clips
The bumper should be somewhat loose on the back of the car now and you should be able to pull the top of the bumper away from the car with your fingers. Like any parts that are attached to the car with "clips" (ie side skirts, door panels, etc) you should always exercise caution when pulling the part away from the car. There are FIVE big white clips holding the top of the bumper to the car and working from one side to another, you should feel them "pop" out. Try to just remove the top of the bumper a few inches at this point. You'll remove the entire bumper in the next step.
Step 8: Sliding The Bumper Off The Car.
The bumper sides actually have a set of rails that they slide on and off of the car on. Look at the picture below and it should illustrate how the bumper sides are attached to the sides of the car. You must pull the bumper STRAIGHT BACK and eventually the White Guide attached to the car will travel far enough down the "Rails" (attached to the bumper) to let it go. Slide the bumper away from the car, but don't take it off all the way yet as you must unhook the tailights and the license plate assembly.
Step 8a: Clearing The Fender Liner
I thought I would add this precautionary note to just in case someone runs across this. You must pull the fender liner out from the rear bumper BEFORE you can slide the bumper back very far. In addition, you may have to pull down the top corner of the bumper where you removed the 10mm bolt (remember that crappy out of focus picture I posted...) when sliding the bumper back as that hole may get "caught" on the white rim of the white plastic fastener on the car that the 10mm bolts to.
Step 9: Disconnecting the Tailights
Chances are, the reason you are removing your rear bumper is because you are putting a new one on or you are going to do some mod to the tailights. If that is the case then you might as well remove the tailights from the car now. Even if you are not, sometimes the little electrical connectors are a pain to work with. Just for that reason, I decided to remove the tailights from the bumper as it was only two screws (phillips head) per tailights. Check out the picture! Now that is some quality photography there - beer (and auto-focus) must have kicked in!
Step 10: Disconnecting the License Plate Assembly
I believe that this is the License Plate assembly harness, but even if it's not, it's still a quick "how to" on removing the electrical connections. Just keep in mind that when you remove the License Plate Assembly, you are disconnecting the hatch release as well. Not that anyone I know did this, but if you happen to place it inside your hatch for safekeeping, along with your keys/remote, and shut the hatch, it could be a slight problem. Not a big deal if you have an extra remote and can pop it that way, but just a little fyi to keep in mind.
OK, so that should do it. I haven't reinstalled my bumper yet, but I'm sure that it's just as easy as reversing the above steps. That said, we all know that that never ever really happens!
BTW, if I missed a step or you have some useful advice that will help others, please feel free to post it. Thanks and good luck!
FACTORY SERVICE MANUAL IMAGES ADDED:
Great post! I saved this offline just in case the pics disappear Going to use this in the winter to smoke out the taillights and back singal light housing.
Great write up.
I took mine off in 30min and that's because that clip that requires an 8mm wrench is a real Bi$$& to get off even with my 8mm wrench.
or I bet I could have had it done in 15-20min easy.
Thanks for all of the thanks from everyone! Glad I could help.
Originally Posted by y0shi
awsome write up... those white clips in picture 7 are 7 bucks a piece.. don't loose'em!
Speaking of white clips, I've been meaning to find out how much those clips in picture #3 are. It may be easier just cutting them out (or breaking them) and replacing them on the re-install.
 08-12-2006, 10:12 PM

") Hopefully these directions are a little better.
Hopefully these directions are a little better. 


 ). It's under the top lip of the bumper so it's kind of hard to get a good grip on it (or take a picture of). Since I didn't have the proper wrench (and no other tool seemed to fit in there) I ended up using some long nose pliers and was finally able to turn it the required 90 degrees and you should feel it release. Hopefully the "closeup" picture of it will make it easier for you to deal with.
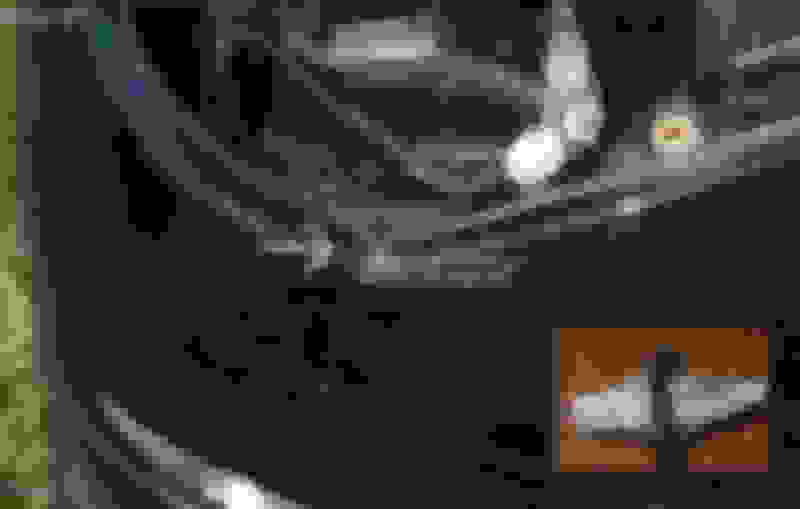


 Going to use this in the winter to smoke out the taillights and back singal light housing.


