DIY- Titek Air Duct
 03-29-2008, 07:18 PM
#41
Registered User
iTrader: (8)

Join Date: Nov 2004
Location: VA
Posts: 104
Likes: 0
Received 0 Likes
on
0 Posts
When I did the CF exhaust shield on my EVO, I used flat black rivets.
Like these...but mine came w/the kit...
http://topkayaker.net/TopKayakerShop...roducts_id=136
Of course, we could use black screws as well...
Like these...but mine came w/the kit...
http://topkayaker.net/TopKayakerShop...roducts_id=136
Of course, we could use black screws as well...

 04-09-2008, 04:03 PM
#45
Registered User
iTrader: (11)

Join Date: Aug 2005
Location: monticello, illinois
Posts: 1,596
Likes: 0
Received 0 Likes
on
0 Posts
I just ordered 20 black rivets w/ rubber sealer that are used for kayaks (meant to be out doors). I will sell the remaining 16 for $4 shipped for 4 rivets if anyone interested, pm me.
Last edited by 03aeroZ; 04-23-2008 at 07:14 PM.
04-09-2008, 05:18 PM
#46
Registered User
iTrader: (8)
Join Date: Nov 2004
Location: VA
Posts: 104
Likes: 0
Received 0 Likes
on
0 Posts
Originally Posted by ryanschram
does anybody know where i can get a duct for the other side of the car too? I have the vq35HR.
https://my350z.com/forum/showpost.ph...&postcount=101
https://my350z.com/forum/showpost.ph...&postcount=102
Made by TiTek.
04-23-2008, 07:31 PM
#47
Registered User
iTrader: (11)
Join Date: Aug 2005
Location: monticello, illinois
Posts: 1,596
Likes: 0
Received 0 Likes
on
0 Posts
Just put mine on, will post pics later if able (was going to tonight, but car was covered with bugs). Here are some things I learned doing it myself:
1) ReV74's template looks WAY off of what I got. Mine fit exactly on the bumper (top side flush with top of bumper, side section flowed along head light, etc). *i am not saying ReV did it wrong, just that his template looked alot different than mine*
2) Take your time cutting along the outline on the template and take your time tracing the hole with a grease pen or sharpie.
3) A dremel is a wonderful thing to use on this project, but you will also need a sharp razor or knife to trim (which you should have to do since it is better to take not enough than take too much).
4) Invest in better rivets like the ones mentioned in post #41 from muskach. These won't rust, are beefy as hell, and do a great job of pulling the bumper closer to the duct making a nice seal. well worth the extra $20, or do what I did, buy them and sell the extra to great people on here.
5) since you have to drill out the holes for the rivets, common sense would say to mark the holes, then drill. do not drill using the duct as a guide.
6) If you notice the duct isn't fitting right, there is a foam piece you can see in the 7th and 8th picture that can be easily trimmed and made mine fit even better.
all in all, Rev74's write up was great to get you started, and after you make that first gut wrenching cut into your bumper slowly, it is a piece of cake.
06-05-2008, 09:39 PM
#48
Registered User
iTrader: (30)

Join Date: Feb 2007
Location: SOCAL
Posts: 1,286
Likes: 0
Received 0 Likes
on
0 Posts
Originally Posted by 03aeroZ
Just put mine on, will post pics later if able (was going to tonight, but car was covered with bugs). Here are some things I learned doing it myself:
1) ReV74's template looks WAY off of what I got. Mine fit exactly on the bumper (top side flush with top of bumper, side section flowed along head light, etc). *i am not saying ReV did it wrong, just that his template looked alot different than mine*
2) Take your time cutting along the outline on the template and take your time tracing the hole with a grease pen or sharpie.
3) A dremel is a wonderful thing to use on this project, but you will also need a sharp razor or knife to trim (which you should have to do since it is better to take not enough than take too much).
4) Invest in better rivets like the ones mentioned in post #41 from muskach. These won't rust, are beefy as hell, and do a great job of pulling the bumper closer to the duct making a nice seal. well worth the extra $20, or do what I did, buy them and sell the extra to great people on here.
5) since you have to drill out the holes for the rivets, common sense would say to mark the holes, then drill. do not drill using the duct as a guide.
6) If you notice the duct isn't fitting right, there is a foam piece you can see in the 7th and 8th picture that can be easily trimmed and made mine fit even better.
all in all, Rev74's write up was great to get you started, and after you make that first gut wrenching cut into your bumper slowly, it is a piece of cake.
1) ReV74's template looks WAY off of what I got. Mine fit exactly on the bumper (top side flush with top of bumper, side section flowed along head light, etc). *i am not saying ReV did it wrong, just that his template looked alot different than mine*
2) Take your time cutting along the outline on the template and take your time tracing the hole with a grease pen or sharpie.
3) A dremel is a wonderful thing to use on this project, but you will also need a sharp razor or knife to trim (which you should have to do since it is better to take not enough than take too much).
4) Invest in better rivets like the ones mentioned in post #41 from muskach. These won't rust, are beefy as hell, and do a great job of pulling the bumper closer to the duct making a nice seal. well worth the extra $20, or do what I did, buy them and sell the extra to great people on here.
5) since you have to drill out the holes for the rivets, common sense would say to mark the holes, then drill. do not drill using the duct as a guide.
6) If you notice the duct isn't fitting right, there is a foam piece you can see in the 7th and 8th picture that can be easily trimmed and made mine fit even better.
all in all, Rev74's write up was great to get you started, and after you make that first gut wrenching cut into your bumper slowly, it is a piece of cake.
P.S. Im doing mine right now... haha
06-05-2008, 11:51 PM
#49
Registered User
iTrader: (30)
Join Date: Feb 2007
Location: SOCAL
Posts: 1,286
Likes: 0
Received 0 Likes
on
0 Posts
EPDATE: OMFG this was a pain in the ***! Turns out my aftermarket bumper was about half inch thick (a little less)... turned out good though... ill post pics this weekend..
06-06-2008, 12:22 AM
#50
Registered User
iTrader: (11)
Join Date: Apr 2006
Location: My own world!
Posts: 7,723
Likes: 0
Received 0 Likes
on
0 Posts
Originally Posted by fairlady350z33
hope they come out with dual ones for the 07, very nice write up and pics.. thanks.


 07-25-2009, 07:43 PM
#53
Registered User

Join Date: Jan 2004
Location: Cape Coral, FL
Posts: 193
Likes: 0
Received 0 Likes
on
0 Posts
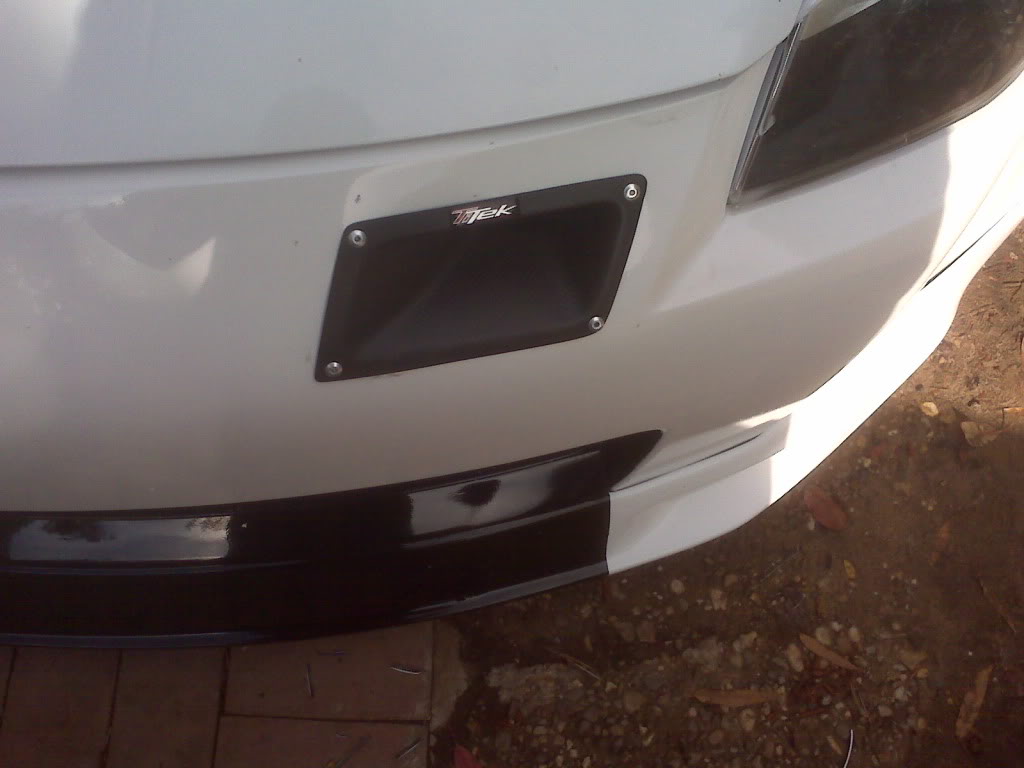
I've had this titek cutout on my car for about 2 years now. I recently got into an accident and I'm getting a nismo v2 front bumper installed, I was wondering if the template will work with that bumper as well? The top of both bumpers look very similar.
Just to let everyone know, when I installed it the first time, the template was actually too small, I cut it out perfectly and the titek duct would not fit in the hole, I had to cut out more on the right side to make it fit flat. Another thing I had a problem with is the vent fading in the sun. I kept it very clean and I waxed it several times yet it still faded in the bottom part where the sun always is on it. I'm thinking about having it painted black before I put it in, it looks pretty bad.
Just to let everyone know, when I installed it the first time, the template was actually too small, I cut it out perfectly and the titek duct would not fit in the hole, I had to cut out more on the right side to make it fit flat. Another thing I had a problem with is the vent fading in the sun. I kept it very clean and I waxed it several times yet it still faded in the bottom part where the sun always is on it. I'm thinking about having it painted black before I put it in, it looks pretty bad.
Last edited by DouBLeJ16; 07-25-2009 at 07:46 PM.
 09-11-2009, 05:26 PM
#55
Registered User
Join Date: Jan 2004
Location: Cape Coral, FL
Posts: 193
Likes: 0
Received 0 Likes
on
0 Posts
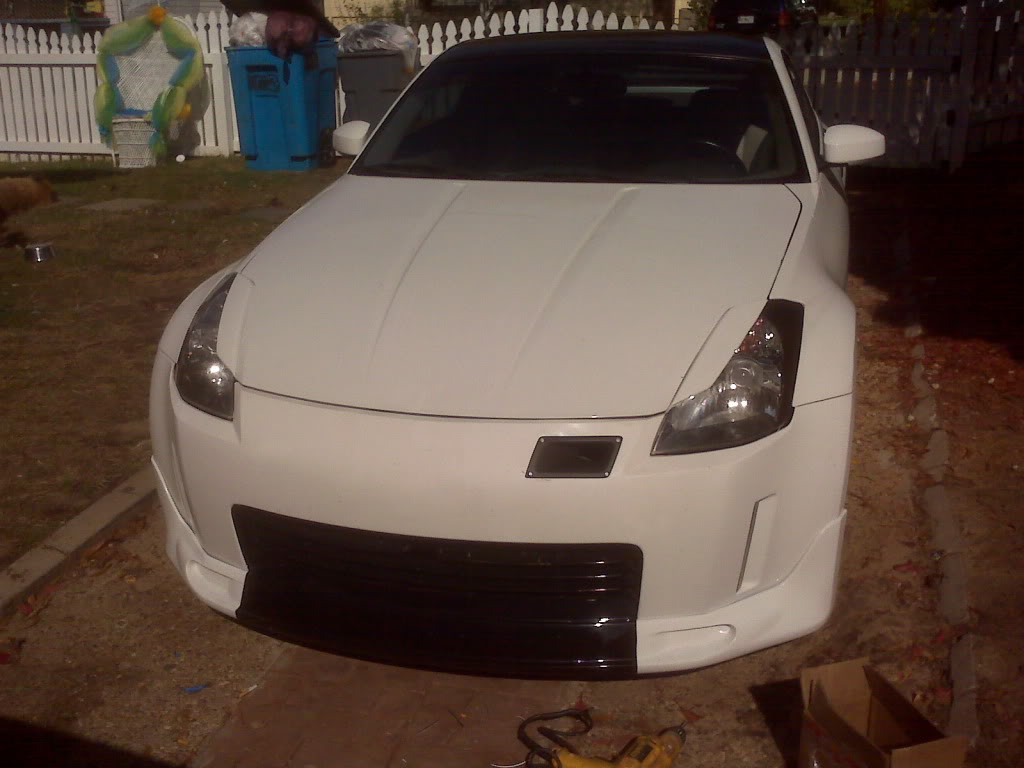
Here are the duct on my new bumper:


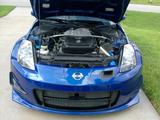
Super easy to do with a dremel. Here's a shot of the tubing behind the duct into the popcharger:


Super easy to do with a dremel. Here's a shot of the tubing behind the duct into the popcharger:

Last edited by DouBLeJ16; 09-11-2009 at 05:30 PM.