DIY: Painting '06- Headlights.
 12-06-2008, 03:53 PM
#81
New Member
iTrader: (16)

Join Date: Apr 2007
Location: Denver
Posts: 399
Likes: 0
Received 0 Likes
on
0 Posts
Well Ive decided to take on this project. Just waiting on my additions in the mail.
I have jdm replica sti lens on the way along with white ccfl halo rings to go behind the projector. Now i have to decided whether or not to leave that clear upper diffuser lens in or not. Some pics make it look good left in, and some dont. I wish I knew what lightwerks used for there turning signal. Looks good instead of seeing a bulb sticking out.
I have jdm replica sti lens on the way along with white ccfl halo rings to go behind the projector. Now i have to decided whether or not to leave that clear upper diffuser lens in or not. Some pics make it look good left in, and some dont. I wish I knew what lightwerks used for there turning signal. Looks good instead of seeing a bulb sticking out.
Wish I could help you on your problem getting the lights back together, but my lights are sitting on my floor right now, still assembled.
 12-22-2008, 07:57 PM
#82
New Member
iTrader: (14)
Join Date: Aug 2006
Location: San Antonio, TX
Posts: 2,400
Likes: 0
Received 0 Likes
on
0 Posts
i'll contribute to this..
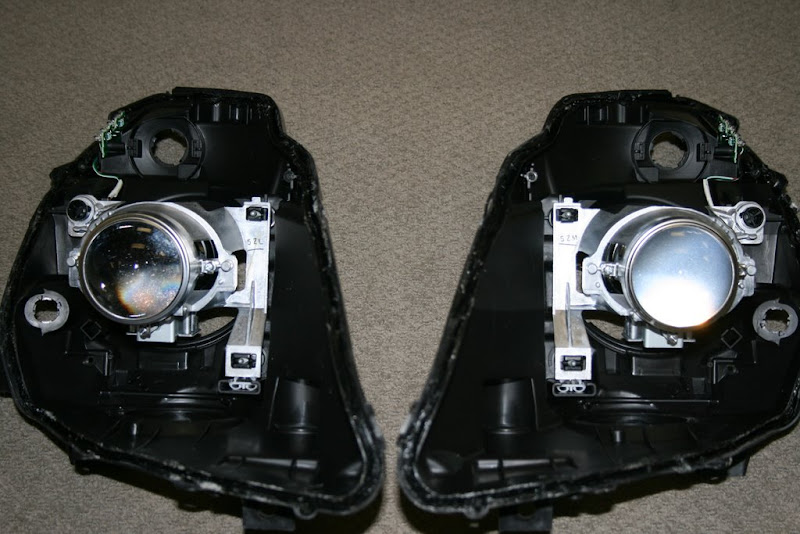
did it awhile back but if anyone was curious to see blacklights with black wheels... this might help

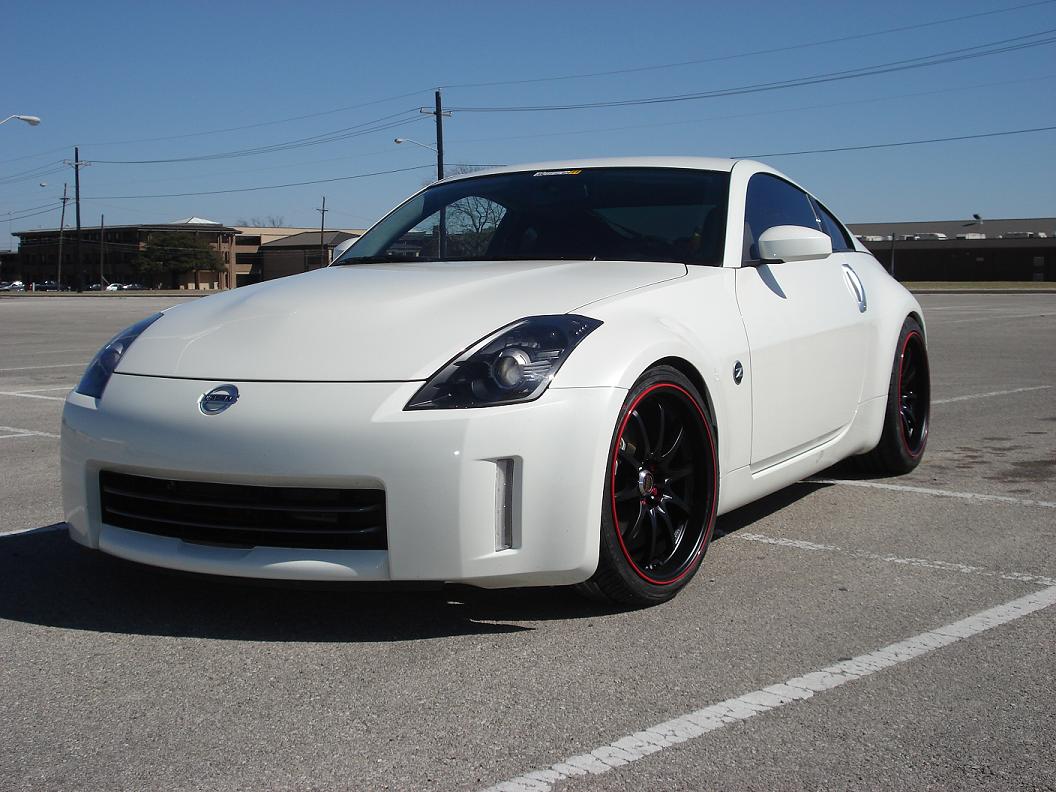
i also took out the piece of the lens that covered the blinker

Enjoy!
sorry if pics are big :x
did it awhile back but if anyone was curious to see blacklights with black wheels... this might help
i also took out the piece of the lens that covered the blinker
Enjoy!
sorry if pics are big :x
12-22-2008, 11:05 PM
#83
Registered User
iTrader: (6)

Join Date: Jan 2006
Location: waukegan
Posts: 449
Likes: 0
Received 0 Likes
on
0 Posts
I want to do this to mine but im too afraid of messing my lights up
 01-03-2009, 07:05 PM
#88

I had my headlights done by a shop in MD. Shortly after I got mine done, they developed what looked like condensation on the inside near the top edges. After removing them and closer inspection, I realized that the lens has been damaged from chemicals or heat. I have no idea how it developed, but they're not getting any worse now. I can't take them back to the shop, because I'm in TX now. I'm assuming it'll come out after a bit of buffing/polishing. Anyone have any ideas on this?
01-04-2009, 01:16 AM
#89

I had my headlights done by a shop in MD. Shortly after I got mine done, they developed what looked like condensation on the inside near the top edges. After removing them and closer inspection, I realized that the lens has been damaged from chemicals or heat. I have no idea how it developed, but they're not getting any worse now. I can't take them back to the shop, because I'm in TX now. I'm assuming it'll come out after a bit of buffing/polishing. Anyone have any ideas on this?
01-04-2009, 02:34 AM
#90
Registered User
iTrader: (1)

Join Date: Dec 2003
Location: Bay Area / Penn.
Posts: 407
Likes: 0
Received 0 Likes
on
0 Posts
I had my headlights done by a shop in MD. Shortly after I got mine done, they developed what looked like condensation on the inside near the top edges. After removing them and closer inspection, I realized that the lens has been damaged from chemicals or heat. I have no idea how it developed, but they're not getting any worse now. I can't take them back to the shop, because I'm in TX now. I'm assuming it'll come out after a bit of buffing/polishing. Anyone have any ideas on this?
Does it look like dry moisture residue or stress cracks?
+ I dont recommend reopening them if it's inside.
+ If haze is outside; a very popular brand to buff out plastic is Meguirers Plastic X (do not press down too hard on the plastic cover - u can cause stress marks on the plastic)
GL
+
01-06-2009, 09:40 AM
#91
No, I didn't reopen it. All I had to do was take out the headlight and remove the flasher light from the back. From that hole, I could feel the area that I'm talking about. If it were on the outside of the light, it would be too easy to fix.
I emailed lightwerkz.net, and they said they know exactly what I'm talking about, but they don't know of any way to fix it. I also emailed clearcorners.com, and they just said there is nothing they can do to help, and didn't offer any advice. I'll try contacting the shop that did the lights again, but I'm not having any high hopes.
I'll take pictures and post them as soon as I can.
01-21-2009, 11:15 PM
#92
New Member
iTrader: (16)
Join Date: Apr 2007
Location: Denver
Posts: 399
Likes: 0
Received 0 Likes
on
0 Posts
Lessons Learned:
1) Don't attempt to sand the bezels. It's just a complete waste of time.
2) This goes double for using steel wool to get in the tight spots.
3) Cleanliness is next to godliness... Microfiber cloth works pretty well. Especially when it comes to getting the little residue that comes off the steel wool (see point #2).
4) Don't let your paint cans freeze in the garage before attempting to paint.
5) If you wet-sand your bezels because the paint froze and it looked like crap, dry the bezels completely before attempting to repaint.
6) De-grease the bezels before painting... or you will be relearning points 1-5 for the third damn time.
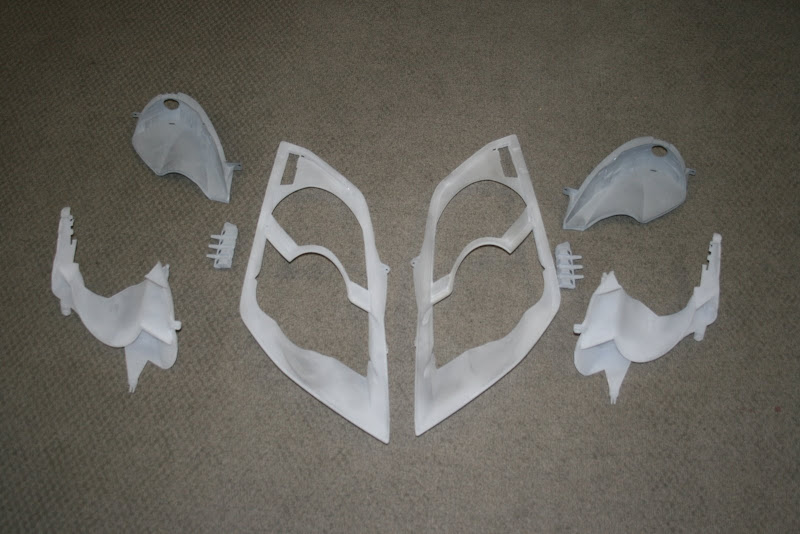
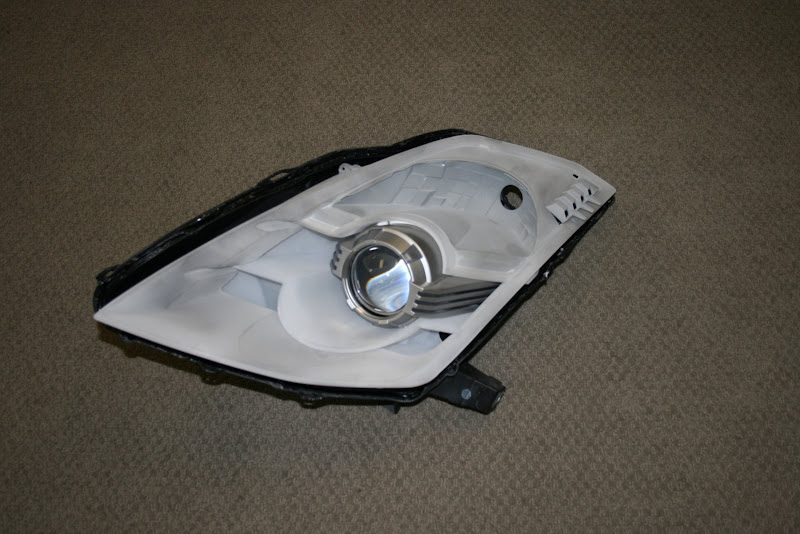
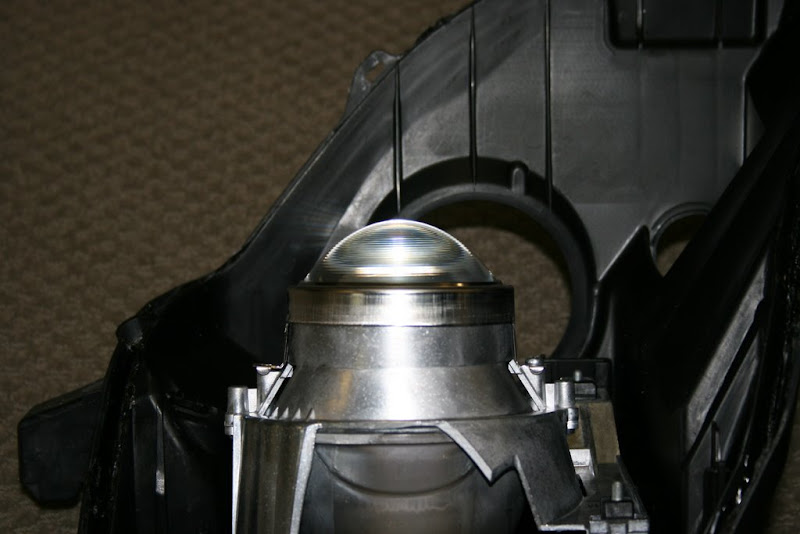
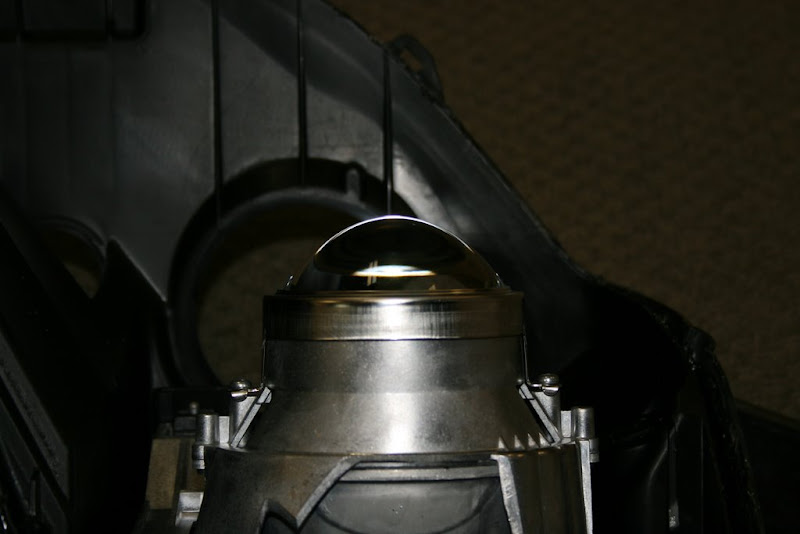
7) The bezels are made of two different types of plastic... the main bezel and the bottom half are a clear, translucent plasic. Sanding will expose this, but be prepared to sand the backs as well, because the mirror coating covers the entire part. The reflector for the turn signal and the cover for the LED side markers are made from an opaque light grey plastic.
8) Media-blasting (baking soda) the bezels will produce the following results... I am going to pop them in the car just to see what they look like once lit up, see if I get some unexpected results, but ultimately these will be black (for the last time, I hope). This pics make them look white, but they are more like frosted glass.
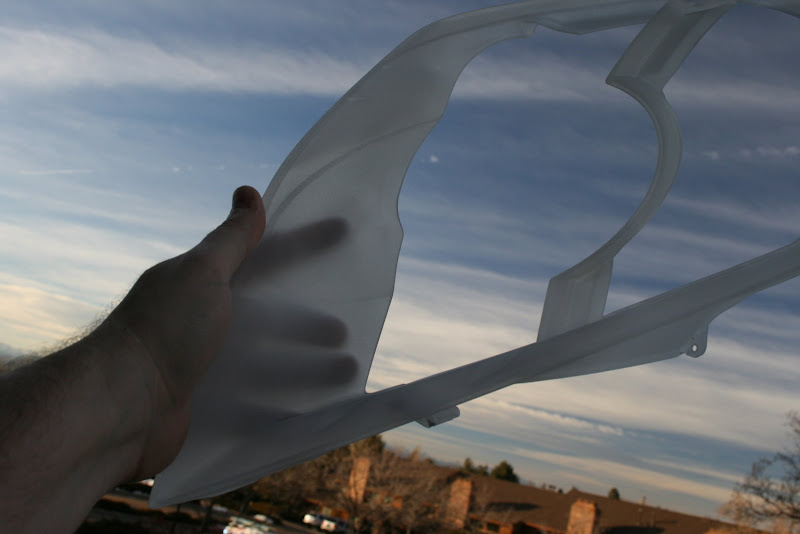
9) Lots of room for LED strips all around the rim of the bezels, and across the bridge over the lens. Since these areas are translucent, you really don't need to drill holes in your bezels... Not my thing, but hey, someone may find that interesting.
10) Liquid Clear lenses are cool... compared to Fresnel lenses:
Someday... I will finish this project...
Pics this weekend on what this looks like with sample headlight in the car and lit up, we'll see what happens.
1) Don't attempt to sand the bezels. It's just a complete waste of time.
2) This goes double for using steel wool to get in the tight spots.
3) Cleanliness is next to godliness... Microfiber cloth works pretty well. Especially when it comes to getting the little residue that comes off the steel wool (see point #2).
4) Don't let your paint cans freeze in the garage before attempting to paint.
5) If you wet-sand your bezels because the paint froze and it looked like crap, dry the bezels completely before attempting to repaint.
6) De-grease the bezels before painting... or you will be relearning points 1-5 for the third damn time.
7) The bezels are made of two different types of plastic... the main bezel and the bottom half are a clear, translucent plasic. Sanding will expose this, but be prepared to sand the backs as well, because the mirror coating covers the entire part. The reflector for the turn signal and the cover for the LED side markers are made from an opaque light grey plastic.
8) Media-blasting (baking soda) the bezels will produce the following results... I am going to pop them in the car just to see what they look like once lit up, see if I get some unexpected results, but ultimately these will be black (for the last time, I hope). This pics make them look white, but they are more like frosted glass.
9) Lots of room for LED strips all around the rim of the bezels, and across the bridge over the lens. Since these areas are translucent, you really don't need to drill holes in your bezels... Not my thing, but hey, someone may find that interesting.
10) Liquid Clear lenses are cool... compared to Fresnel lenses:
Someday... I will finish this project...
Pics this weekend on what this looks like with sample headlight in the car and lit up, we'll see what happens.


 02-07-2009, 02:42 PM
#100
Neither. I don't really know how to explain it. It's like the inside of the lens is damaged from heat, chemicals or both. I pulled out the flasher bulb to make sure it wasn't condensation. I felt it through that hole, and it has a rough texture to it.