DIY: Cutting Rear Springmount aka "the springmount mod"
 01-28-2007, 11:07 PM
#1
Registered User
Thread Starter
iTrader: (11)

Join Date: Feb 2006
Location: Seattle/Portland
Posts: 2,754
Likes: 0
Received 0 Likes
on
0 Posts
I decided to purchase a new set up rear springmounts and recut them, taking a little bit less off this time. Credit goes to Gsedan35, who was the first to do this, and Borahatch for giving me tips on how to go about cutting the mounts.
See Gsedan35's DIY on installing springs to remove the rear springmounts.
http://www.g-owners.com/article_read.asp?id=25
The pieces look something like this:
Side

Top

Tools:
Hacksaw
Tape
C-Clamp
Vise
WD-40 or similar lubricating spray
Rags
Start by taping a ring around the springmount of exactly how much you want to cut off. How much you cut will be how much more drop you will get so measure accordingly before cutting. I used Duct tape, but anything will work as long as it sticks to the rubber. I don't recommend blue painter's tape, because I used it the first time and it doesn't really stick to the rubber.

Next, get a rag or in my case some disposable gloves and insert into the hollowed out end of the springmount to provide a cushioned area for the C-clamp to seat to. Install the C-Clamp like in the picture and tighten until the springmount is difficult to rotate/move. Make sure to not overclamp or you can crack the plastic.


Insert the C-Clamp into your vise to provide a stable cutting rig

Get out your hacksaw and WD-40 or equiv

Begin by lubricating your hacksaw blade and springmount by spraying WD-40 onto the blade and rubber, and begin sawing along your tapeline. The outer ring of the springmount is rubber, but the inner ring is made of a plastic, so saw through the plastic. Loosen the clamp and rotate the mount 1 notch and retighten and continue sawing until you cut all the way around the mount, being careful to cut as straight and evenly as you can.

Once you finish cutting, you should end up with something that looks like this, they aren't exactly straight, but close enough, I've been running them for 6 months and no problems here


Here is a comparison of the height difference after cutting, ~1/2"

Reinstall in stock location

End up with a even drop! Dropped on 350z Tein H-Techs, but will work with any spring


Be prepared for camber issues in the rear, just like any drop in the rear over 0.4", I installed the SPC rear camber kit as well and will be getting an alignment soon.

See Gsedan35's DIY on installing springs to remove the rear springmounts.
http://www.g-owners.com/article_read.asp?id=25
The pieces look something like this:
Side
Top
Tools:
Hacksaw
Tape
C-Clamp
Vise
WD-40 or similar lubricating spray
Rags
Start by taping a ring around the springmount of exactly how much you want to cut off. How much you cut will be how much more drop you will get so measure accordingly before cutting. I used Duct tape, but anything will work as long as it sticks to the rubber. I don't recommend blue painter's tape, because I used it the first time and it doesn't really stick to the rubber.
Next, get a rag or in my case some disposable gloves and insert into the hollowed out end of the springmount to provide a cushioned area for the C-clamp to seat to. Install the C-Clamp like in the picture and tighten until the springmount is difficult to rotate/move. Make sure to not overclamp or you can crack the plastic.
Insert the C-Clamp into your vise to provide a stable cutting rig
Get out your hacksaw and WD-40 or equiv
Begin by lubricating your hacksaw blade and springmount by spraying WD-40 onto the blade and rubber, and begin sawing along your tapeline. The outer ring of the springmount is rubber, but the inner ring is made of a plastic, so saw through the plastic. Loosen the clamp and rotate the mount 1 notch and retighten and continue sawing until you cut all the way around the mount, being careful to cut as straight and evenly as you can.
Once you finish cutting, you should end up with something that looks like this, they aren't exactly straight, but close enough, I've been running them for 6 months and no problems here
Here is a comparison of the height difference after cutting, ~1/2"
Reinstall in stock location
End up with a even drop! Dropped on 350z Tein H-Techs, but will work with any spring
Be prepared for camber issues in the rear, just like any drop in the rear over 0.4", I installed the SPC rear camber kit as well and will be getting an alignment soon.
 01-29-2007, 08:24 AM
#2
Registered User
iTrader: (8)

Join Date: Oct 2006
Location: OC and Rancho Cucamonga, CA
Posts: 671
Likes: 0
Received 0 Likes
on
0 Posts
wow, that is such an awsome idea!!!! are those spring mounts, the same as a 350z? where can they be purchased??? Ive been wanting to lower my rear an extra .5 inches cus my eibach pro's dont look low enough in the rear, and this seams to be the perfect solution!
01-29-2007, 09:04 AM
#3
Additional discussion about this mod can be found here: https://my350z.com/forum/brakes-and-suspension/187959-06-upper-rear-spring-seat-free-lowering-mod.html
 02-08-2007, 03:53 PM
#5
Registered User
Thread Starter
iTrader: (11)
Join Date: Feb 2006
Location: Seattle/Portland
Posts: 2,754
Likes: 0
Received 0 Likes
on
0 Posts
Originally Posted by AWDBall20
Nice solution to those who went with springs and are unhappy with drop. Anyone have feed back as to negatively affecting the suspension geometry?
03-19-2007, 10:49 AM
#6
Registered User
iTrader: (43)

Join Date: Jun 2006
Location: Lone Star State
Posts: 2,757
Likes: 0
Received 0 Likes
on
0 Posts
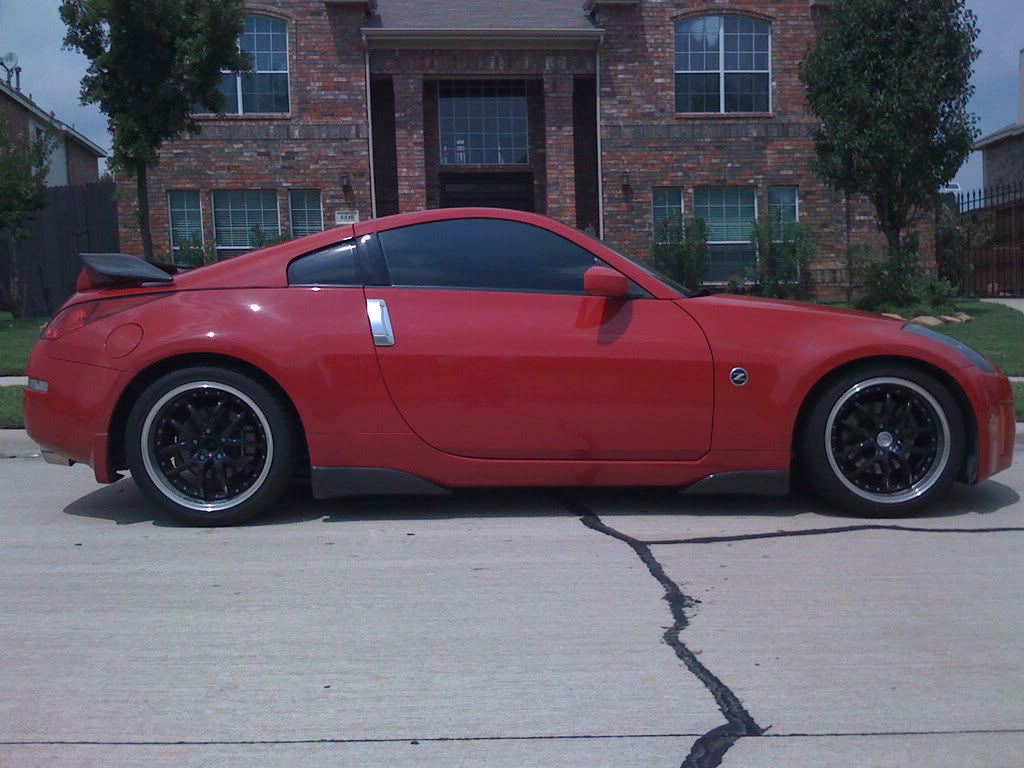
I finally shaved about 1/2" of the rear spring mount to level my Z. I also installed Espelir Active GT springs & Koni adjustable struts. Here are pictures of my Z at the auto-x this weekend. I really liked the way this mod leveled my Z. I still have '06 stock tires & rims.

Trending Topics
03-22-2007, 10:25 AM
#8
Banned
iTrader: (1)

Join Date: Sep 2005
Location: Southern, MA
Posts: 238
Likes: 0
Received 0 Likes
on
0 Posts
Originally Posted by TuscaniJon
where can you by and extra set for the car if you want to try this mod? and whats the product number?
I just order a set from nissanpartscheap.com, $45 BUCKS for the rear top pair!
http://www.trademotion.com/partlocat...=5&catalogid=1
09-23-2007, 02:26 AM
#10
Registered User
iTrader: (1)
Join Date: Jun 2004
Location: Far enough away!
Posts: 477
Likes: 0
Received 0 Likes
on
0 Posts
Originally Posted by 350Zenophile
Thinking of doing this. How long would you say it took you to do the cutting?
I wonder if a machine shop would be able to do this more accurately...
I wonder if a machine shop would be able to do this more accurately...
machine shop will struggle to clamp them, there's no real way to hold these properly. Best way is actually as above with a hacksaw and cutting oil to keep the blade moving. About 5 mins each one, very easy to swap out too
 Very happy I did mine!
10-16-2007, 10:54 PM
Very happy I did mine!
10-16-2007, 10:54 PM
#11
Registered User
Join Date: Sep 2007
Location: I was going how fast, officer?
Posts: 88
Likes: 0
Received 0 Likes
on
0 Posts
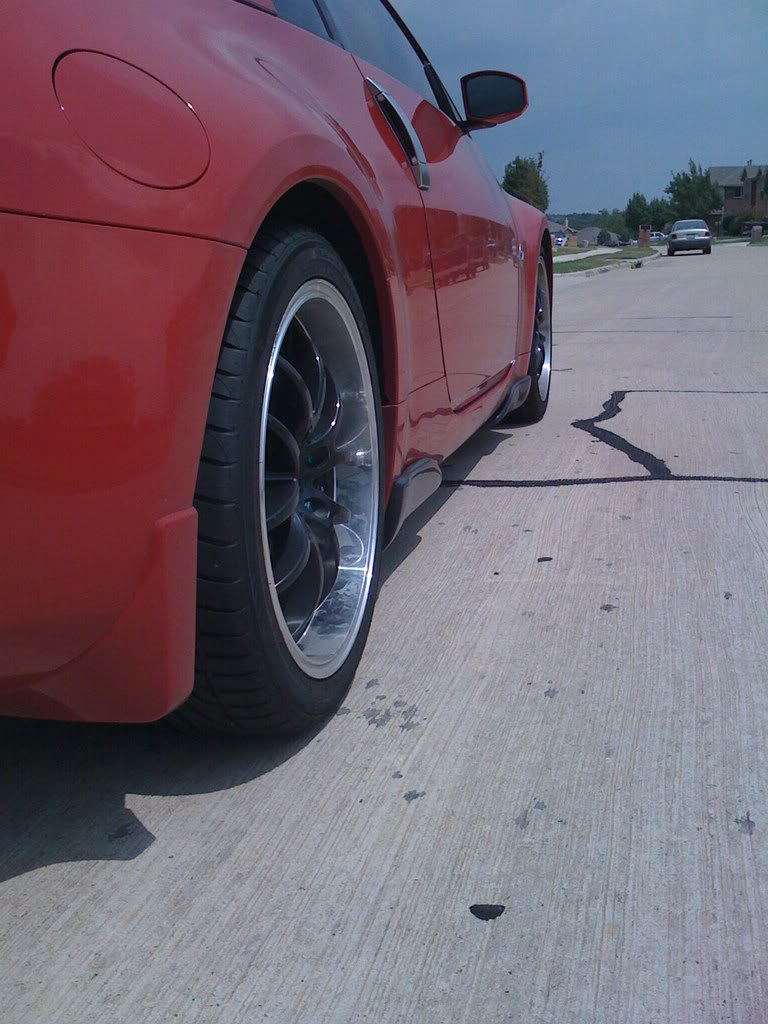
So is the "cut" equal to the lowering distance? ie: cut off .6" and get lowering of .6" ???? Here is where I'm sitting now...
Last edited by cali Z; 10-16-2007 at 10:58 PM. Reason: resize pic
10-17-2007, 12:25 AM
#12
Registered User
Thread Starter
iTrader: (11)
Join Date: Feb 2006
Location: Seattle/Portland
Posts: 2,754
Likes: 0
Received 0 Likes
on
0 Posts
Originally Posted by cali Z
So is the "cut" equal to the lowering distance? ie: cut off .6" and get lowering of .6" ???? Here is where I'm sitting now...
07-07-2008, 09:10 PM
#16
Banned

Join Date: Jan 2006
Location: Inland Empire.
Posts: 189
Likes: 0
Received 0 Likes
on
0 Posts
Anyone who did this have any negative issues come up?
Basically all I have to do is take off the wheel right? No removing of any suspension parts is required in order to get to the upper spring seating?
Basically all I have to do is take off the wheel right? No removing of any suspension parts is required in order to get to the upper spring seating?
07-08-2008, 05:57 AM
#17
Originally Posted by wasiu0607
Anyone who did this have any negative issues come up?
Basically all I have to do is take off the wheel right? No removing of any suspension parts is required in order to get to the upper spring seating?
Basically all I have to do is take off the wheel right? No removing of any suspension parts is required in order to get to the upper spring seating?