DIY: Making your own [budget] BBK
 03-01-2012, 10:56 AM
#61
Registered User
iTrader: (7)

Join Date: Mar 2010
Location: Albama
Posts: 87
Likes: 0
Received 0 Likes
on
0 Posts
Just did this DIY.
NOTE: Only do this if you have time, and the proper tools
Excellent write-up and thanks for the info. Only did the front BBK setup.
They work like a charm. Only spent a total of $750
DBA Front Rotors (350z Track Version) $289 on special
2x Wilwood 4-piston Forged Rotors (Ebay sells them, included the brake pads) $350
Wilwood Brakelines $80
2 big pieces of 3/8 in metal - $20 at a local steel co (ask to look for drops of steel)
Nuts and Bolts - $25 (Lowe's carries great Grade 8)
AND TIME AND PATIENCE

 03-02-2012, 10:35 AM
#63
Registered User
iTrader: (1)

Join Date: Jan 2012
Location: Texas
Posts: 90
Likes: 0
Received 0 Likes
on
0 Posts
How does the braking feel with just the BBK up front? I have a set of brackets to run Wilwoods up front with the track rotor, bought them from a guy selling them to the 240sx crowd (same as 350z's).
Did this adversely effect your brake pedal feel or brake bias? When you slam on the breaks does it feel like the fronts are doing all the work?
Did this adversely effect your brake pedal feel or brake bias? When you slam on the breaks does it feel like the fronts are doing all the work?
03-05-2012, 06:33 AM
#65
Registered User
iTrader: (7)
Join Date: Mar 2010
Location: Albama
Posts: 87
Likes: 0
Received 0 Likes
on
0 Posts
How does the braking feel with just the BBK up front? I have a set of brackets to run Wilwoods up front with the track rotor, bought them from a guy selling them to the 240sx crowd (same as 350z's).
Did this adversely effect your brake pedal feel or brake bias? When you slam on the breaks does it feel like the fronts are doing all the work?
Did this adversely effect your brake pedal feel or brake bias? When you slam on the breaks does it feel like the fronts are doing all the work?
BBK only in front has not created any bias in my car, in fact it feels great. It is a huuuge upgrade to the puny brakes nissan put in the base 350z, and Wilwood is an improvement over BREMBO believe it or not. Some may disagree, but I'm not paying $1200 for a set of used Brembos, unless you dont have to tools to experiment. The weight of the calipers is abou 5 pounds (I WAS IMPRESSED) hehe!
Nope, when I slam on the brakes my guts want to leave my body , the calipers grab good. The 350z's wieght distribution is 53% F & 47% R (http://auto.howstuffworks.com/nissan...ept-cars15.htm), but I would think that it would be normal that the front brakes do more work than the rear in almost every car, thus bigger brakes always in the front because of the inertia. Good question, I'm afraid to keep expanding on this because I'm no expert.
I used DBA slotted and drilled Rotors, so they might differ a little from just the plain Brembo rotors.
BTW the caliper changed models, the ones posted on this thread are obsolete.
The new part #'s are as follows:
Calipers:
Front Right 120-7429 R relaced by 120-11136
Left 120-7429 L
Rear Right 120-7477 R relaced by 120-11129
Left 120-7477 L
For the rear calipers, I was thinking about putting the rear Akebono kit from the G37 Sport (I would powdercoat them black). But the rotor wold be bigger than the front LOL so IDK ....

Make sure that the Brackets the guy from 240sx's site really fit the caliper base in the car. Based on the measurements given in this thread by BURNTZ (he made his research and I really admire his work).
So far I've driven about 1,200 miles and they work awsome.
P.D.
Brake lines are very sensitive, there is a certain way to put them, be very careful.
Hope this helps!
Last edited by tony_z; 03-05-2012 at 06:37 AM. Reason: Part #s messed up.
03-08-2012, 06:59 AM
#66
Registered User
iTrader: (1)
Join Date: Jan 2012
Location: Texas
Posts: 90
Likes: 0
Received 0 Likes
on
0 Posts
Thank you for the response. I'm glad it's working out for you, I'm still unsure if I want to go this route because of the unmatching rear. Like you said, Akebono is an option but it would look funny with the larger rear rotor. Please let us know how it goes if you do upgrade the rears.
03-13-2012, 09:34 AM
#67
Registered User
iTrader: (7)
Join Date: Mar 2010
Location: Albama
Posts: 87
Likes: 0
Received 0 Likes
on
0 Posts
Thank you for the response. I'm glad it's working out for you, I'm still unsure if I want to go this route because of the unmatching rear. Like you said, Akebono is an option but it would look funny with the larger rear rotor. Please let us know how it goes if you do upgrade the rears.
Anyways, you could always try and get some 350z/g35 track rear used brembos for cheap and get the podercoated to match front. IMHO, I would think it will not matter. But it work good.
09-24-2014, 11:29 AM
#68
Registered User

Join Date: Jan 2014
Location: New Mexico
Posts: 7
Likes: 0
Received 0 Likes
on
0 Posts
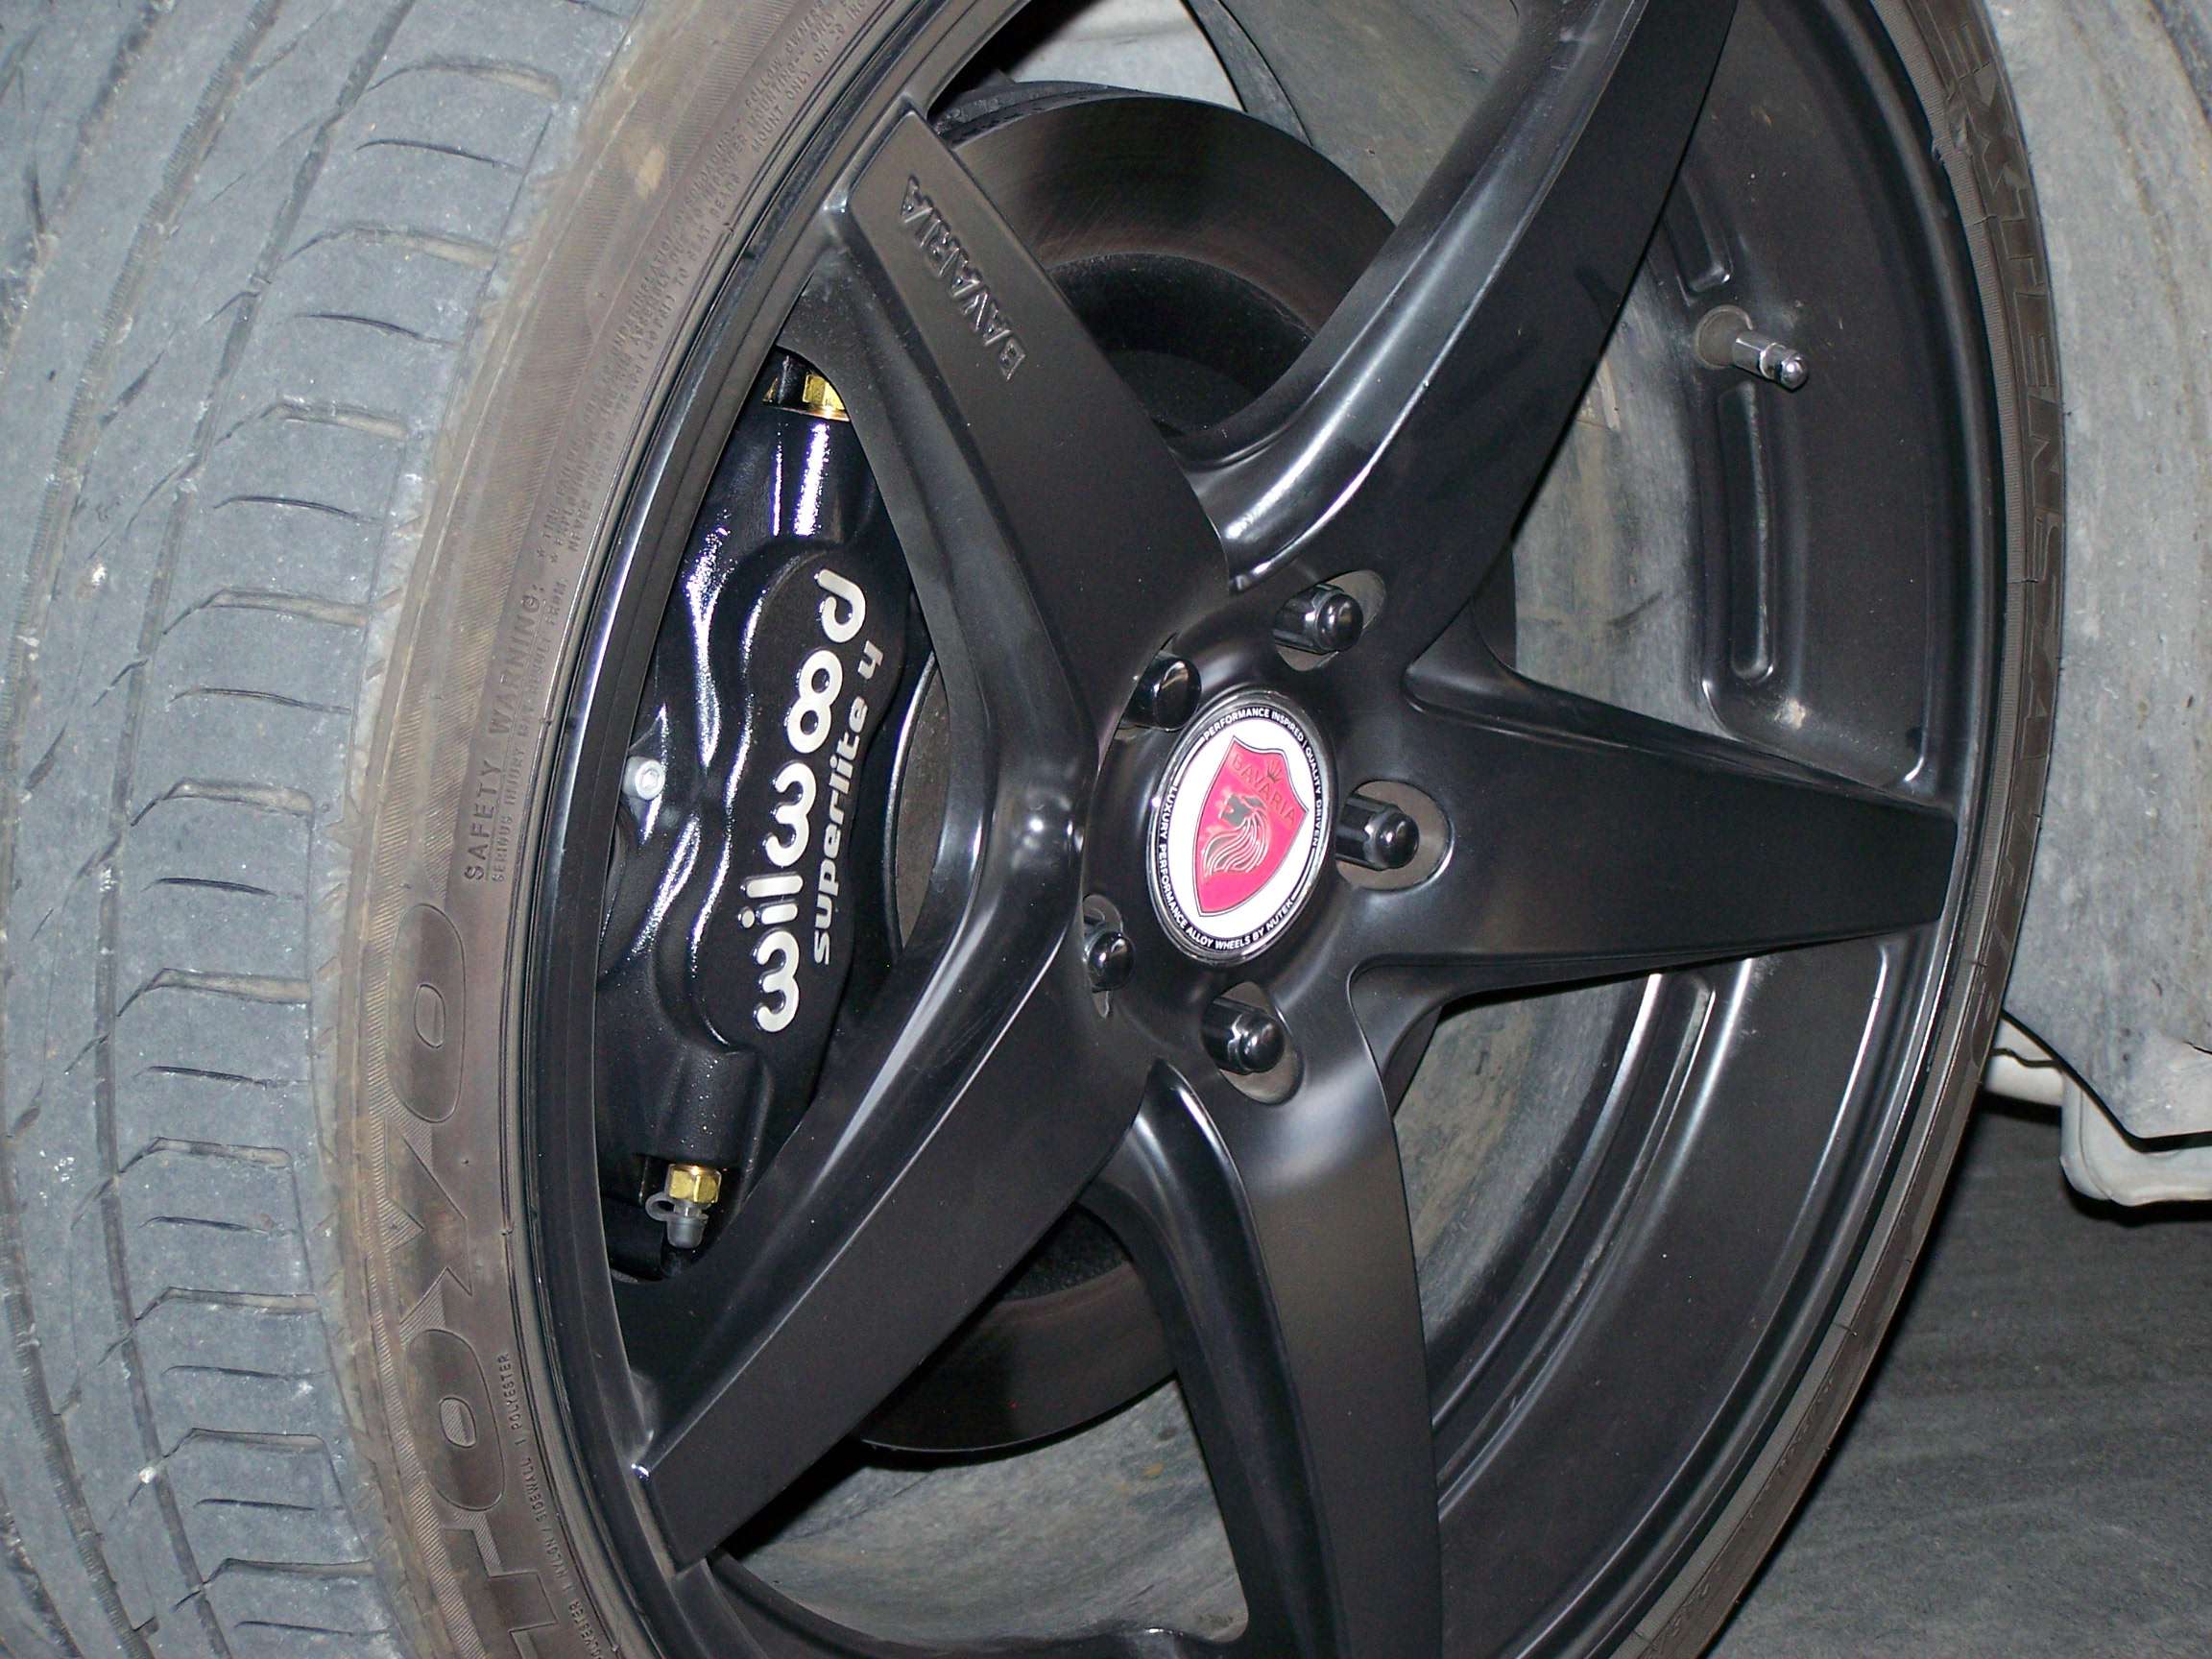
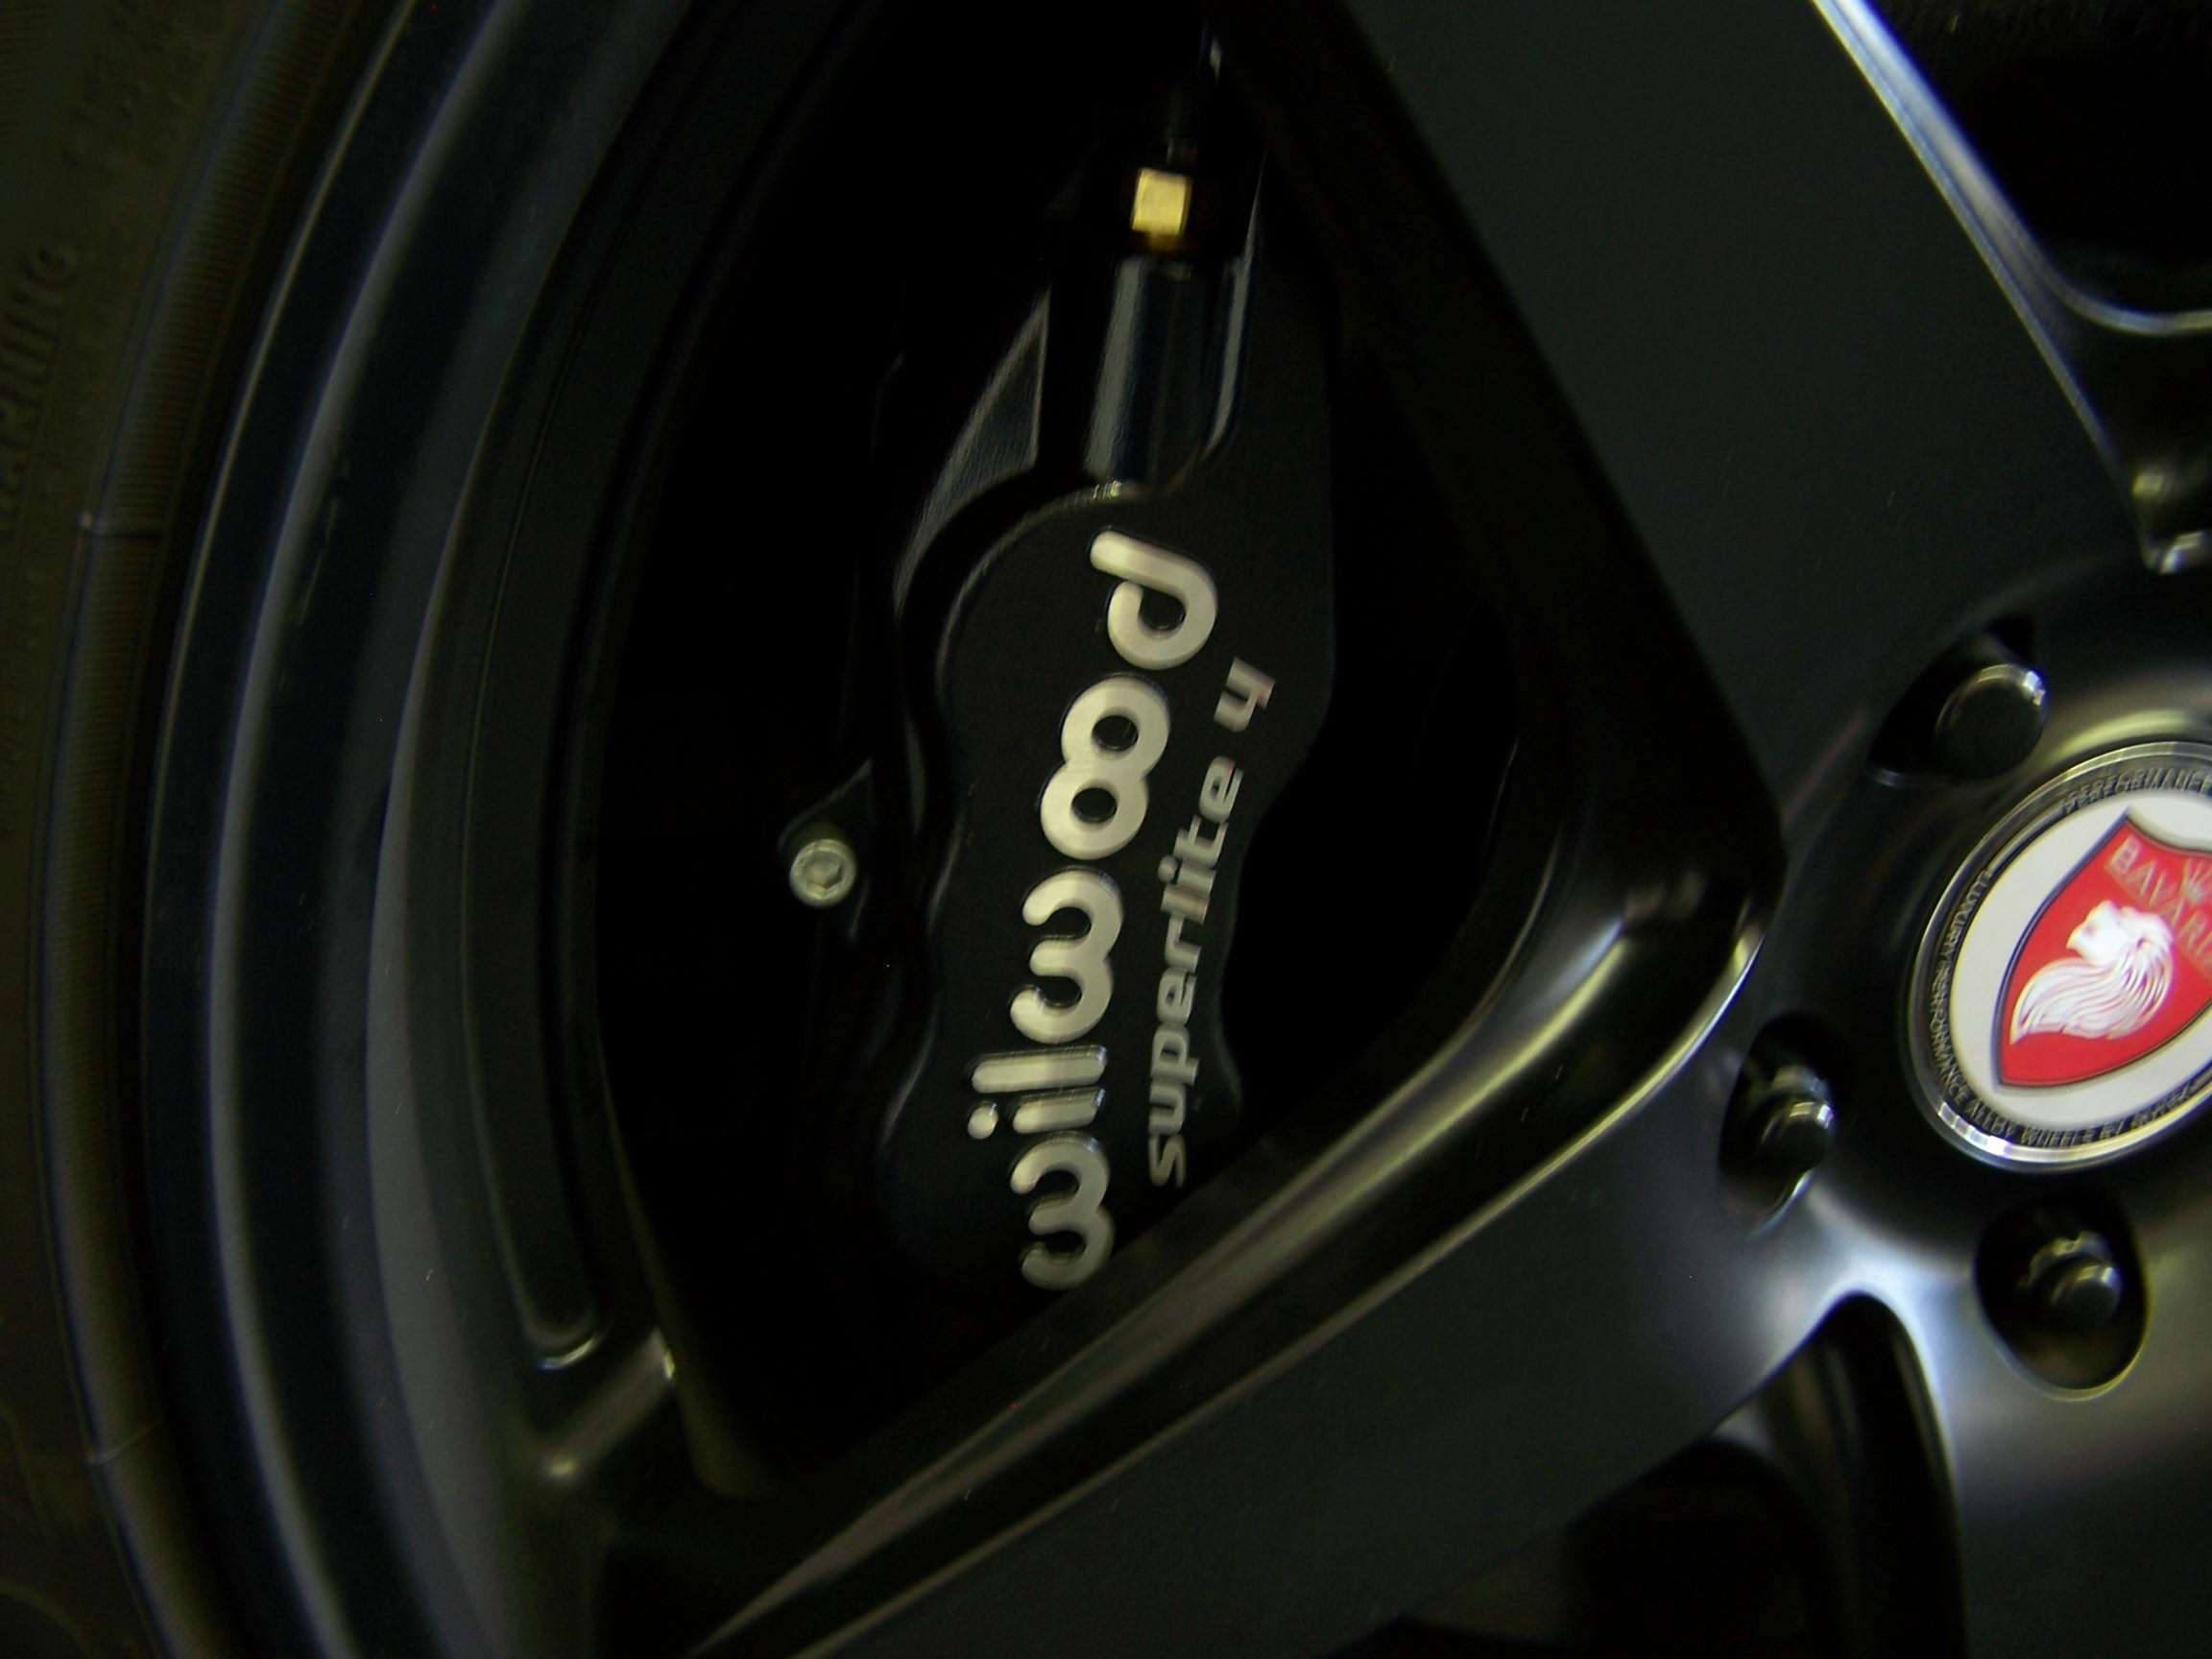
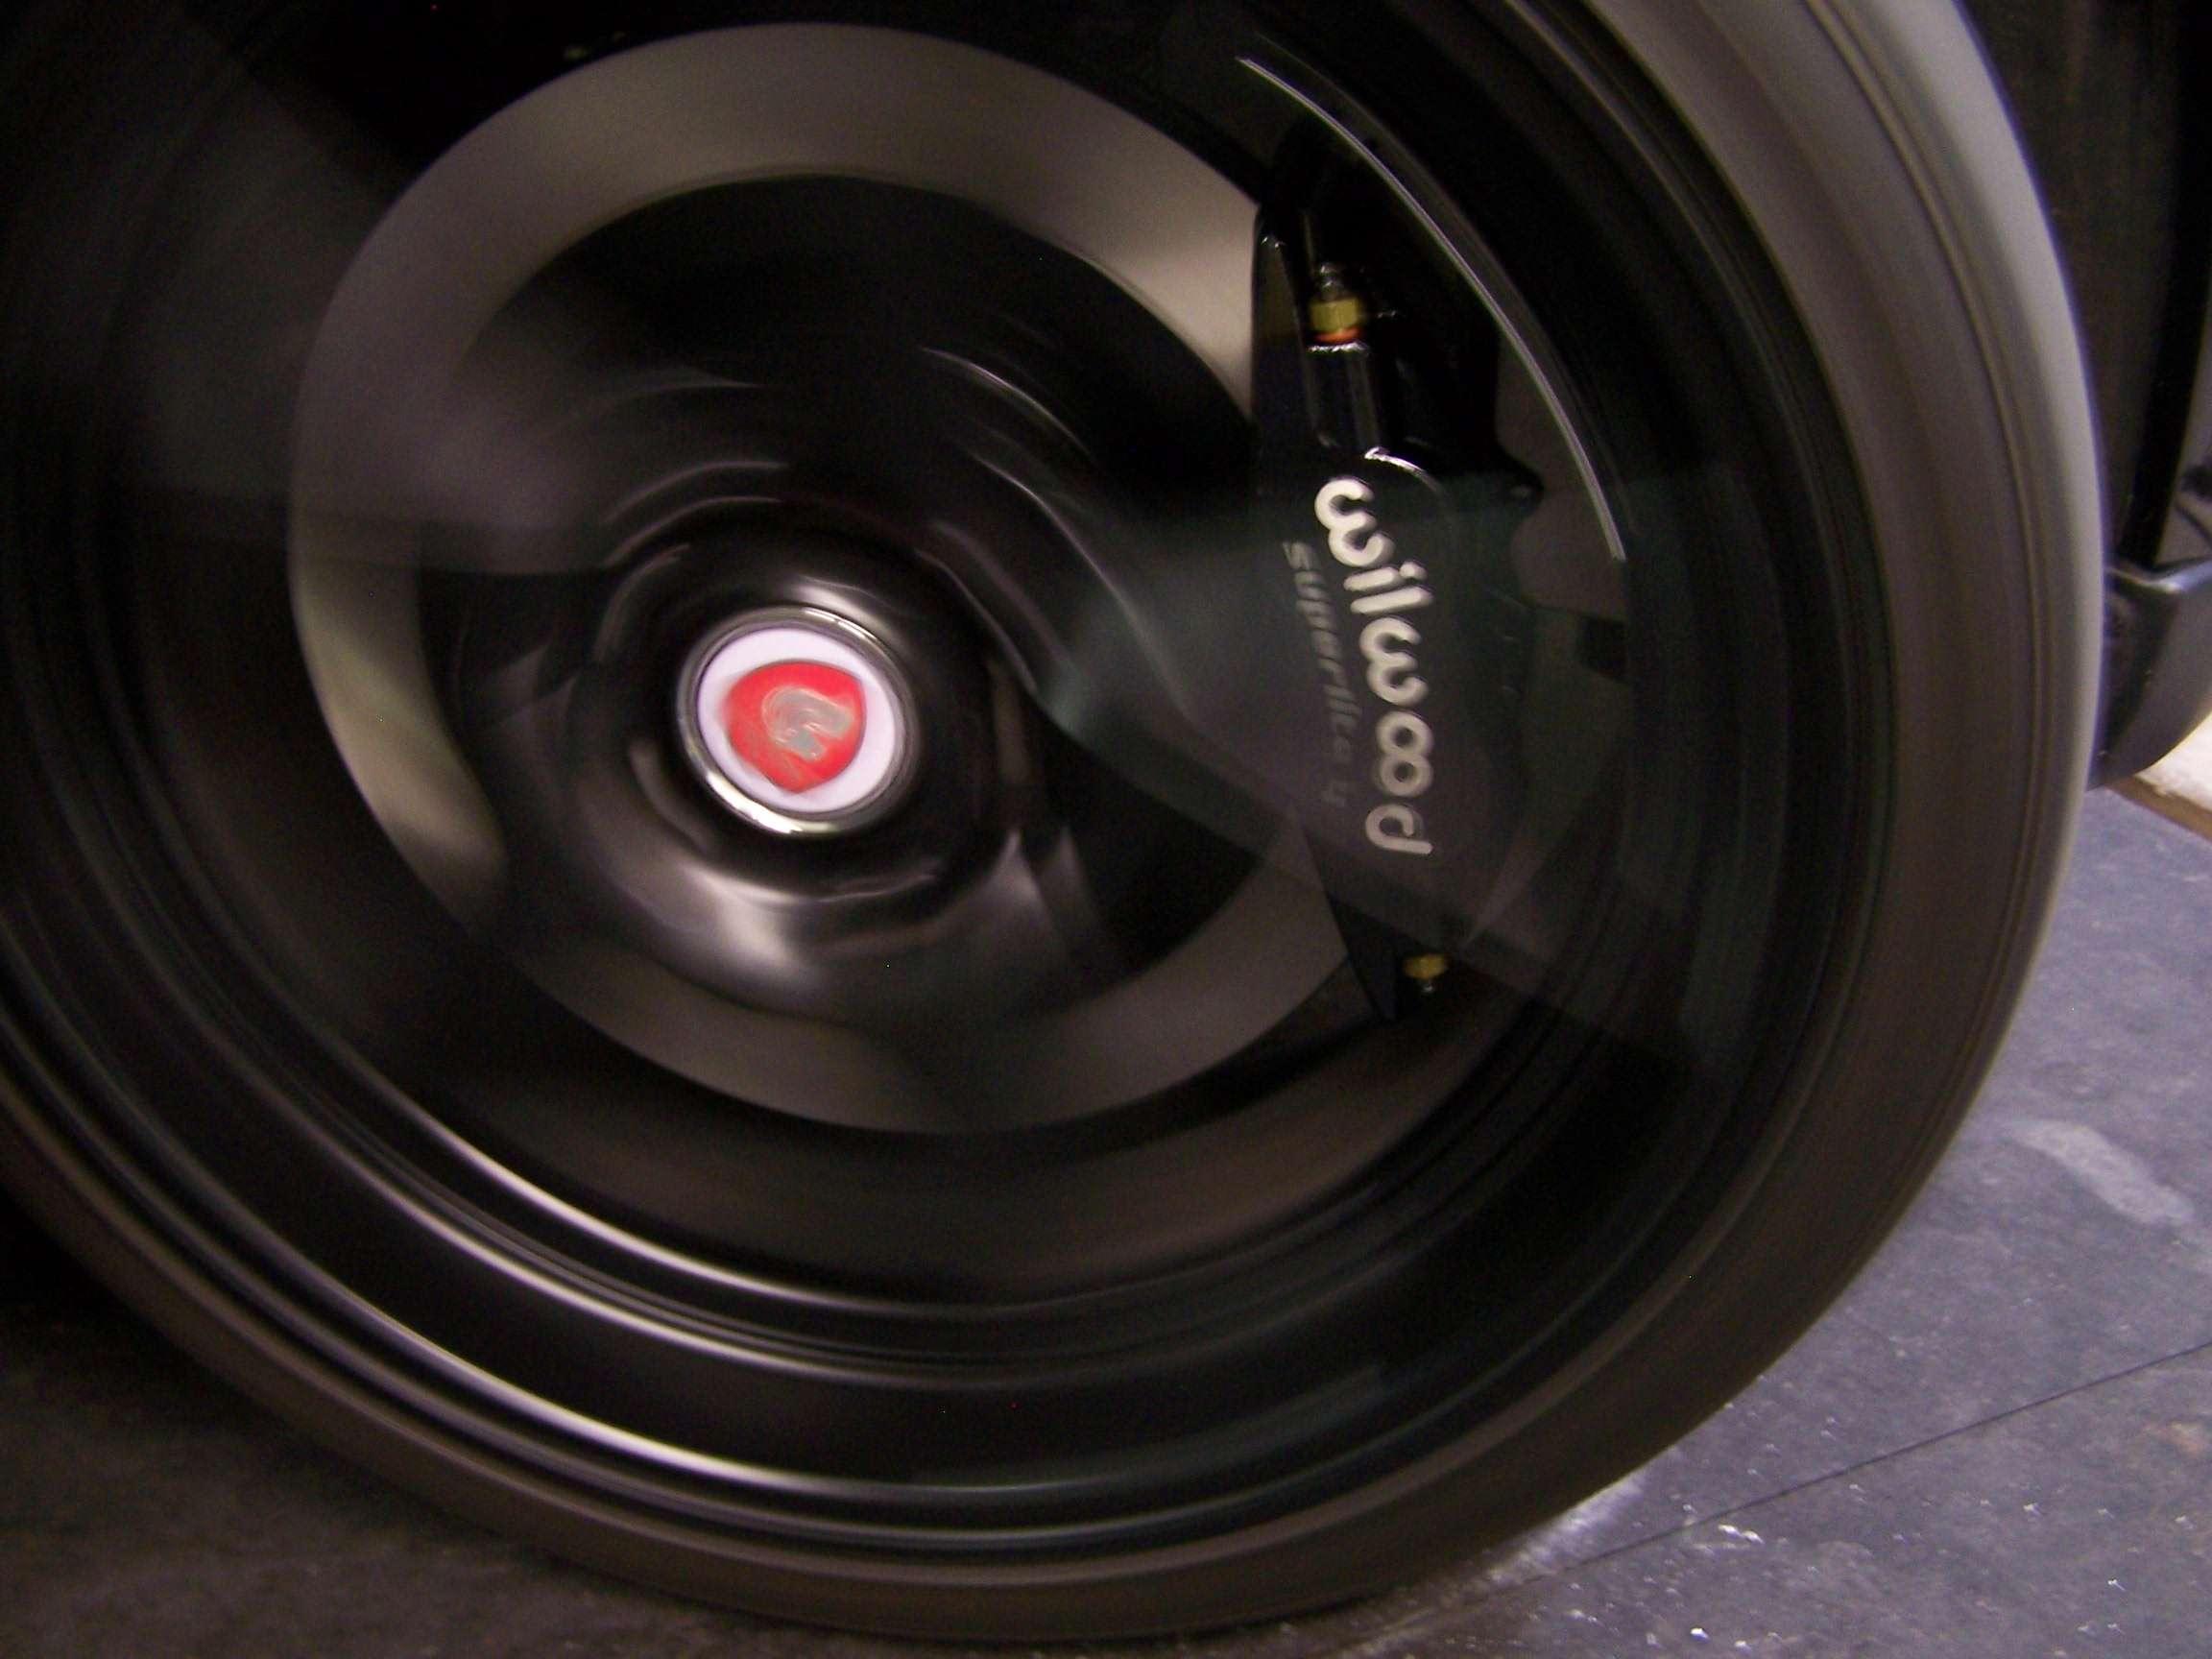
Just bumping an old thread since I wanted to thank the OP for giving me the courage to do this. I've only done the front so far but rears will be soon. Virtually no brake fade and quicker brake response over the base factory floating calipers. These are on a 09 G37 Sedan w/ 14" Sport rotors, Wilwood Forged Superlite calipers (4.12 piston area & 1.62" pistons) #120-11133 w/ Wilwood BP-10 pads #150-8854K and Wilwood SS lines #220-11590. Bracket made from 1/2" 6061 T-6 Aluminum tapped w/ 9/16-12 and 7/16-20 mounting holes.
09-24-2014, 07:11 PM
#69

So out of morbid curiosity due to the fact that one of these brackets has already deformed under load, I drew up the revised rear bracket in Solidworks and ran a stress sim on it using 3/8" normalized 4130 and got a factor of safety (FOS) of 2.1, which is acceptable (OP's bracket in 4140 is about 25% stronger, but I don't have 4140 in my materials list). These should be considered the absolute minimums for thickness and material for this rear bracket design. A36 or 1018 steel (which are what you commonly get at steel yards/home depot) should not be used. In 3/8" thickness, FOS for 1020 cold roll was at 1.02 (1.79 in 1/2" thickness), and FOS for A36 steel was 0.79, so A36 is absolutely not strong enough, even in thicker 3/8".
I also ran the rear bracket made of 1/2" 6061-T6:
![DIY: Making your own [budget] BBK-rear-wilwood-stress.png](https://my350z.com/forum/attachments/brakes-and-suspension-diy/367981d1411661476t-diy-making-your-own-budget-bbk-rear-wilwood-stress.png)
I do not believe aluminum is strong enough. FOS was 1.1, which means max stresses are in the 36ksi range, putting cycles to failure around 1200. That sounds like a lot, but it's really about 2 track days worth of braking before failure.
I can do the front brackets if anyone wants, but they aren't subject to the same lever action the rear bracket is and should not have any issues. I can also see if I can export the file to a dxf so that people can have these made easily. Places like http://www.bigbluesaw.com/ do custom waterjetting from dxf files and I don't think it's prohibitively expensive.
![DIY: Making your own [budget] BBK-rear-wilwood-stress.png](https://my350z.com/forum/attachments/brakes-and-suspension-diy/367981d1411661476-diy-making-your-own-budget-bbk-rear-wilwood-stress.png)
I do not believe aluminum is strong enough. FOS was 1.1, which means max stresses are in the 36ksi range, putting cycles to failure around 1200. That sounds like a lot, but it's really about 2 track days worth of braking before failure.
I can do the front brackets if anyone wants, but they aren't subject to the same lever action the rear bracket is and should not have any issues. I can also see if I can export the file to a dxf so that people can have these made easily. Places like http://www.bigbluesaw.com/ do custom waterjetting from dxf files and I don't think it's prohibitively expensive.
Last edited by kilogram; 09-25-2014 at 08:59 AM.
09-25-2014, 09:32 AM
#70
Did the front brackets and they have FOS of about 8, so no issue there. Explains why the 1/4" A36 brackets never failed. Even in 3/8" 6061-T6 aluminum they have FOS of about 4.7.
Here are the files if anyone is interested:
Rear bracket DXF
https://drive.google.com/file/d/0B-d...it?usp=sharing
Front bracket DXF
https://drive.google.com/file/d/0B-d...it?usp=sharing
These are for personal use only and may not be used for profit in any sense. I am not responsible for what you do to your car, etc.
Last edited by kilogram; 09-25-2014 at 09:38 AM.
09-25-2014, 10:23 AM
#71
Registered User
Join Date: Jan 2014
Location: New Mexico
Posts: 7
Likes: 0
Received 0 Likes
on
0 Posts
I did the front brackets similar to your setup Kilogram, slightly different since the second Generation G37s (along w/ the current 370Zs) have a different caliper mount. The rear bracket will also be 1/2" T6 Al.
I won't be doing the rear brake setup as per the OP, I'd ber keeping the caliper in the same spot and using 350mm rear G/Z rotors so I can use the parking brake.
I won't be doing the rear brake setup as per the OP, I'd ber keeping the caliper in the same spot and using 350mm rear G/Z rotors so I can use the parking brake.
09-25-2014, 11:24 AM
#72
If you give me your measurements and a rough drawing, I'd be happy to run them through the sim for you if you like. You shouldn't see the same problems with the caliper in the OE spot, it's that long lever arm that sucks.
The rears are the same mounting location through all years, so you'll encounter the same issue burntZ had with the holes interfering with each other. You may have to clock the caliper a little to get clearance. Those mounting tabs sticking out where they do are a pain in the ***. I have to mill 8mm off my calipers to get them enough clearance to mount straight on, and it's still close.
The rears are the same mounting location through all years, so you'll encounter the same issue burntZ had with the holes interfering with each other. You may have to clock the caliper a little to get clearance. Those mounting tabs sticking out where they do are a pain in the ***. I have to mill 8mm off my calipers to get them enough clearance to mount straight on, and it's still close.
Last edited by kilogram; 09-25-2014 at 03:47 PM.
09-25-2014, 05:46 PM
#73
Registered User
Join Date: Jan 2014
Location: New Mexico
Posts: 7
Likes: 0
Received 0 Likes
on
0 Posts
I think going w/ the 350mm rotors should give me a bit more room arund those caliper bolts but I'll have to really get in there and see what I'm truly dealing with. I may have to rotate the caliper a bit like you mentioned so I'd have the upper OEM caliper mount inside the Wilwood mount. So going from the bottom up, the bracket would be OEM hole, Wilwood hole, OEM, then Wilwood (compared to the front bracket which has the OEM holes outside the smaller span Wilwood holes). Since the bracket would be 1/2" and not a big span it should be plenty strong, even if the caliper is rotated to the alternate bolt holes.
Thoughts?
Do you have any pics of your setup Kilogram?
Thoughts?
Do you have any pics of your setup Kilogram?
09-26-2014, 08:04 AM
#74
There shouldn't be any problem clocking the caliper. I don't remember the wilwood dimensions off the top of my head, but Im pretty sure you'll need to clock it a little. Easiest way I've found to do it is use eMachineshop's CAD software. Set up the holes from an axis (stock holes are 122mm apart, 101.788mm from the axis of rotation) then select the wilwood holes and rotate them WRT the axis. Done! No crazy trig. I already have a file for the axis calcs on the rear if you want it.
Mine isn't on the car yet but it's drawn up and all the parts are in my basement ready to go, I just need to cut the brackets.
I'm using Porsche 911TT Big Reds up front with brackets that clock the caliper down to the 9:00 position. Rotors are 2010 Camaro SS rotors. The camaro rotors are the same dimensions as the 370Z rotor (355x32 with hat height of 49.7mm), but cheaper and about 6lbs lighter per corner. The hub hole needs to be bored by 0.6mm, and the bolt pattern re-drilled. The only issue with them is they use a really thick mounting face, like 9mm- so they may space the wheel out a few mm. I'll account for this with spacers under the brackets so I can use Camaro or 370Z rotors when the time comes to change them. I'd like to find a way to make the CTS-V2 co-cast rotors work eventually, but I may have to cut them down to 360mm diameter. I'll know for sure once I can bolt everything together and see how much radial clearance I have. They may fit at full 370mm diameter, but it'll be close with the 18" wheels. The system will be able to use a variety of rotor diameters though so long as the hat height remains close. Nice thing about radial mount calipers is that I can move up in rotor size with a simple spacer.
I'm using 370Z rotors in the rear with 911 Carrera calipers. Even with the radial mount caliper and 350mm rear rotor, I still need to take some material off the caliper mount to have enough space for a bracket, and the bottom of the bracket will sit flush against the mounting ears they stick out so far.
This setup puts the bias at 65/35, about halfway between OEM performance and OEM Brembo. Bias is largely irrelevant on an EBFD car though and all of our brake setups have too much rear bias built in. Unsprung weigh comes in at about +1.5-2lbs per corner over an OEM Brembo setup (heavier rotors but lighter calipers) and will cost less than a used OEM Brembo while blowing it out of the water in terms of thermal capacity.
I like the Porsche Brembos for a few reasons:
1. They cheap and readily available now that the VW kids have moved on to Touareg/Q7 calipers.
2. They're radial mount.
3. They have probably the best pad selection on the planet.
4. They have HUGE pads that use the full swept area of the rotor (StopTechs do this too). Wilwoods use a fraction of the swept area. More swept area means faster heat transfer from the pad into the rotor and lower pad temps.
5. They're brembo, so they use regular brembo rebuild kits.
I plan on adding to this write up with my own once it's finished. I tend to take a while on these things though. I went back to school a couple years ago and I'm going full time right now for a Mechanical Engineering degree which doesn't leave me a lot of free time.
Here's the worksheet I made to design the system: Z brakes.xls
It has bias calculations, bracket force calculations based on deceleration from stopping distances, Weight transfer calculations for a bias starting point, various rotor specs, system area ratio, rotational inertia deltas for various rotors, etc. Inputs are orange, outputs are green. Maybe it'll be useful to someone Just download it and you can input your specs to see how things change.
Mine isn't on the car yet but it's drawn up and all the parts are in my basement ready to go, I just need to cut the brackets.
I'm using Porsche 911TT Big Reds up front with brackets that clock the caliper down to the 9:00 position. Rotors are 2010 Camaro SS rotors. The camaro rotors are the same dimensions as the 370Z rotor (355x32 with hat height of 49.7mm), but cheaper and about 6lbs lighter per corner. The hub hole needs to be bored by 0.6mm, and the bolt pattern re-drilled. The only issue with them is they use a really thick mounting face, like 9mm- so they may space the wheel out a few mm. I'll account for this with spacers under the brackets so I can use Camaro or 370Z rotors when the time comes to change them. I'd like to find a way to make the CTS-V2 co-cast rotors work eventually, but I may have to cut them down to 360mm diameter. I'll know for sure once I can bolt everything together and see how much radial clearance I have. They may fit at full 370mm diameter, but it'll be close with the 18" wheels. The system will be able to use a variety of rotor diameters though so long as the hat height remains close. Nice thing about radial mount calipers is that I can move up in rotor size with a simple spacer.
I'm using 370Z rotors in the rear with 911 Carrera calipers. Even with the radial mount caliper and 350mm rear rotor, I still need to take some material off the caliper mount to have enough space for a bracket, and the bottom of the bracket will sit flush against the mounting ears they stick out so far.
This setup puts the bias at 65/35, about halfway between OEM performance and OEM Brembo. Bias is largely irrelevant on an EBFD car though and all of our brake setups have too much rear bias built in. Unsprung weigh comes in at about +1.5-2lbs per corner over an OEM Brembo setup (heavier rotors but lighter calipers) and will cost less than a used OEM Brembo while blowing it out of the water in terms of thermal capacity.
I like the Porsche Brembos for a few reasons:
1. They cheap and readily available now that the VW kids have moved on to Touareg/Q7 calipers.
2. They're radial mount.
3. They have probably the best pad selection on the planet.
4. They have HUGE pads that use the full swept area of the rotor (StopTechs do this too). Wilwoods use a fraction of the swept area. More swept area means faster heat transfer from the pad into the rotor and lower pad temps.
5. They're brembo, so they use regular brembo rebuild kits.
I plan on adding to this write up with my own once it's finished. I tend to take a while on these things though. I went back to school a couple years ago and I'm going full time right now for a Mechanical Engineering degree which doesn't leave me a lot of free time.
Here's the worksheet I made to design the system: Z brakes.xls
It has bias calculations, bracket force calculations based on deceleration from stopping distances, Weight transfer calculations for a bias starting point, various rotor specs, system area ratio, rotational inertia deltas for various rotors, etc. Inputs are orange, outputs are green. Maybe it'll be useful to someone
Just download it and you can input your specs to see how things change.
Last edited by kilogram; 10-03-2014 at 08:39 AM.
![DIY: Making your own [budget] BBK-rear-wilwood-holes.png](https://my350z.com/forum/attachments/brakes-and-suspension-diy/367992d1411749443-diy-making-your-own-budget-bbk-rear-wilwood-holes.png) 09-26-2014, 11:39 AM
09-26-2014, 11:39 AM
#76
Registered User
Join Date: Jan 2014
Location: New Mexico
Posts: 7
Likes: 0
Received 0 Likes
on
0 Posts
Awesome info! Thanks for posting the bolt spacing too. I clocked the front caliper ever so slightly so I don't mind a bit of slant, probably end up around 9:30 to 10 o'clock.
That 911 setup in front sounds pretty sweet, look forward to pics when you get it together.
That 911 setup in front sounds pretty sweet, look forward to pics when you get it together.
![DIY: Making your own [budget] BBK-rear-wilwood-clocked.png](https://my350z.com/forum/attachments/brakes-and-suspension-diy/368148d1412096717-diy-making-your-own-budget-bbk-rear-wilwood-clocked.png) 03-31-2015, 11:43 AM
03-31-2015, 11:43 AM
#78
Thought I'd update this with my progress as well..
So the setup is 911/996 twin turbo front calipers with N/A rear calipers, paired with 2010+ Camaro SS rotors (same dimensions as 370z, but 6lbs lighter each) and 370Z rear rotors. Bias is 65/35, about halfway between a track and a standard setup. Total cost ended up in the $950 range. I did the design work for the brackets in Solidworks and ran stress and P/A calcs and plotted them on the S-N diagrams for 6061 aluminum to show they'd be good into the hundreds of thousands of cycles. The bracket clocks the caliper down in front 18�, so not as much as the stoptech brackets, but strength went down significantly when I moved it down more than that so that's where I stopped. The rear brackets clock the caliper up 6� to clear mounting hole interference.
Here's the mockup bracket:
![DIY: Making your own [budget] BBK-imag1242.jpg](https://my350z.com/forum/attachments/brakes-and-suspension-diy/371906d1427829559t-diy-making-your-own-budget-bbk-imag1242.jpg)
Did a test fit to check clearance, and they actually clear the stock performance wheels (I thought I was going to need spacers).
![DIY: Making your own [budget] BBK-imag1298.jpg](https://my350z.com/forum/attachments/brakes-and-suspension-diy/371911d1427829756t-diy-making-your-own-budget-bbk-imag1298.jpg) I'm not worried about them clearing my RPF1s, plenty of space in those.
I'm not worried about them clearing my RPF1s, plenty of space in those.
So, time to cut them out of aluminum:
![DIY: Making your own [budget] BBK-imag1317.jpg](https://my350z.com/forum/attachments/brakes-and-suspension-diy/371907d1427829559t-diy-making-your-own-budget-bbk-imag1317.jpg) 19mm thick 6061-T6 angle. A real ***** to cut with a jigsaw. Cleaned them up on the drill press (which serves as a light-duty mill here)
19mm thick 6061-T6 angle. A real ***** to cut with a jigsaw. Cleaned them up on the drill press (which serves as a light-duty mill here)
![DIY: Making your own [budget] BBK-imag1322.jpg](https://my350z.com/forum/attachments/brakes-and-suspension-diy/371912d1427830308t-diy-making-your-own-budget-bbk-imag1322.jpg)
Here's the bracket bolted to the hub:
![DIY: Making your own [budget] BBK-imag1327.jpg](https://my350z.com/forum/attachments/brakes-and-suspension-diy/371908d1427829559t-diy-making-your-own-budget-bbk-imag1327.jpg)
Studs are grade M12 12.9 shoulder bolts with a light press fit.
And here's the caliper and rotor installed:
![DIY: Making your own [budget] BBK-imag1325.jpg](https://my350z.com/forum/attachments/brakes-and-suspension-diy/371909d1427829559t-diy-making-your-own-budget-bbk-imag1325.jpg)
The rotors are extremely close to the 370Z in dimensions- same diameter and thickness, height within half a mm (that means I can just bolt on 370Z 2-piece rotors in the future if I want) but the Camaro rotors need the bolt holes elongated slightly inward to fit the Z's smaller PCD and they need the hub holes opened up 0.6mm to the Z's 68mm hole diameter.. The former takes 5 minutes with a carbide burr and the latter takes 30 seconds with a 3" 80 grit flap wheel on the drill press. Well worth the time to save 6lbs per corner
Rears are mostly done too but haven't been test fitted:
![DIY: Making your own [budget] BBK-imag1310.jpg](https://my350z.com/forum/attachments/brakes-and-suspension-diy/371910d1427829559t-diy-making-your-own-budget-bbk-imag1310.jpg) I'll have to cut the dust shields, but the measurements should be as accurate as the front, which went together perfectly the first time.
I'll have to cut the dust shields, but the measurements should be as accurate as the front, which went together perfectly the first time.
These will be reassembled with StopTech lines only because my stock lines are old and I've had failures on cars younger than this in the past (F*** you, Audi). I've never been able to tell the difference, but the stainless should last longer and were only $30 more than quality rubber lines. Got them for $95 shipped from Rockauto.
I'll post final assembly pics when it's done. I still need to anodize the brackets, and my pH tester isn't here yet so I can't get the dye bath to the right pH for the anode layer to dye properly.
So the setup is 911/996 twin turbo front calipers with N/A rear calipers, paired with 2010+ Camaro SS rotors (same dimensions as 370z, but 6lbs lighter each) and 370Z rear rotors. Bias is 65/35, about halfway between a track and a standard setup. Total cost ended up in the $950 range. I did the design work for the brackets in Solidworks and ran stress and P/A calcs and plotted them on the S-N diagrams for 6061 aluminum to show they'd be good into the hundreds of thousands of cycles. The bracket clocks the caliper down in front 18�, so not as much as the stoptech brackets, but strength went down significantly when I moved it down more than that so that's where I stopped. The rear brackets clock the caliper up 6� to clear mounting hole interference.
Here's the mockup bracket:
![DIY: Making your own [budget] BBK-imag1242.jpg](https://my350z.com/forum/attachments/brakes-and-suspension-diy/371906d1427829559-diy-making-your-own-budget-bbk-imag1242.jpg)
Did a test fit to check clearance, and they actually clear the stock performance wheels (I thought I was going to need spacers).
![DIY: Making your own [budget] BBK-imag1298.jpg](https://my350z.com/forum/attachments/brakes-and-suspension-diy/371911d1427829756-diy-making-your-own-budget-bbk-imag1298.jpg) I'm not worried about them clearing my RPF1s, plenty of space in those.
I'm not worried about them clearing my RPF1s, plenty of space in those. So, time to cut them out of aluminum:
![DIY: Making your own [budget] BBK-imag1317.jpg](https://my350z.com/forum/attachments/brakes-and-suspension-diy/371907d1427829559-diy-making-your-own-budget-bbk-imag1317.jpg) 19mm thick 6061-T6 angle. A real ***** to cut with a jigsaw. Cleaned them up on the drill press (which serves as a light-duty mill here)
19mm thick 6061-T6 angle. A real ***** to cut with a jigsaw. Cleaned them up on the drill press (which serves as a light-duty mill here)![DIY: Making your own [budget] BBK-imag1322.jpg](https://my350z.com/forum/attachments/brakes-and-suspension-diy/371912d1427830308-diy-making-your-own-budget-bbk-imag1322.jpg)
Here's the bracket bolted to the hub:
![DIY: Making your own [budget] BBK-imag1327.jpg](https://my350z.com/forum/attachments/brakes-and-suspension-diy/371908d1427829559-diy-making-your-own-budget-bbk-imag1327.jpg)
Studs are grade M12 12.9 shoulder bolts with a light press fit.
And here's the caliper and rotor installed:
![DIY: Making your own [budget] BBK-imag1325.jpg](https://my350z.com/forum/attachments/brakes-and-suspension-diy/371909d1427829559-diy-making-your-own-budget-bbk-imag1325.jpg)
The rotors are extremely close to the 370Z in dimensions- same diameter and thickness, height within half a mm (that means I can just bolt on 370Z 2-piece rotors in the future if I want) but the Camaro rotors need the bolt holes elongated slightly inward to fit the Z's smaller PCD and they need the hub holes opened up 0.6mm to the Z's 68mm hole diameter.. The former takes 5 minutes with a carbide burr and the latter takes 30 seconds with a 3" 80 grit flap wheel on the drill press. Well worth the time to save 6lbs per corner
Rears are mostly done too but haven't been test fitted:
![DIY: Making your own [budget] BBK-imag1310.jpg](https://my350z.com/forum/attachments/brakes-and-suspension-diy/371910d1427829559-diy-making-your-own-budget-bbk-imag1310.jpg) I'll have to cut the dust shields, but the measurements should be as accurate as the front, which went together perfectly the first time.
I'll have to cut the dust shields, but the measurements should be as accurate as the front, which went together perfectly the first time. These will be reassembled with StopTech lines only because my stock lines are old and I've had failures on cars younger than this in the past (F*** you, Audi). I've never been able to tell the difference, but the stainless should last longer and were only $30 more than quality rubber lines. Got them for $95 shipped from Rockauto.
I'll post final assembly pics when it's done. I still need to anodize the brackets, and my pH tester isn't here yet so I can't get the dye bath to the right pH for the anode layer to dye properly.
Last edited by kilogram; 03-31-2015 at 11:55 AM.
03-31-2015, 02:53 PM
#79
Updating this with measurements for anyone who wants to go this route with calipers we haven't talked about..
Front
Mount spacing: 100.2mm
Mount bore: 14.5mm (M14x1.5 bolts)
Axle center to mount centerline between mounting holes: 65.1mm
Mounting face to inside face of disc: 29.7
Mounting face thickness: 23.3mm
Mounting pad diameter (space around mount hole): 28.5mm (max clearance around holes = 18mm radius)
Rear
Mount spacing: 122mm
Bore: 12.5mm (?)
Axle center to centerline between mounting holes: 101.8mm
Mounting face to inside of disc: 20.1mm
Mount face diameter: 28.5mm
Mount thickness: 14.3mm
05-24-2015, 09:55 PM
#80
Registered User
Join Date: Jan 2014
Location: New Mexico
Posts: 7
Likes: 0
Received 0 Likes
on
0 Posts
Nice update Kilo! Great job on the bracket and very nice fit. I've put about 20k miles on the WIlwood front BBK and it's working flawlessly. I've had a bunch of clutter getting in the way of finishing the back setup but hopefully in the near future. Not really a big deal though since the setup is working better than I expected.
Look forward to seeing more info on your Porsche retrofit, quite a bit of legwork required there but looks like you were up to the task.
Look forward to seeing more info on your Porsche retrofit, quite a bit of legwork required there but looks like you were up to the task.