When you click on links to various merchants on this site and make a purchase, this can result in this site earning a commission. Affiliate programs and affiliations include, but are not limited to, the eBay Partner Network.
In cases like this where all the replacements are a tad different than factory makes me think at some point in production of parts they decided on a change to the ball joint. Like part number **** replacement with improved version ***** since seems like there are zero replacements exactly like factory installed.
I haven't tackled mine yet because of work and it's been bad weather. My install will be outside. Other than issues getting the cotter pin back in with enough room. It's all pretty straight forward with the right tools?
As long as you have the right tools (proper sized sleeves in a ball joint press kit for both pressing out the old (~2.5" ID) and pressing in the new (~2.125" ID) with short receiver cap on the other end (~2.25" ID)), it is pretty straight forward. Those (~"ID) measurements are for an 06-09 Z from my personal experience. It takes much more elbow grease than any DIY video I've seen to get the new ball joint pressed in; I saw in earlier posts that members bought exhaust connectors and used them as sleeves when rented kits did not come with the appropriate sizes, I only needed 1 exhaust connector to get my old ball joints out but I went through ~6 exhaust connectors getting both of my new ball joints pressed in (they all flared/ballooned under the pressure because they're made from weaker, aluminized steel than the kit's sleeves).. So my suggestion is to get the right kit with the proper sleeves off the bat to prevent a long battle.
When I say a complete kit, I mean similar to the one that ChrisFix uses in this tutorial:
As long as you have the right tools (proper sized sleeves in a ball joint press kit for both pressing out the old (~2.5" ID) and pressing in the new (~2.125" ID) with short receiver cap on the other end (~2.25" ID)), it is pretty straight forward. Those (~"ID) measurements are for an 06-09 Z from my personal experience. It takes much more elbow grease than any DIY video I've seen to get the new ball joint pressed in; I saw in earlier posts that members bought exhaust connectors and used them as sleeves when rented kits did not come with the appropriate sizes, I only needed 1 exhaust connector to get my old ball joints out but I went through ~6 exhaust connectors getting both of my new ball joints pressed in (they all flared/ballooned under the pressure because they're made from weaker, aluminized steel than the kit's sleeves).. So my suggestion is to get the right kit with the proper sleeves off the bat to prevent a long battle.
When I say a complete kit, I mean similar to the one that ChrisFix uses in this tutorial: https://youtu.be/37NgLM4tIzw
The one I rented from Autozone was less than half of what was provided there. I have heard that Carquest/Advance Auto Parts has a better kit for rent.
May the odds be ever in your favor.
Thanks. I'm ready to tackle this job unfortunately. Just haven't crawled under the car to get a good inspection of everything that needs to be replaced. If I'm under the car like that I rather do everything at once. Is there a performance benefit using ES dust boots over what comes with the new ball joints? Same for new seats as most kits don't come with seats. I'm single so when my car is apart I won't have another car to drive to the part store so want to make sure I got what I need. Advance is the better kit and the 3 dimensions for receivers are the ones needed. My car is a 03. Reading all 21 pages of this thread seeing differences just made things a tad more confusing, even though it's a pain in the *** type job.
Remove the whole knuckle and press the ball joint outside the car, It was a lot easier (at least for me).
Removing the knuckle shouldn't take more than 15 minutes if you know what you are doing..
Agreed. It seems like a lot of work, but it's really not that bad. Worst part for me was removing the tie rod end balljoint, as I had to use a BJ separator.
Originally Posted by mcubed45
Haven't had any issues with the boot that comes on the duralast BJ's.
Just buy duralast for the lifetime warranty imo. Why waste money on generic brands and swapping boots?
Agreed! I bought Mevotech Supreme. Lifetime warranty, ready to install! Includes the castle nut, snap ring, and cotter pin for each BJ.
For those who are saying that the ball joint they bought is smaller, read my post (#357).
In summary:
03-04: get duralast (Part # BJL148) $60 each, lifetime warranty.
05+" Get new oem knuckles, czp 05+ joints, Z1 05+ joints
for true oem size stud: get Deeza (if you can find them) Part # IN-G605
OR
Mevotech now offers an 05+ ball joint with there so called "x factor technology" which claims to be better than oe. These also have a grease zerk on the bottom and a lifetime warranty. Not sure how they compare to oem 05+ joints but they look promising and can be had for less than $30 each online. My Deeza joints are still working fine by the looks of them, but if I ever have any more issues, I would give these a try. Part # is MS30506.
bought mine from conceptZperformance a little under a year ago.
I didn't have to take out the steering knuckle but i did so anyways. that made the process a lot easier for me. i used an impact along with rental ball joint remover from autozone and a piece of exhaust tubing to extend the piece they give u in the rental. 5 second full blast of impact and those ball joints came off. new ones still holding up since i stored it in dec.
Just did mine yesterday using Autozone parts and tools. Model year 2004 Here is a list of tools and some pics.
Autozone Parts/Tools:
Part # DBJ 148 ( ball joint )
Part # 27310 ( master ball joint installer/remover set )
Part # 27023 ( ball joint press )
Part # 27011 ( 3 jaw puller )
And its 41mm in diameter, sorry the battery died.
Steps for removal and re-installation:
1. Remove Cone Washer from old BJ using a 3 jaw puller then remove factory retaining clip.
2. Locate Sleeve # 27310B and #27310N
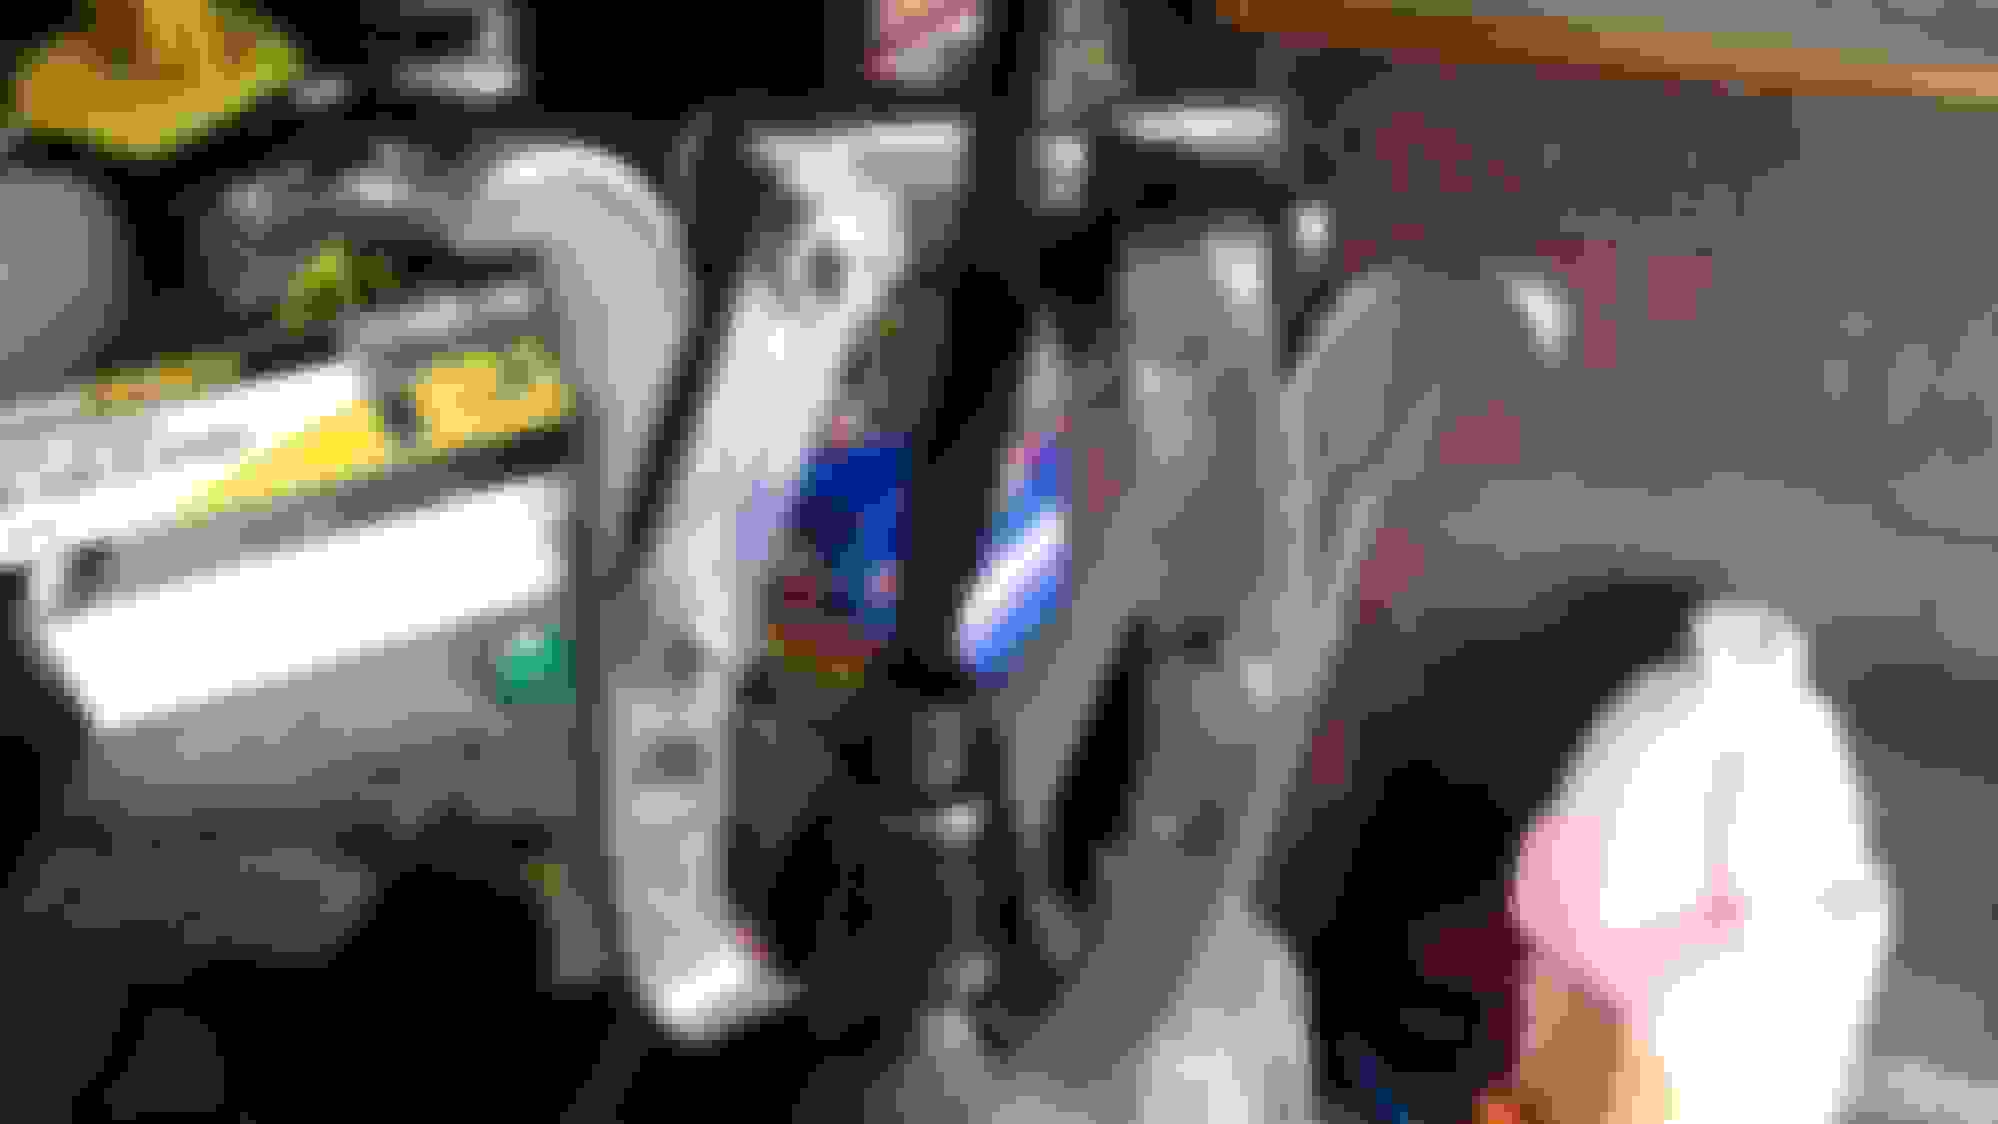
3. Place receiver 27310B over ball joint making sure the BJ stud is centered with the hole on the top of the press. Then place the smaller remover 27310N into the bottom of the ball joint. The remover has a smaller portion that fits inside the bottom of the ball joint perfectly. Use an impact or alot of elbow grease and a pipe to remove ball joint.
center the stud
4. Locate Sleeve # 27310D and # 27310K. Place 27310D on top of new ball joint with 27310K underneath as the receiver cup. I greased my joint before installing. Once pressed install the retaining clip and your done.
Hope this helps anyone out there looking to do this. it wasnt that hard using a vice outside of the car. air tools help alot. good luck.
For those who are saying that the ball joint they bought is smaller, read my post (#357).
In summary:
03-04: get duralast (Part # BJL148) $60 each, lifetime warranty.
05+" Get new oem knuckles, czp 05+ joints, Z1 05+ joints
for true oem size stud: get Deeza (if you can find them) Part # IN-G605
OR
Mevotech now offers an 05+ ball joint with there so called "x factor technology" which claims to be better than oe. These also have a grease zerk on the bottom and a lifetime warranty. Not sure how they compare to oem 05+ joints but they look promising and can be had for less than $30 each online. My Deeza joints are still working fine by the looks of them, but if I ever have any more issues, I would give these a try. Part # is MS30506.
I have an 06 G35 rwd coupe, so you're saying I should get a new oem knuckle in addition to Mevotech MS30506? Why get a new oem knuckle?
Just did mine yesterday using Autozone parts and tools. Model year 2004 Here is a list of tools and some pics.
Autozone Parts/Tools:
Part # DBJ 148 ( ball joint )
Part # 27310 ( master ball joint installer/remover set )
Part # 27023 ( ball joint press )
Part # 27011 ( 3 jaw puller )
And its 41mm in diameter, sorry the battery died.
Steps for removal and re-installation:
1. Remove Cone Washer from old BJ using a 3 jaw puller then remove factory retaining clip.
2. Locate Sleeve # 27310B and #27310N
3. Place receiver 27310B over ball joint making sure the BJ stud is centered with the hole on the top of the press. Then place the smaller remover 27310N into the bottom of the ball joint. The remover has a smaller portion that fits inside the bottom of the ball joint perfectly. Use an impact or alot of elbow grease and a pipe to remove ball joint.
center the stud
4. Locate Sleeve # 27310D and # 27310K. Place 27310D on top of new ball joint with 27310K underneath as the receiver cup. I greased my joint before installing. Once pressed install the retaining clip and your done.
Hope this helps anyone out there looking to do this. it wasnt that hard using a vice outside of the car. air tools help alot. good luck.
We appreciate this. 15 years after these cars were built is what it took for a proper DIY..People can learn how to do a good write up seeing this thread. Why both kits from master ball joint tool and the ball joint press, for extra cups and receivers? Can you tell us the total cost for the rental of all 3 tools. Just in case someone is on a budget and needs to make sure they have enough cash on hand?
The reason for both sets is because the basic set with clamp doesnt come with the correct size cups. the bigger set is actually complimentary to the smaller set. Autozone rents these tools for free. Just put a deposit on them, and when returned the deposit is refunded.
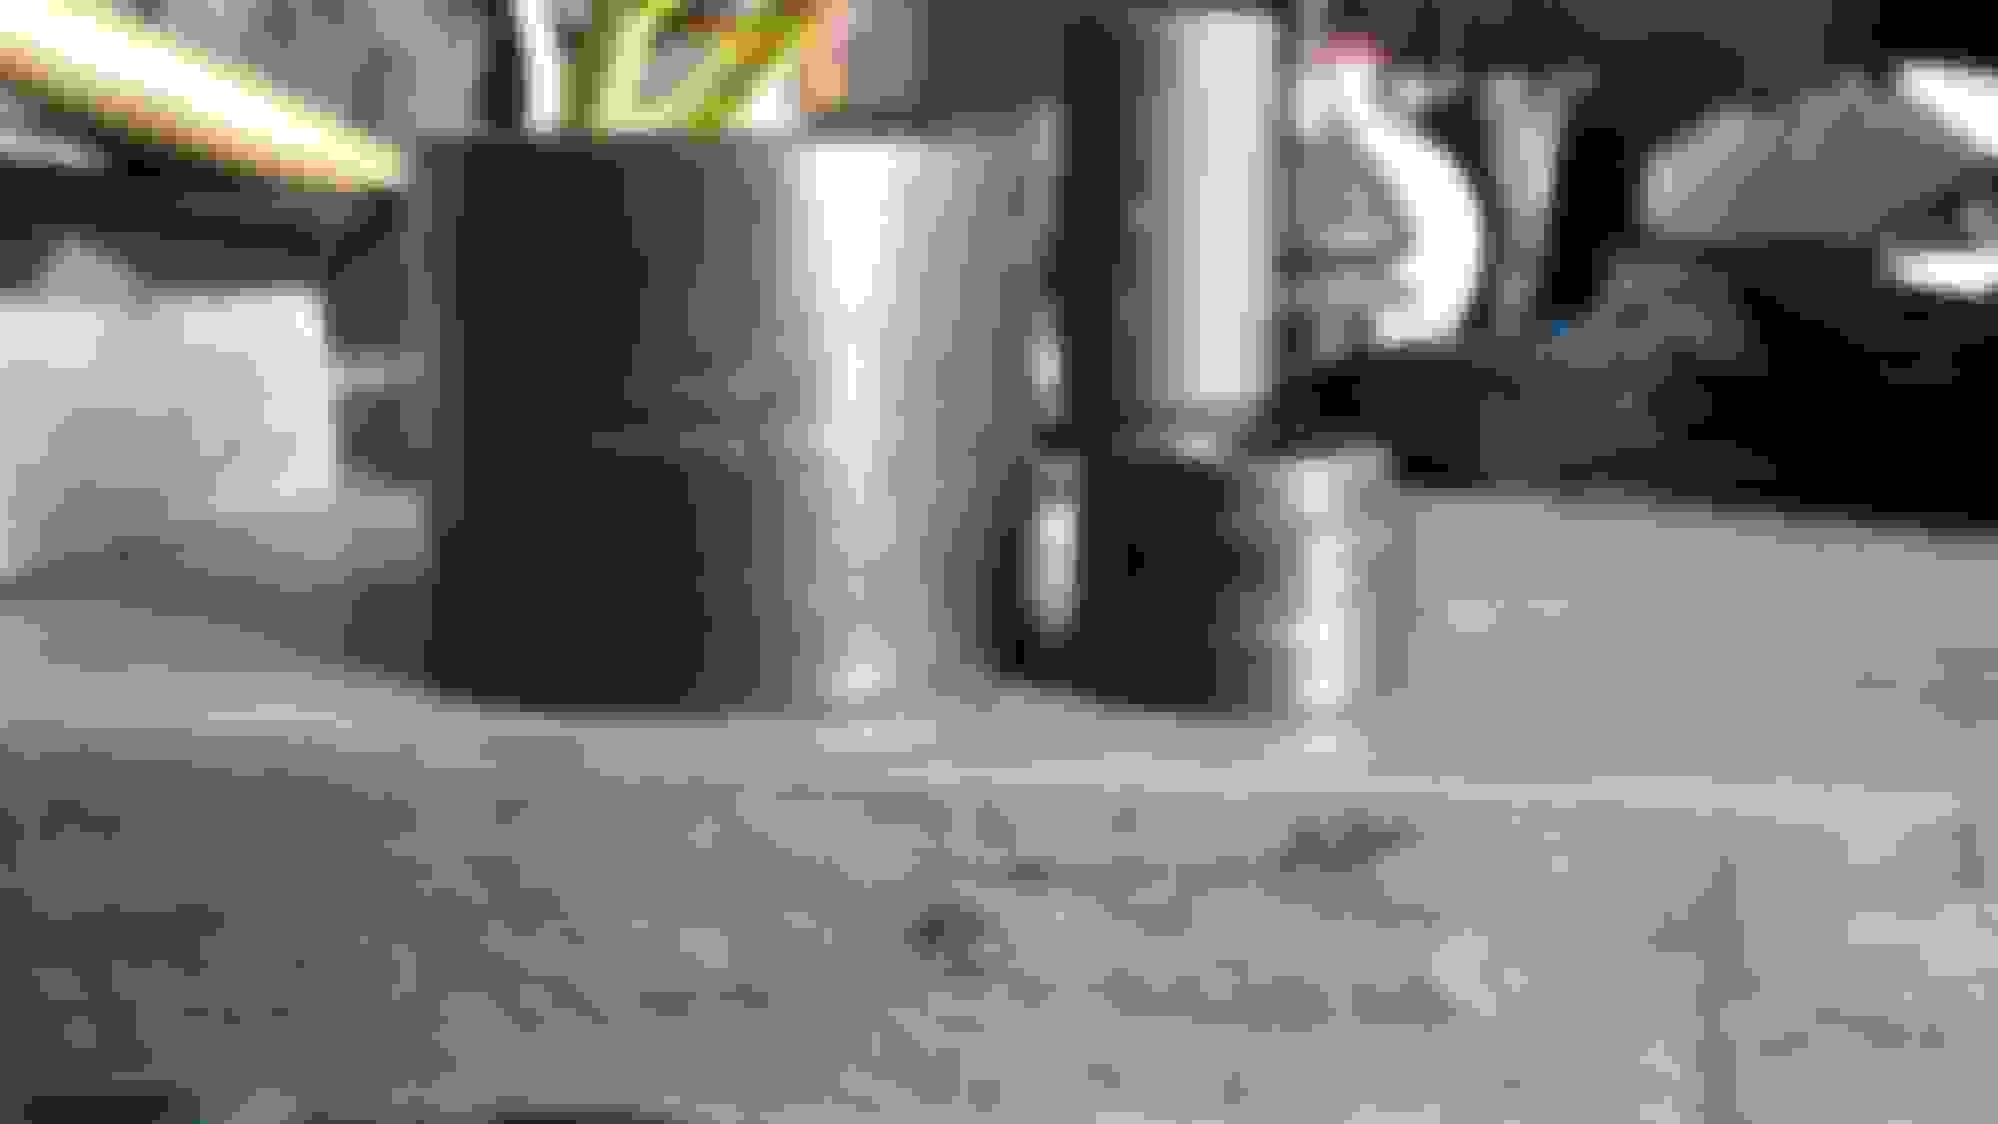
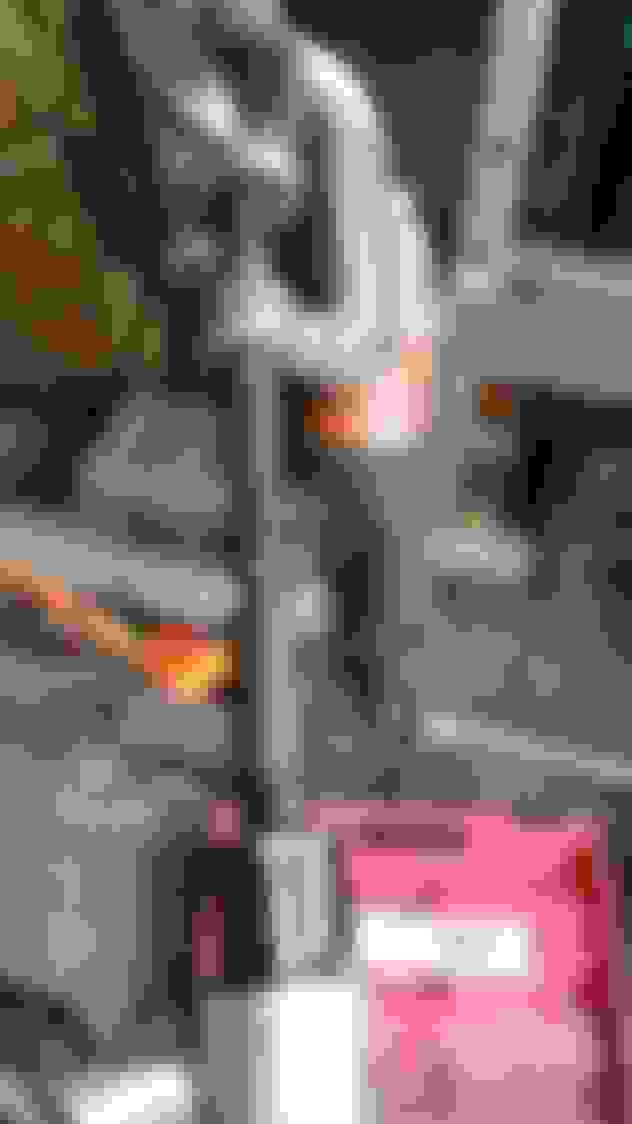
This is a 2006 G35 rwd. I'm trying to get enough clearance to put the ball joint press but as you can see it is pretty tight. Is the solution to simply keep jacking up the lower control arm until I have enough clearance and keep it jacked up until the new ball joint is in?
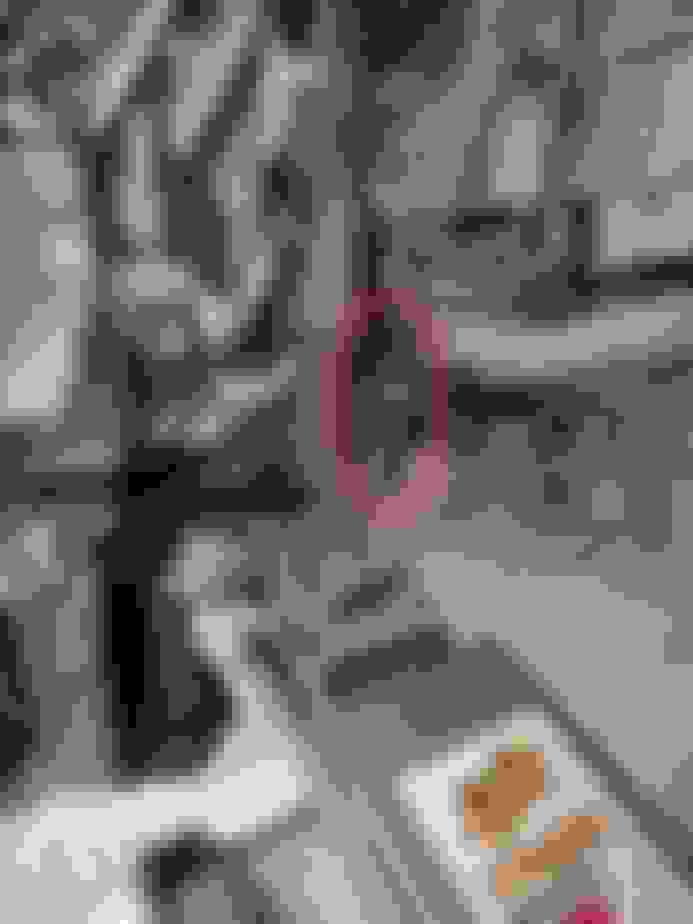
I am worried that if I keep jacking the control arm too much the joints circled in red in pic below will be damaged. Any suggestions?
I am worried that if I keep jacking the control arm too much the joints circled in red in pic below will be damaged. Any suggestions?
that lower control arm supports the weight of the car when it's resting on the wheels. However much pressure you exert with the jack is still less than the forces applied when the car is sitting normally on it's wheels and significantly less than the forces applied to the suspension when driving.
Nah, remove the end link and shock and rotate the LCA down. i did mine in the car (posted many pages back). I removed the LCA (or translink) completely and replaced with whiteline bushings since it was already out. (should have went solid SPL). Or take the knuckle out. like everyone else does
This is a 2006 G35 rwd. I'm trying to get enough clearance to put the ball joint press but as you can see it is pretty tight. Is the solution to simply keep jacking up the lower control arm until I have enough clearance and keep it jacked up until the new ball joint is in?
I am worried that if I keep jacking the control arm too much the joints circled in red in pic below will be damaged. Any suggestions?
honestly, you are going to have a hard time getting the ball joint pressed out and pressed in with the knuckle still on the car. just take off the 2 brake caliper bolts, the upper control arm bolt and lower radius arm ( compression arm) bolt. Its really not that big of a deal, ive had my complete front suspension off my car a few times, its a very user friendly design.
honestly, you are going to have a hard time getting the ball joint pressed out and pressed in with the knuckle still on the car. just take off the 2 brake caliper bolts, the upper control arm bolt and lower radius arm ( compression arm) bolt. Its really not that big of a deal, ive had my complete front suspension off my car a few times, its a very user friendly design.
I had no problem doing it with the knuckle still on the car. Probably took about 45 min from start to finish.
I had no problem doing it with the knuckle still on the car. Probably took about 45 min from start to finish.
Pretty sure that's more of the exception. The tool wouldn't push mine out, I had to remove it all and use a shop press, I honestly thought the whole piece was going to snap in half before the ball joint came out.
I had no problem doing it with the knuckle still on the car. Probably took about 45 min from start to finish.
yeah, one of my BJ's came out easily and i probably could have done it on the car, but the other side had some corrosion and was difficult to remove even outside the car. I think being in Hawaii helps, no salted roads in the winter.
 12-21-2016, 08:27 AM