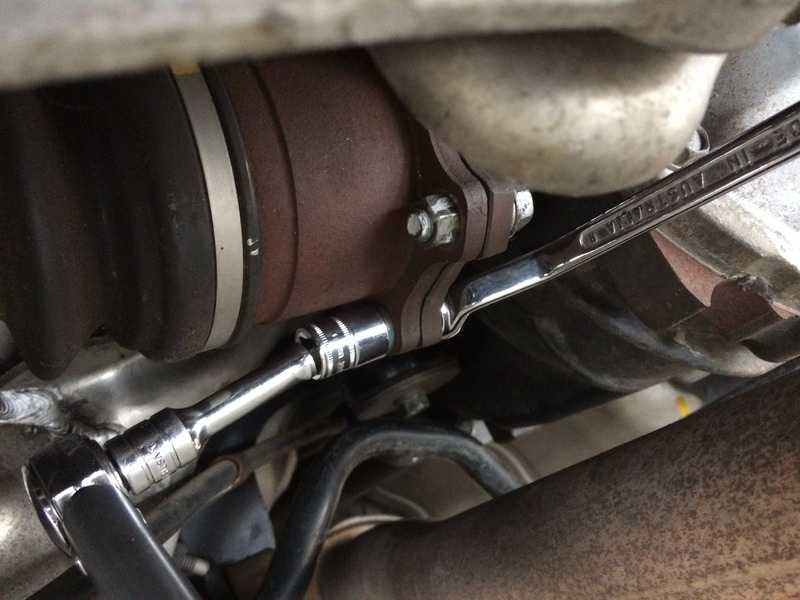
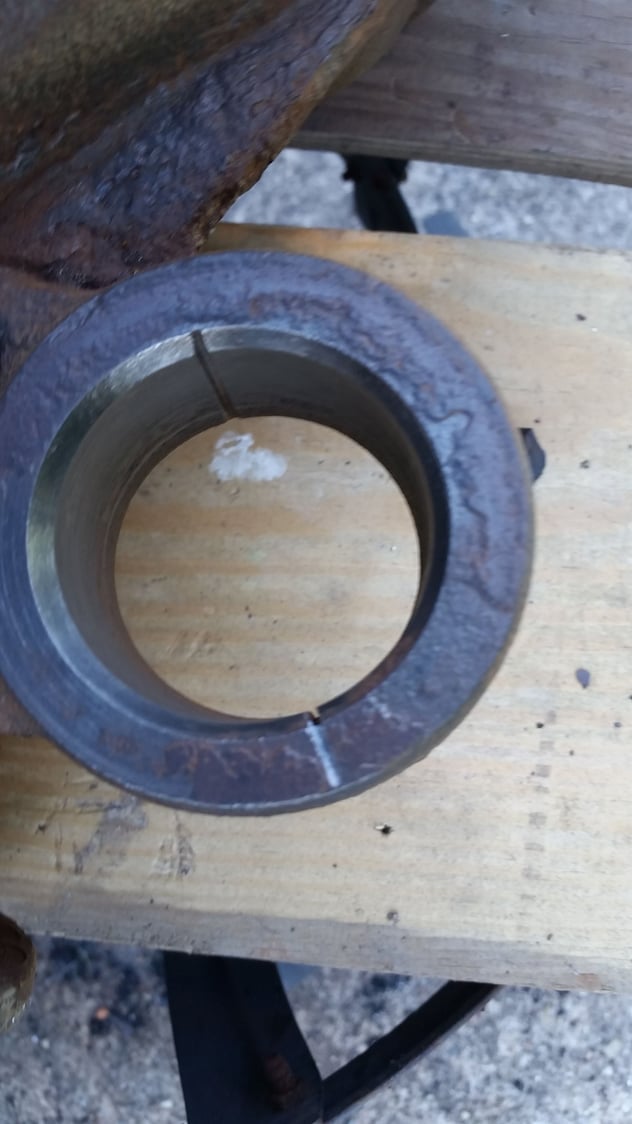
DIY - Solid diff bushing install - No subframe drop method, no c clamp either!
#222
6 inch cawk is my fave!
iTrader: (3)
Getting those oem bushings out sure is a big mess, besides the passenger side being filled with a disgusting mystery fluid, they both produced endless amounts of metal shards that seemed to love the screwdriver I was using... Still cleaning it up, didnt have much time yesterday but mad props to anyone who can do this whole job by themselves in one day... I certainly couldn't.
#225
Registered User
-rottingcat
No it's not. I didn't notice that on mine and the nut worked its way off and i broke the stud. I had no time to fix it properly since i had to go to work the next day but i would guess that it is at the wrong angle. Between the different brands of bushings it seemed arguable whether or not to reuse any of the oem washers. If you have the time to research how to set pinion angle properly and enough energy to mess around with different thicknesses of washers i recommend you do so.
I "fixed" mine by putting a new stud in and using two nuts with locktite and have 110,000 on the upgrade so don't worry too much but realize if the case doesnt hit the frame and bushing square it will work its way loose!
Let us all know how it turns out!
ps it looks like you are at an angle. Tight against the case at the to and a gap at the bottom? Exactly what i had. I did not use any oem washers but always thought trying one in there would make it correct.
Last edited by bjr; 02-04-2018 at 06:15 AM. Reason: Using browser without java and hit reply instead of quote. Added clarification.
The following users liked this post:
rottingcat (02-04-2018)
#226
Registered User
iTrader: (3)
Thank you for your reply! Yes it is at an angle the top is actually making contact with the subframe.
I am probably going to add the OEM washer plate at the top of where the ears mount to the subframe to see if it will fix the problem. Will update! Also I have emailed SPL too.
I am probably going to add the OEM washer plate at the top of where the ears mount to the subframe to see if it will fix the problem. Will update! Also I have emailed SPL too.
#227
Registered User
Thank you for your reply! Yes it is at an angle the top is actually making contact with the subframe.
I am probably going to add the OEM washer plate at the top of where the ears mount to the subframe to see if it will fix the problem. Will update! Also I have emailed SPL too.
I am probably going to add the OEM washer plate at the top of where the ears mount to the subframe to see if it will fix the problem. Will update! Also I have emailed SPL too.
Hearing you talk about the ears and SPL reminds me of one more thing you can check. I bought a cheaper kit from Torque Solutions(?) and all 4 ear bushings were exact same thickness. I emailed them and they insisted all 4 are the same and it's ok. However, a lot of other kits (comparing other solid kits and also urethane kits) seem to have one thickness for the top and one for the bottom. If SPL is this way and you randomly put them in you could be crooked from front to rear causing the angle plus possibly left to right - so be sure and take another close look at your ear bushings.
If you don't get a response from SPL this is where you should start - going through this thread and looking at the discussions related to the ears being installed wrong and measuring yours if SPL can't help you. I suppose you could somehow measure them without taking anything apart too. If left on your own try the washer to get it level and it would be even better to look up how to check pinion angle and measure that too after you get the gap fixed. I've always wanted to follow up with that but guess I am too lazy. Good luck!
Last edited by bjr; 02-04-2018 at 09:04 AM.
#229
just installed z1 diff bushings using this guide.
Few things i ran into is that the rear diff bushing has to sit flush with the rear of the sub frame (rear of car), and unlike the spl bushings the z1 bushings reuse the gold washers on the diff ears (this is according to z1 after speaking to them on the phone).
unrelated i did a nismo diff cover since i dropped the diff, the diff breather is the biggest pain in the *** to put in!
#230
New Member
iTrader: (2)
just installed z1 diff bushings using this guide.
Few things i ran into is that the rear diff bushing has to sit flush with the rear of the sub frame (rear of car), and unlike the spl bushings the z1 bushings reuse the gold washers on the diff ears (this is according to z1 after speaking to them on the phone).
unrelated i did a nismo diff cover since i dropped the diff, the diff breather is the biggest pain in the *** to put in!
Few things i ran into is that the rear diff bushing has to sit flush with the rear of the sub frame (rear of car), and unlike the spl bushings the z1 bushings reuse the gold washers on the diff ears (this is according to z1 after speaking to them on the phone).
unrelated i did a nismo diff cover since i dropped the diff, the diff breather is the biggest pain in the *** to put in!
Thread
Thread Starter
Forum
Replies
Last Post
Lt_Ballzacki
Brakes & Suspension
39
08-06-2021 06:19 AM


