LS1 Drift Build 'Nuff Said'
 09-06-2011, 04:08 AM
#121

")
Did you put some anti-sieze on the spark plugs? I just got the same coil wires for my car. The factory wires can be VERY tight on the headers and these fit much better.
I love the painted coil hanger... things to do over the winter for me for sure.


 09-11-2011, 09:21 PM
#128
STAGE 1: Phase 7 'Sikky Heaven'
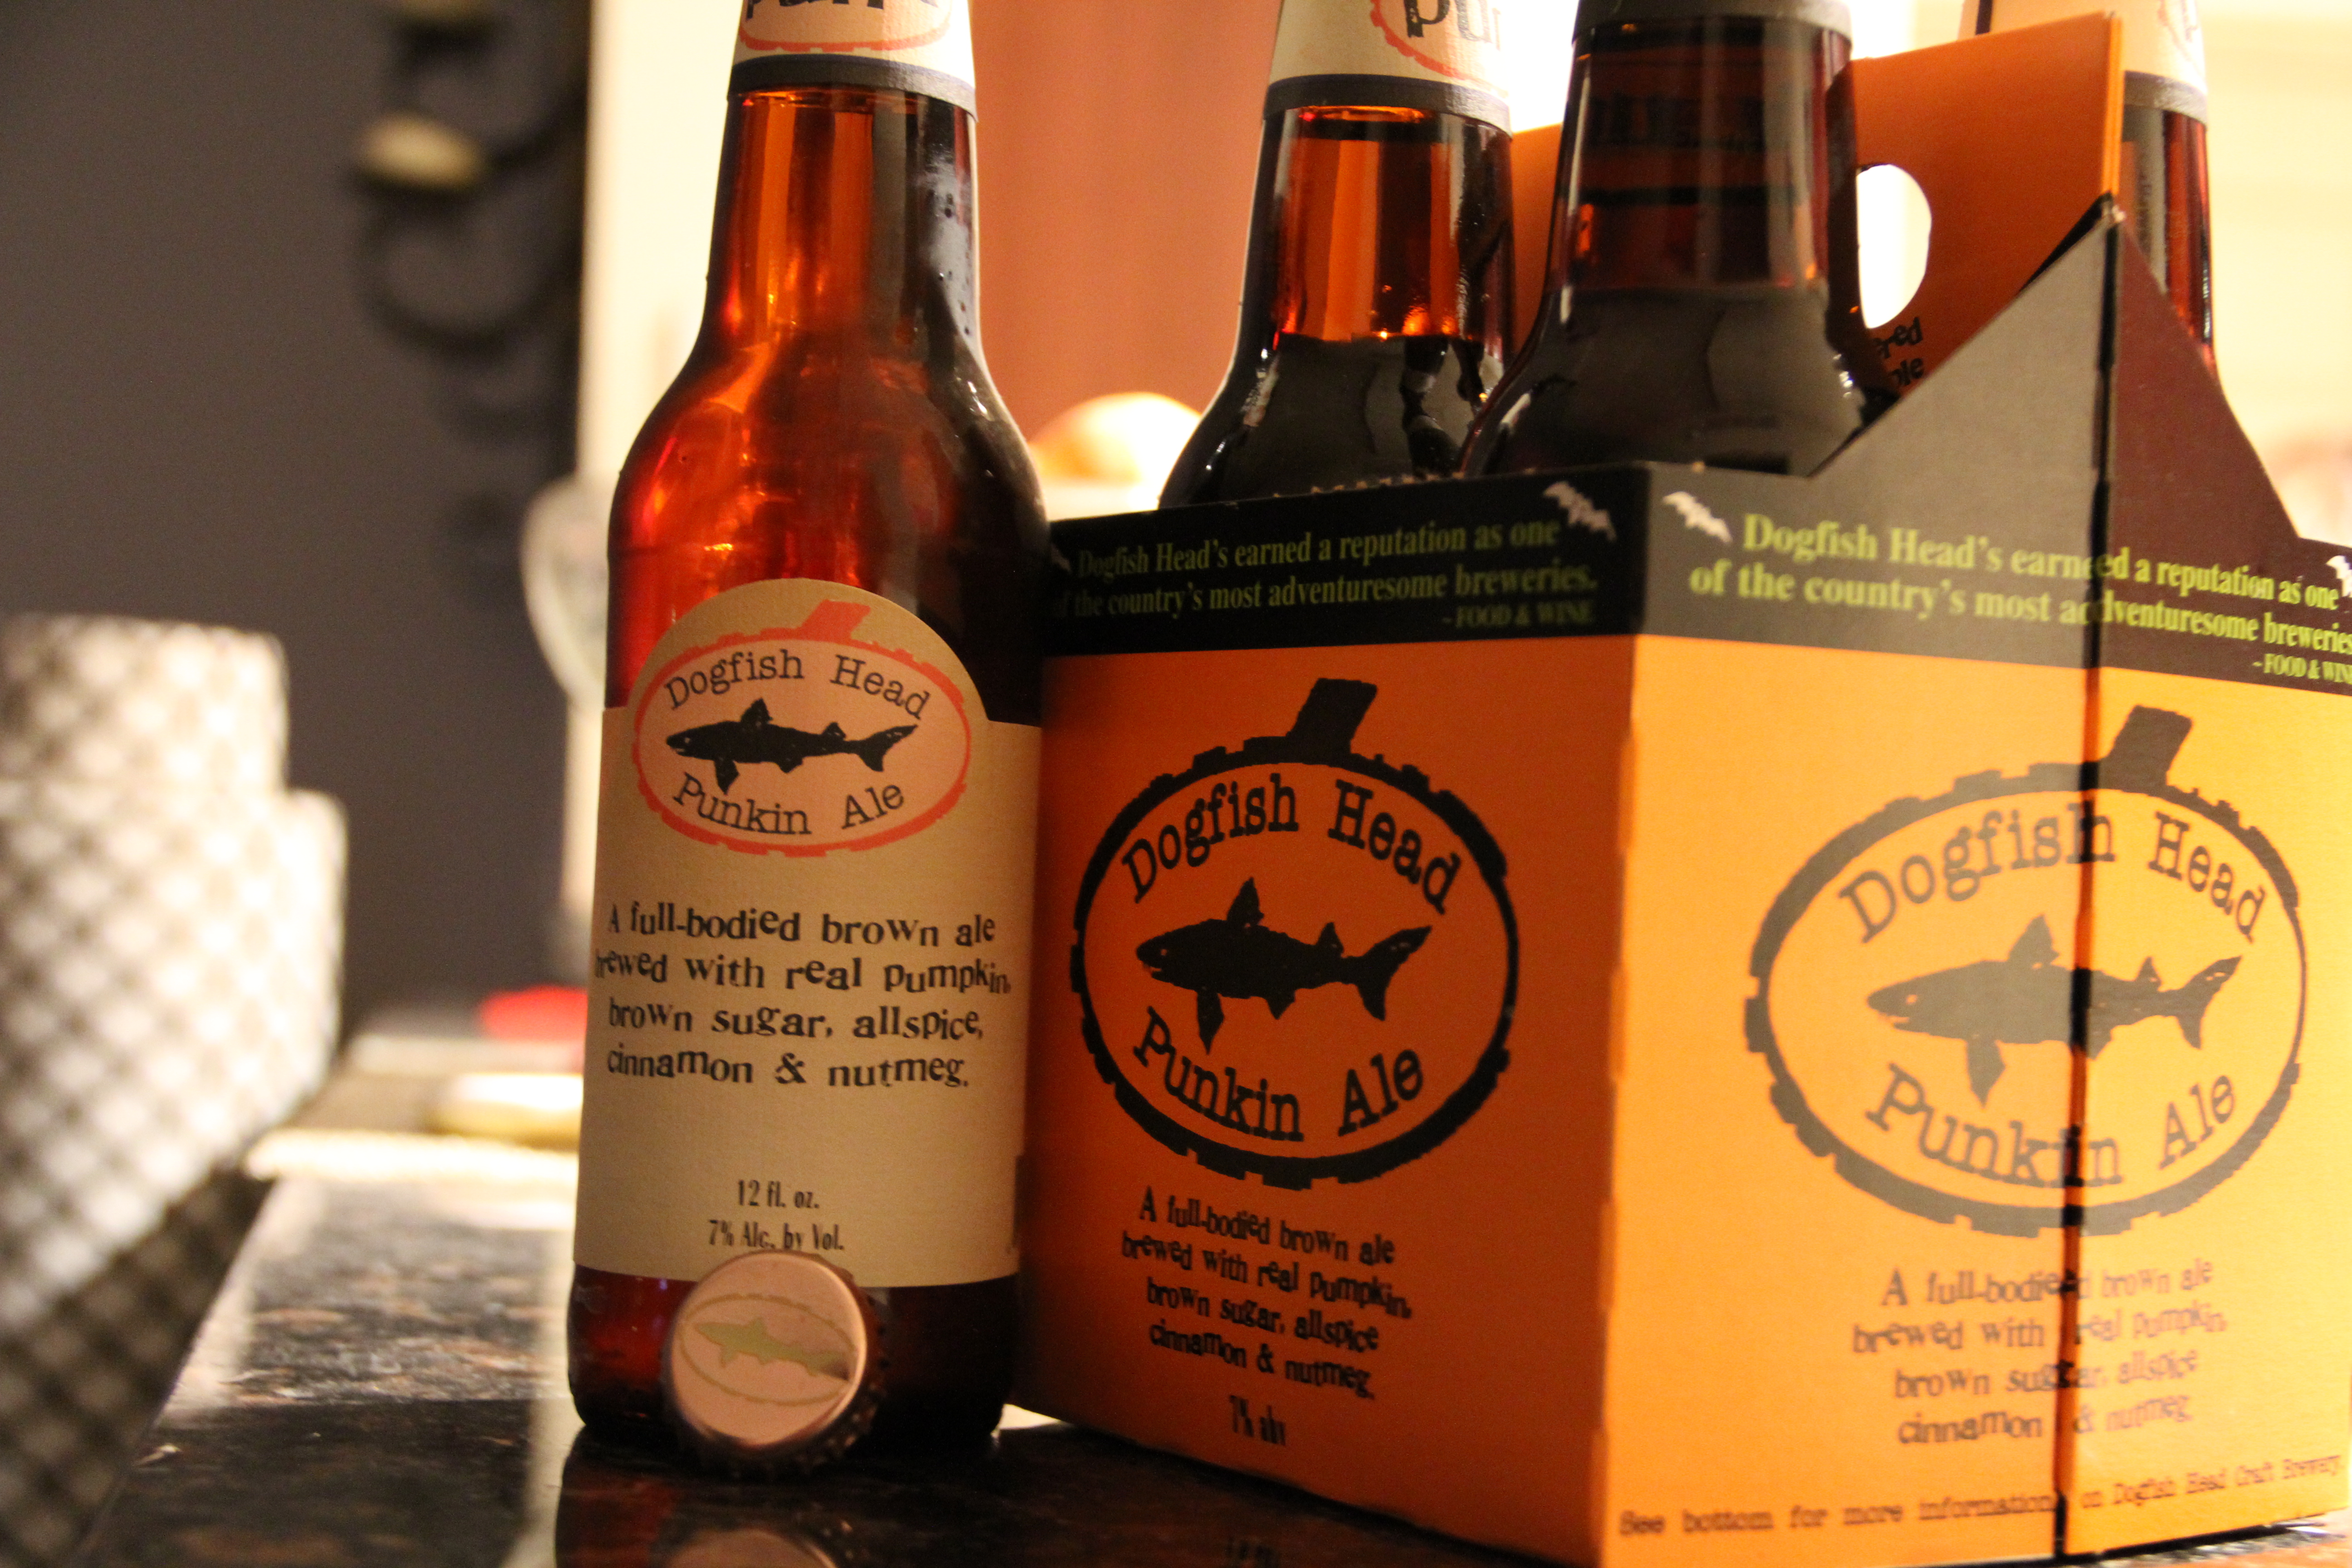
Okay so this week I decided to cover two beers due to it being Octoberfest season.. So for the next three updates I should have two beers posted up..
Up first is DogFish Head 'Punkin Ale.' Now this one is truly one of my favorites for the season due to its brown sugar, spices and real pumpkin added to the brew process.. Its a 7.0 ABV,, very good taste, This one might be hard to come by since it sales out quick and is only sold at certain spots.. So def pic it up..
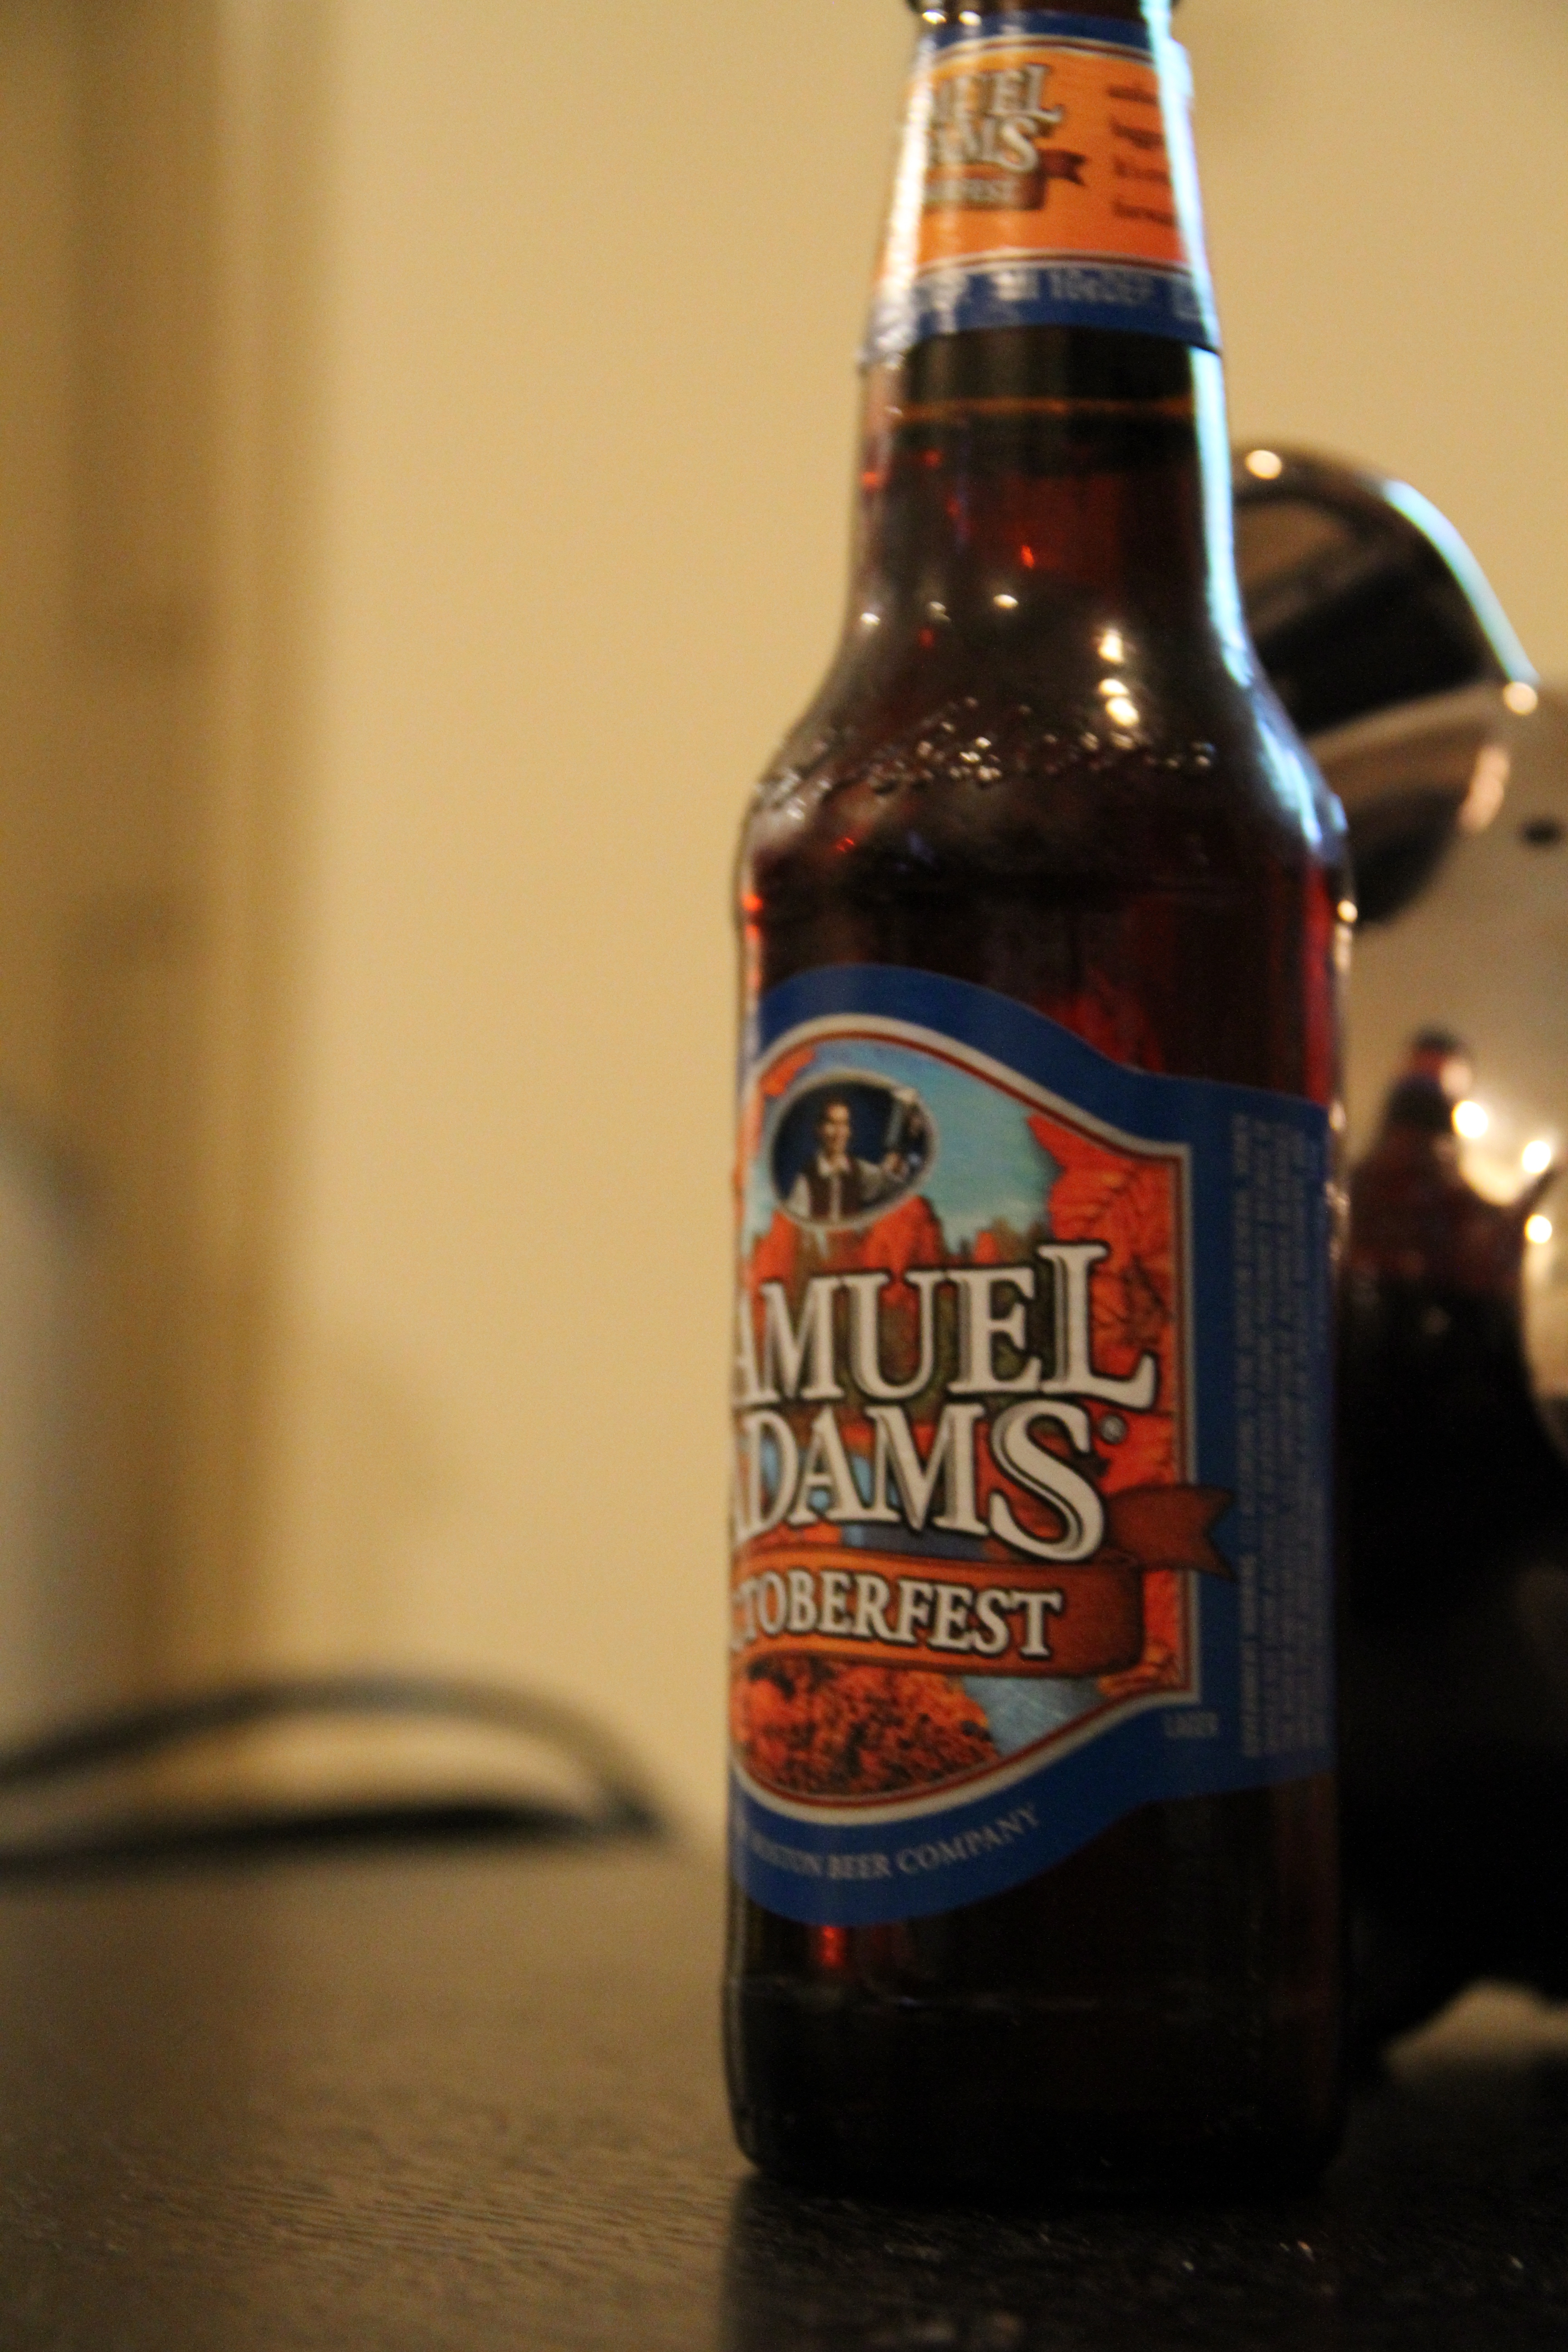
Next up is Samuel Adams 'Octoberfest'. This one goes great with BBQ in my opinion, a lot lighter then the DogFish Head. The camel and toffee really come out in this beer to me, which leaves a great after taste..
Enjoy!!
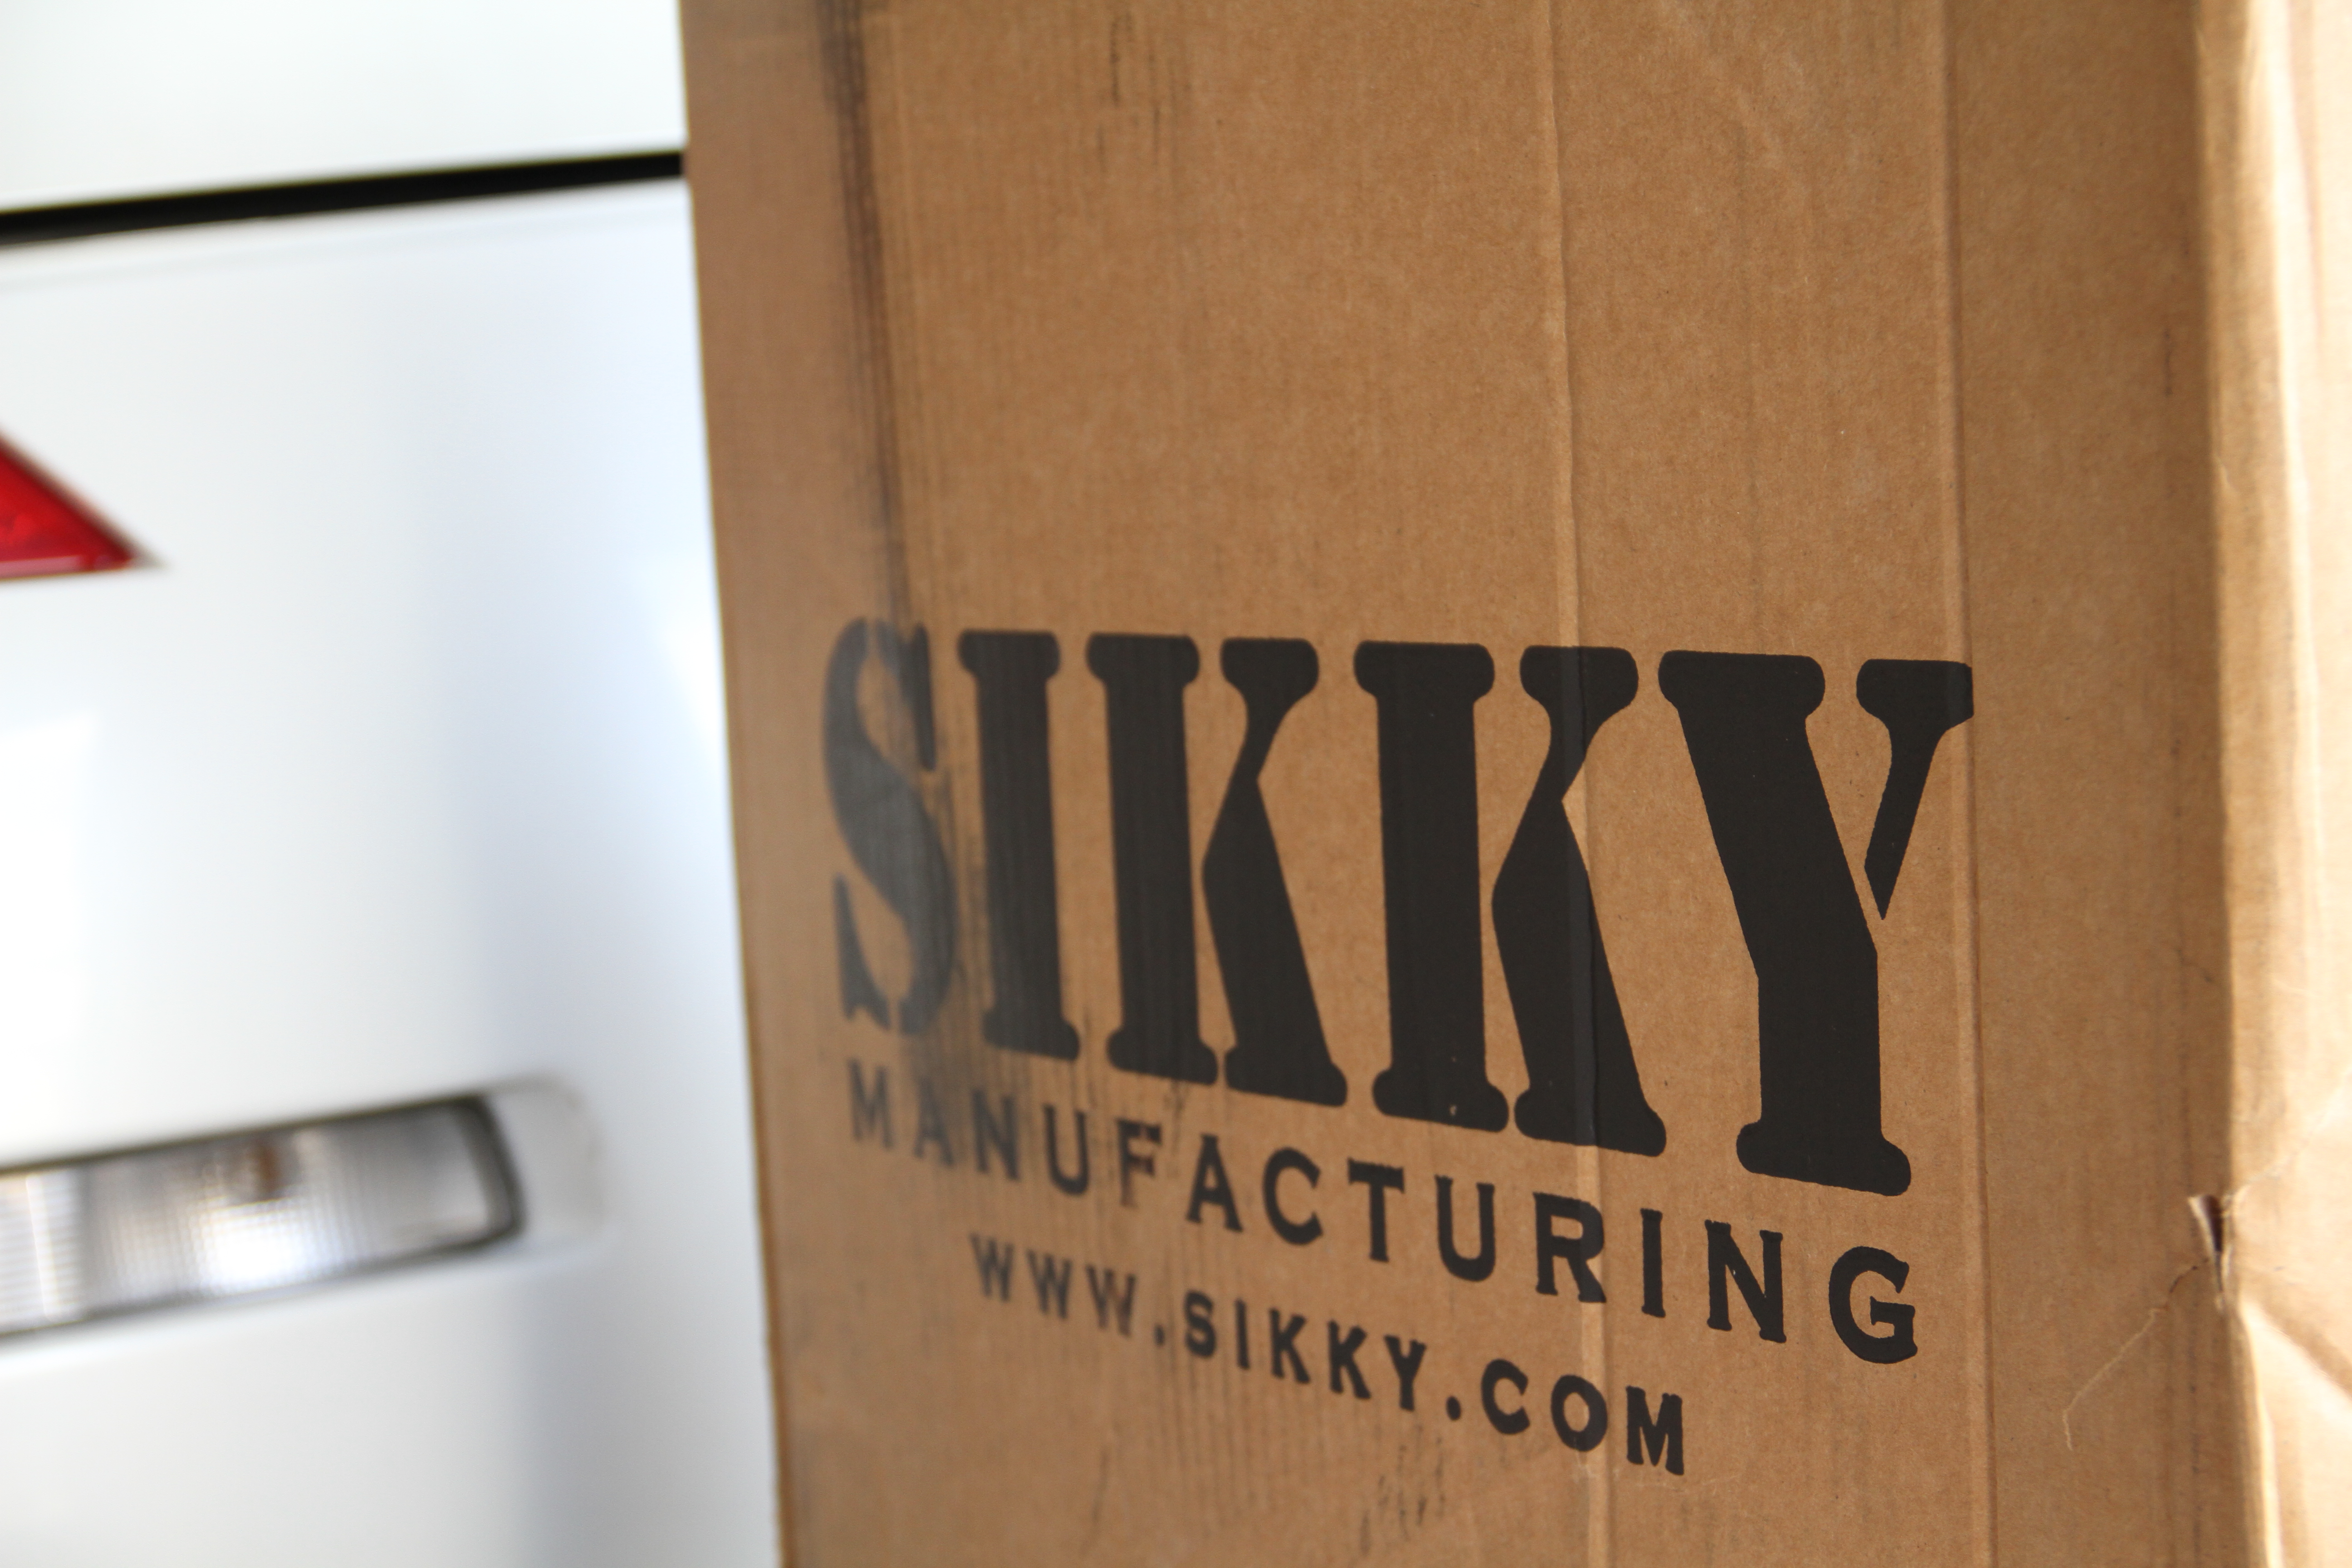
So what do we have for this week to install?? Just love coming home to some big packages that say "Sikky"
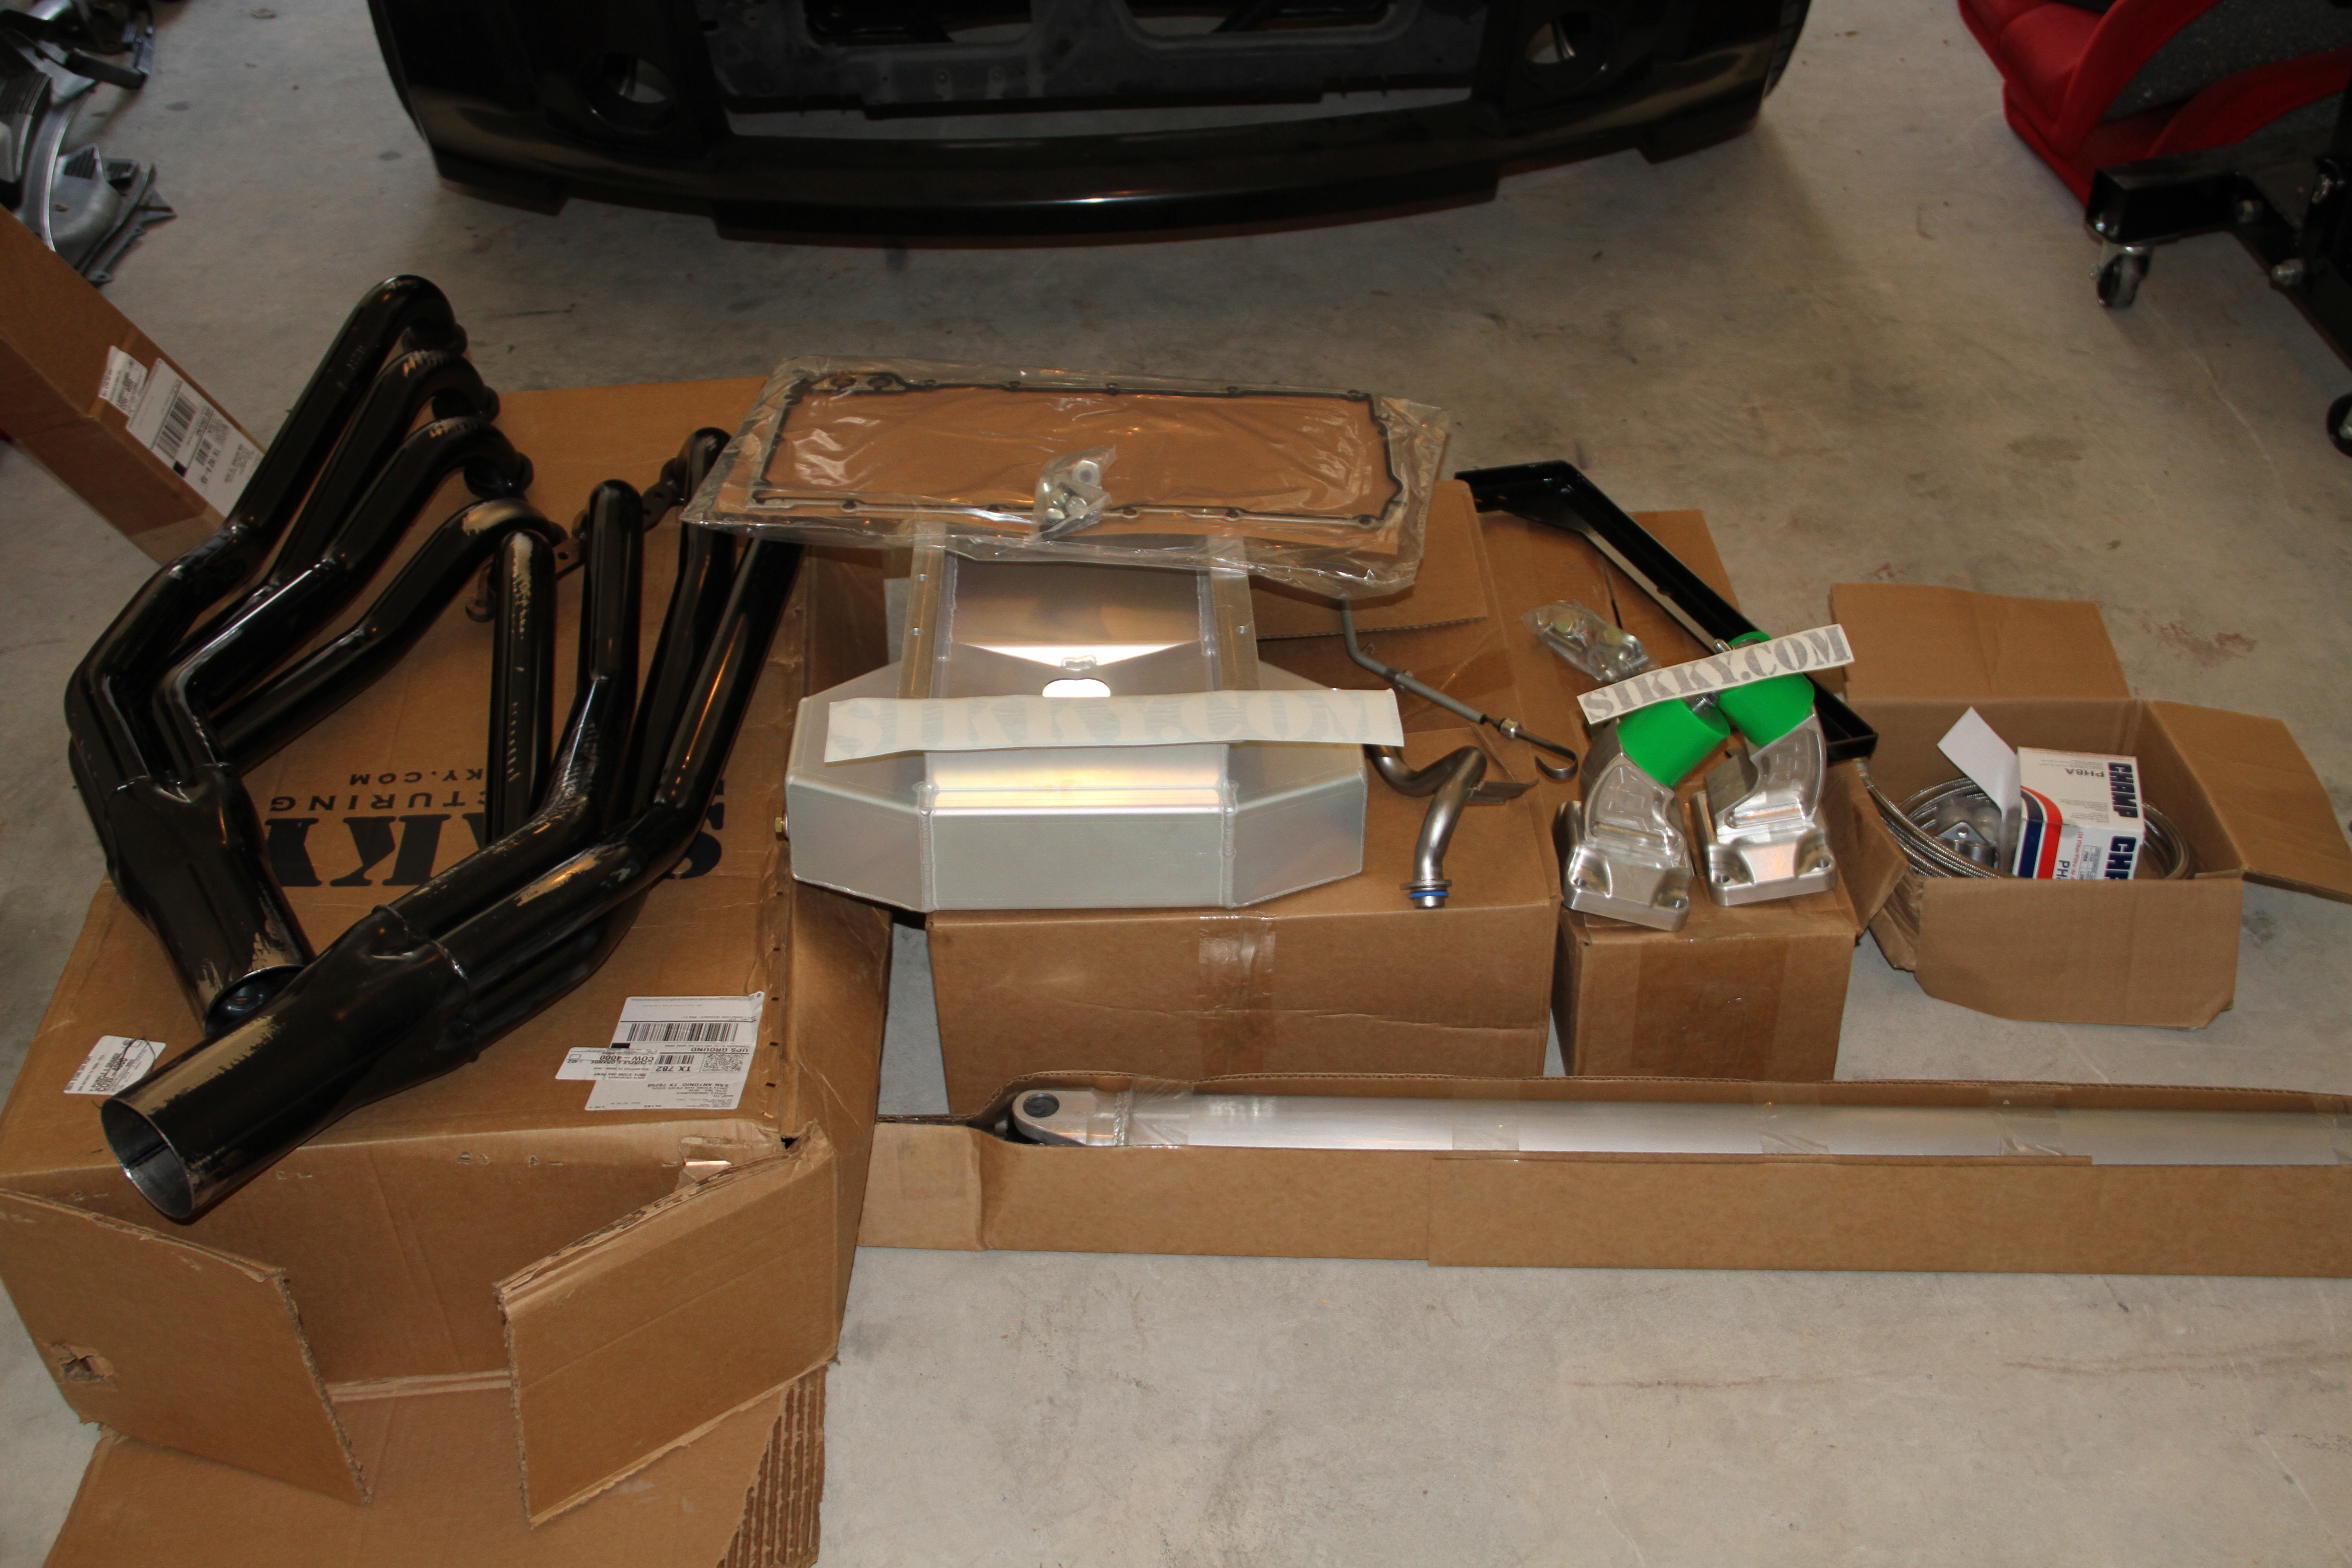
Here we have the Sikky LS1 350z swap kit, with their 1 7/8 long tube headers. If you do plan on doing an LS swap this should be the kit you want to pick up.. The quality of this kit is just top notch from the mounts to the oil pan it is all A+ in my book.. Pricey but worth it..
Kit comes with oil pan, motor mounts, remote mount oil filter, Trans mount, drive shaft and Billet short shifter (which is on back order so still waiting for mine)
The headers are extra but well worth it in my opinion.
Sikky 350z LS1 Swap kit: $3,000.00 (this is with the headers and shipping)
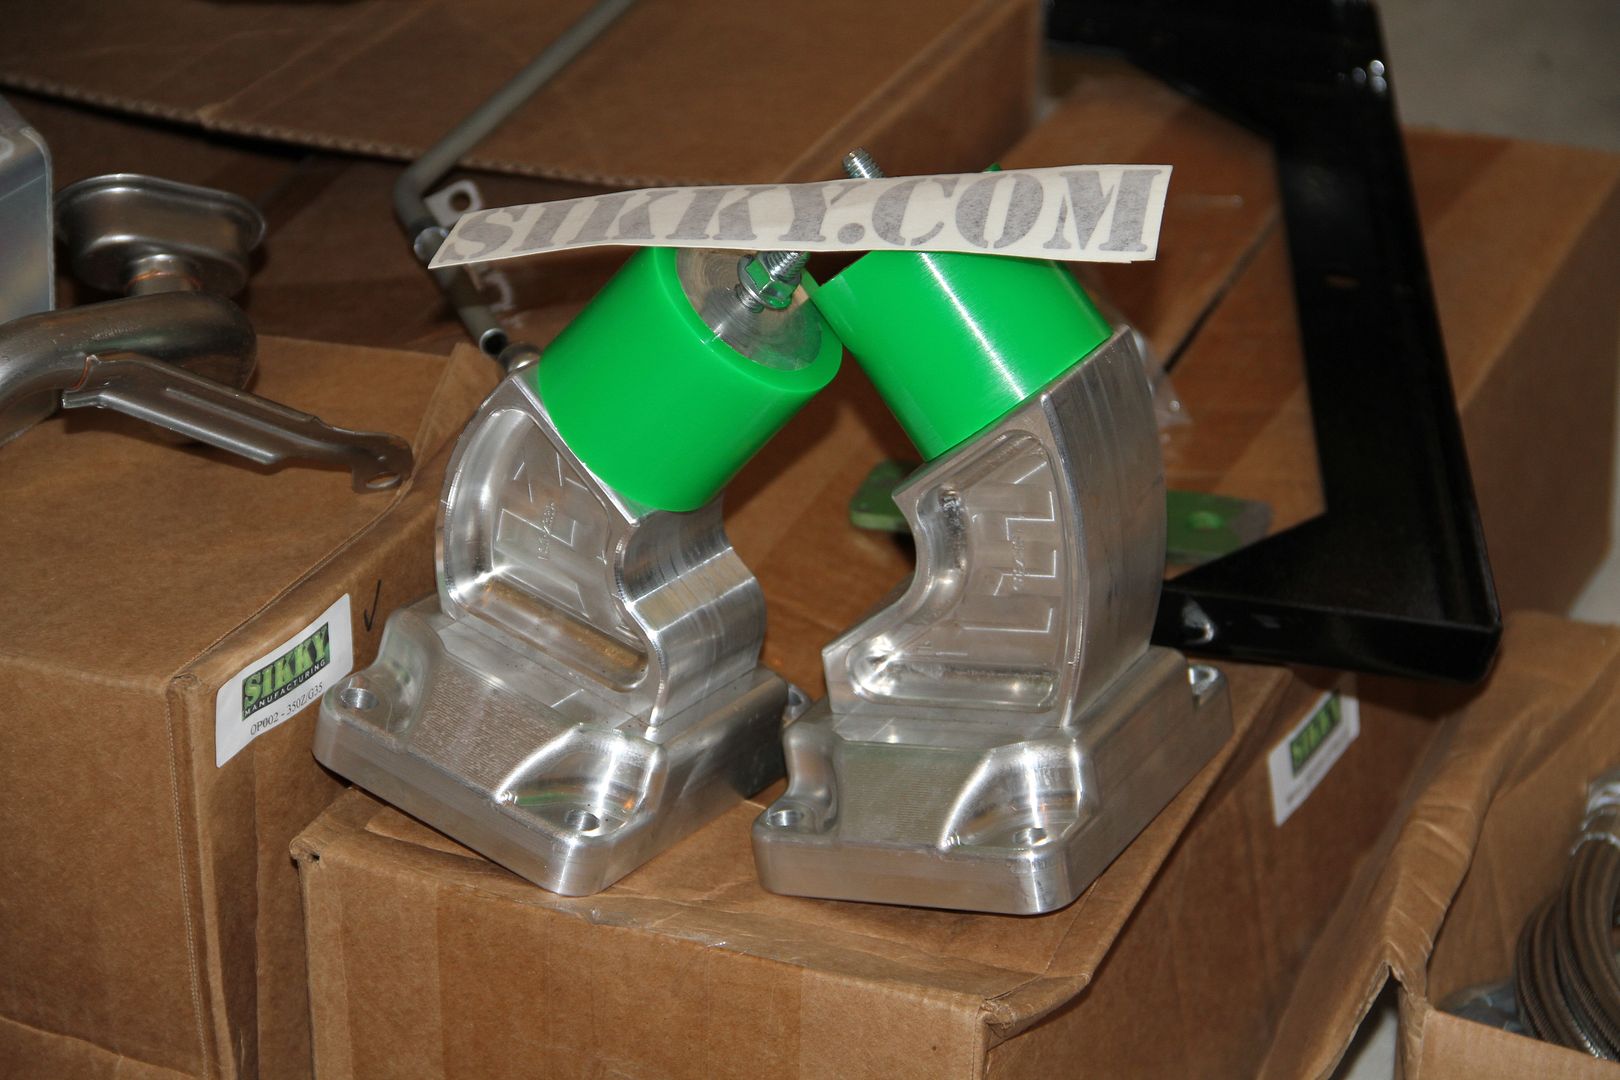
Just look how nice these mounts are, all CNC machined.
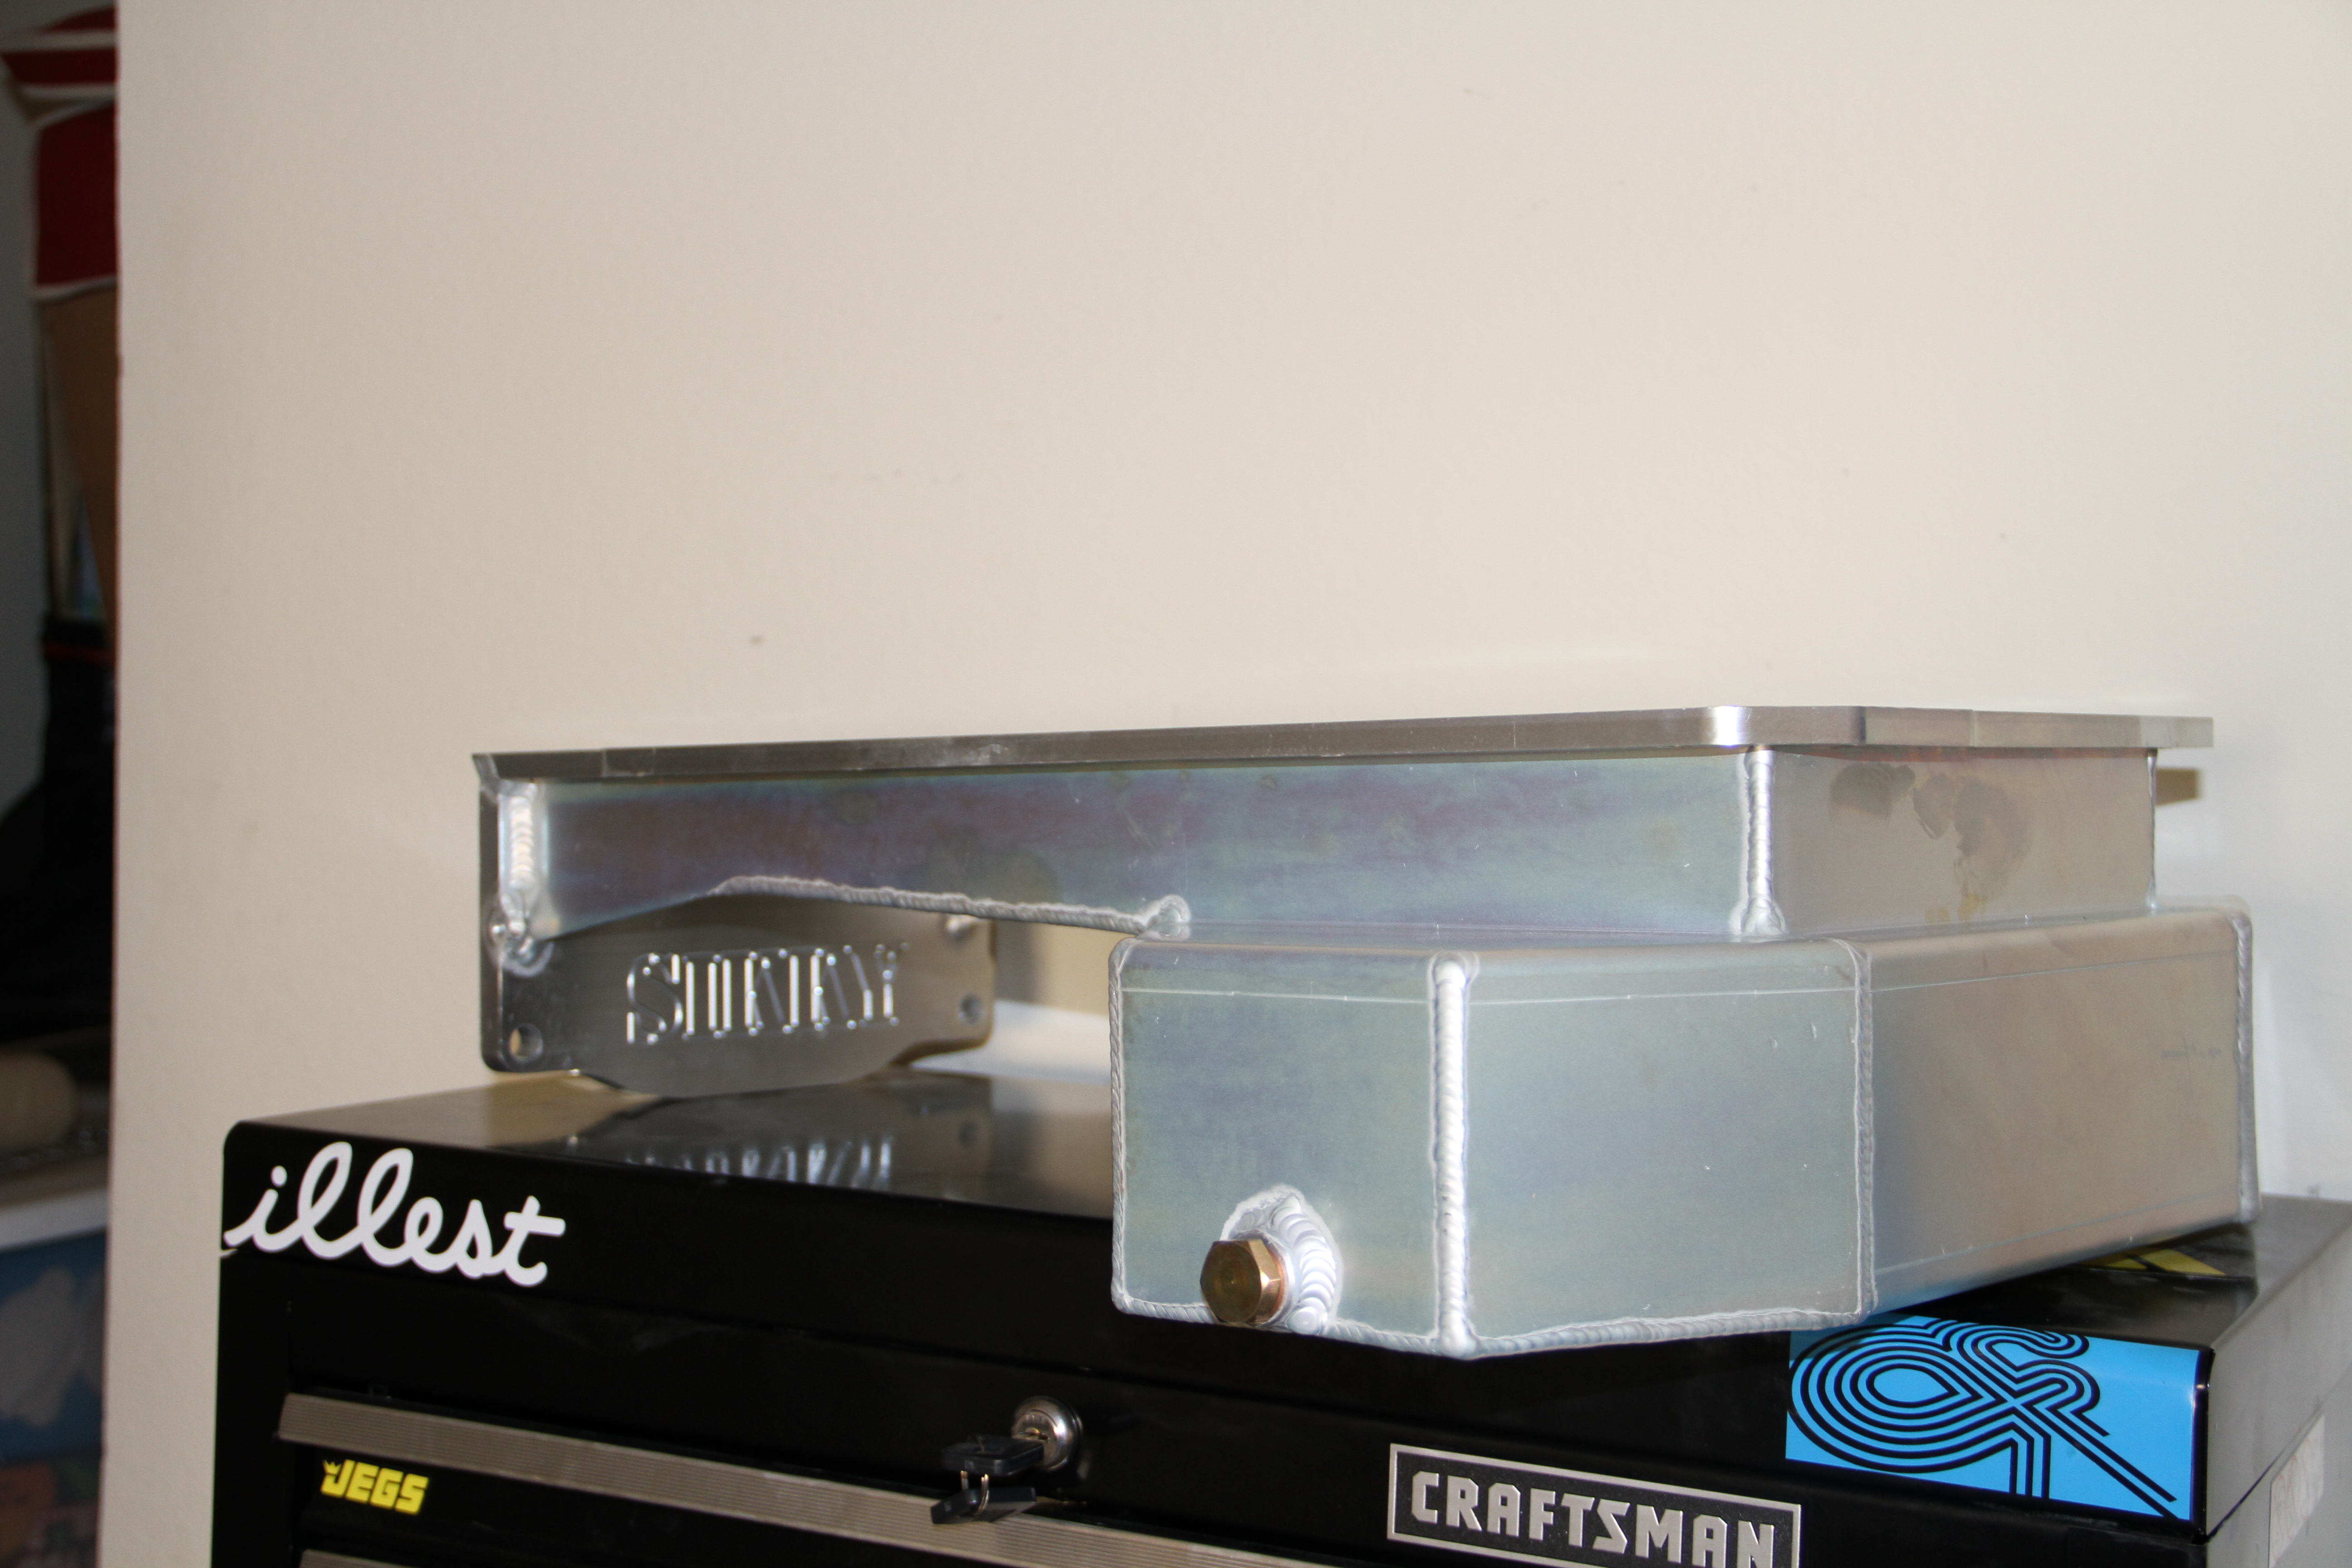
Okay first we have to prep the oil pan for install
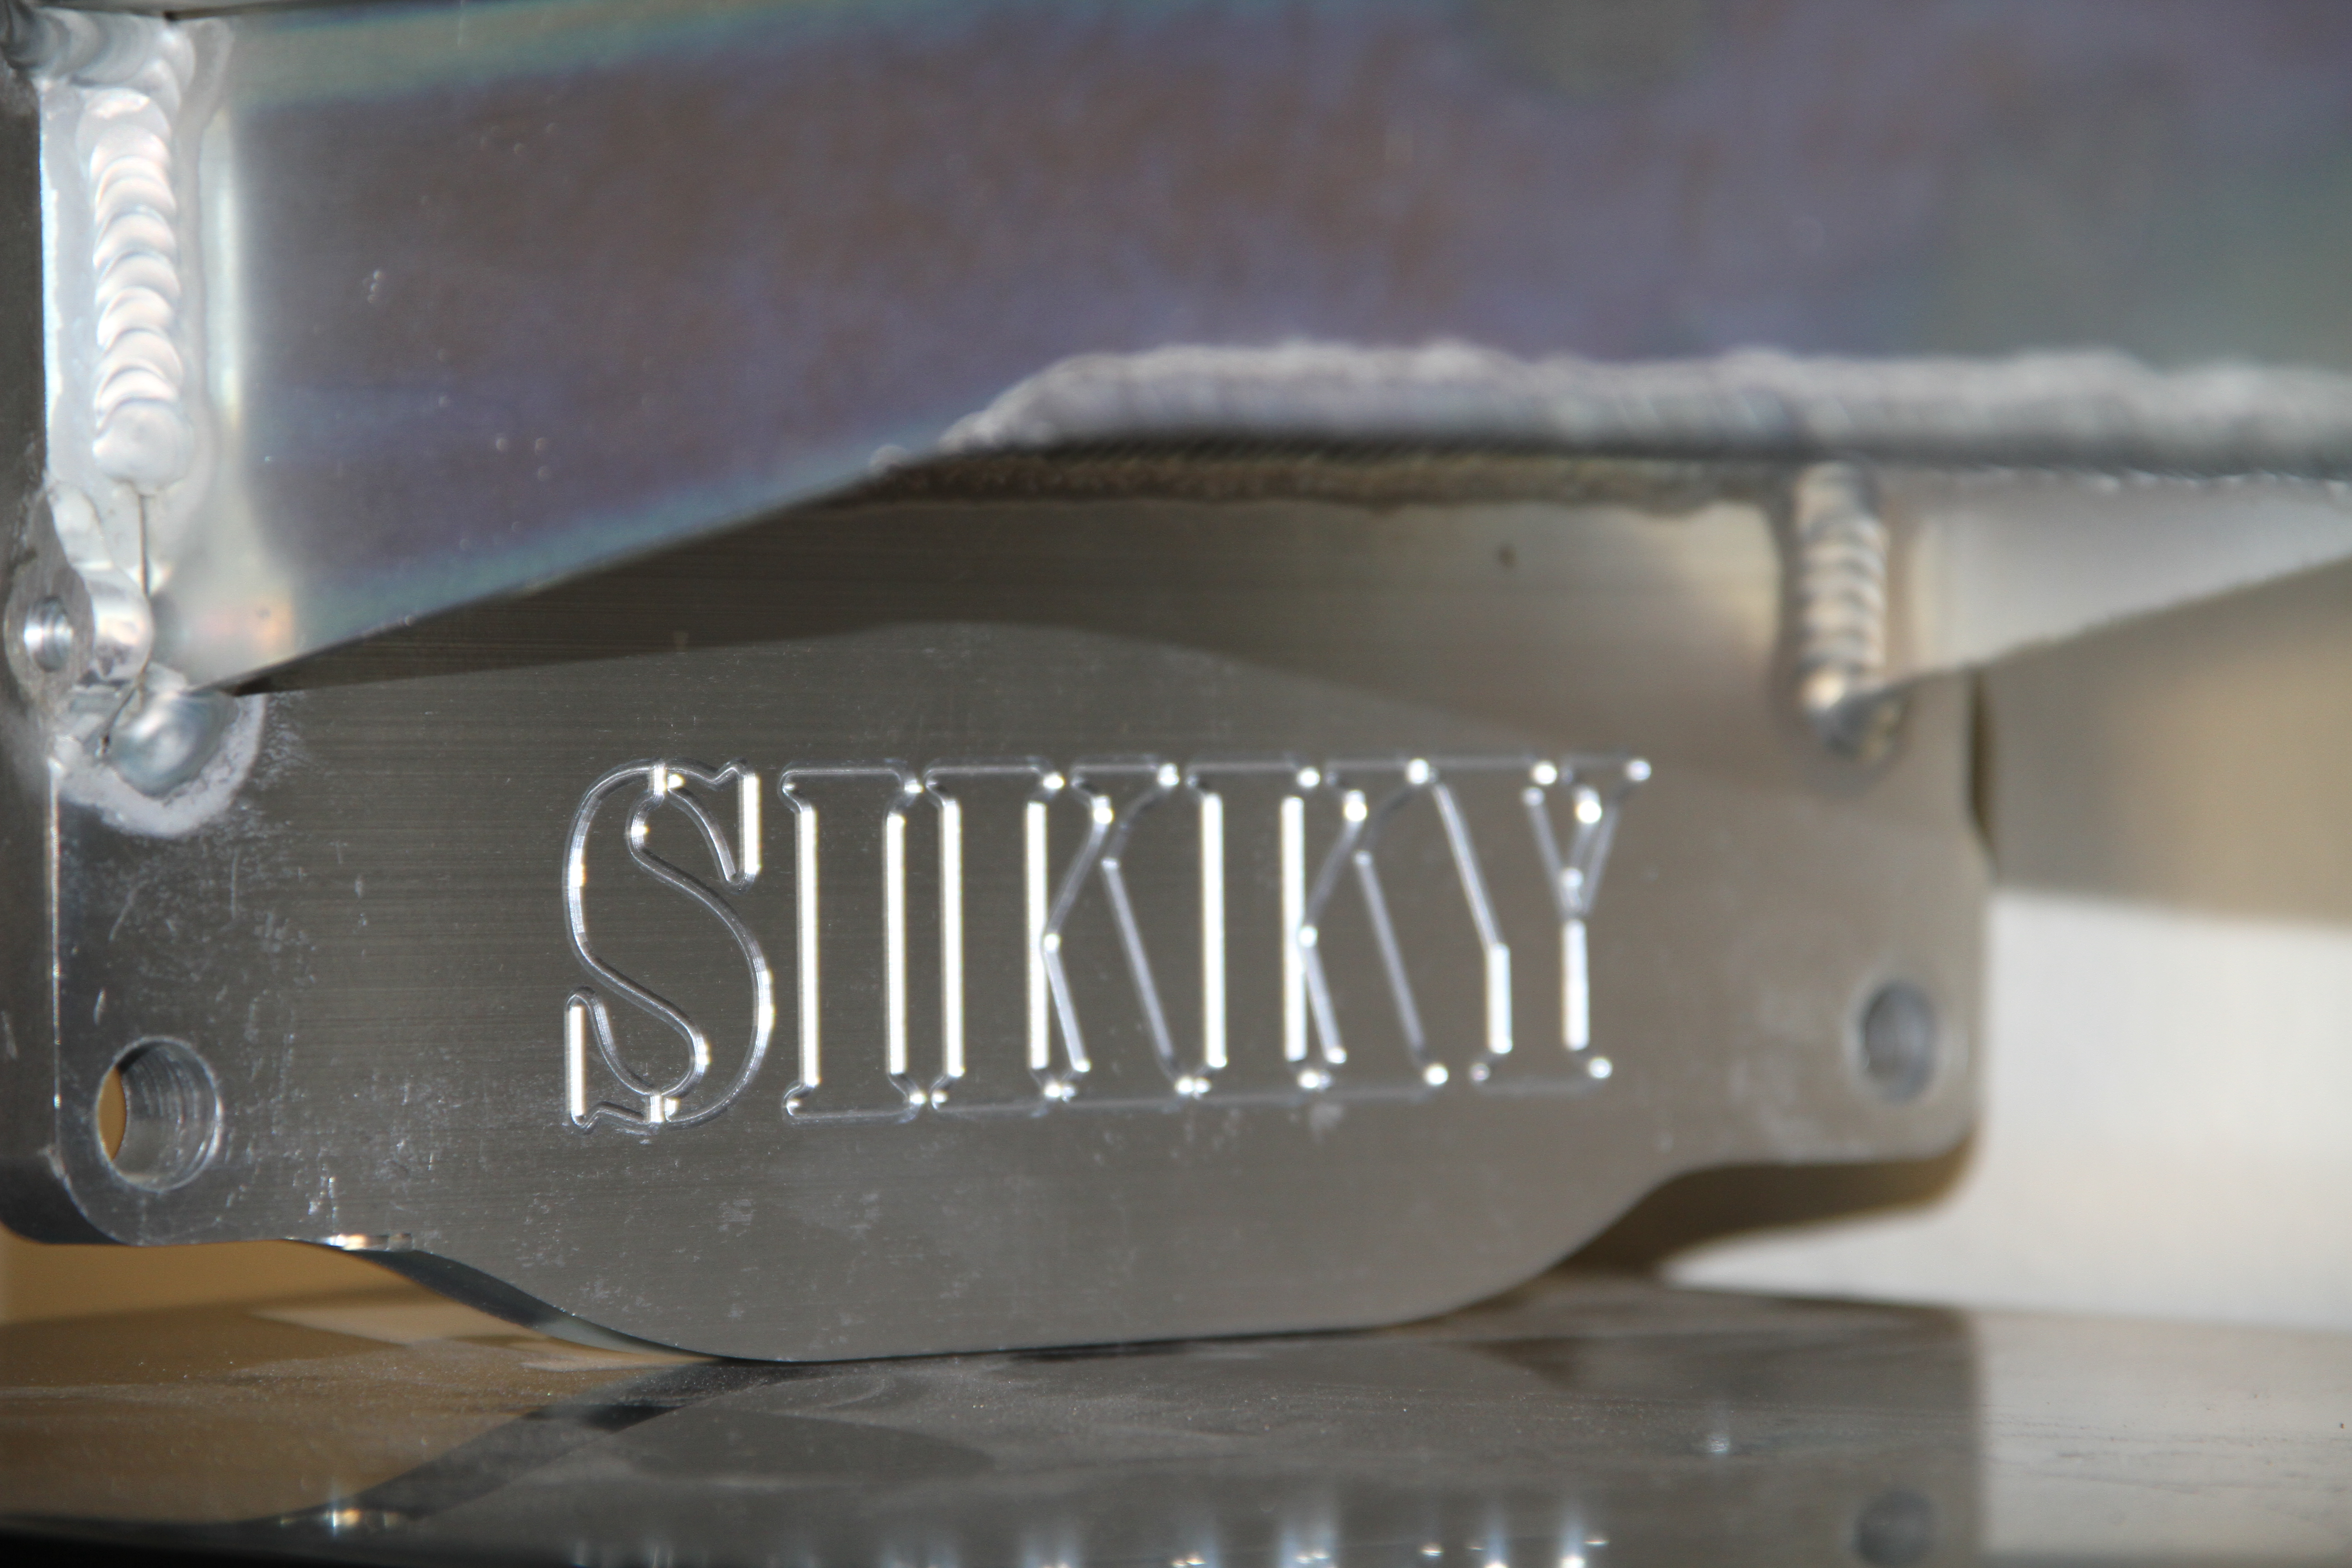
Just look at the quality of this oil pan, love how they itched in the Sikky logo..
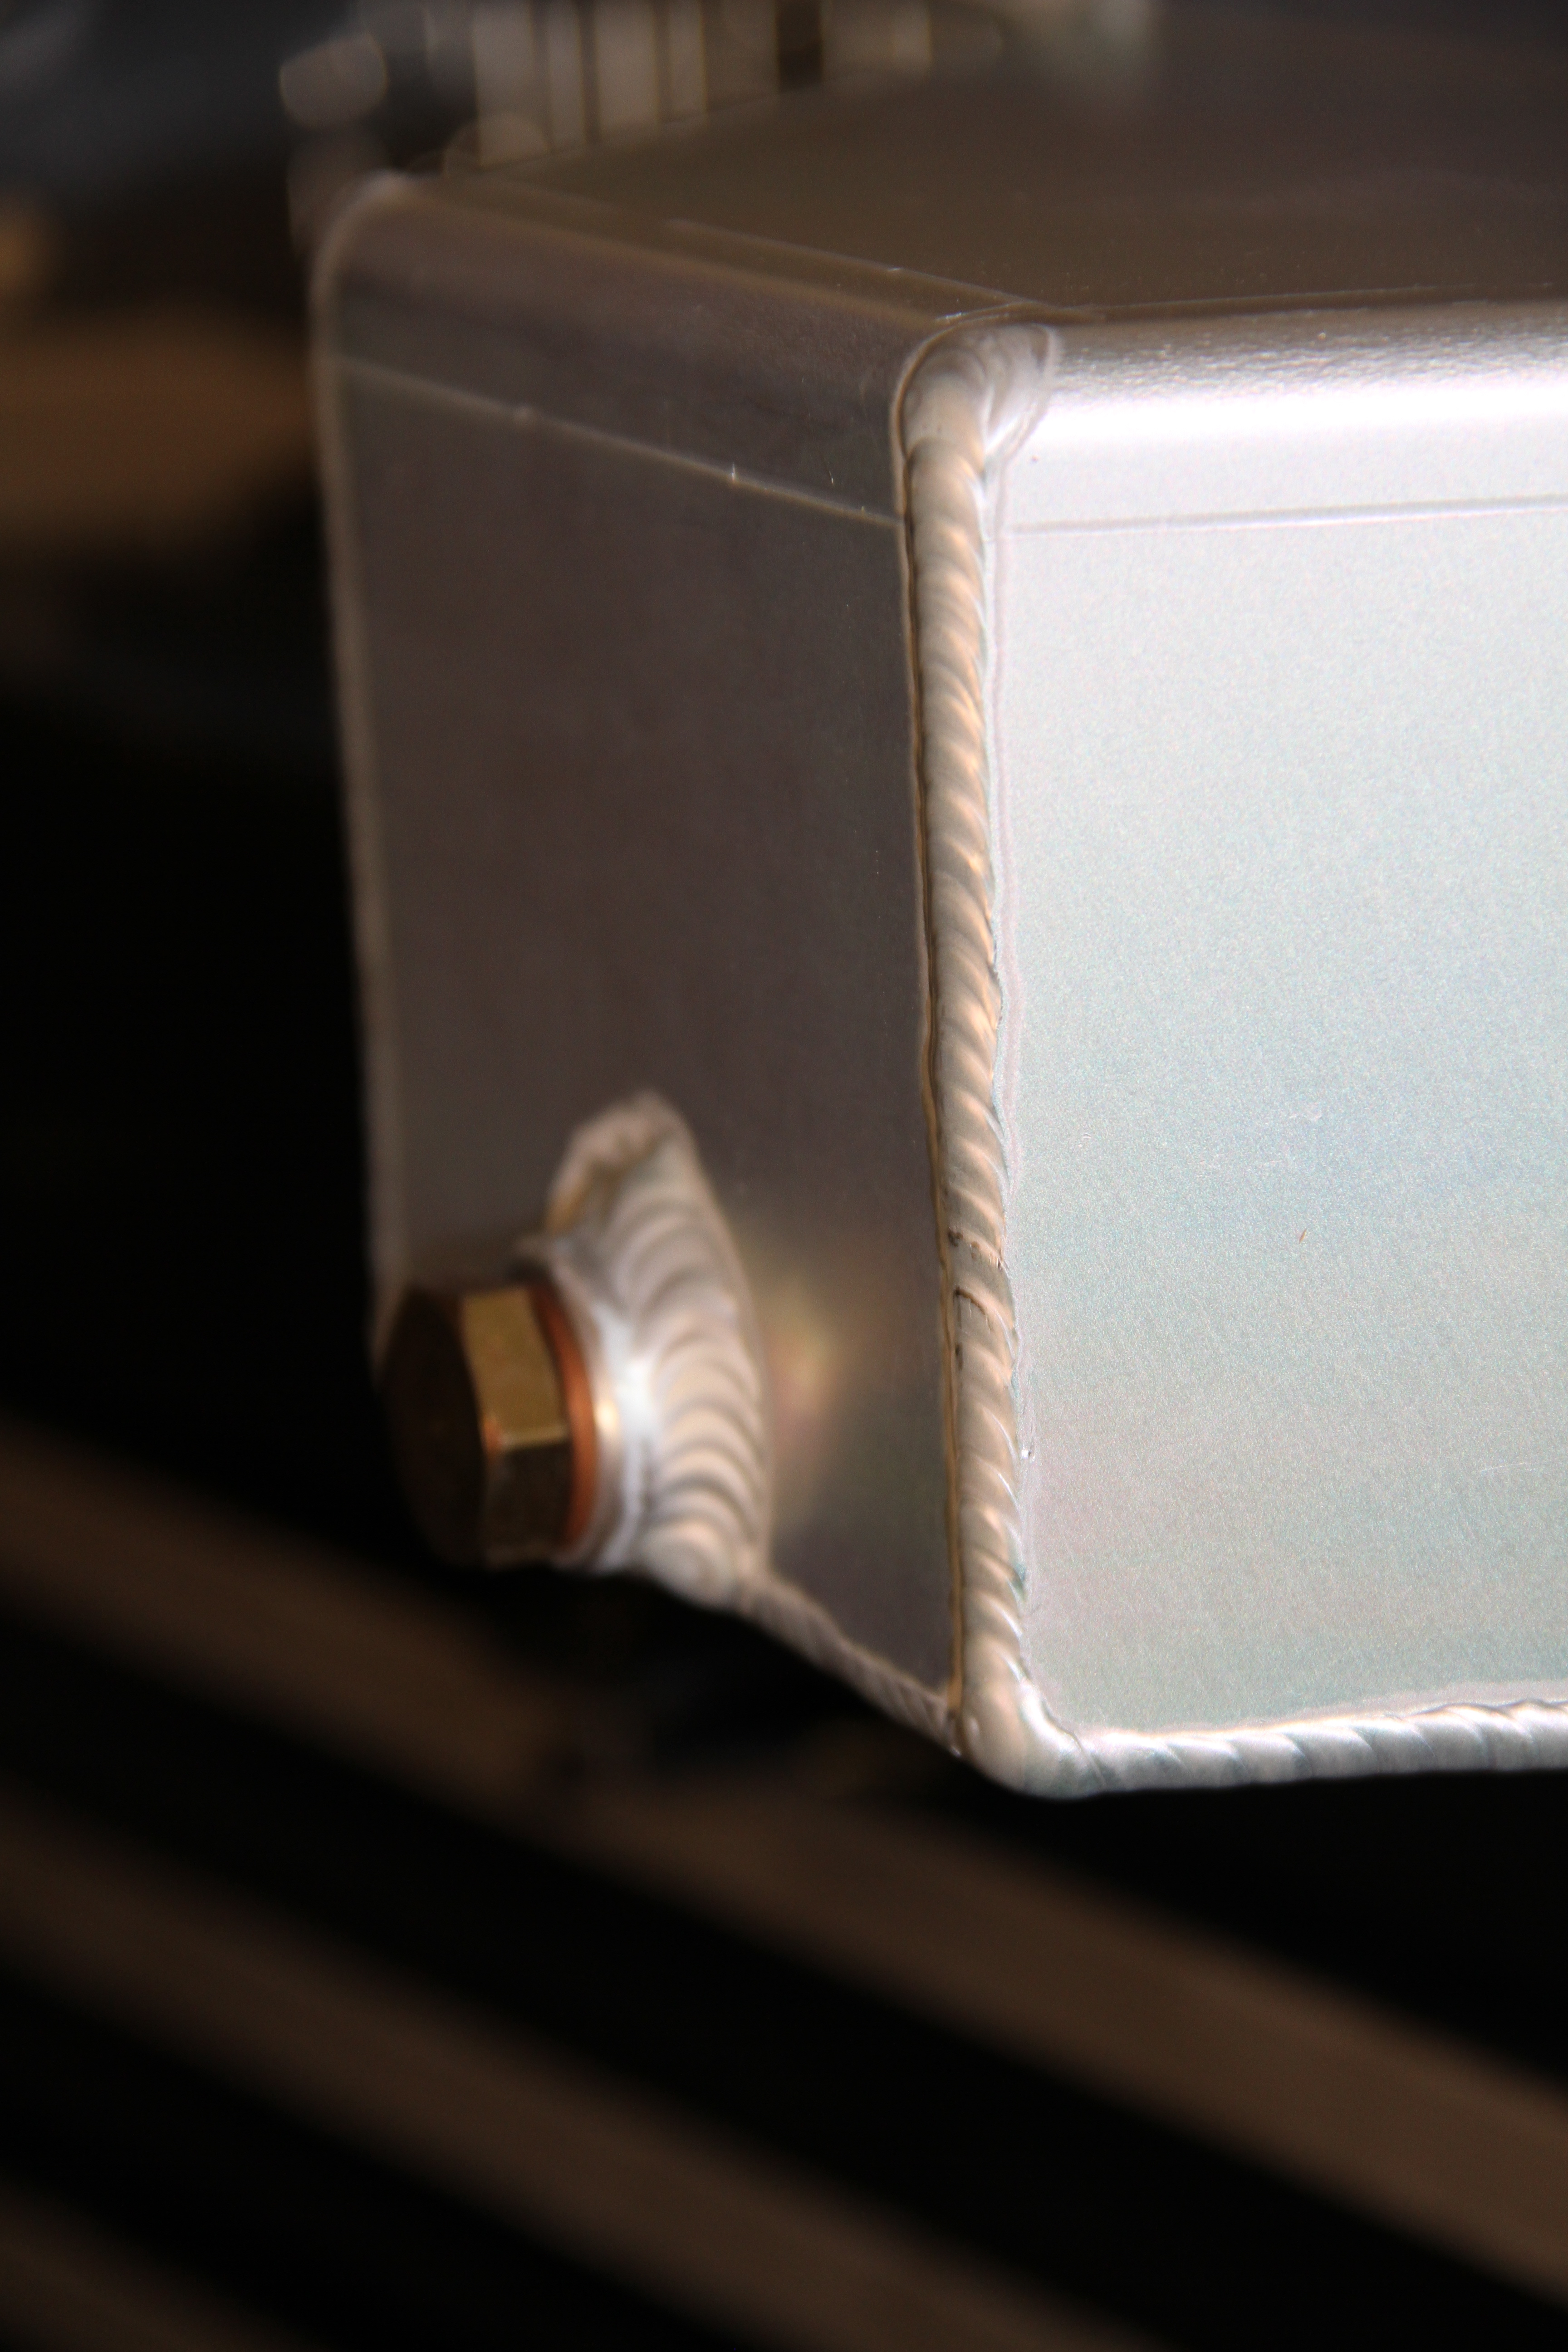
Sexy *** welds

Sikky labels all there bags so you know where what goes, which is good. They have instructions on there website if you need it..
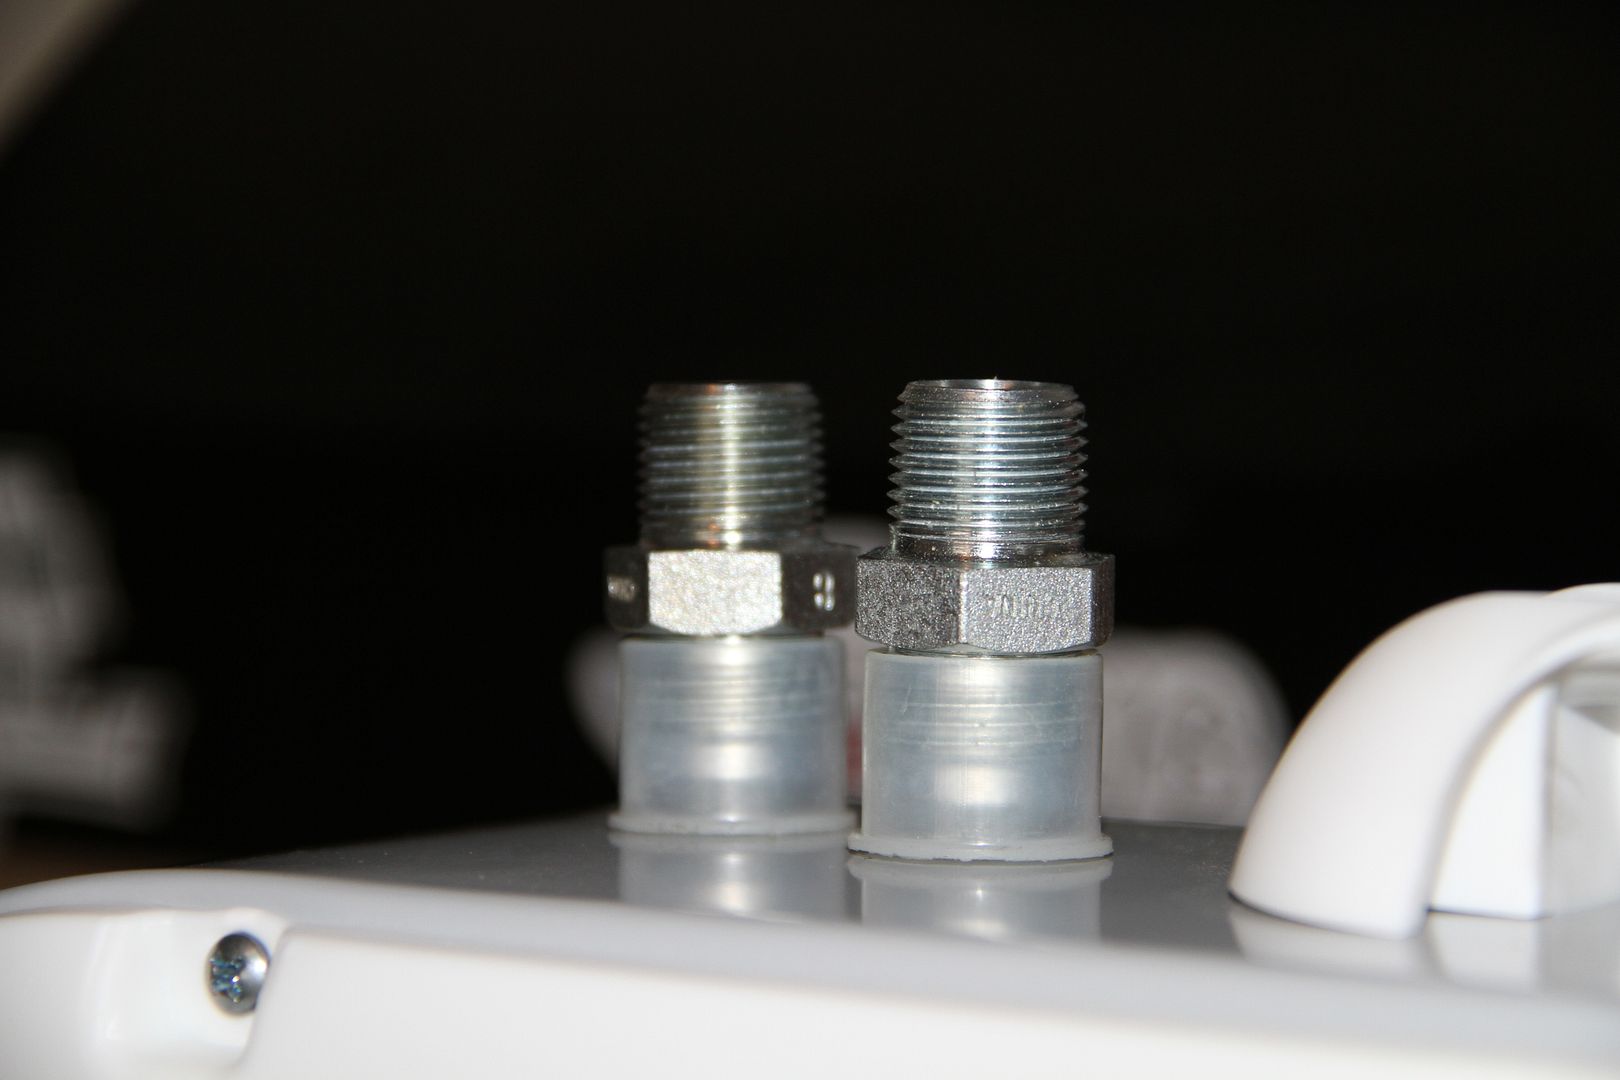
These fittings go in the oil pan for the remote mount oil filter..
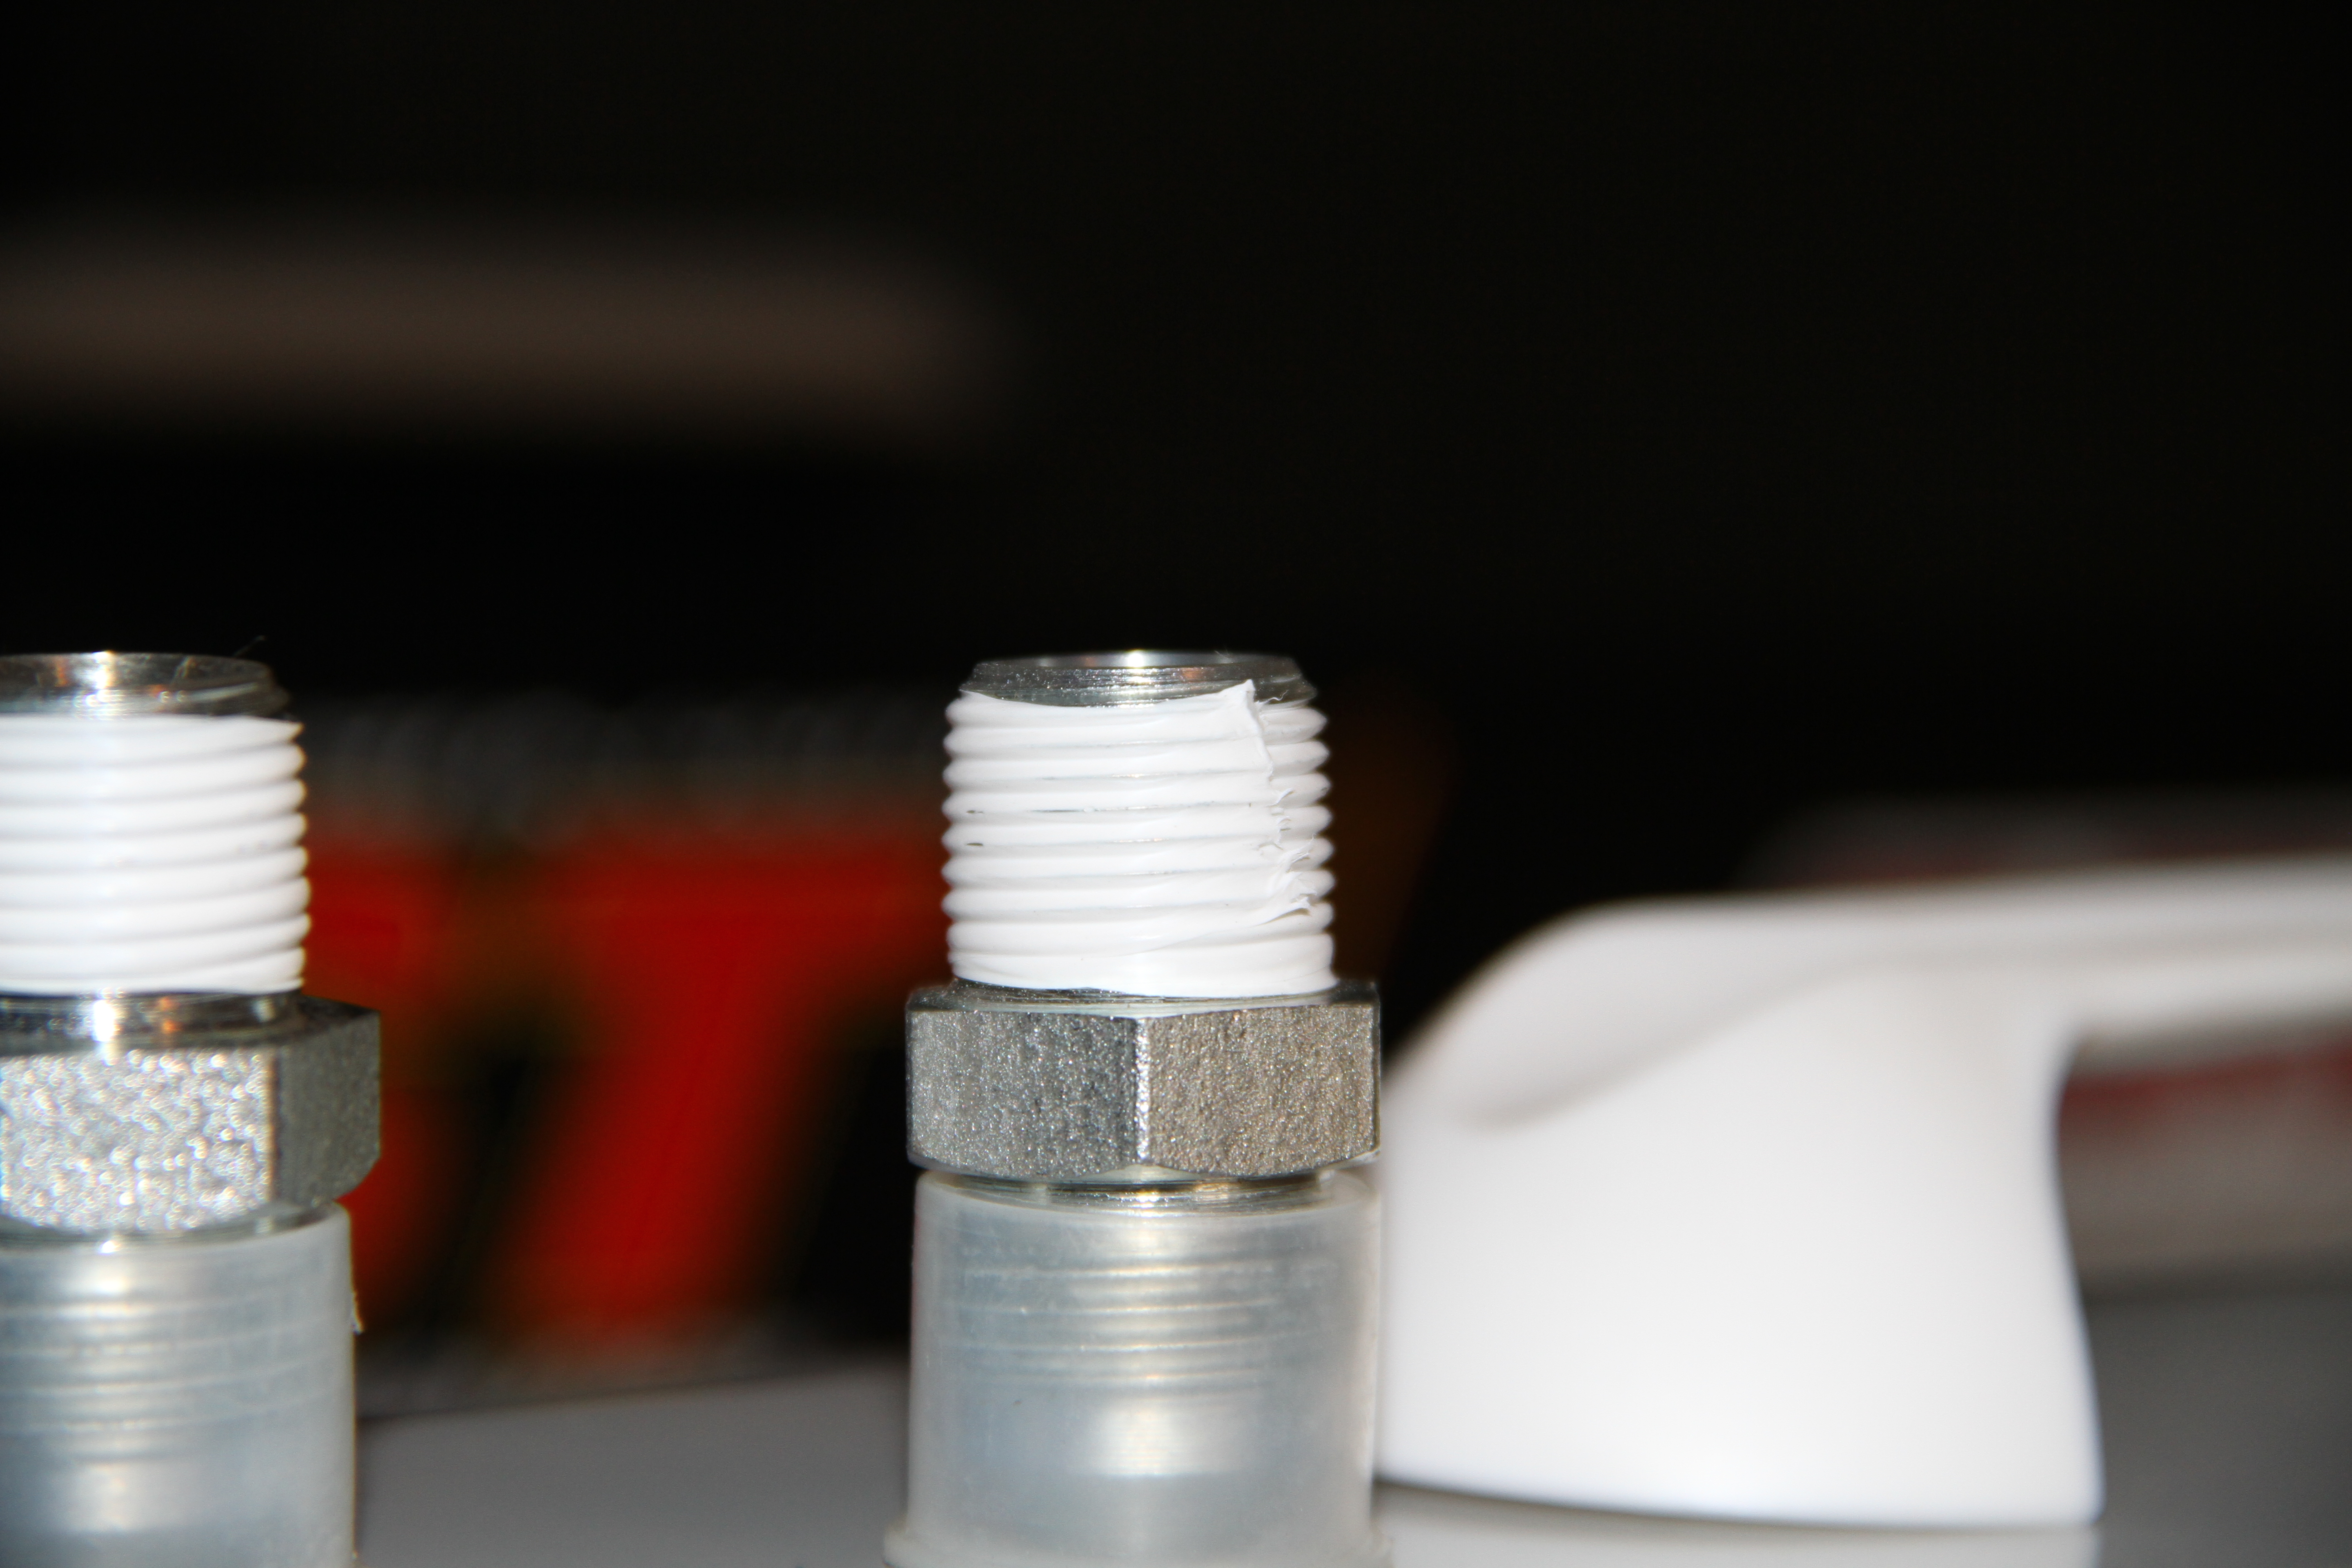
Teflon tape is your friend here...
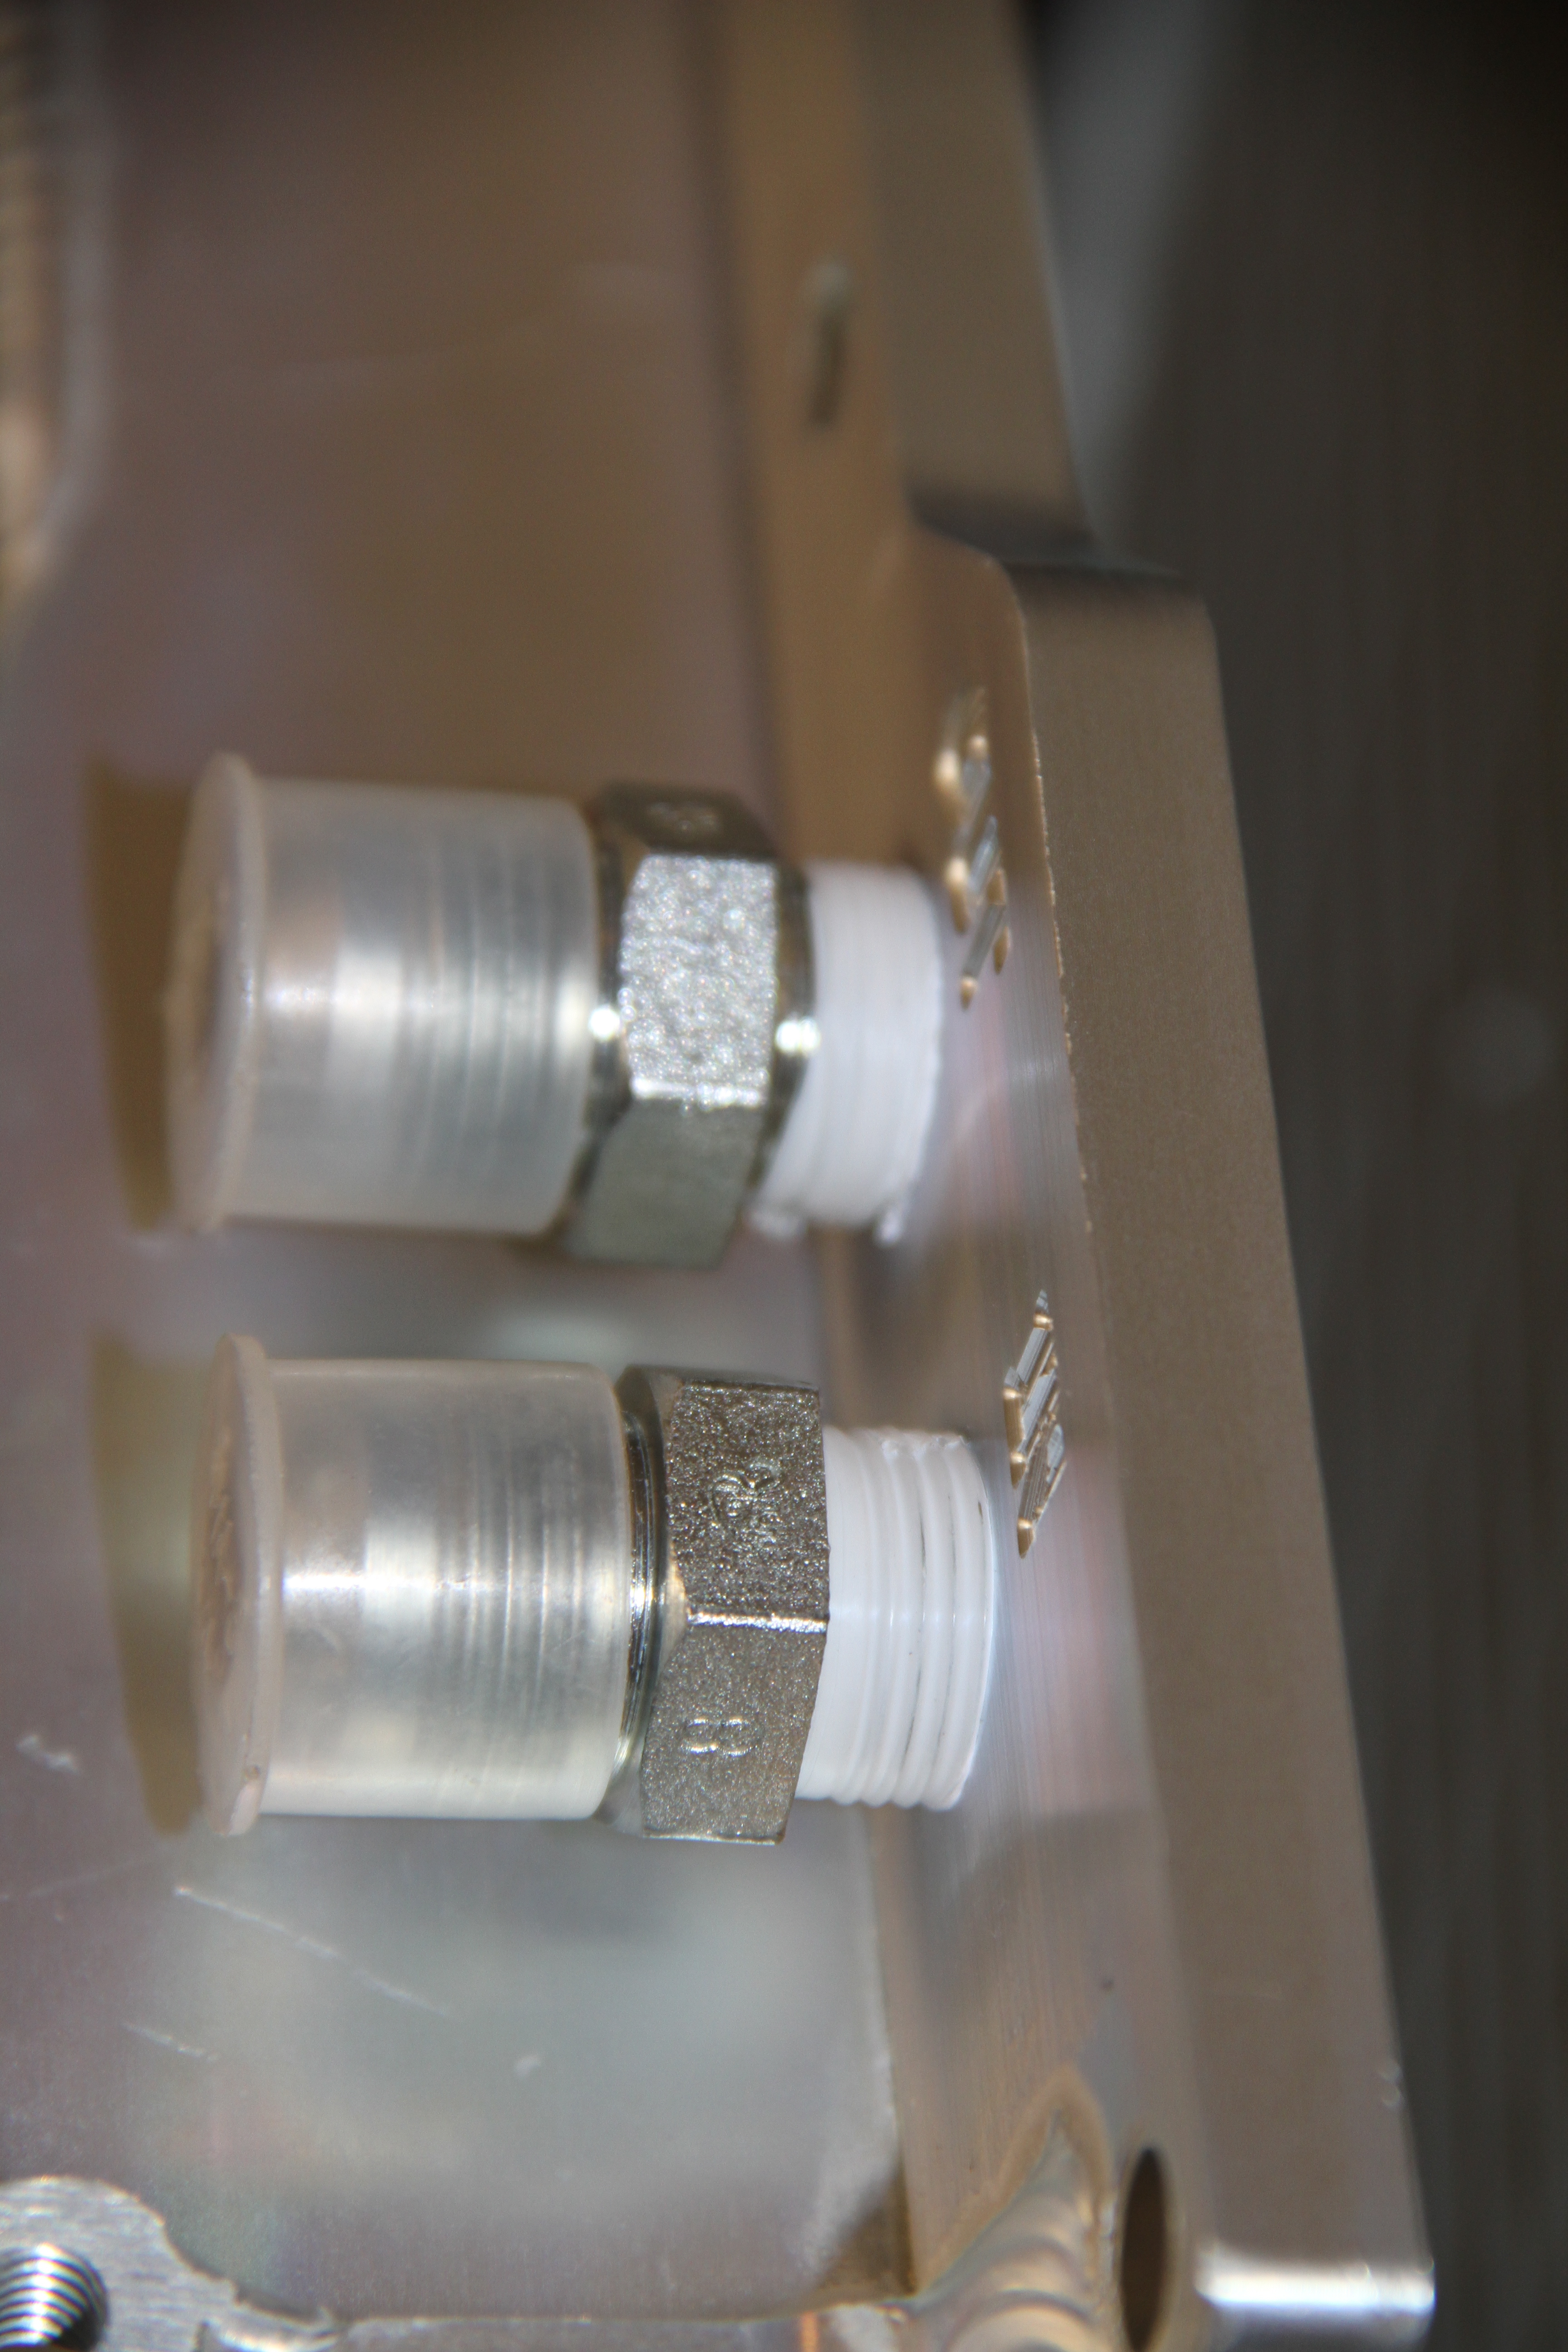
Take your time when installing the fittings, they wont screw all the way in so don't worry if you have some space..
Next we have to remove the old LS oil pan..
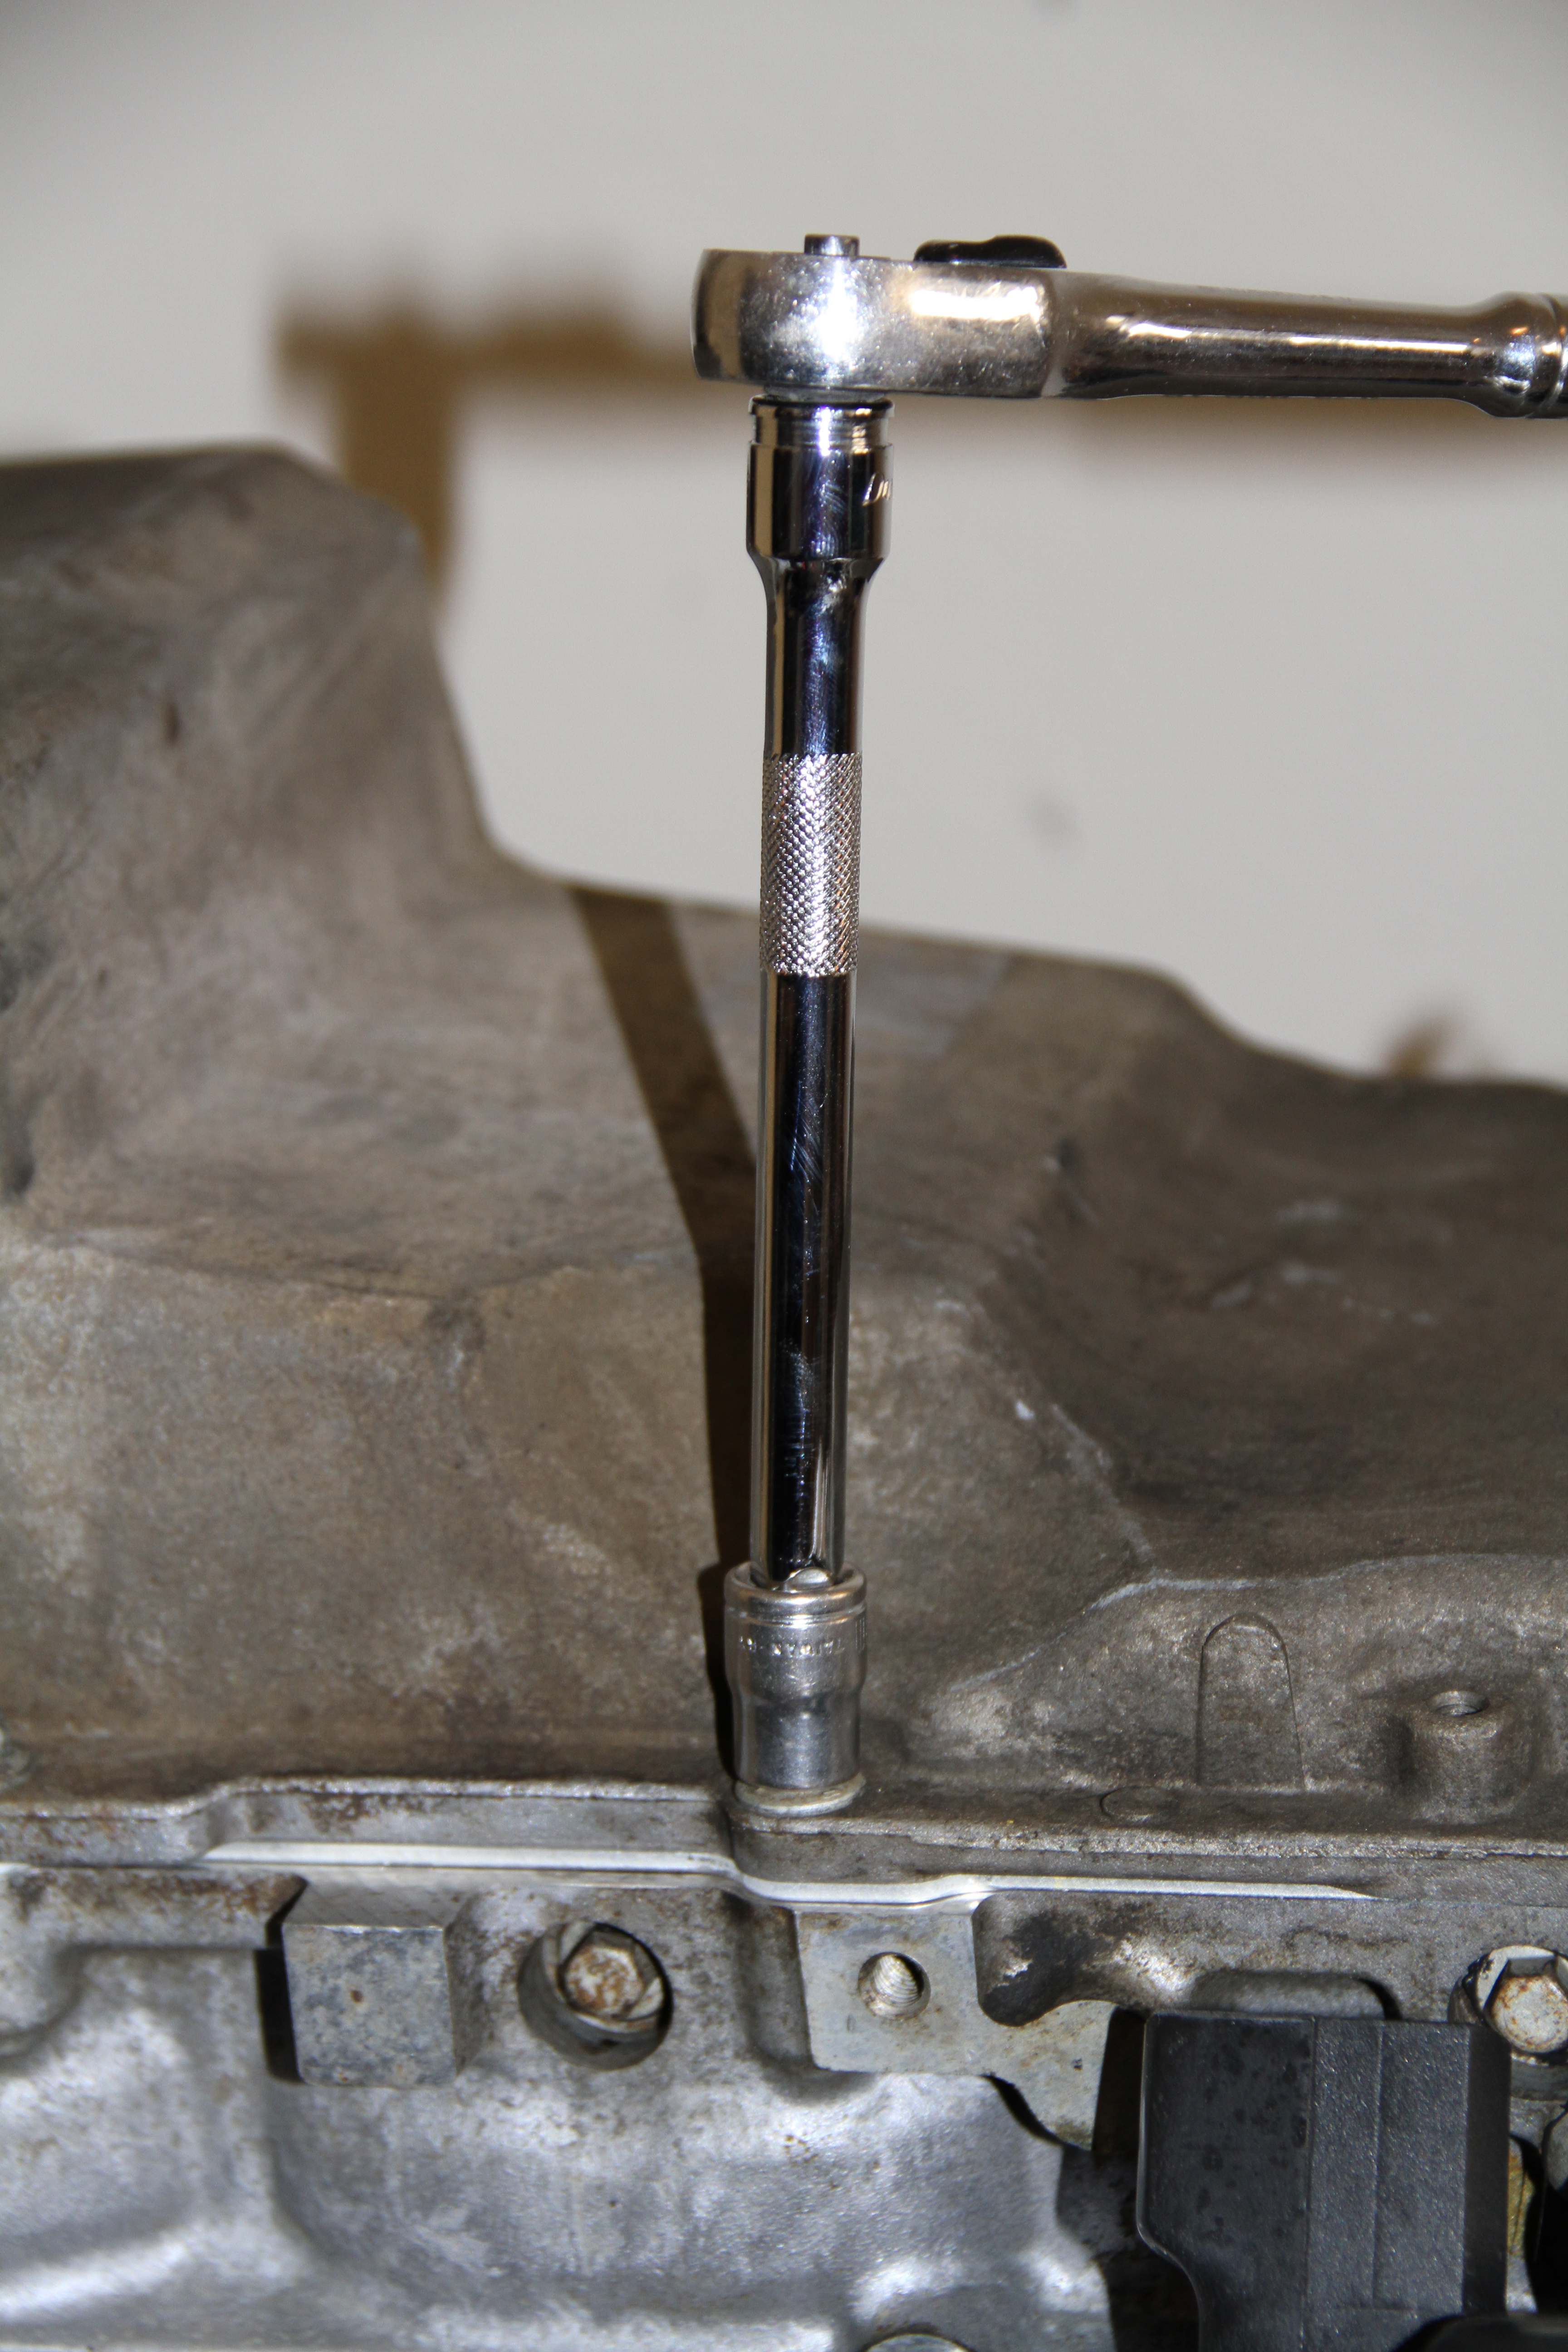
Pretty straight forward
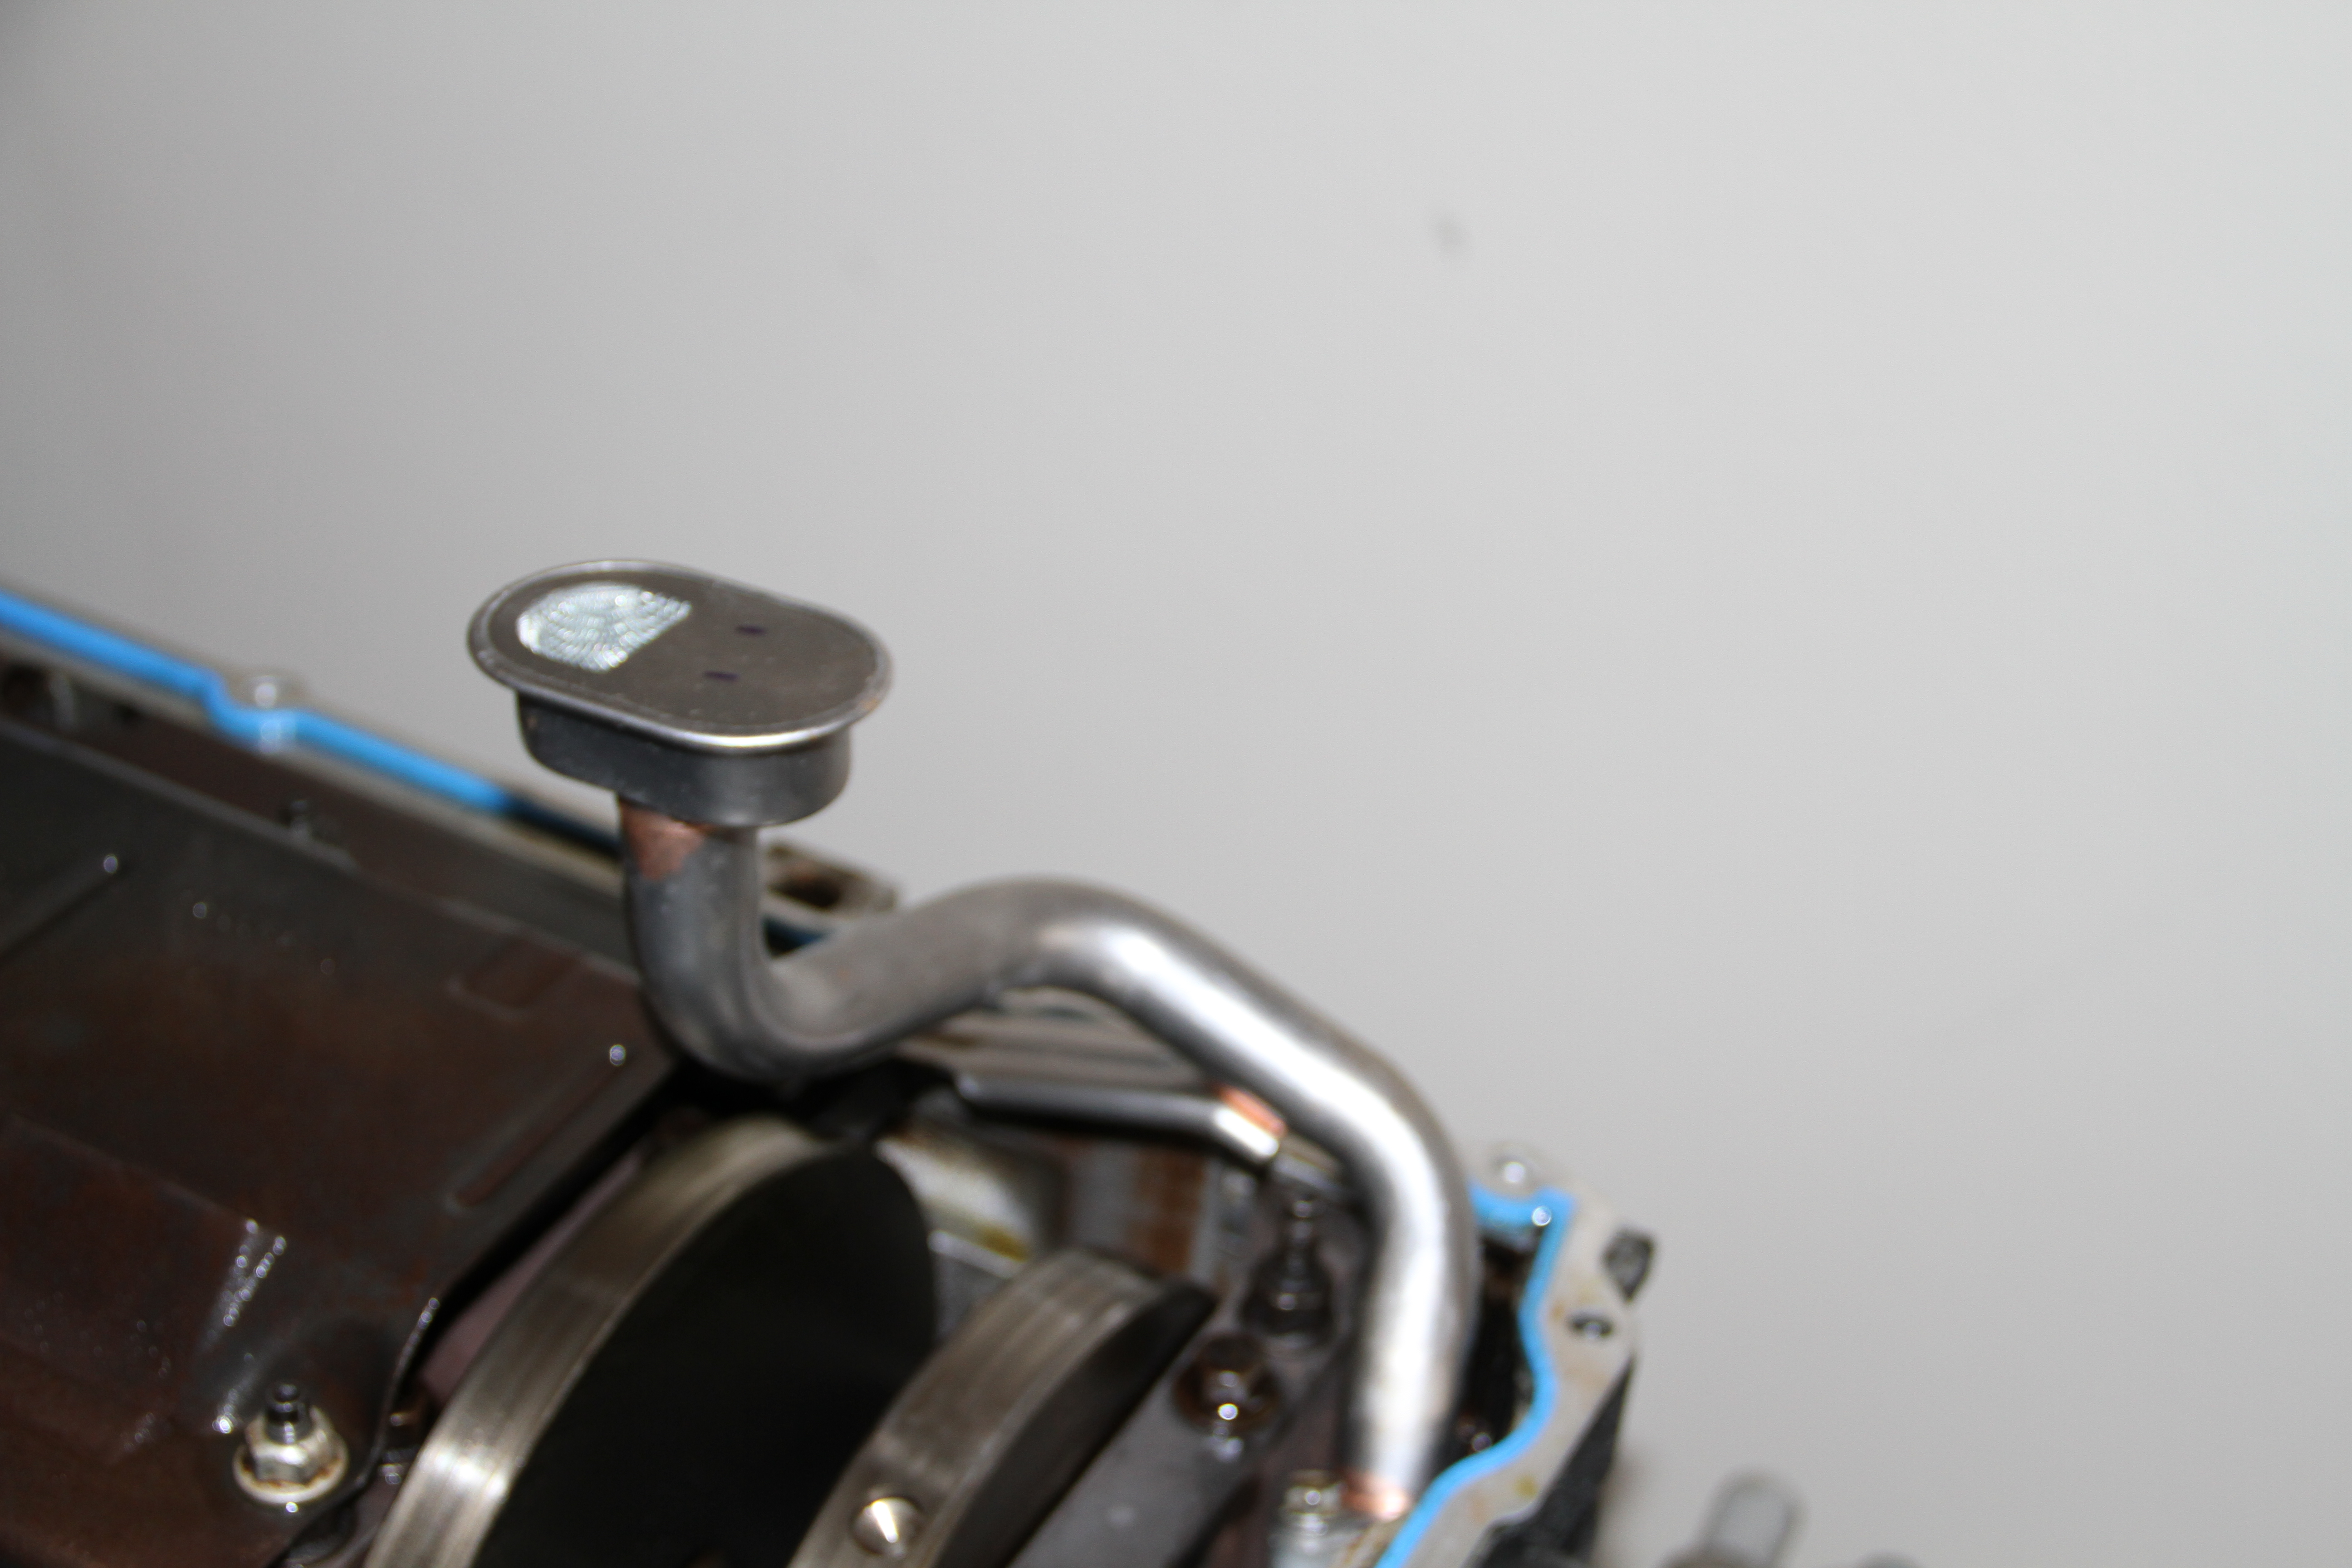
Here is the factory LS oil pick up....
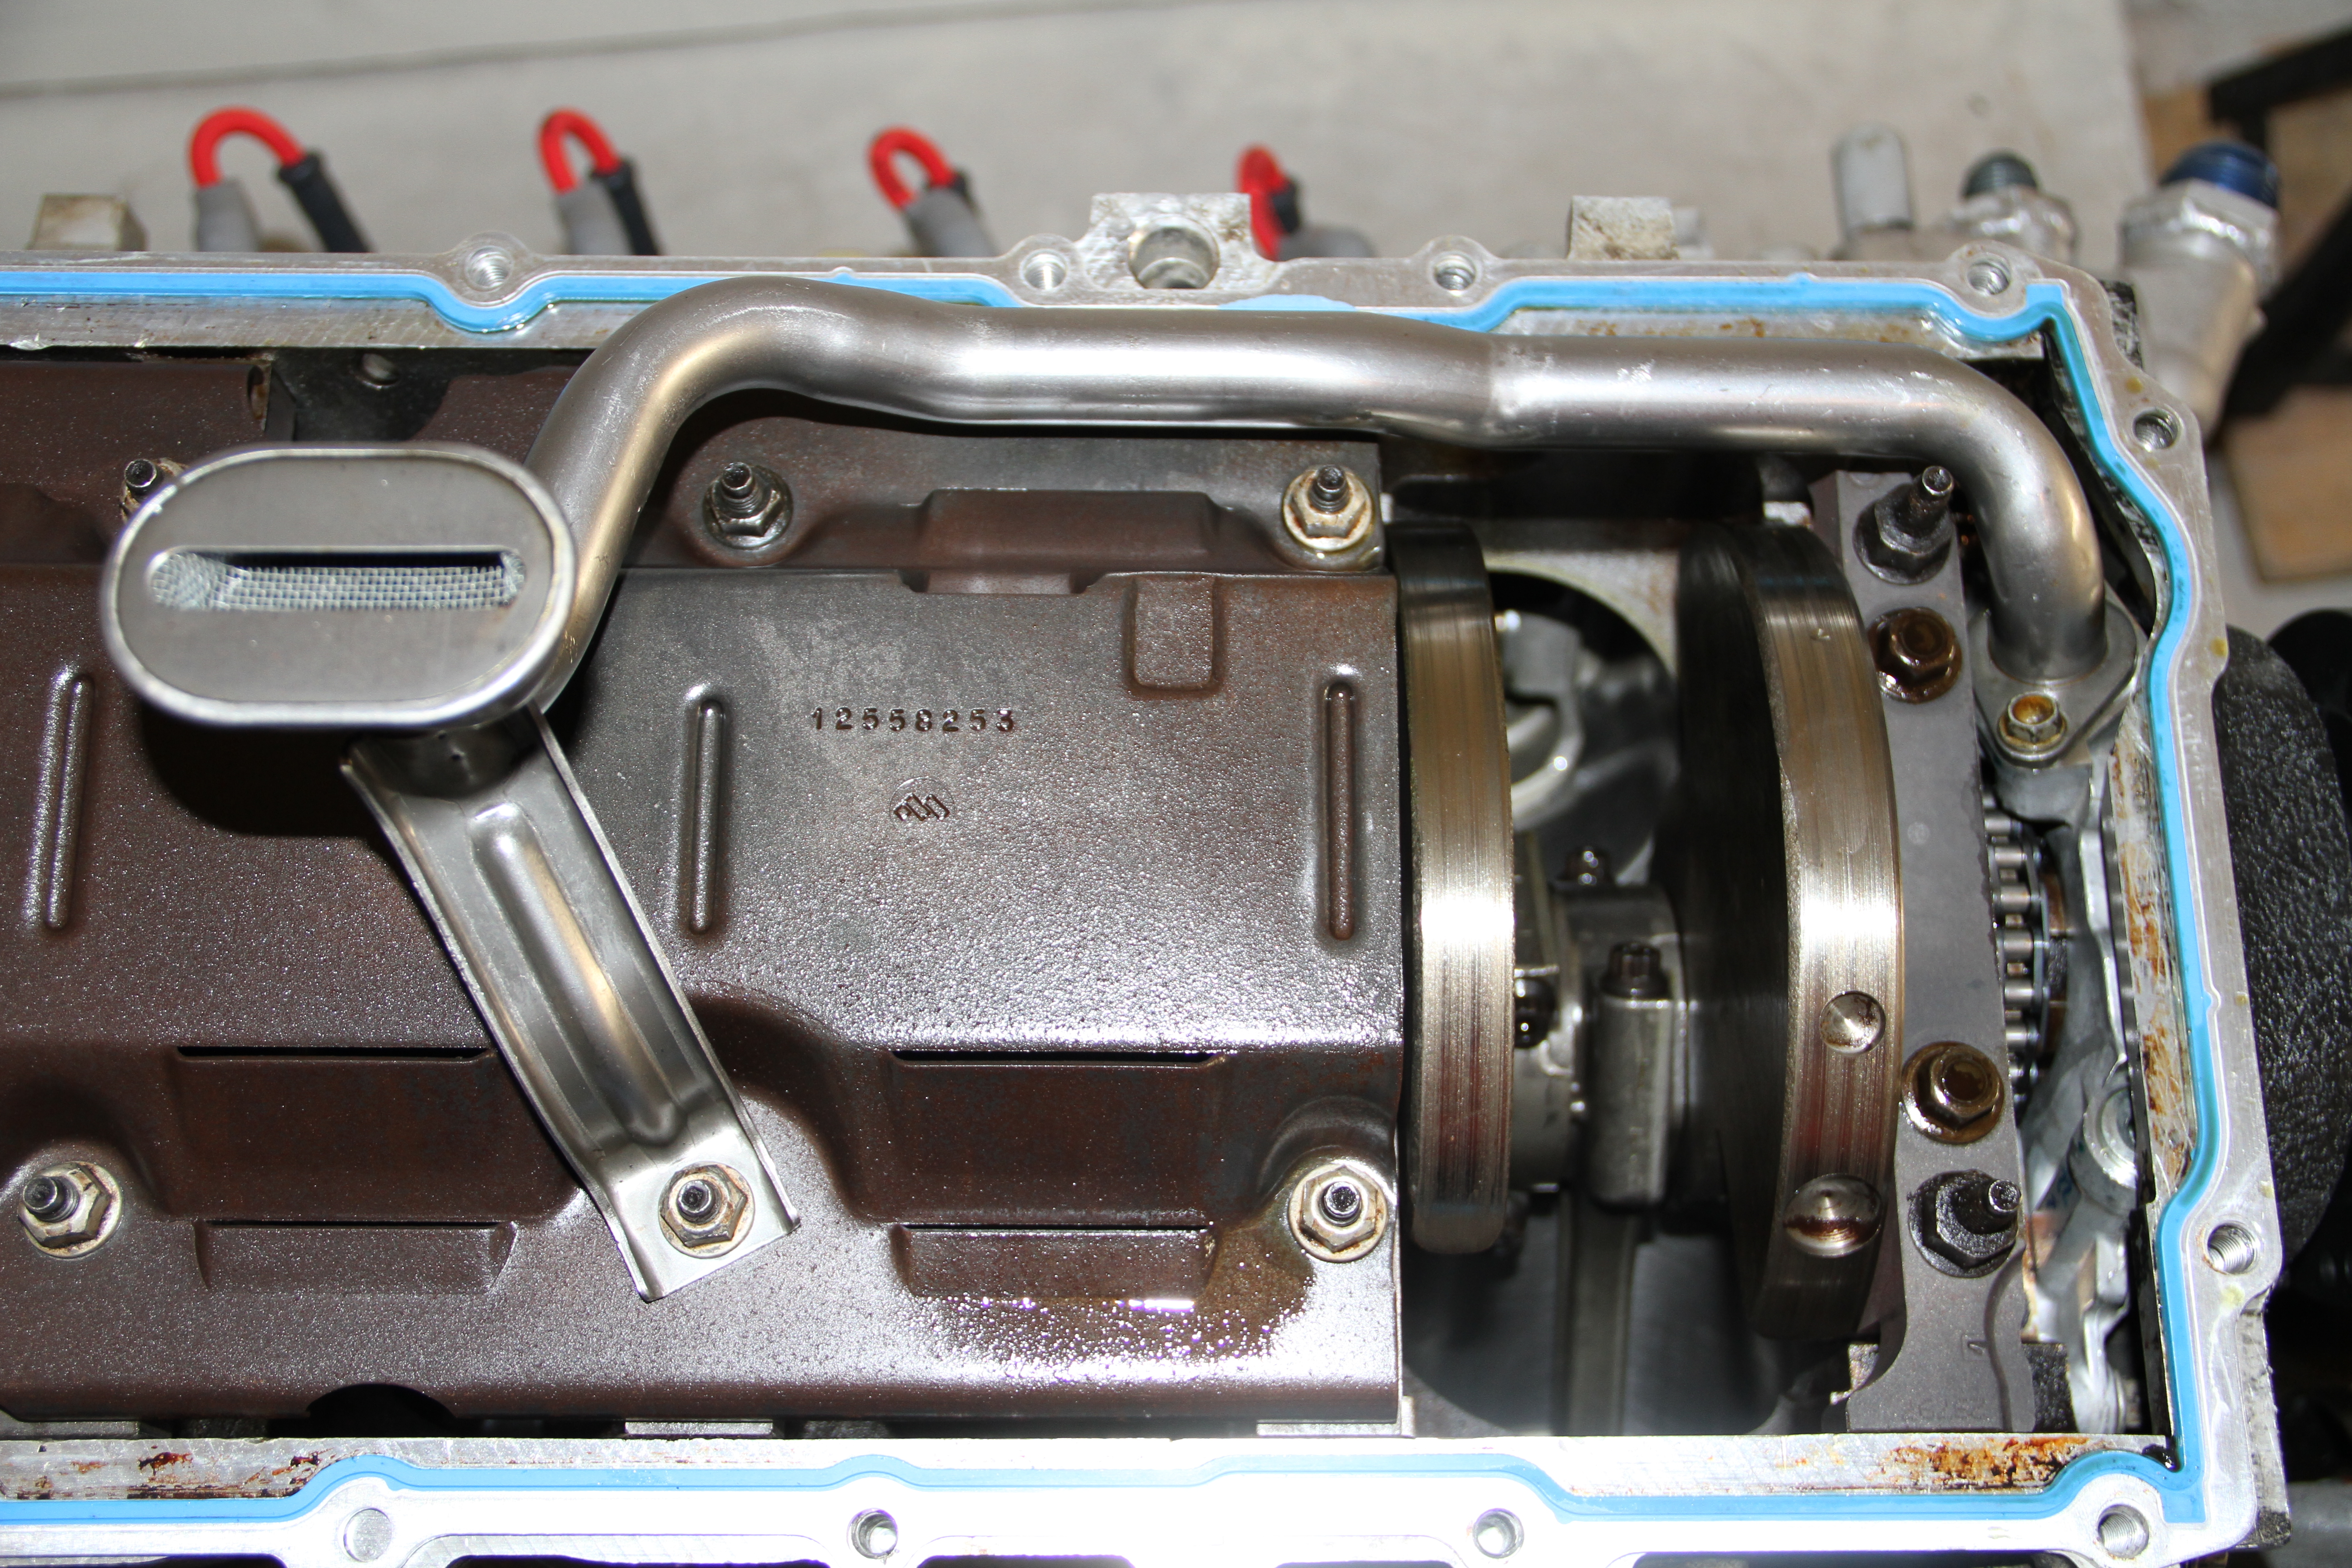
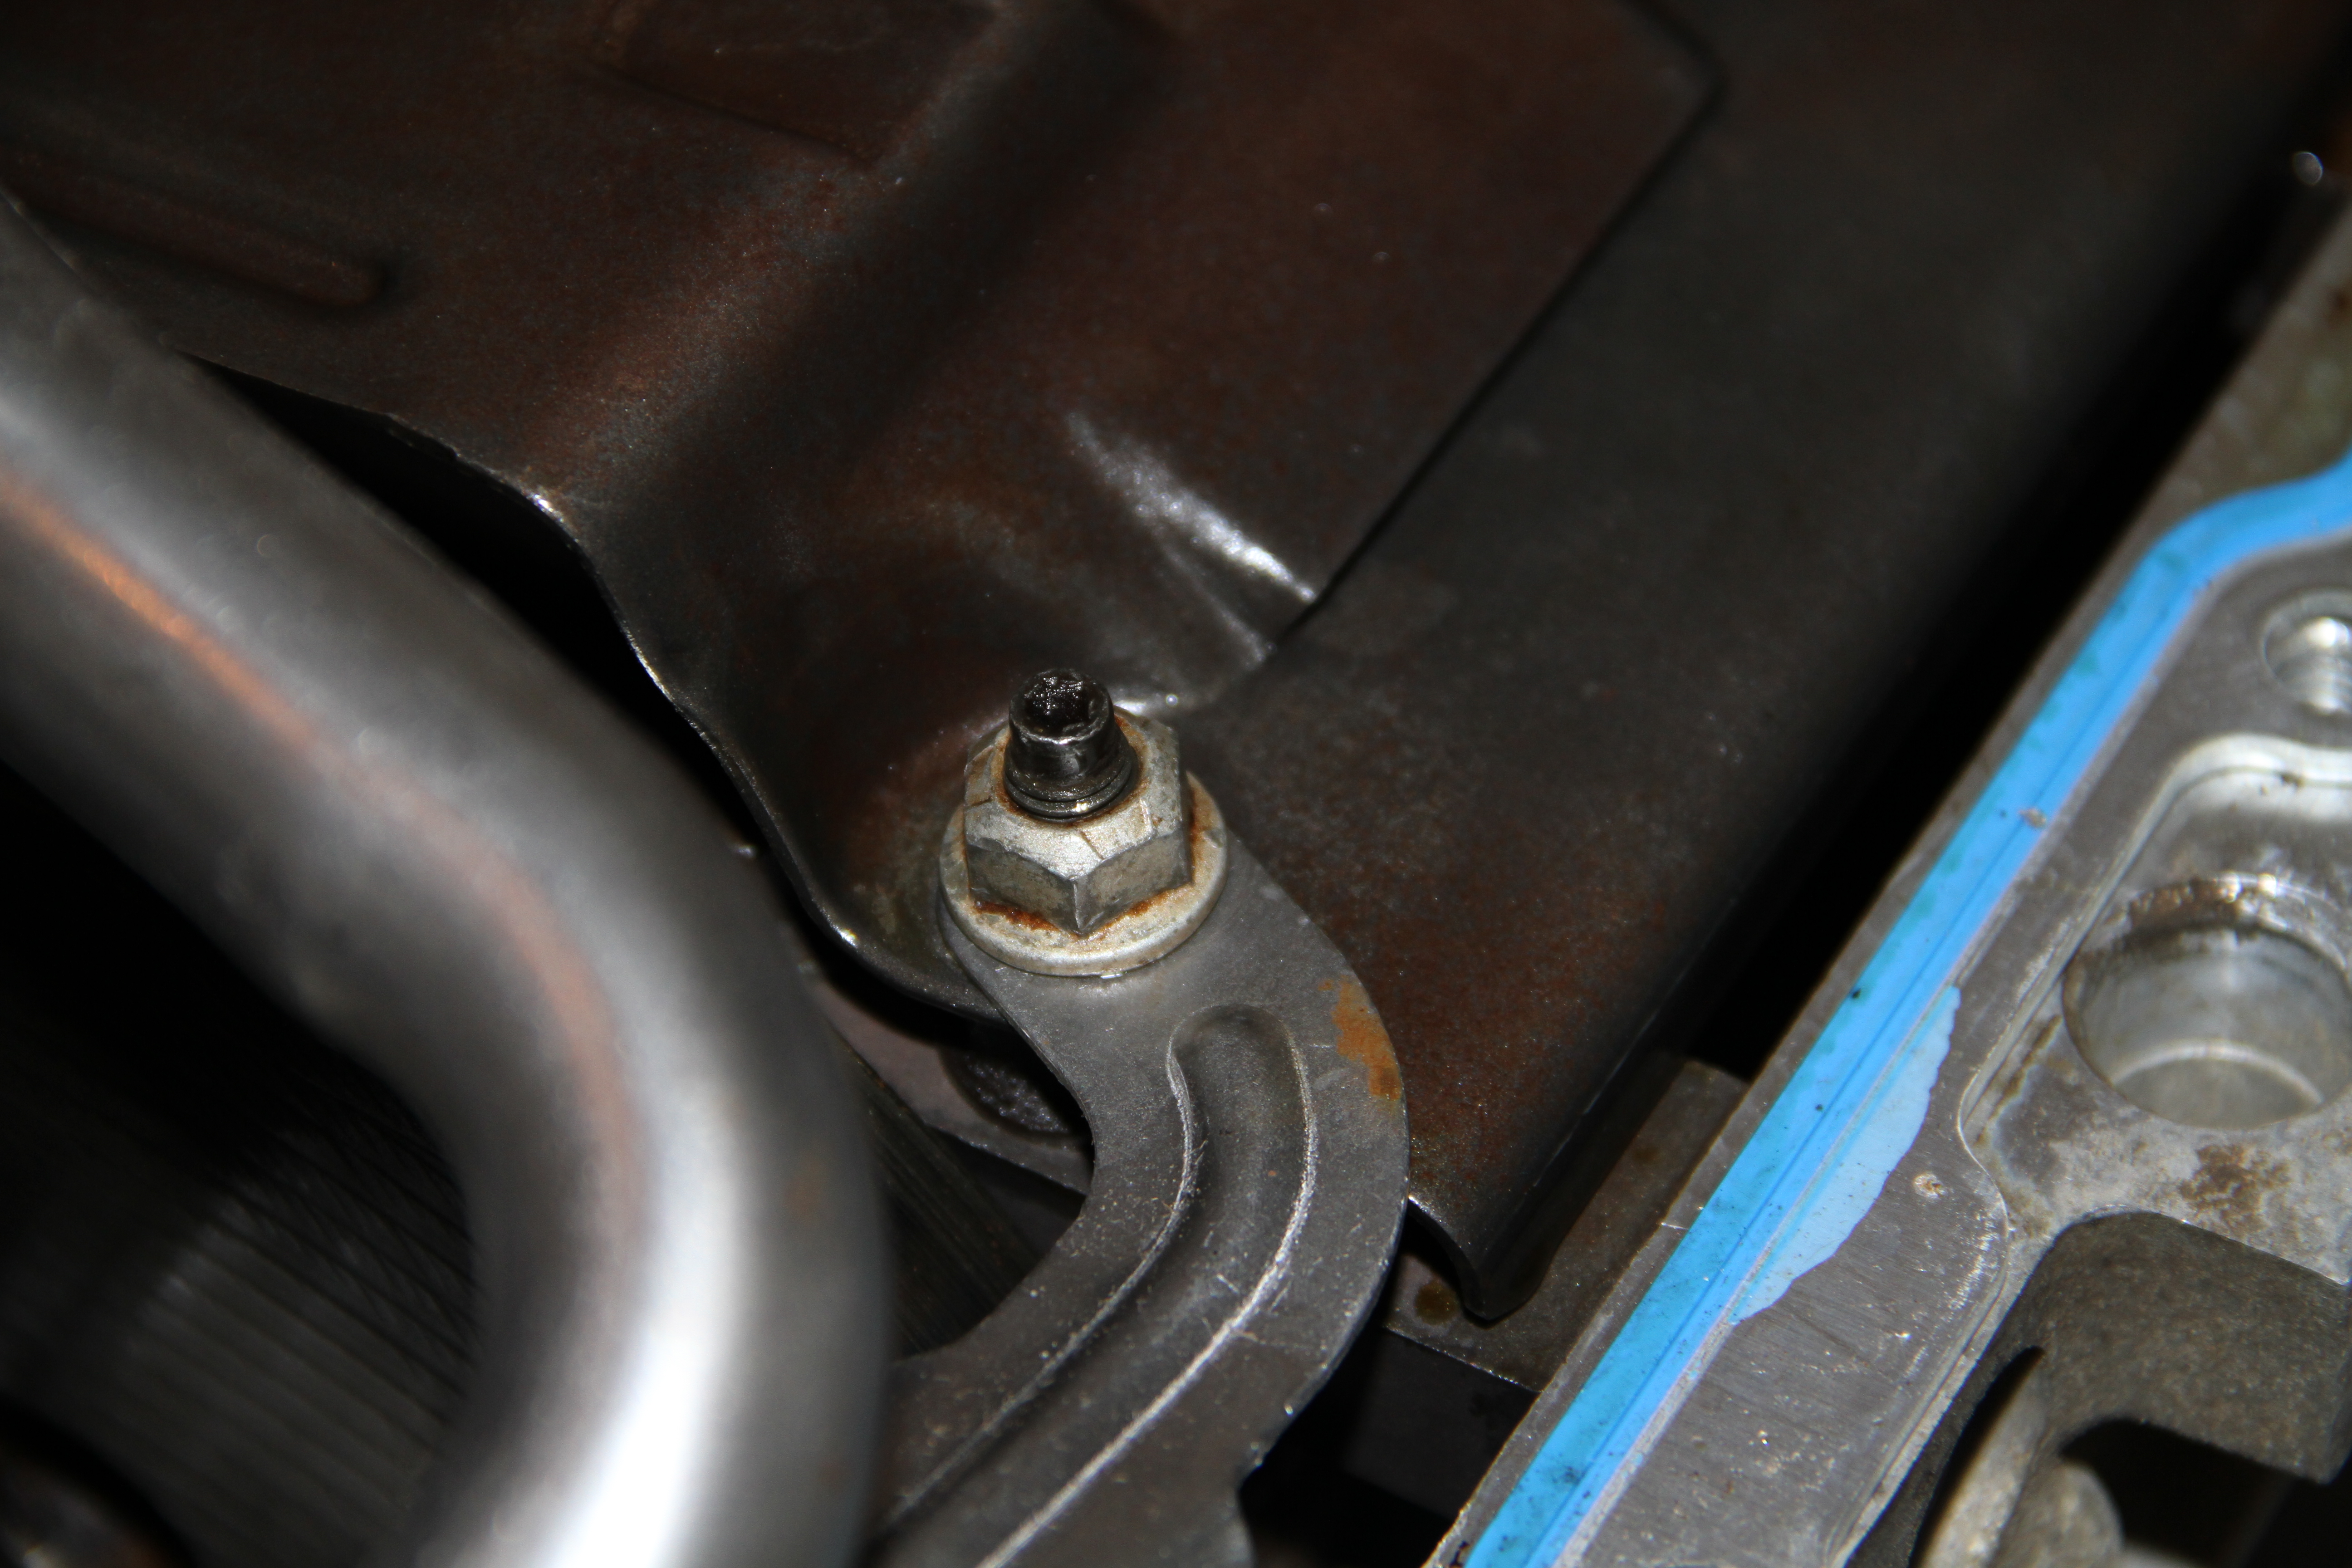
Another pic of how the factory LS oil pick up is mounted..
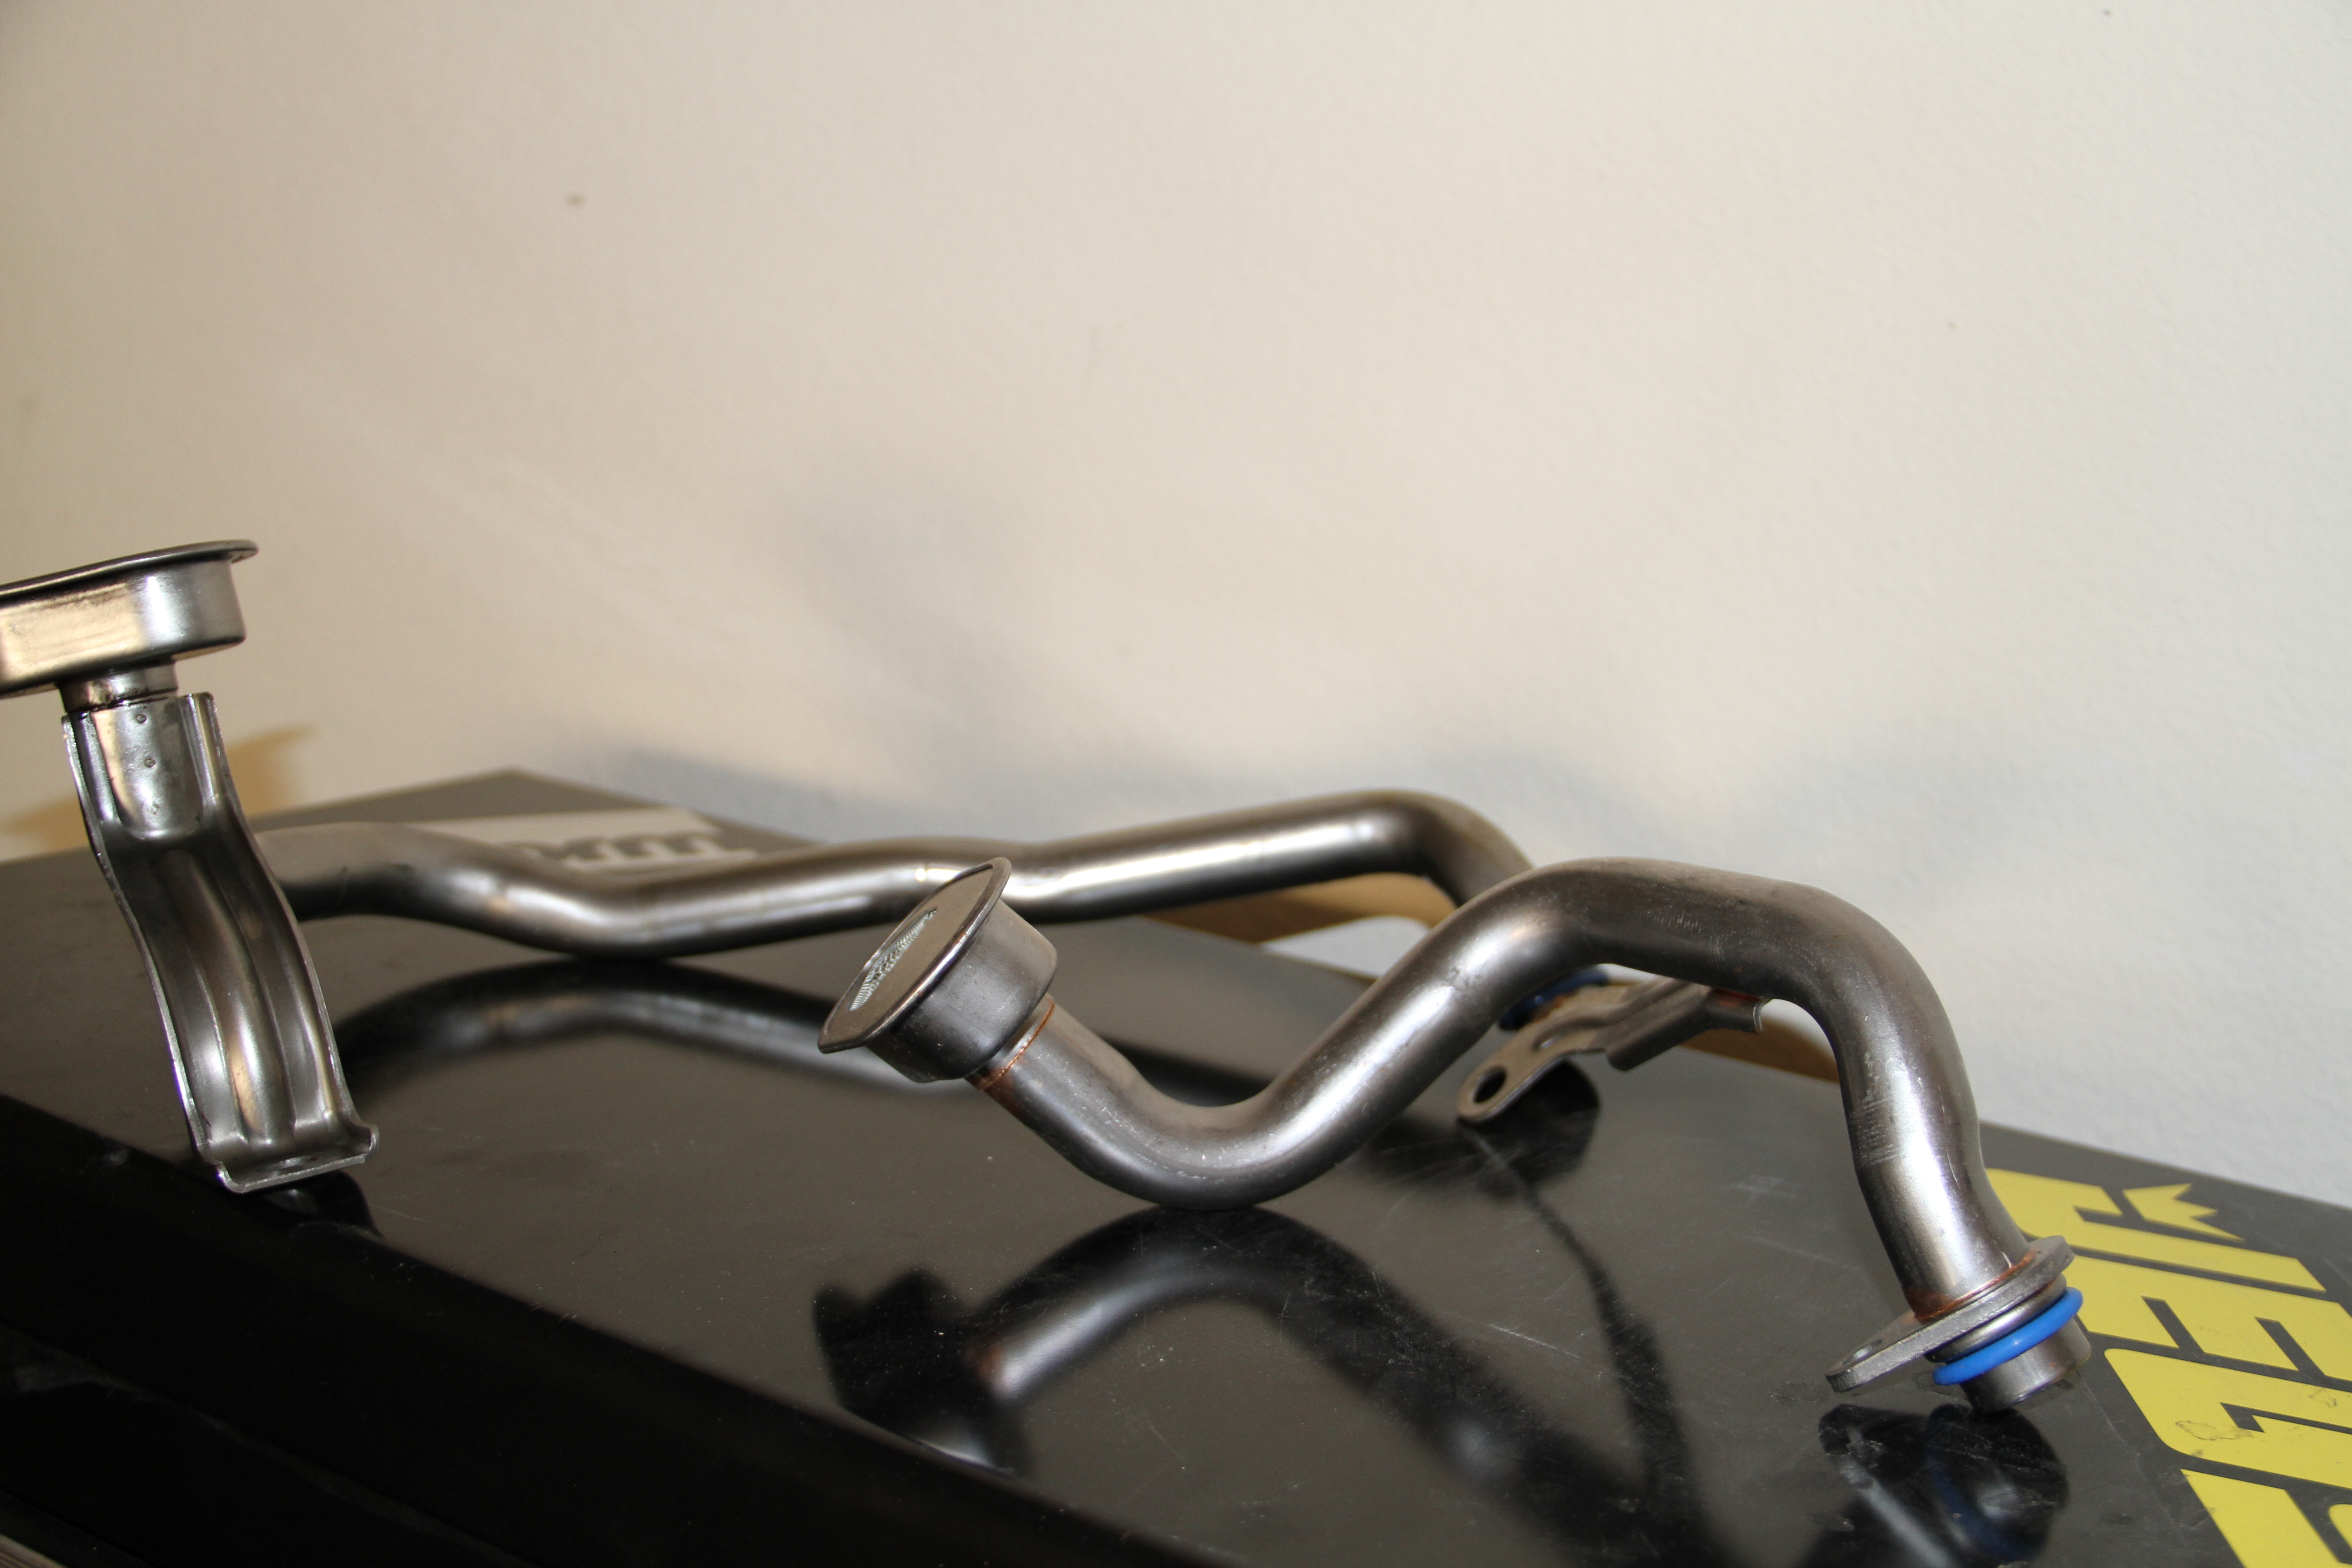
Here is a quick comparison to the factory LS oil pick up to the new Sikky oil pick up tube. See how much smaller the Sikky one is?
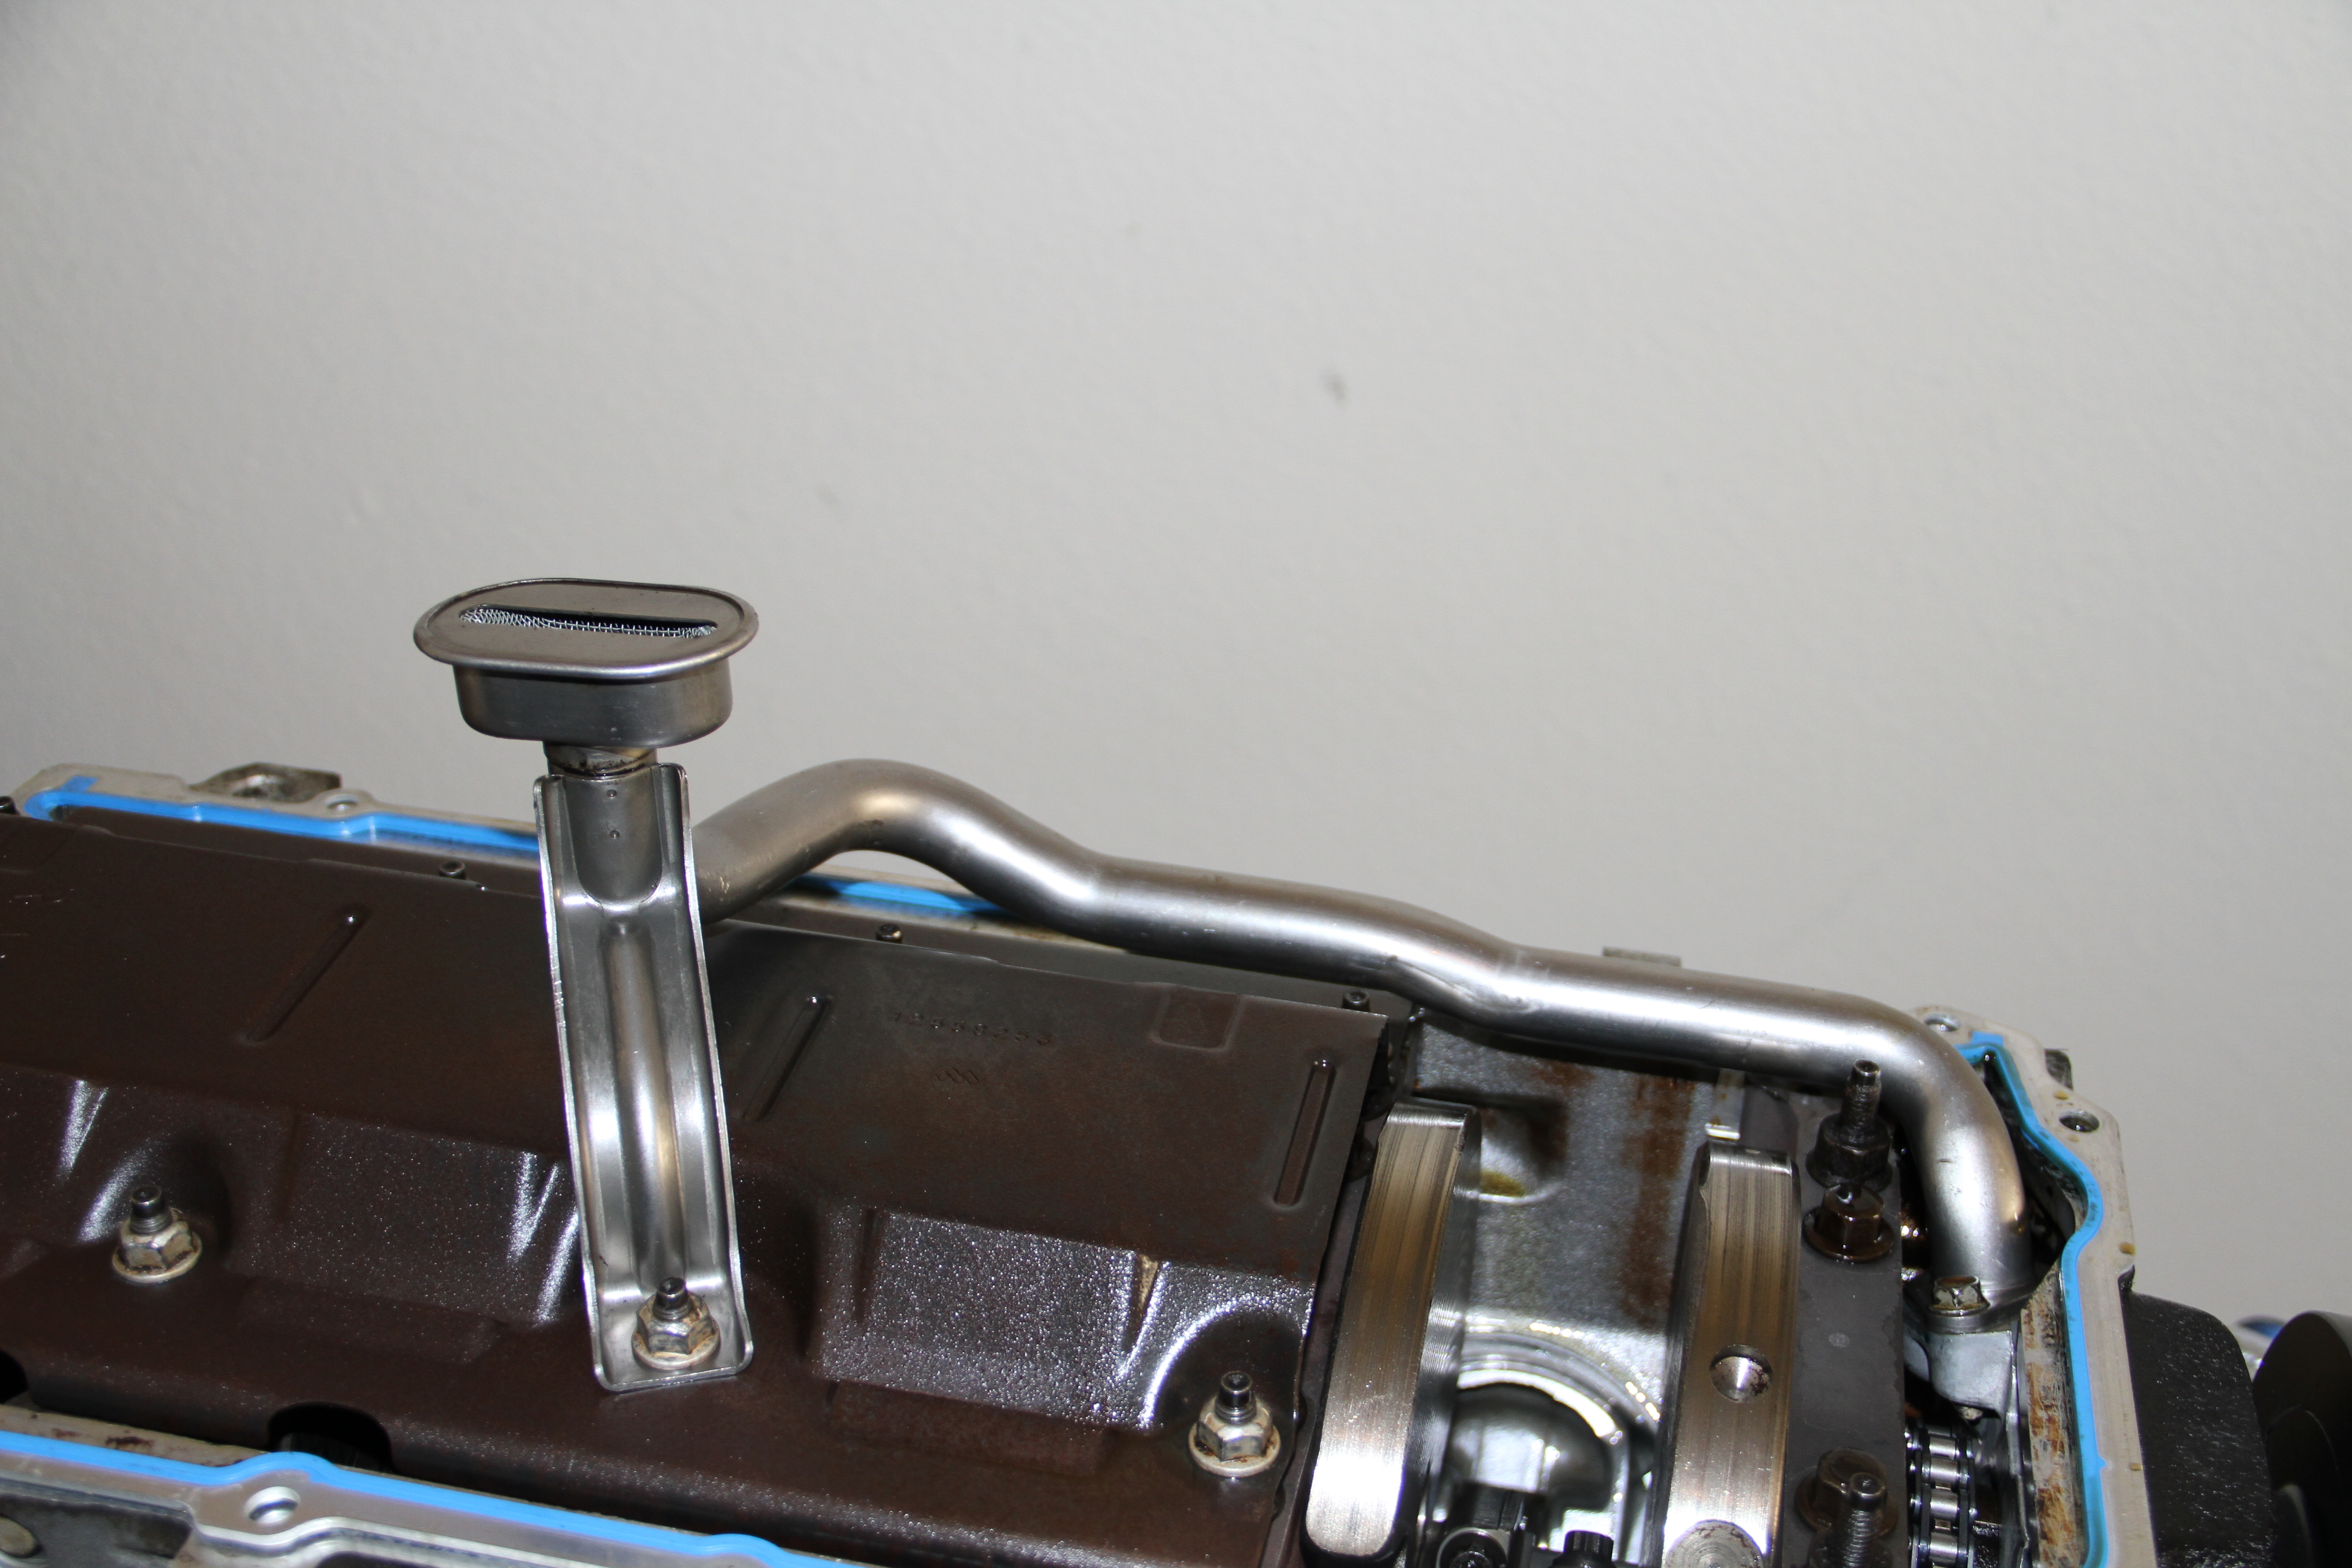
Install the new Sikky oil pick up tube, using factory torque specs..
Mounting spot..
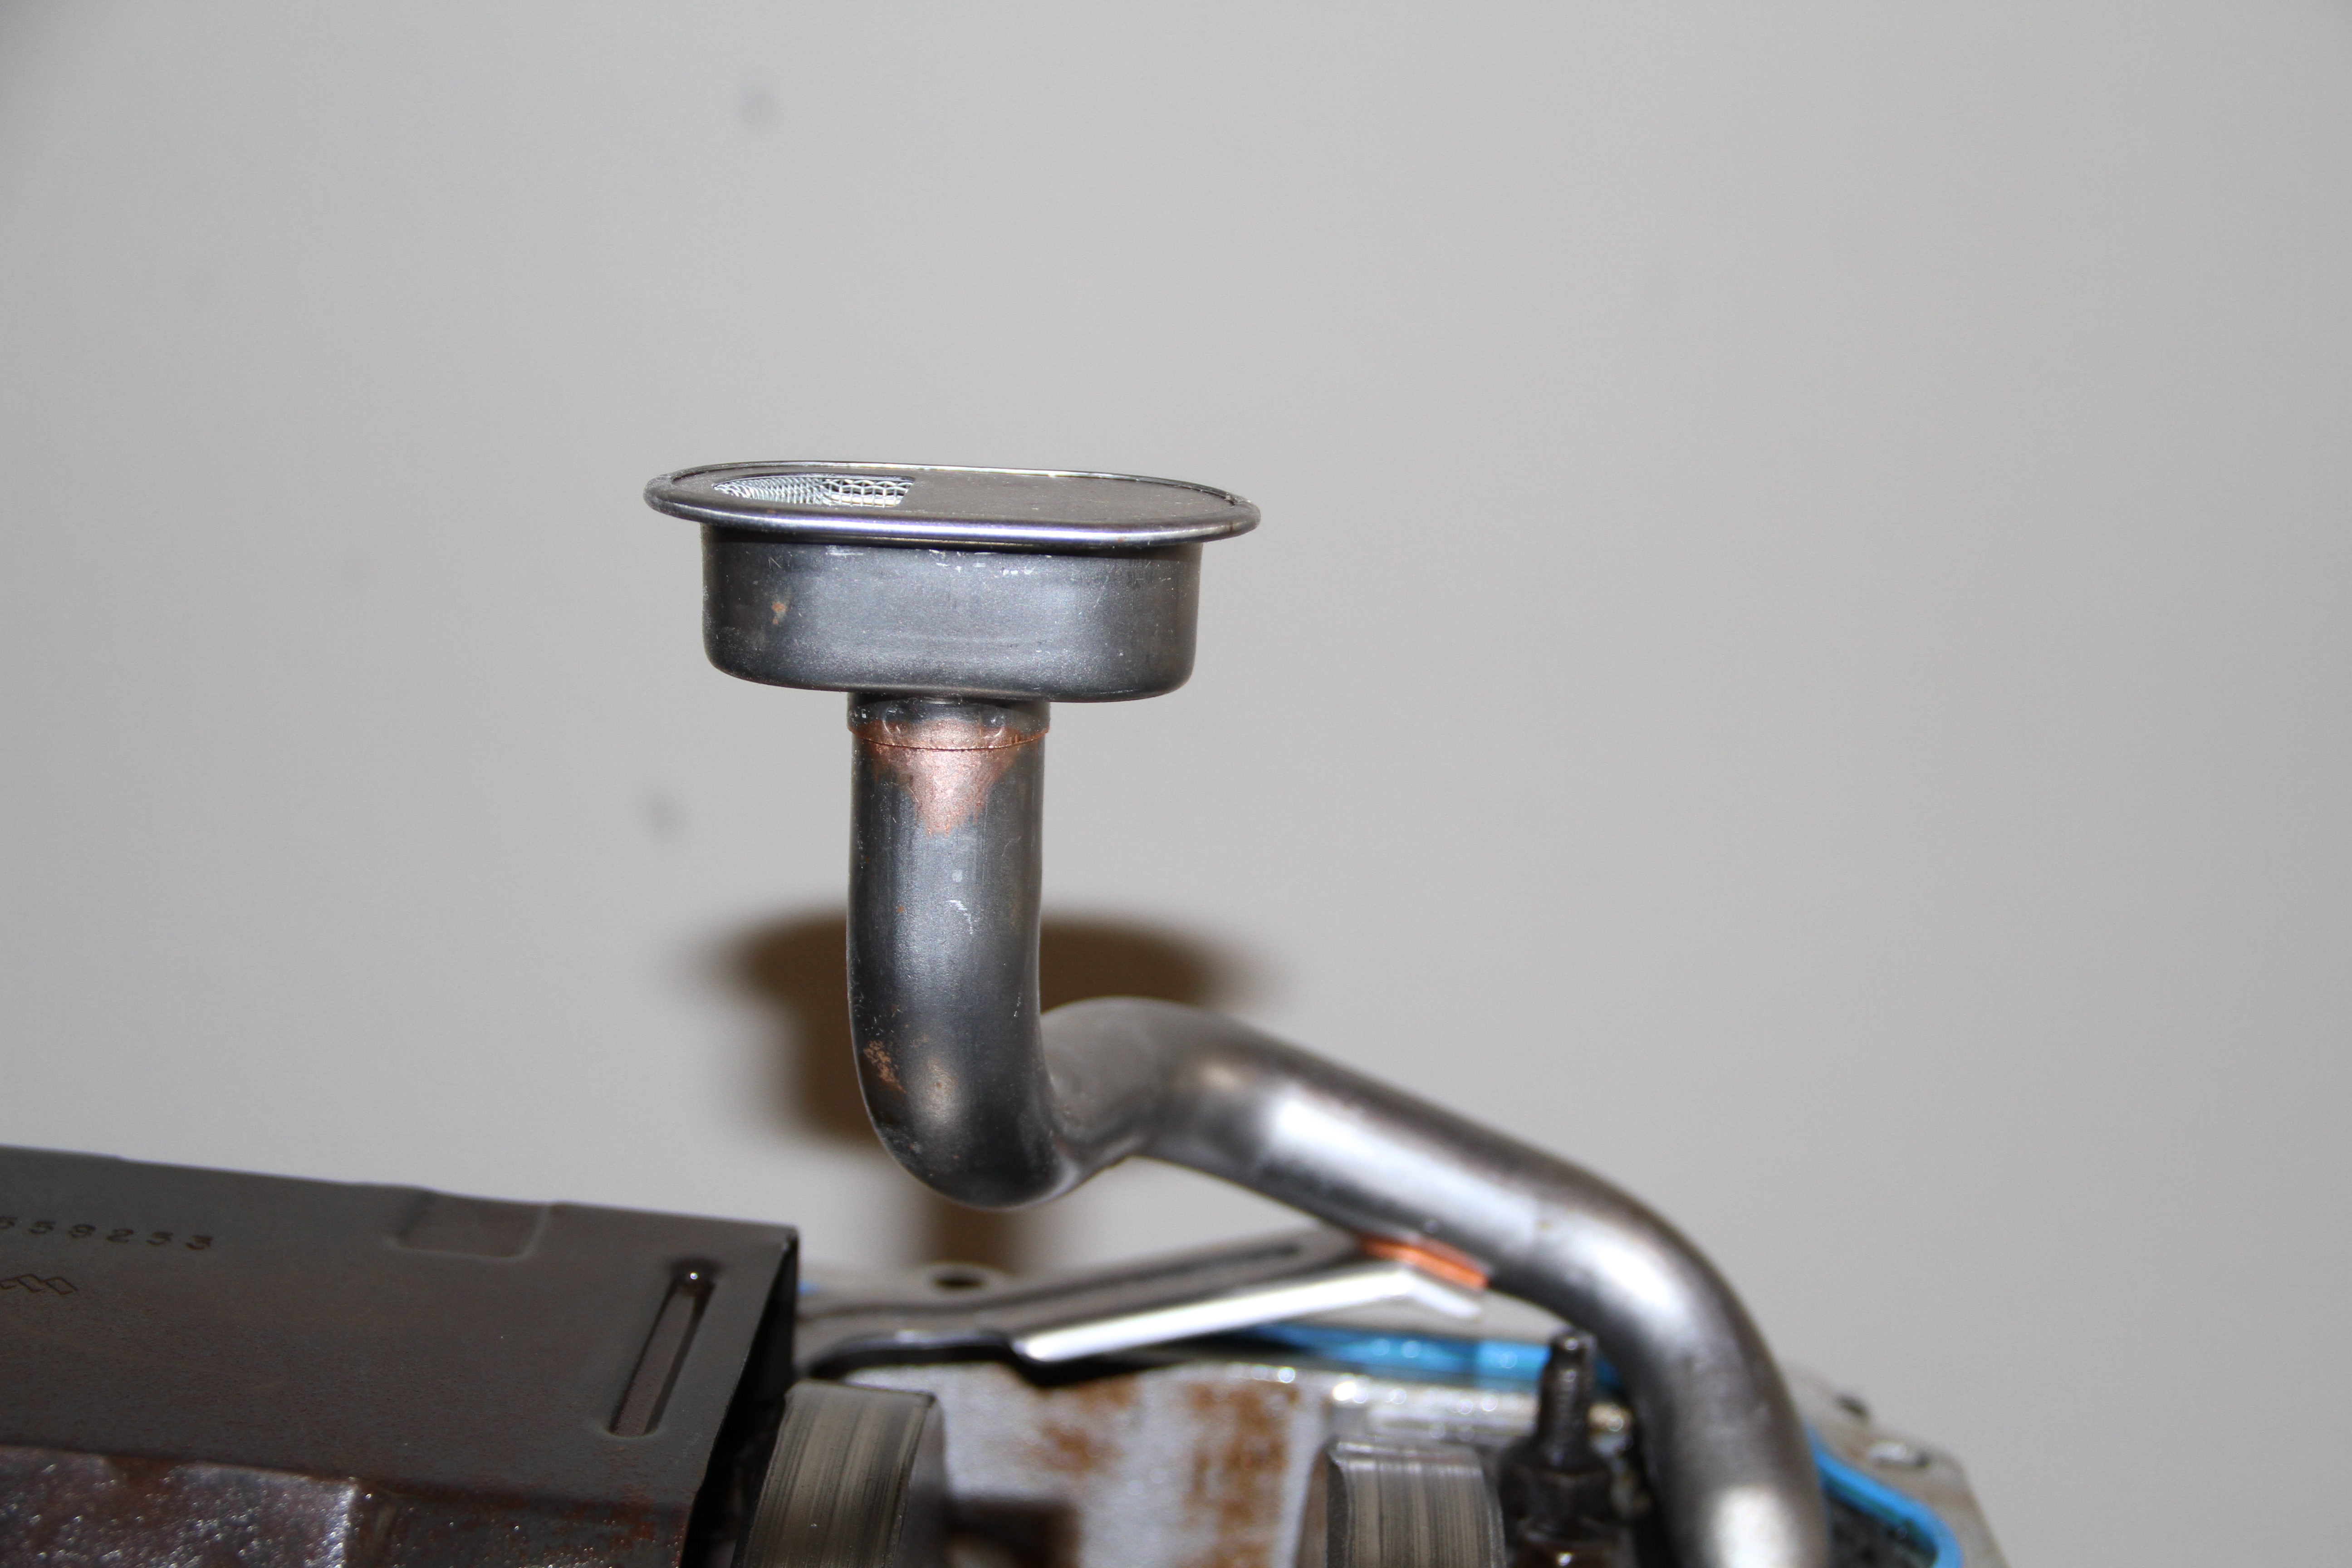
Another pic of the oil pick up tube..
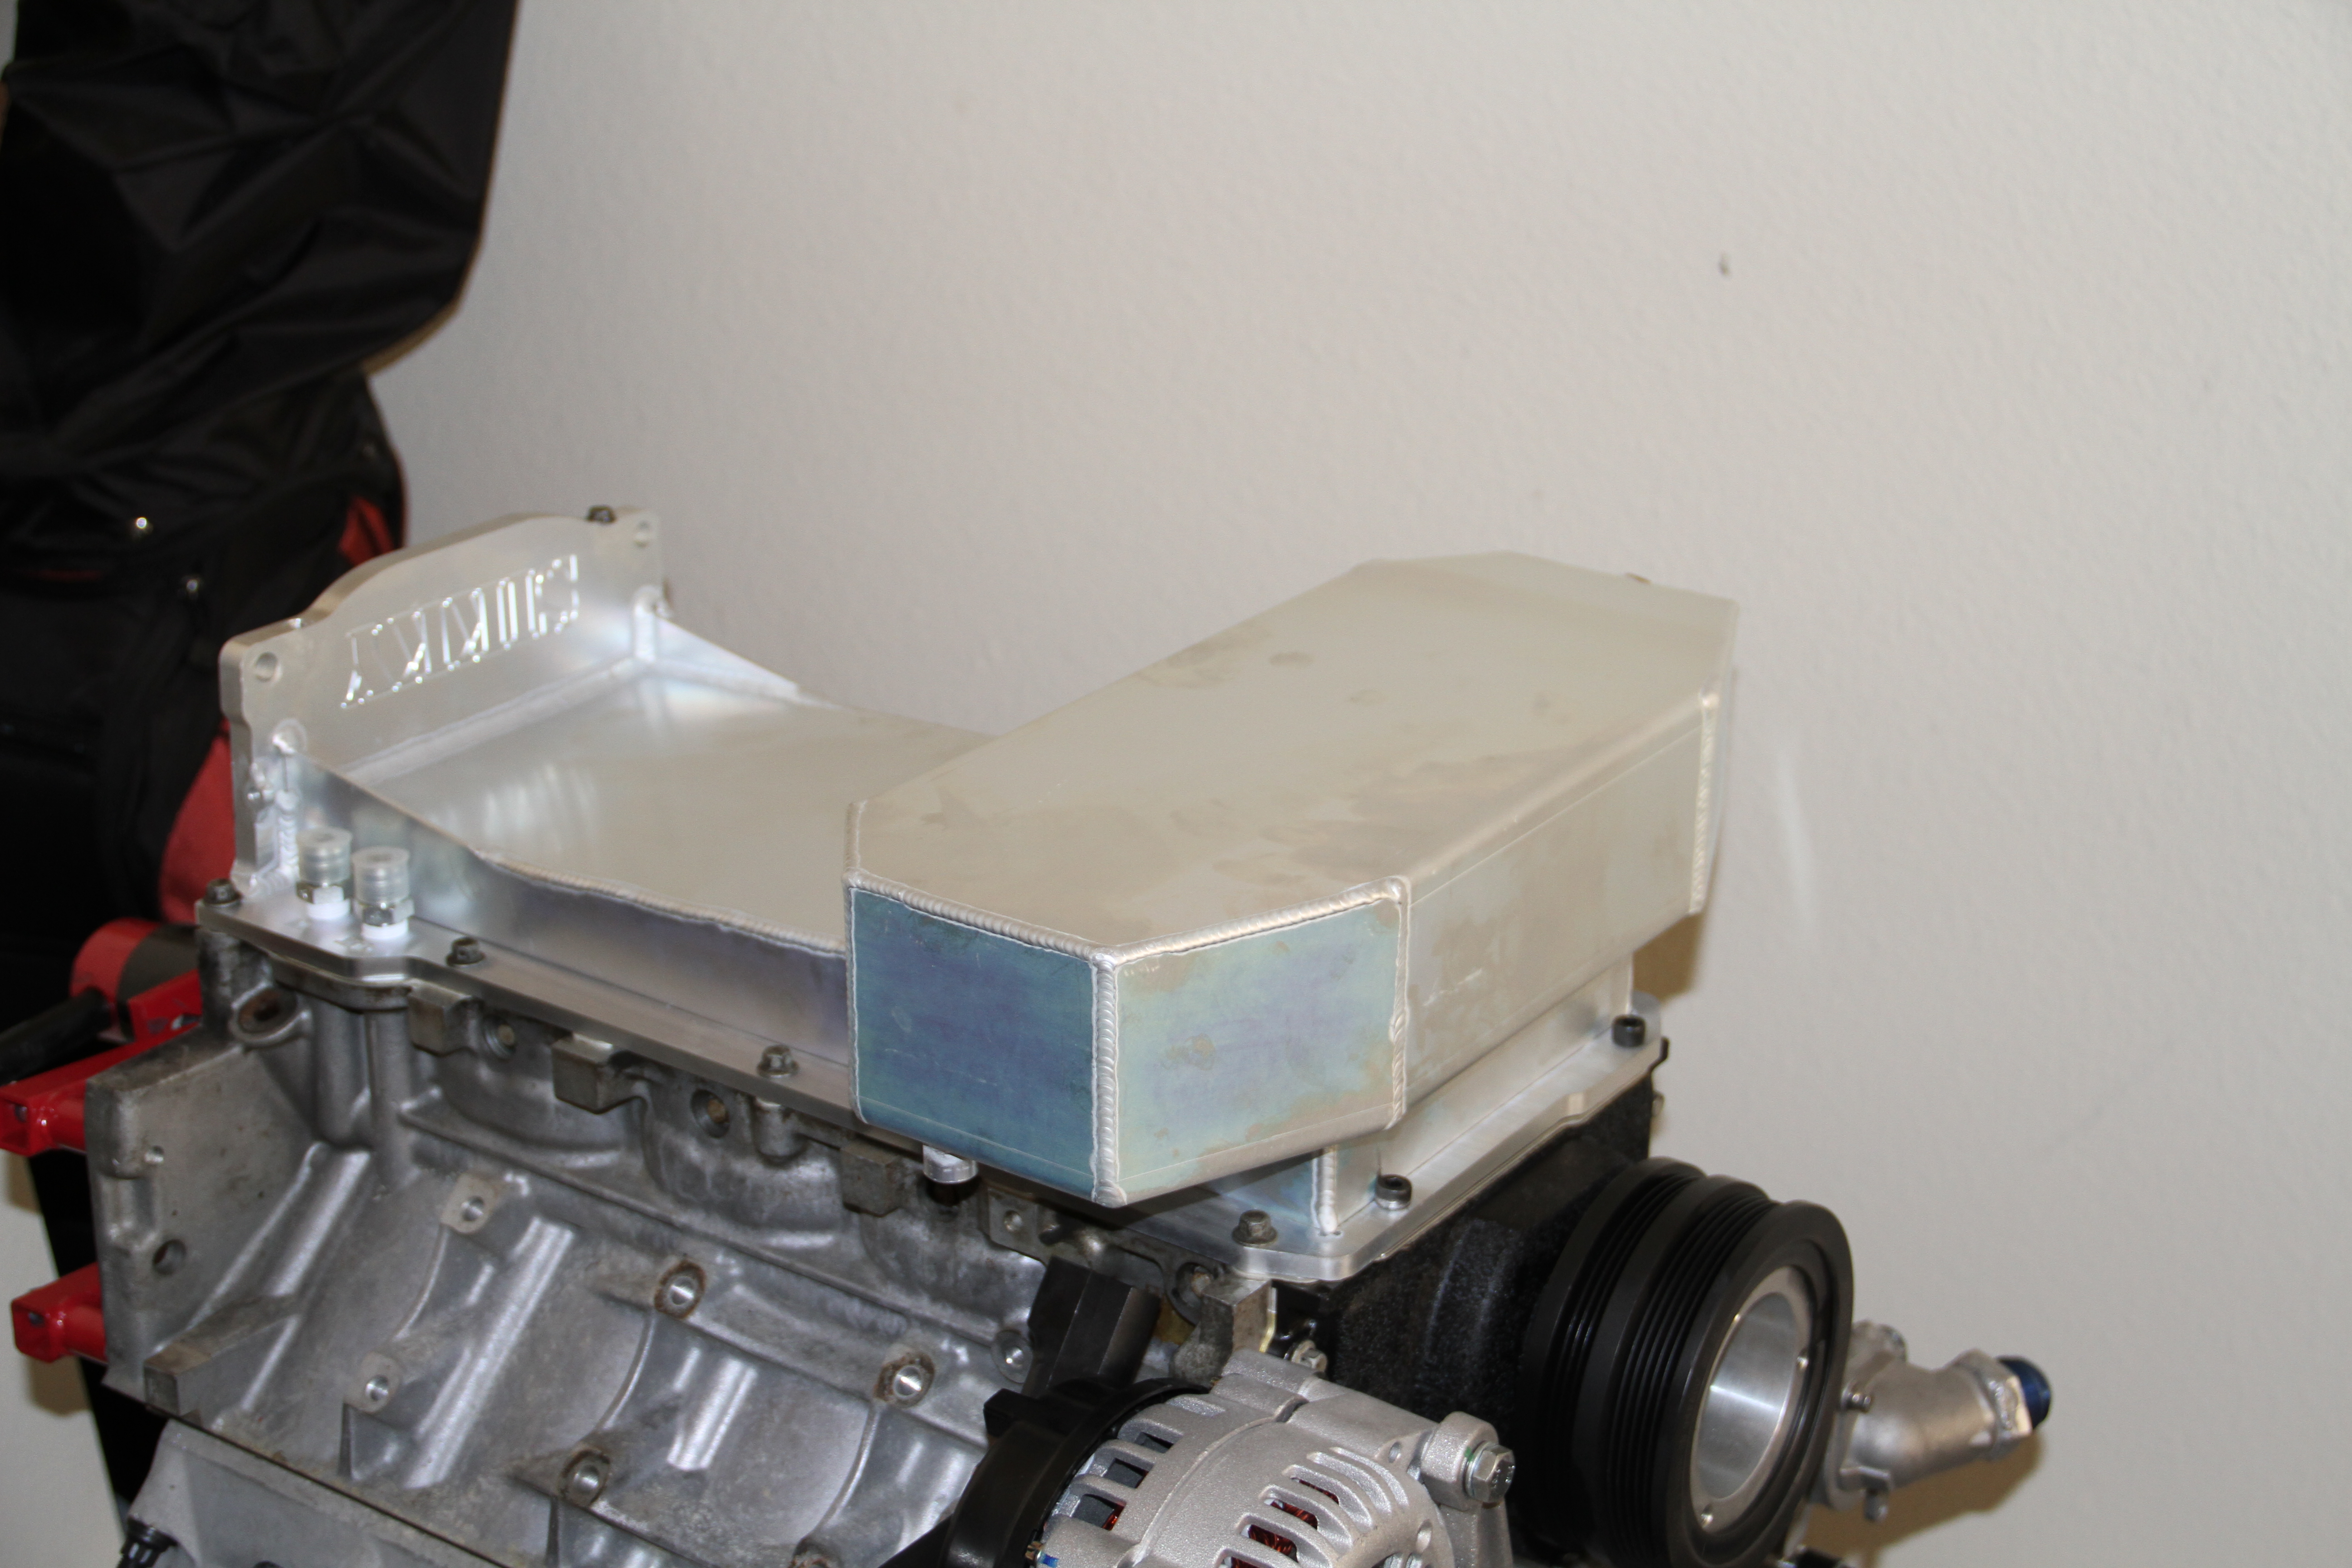
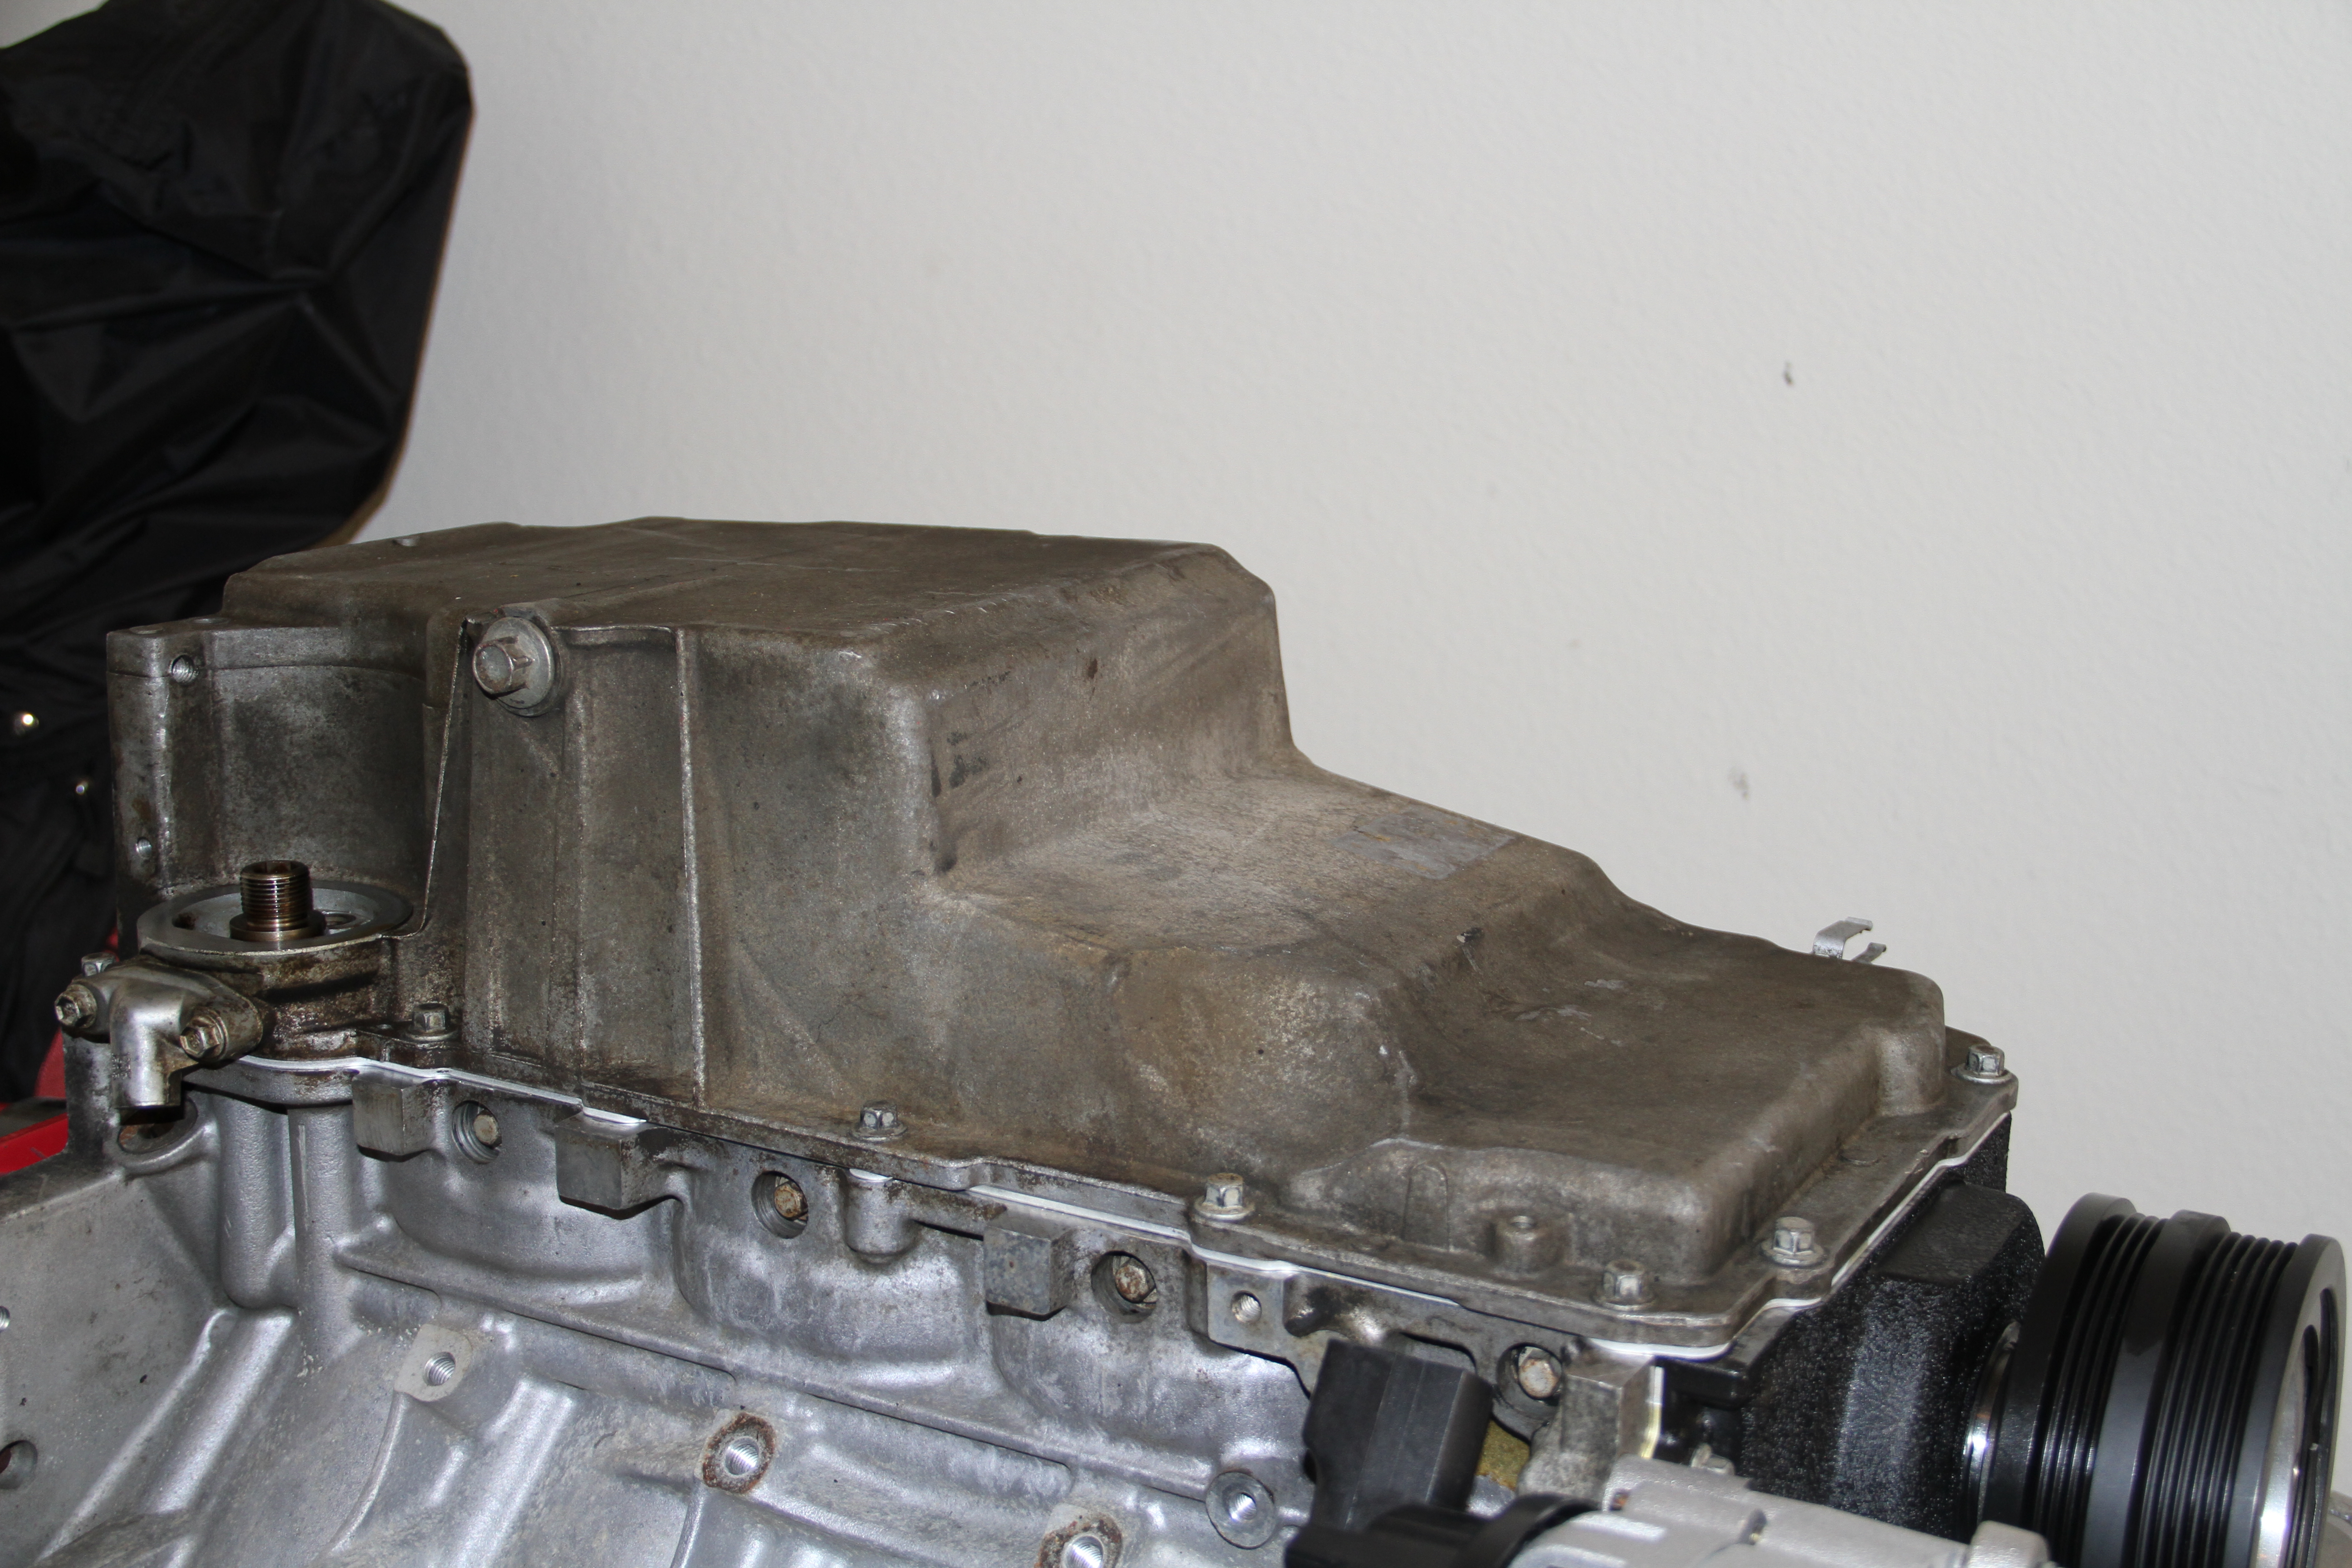
Now place the gasket in place and then install the new Sikky oil pan.... In this pic you will see that you have to use those allen screws for the front due to space.
Looking good on the engine ...
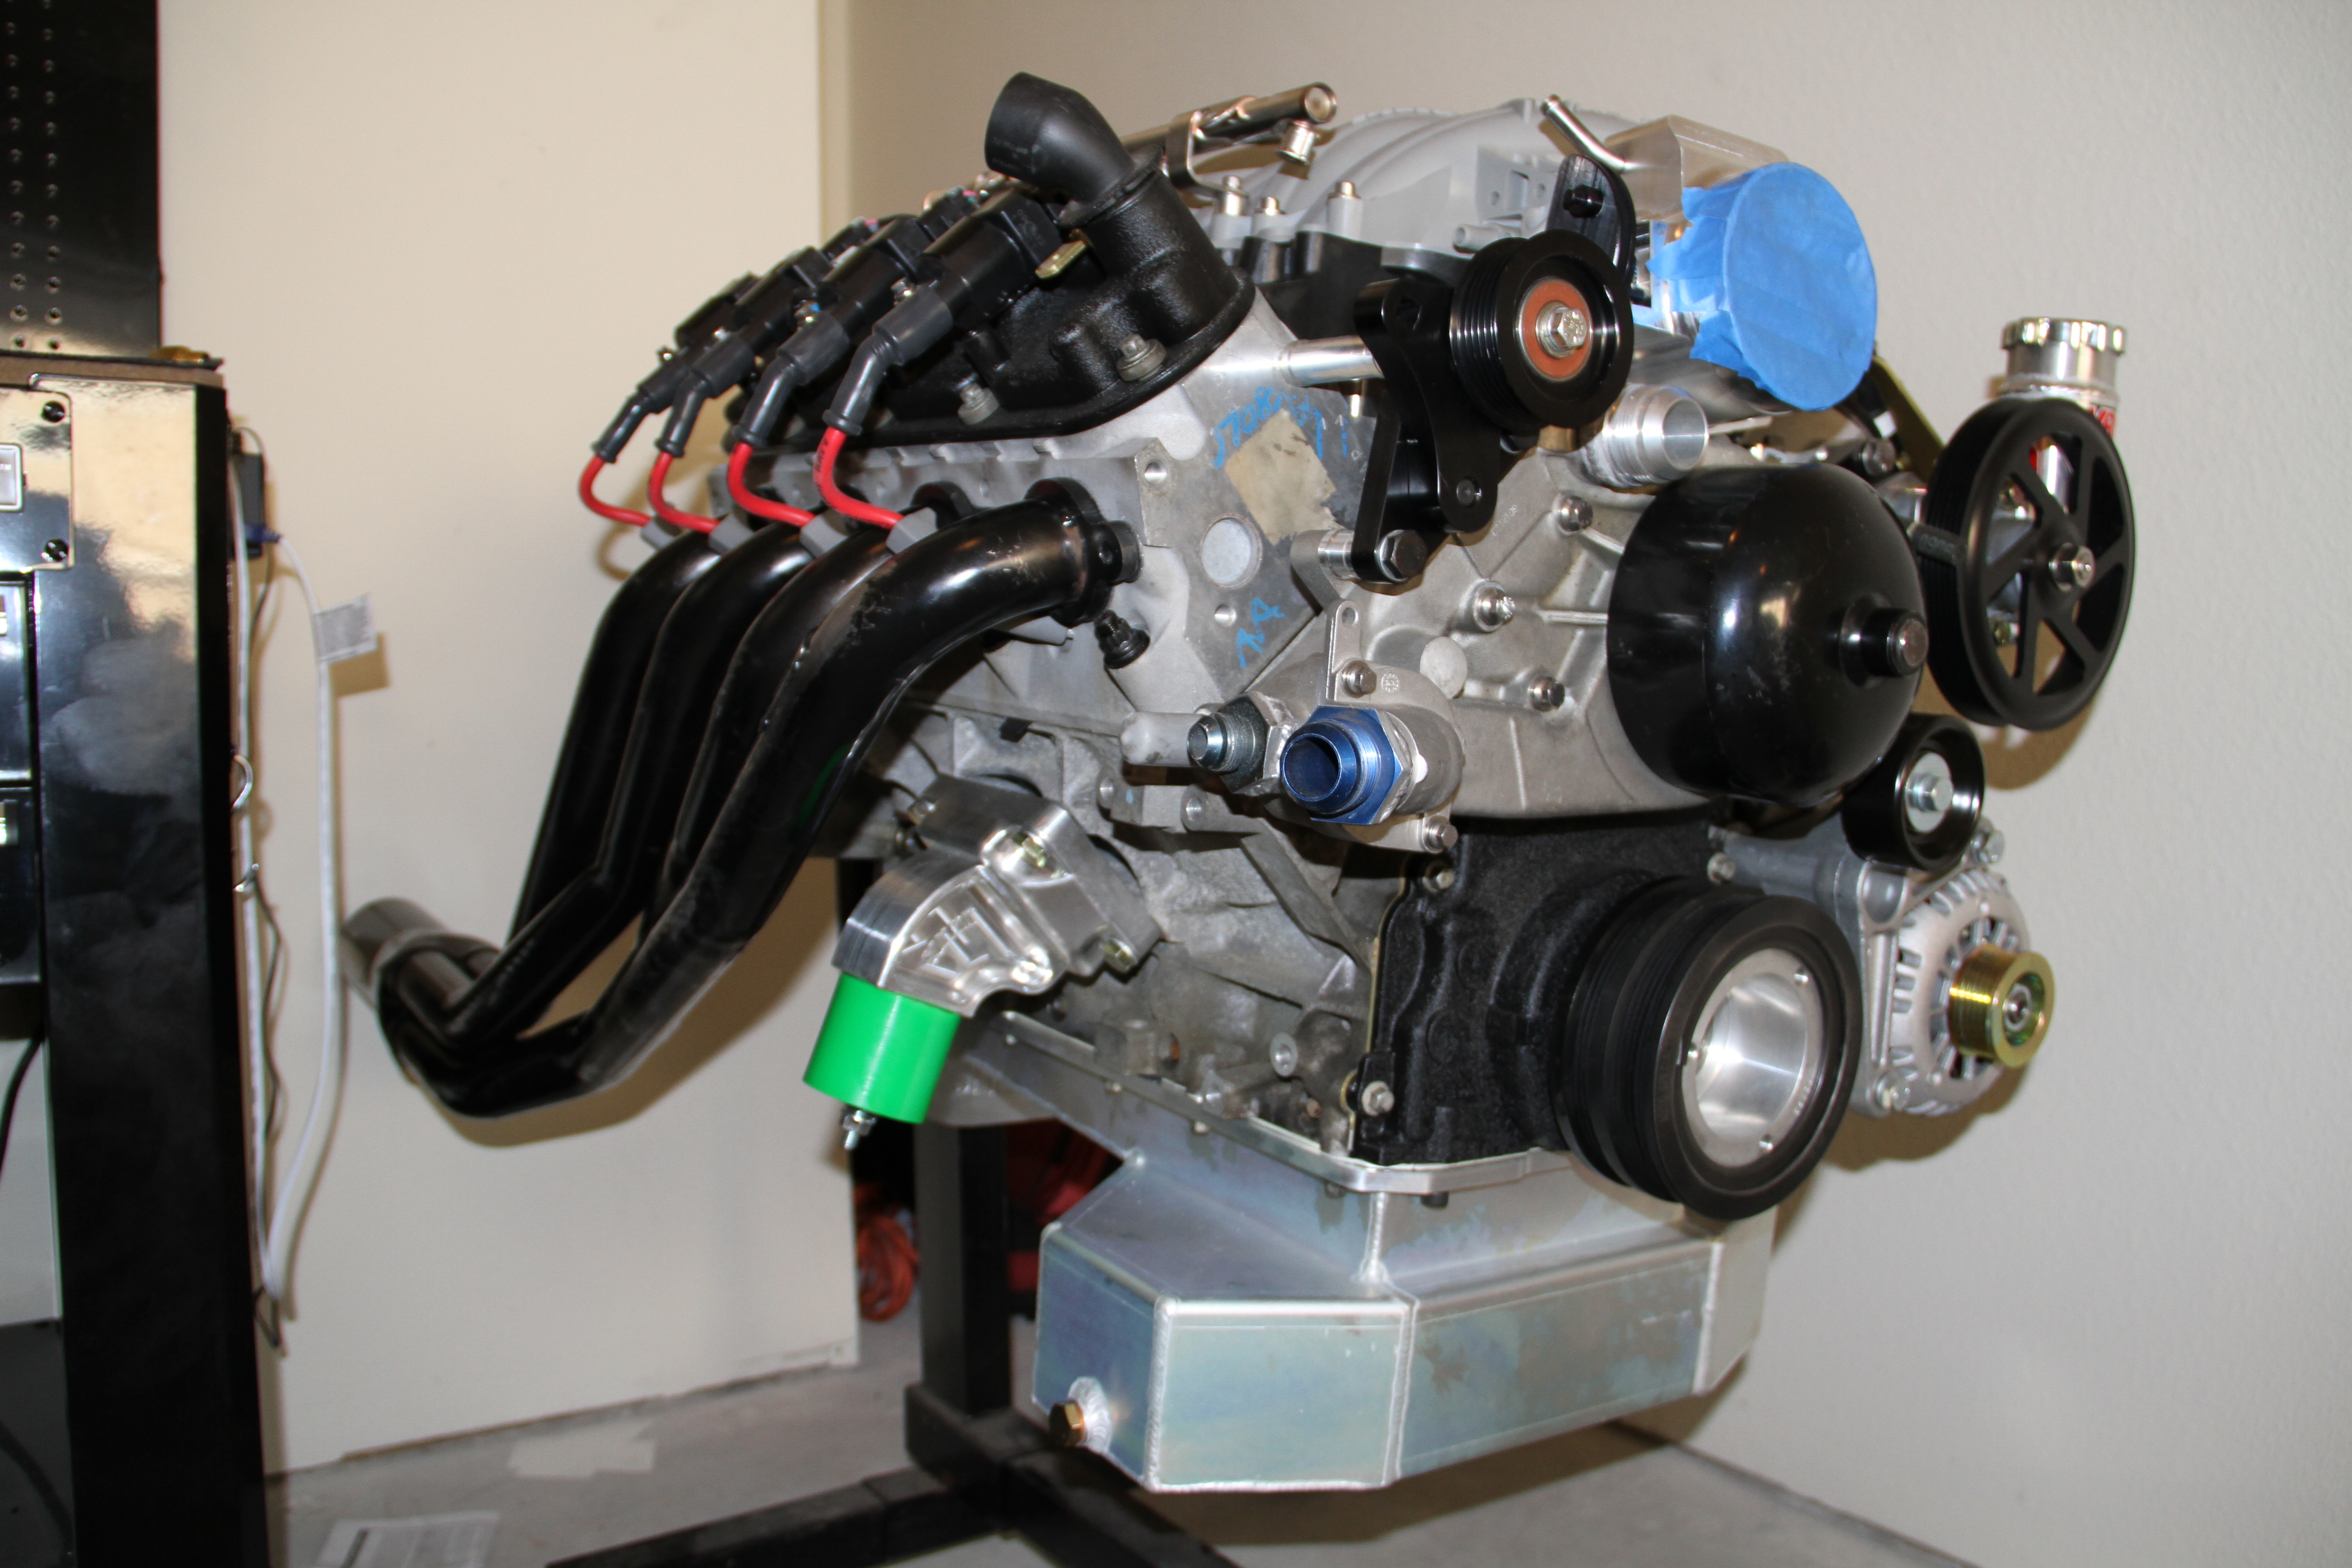
Next is the motor mounts and header mock up.. The motor mounts come with their bolts. Make sure to look at the mounts to see which side they are mounted on.. There should be a P for passenger or D for driver side... Then torque down to LS specs..

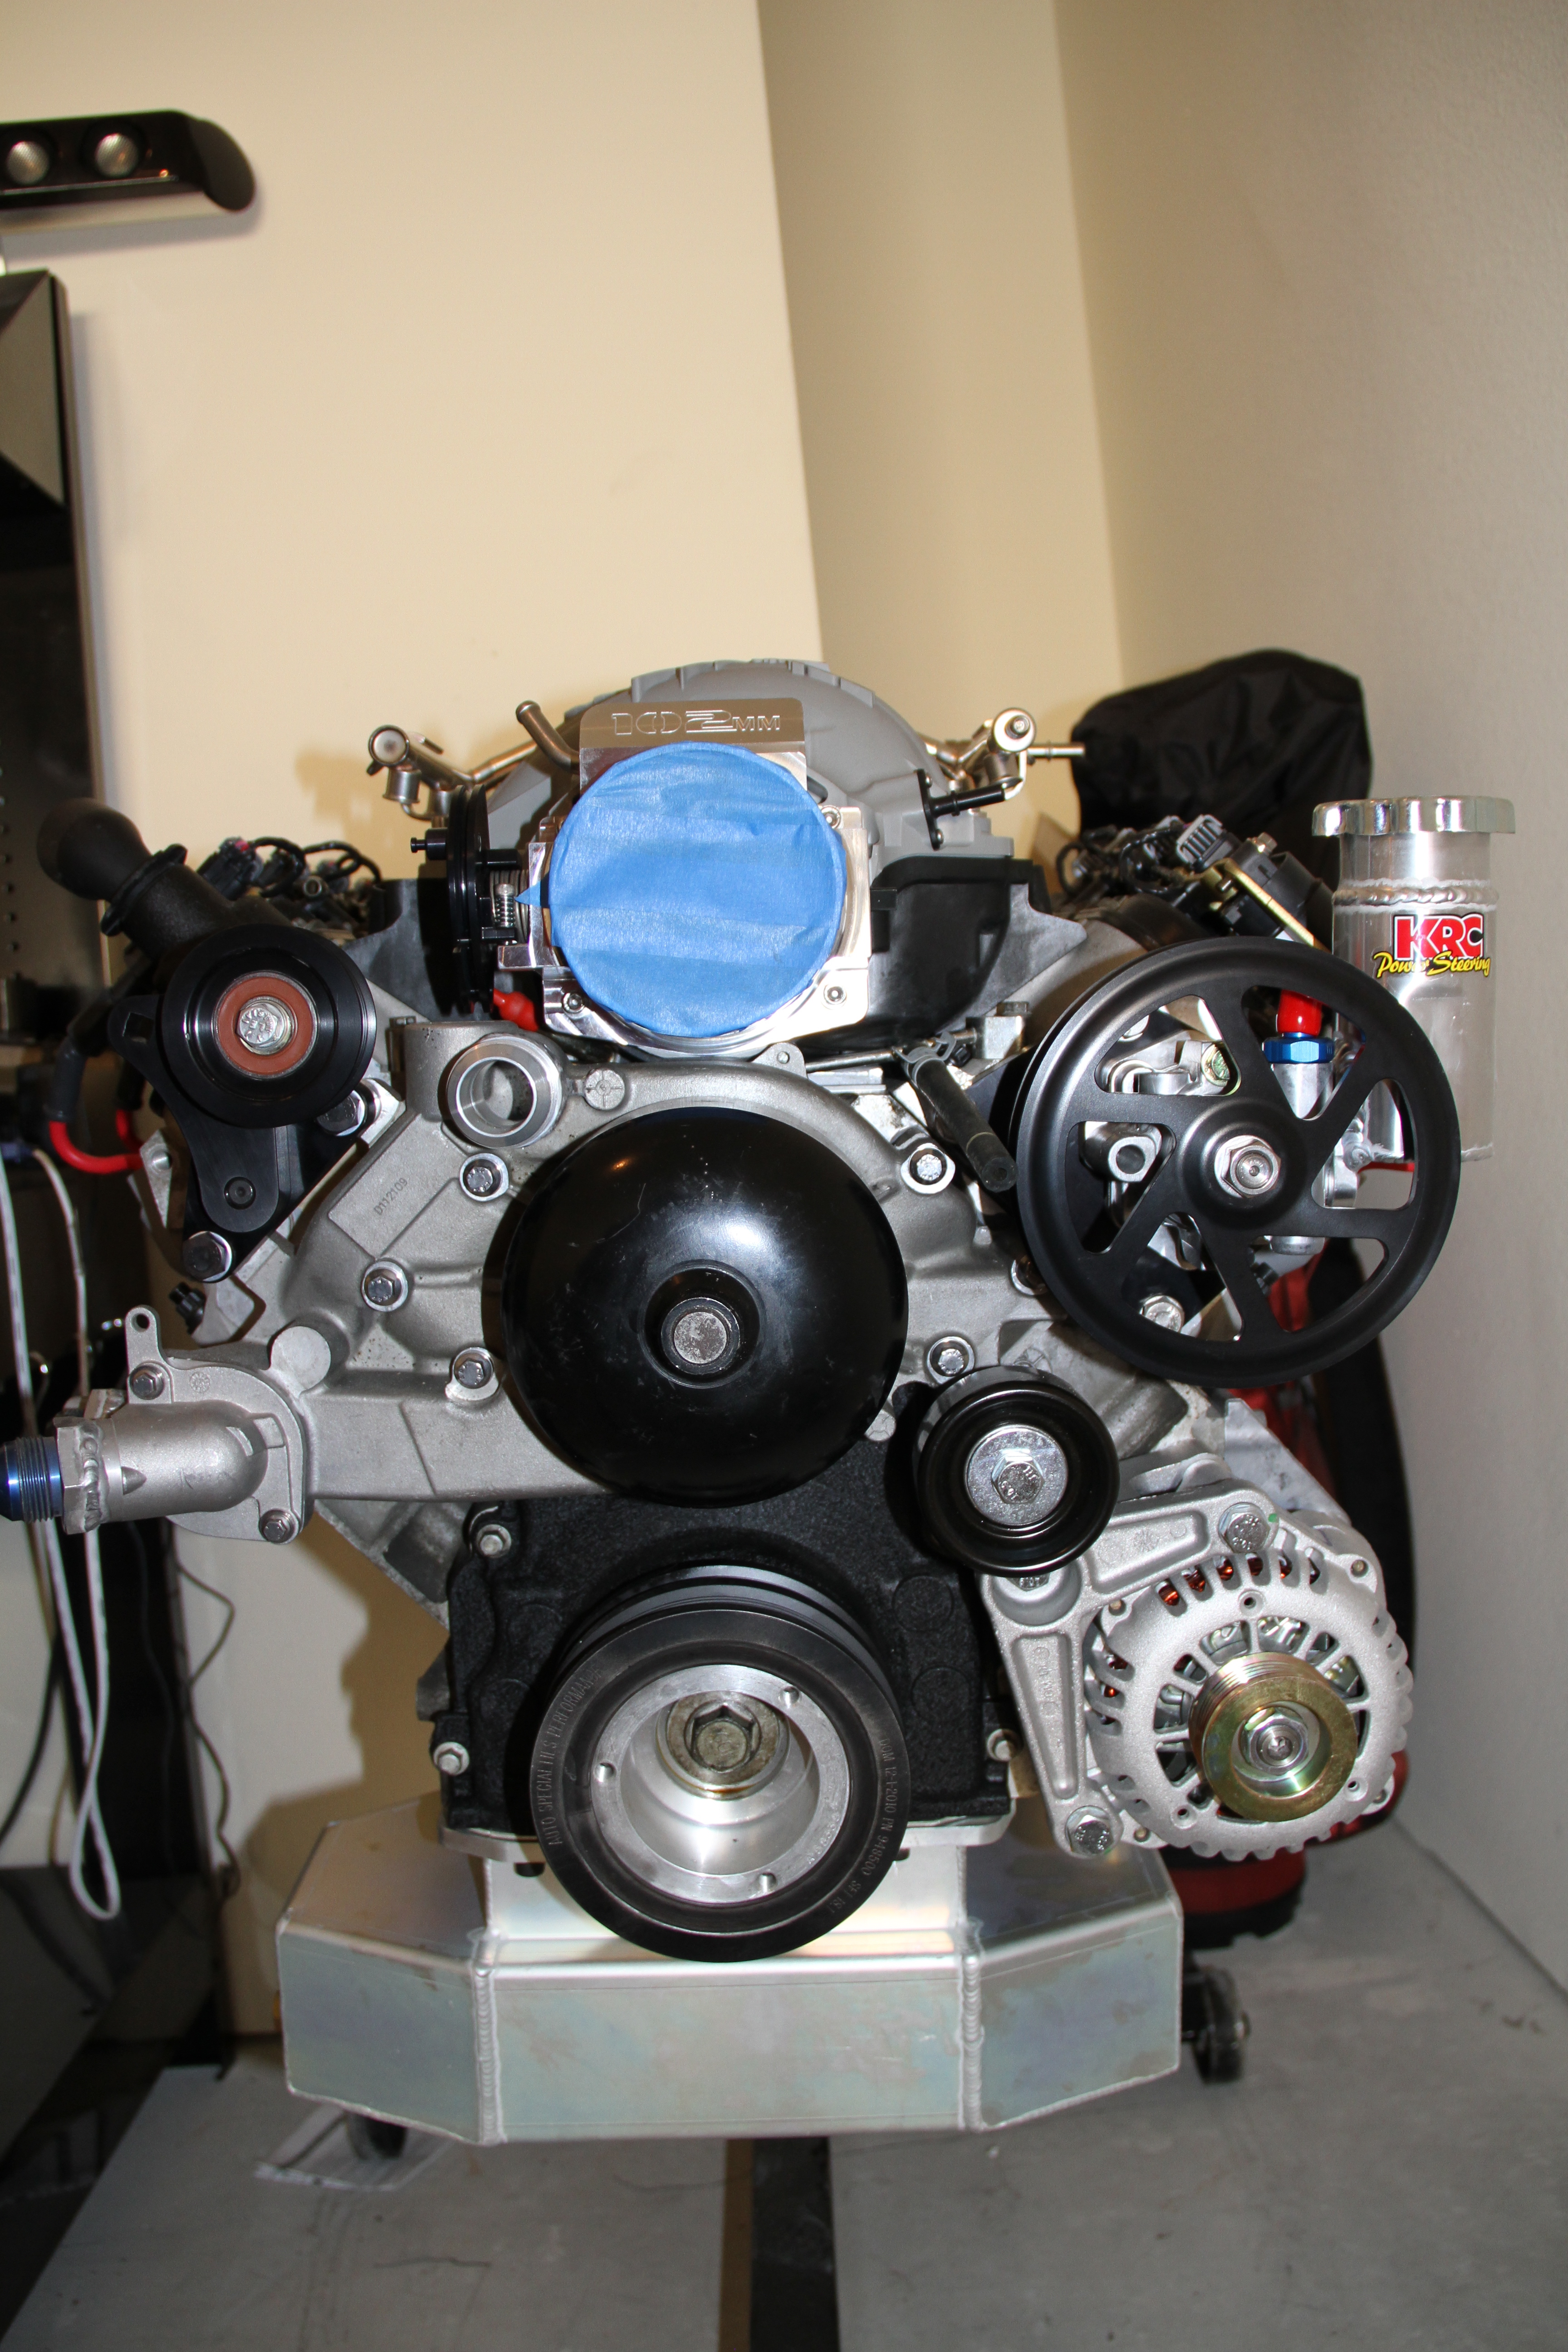
A shoot of the engine from behind.. Damn it looks good with those headers
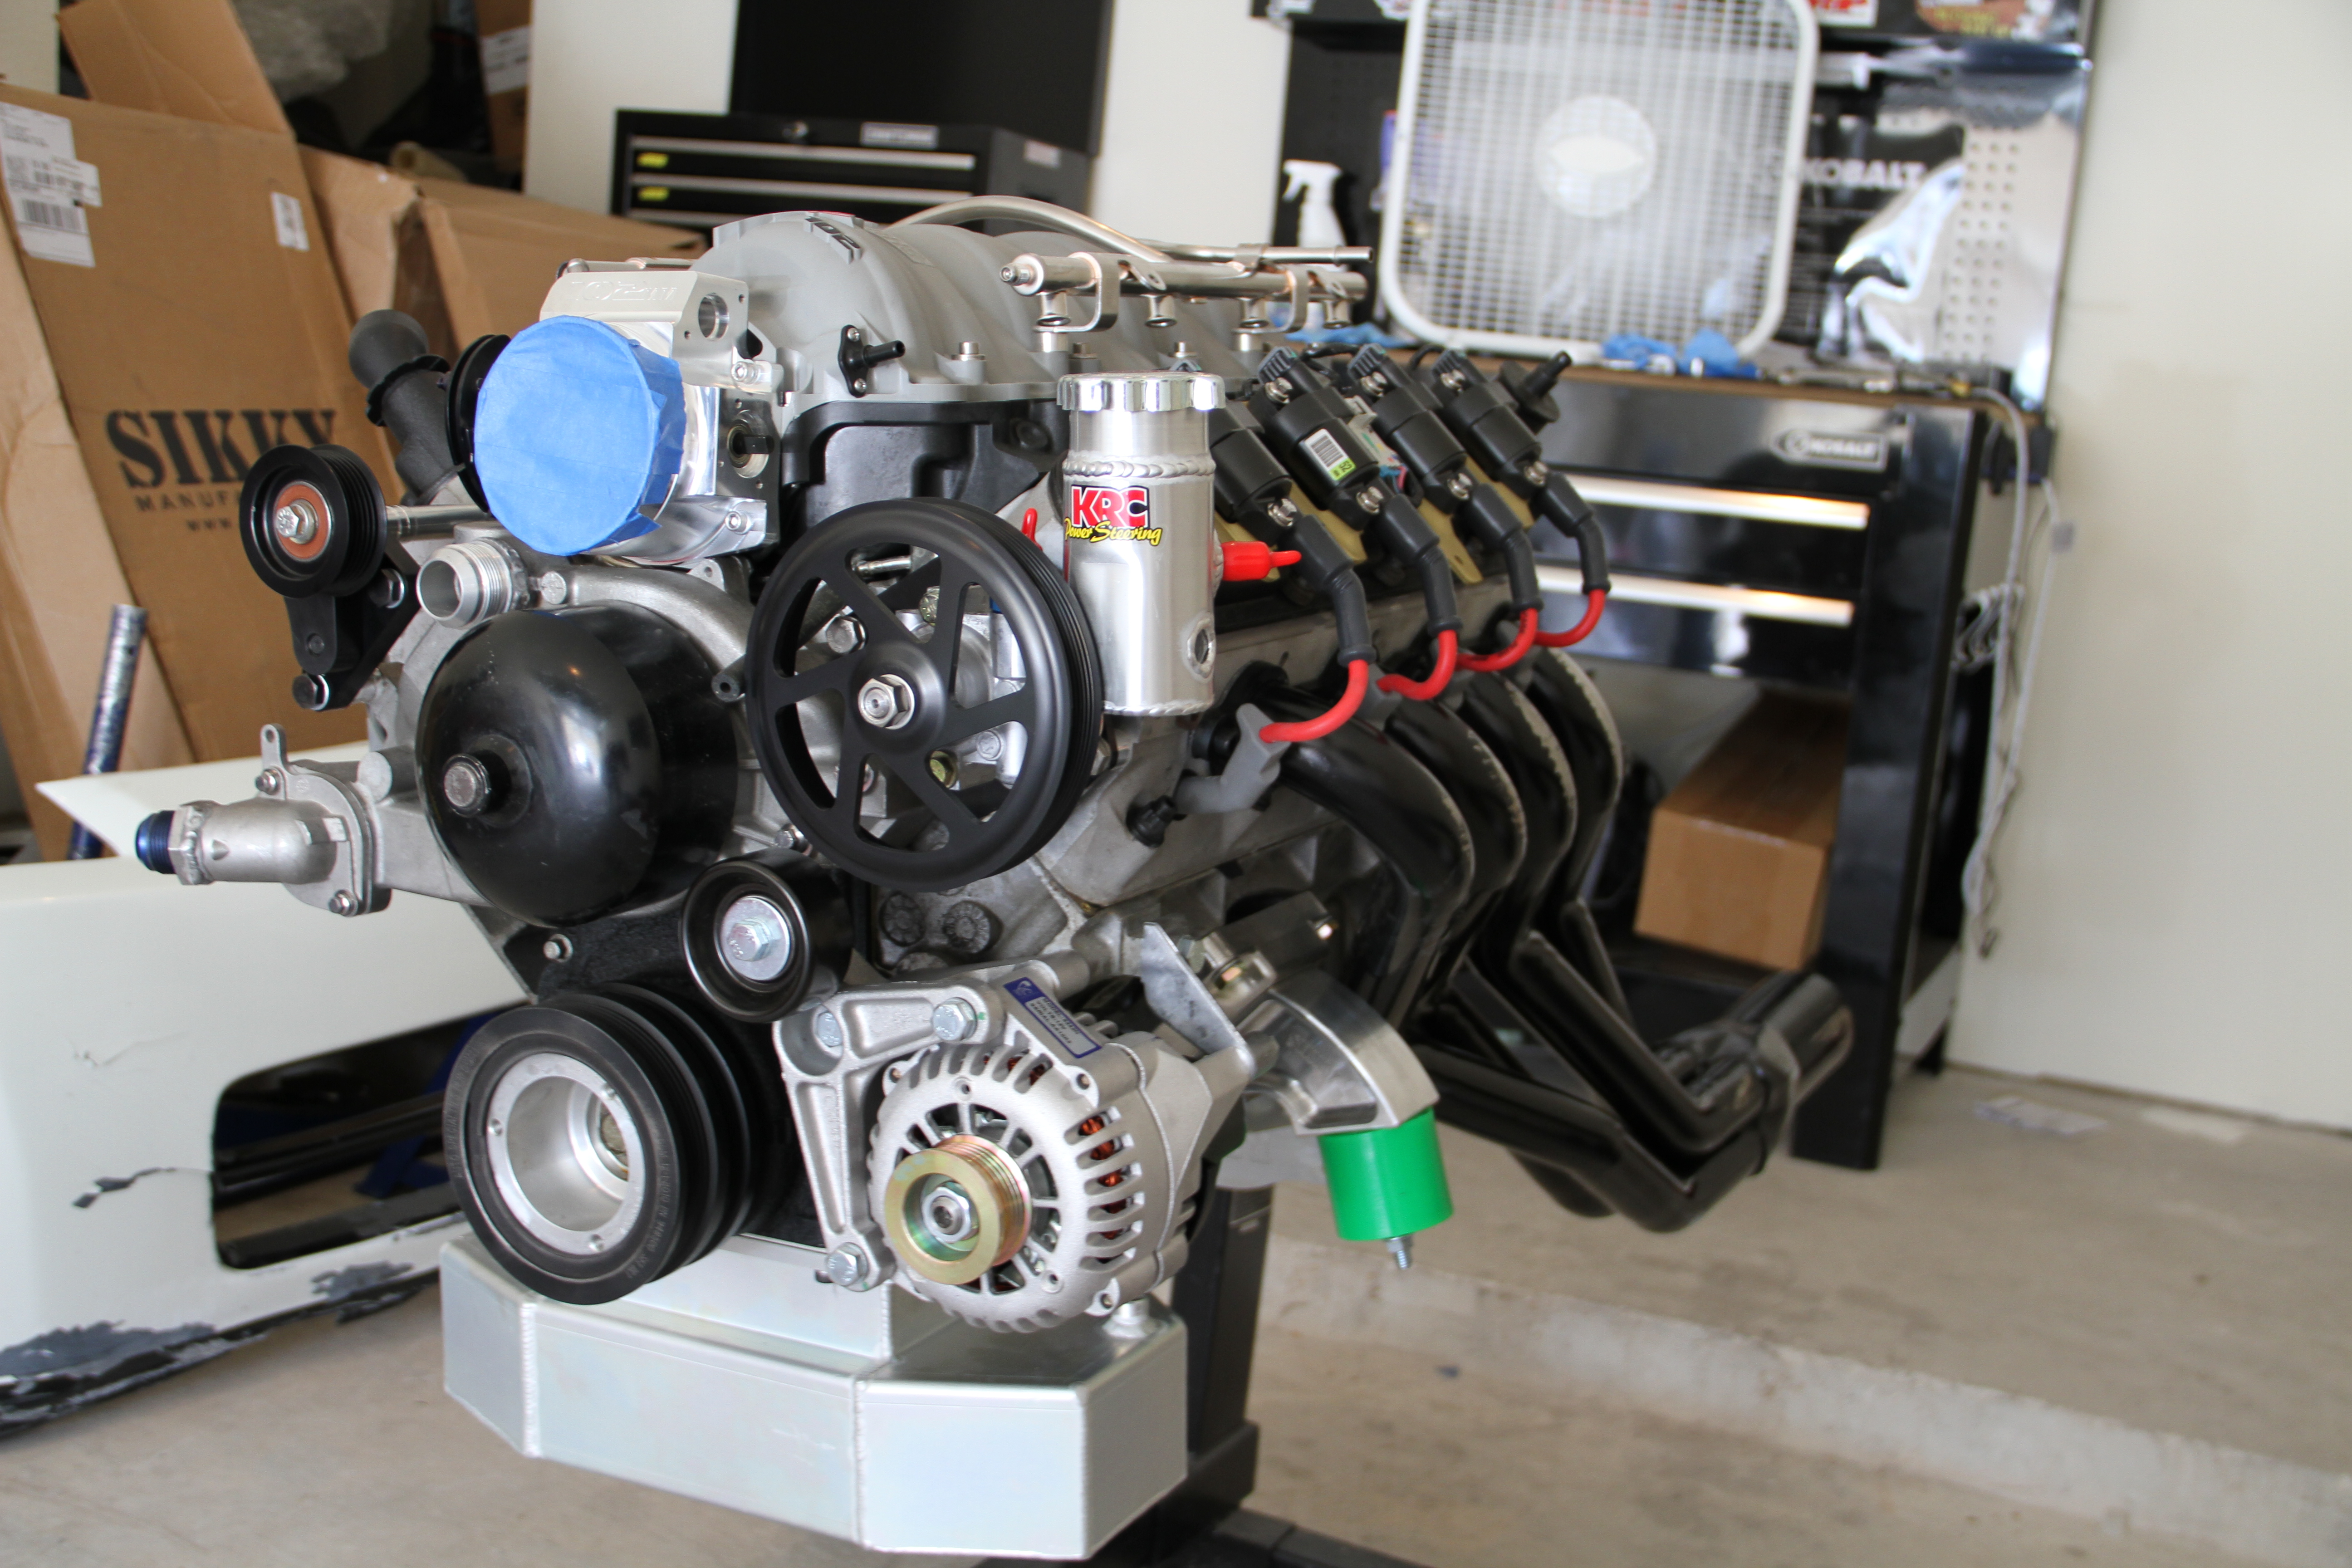
Pretty much looks like a complete motor. Need little things here and there but you get the idea.
Total price so far: $9,089.16
Next week STAGE 2: Phase 1 'Dropping Engine'
Okay so this week I decided to cover two beers due to it being Octoberfest season.. So for the next three updates I should have two beers posted up..
Up first is DogFish Head 'Punkin Ale.' Now this one is truly one of my favorites for the season due to its brown sugar, spices and real pumpkin added to the brew process.. Its a 7.0 ABV,, very good taste, This one might be hard to come by since it sales out quick and is only sold at certain spots.. So def pic it up..
Next up is Samuel Adams 'Octoberfest'. This one goes great with BBQ in my opinion, a lot lighter then the DogFish Head. The camel and toffee really come out in this beer to me, which leaves a great after taste..
Enjoy!!
So what do we have for this week to install?? Just love coming home to some big packages that say "Sikky"
Here we have the Sikky LS1 350z swap kit, with their 1 7/8 long tube headers. If you do plan on doing an LS swap this should be the kit you want to pick up.. The quality of this kit is just top notch from the mounts to the oil pan it is all A+ in my book.. Pricey but worth it..
Kit comes with oil pan, motor mounts, remote mount oil filter, Trans mount, drive shaft and Billet short shifter (which is on back order so still waiting for mine)
The headers are extra but well worth it in my opinion.
Sikky 350z LS1 Swap kit: $3,000.00 (this is with the headers and shipping)
Just look how nice these mounts are, all CNC machined.
Okay first we have to prep the oil pan for install
Just look at the quality of this oil pan, love how they itched in the Sikky logo..
Sexy *** welds
Sikky labels all there bags so you know where what goes, which is good. They have instructions on there website if you need it..
These fittings go in the oil pan for the remote mount oil filter..
Teflon tape is your friend here...
Take your time when installing the fittings, they wont screw all the way in so don't worry if you have some space..
Next we have to remove the old LS oil pan..
Pretty straight forward
Here is the factory LS oil pick up....
Another pic of how the factory LS oil pick up is mounted..
Here is a quick comparison to the factory LS oil pick up to the new Sikky oil pick up tube. See how much smaller the Sikky one is?
Install the new Sikky oil pick up tube, using factory torque specs..
Mounting spot..
Another pic of the oil pick up tube..
Now place the gasket in place and then install the new Sikky oil pan.... In this pic you will see that you have to use those allen screws for the front due to space.
Looking good on the engine ...
Next is the motor mounts and header mock up.. The motor mounts come with their bolts. Make sure to look at the mounts to see which side they are mounted on.. There should be a P for passenger or D for driver side... Then torque down to LS specs..
A shoot of the engine from behind.. Damn it looks good with those headers
Pretty much looks like a complete motor. Need little things here and there but you get the idea.
Total price so far: $9,089.16
Next week STAGE 2: Phase 1 'Dropping Engine'

 09-15-2011, 03:04 PM
#136
Bought a case of the Punkin Ale today and reloaded my constant stock of 90 min (the local distributor calls me when it comes in now  ). Loving the Punkin!!
Caught your thread on the L forums and wondering if you made the suggested changes, just in case someone else (like me) uses this thread as a template for a build. Those guys are almost as dickish as the F/I regulars here
). Loving the Punkin!!Caught your thread on the L forums and wondering if you made the suggested changes, just in case someone else (like me) uses this thread as a template for a build. Those guys are almost as dickish as the F/I regulars here
09-17-2011, 09:07 AM
#137
Thanks everyone for the kind words.. Look for update tomorrow. and more Beer
hahaha nice bro... Yeah I really liked the Punkin...
Are you talking about all the suggestion they told me to do with the rocker arms and such? If so I should post that info up on here would be very help full.. Thanks
Bought a case of the Punkin Ale today and reloaded my constant stock of 90 min (the local distributor calls me when it comes in now ). Loving the Punkin!!
Caught your thread on the L forums and wondering if you made the suggested changes, just in case someone else (like me) uses this thread as a template for a build. Those guys are almost as dickish as the F/I regulars here
). Loving the Punkin!!Caught your thread on the L forums and wondering if you made the suggested changes, just in case someone else (like me) uses this thread as a template for a build. Those guys are almost as dickish as the F/I regulars here
Are you talking about all the suggestion they told me to do with the rocker arms and such? If so I should post that info up on here would be very help full.. Thanks
09-18-2011, 07:19 PM
#139
STAGE 2: Phase 1 'Dropping Engine'

So like I said last week,here are two more Octoberfest beers. We have UFO Pumpkin, which is really good in my opinion. I like their Hefeweizen so this one did not disappoint at all.Easy drinking with a lingering pumpkin aftertaste on the back of the tongue so good..
Next we have Magic Hat "HEX", I just love Magic Hat's marketing.. Well I really like this beer, love that they used Toffee and Carmel gives a good taste but finishes with a smoky taste.. Really good...
Okay before we jump into the build this is a short one due to it only referring to pulling the motor and shipping it off, but it is an important one.
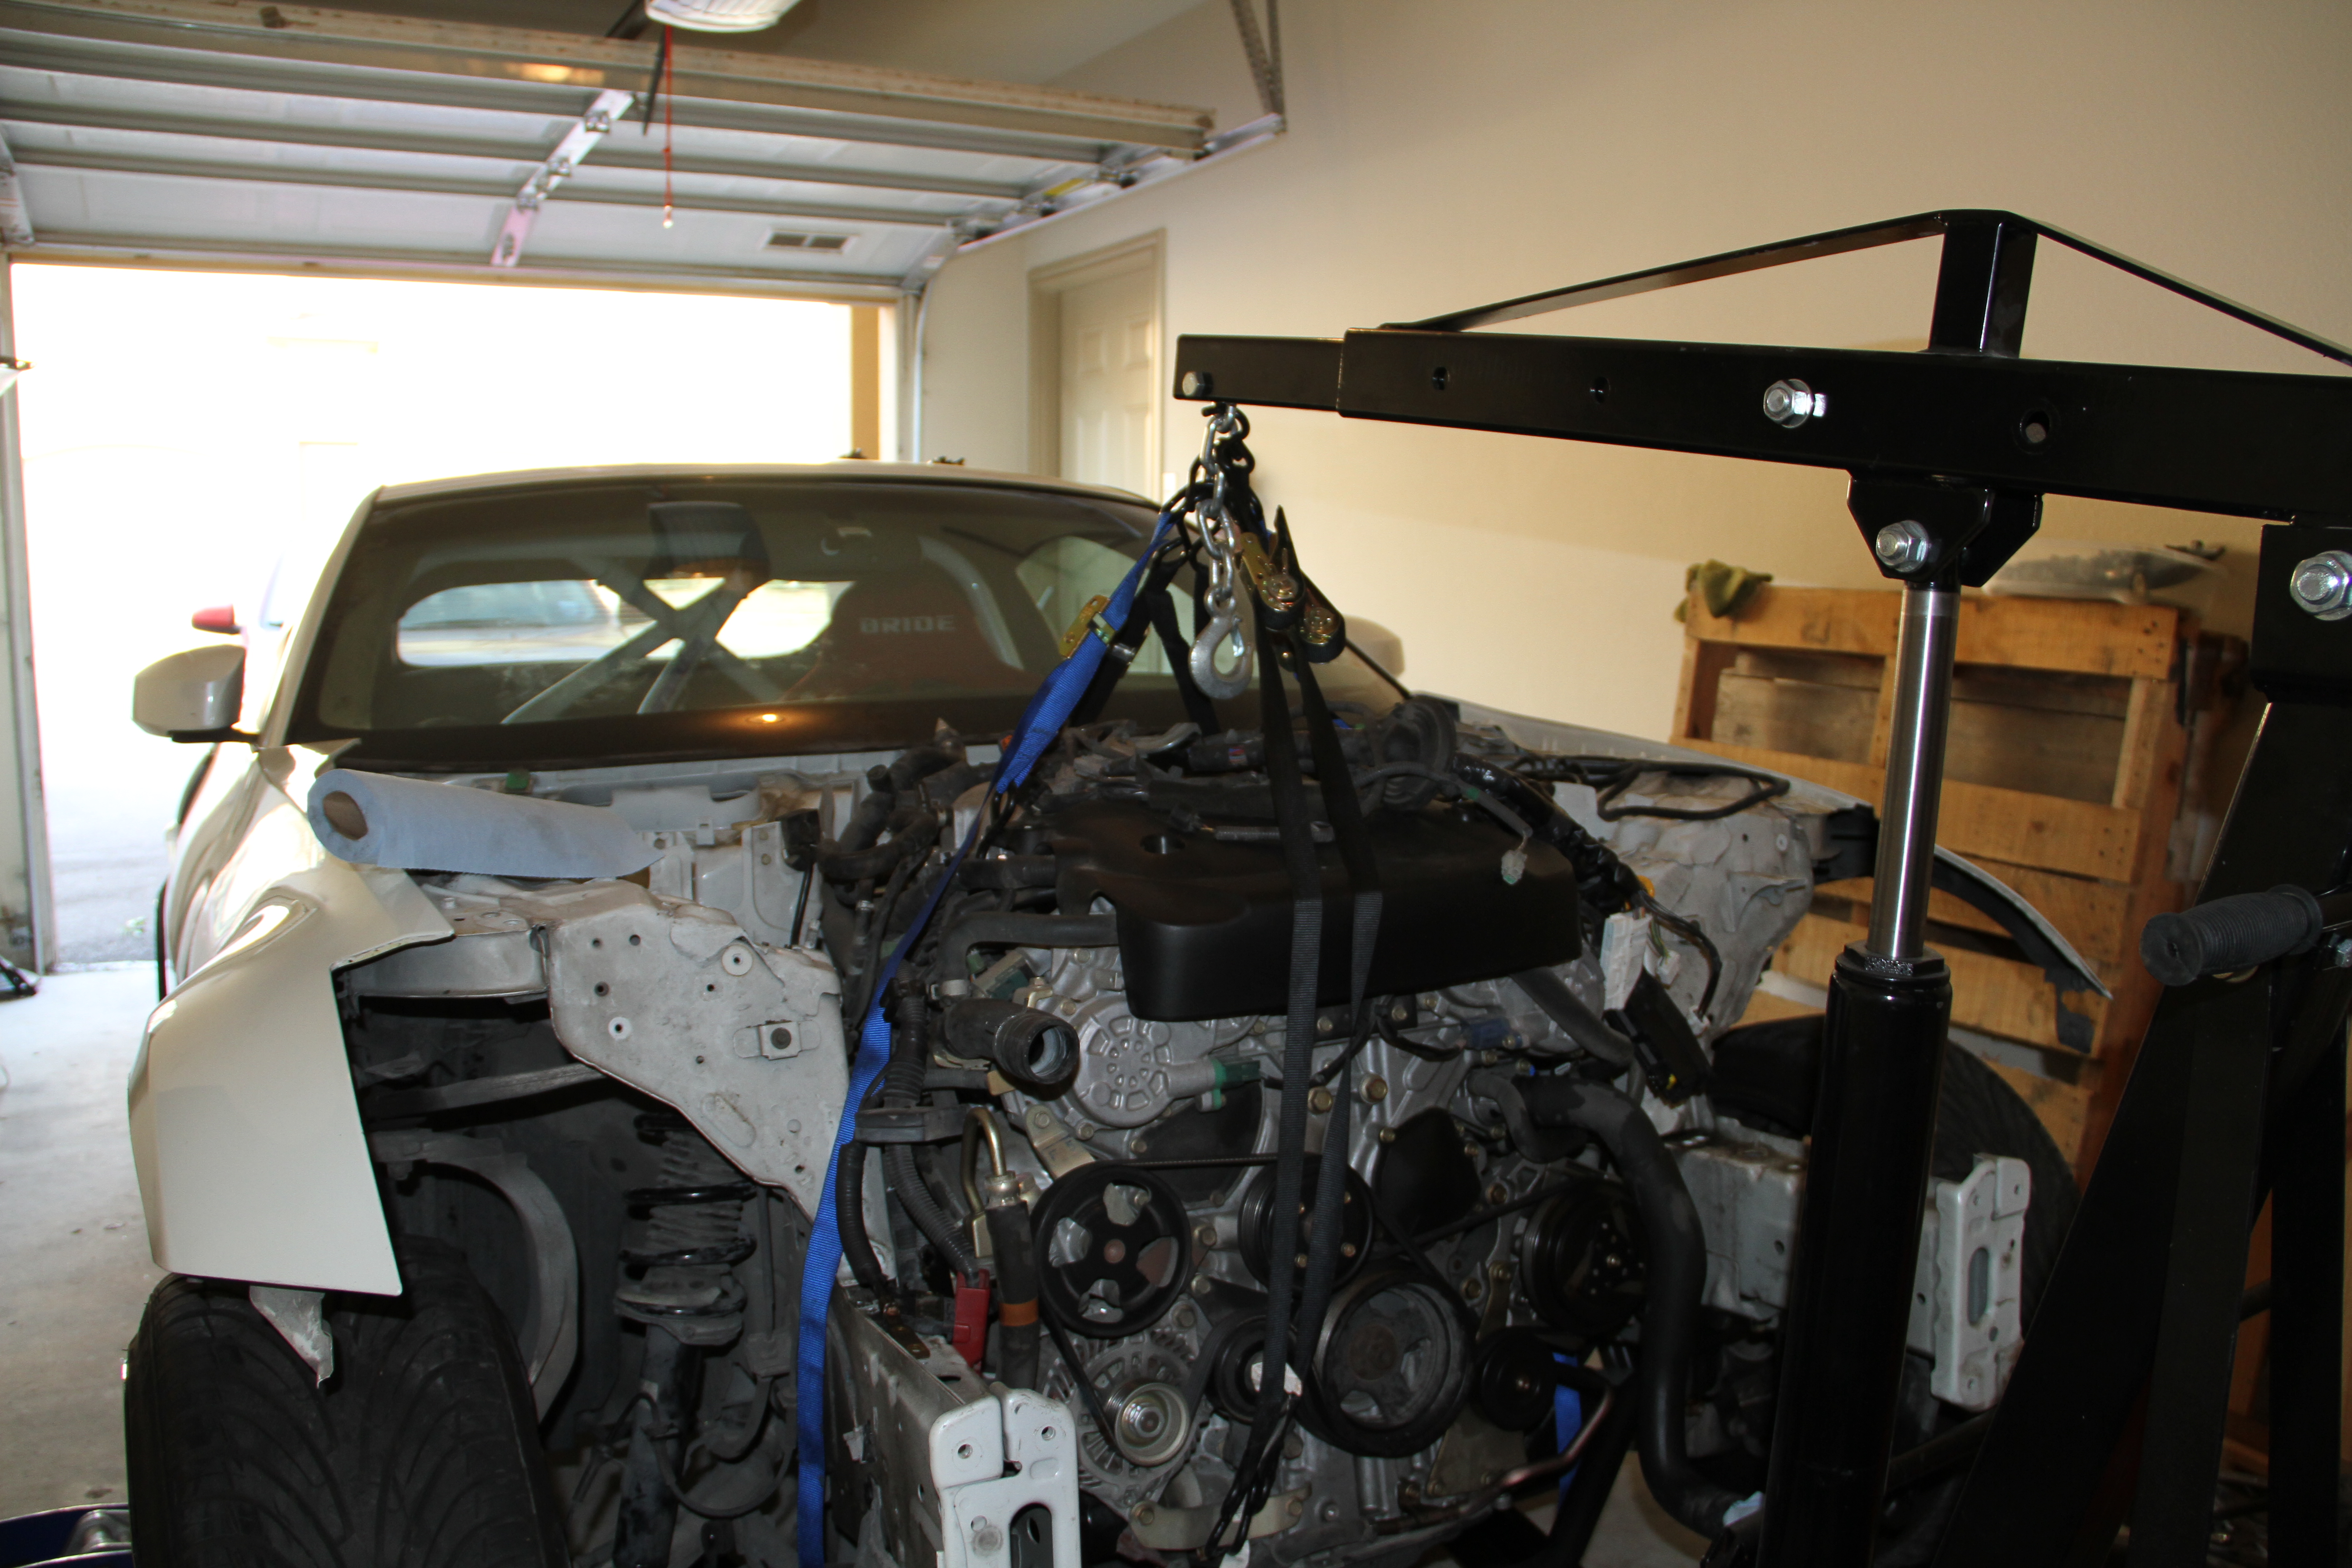
Make sure you have a good engine hoist. I started by removing the tranny first and all the exhaust from the car.
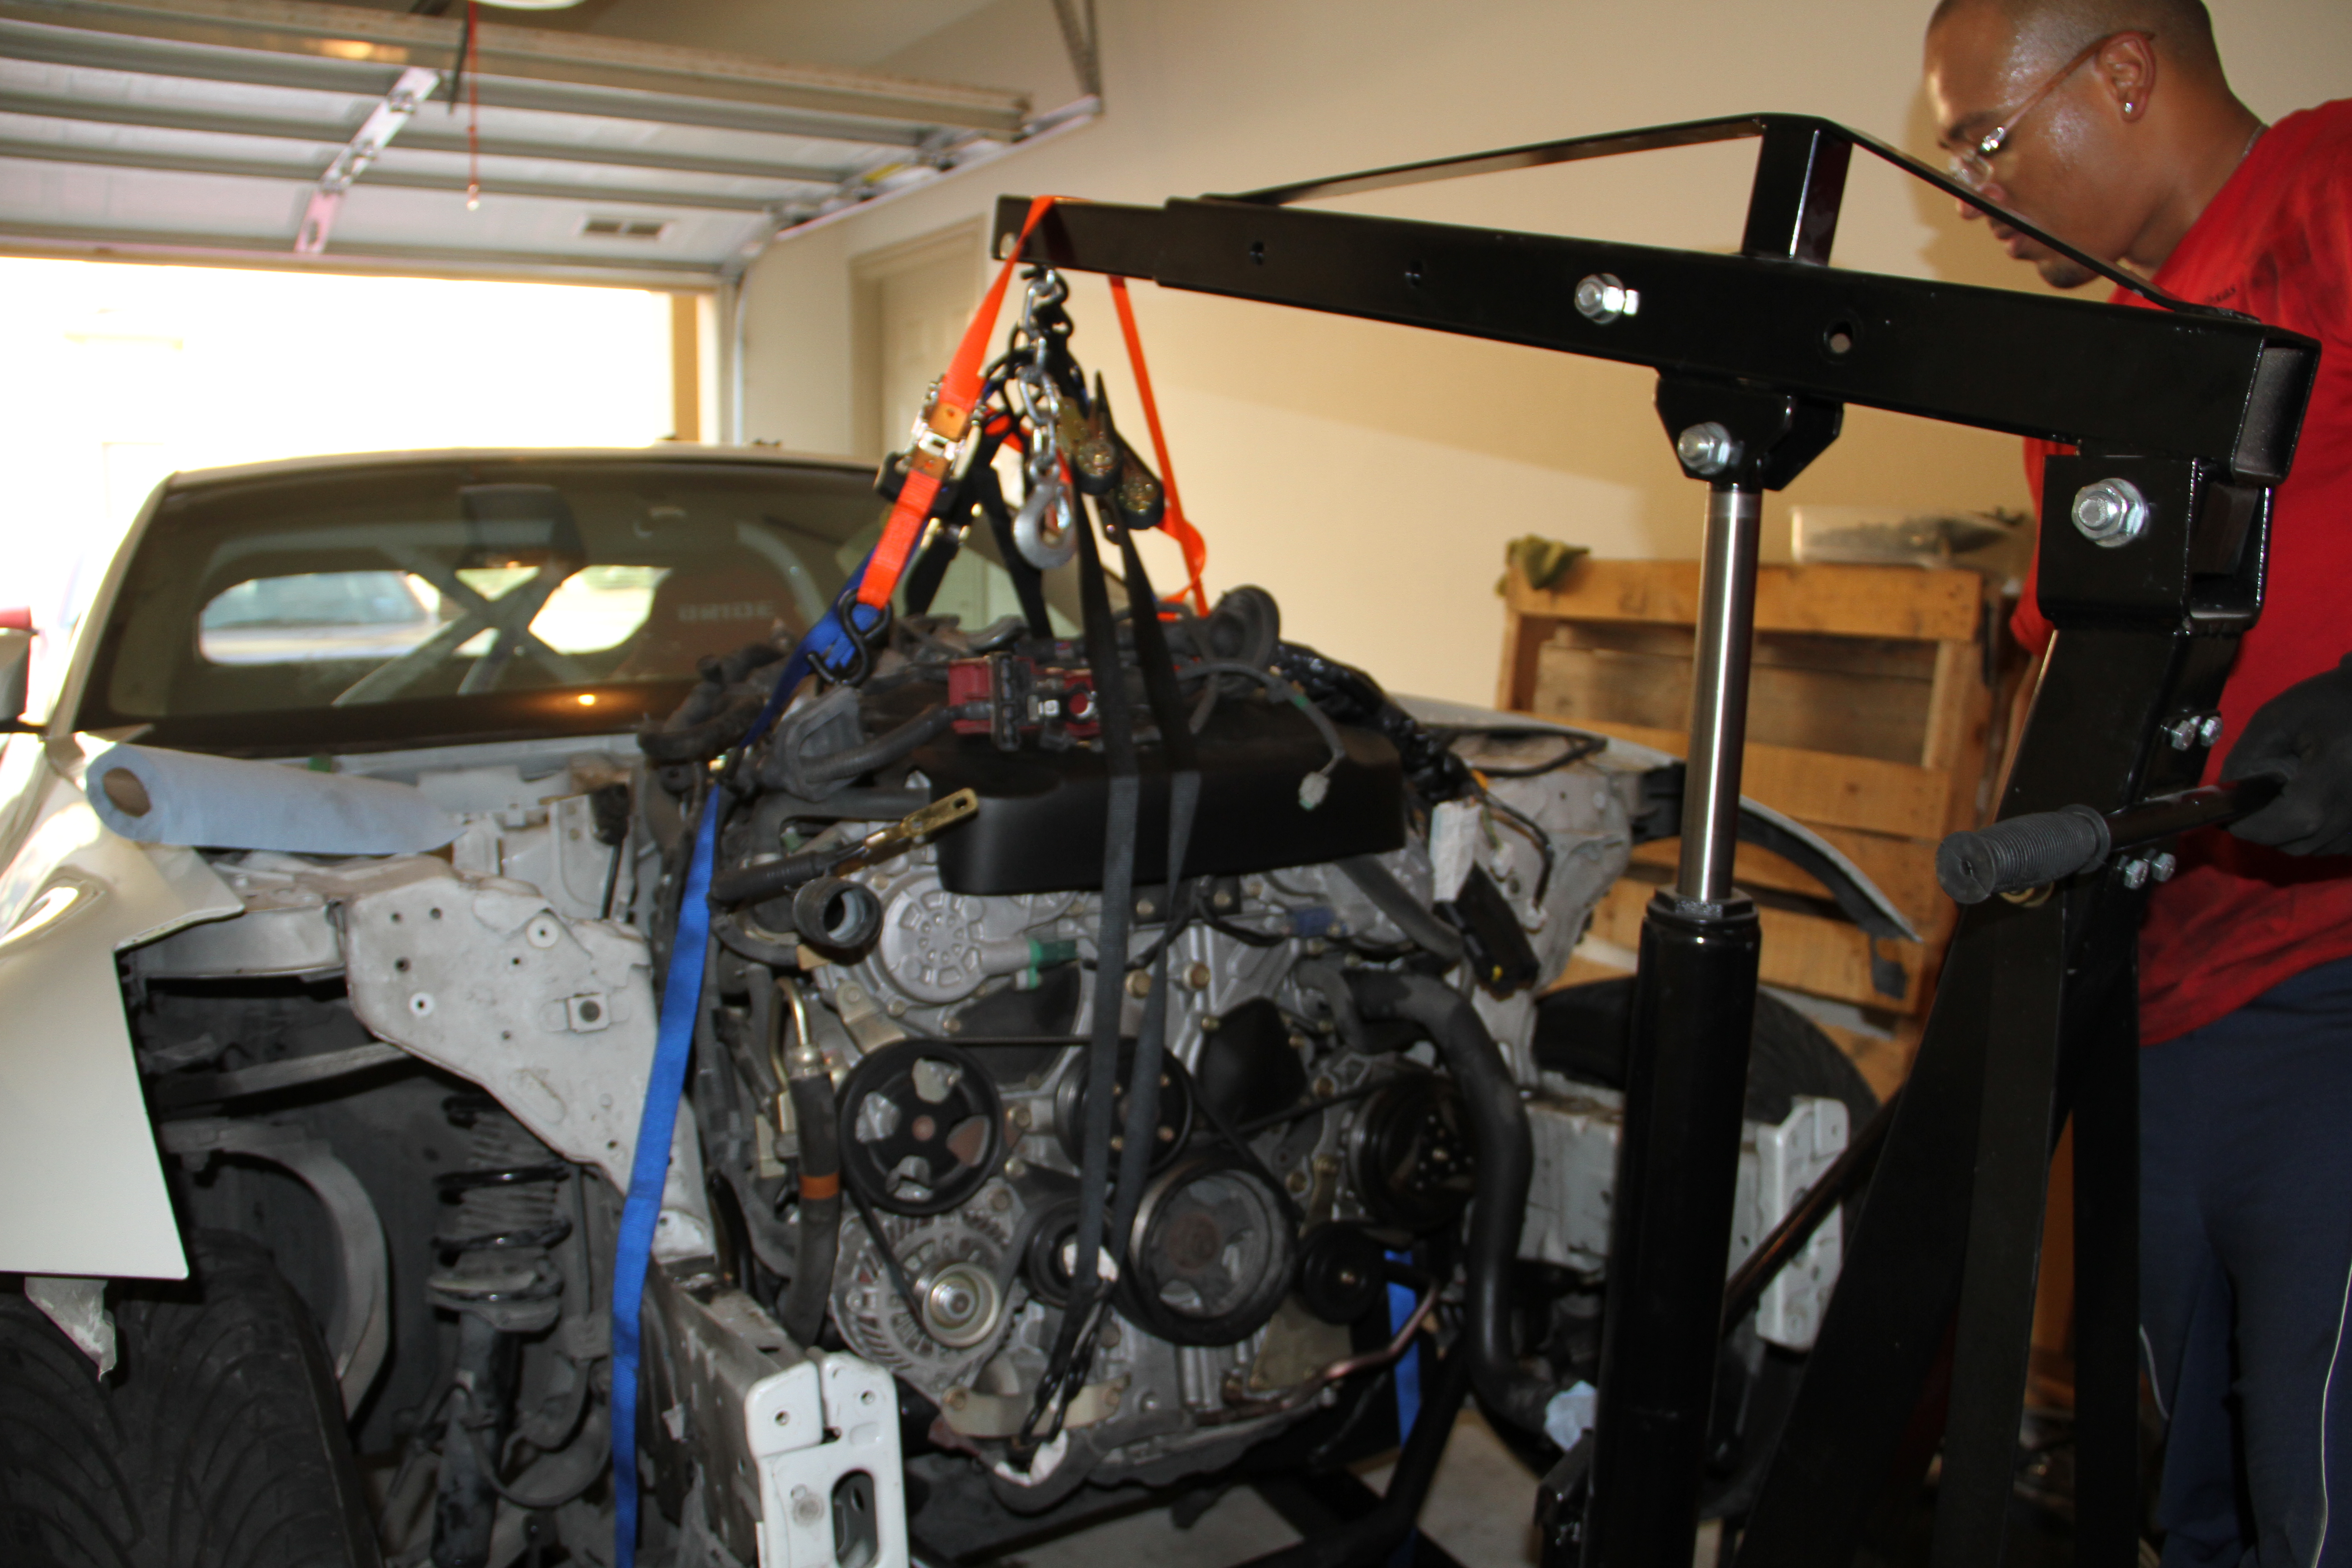
After I did that I started to remove all the radiator support stuff with the radiator. I then proceeded to remove or disconnect all the wires. I also just snapped/cut all hoses I was not going to use, including power steering hose, fuel and so on.. Reason for this is that I plan to replace all of these with AN hoses anyway...... And one last thing say goodbye to AC........lol
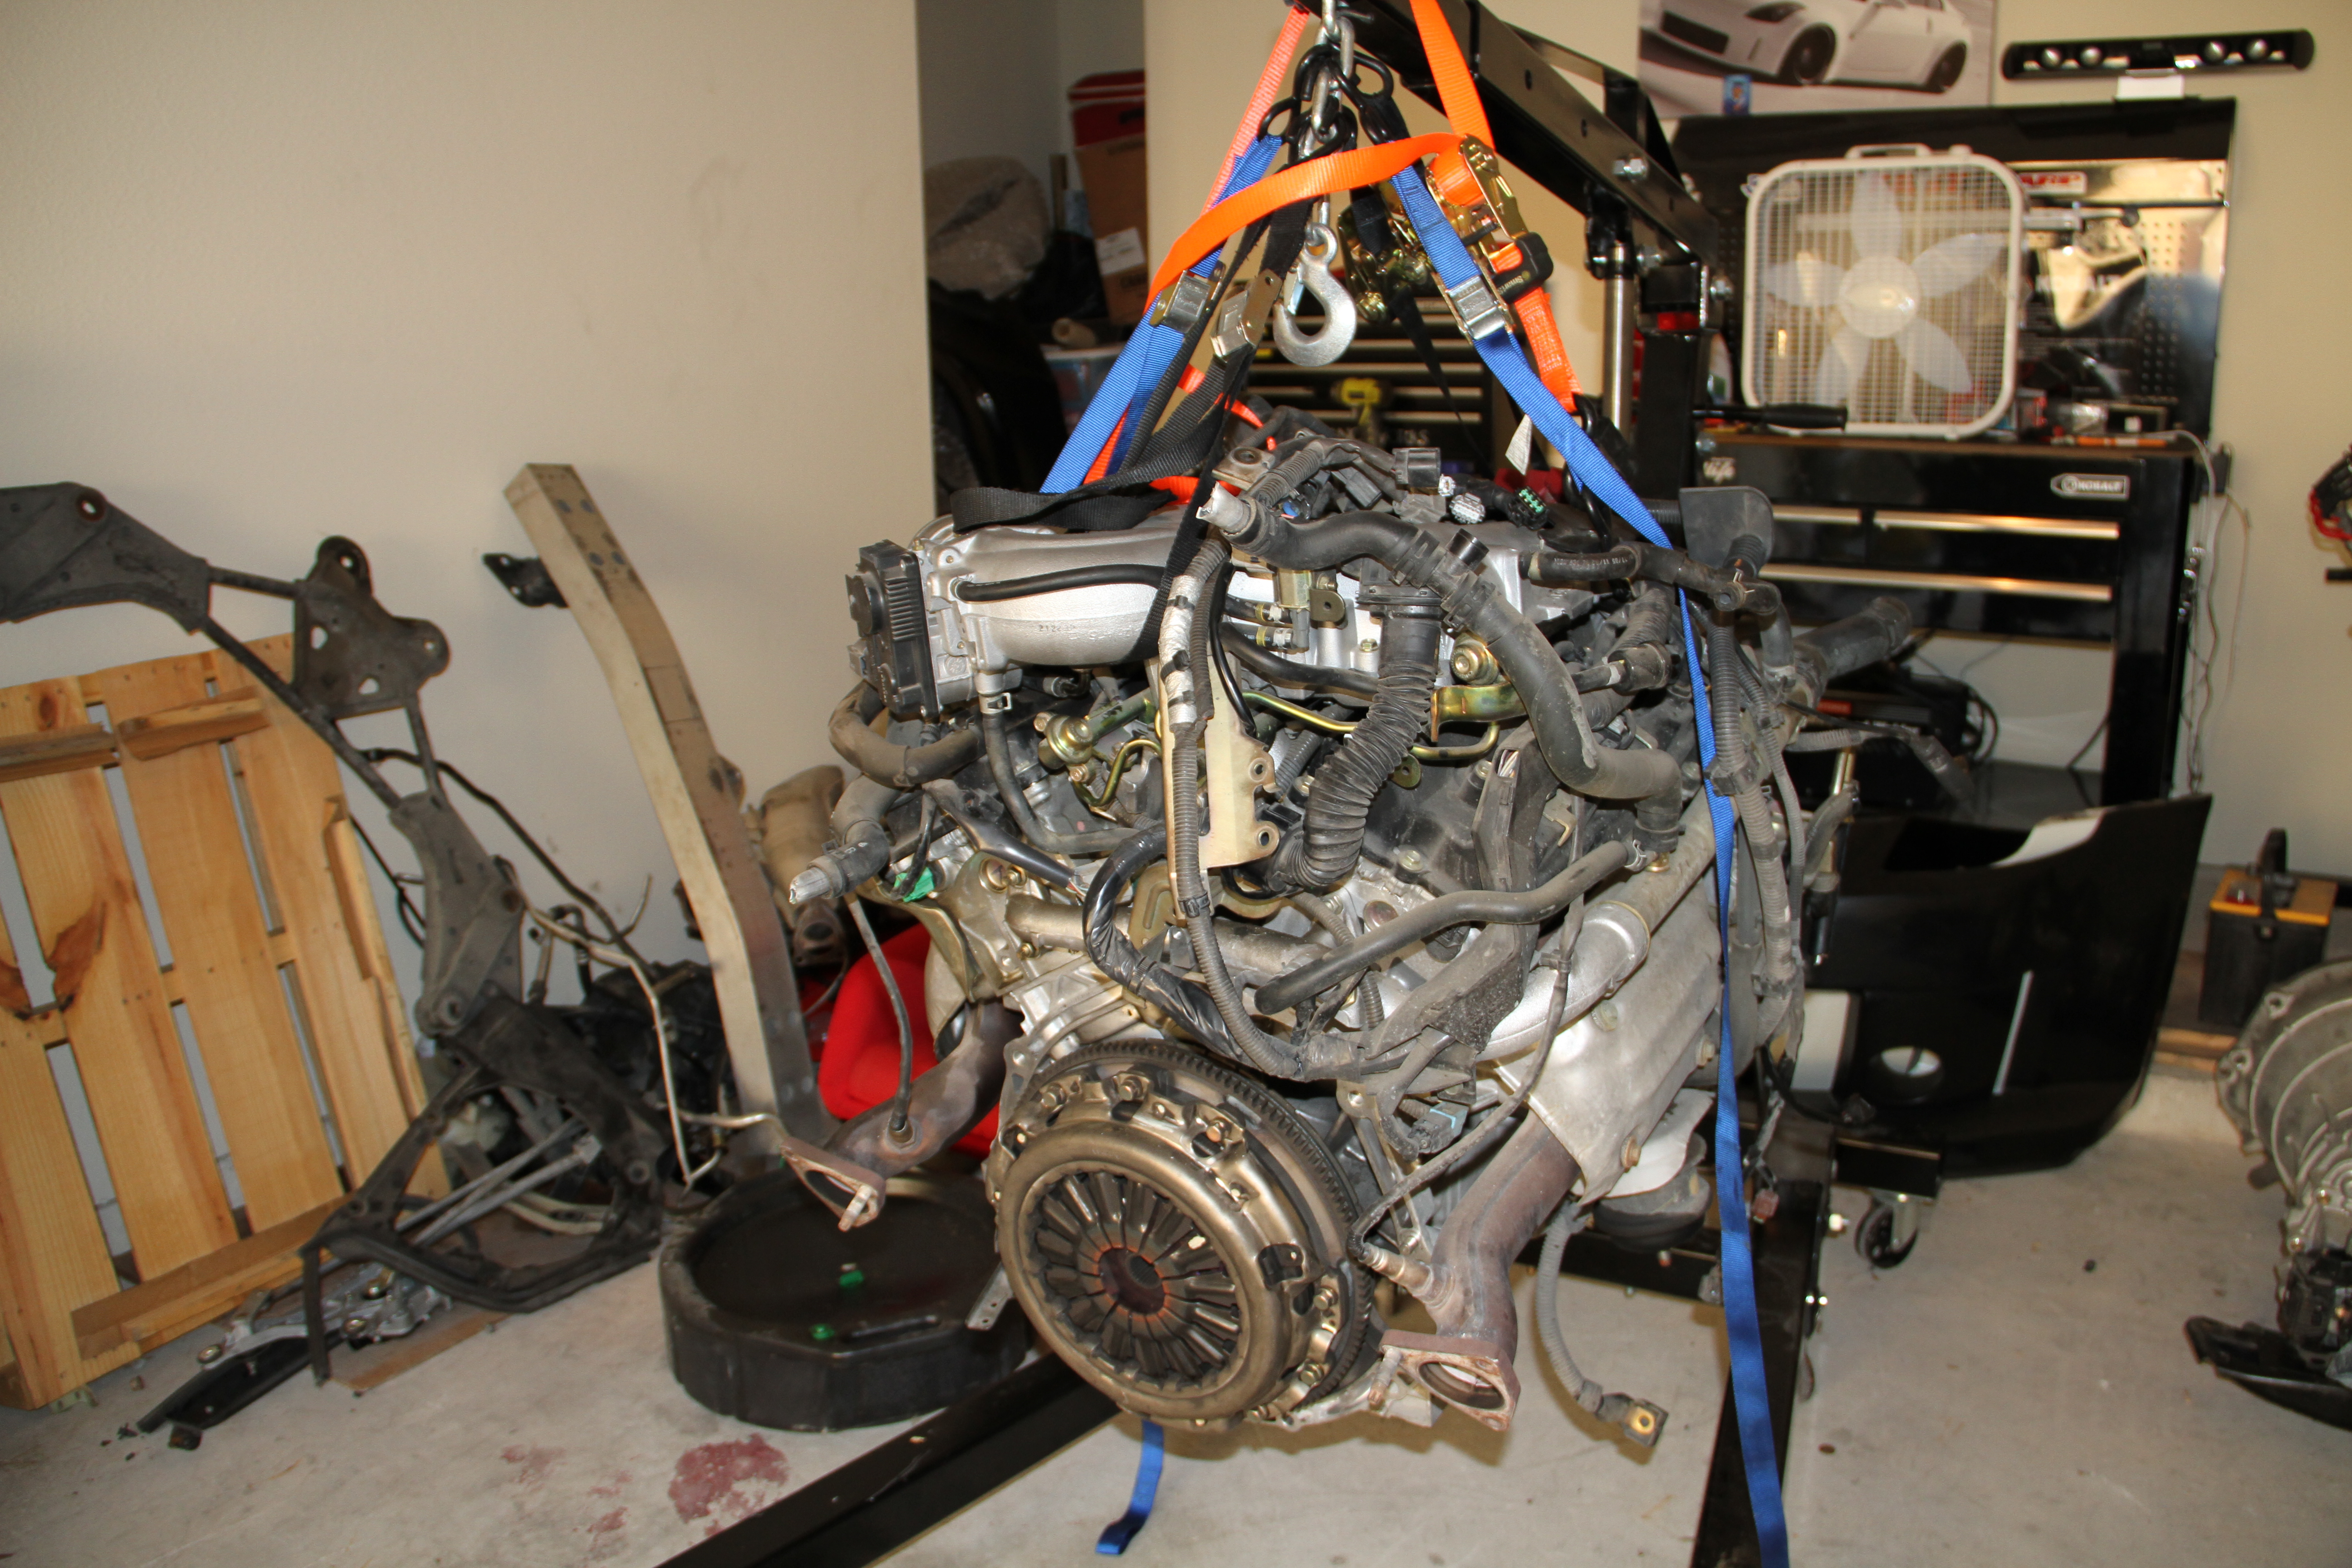
And she is out..... It is really easy to remove the VQ motor, it was only me doing it and it took me two days, due to work... So don't be scared to do it your self...
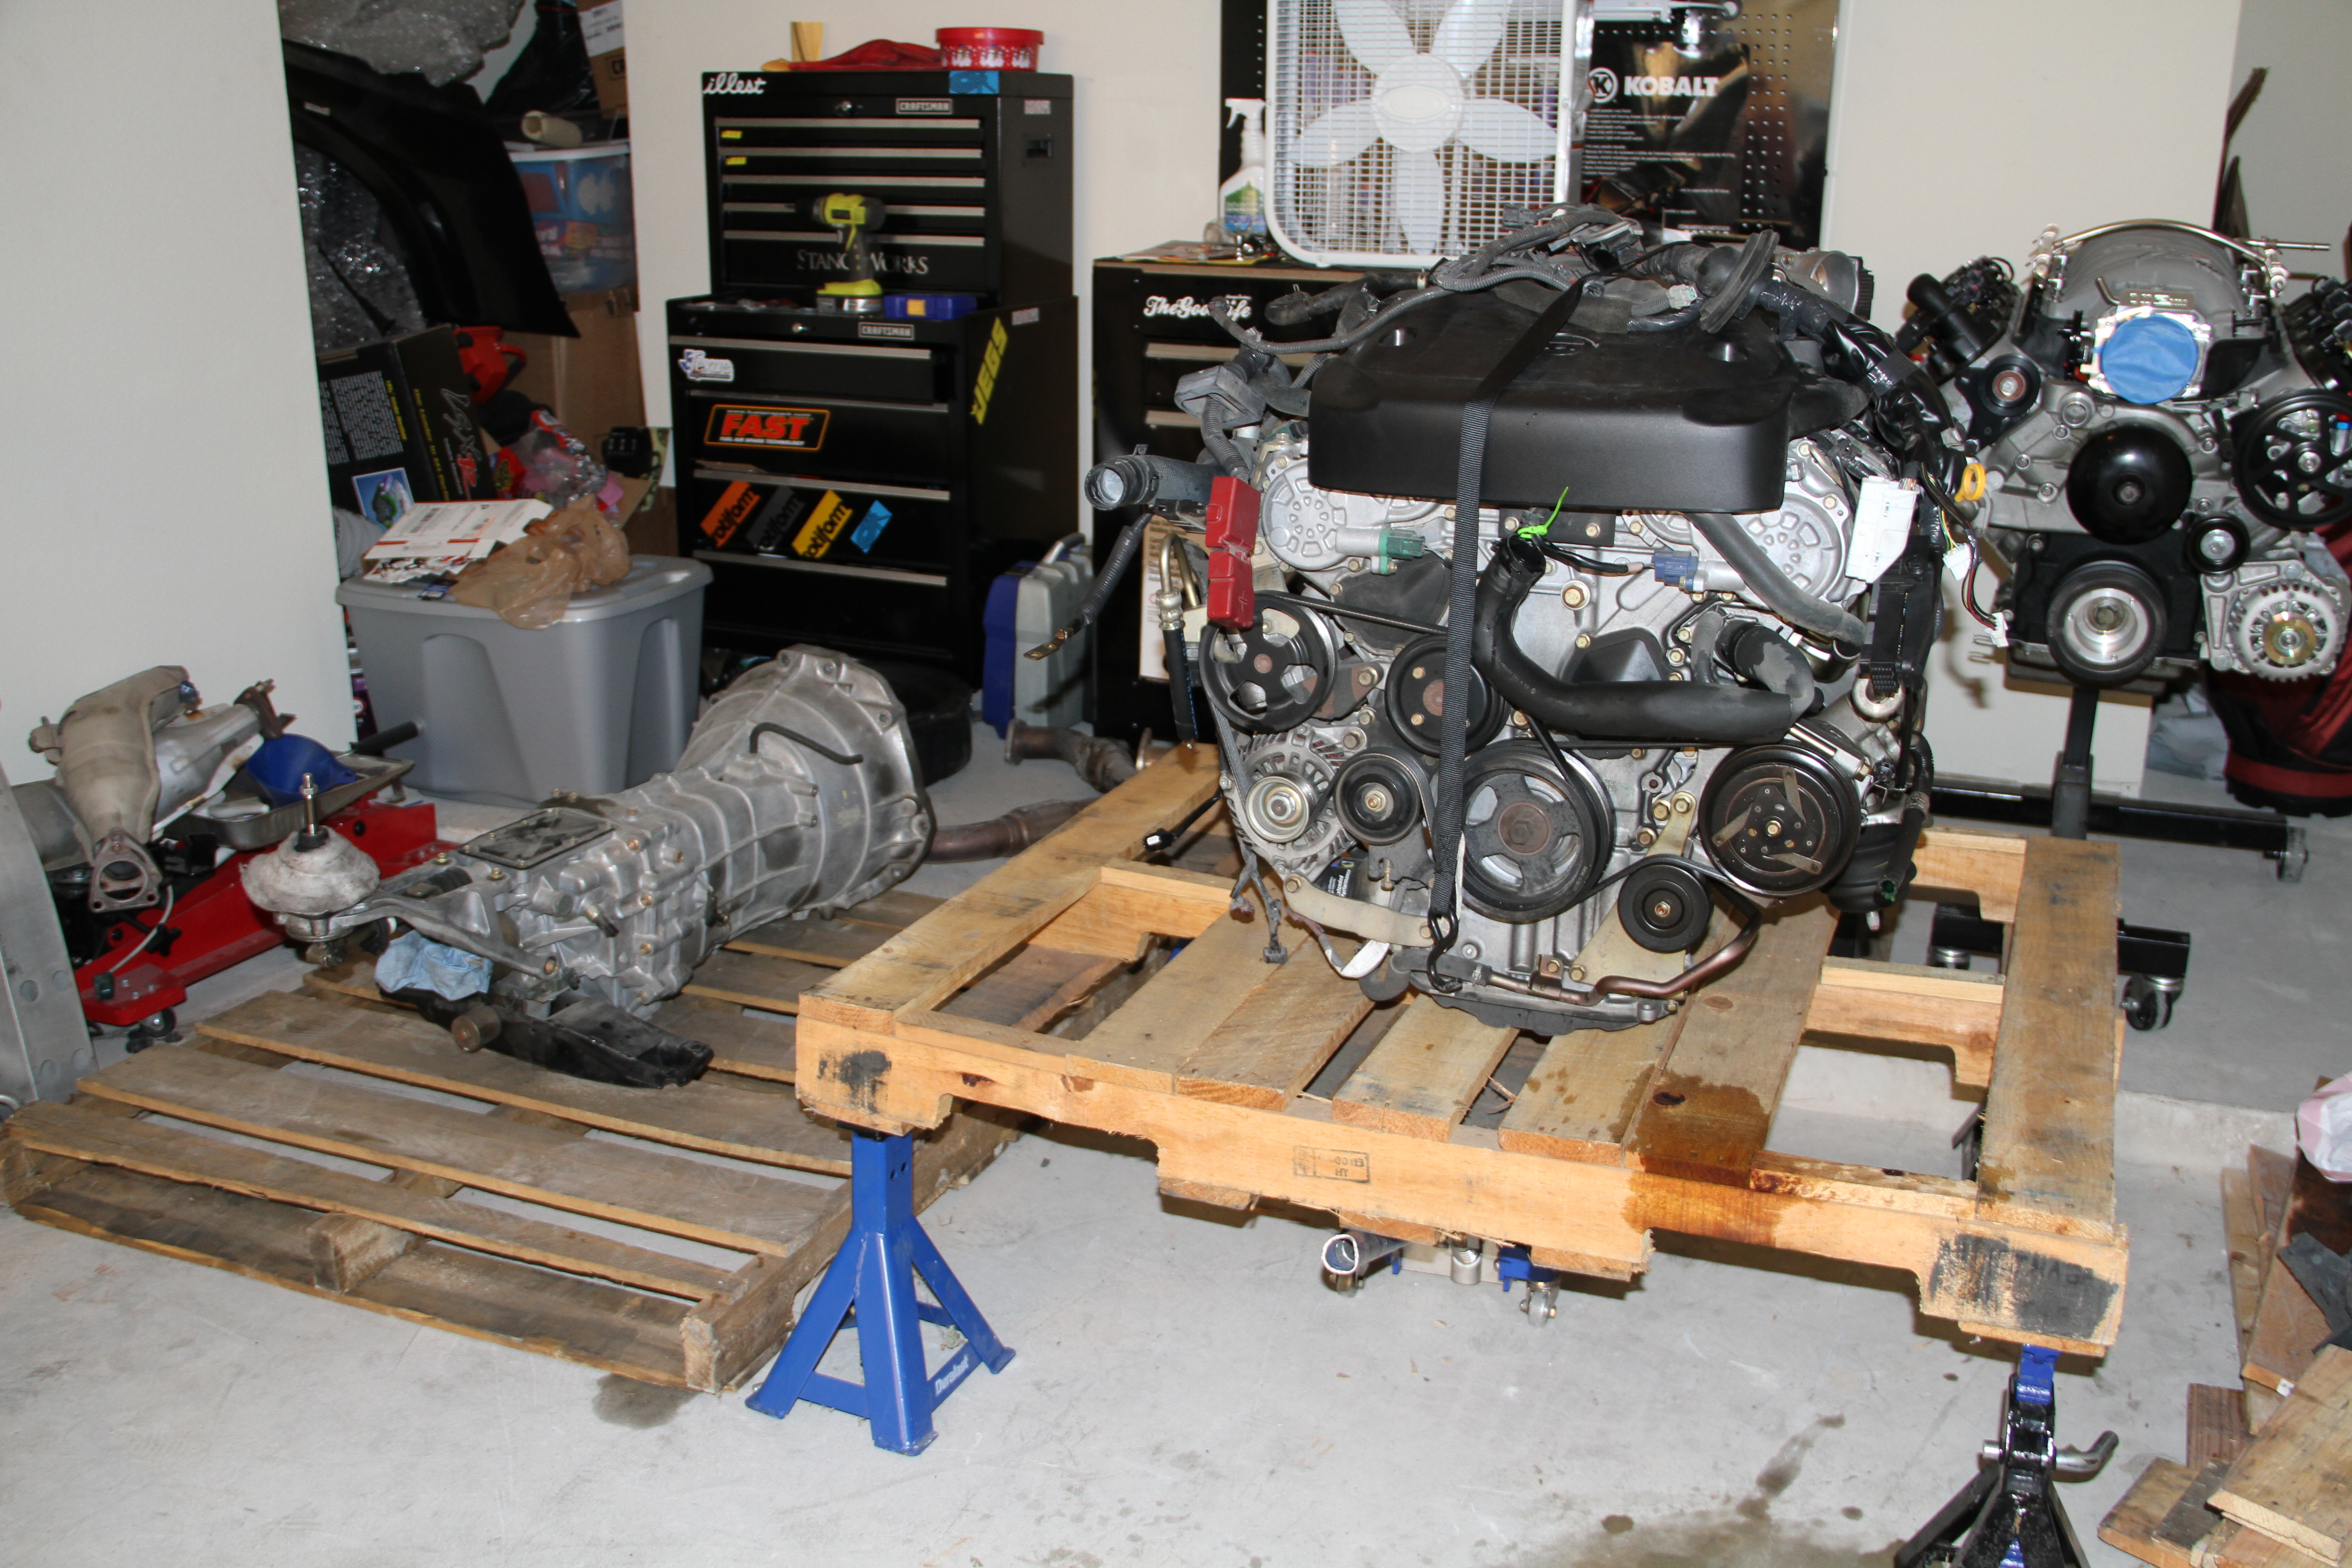
Already have a buyer for the engine/tranny so I have to crate them up for shipping...
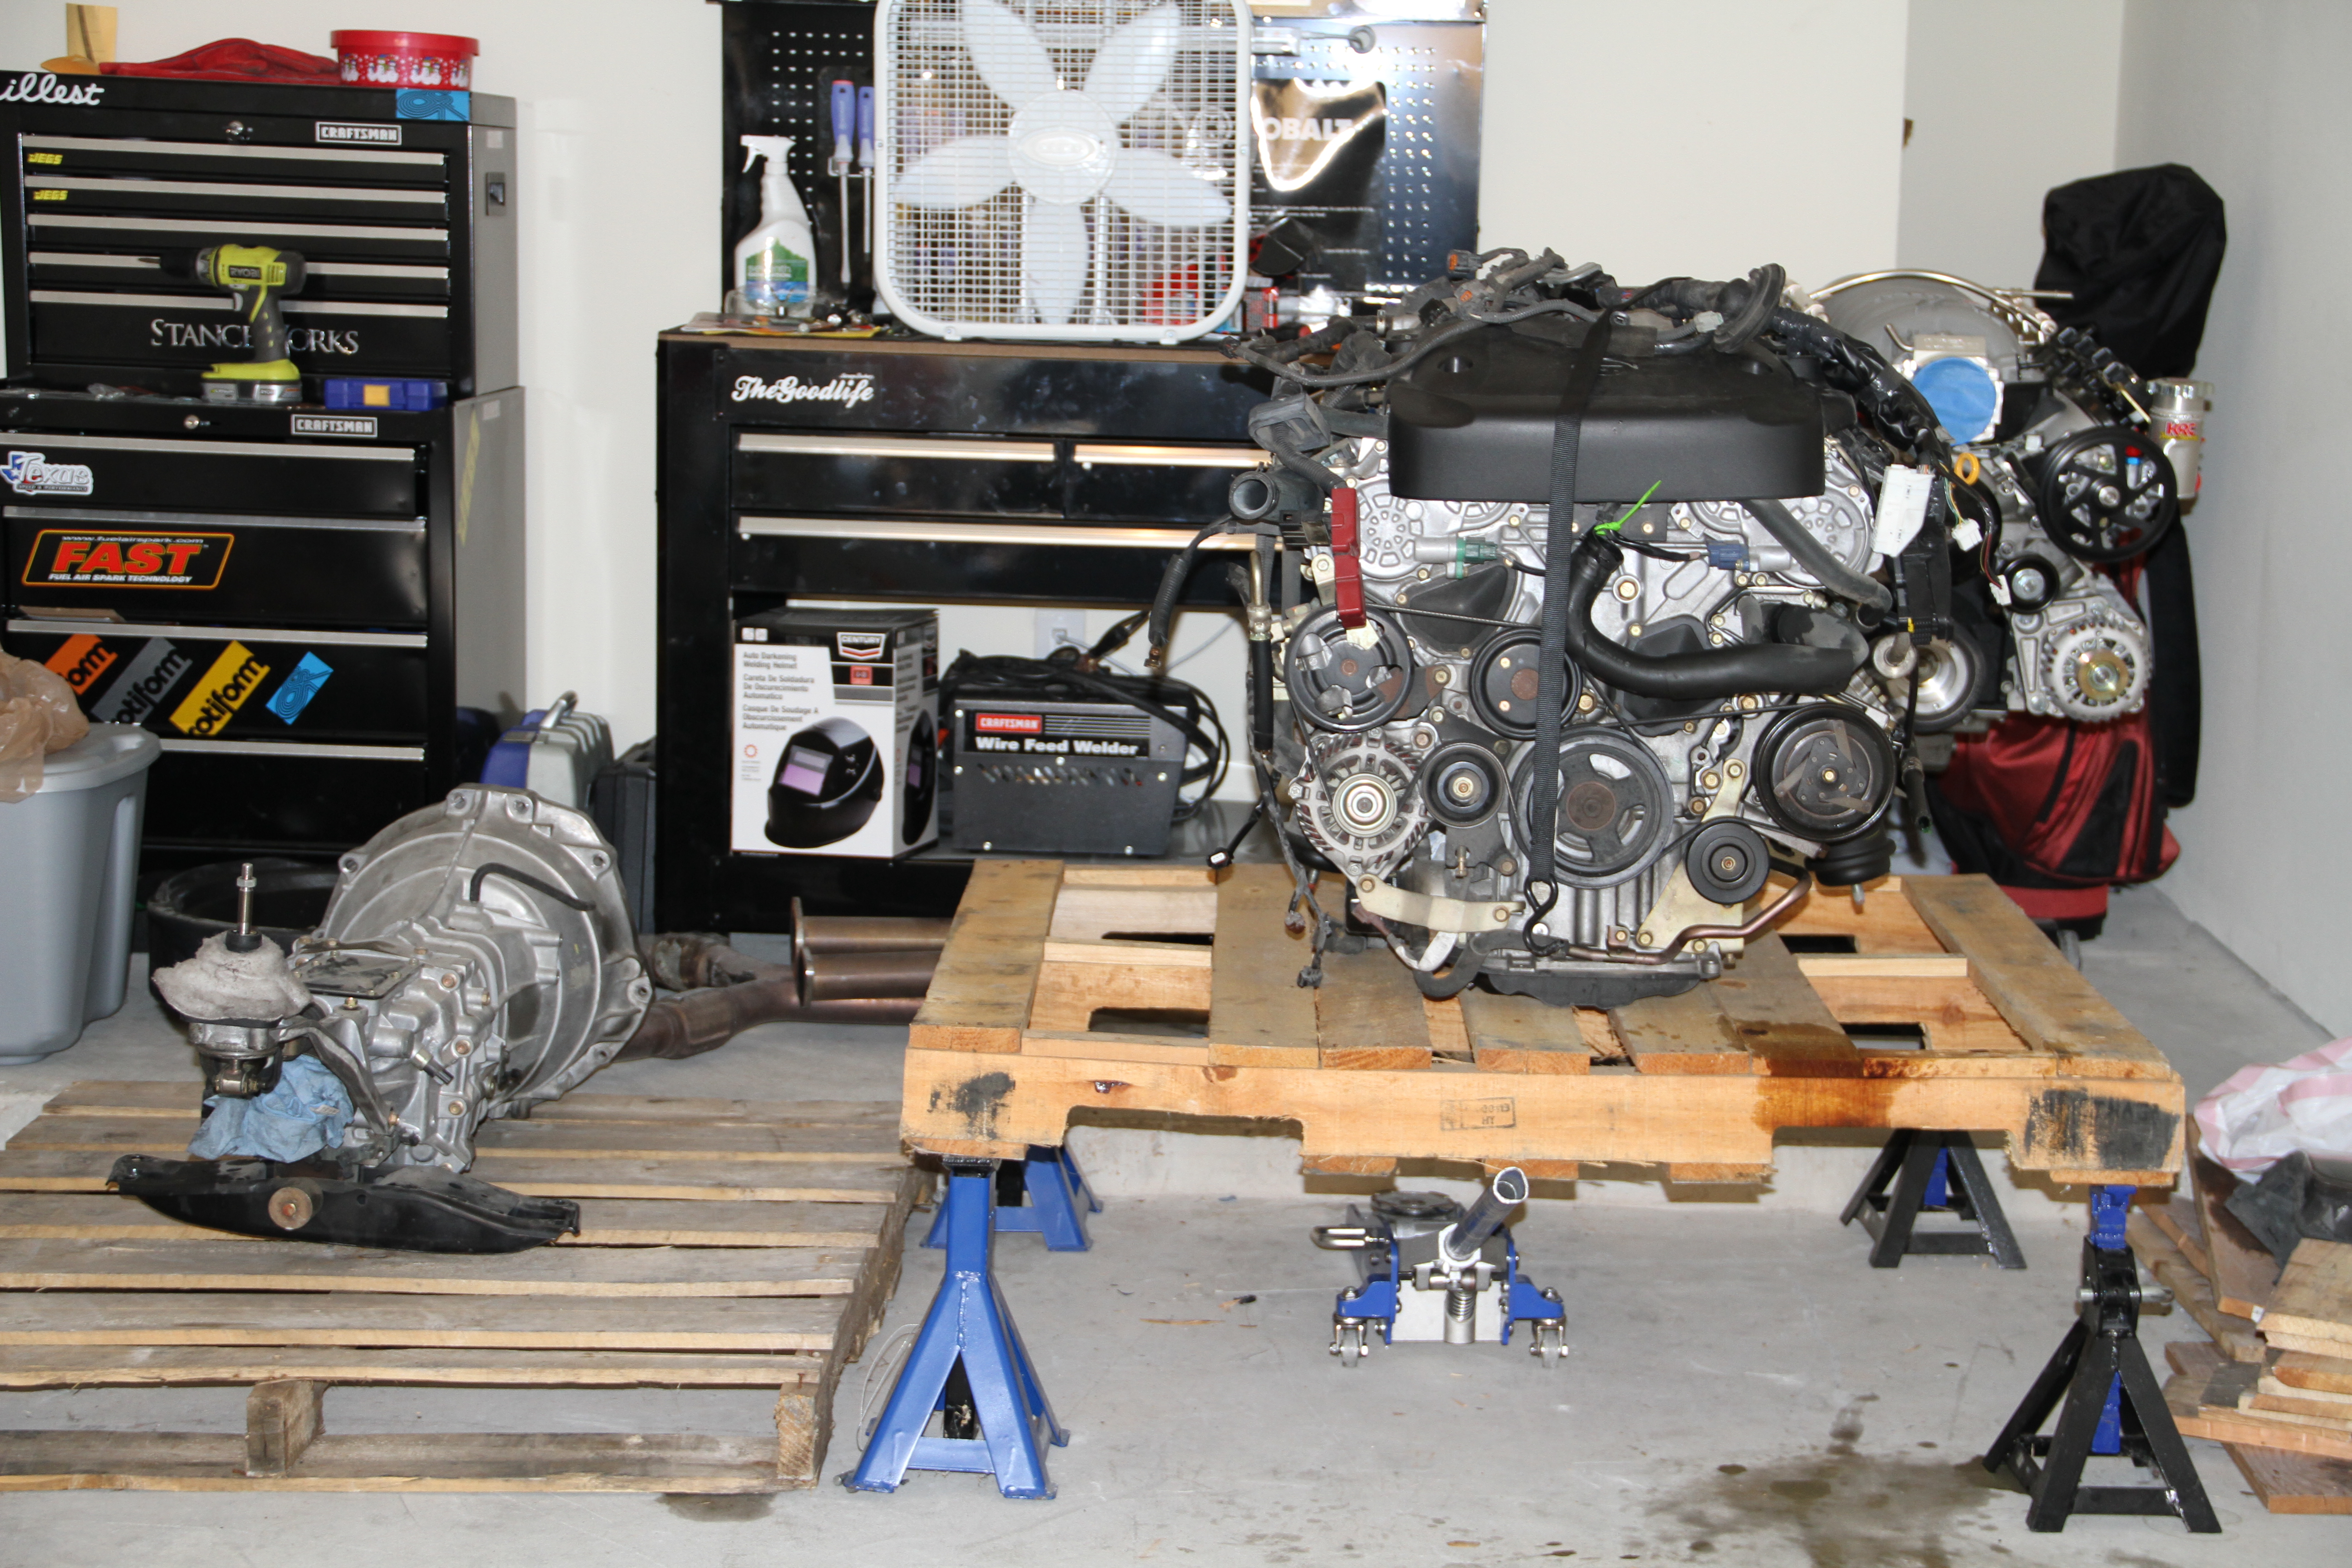
Sat like this for a couple of days do to me not having my wood yet...
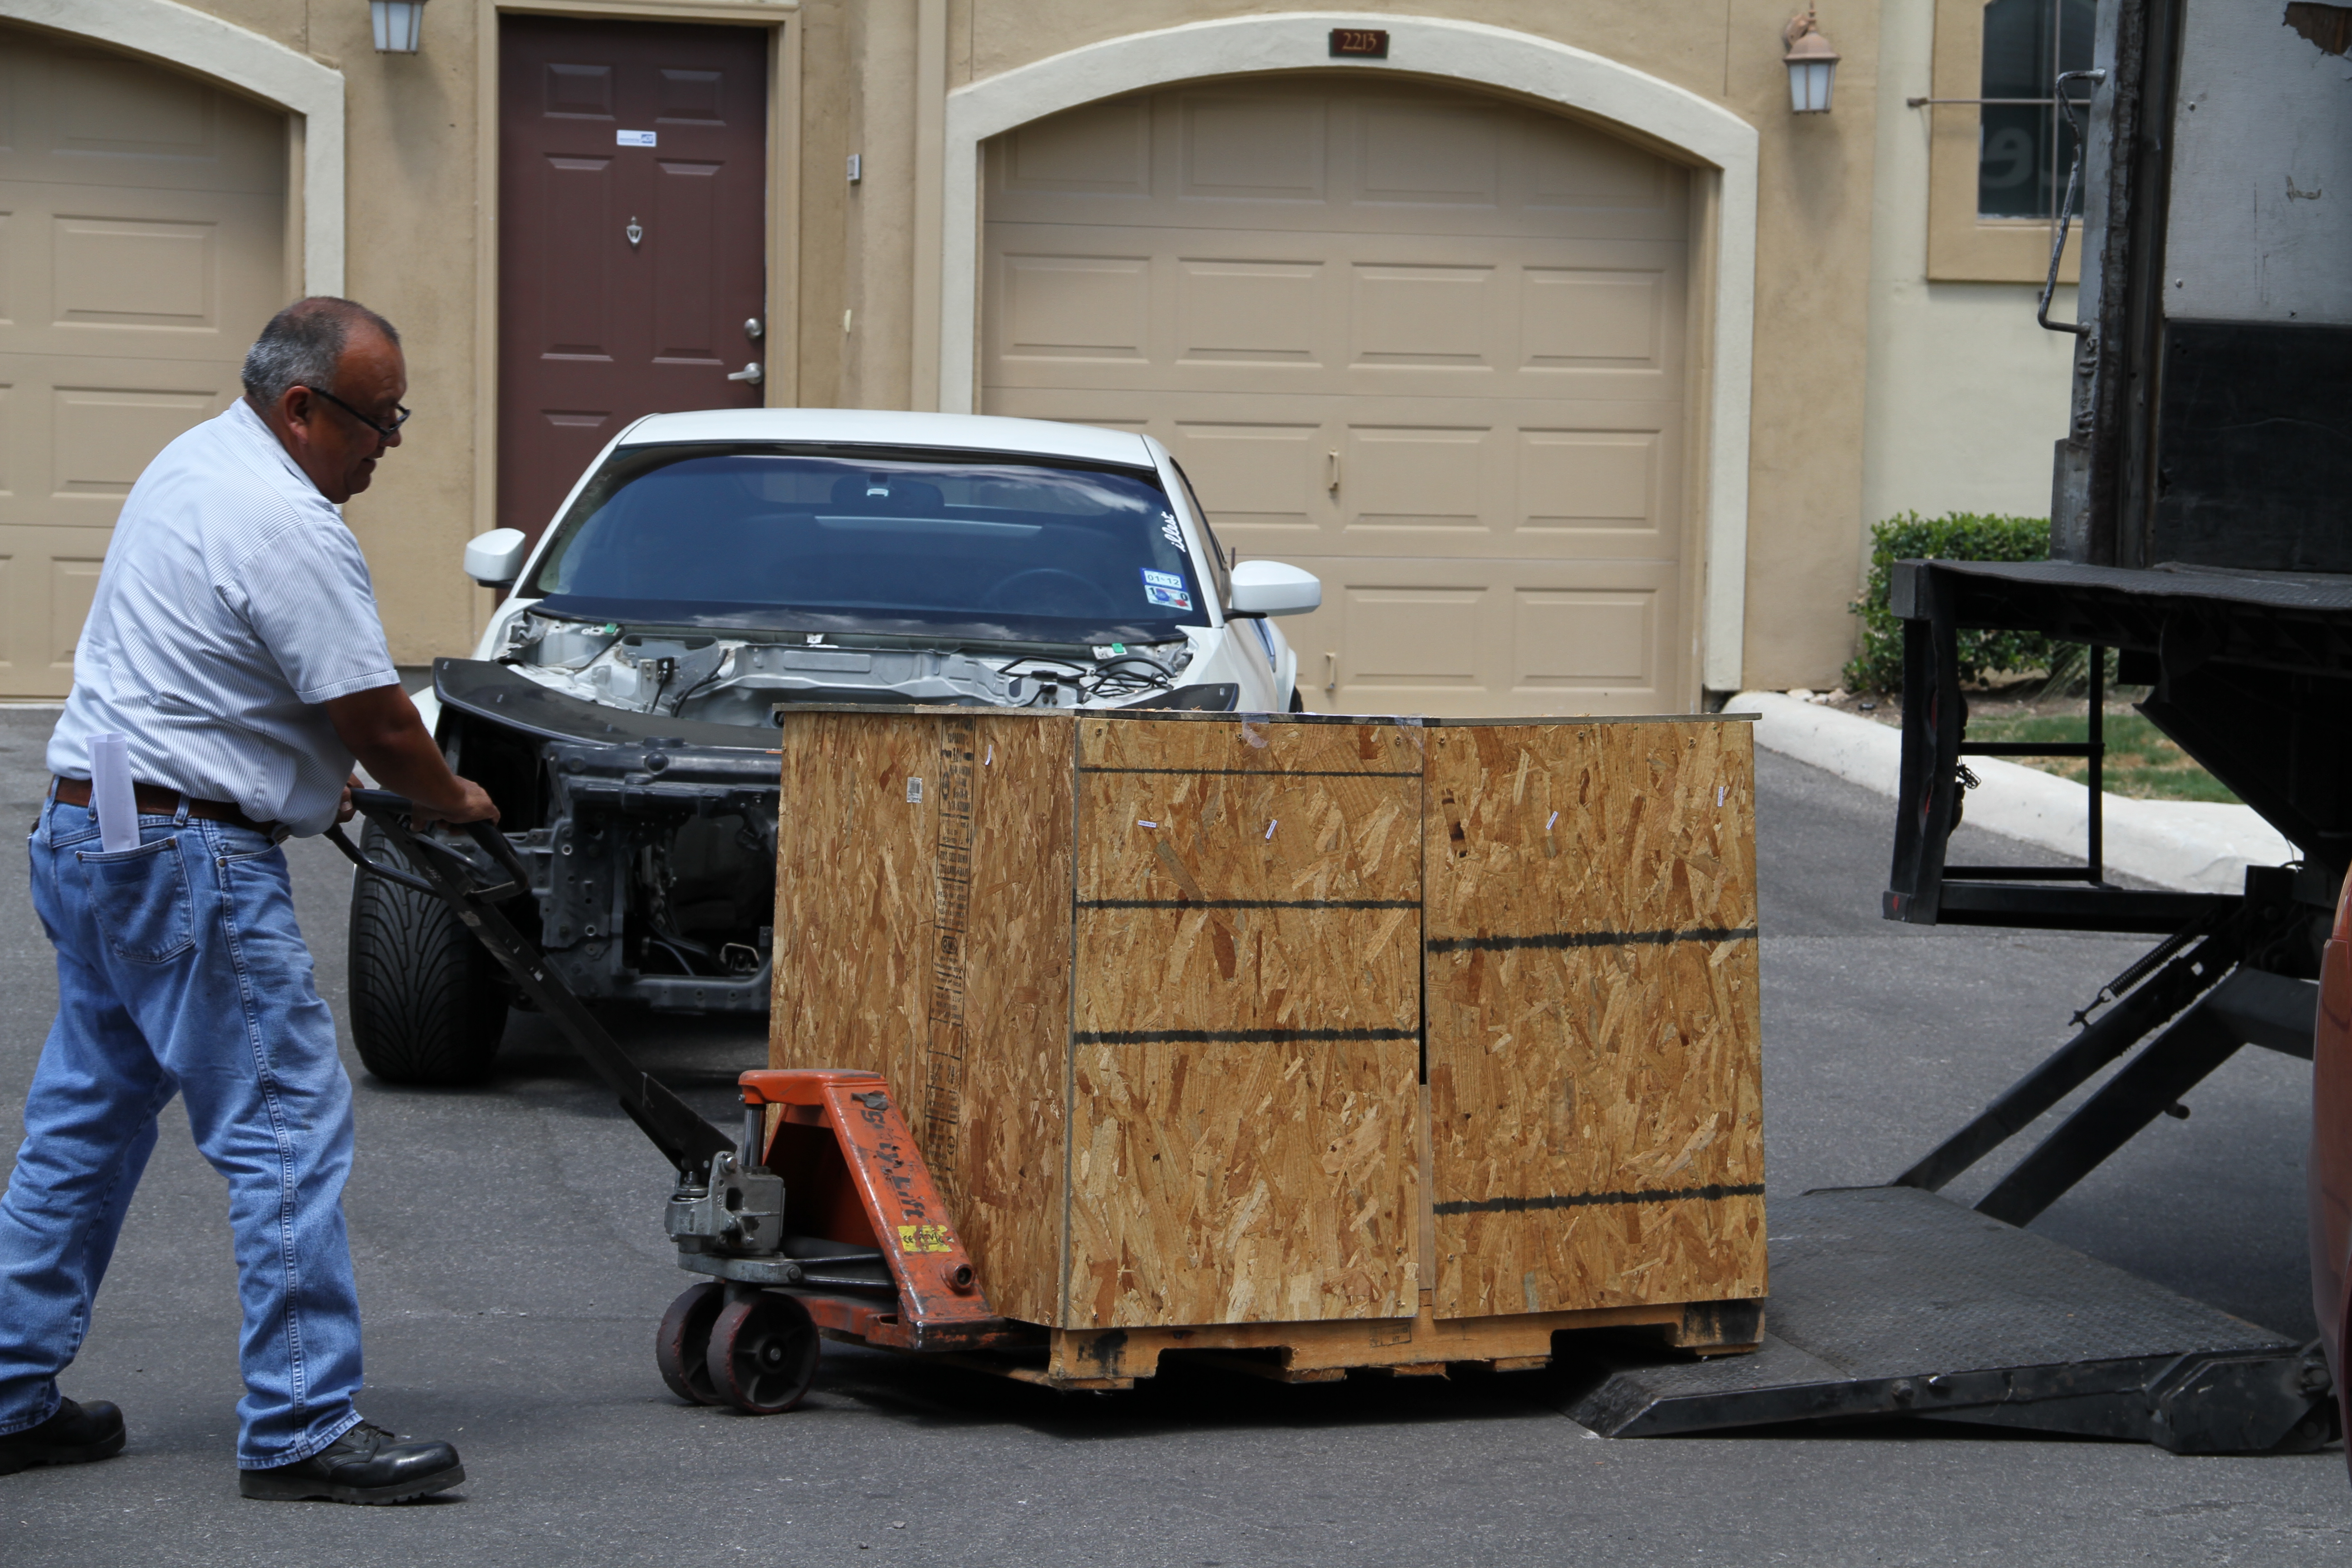
Finally got my wood and had every thing crated up and secured... Truck/shipping guy arrived and it was time to say goodbye to this VQ motor
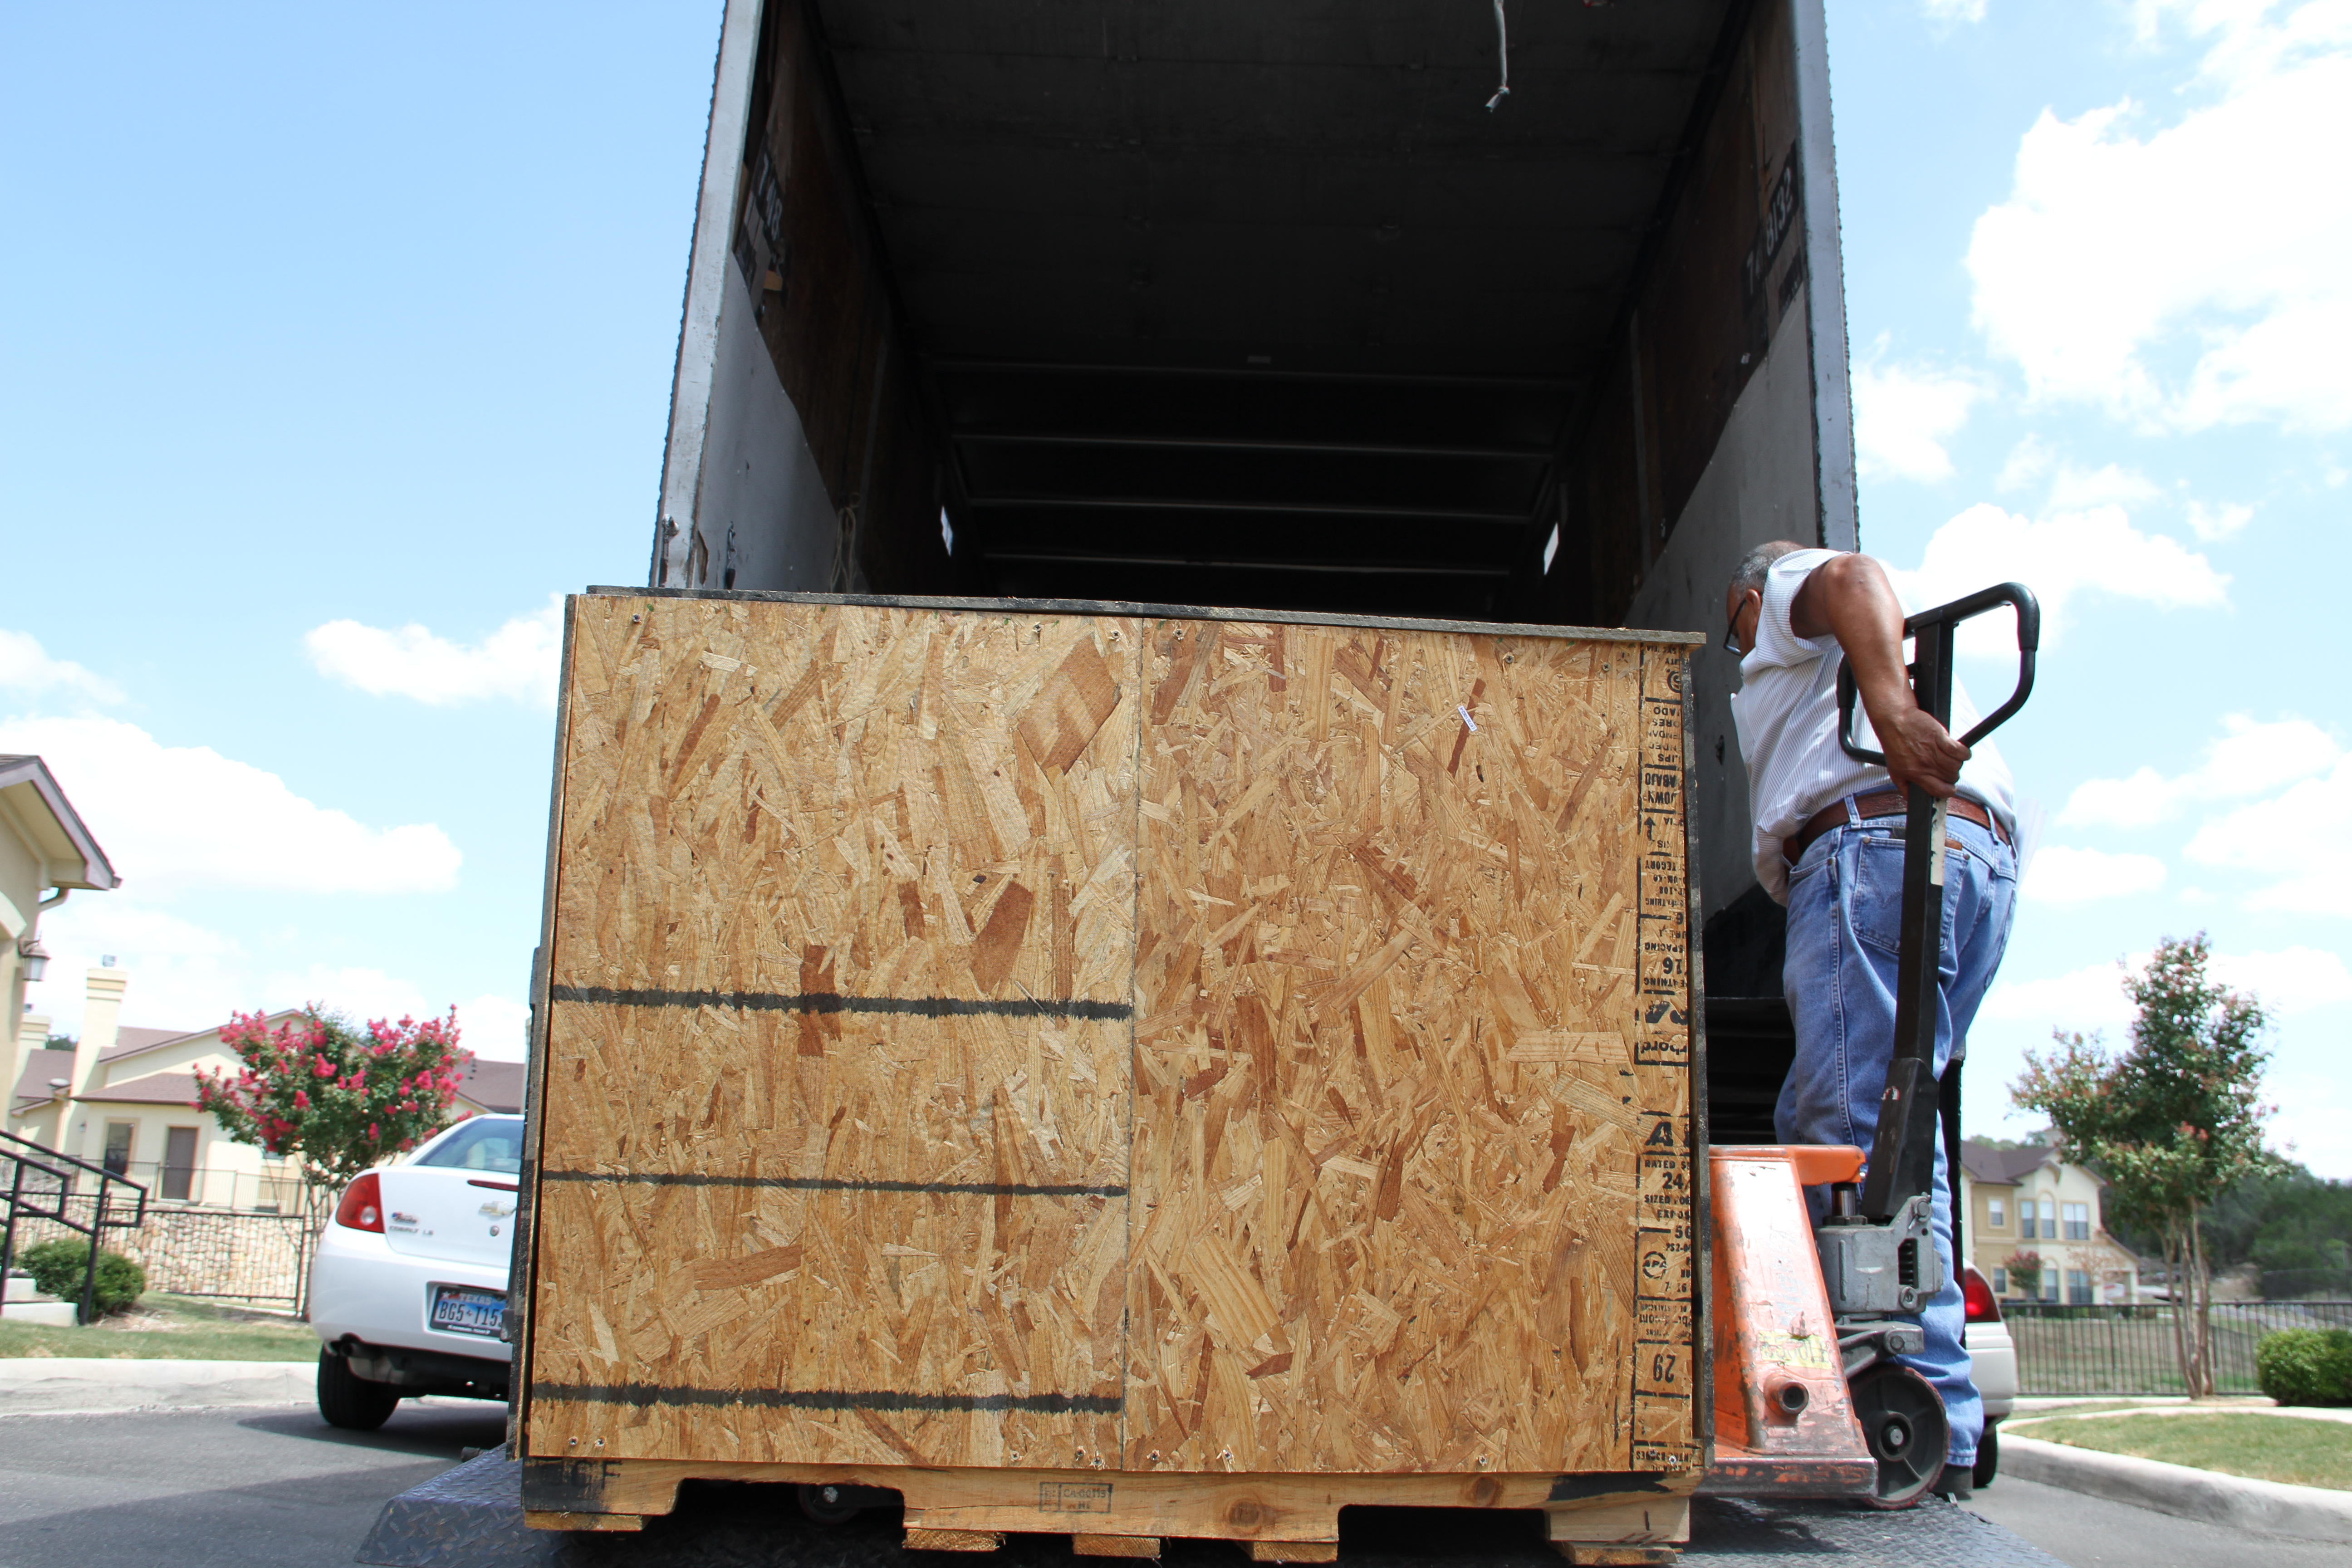
going up.....
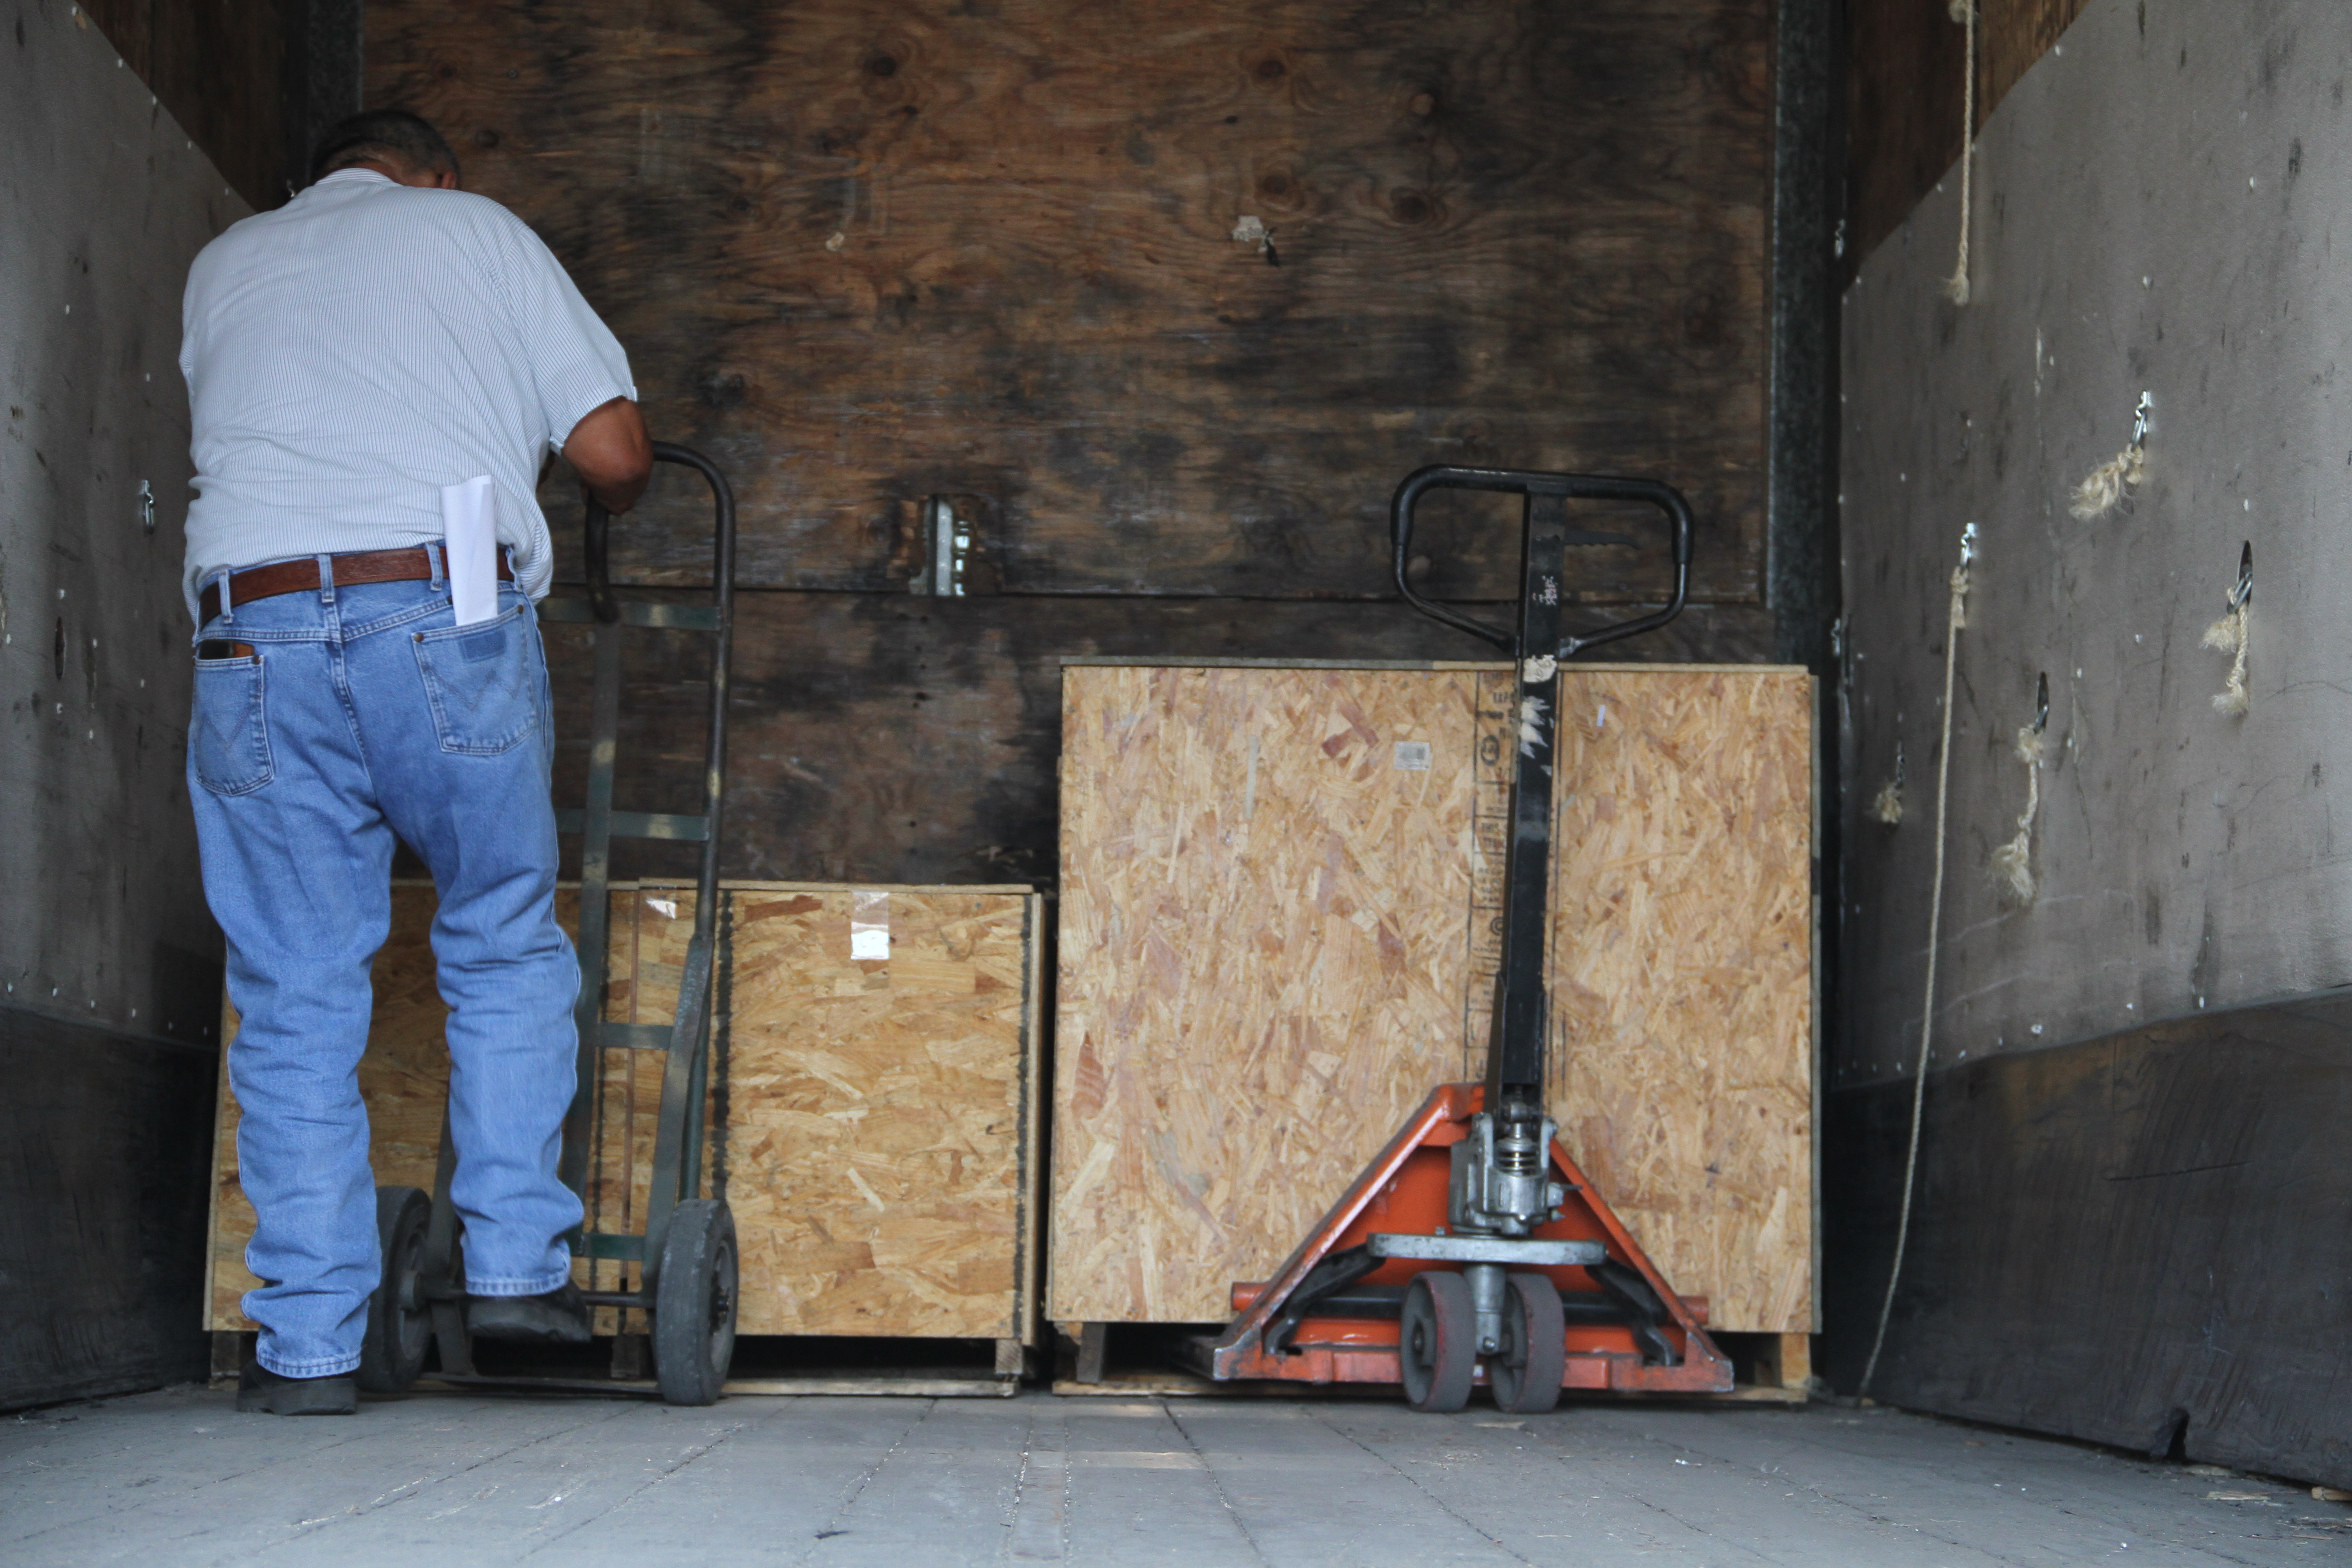
Goodbye,.,., we had fun but it was time to move on....
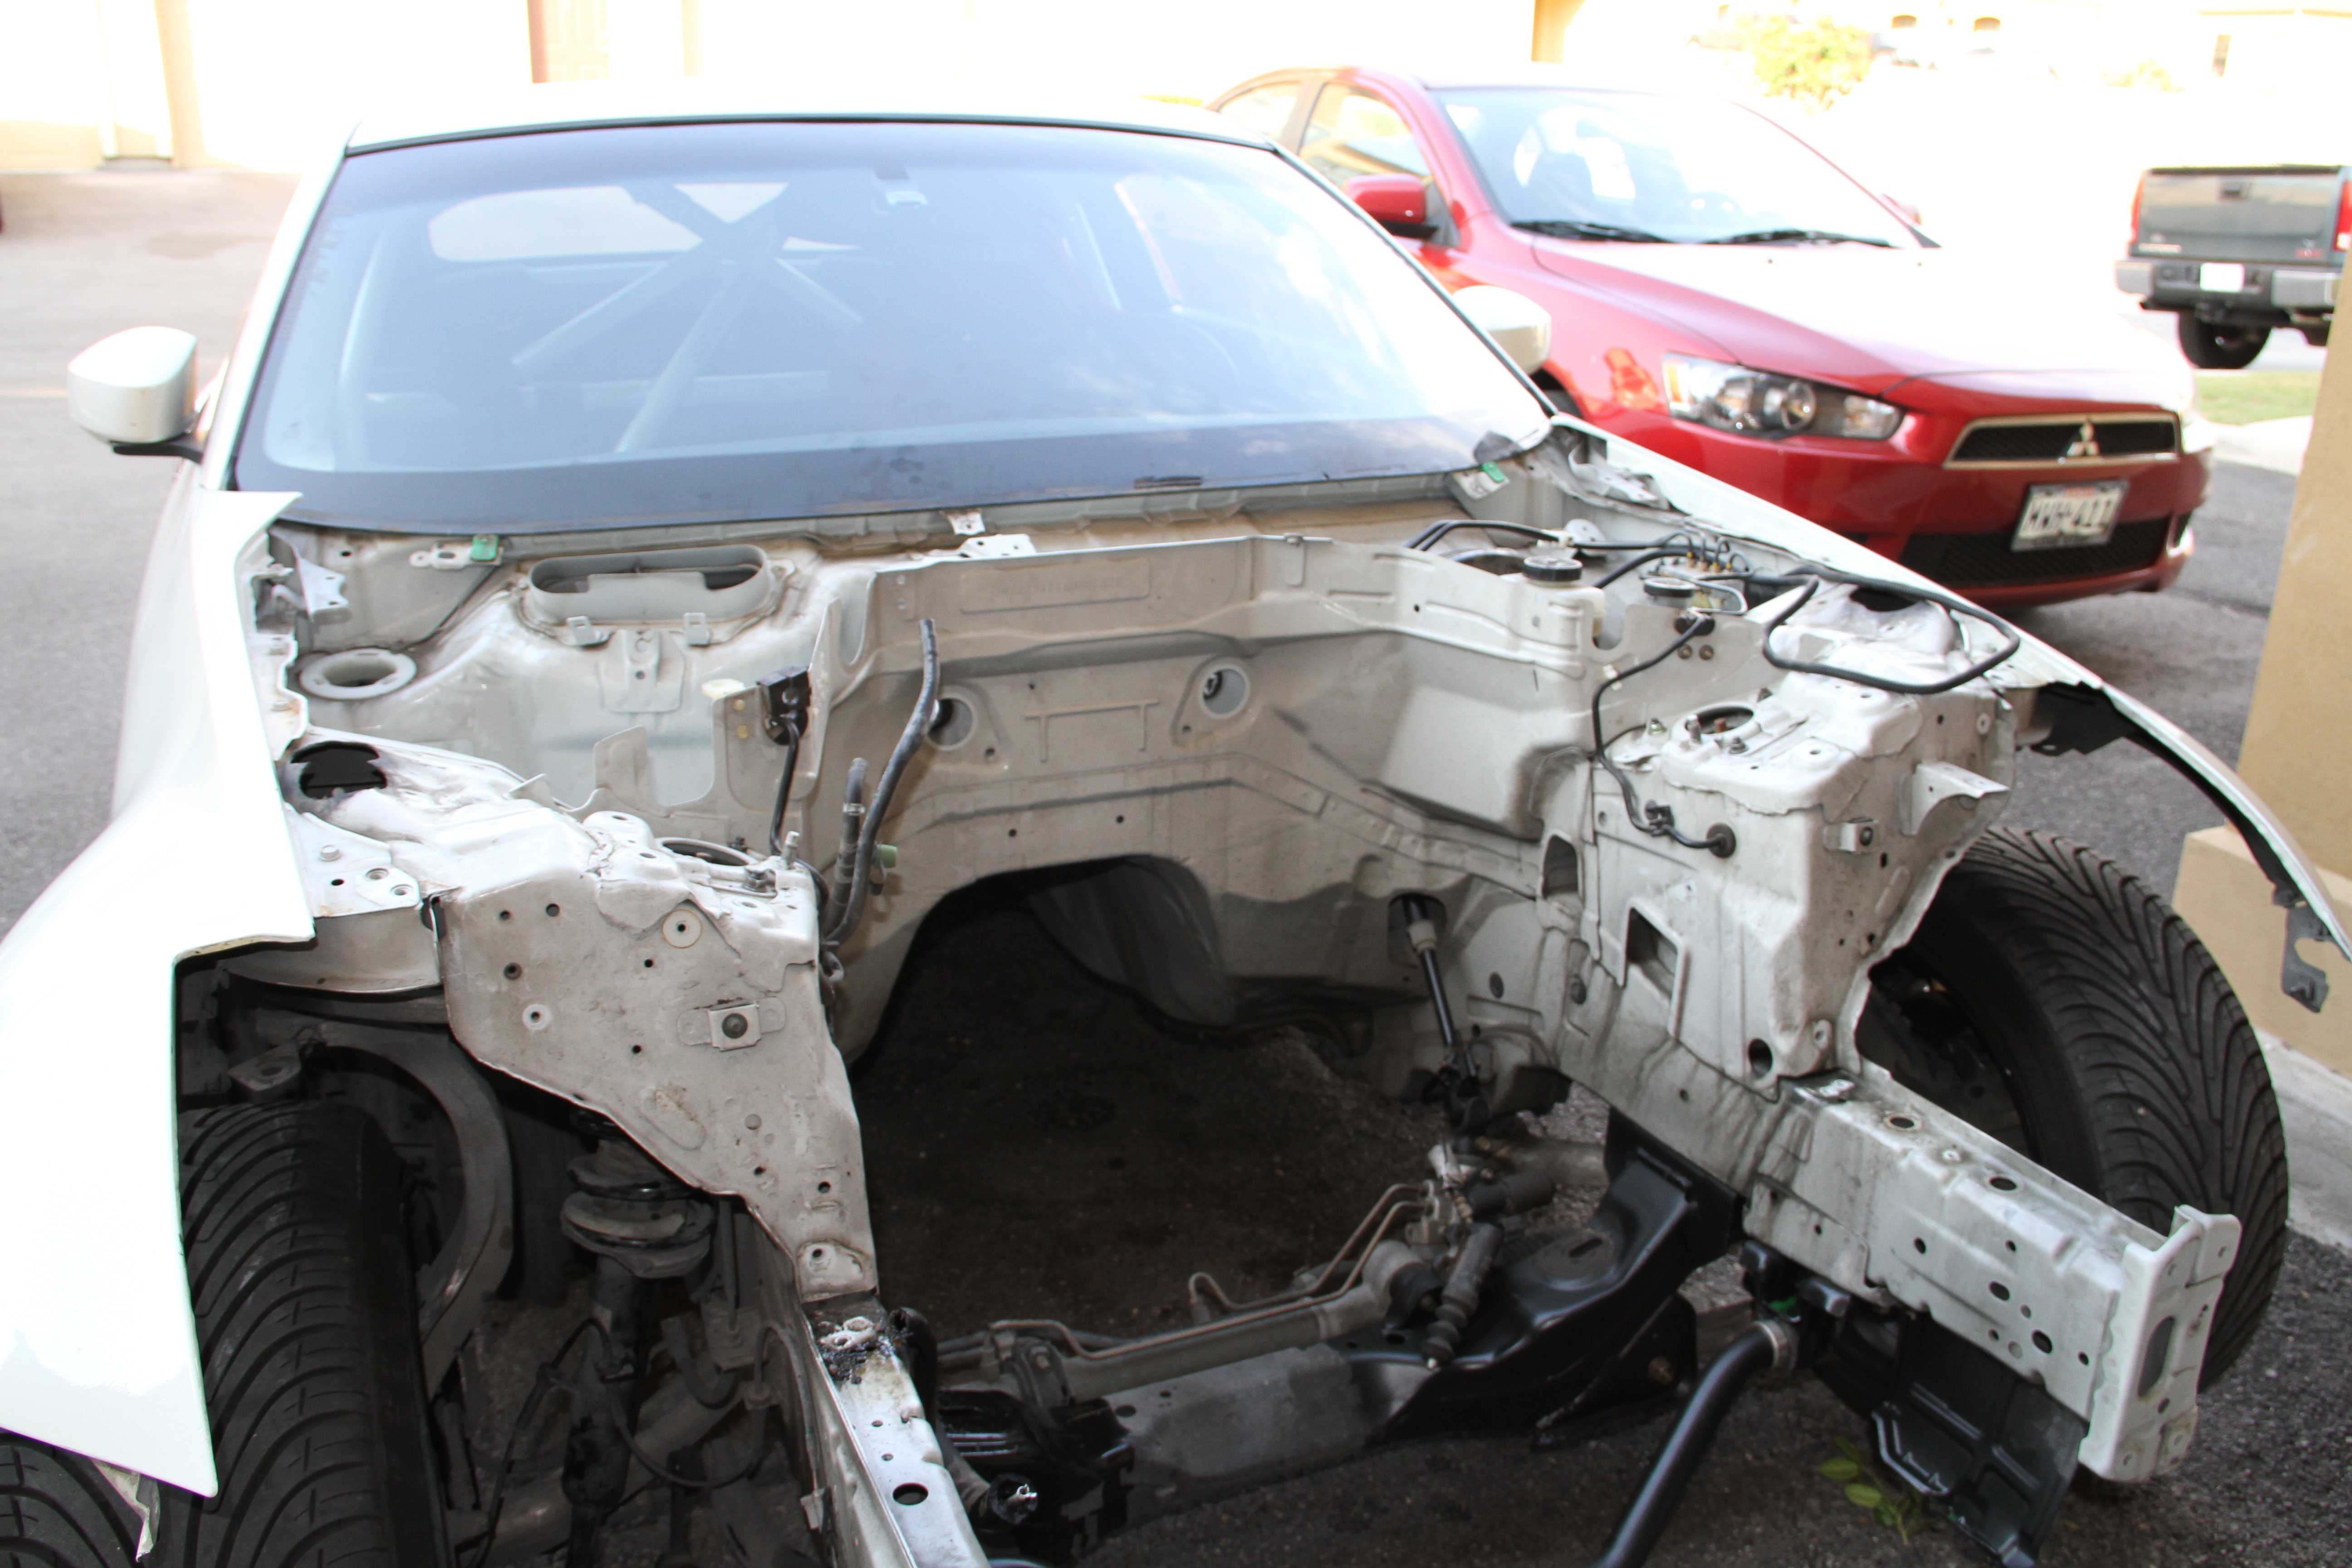
Here is what the bay looks like with out nothing in it... I also removed my windshield wipers and almost every clip..
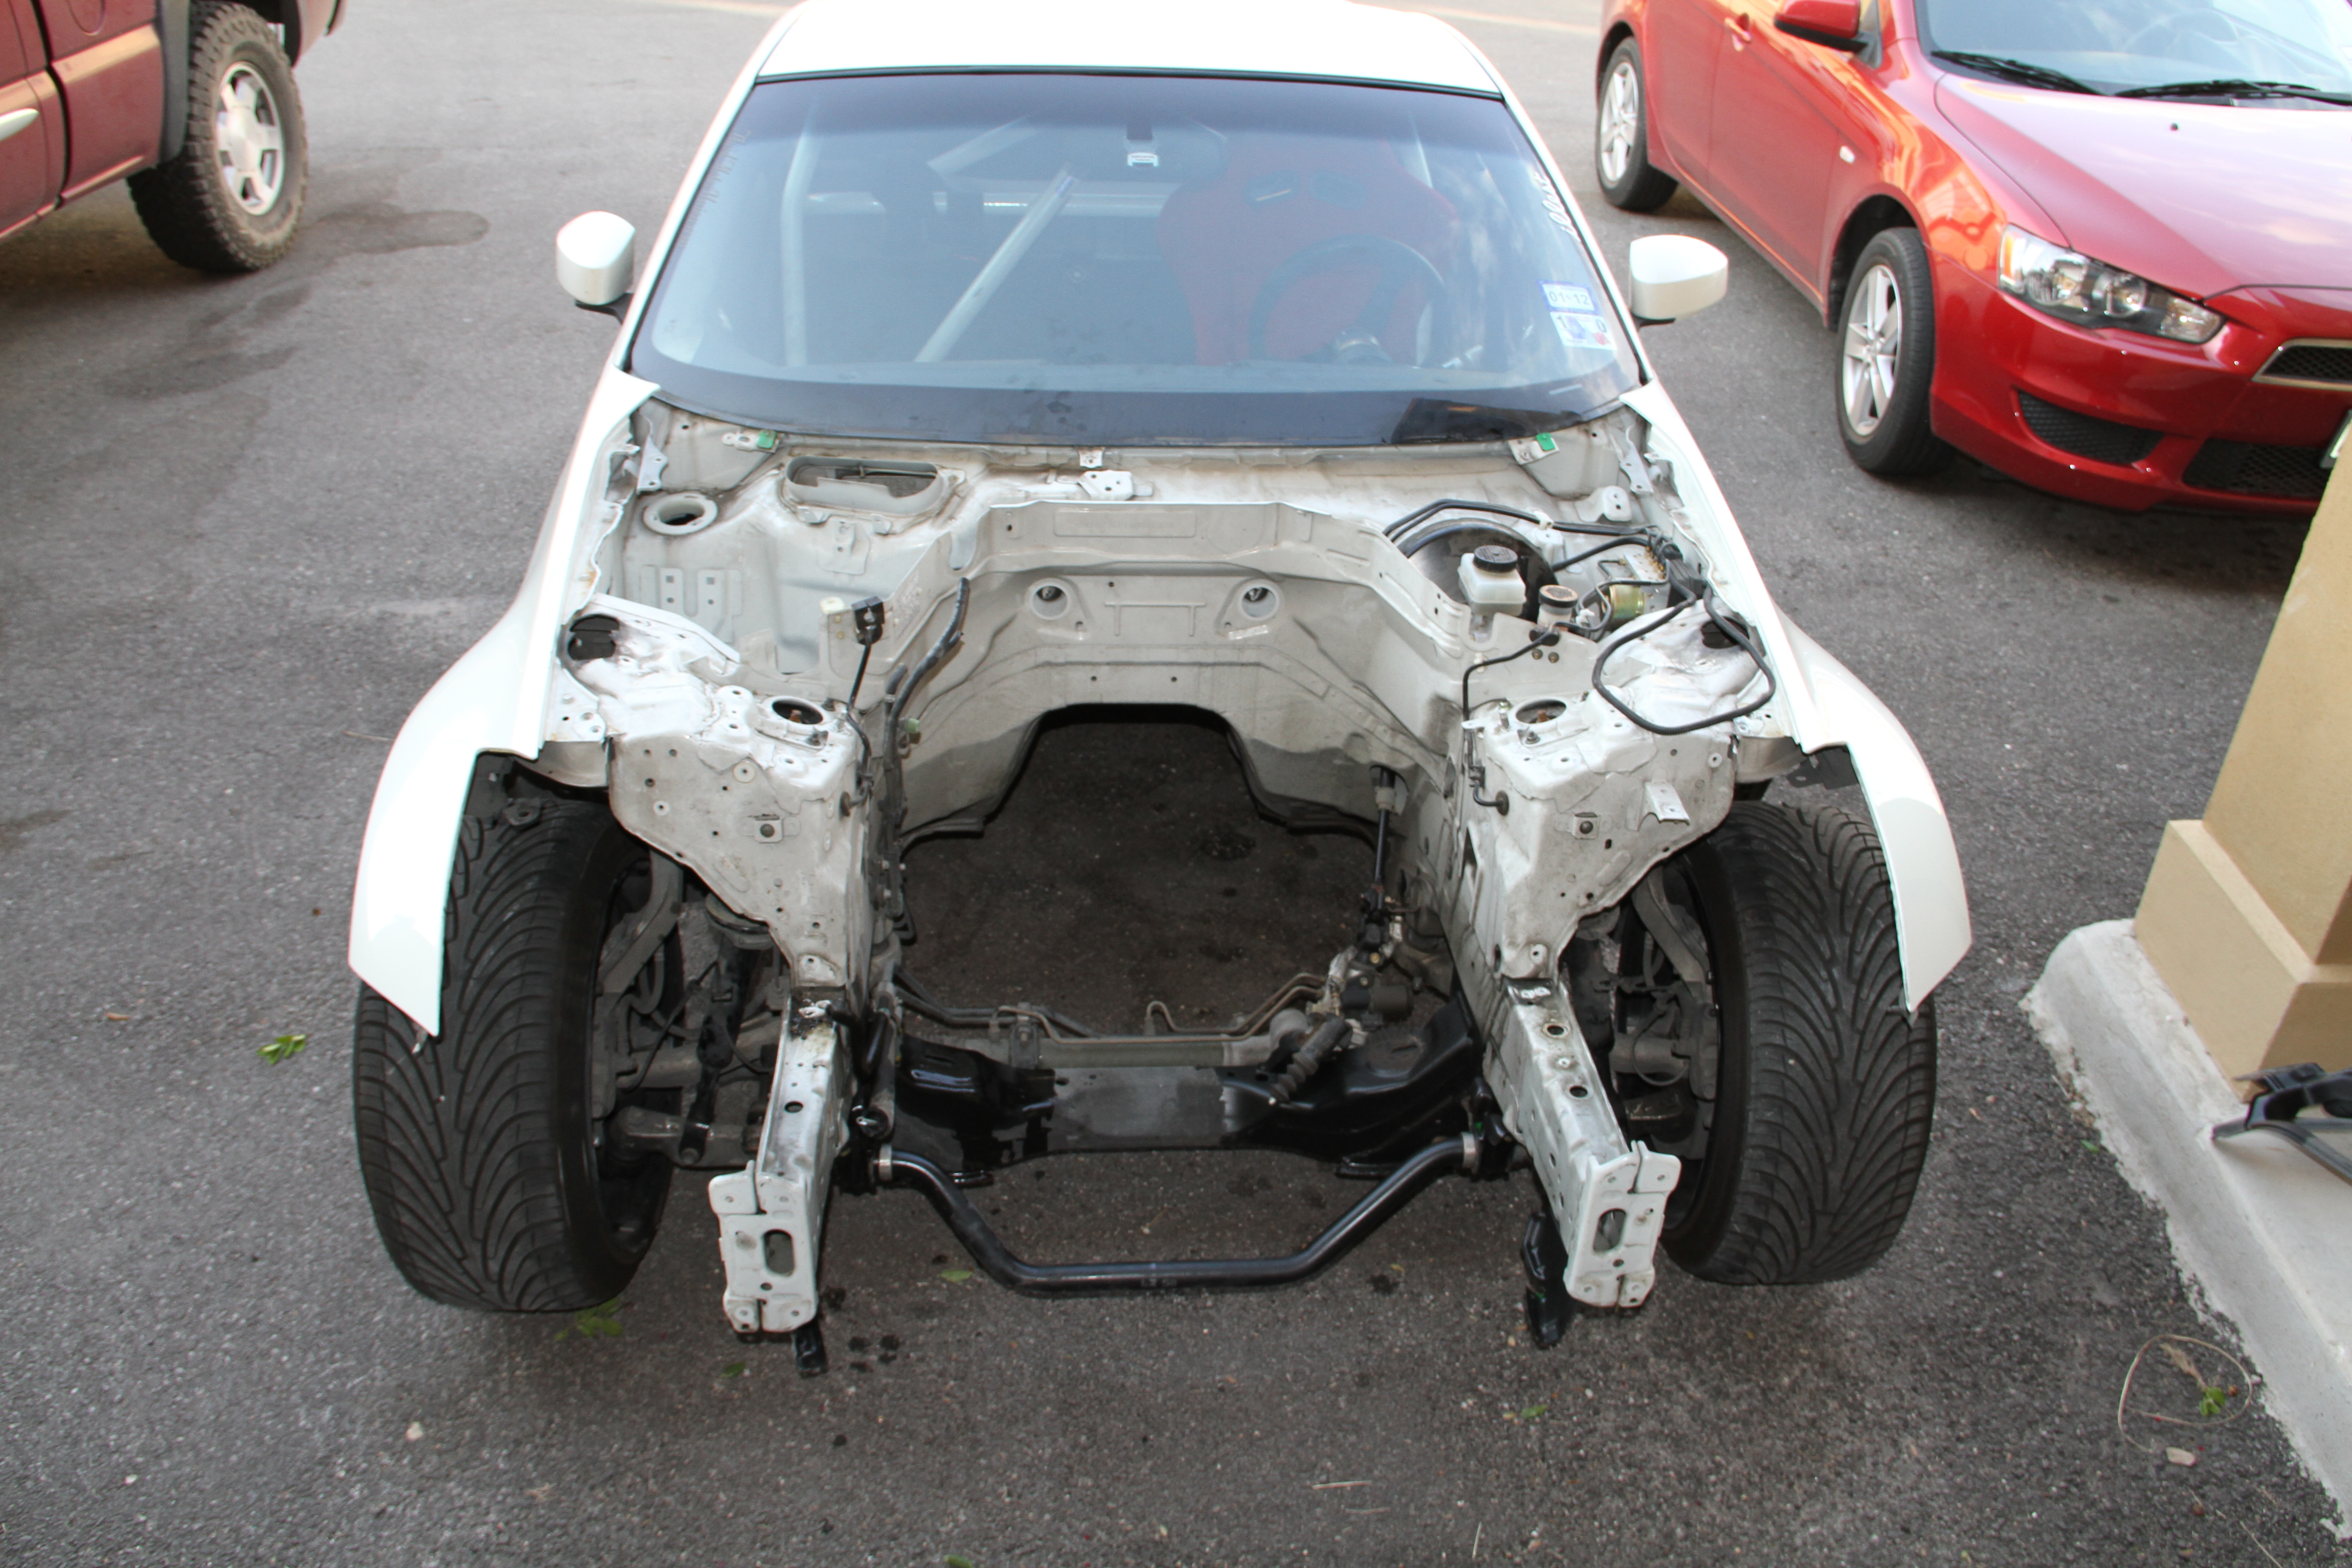
Before the LS1 can put up his "there is no place like home" frame. I will be doing a list of things to make his home pretty.. For one I will be removing the ABS system and redoing my brake lines... I might also cover up all holes I am not going to use... Oh and lets not forget about the main ingredient,, my tube chassis...
So since we did not spend no money this week,, I think we are doing good...lol
Total price so far: $9,089.16
Next week STAGE 3: Phase 1 'LS1 Mock Up'
So like I said last week,here are two more Octoberfest beers. We have UFO Pumpkin, which is really good in my opinion. I like their Hefeweizen so this one did not disappoint at all.Easy drinking with a lingering pumpkin aftertaste on the back of the tongue so good..
Next we have Magic Hat "HEX", I just love Magic Hat's marketing.. Well I really like this beer, love that they used Toffee and Carmel gives a good taste but finishes with a smoky taste.. Really good...
Okay before we jump into the build this is a short one due to it only referring to pulling the motor and shipping it off, but it is an important one.
Make sure you have a good engine hoist. I started by removing the tranny first and all the exhaust from the car.
After I did that I started to remove all the radiator support stuff with the radiator. I then proceeded to remove or disconnect all the wires. I also just snapped/cut all hoses I was not going to use, including power steering hose, fuel and so on.. Reason for this is that I plan to replace all of these with AN hoses anyway...... And one last thing say goodbye to AC........lol
And she is out..... It is really easy to remove the VQ motor, it was only me doing it and it took me two days, due to work... So don't be scared to do it your self...
Already have a buyer for the engine/tranny so I have to crate them up for shipping...
Sat like this for a couple of days do to me not having my wood yet...
Finally got my wood and had every thing crated up and secured... Truck/shipping guy arrived and it was time to say goodbye to this VQ motor
going up.....
Goodbye,.,., we had fun but it was time to move on....
Here is what the bay looks like with out nothing in it... I also removed my windshield wipers and almost every clip..
Before the LS1 can put up his "there is no place like home" frame. I will be doing a list of things to make his home pretty.. For one I will be removing the ABS system and redoing my brake lines... I might also cover up all holes I am not going to use... Oh and lets not forget about the main ingredient,, my tube chassis...
So since we did not spend no money this week,, I think we are doing good...lol
Total price so far: $9,089.16
Next week STAGE 3: Phase 1 'LS1 Mock Up'
