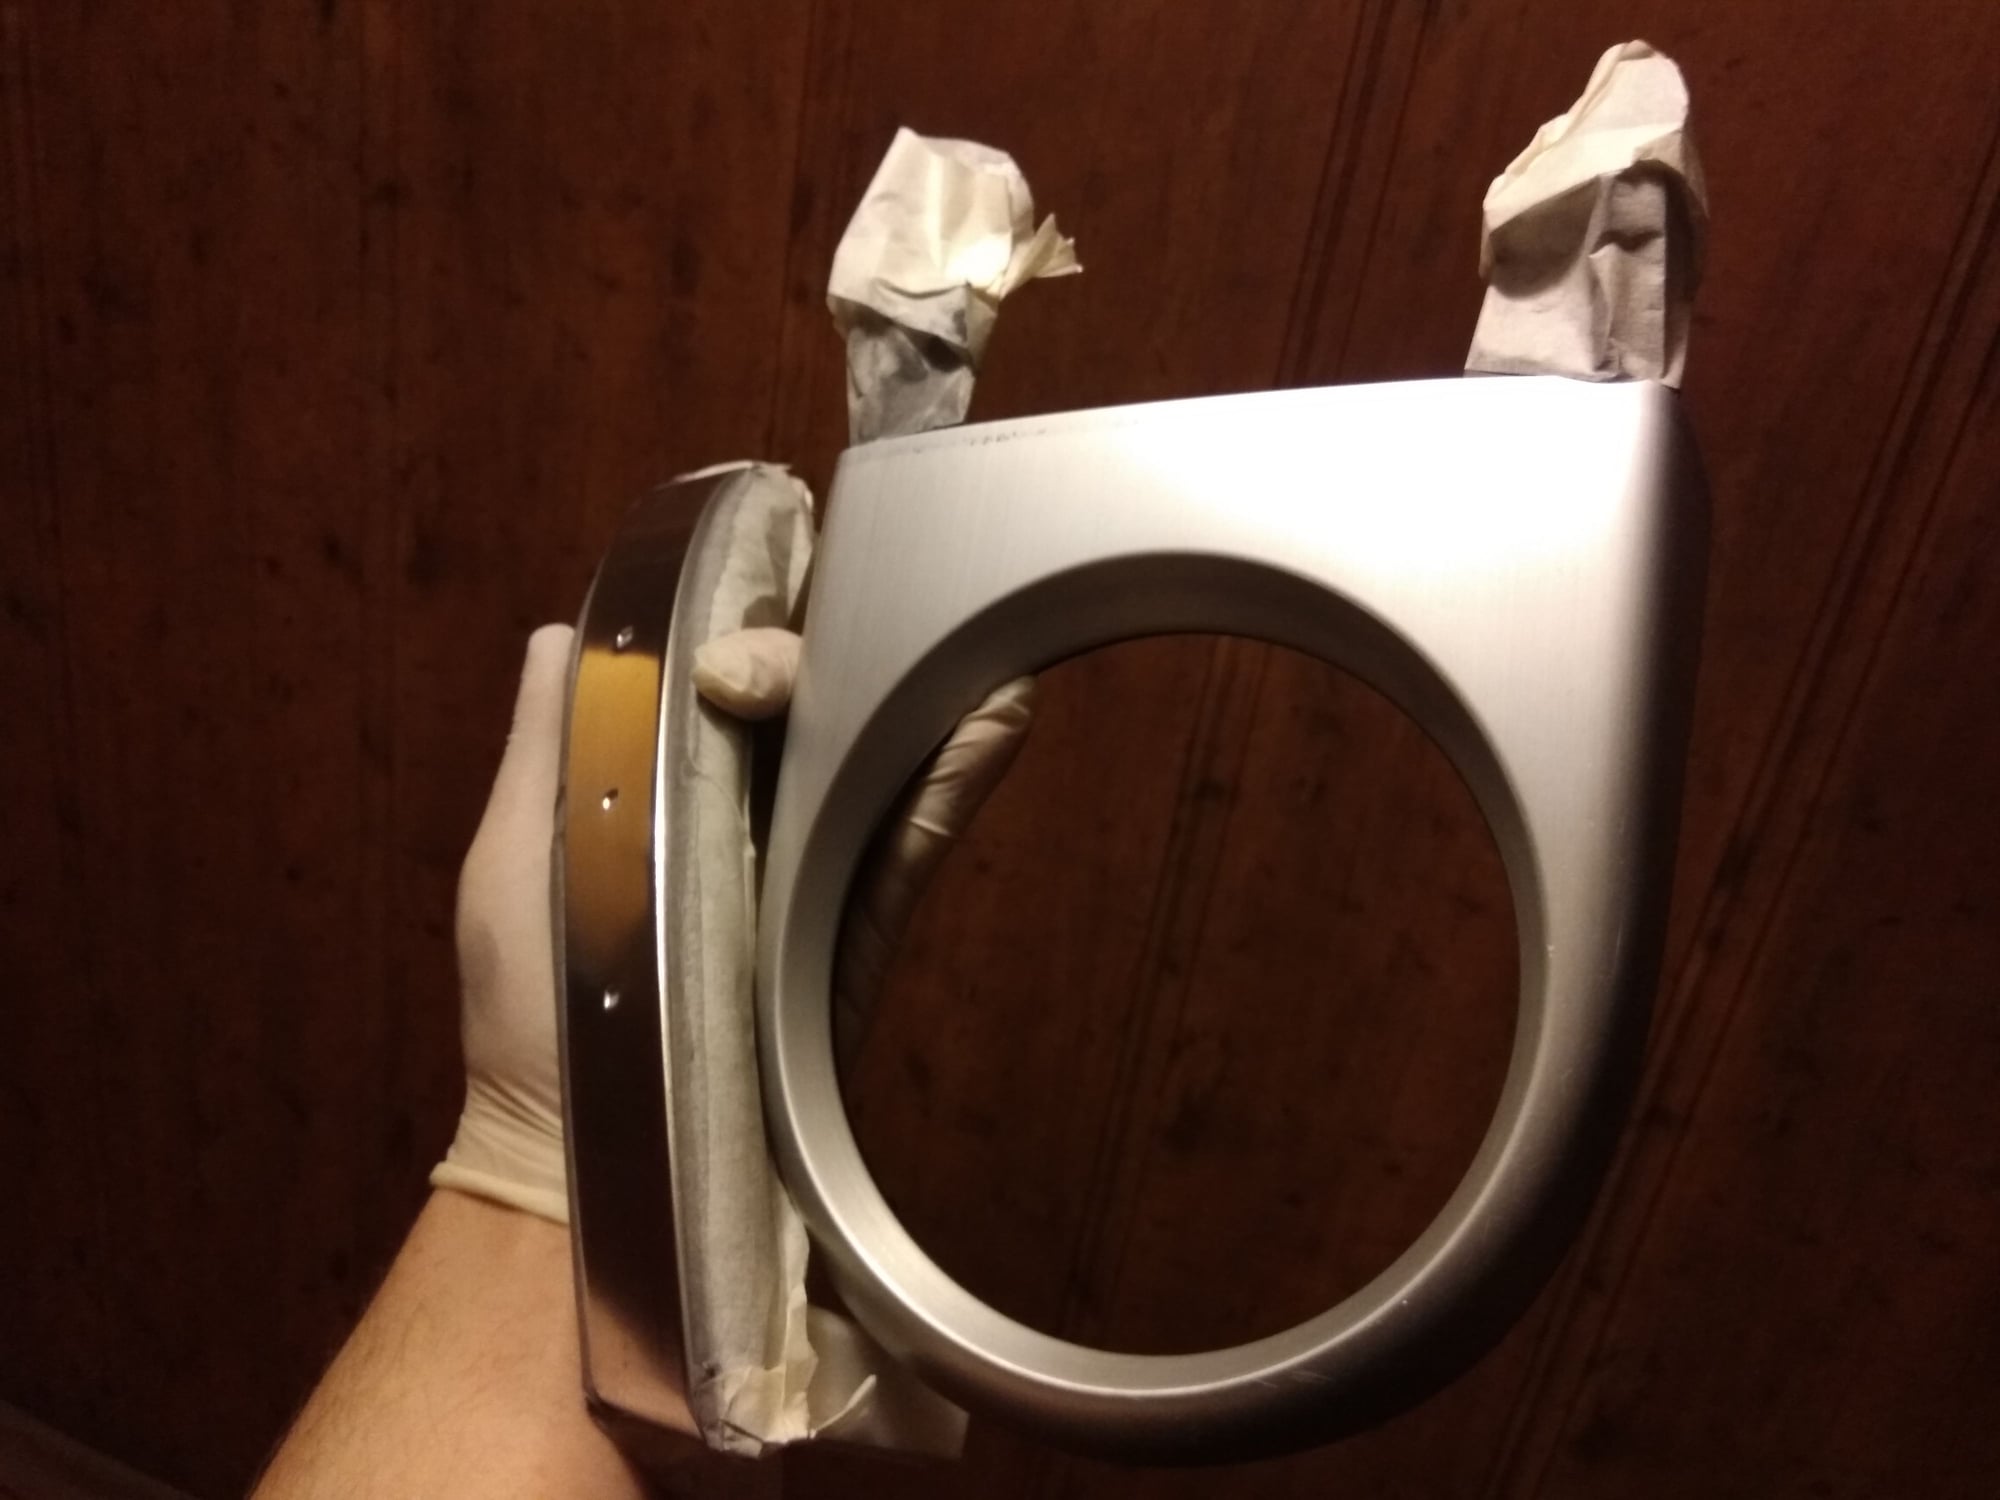
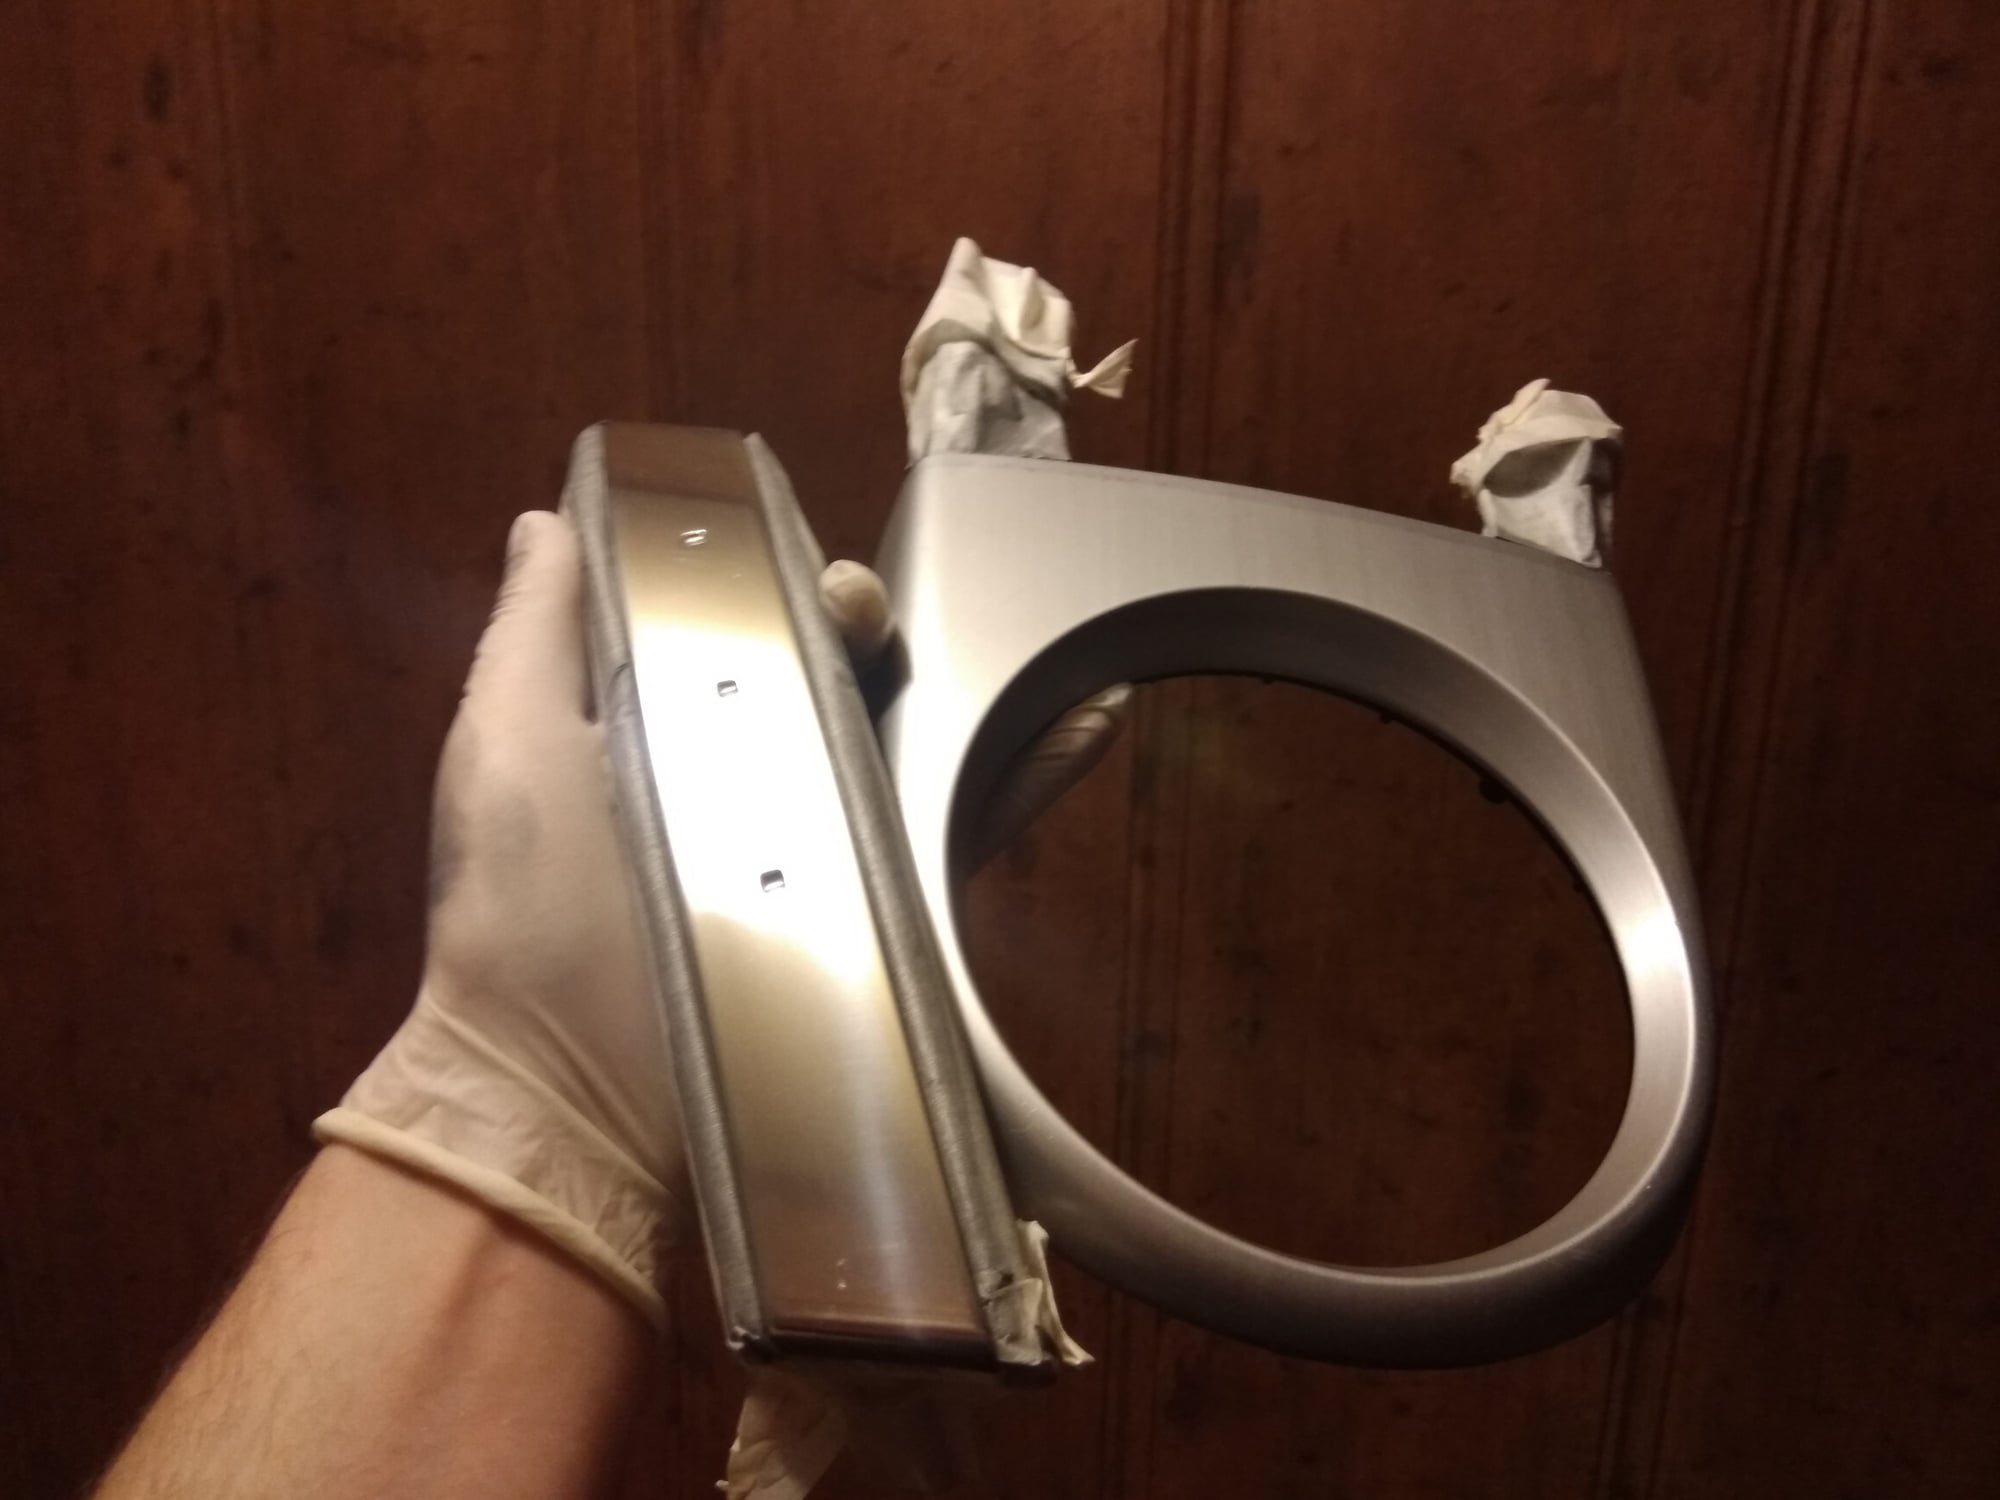
Interior : Polished aluminum vs clear coated aluminum
#1
Registered User
Thread Starter
So, Iímdoing a bit of interior restoration. This time, I did passenger door handle. Itísa brushed aluminum with a coat of clear paint.
I reallylove brushed aluminum texture but the scratches were too deep. I did wetsandingwith 5 grits and polished it with aluminum polish paste.
If you everwondered how polished aluminum looks vs brushed and clearcoated, well, there itis. If you want me to write a how-to, let me know.
I reallylove brushed aluminum texture but the scratches were too deep. I did wetsandingwith 5 grits and polished it with aluminum polish paste.
If you everwondered how polished aluminum looks vs brushed and clearcoated, well, there itis. If you want me to write a how-to, let me know.
The following users liked this post:
HRMoneyPit (04-11-2016)
#5
Registered User
Thread Starter
Trololololololo.
But seriously :
I don't know which part are you going to do but I suggest starting with the most ummm.... misused one. And the one that you won't regret losing and replacing in the worst case.
If you can't separate aluminium element from plastics completely be sure to mask the area you won't be working on. Mask it good, you don't want to accidently scratch your parts with sanding paper.
The best place to do this is your kitchen/bathroom sink or a bathtub because you want to constantly rinse or submerge your plastic and sanding paper in water to avoid rubbing sanded parts against your work.
REMEMBER: Use wet sanding paper and soak it in water for about 10-20 minutes before use
It is recommended to use sanding block to evenly sand the surface but I used just my fingers because I don't feel sure with sanding block when there are curves. I sand it in back and forth motion, not in a circular motion. If you fail to polish it to a perfect state, line scratches are far more tolerable than lots of swirls.
Depending on how deep the scratches are, choose your grits. This part was badly and deeply scratched. In my case I started with 240 grit. I used modetare force while sanding it. With this grit, you want to sand your material down to the bottom of the scratches. You can concentrate on scratches (sanding only these spots) but you have to remember that to make it look good, surface must be even not only where the scratch was but also on the surroundings. As I wrote before, you also need water for rinsing. The technique is to sand some, let's say 10-15 moves and submerge/rinse paper and material in water to "clean" it. And repeat.
After few sandings, rinse it and wipe with towel to inspect how things look. If the deepest scratches are gone, go to the next step and DON'T be tempted to sand it further if there are smaller scratches. If not, give it another go and inspect
If the surface is level (deep scratches wise) you can move on to next grit. I used 400 for the next step. You should use the sand, rinse and inspect technique again. If you see progress, if more scratches are gone, you can proceed further. Next is 600 grit, 1000, 1500 and 2000. That's what I used. Ofcourse, you can skip some grits and make it 3 not 5 gradations, ie. 240, 600, 1500 but it in fact gives more work and worse effect (it will require better polishing).
Another thing to remember : The finer the grit, the less pressure you have to use. When using almost polishing papers, just slide it along the surface.
When you'll get to 1500 or 2000 grit you may almost **** your pants like I almost did. Even after 1000 grit it started to look really fine. When I got to 1500 the aluminium started to look really dull, like scratching your car paint with scotchbrite. That's ok. That polishes right out.
Now, about polishing. I used a Meguires polishing foam (the small, round one) and metal/aluminium polishing compound from the company I don't remember (Something, something Garage). The result was there but I wasn't completely satisfied. So I grabbed my battery powered drill with polishing pad and polished it using low-mid rpms. Buff it with microfibre towel and inspect. You'll see what marks can be polished and what needs sanding (again) if you didn't sand it right. Surface of my work piece is not perfect. It still has some swirls but I think that this polish is just too abrasive. I have to try some Menzerna fine polshing pastes and I'm sure this will result in something better.
Still, this polished aluminium looks really nice the only con being it catches fingerprints like sailor STD. I'm gonna experiment with clear paint, finer polish and up next I will restore this plastic that's beneath gear ****.
Last edited by Bilazaurus; 04-11-2016 at 06:34 AM.
Thread
Thread Starter
Forum
Replies
Last Post
DaveNunez
Wheels & Tires
16
03-16-2016 03:16 AM
jrreed350togo
2003-2009 Nissan 350Z
36
01-07-2003 08:30 AM


