Looking for those that have removed the secondary firewall.
 04-24-2016, 02:37 AM
#1
New Member
Thread Starter

Hows it going everyone?
I am just looking for those that have removed the secondary firewall for engine swaps. I am just looking for a little info and I can not find any recent builds or people within the last few years who have done this.
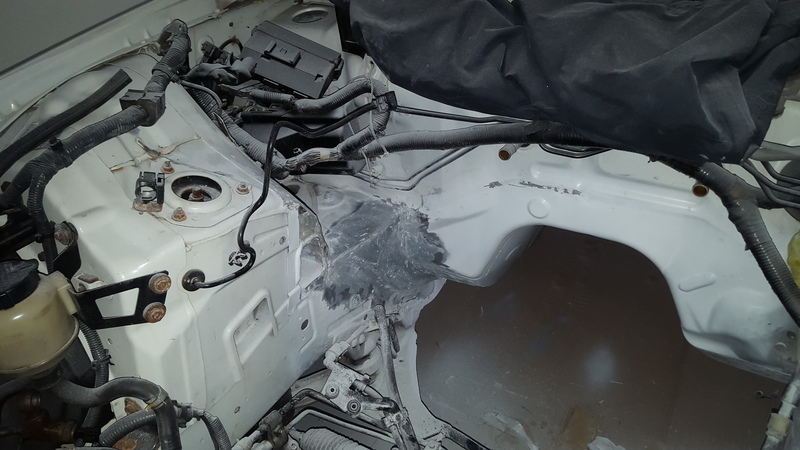
I know most of these swaps go unfinished and I really don't need a discussion on that. I am curious to find out what others have done to close the gaps in the frame rail to the inner firewall when removing the lower half of the secondary.
This is plenty of open space and I am seeing what routes people went, was replacement metal welded in? Did people just leave it? I live on the east coast so corrosion avoidance is huge for me.
Thanks in advance guys.
Bryan
I am just looking for those that have removed the secondary firewall for engine swaps. I am just looking for a little info and I can not find any recent builds or people within the last few years who have done this.
I know most of these swaps go unfinished and I really don't need a discussion on that. I am curious to find out what others have done to close the gaps in the frame rail to the inner firewall when removing the lower half of the secondary.
This is plenty of open space and I am seeing what routes people went, was replacement metal welded in? Did people just leave it? I live on the east coast so corrosion avoidance is huge for me.
Thanks in advance guys.
Bryan

The following users liked this post:
rustyschopshop (05-25-2016)


 05-24-2016, 08:51 PM
#4
New Member

props for taking this on, I haven't seen many people that have done it. I have thought about doing it a few times, but figured that it actually helped with some chassis rigidity and left it alone. Please keep posting up the pics as you go.
05-25-2016, 03:28 AM
#5
New Member
Thread Starter


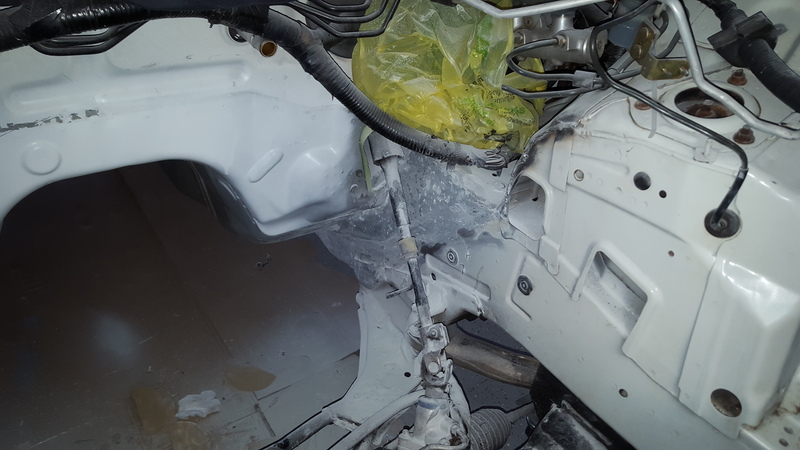
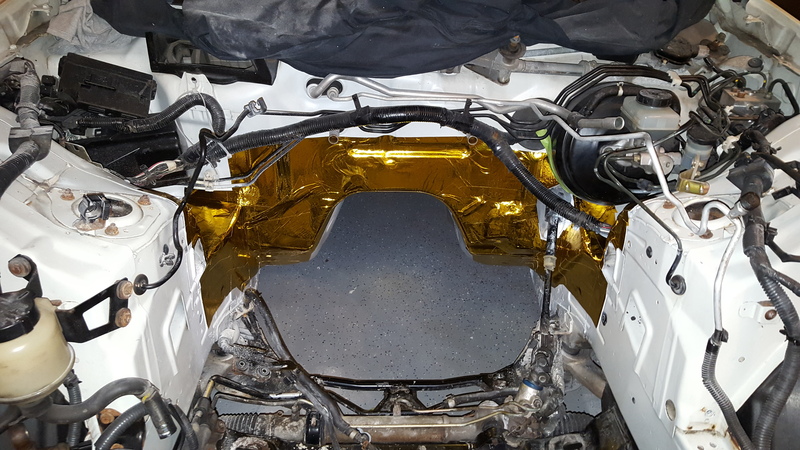
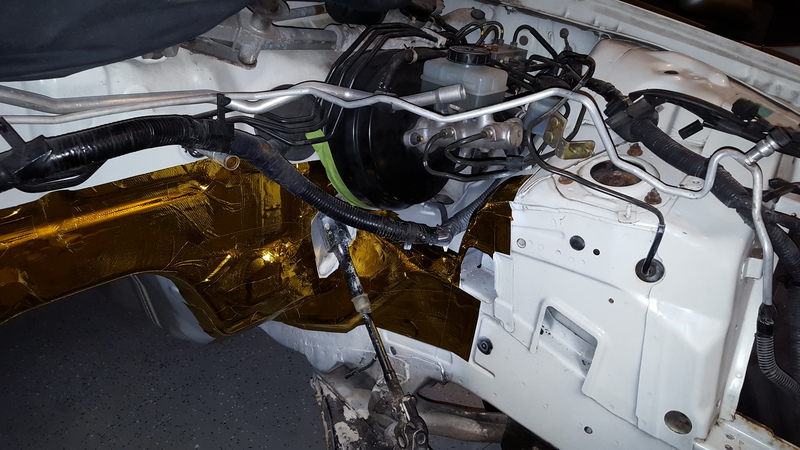
This pictures were not taken at the end. They were finished after a lunch break but it gives you and idea of the direction I am going. I am actually fiber glassing over and cleaning everything nice and than gold foil sheet.
Last edited by quickdiversion; 05-26-2016 at 03:41 AM.
The following users liked this post:
rustyschopshop (05-25-2016)
05-26-2016, 02:24 AM
#7
New Member
Thread Starter
Trending Topics
06-01-2016, 11:52 AM
#8
New Member
Thread Starter
Ok so I know it doesn't look like much, but the 3 inch D/A pad broke and the 6 inch is pretty much useless. So I have been sanding rather heavy Long Hair, Tiger Hair from Evercoat, which is thick and I applied it heavy ti fill in gaps. So I have it mostly taken down. So a skim coat than paint and hopefully the next pictures I post will be will gold!!!
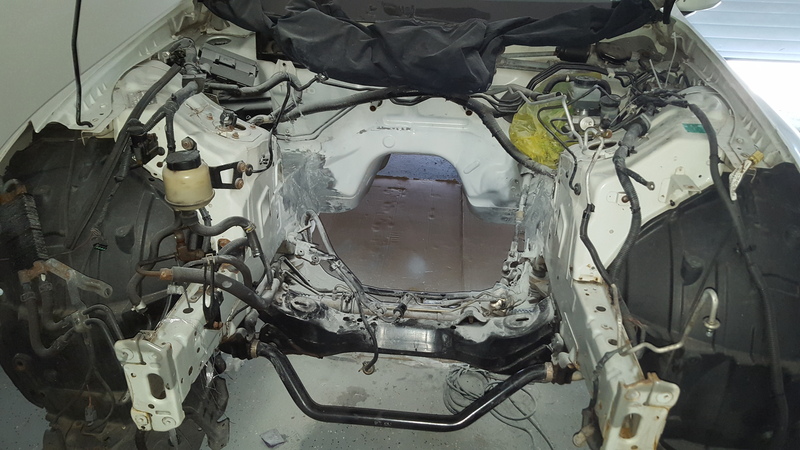
Enjoy


Enjoy
The following users liked this post:
rustyschopshop (06-01-2016)
06-01-2016, 08:19 PM
#10
New Member
Thread Starter
Thank you.
I seriously just wish I wasn't so ****. It's all gonna be covered and I am treating it like it is a body panel you will see all the time. Lol
I seriously just wish I wasn't so ****. It's all gonna be covered and I am treating it like it is a body panel you will see all the time. Lol
Last edited by quickdiversion; 06-02-2016 at 01:50 AM. Reason: Misspelled word
The following users liked this post:
rustyschopshop (06-04-2016)

The following users liked this post:
rustyschopshop (06-04-2016)
06-02-2016, 02:57 PM
#12
New Member
Thread Starter
Very true!
I just wish I could find a replacement pad for my 3 inch D/A. It would make my life easier. At least I know I won't have to worry about corrosion.
I just wish I could find a replacement pad for my 3 inch D/A. It would make my life easier. At least I know I won't have to worry about corrosion.
06-04-2016, 07:53 PM
#13
New Member
i know what you mean with being ocd. I wanted to do alot more when i did my engine tuck a while back and still have not gone back in to finish it the way i want. i think about it all the time and drives me crazy lol.
06-08-2016, 02:54 PM
#14
New Member
Thread Starter
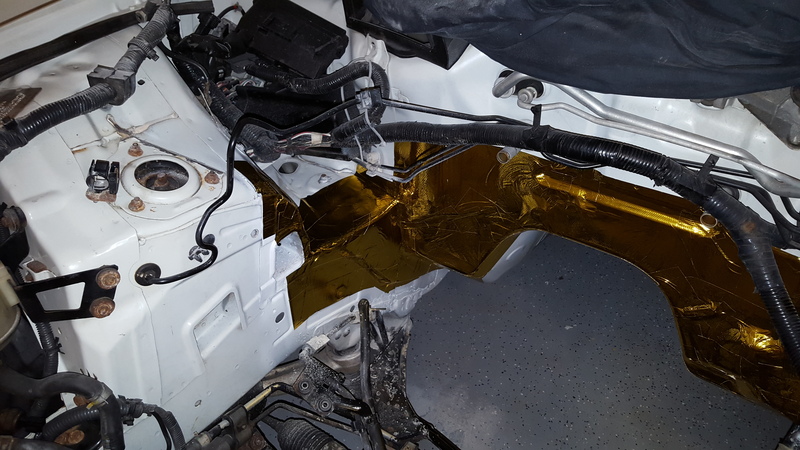
Ok, so I started applying the gold. This firewall has some ridiculous curves to it, which make applying a pain in the ***. Hit, for anything one that wants to do this, order and use the roll of gold foil tape, not the sheet, Large pieces don;t fit well and look a little wrinkled after applying them, plus are bad for curves. I wound up cutting the sheet into almost 2x3 inch squares which actually worked out really well. So I started, and a 24x24 inch sheet did not go far. I just ordered two 2 inch by 30ft rolls.
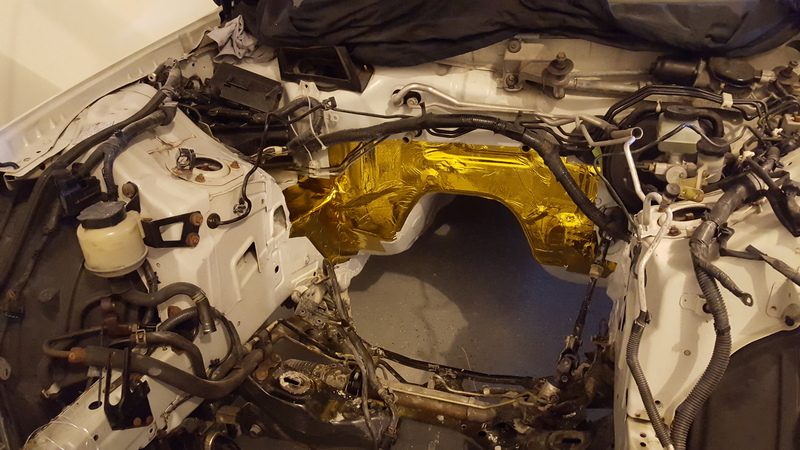
More to come soon, this is a rough start!

More to come soon, this is a rough start!
06-08-2016, 03:34 PM
#15
New Member
Thread Starter
So I have been collecting bushings, and my boss said I can use the shop equipment (hydraulic press and parts cleaner) so here is a quick picture of the equipment, and a small hit of the "Garage" I work at.
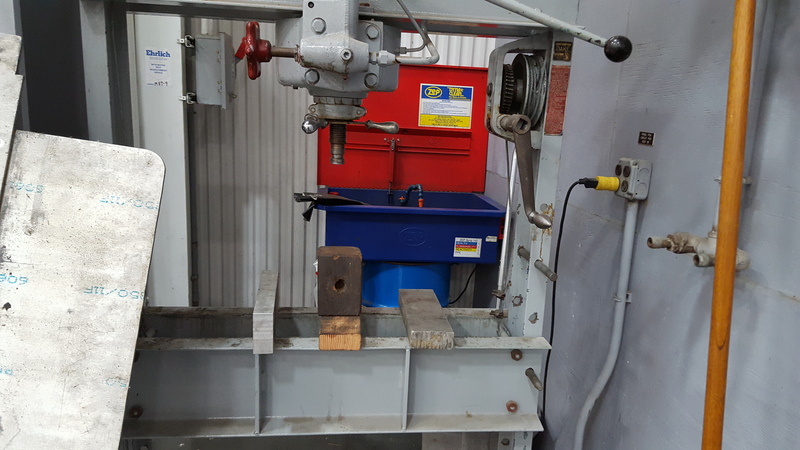
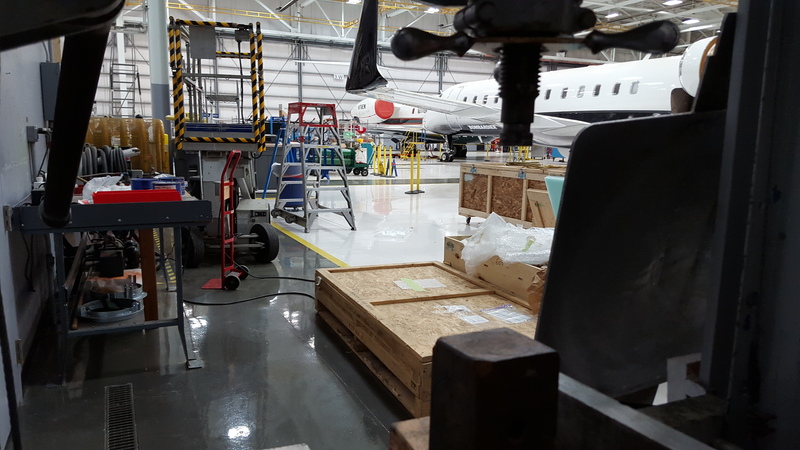
LOL, this is just a small corner in the shop.


LOL, this is just a small corner in the shop.
06-12-2016, 10:03 PM
#17
New Member
Thread Starter
Ok, so hopefully the people following this find my post again. I have finished the gold for now until the first test fit of the motor. Once I see where the height and exactly where the headers will sit, I will be leaving the gold at this amount of coverage. Now that this is complete, I will be pulling the rear subframe along with the diff and all suspension in order to replace the subframe bushings with SPL solid bushings, The Diff will also be getting SPL soild subframe bushings in order to lock it it and give me the type of handling I want. I also have Energy Suspension polyurethane bushings for all the rear control arms. The front will follow.


The following users liked this post:
rustyschopshop (06-13-2016)
06-13-2016, 07:51 PM
#19
New Member
Thread Starter
I actually really want to but haven't found d ay pictures or many discussions about it yet. I do not wish to rip out the dash to do it though. Do you know of any articles or have any pictures?
Oh you mean the side harnesses? Or the cross harness?
Oh you mean the side harnesses? Or the cross harness?
Last edited by quickdiversion; 06-13-2016 at 07:52 PM.
06-14-2016, 12:59 PM
#20
New Member
There are some threads in the forum that pertain to it, unfortunately I don't have them book marked anymore since I did mine already. If you want check my build thread to see how mine came out. Now I wish I had taken some pics during the progress of moving them around. If you decided to do it, I am willing to answer any questions I can. I was able to move both harnesses without cutting and splicing. I just removed the loom and rerouted the wires. Currently only taped since I am planning to go into the harness for more moddifications.

