Notices
Media Share Z Related Photos and Video

My daily driver: 1st Domestic Bagged Chrysler 300c

Thread Tools
 
Search this Thread
 
Old 02-20-2015, 07:27 PM
  #401  
Rickdogg
Out of hiatus
Thread Starter
iTrader: (234)
 
Rickdogg's Avatar
 
Join Date: Jul 2004
Location: My350z
Posts: 10,759
Likes: 0
Received 4 Likes on 4 Posts
Default

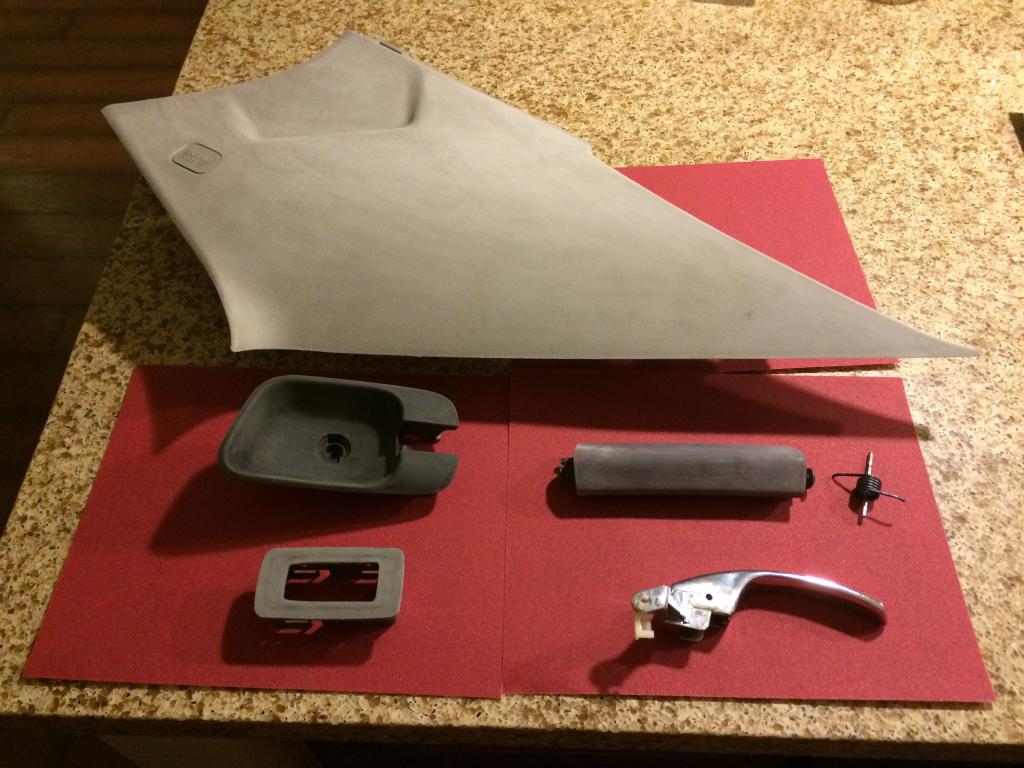
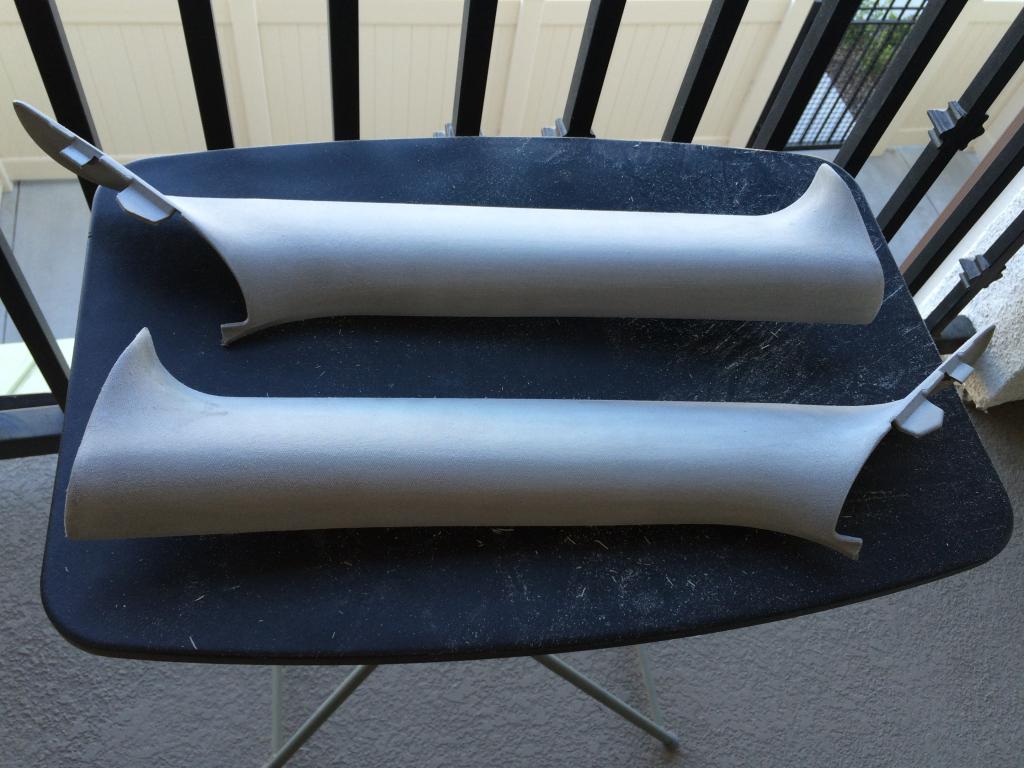
After looking at the boring factory interior for a while, I decided to try to learn something new and skin the interior pieces for a different look. I opted for black and silver (actually texalium) in place of where the factory silver bezels are to somewhat retain a factory look, but with some bling!

Since it was my first time trying i pulled some random test pieces to experiment with.

Name:  7ABAD6BE-A89D-4257-B5BF-77535A036C6F.jpg
Views: 83
Size:  83.6 KB

Name:  1147E741-80CA-48F4-9DB3-8442058600E3.jpg
Views: 71
Size:  104.1 KB

Name:  FF72CC4E-2A21-4070-AB92-FD3EB0F791AC.jpg
Views: 75
Size:  67.9 KB

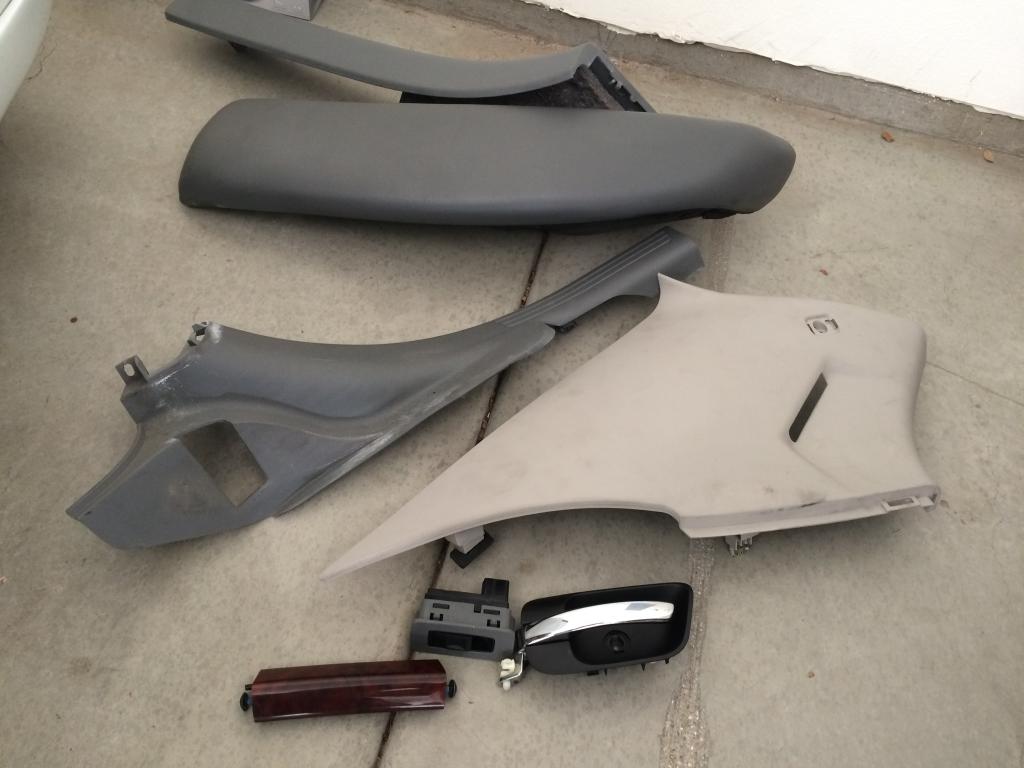
I swear that rear pillar on the back window is a pita to work with. I don't look forward to reinstalling it.

Name:  18A446B6-9F9B-47C1-8041-A5C2B13964FE.jpg
Views: 68
Size:  64.7 KB

Some initial prep:

Name:  17300762-5F8D-45B3-9913-AE7A90FC0DF4.jpg
Views: 67
Size:  103.9 KB

Name:  2E0122B1-AB87-4EEB-BC8B-4139FDC1CBC6.jpg
Views: 77
Size:  94.4 KB
Old 02-20-2015, 07:34 PM
  #402  
Rickdogg
Out of hiatus
Thread Starter
iTrader: (234)
 
Rickdogg's Avatar
 
Join Date: Jul 2004
Location: My350z
Posts: 10,759
Likes: 0
Received 4 Likes on 4 Posts
Default

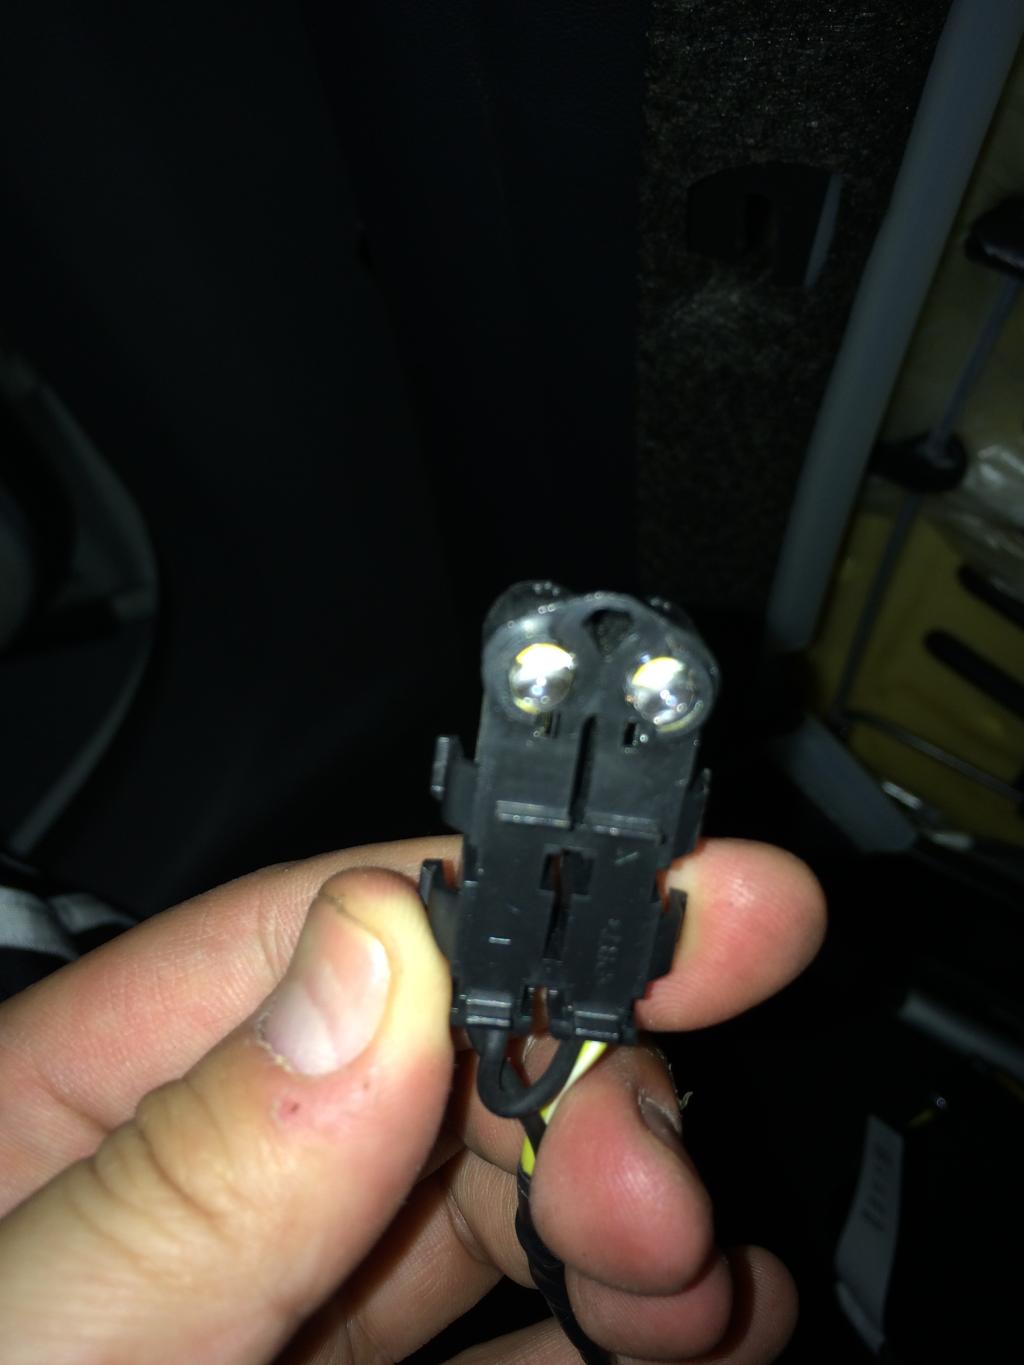
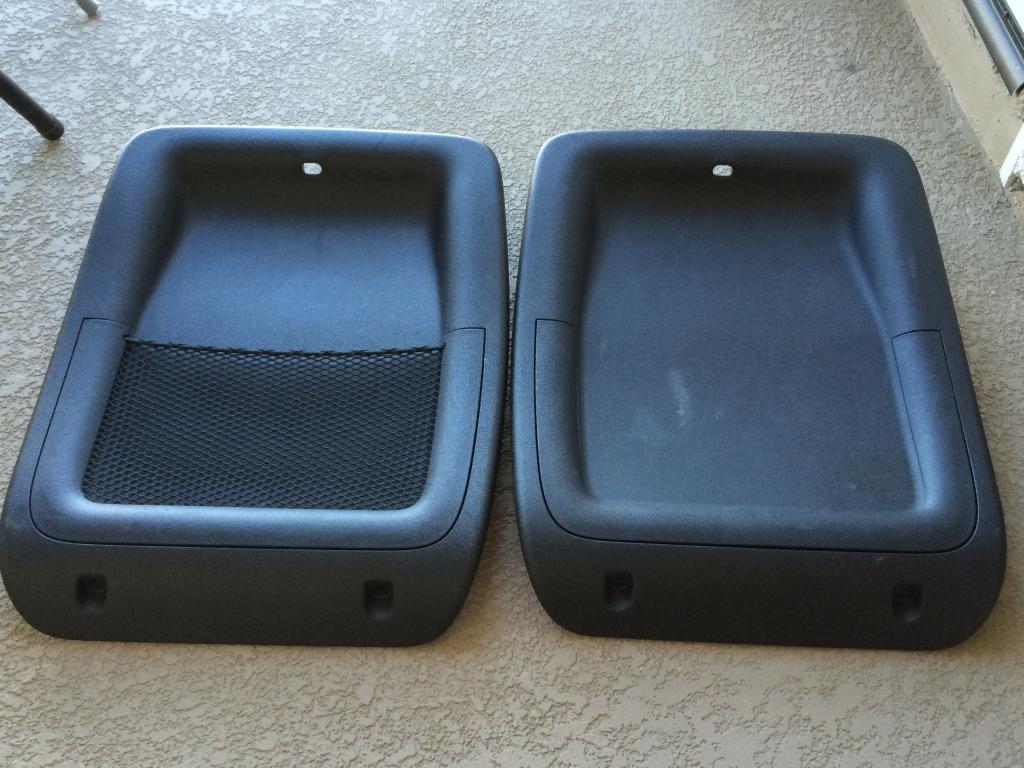
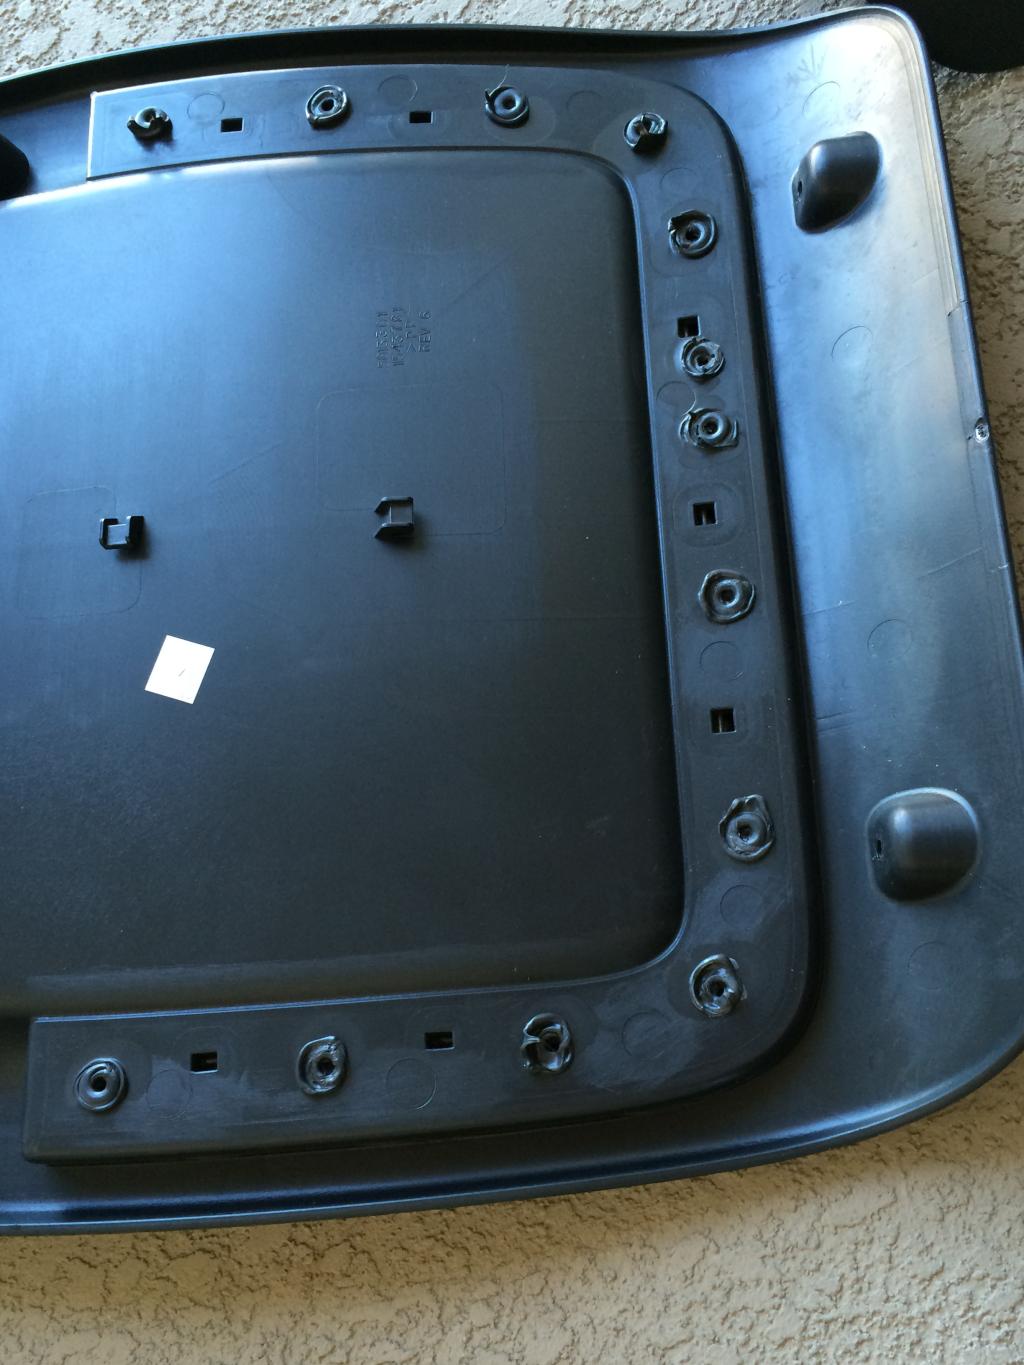
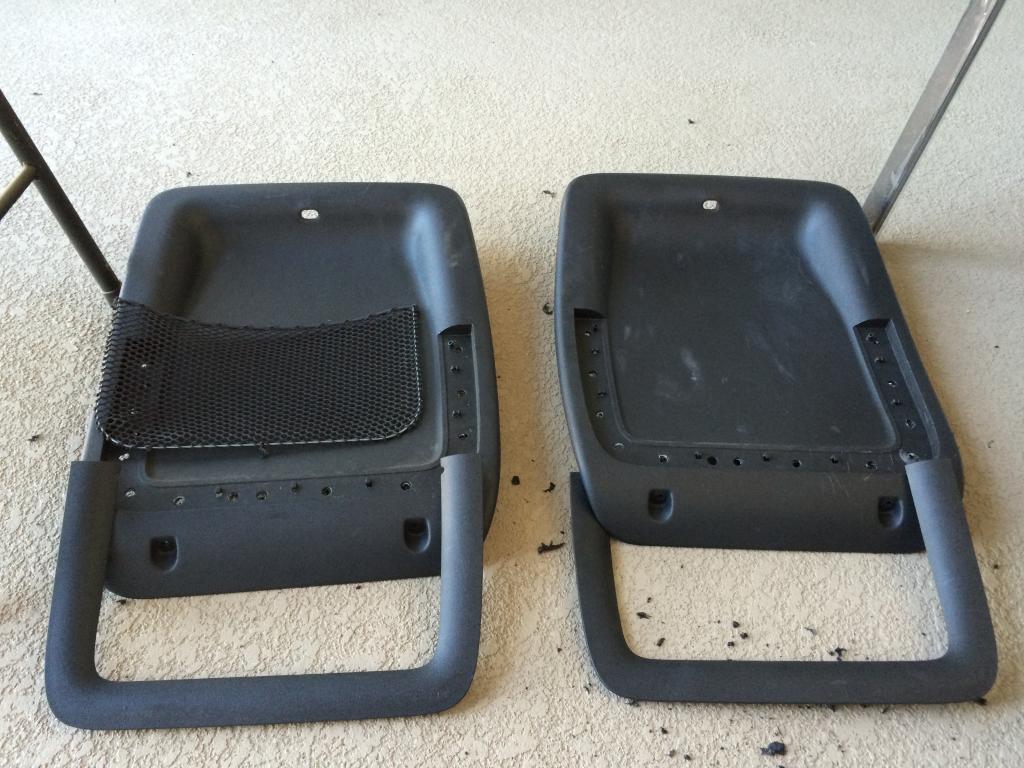
Decided to yank the backings on the 2010 challenger seats as well

Name:  CA9C2A92-5BD3-4970-AEBF-5E71520B5671.jpg
Views: 79
Size:  114.5 KB

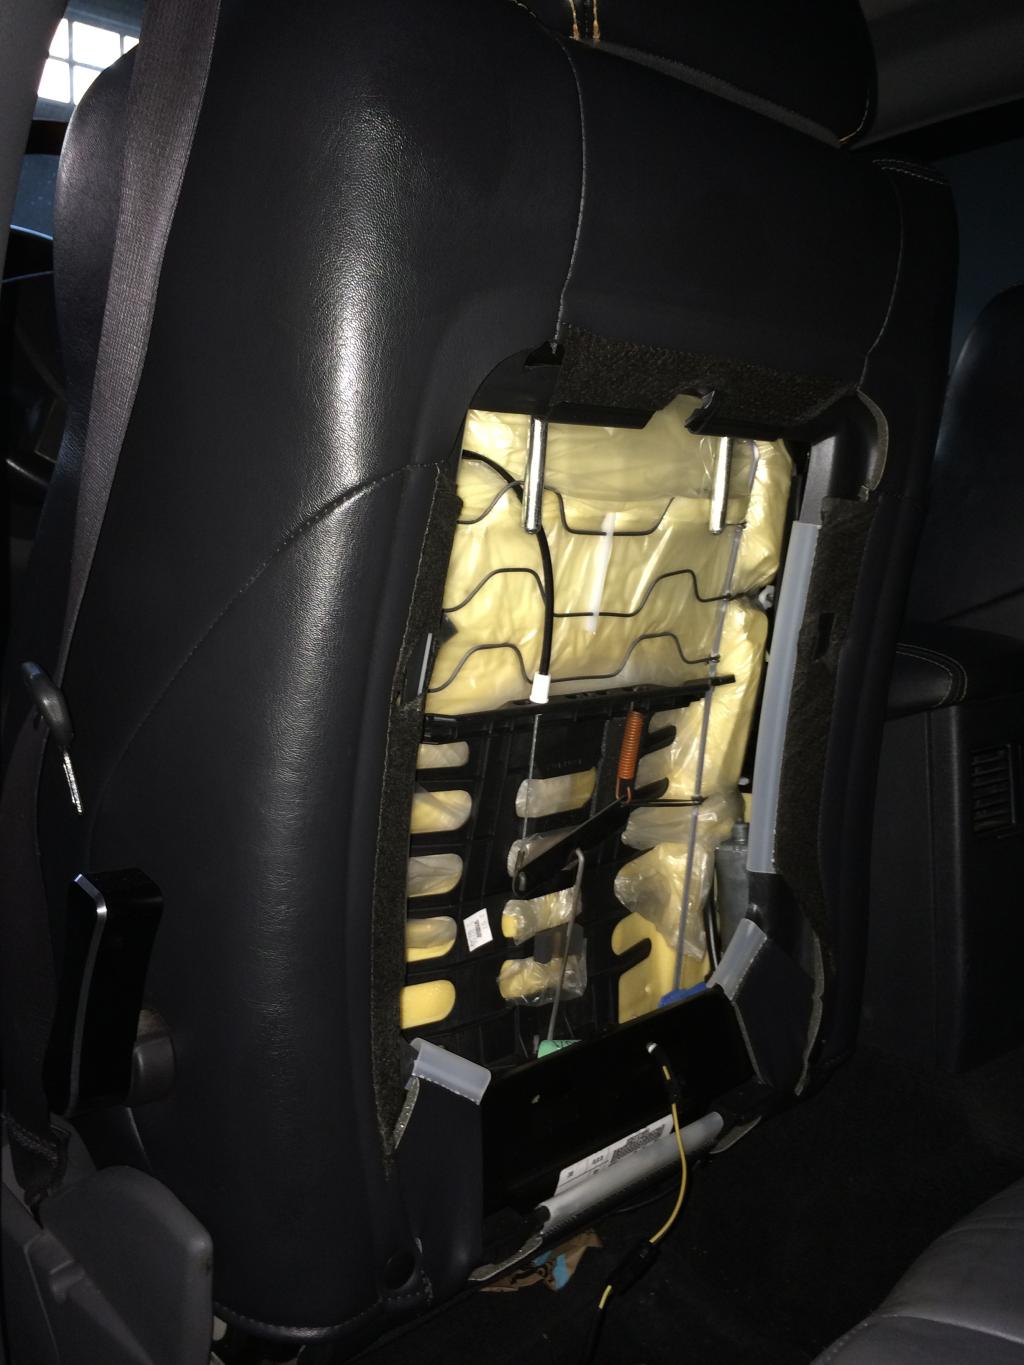
Diboblo and I are thinking of swapping the led's in the seat backings out to something custom

Name:  55E68D0B-453A-4AAD-B677-04D718F05EA5.jpg
Views: 80
Size:  69.0 KB

Name:  1B6096CD-0F6E-49C1-AD04-5FAB2D4641E4.jpg
Views: 67
Size:  311.3 KB

Name:  30C4B383-52C1-4ECA-9298-904086E3BB3B.jpg
Views: 77
Size:  110.7 KB

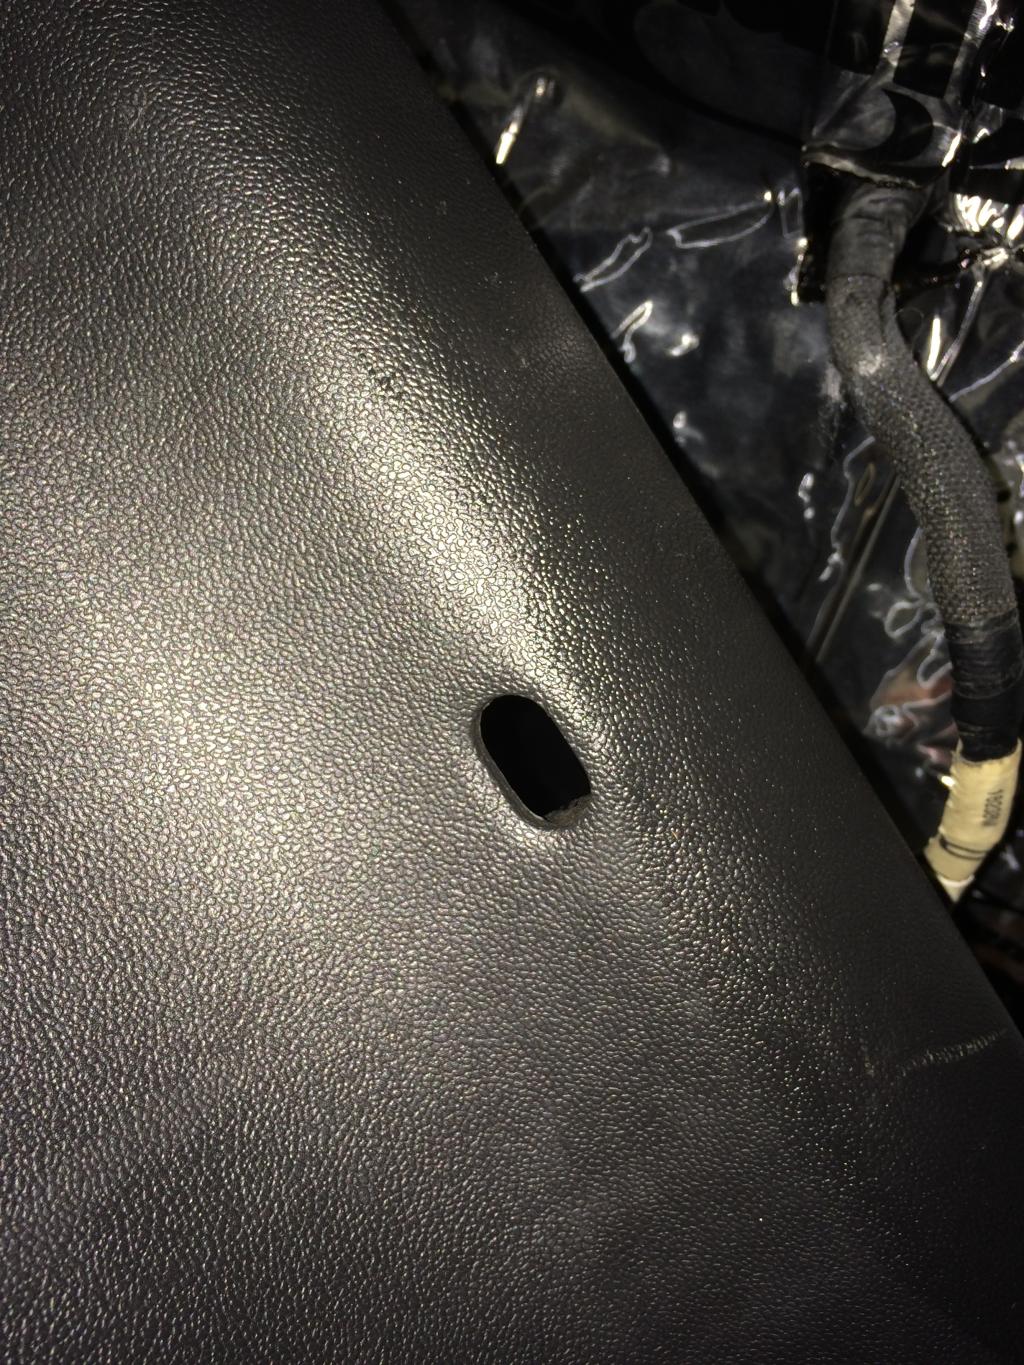
The "horseshoes" or u-shaped pieces on the backing were all siliconed in so had to remove them to allow the cf process

Name:  D886E648-CA79-4EF4-ABB5-C0D0CBFCD436.jpg
Views: 68
Size:  134.4 KB

Name:  535B3CB8-AF23-45C0-9A4C-03F80F063084.jpg
Views: 80
Size:  119.9 KB
Old 02-20-2015, 07:38 PM
  #403  
Rickdogg
Out of hiatus
Thread Starter
iTrader: (234)
 
Rickdogg's Avatar
 
Join Date: Jul 2004
Location: My350z
Posts: 10,759
Likes: 0
Received 4 Likes on 4 Posts
Default

Some chemicals and my miscellaneous starter kit with Betty Crocker of course

Name:  85452FD6-76EA-44ED-8918-CA53539DEC94.jpg
Views: 72
Size:  87.2 KB

Name:  FE54ED36-8369-4313-BF44-C1DA0A148A8A.jpg
Views: 65
Size:  188.1 KB

Never had use for the bottom floor bathroom, but made my "a beautiful mind" setup for this experiment.

Name:  46700616-AD2D-41B4-95D8-775A4BF3C92D.jpg
Views: 72
Size:  56.5 KB

The fabric has arrived!
Name:  F3184F7E-DCCF-4DAB-AAD0-6138CD190D1A.jpg
Views: 68
Size:  137.3 KB

Name:  529F3761-4221-438E-8780-8BDB5CDC2821.jpg
Views: 72
Size:  218.3 KB

Name:  6A81B730-4ED2-476E-9CDE-7A54E5D0E1A4.jpg
Views: 70
Size:  145.6 KB
Old 02-20-2015, 07:39 PM
  #404  
Rickdogg
Out of hiatus
Thread Starter
iTrader: (234)
 
Rickdogg's Avatar
 
Join Date: Jul 2004
Location: My350z
Posts: 10,759
Likes: 0
Received 4 Likes on 4 Posts
Default

The first 4 guinea pigs are the 2 horsehoes, rear window switch bezel, & one rear door pull

Name:  43EAB30A-F3B0-43F2-A970-0D0B8F71EFE5.jpg
Views: 66
Size:  120.3 KB

First time pressing the fabric on to the pieces

Name:  96F0AA68-C1C0-4570-BB78-6A5D7E9D748F.jpg
Views: 65
Size:  183.4 KB

Name:  5141736A-88B5-4E72-89FB-F4CDFB82854A.jpg
Views: 82
Size:  149.3 KB

Name:  87242084-BBA9-4C28-83D4-A0AE838138F1.jpg
Views: 72
Size:  140.0 KB
Old 02-20-2015, 07:41 PM
  #405  
Rickdogg
Out of hiatus
Thread Starter
iTrader: (234)
 
Rickdogg's Avatar
 
Join Date: Jul 2004
Location: My350z
Posts: 10,759
Likes: 0
Received 4 Likes on 4 Posts
Default

The initial layer of epoxy

Name:  22B8151D-EA53-47F9-914D-483EBA3065D6.jpg
Views: 116
Size:  165.4 KB

Name:  D3B38E7C-8EF6-4EBE-B1B7-1410D1DD4BCD.jpg
Views: 66
Size:  107.9 KB

Name:  22B8151D-EA53-47F9-914D-483EBA3065D6.jpg
Views: 116
Size:  165.4 KB
Attached Images
Old 02-20-2015, 07:42 PM
  #406  
Rickdogg
Out of hiatus
Thread Starter
iTrader: (234)
 
Rickdogg's Avatar
 
Join Date: Jul 2004
Location: My350z
Posts: 10,759
Likes: 0
Received 4 Likes on 4 Posts
Default

The first trim after the first coat dried

Name:  F2FF518B-0C3A-4E2B-A29D-4406BFDAF415.jpg
Views: 66
Size:  156.8 KB

After some more trimming and second coat of epoxy down

Name:  0347CFA8-C101-4CC0-8D31-6D1B6CDAA47F.jpg
Views: 62
Size:  150.2 KB

Name:  522938C1-6443-432E-B1A4-75C6F695EA71.jpg
Views: 69
Size:  152.0 KB
Old 02-20-2015, 07:44 PM
  #407  
Rickdogg
Out of hiatus
Thread Starter
iTrader: (234)
 
Rickdogg's Avatar
 
Join Date: Jul 2004
Location: My350z
Posts: 10,759
Likes: 0
Received 4 Likes on 4 Posts
Default

Plenty of steps left, but I just wanted a quick test fit so I could trim the main backing as much as possible while the epoxy is thin before I layed down more layers.

Name:  7DEBD59D-A541-4FF5-8F0A-63AA1E538245.jpg
Views: 67
Size:  224.5 KB
Old 02-21-2015, 07:27 PM
  #408  
Silly Wabbit
Registered User
 
Silly Wabbit's Avatar
 
Join Date: May 2009
Location: SoCal
Posts: 310
Likes: 0
Received 2 Likes on 2 Posts
Default

Oh noes my OCD kicking in... why horseshoe pattern in different direction than the backing??? Unacceptable pls do over thx!
Old 02-22-2015, 12:29 AM
  #409  
Rickdogg
Out of hiatus
Thread Starter
iTrader: (234)
 
Rickdogg's Avatar
 
Join Date: Jul 2004
Location: My350z
Posts: 10,759
Likes: 0
Received 4 Likes on 4 Posts
Default

Originally Posted by Silly Wabbit
Oh noes my OCD kicking in... why horseshoe pattern in different direction than the backing??? Unacceptable pls do over thx!
Lololol. I did that on purpose for constrast of the two parts, although it won't be noticeable anyways since it sits on the back of the seats anyways lol.
Old 02-23-2015, 12:08 AM
  #410  
Rickdogg
Out of hiatus
Thread Starter
iTrader: (234)
 
Rickdogg's Avatar
 
Join Date: Jul 2004
Location: My350z
Posts: 10,759
Likes: 0
Received 4 Likes on 4 Posts
Default

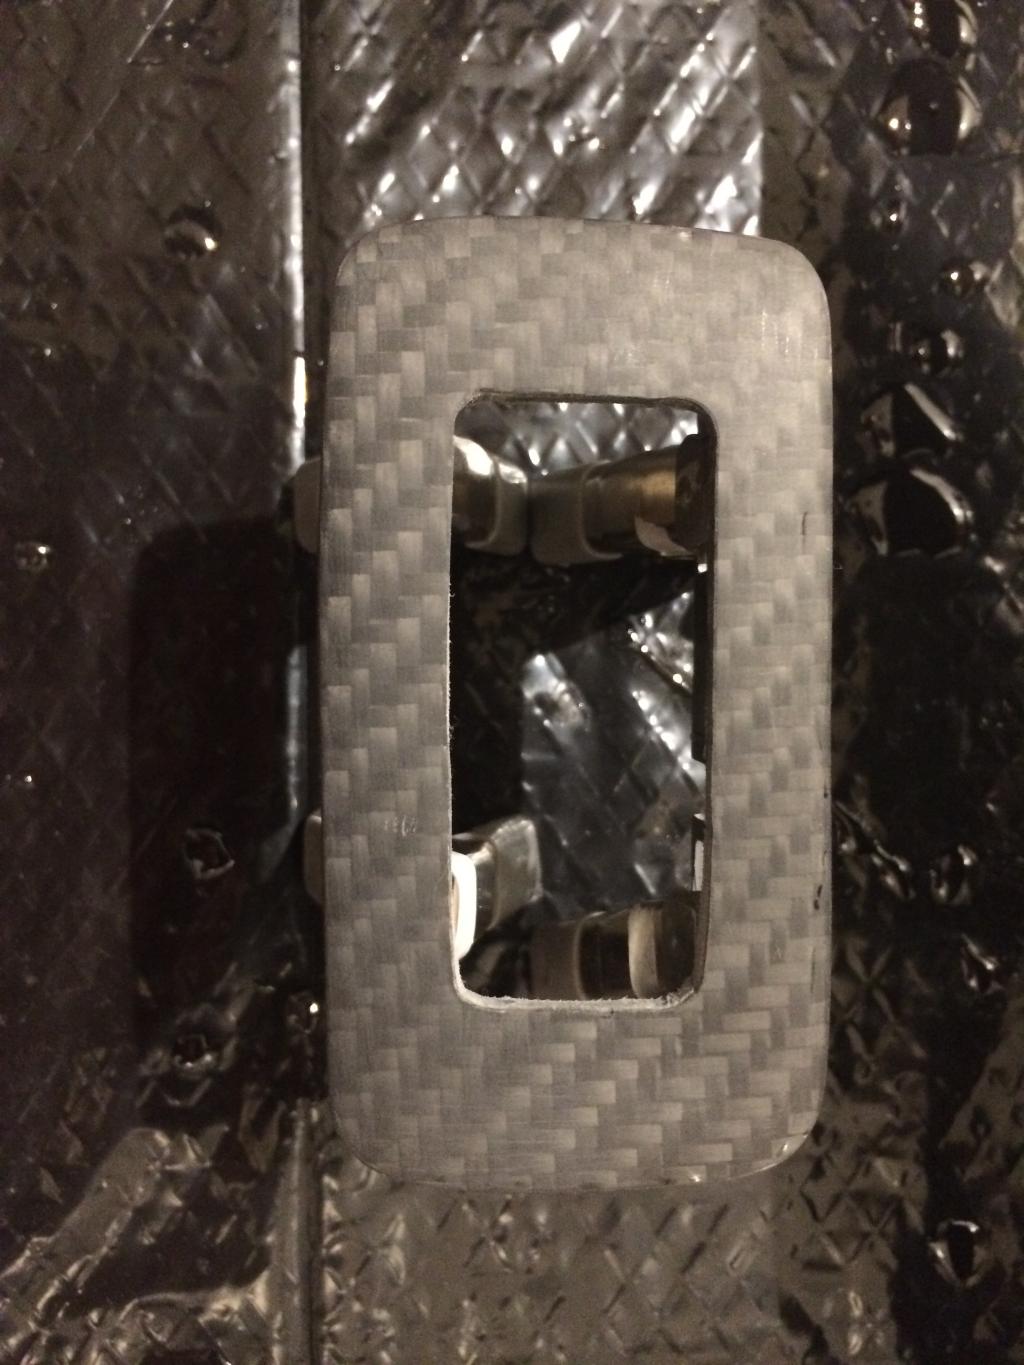
Here is the rear window switch after a mild wetsand. Just needs a little bit more sanding and then some cleaning up on the inside corners etc before I lay the clearcoat and do more sanding.

Name:  E9928DB3-E809-482E-80DB-21E07F75CEF0.jpg
Views: 64
Size:  136.6 KB

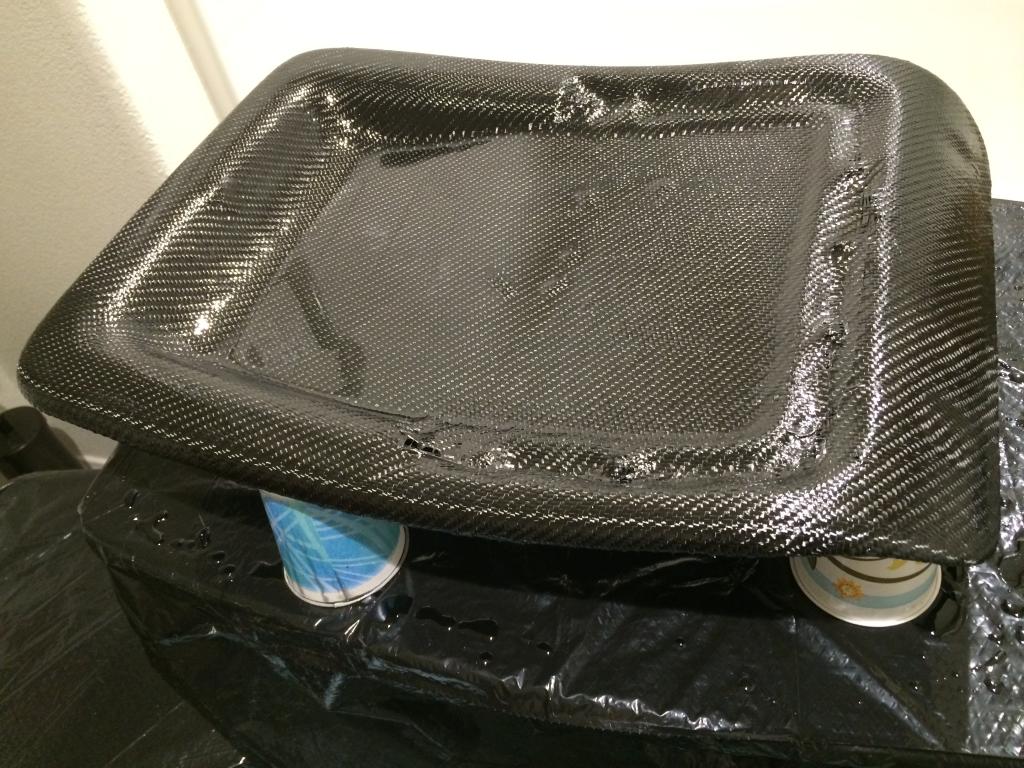
This is the driver side seat backing. The passenger side was my guinea pig and I learned a lot from it so the driver side should be cleaner an the fabric should be much tighter from the extra prep work I did for it.

Name:  A5975470-55F1-4361-BE95-00DC2CA672AC.jpg
Views: 70
Size:  341.6 KB

Name:  9E1F631E-5606-44B1-B0C5-D4AFF300C84E.jpg
Views: 71
Size:  187.5 KB

Name:  7D3C4486-9AE1-447E-9F0F-263D4FEB03C3.jpg
Views: 69
Size:  158.7 KB
Old 02-26-2015, 10:27 AM
  #411  
Rickdogg
Out of hiatus
Thread Starter
iTrader: (234)
 
Rickdogg's Avatar
 
Join Date: Jul 2004
Location: My350z
Posts: 10,759
Likes: 0
Received 4 Likes on 4 Posts
Default

Here is he driver side seat back raw with no trimming, wetsanding, or clear yet...just wanted to see how it looked.

Name:  4129F491-6170-4AF8-9E78-402E02287067.jpg
Views: 61
Size:  144.6 KB

Started on the front pillars as well.

Name:  672DD820-CF0B-477C-97AA-A727BC326645.jpg
Views: 83
Size:  130.5 KB
Old 02-26-2015, 05:56 PM
  #412  
Rickdogg
Out of hiatus
Thread Starter
iTrader: (234)
 
Rickdogg's Avatar
 
Join Date: Jul 2004
Location: My350z
Posts: 10,759
Likes: 0
Received 4 Likes on 4 Posts
Default

Quick test fit of the front pillars. They still need sanding and clear etc. Why do the gen 1 versions for so awful even in factory form?

Name:  12AD067E-78D2-401F-970C-2A456D15DB51.jpg
Views: 66
Size:  79.8 KB

Passenger side

Name:  502E4A0D-1C23-45EB-BAC4-1CA61112C1E3.jpg
Views: 67
Size:  69.5 KB

Name:  BAB5511C-DAC4-4044-9DA6-645E6798DF5C.jpg
Views: 60
Size:  228.4 KB

Name:  CAE617DB-5813-4A08-BFDF-FC884EB50594.jpg
Views: 64
Size:  206.0 KB
Old 02-26-2015, 06:16 PM
  #413  
mr. sparco
New Member
iTrader: (13)
 
mr. sparco's Avatar
 
Join Date: Dec 2005
Location: Sunny Beaches
Posts: 7,086
Received 454 Likes on 318 Posts
Default

Nice work, cf is a pain to work with but that hexcal texalium is nearly impossible to get around curves.
Old 02-27-2015, 11:17 PM
  #414  
Rickdogg
Out of hiatus
Thread Starter
iTrader: (234)
 
Rickdogg's Avatar
 
Join Date: Jul 2004
Location: My350z
Posts: 10,759
Likes: 0
Received 4 Likes on 4 Posts
Default

Originally Posted by mr. sparco
Nice work, cf is a pain to work with but that hexcal texalium is nearly impossible to get around curves.
Blah about to try and mess with the texalium in the next few days.

Name:  38E3131E-9AD6-4B89-B80A-4299A15E09C1.jpg
Views: 75
Size:  97.1 KB

Name:  B1F3A71D-E5C8-46D3-BA0E-33C68CCA2B3F.jpg
Views: 71
Size:  76.3 KB

Name:  DFC1ED15-CB8A-4122-9621-23340E38DA35.jpg
Views: 60
Size:  76.1 KB

Name:  6C7095FC-50B1-4686-8AFE-5EF44E6829C4.jpg
Views: 64
Size:  141.8 KB
Old 02-28-2015, 11:15 PM
  #415  
Rickdogg
Out of hiatus
Thread Starter
iTrader: (234)
 
Rickdogg's Avatar
 
Join Date: Jul 2004
Location: My350z
Posts: 10,759
Likes: 0
Received 4 Likes on 4 Posts
Default

Name:  38132017-8F21-470D-AA92-AD6EFE52E324.jpg
Views: 66
Size:  128.5 KB

Name:  5EE522DA-39A0-4C26-84F5-8E422351D141.jpg
Views: 70
Size:  117.9 KB

Name:  8897D6C3-ED01-4E94-BC4C-DADD6E0E05EF.jpg
Views: 69
Size:  209.7 KB

Name:  B5547FC0-FED5-4F16-875E-D1BC9960910B.jpg
Views: 79
Size:  99.6 KB

Name:  989C82C8-BD2C-4E92-8698-C2DB33615D8E.jpg
Views: 67
Size:  132.8 KB

Name:  82BA65A1-DC92-4839-9BC6-7865D3DFC951.jpg
Views: 82
Size:  131.9 KB
Related Topics
Thread
Thread Starter
Forum
Replies
Last Post
Lt_Ballzacki
Brakes & Suspension
39
08-06-2021 06:19 AM
350Z_Al
Exterior & Interior
133
10-29-2020 07:44 PM
sherm
Engine & Drivetrain
15
04-11-2020 05:21 PM
MicVelo
2003-2009 Nissan 350Z
34
05-30-2017 03:28 PM


Quick Reply: My daily driver: 1st Domestic Bagged Chrysler 300c


All times are GMT -8. The time now is 06:50 PM.