Yellow raised letter....
 01-12-2013, 09:40 AM
#181

I was thinking about this, a buddy of mine that manages a tire shop did it a few years ago and I thought it looked great.....but it kind of takes me back to my 20s when you always wanted the raised white letters to the inside because the rednecks had the raised white letters on the out side  still might be kind of red neck.
still might be kind of red neck.


 03-30-2013, 03:02 PM
#184

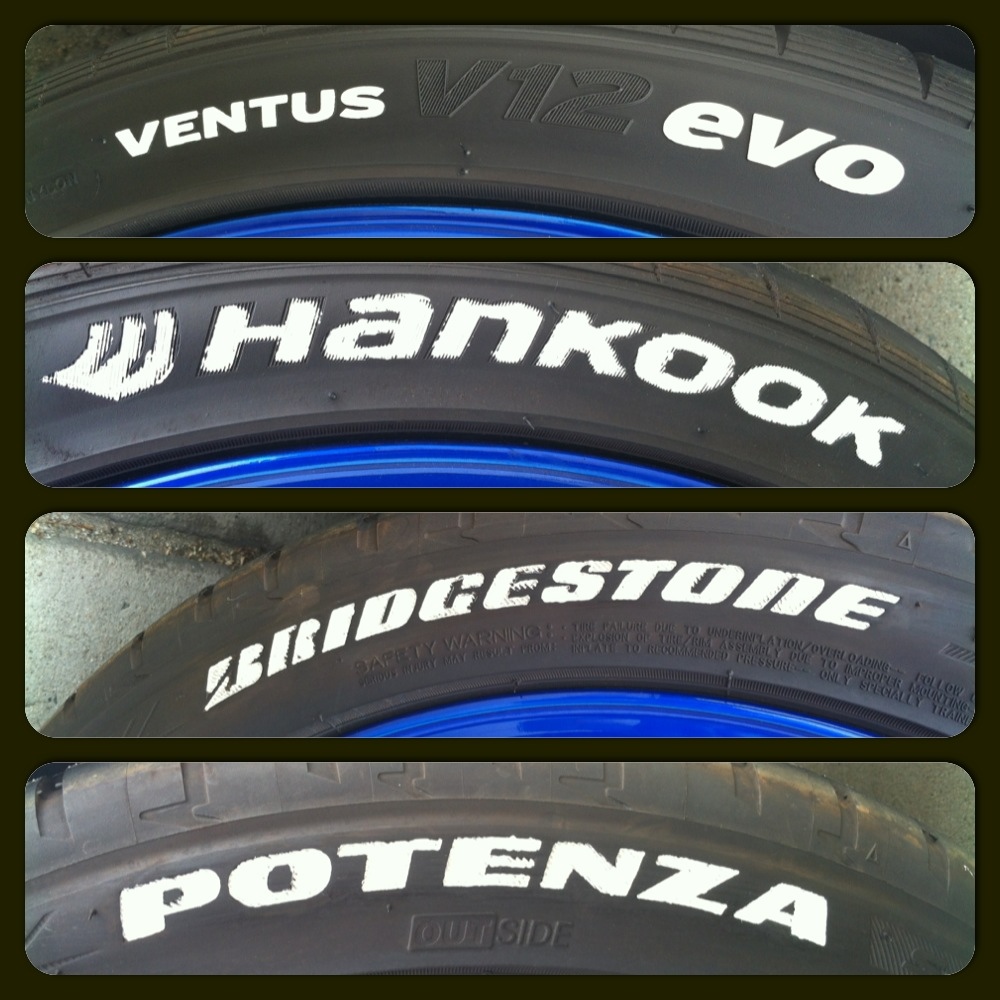
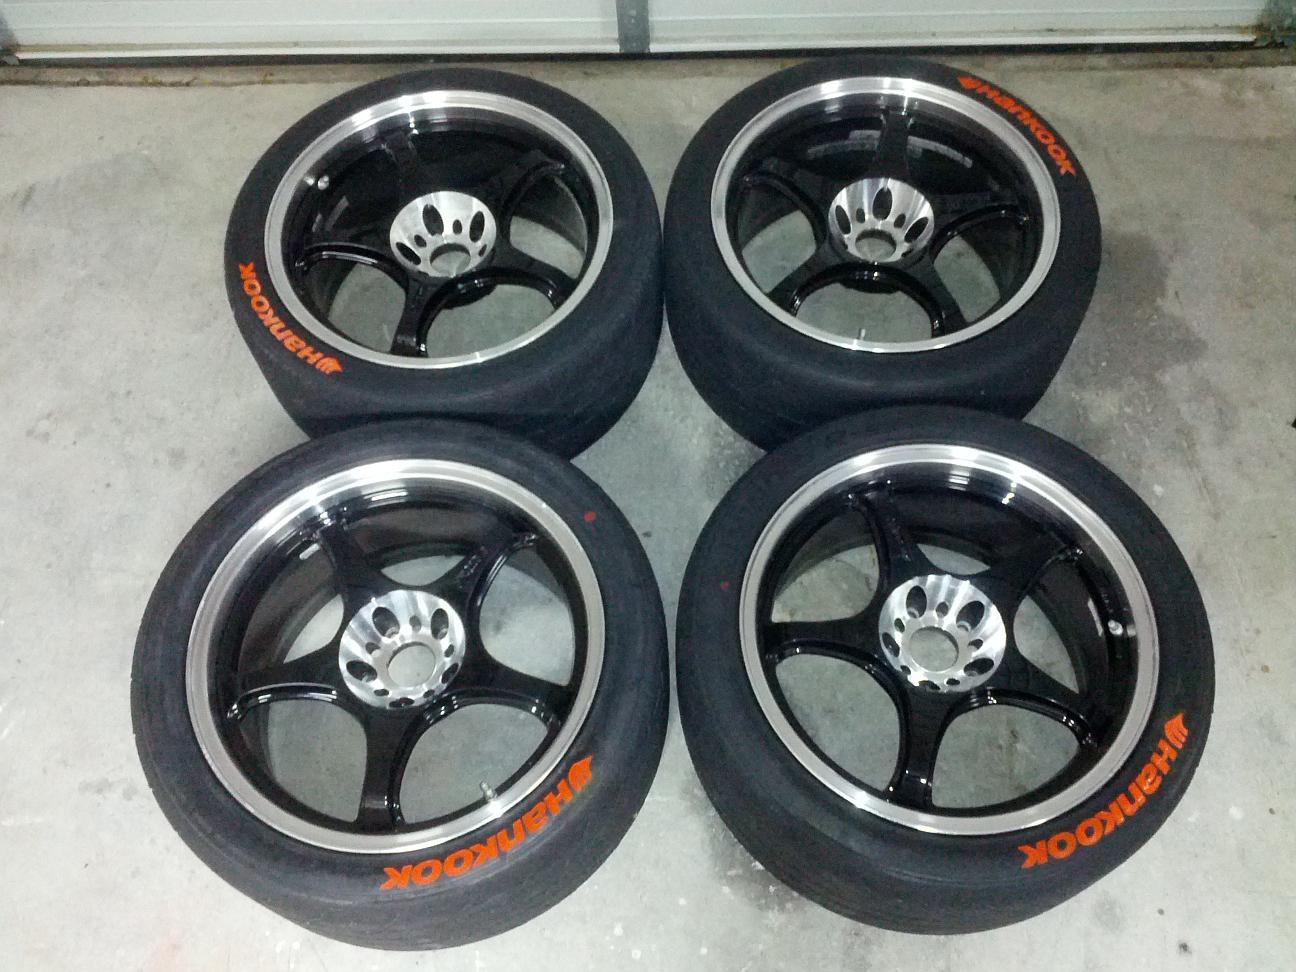
Finally tried this out.
the Hankook's were easier than the Bridgestone, or at least the raised letters. Only drove it a couple of miles and have noticed the paint has cracked. I did clean them, or prep them, with a little degreaser that was watered down and rubbing alcohol after that dried. I'm worried they will have to really be kept up
I only had a "medium tip" so I did as much as I could. I'll be getting a smaller tip to get the letters filled in better. Yeah, I know it looks like sh*t up close.
Last edited by BEBO'S ZEE; 03-30-2013 at 03:05 PM.
03-30-2013, 03:51 PM
#185
Good effort BeBo! Side shot of the car when you get a chance.
What I realize is, it doesn't have to look perfect all the time. I accept the fact that the lettering can be cracked/scuffed up... it's all part of a imperfection that gives it the rugged looks of a race car, even though my car is far from it. Only when big chunks are missing is when it'll need to be re-highlighted.
I only used medium tip when I colored mine. I'll point the tip close to the edge and push down on it and let the ink ooze out slowly enough to where it covers the edges perfectly. Your Bridgestone's edging looks better than the Hankook but yet easier... maybe it has less letters b/c Bridgestone Potenza x2 IS A LOT of letters
Your prep process sounds legit. I did several passes, first with soap/water (3x) then alcohol (3x). Good indication is when you're cleaning letters with a white towel, there should be little to no dirt gunk on the towel.
GL with the fine tip, keep me/us posted
EDIT: when the letters are colored, do not use alcohol to clean off dirt debris... it will smudge, only use soap and water.
Last edited by stogey420time; 03-30-2013 at 04:52 PM.
03-31-2013, 08:21 AM
#186
Retired Admin
iTrader: (95)
Bebo, good effort but it looks like you need to spend a lot more time. The first one looks good but the rest look incomplete.  I do realize the letterings for the bottom 3 look a lot harder to make look clean, though.
All I did was just use regular car wash soap to clean my wheels/tires before the actual painting. No extra cleaning, products, or time spent for the prep.
I spent about 2 hours when I did mine but applying 2-3 coats ensuring to get it all in between the grooves in the lettering and logo for Hankook. Basically, I filled in the striations and used a toothpick for small crevices. Sorry, but I'm too cheap to buy both a fine point and a medium point when I can just buy 1 to do the whole thing.
I do realize the letterings for the bottom 3 look a lot harder to make look clean, though.All I did was just use regular car wash soap to clean my wheels/tires before the actual painting. No extra cleaning, products, or time spent for the prep.
I spent about 2 hours when I did mine but applying 2-3 coats ensuring to get it all in between the grooves in the lettering and logo for Hankook. Basically, I filled in the striations and used a toothpick for small crevices. Sorry, but I'm too cheap to buy both a fine point and a medium point when I can just buy 1 to do the whole thing.


 04-05-2013, 06:58 AM
#197
Yeah, wish it was permanent too.
06-06-2013, 05:01 PM
#198
Registered User

I did this over the weekend... I think it looks awesome but the first time I drove all of the paint basically cracked and flaked off. I did a good job of cleaning the tires beforehand but ended up with similar results to everyone else. I started looking around for a more permanent solution. I found something called Rubber Whitewall paint. It's what hotrodders use to paint whitewalls on tires that didnt have whitewalls on it before. Its like $20-30 on ebay which is the cost of a few of the paint pens anyways. I'm gonna try it out and see if it is more permanent.
06-06-2013, 05:28 PM
#199
Sorry to hear man. Yeah, it's tedious work that isn't for everyone. May have a stencil made and paint the tire
Mine is holding up okay... it's about 4 months now since my last highlight and everything still looks good, could be better though.
GL on your solution... share your experience.