When you click on links to various merchants on this site and make a purchase, this can result in this site earning a commission. Affiliate programs and affiliations include, but are not limited to, the eBay Partner Network.
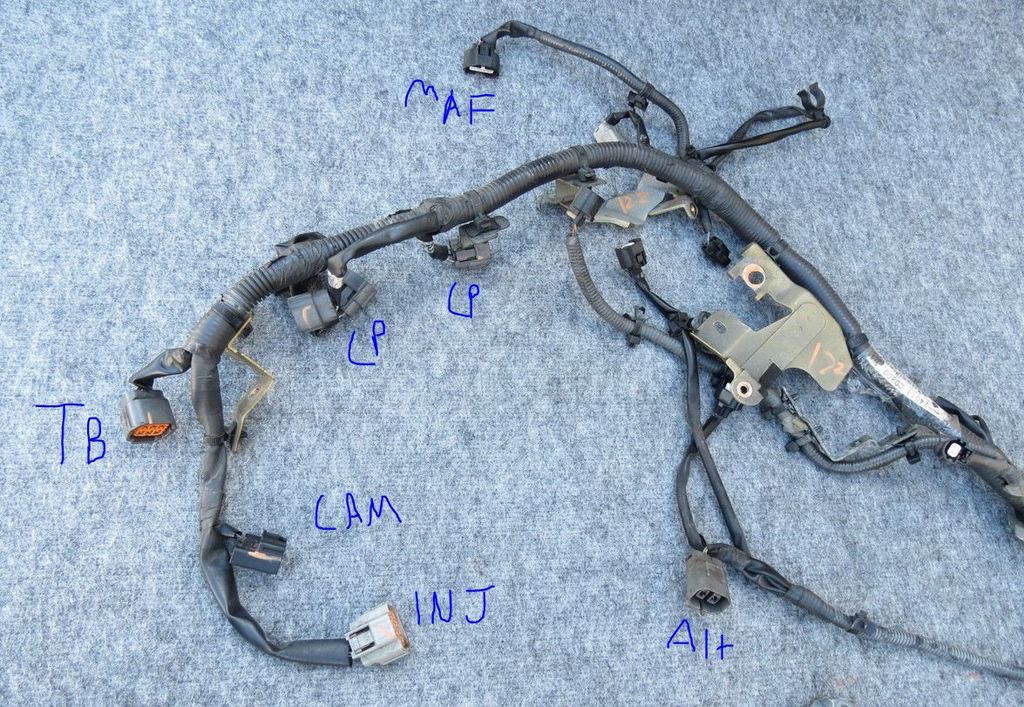
typically it is mounted on the back of the lower intake manifold. It is the very last connector on the harness.
See pic:
6 pin connector would be for TB or the expansion harness for the pass side cp.
It just turned daylight so I'm gonna go out there now. The only the other connectors not plugged in are TB and Maf since of of course the intake isn't on the car. Im hoping I was just warn out and it's sitting under a towel covering intake manifold. This connector is the biggest one green. I'll respond back with a pic
6 total wires going on. I had everything labeled but when I got to the last Maf, TB and this one no label was on it. I thought it was bank 2 sensor 1 for heated O2 but don't see the other end, can't see anything behind the engine.
I'm an idiot. It was the throttle body connector, lol. I was at like 16 hrs straight and I guess my brain went to ****, lol. I'll have pics up in a few.
Wire Tuck
Engine Clean
Valve Cover Gaskets
Painted valve covers, intake, front timing chain, and intake solenoids
Deleted from coolant hose
I'm an idiot. It was the throttle body connector, lol. I was at like 16 hrs straight and I guess my brain went to ****, lol. I'll have pics up in a few.
Wire Tuck
Engine Clean
Valve Cover Gaskets
Painted valve covers, intake, front timing chain, and intake solenoids
Deleted from coolant hose
That is why I took a little over 40 hours to do my wire tuck. Used a sharpie to label every connector, deloomed 95% of the harness, used zip ties to get everything laid out and adjusted to where they needed to be. Then taped everything up. Take your time and it will come out great. Keep up the great work.
Appreciate guys. I was so tired trying to finish I just went blank and quit for the day. Got up this morning and was like yep it's the TB, lol. The finished pics were taken at night so here are some.
Hope the pics aren't to big I'm on my phone.
Right after valve covers installed. Actually waited 24 hrs before slapping them back on
Horrible lighting but front hose deleted, engine control harness tucked, evaporator solenoid flipped upside down. I was scared to delete the passenger side damper because of hose lengths and how to route the hoses coming off the evaporator solenoid
Here she is ripped apart
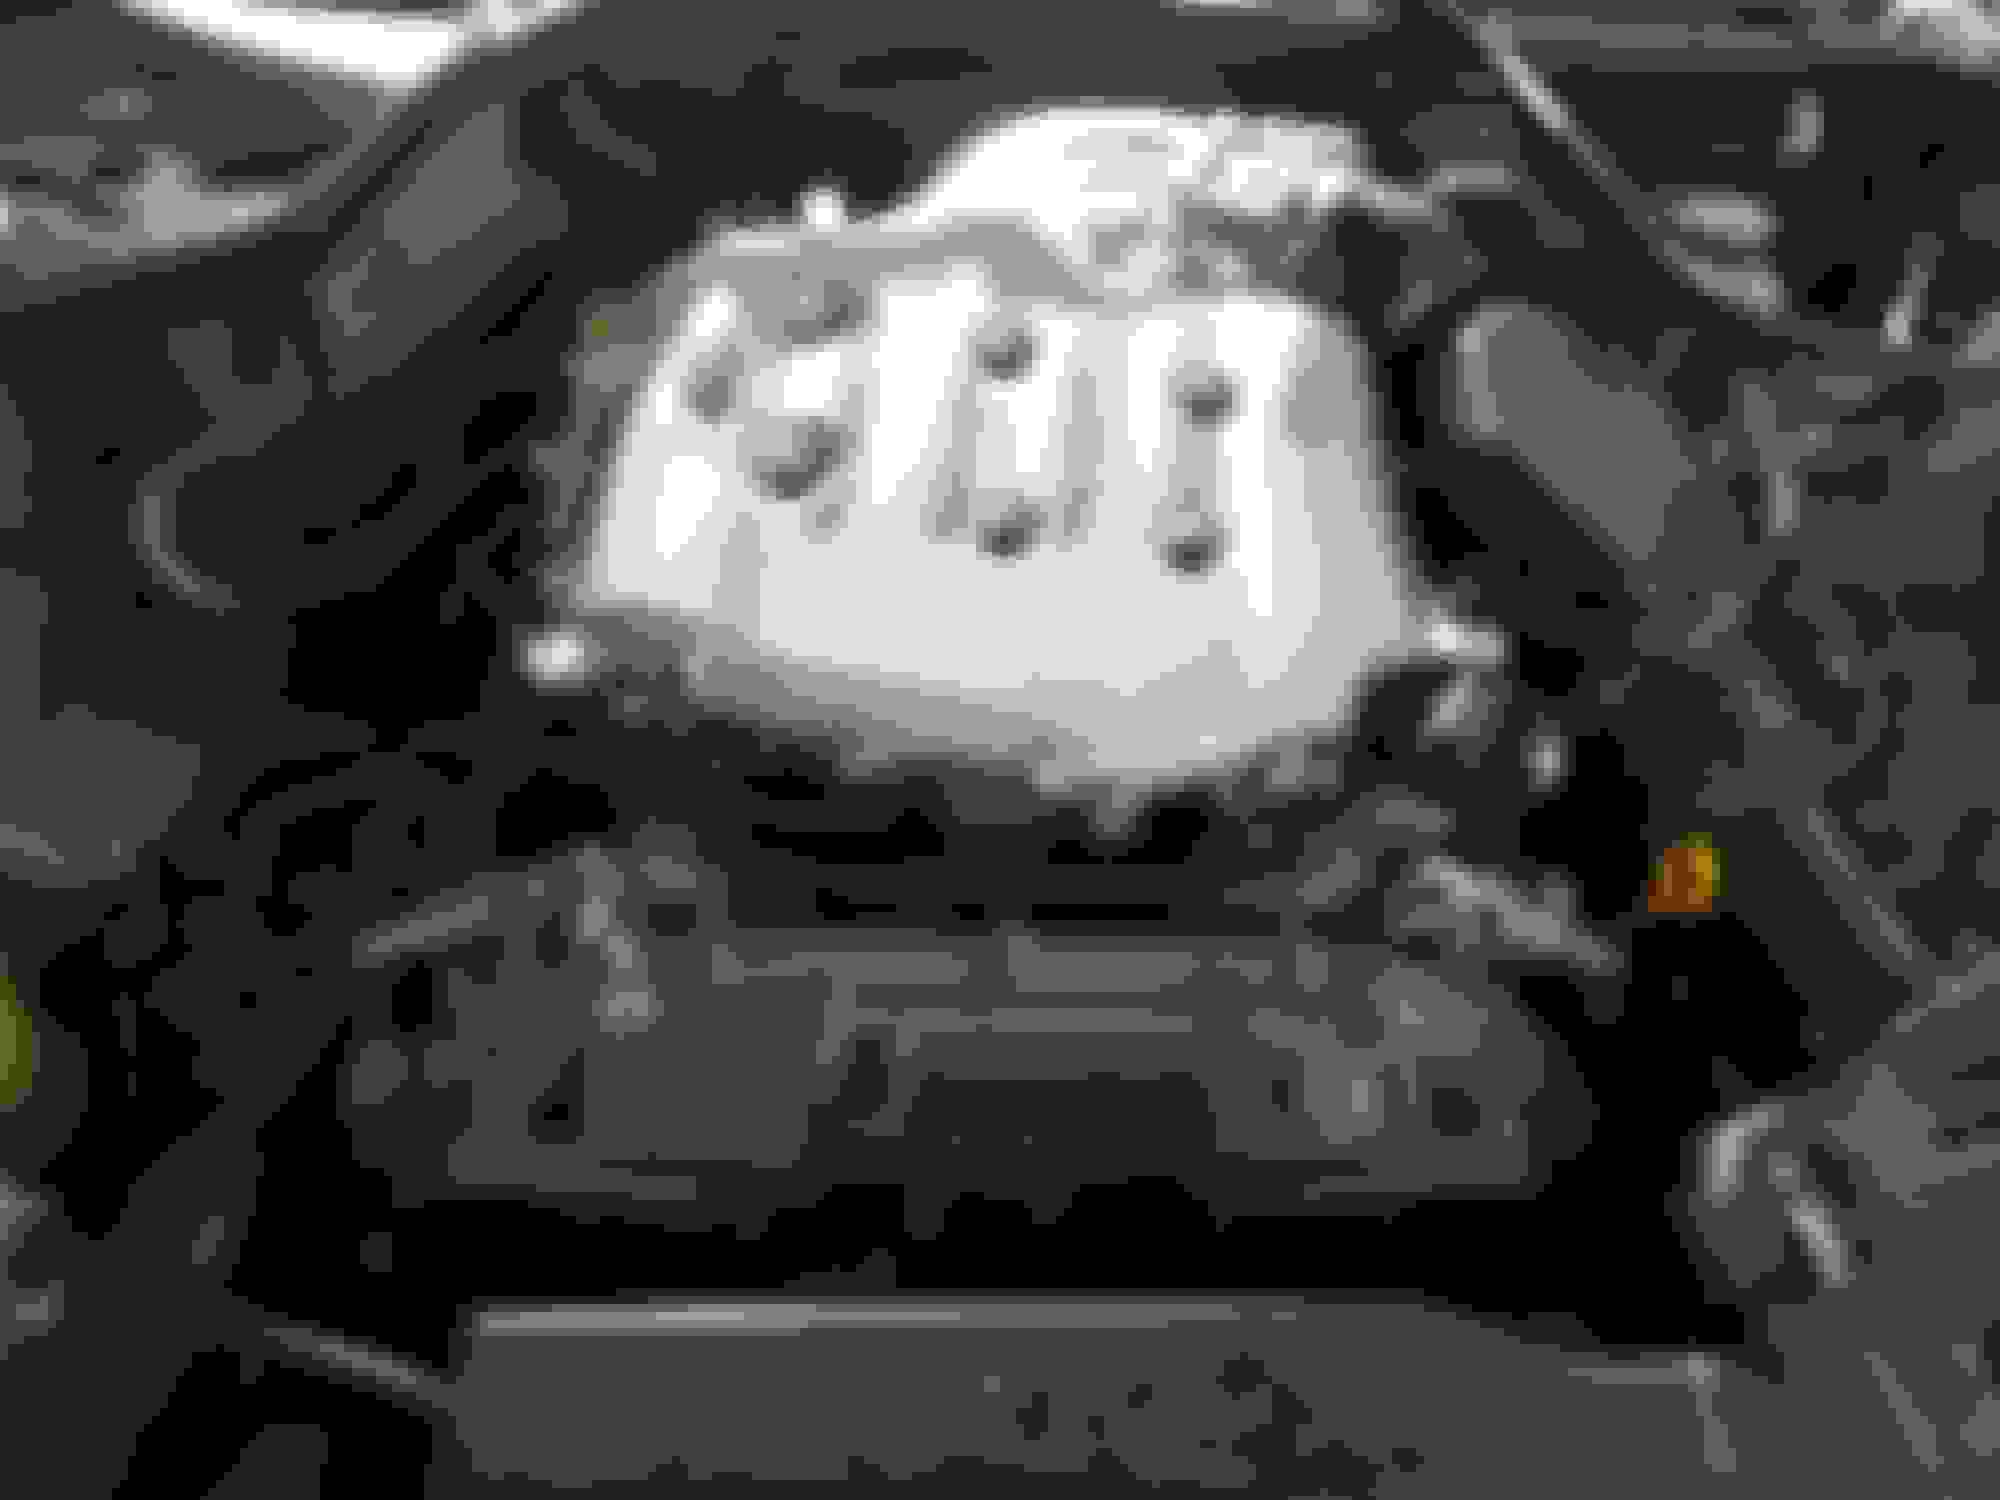
These 3 cylinders are what bothers me. Engine in car is a reman or rebuilt. Not sure if this is a current problem or a past problem. These 3 cylinders are the passenger side bank correct? I do have a small exhaust leak, coming from right rear, tad of smoke comes from around exhaust manifold to down pipe connection I think. Can a exhaust leak cause this. My TB will be here in 48 hrs, TB actuator is my old code being thrown
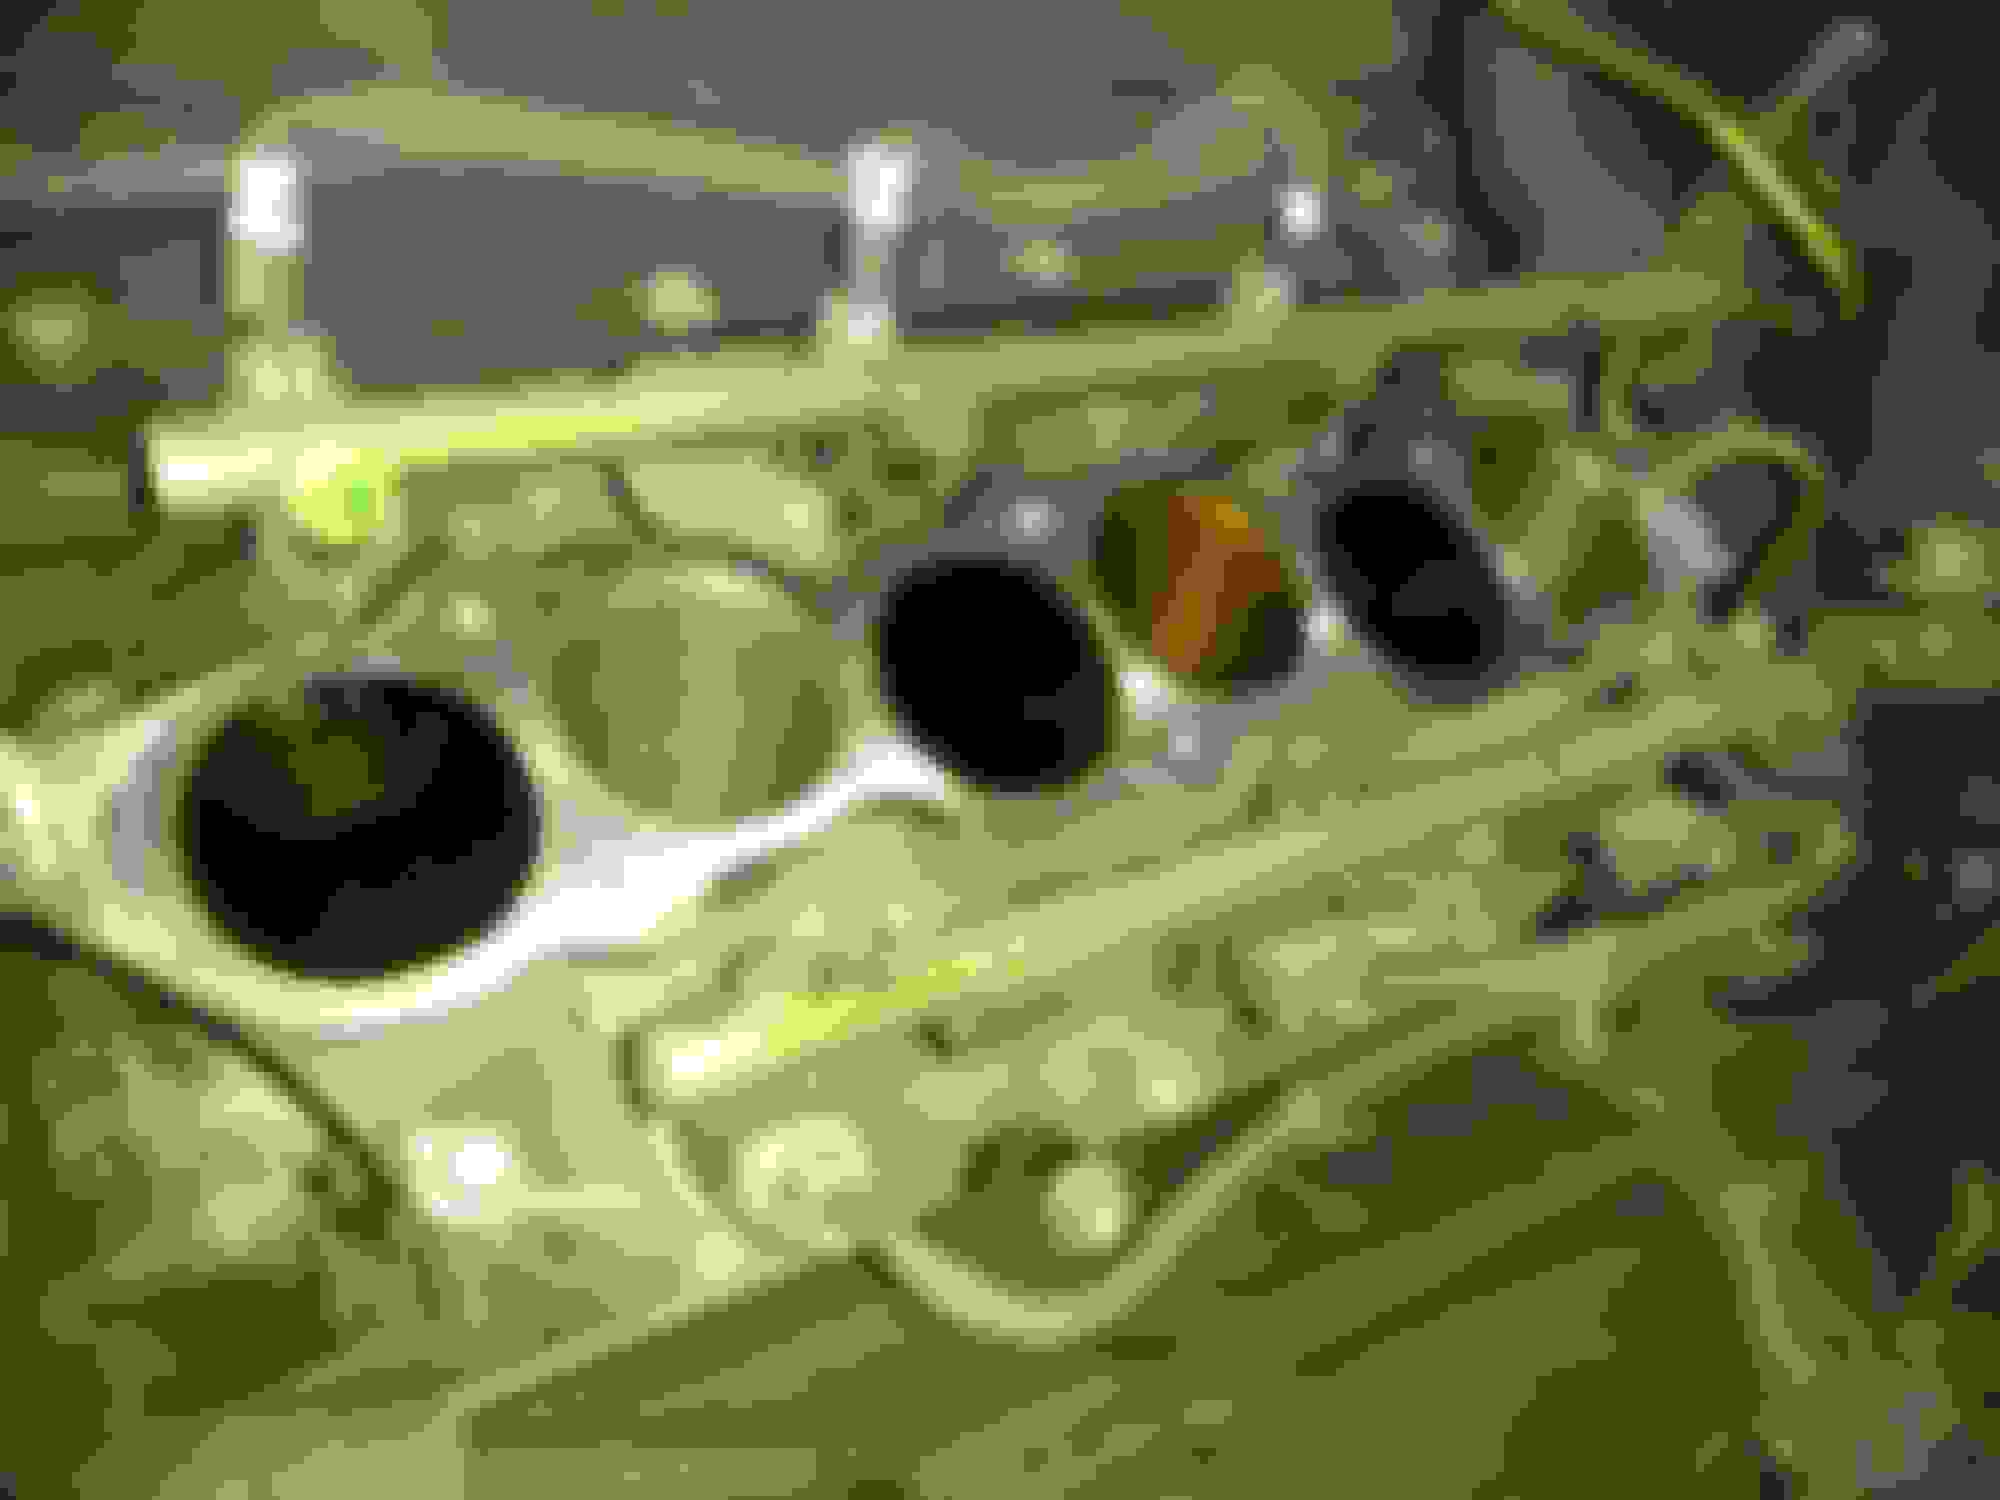
This is what happened when I pulled my PCV, lol
Little bit of a difference. This is right before tear down
This is why need oil catch cans from the factory. This is horrible
What's up fellas. I got my Throttle Body today so hopefully this ends my P0121 code but figured might as well finish the wire tuck and do the driver and passenger side. The thing is for the love of God I can't find my jack stands after I moved. These front speed sensors can I just unplug them since they are technically a sub harness. Unplug at the blue connector. I won't be able to lift the car to get under it to take the tires off. In this pic shows the connection on the driver's side. So just checking before I actually attempt it. I think I left my jack stands at my old house or they were stolen.
Working on the driver side harness not and I'm done, except always the last connector I can never find. Here is a pick, comes off the wiring that goes to the washer reservoir. Brown with just 2 wires. One is black with white stripe and the other is solid white.
Found my driver side headlight has no back cap on it. It amazes me how people treat cars and wonder when stuff breaks
I had to extend the ground wire that's bolted under the battery cover by the fuse strip. The one with like 8 ground wires going into it. My solder from harbor freight is horrible, the gun or torch can't really do anything with it. Trying to figure out a way to run my extra grounds from grounding kit now since no other wires are showing on the driver's side.
Finished the passenger side wire tuck along with battery wire. I started late afternoon thinking I could get it done by dark. My issue was stripping the loom closer and closer towards the battery tray for enough slack on the headlight sub harness connection. The only other issue was extending the grounds. I always try to do things hardest to easiest so drivers side is next. I haven't gotten any nice new loom yet. Trying to figure out my options on that route. Some type of sleeving.
Advice for guys that might be doing a wire tuck. It is easy but it's all a matter of stripping the right part of the factory loom. Engine Harness needs to be stripped almost end to end but passenger side just about half of it. I had plenty of slack on every wire except headlight and grounds. Ground under the fender if you have the tire off. I didn't so I ran a 8 inch extension to the factory locations by the fuses in battery.
To get slack for the headlight harness to connect I had to de loom as far as I could without pulling battery tray
This is before I started. I'm trying to clean the engine bay as much as I can. This vacuum hose coming off the side of the upper plenum going into the fake fire wall by battery. Can I just get a straight vacuum line instead of a double S shapes ugly thing? My grounding kit of course gave me issue since nothing is cut to length for a tuck so one of those 2 wires is still there. I'll have to buy a new 4-5 wires worth if I deem it needed
Now is the time for some sleeving. I don't know why when I finished I didn't take full pics. A driver/passenger/engine wire tuck is one of those yeah I just did that accomplish mental. Not to hard but some what tedious.
Hey swaglife81, if your still out there those 3 nasty looking cylinders are probably normal. I too was concerned at first but since have seen this may times. I had 90k miles when I tucked and my lower manifold looks similar. Appears there's not an even distribution of something going on, compliments of the vq's engineering team.
 11-05-2016, 04:25 AM