QuintonC's 350Z Build


 03-15-2016, 02:09 PM
#143
Registered User
Thread Starter
iTrader: (2)

Some updates:
Dropped off the bumper at the body shop. They were packed with other projects coming in, so I likely won't have it back until the end of the month and then I'll have all of the uploads from test fitting the bumper as well as the finished product on here.
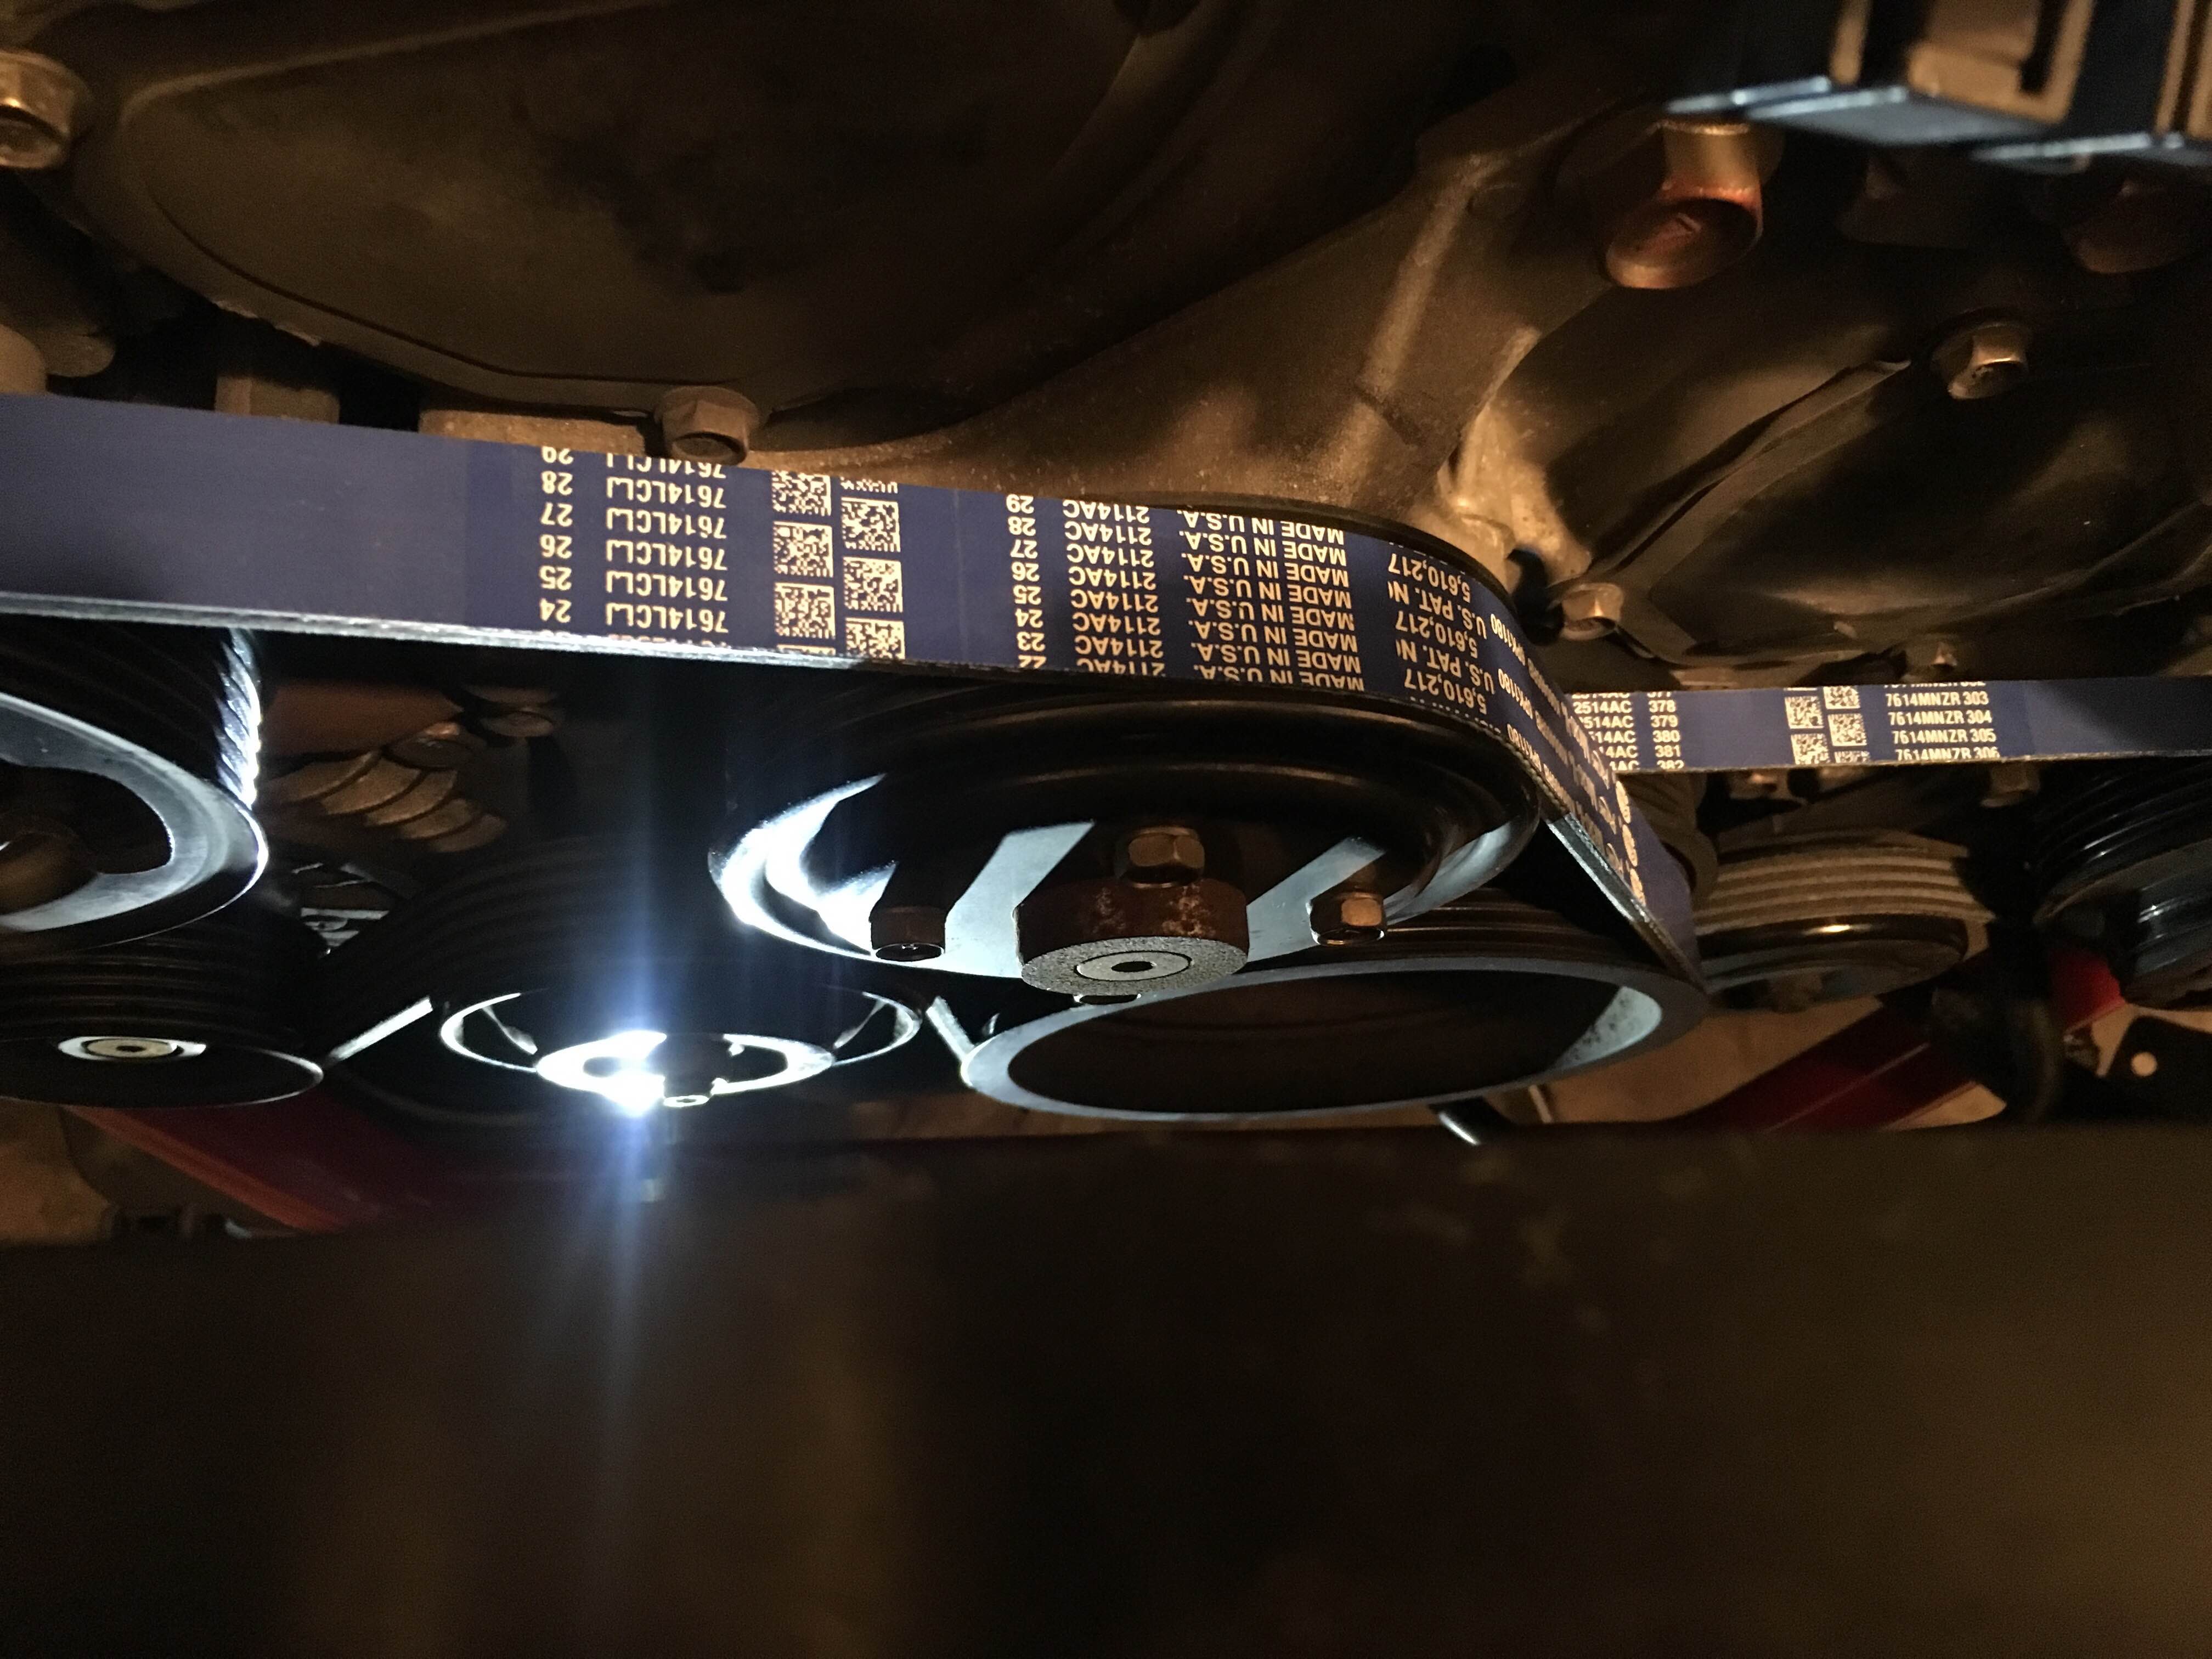
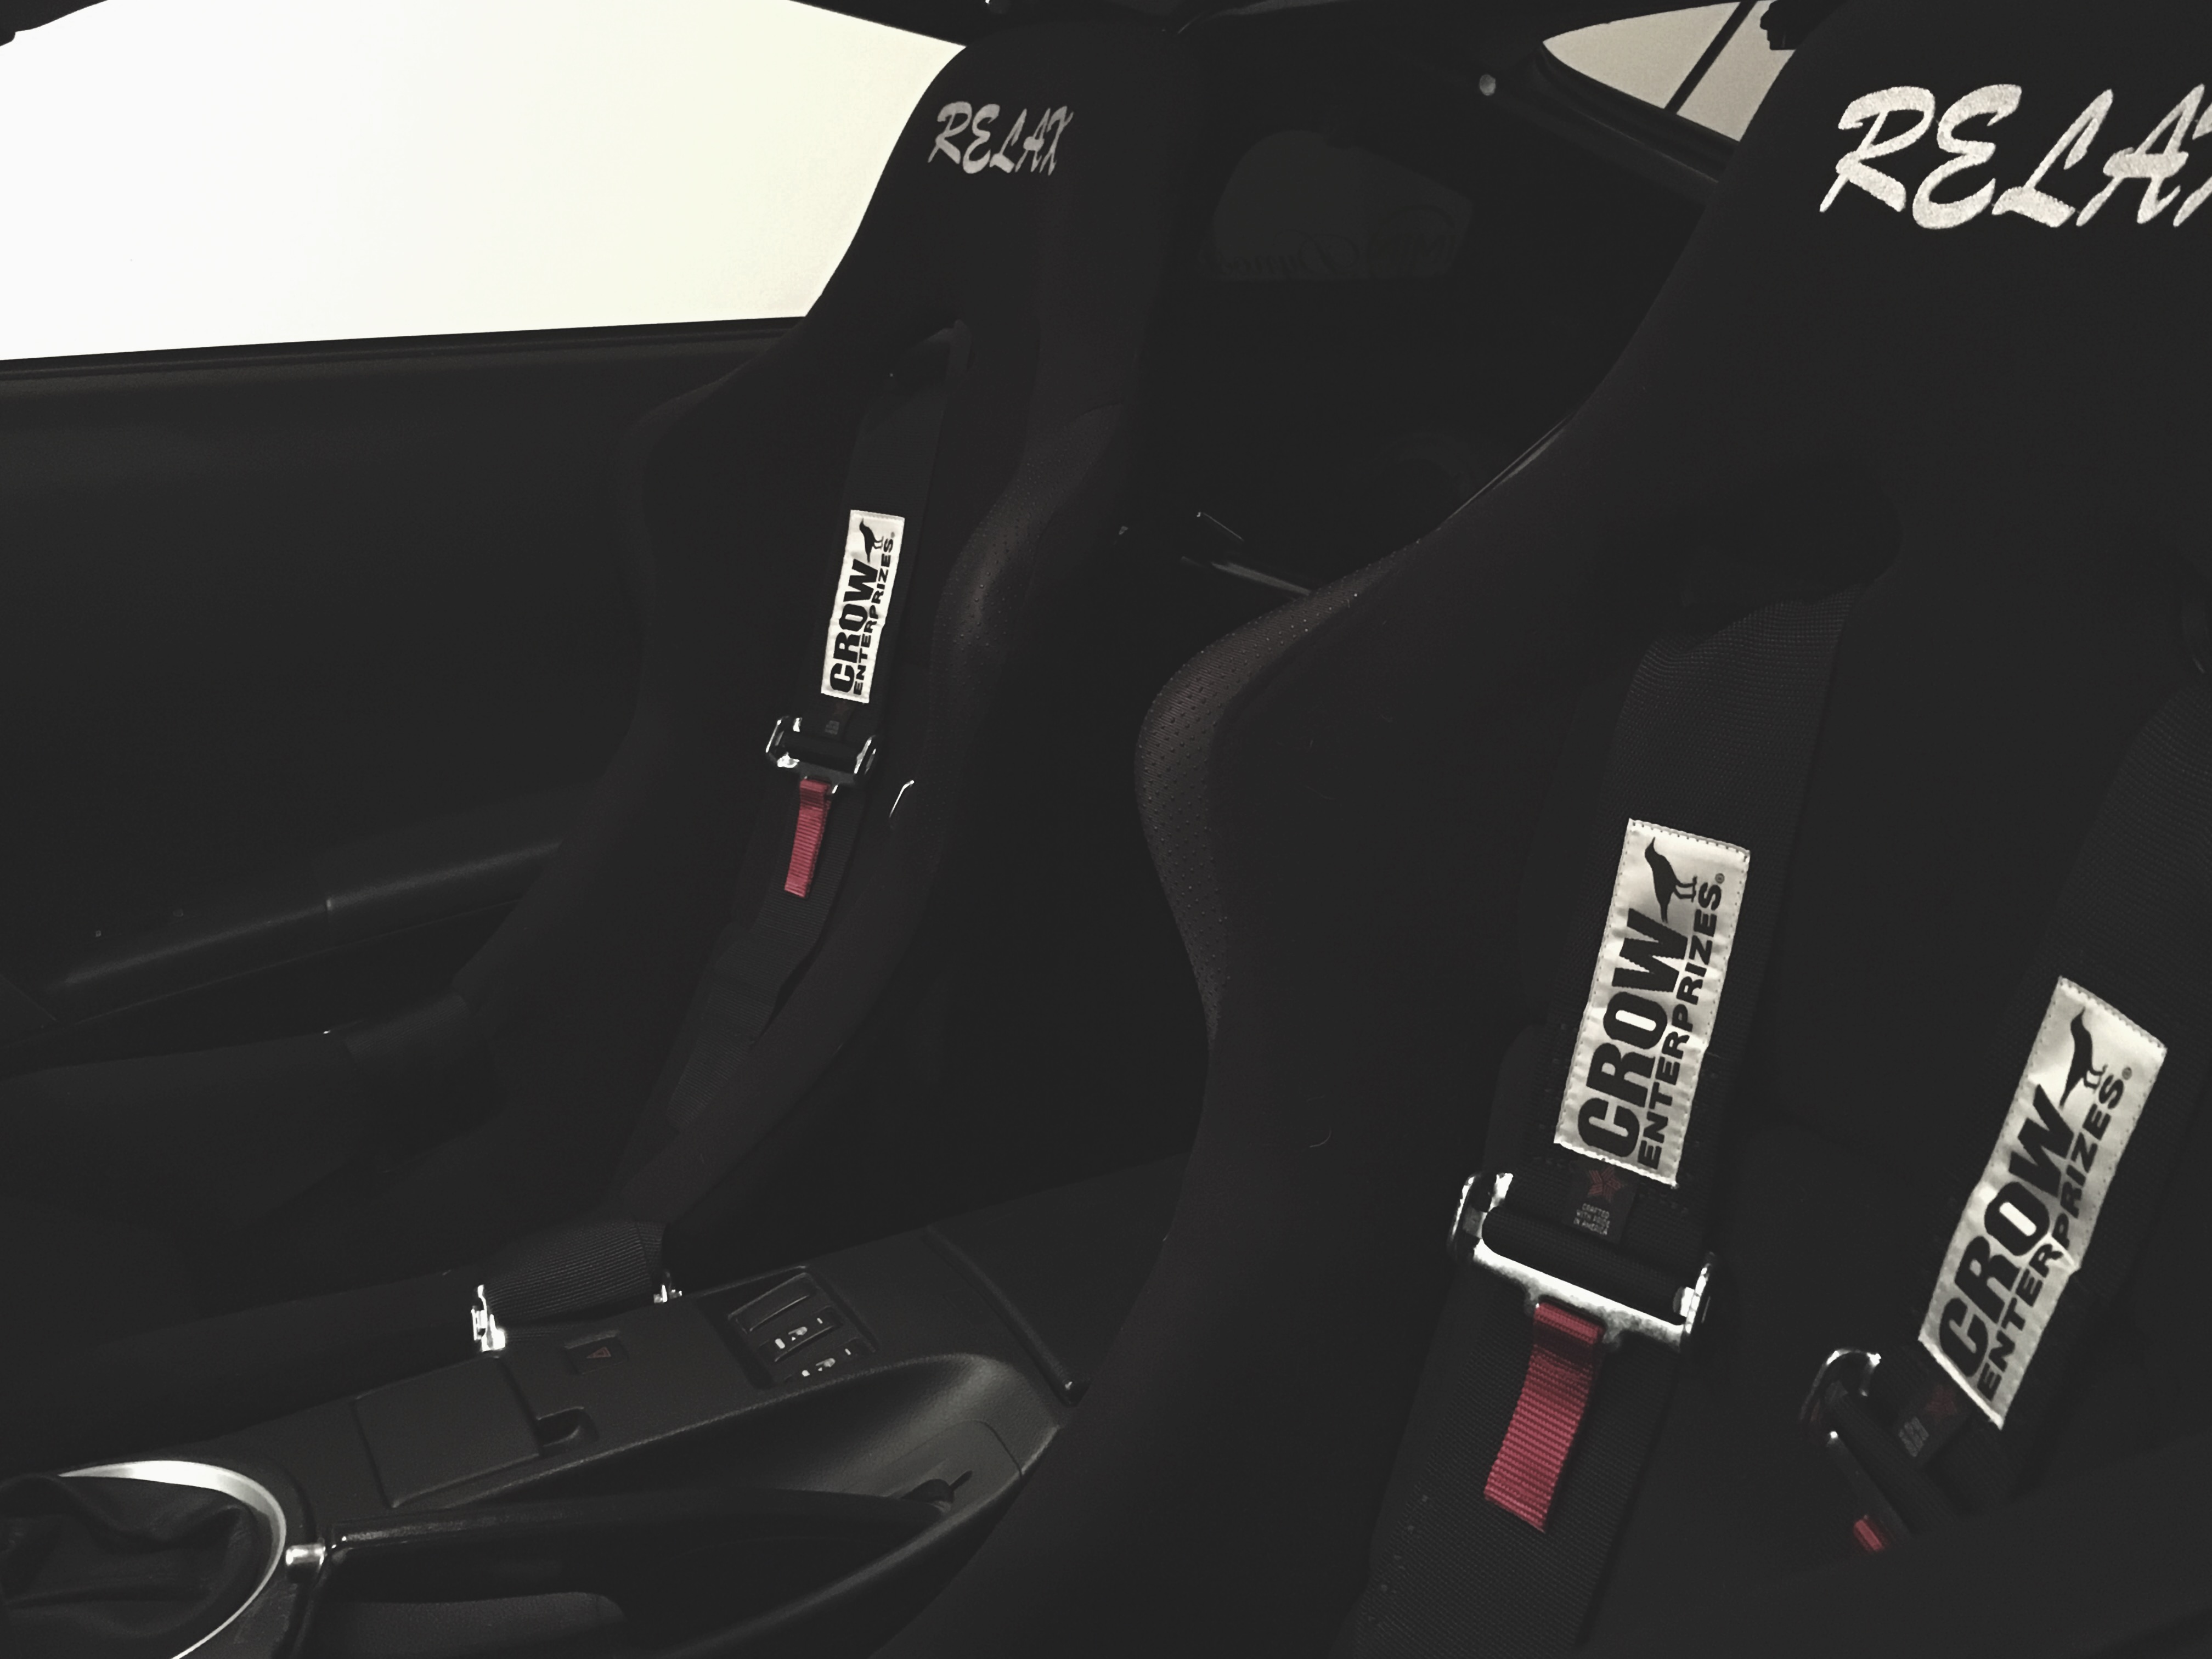
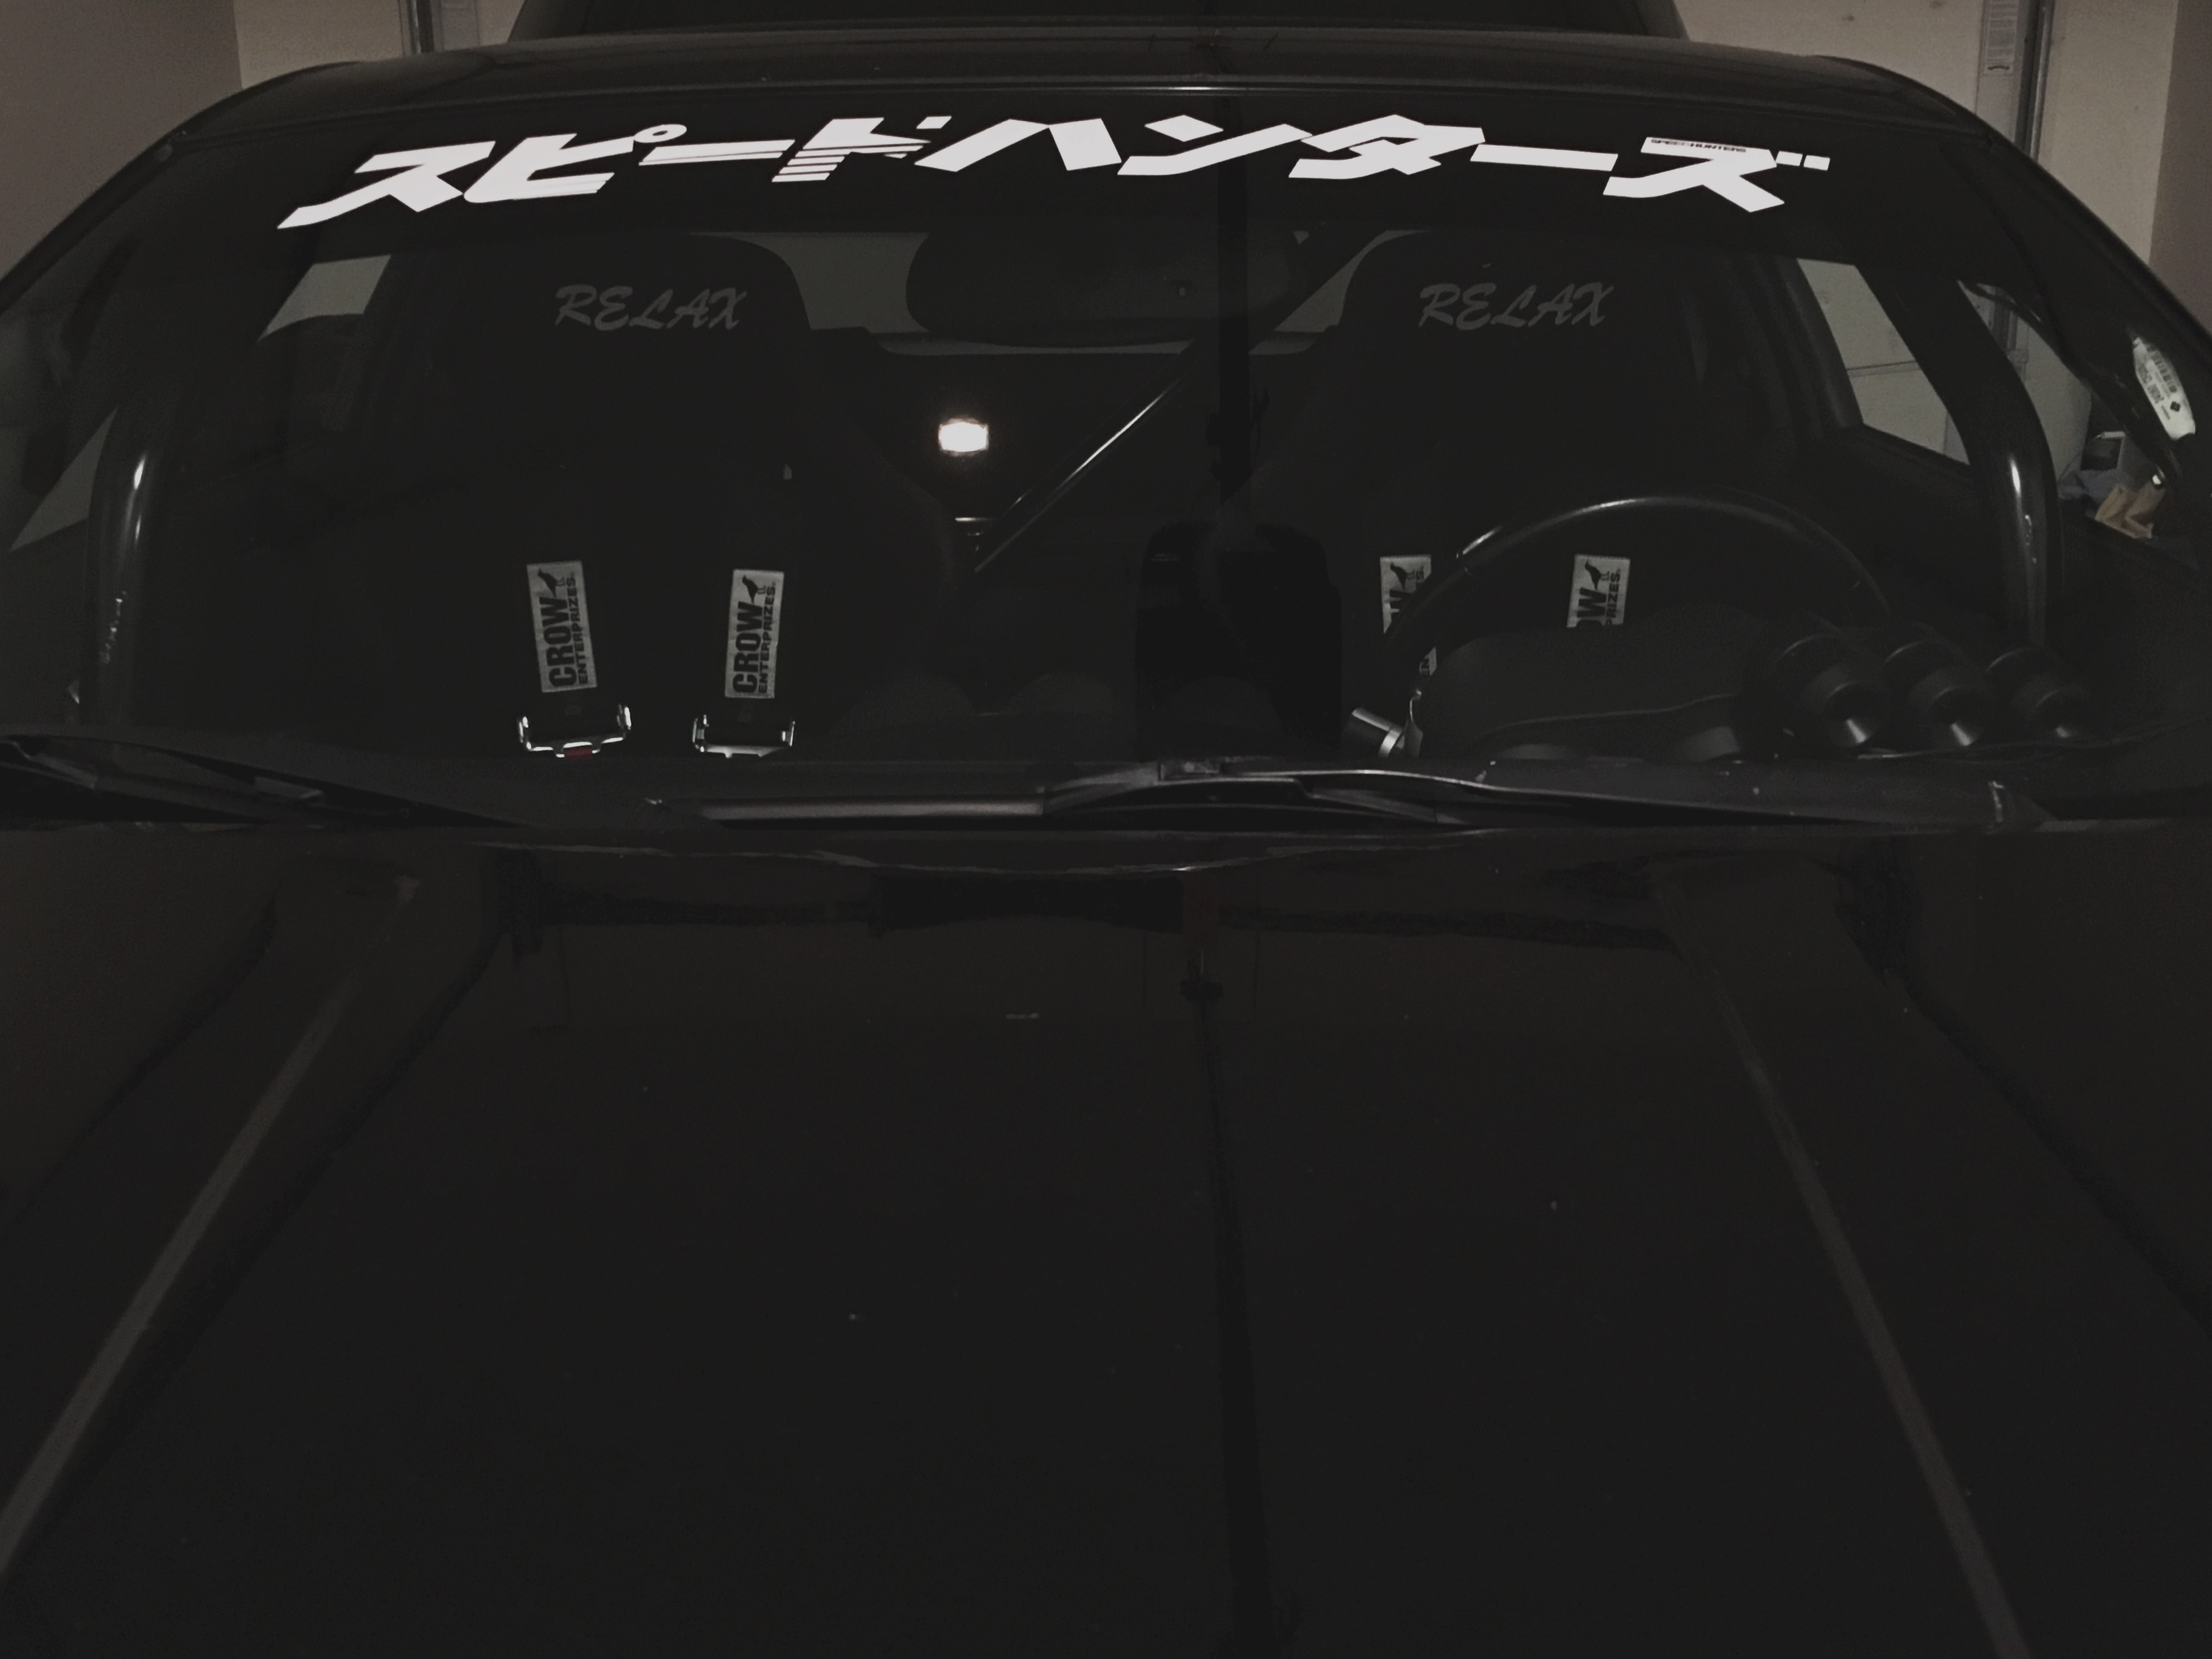
Installed my new Gates Racing belts as well. I used to work at a parts store and working with the belts, it was easy to tell which ones were quality and which were not. These are by far the nicest belts that I've had in my possession, and I definitely recommend them to other car enthusiasts.
My fittings from the oil sandwich plate finally came in and I was able to get the oil cooler plumbed back up. Took forever to get the last few press-fit fittings inside the hose, these things aren't going anywhere that's for sure. Before pouring the oil back into the engine, we decided to re-seal the oil pan as it looked like it was leaking just a bit. So we pealed that sucker off of there and used some Honda bond to seal it up. My friend works at a dealership and was able to bring some of it by so we could get that done. Also sealed up the downpipe to the turbo using a big ol' pry bar

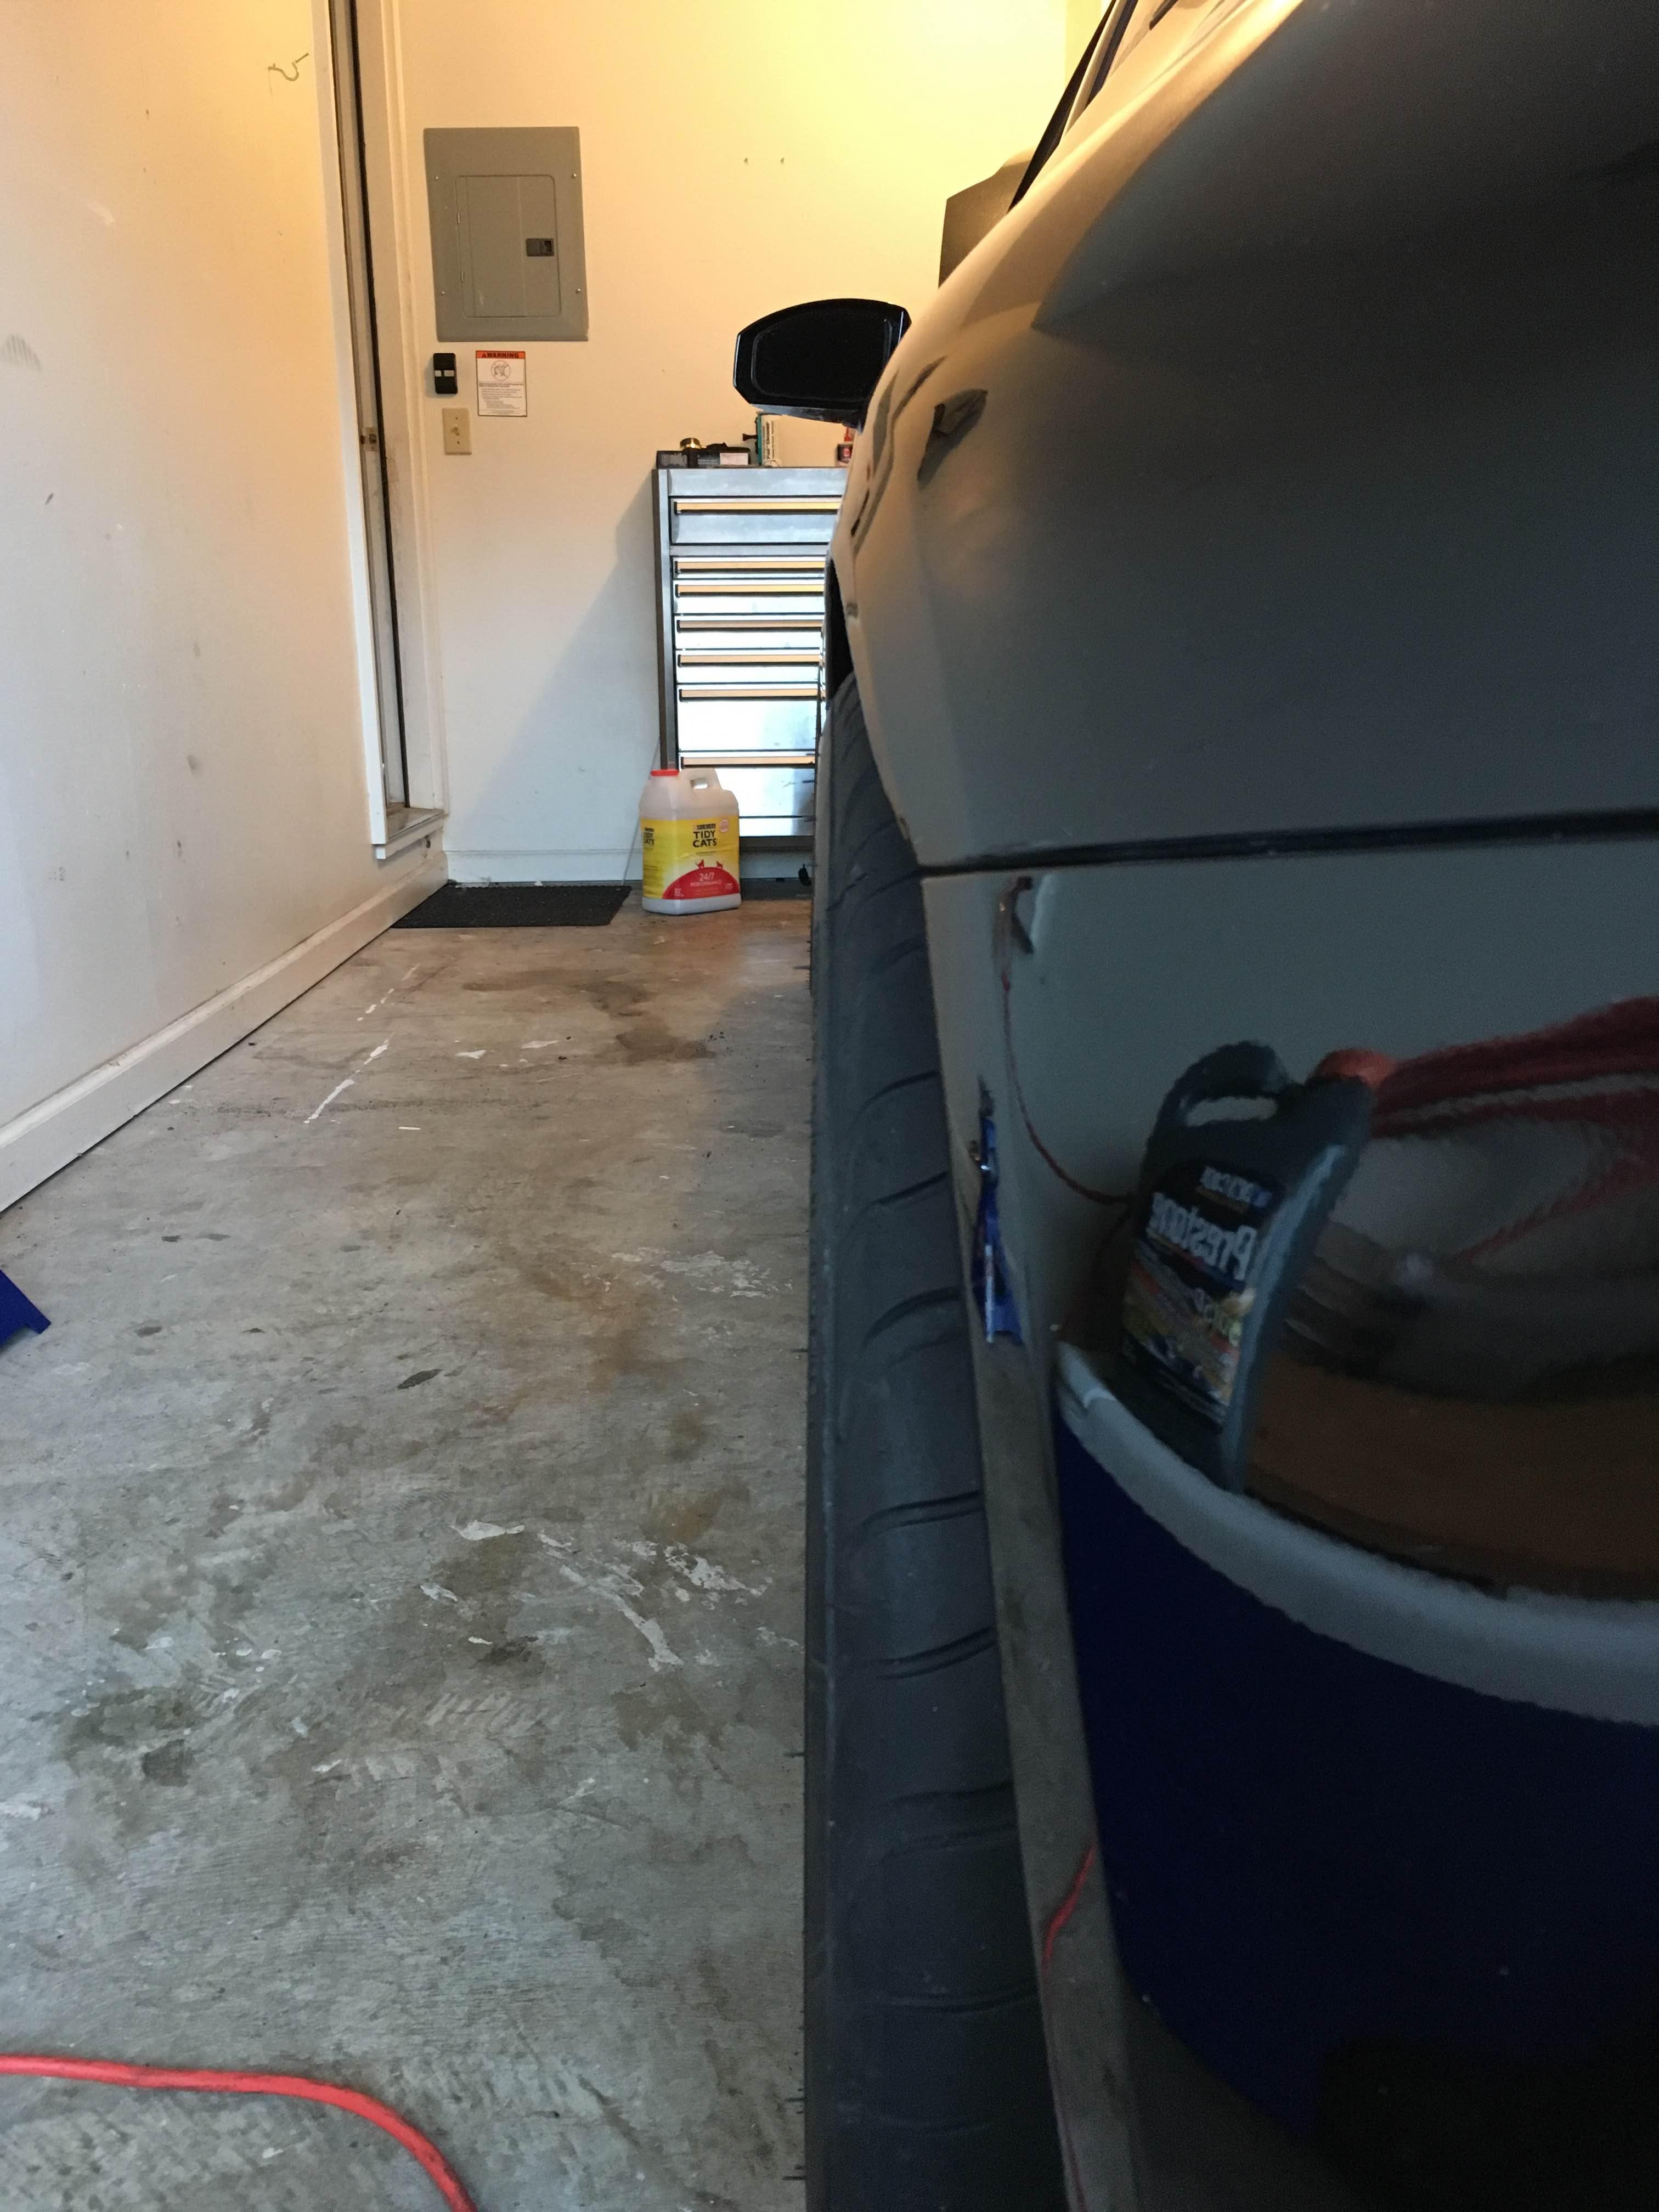
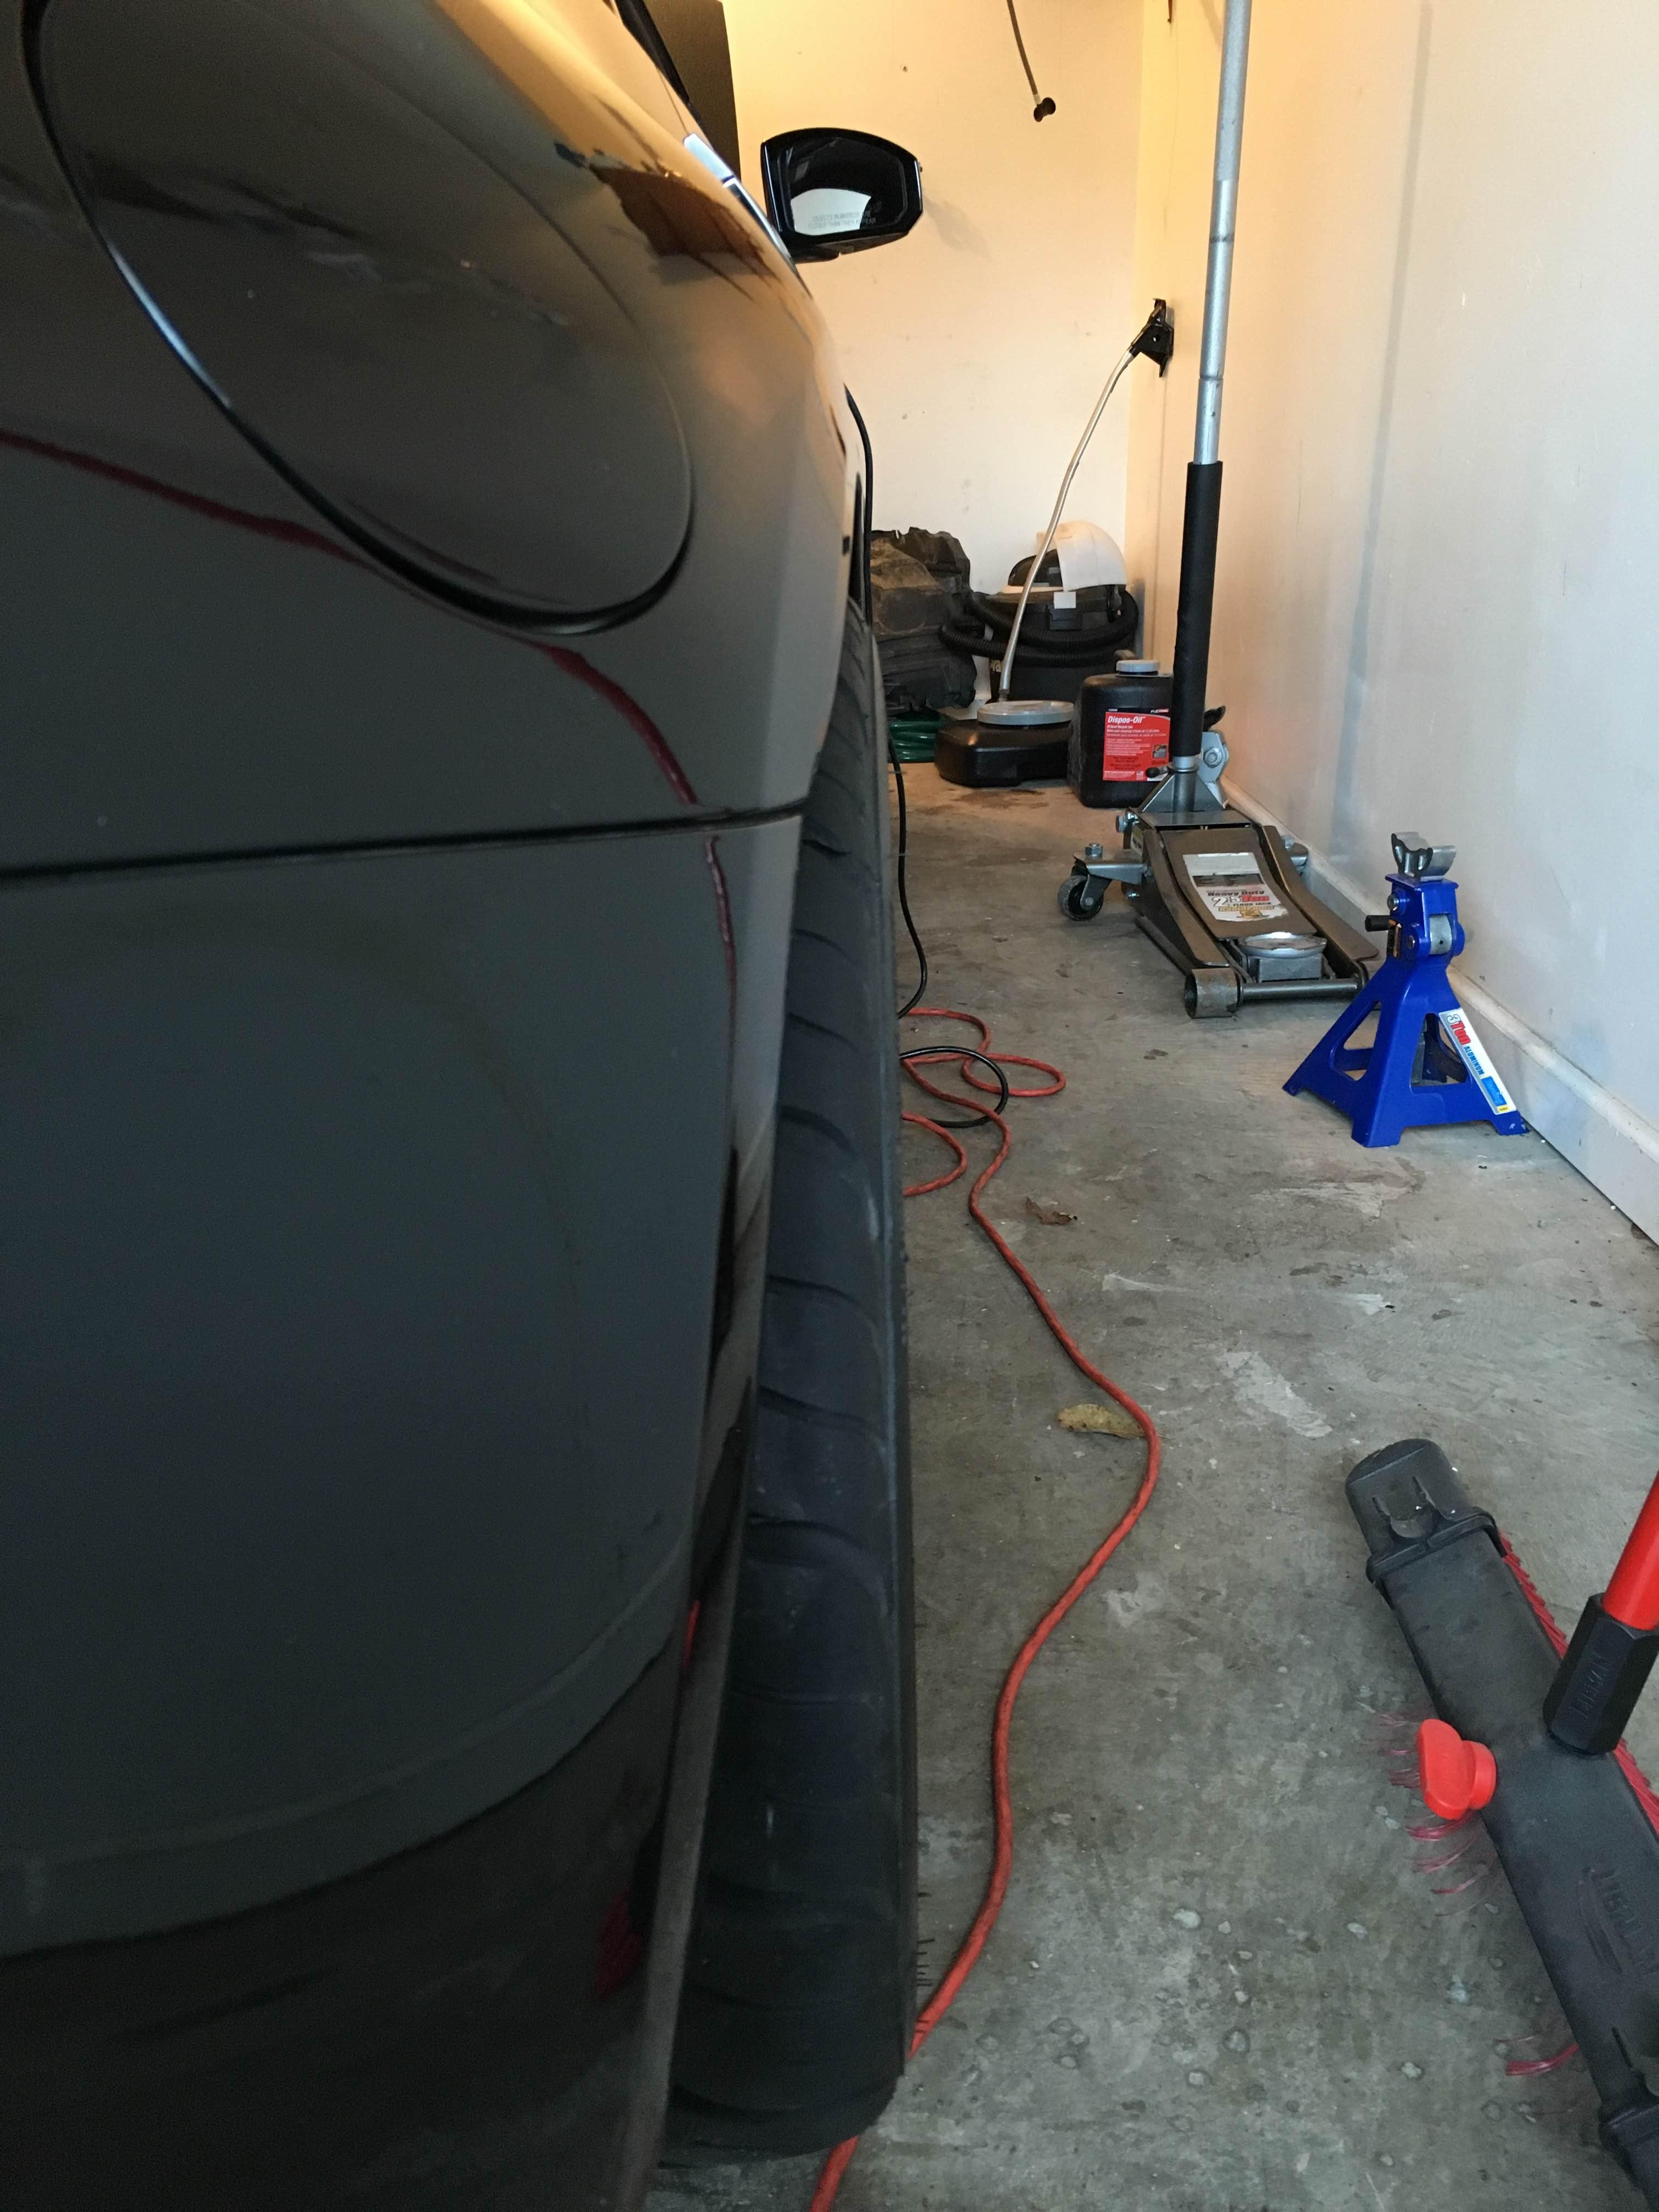
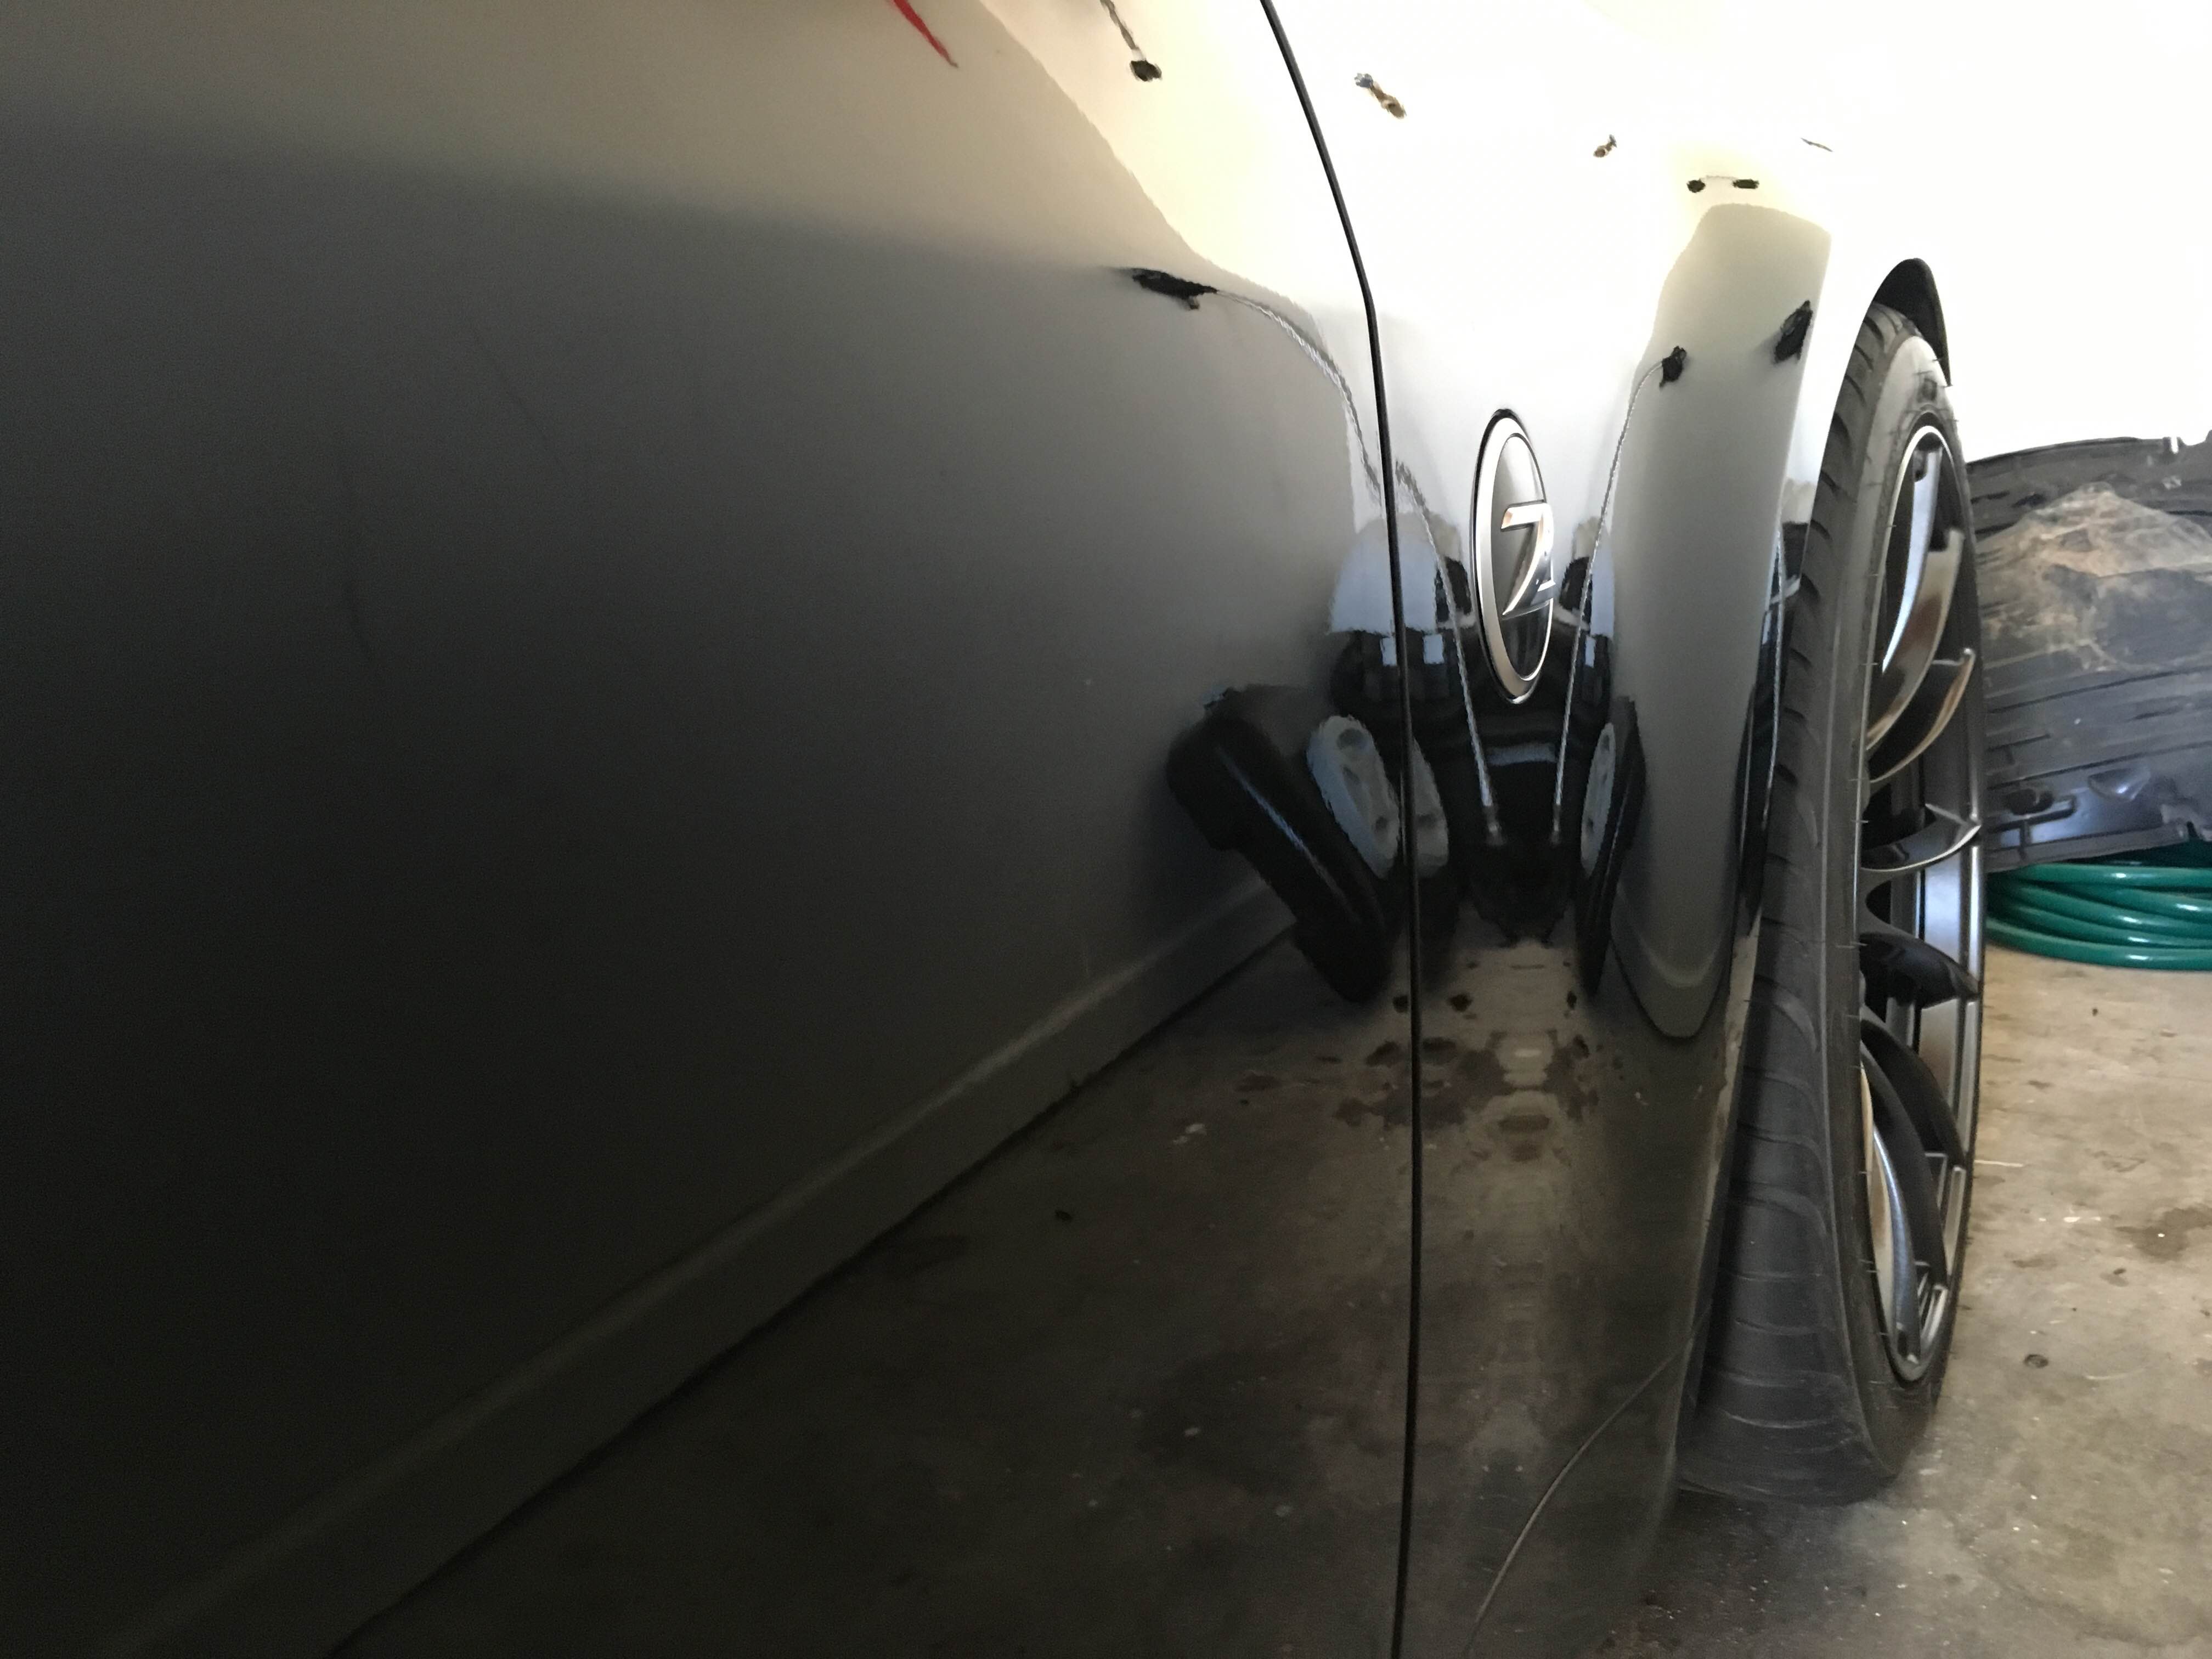
Test fit some 8mm spacers in the rear, which effectively puts me at +4 offset in the rear on 18x9.5 with a 265/35. Still not sure that it's enough, so I may be purchasing some 10mm spacers for the car. It looks a lot more flush in the pictures than it does in person. Thoughts?
These came in yesterday as well!


Also worked a bit more on the paint correction today. Got the side skirt, passenger door, rear quarter panel, and the mirror done today. 'Just' the rear bumper, A/B pillar, roof, hood, and other side to do.
 All jokes aside, I'm really eager to see how it looks outside in the sun!
Last edited by QuintonC; 03-15-2016 at 02:15 PM.


The following users liked this post:
QuintonC (03-15-2016)
The following users liked this post:
abarclay (03-16-2016)


The following users liked this post:
QuintonC (03-15-2016)
03-15-2016, 04:30 PM
#147
Registered User
Thread Starter
iTrader: (2)
Thanks!! Yeah, it takes a lot for me to get out in the garage anymore, but since I'm on spring break I've been trying to utilize my free time and get it knocked out. The seat resistors are super easy to do haha
I hear you about the list, I have a whiteboard in my bedroom that is about 4'x3, and it was, at one time, full of things to do to the car. I've got it down to about 10 things now!
I hear you about the list, I have a whiteboard in my bedroom that is about 4'x3, and it was, at one time, full of things to do to the car. I've got it down to about 10 things now!
03-26-2016, 03:39 PM
#148
Registered User
Thread Starter
iTrader: (2)
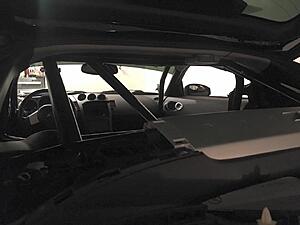
So I picked this thing up yesterday from Touge Factory in Chicago, waited so long for it to get made. The girlfriend made the trip up with me, and even helped me fit it into the car a little bit today.
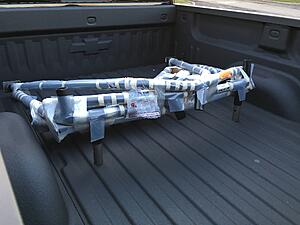

Still have to test fit the side bars and the front (a pillar) bars. Basically just mount everything up and then tighten it all up and weld the main hoop and the rear bars to the rear strut bar.


Still have to test fit the side bars and the front (a pillar) bars. Basically just mount everything up and then tighten it all up and weld the main hoop and the rear bars to the rear strut bar.

The following users liked this post:
sofakiing (04-02-2016)

The following users liked this post:
QuintonC (04-02-2016)
The following users liked this post:
QuintonC (04-02-2016)

The following users liked this post:
QuintonC (04-02-2016)

The following users liked this post:
sofakiing (04-03-2016)
04-02-2016, 02:20 PM
#153
Registered User
Thread Starter
iTrader: (2)
Thanks, everyone! Appreciating all of the love
Haha, hey now... when you have a girl that helps you work on your second girl, you know you've got the right one.
Anyhow, here is a small update. Still quite a few things to do on the car of course.
Things left to do:
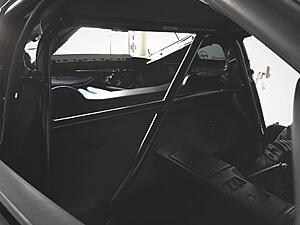
So, #2 on the list is weld the cage in place. Autopower makes this cage, and since SCCA and NASA rules have changed, this cage requires a bit of welding to actually mount the cage in the car. I have to weld the main hoop in, the rear bars to the strut bar in place, and then the door bars have to be welded to the main hoop and the front bars. Which pretty much means that this cage might as well be an entire weld-in cage at this point. Doesn't make too much sense in my opinion, but whatever.
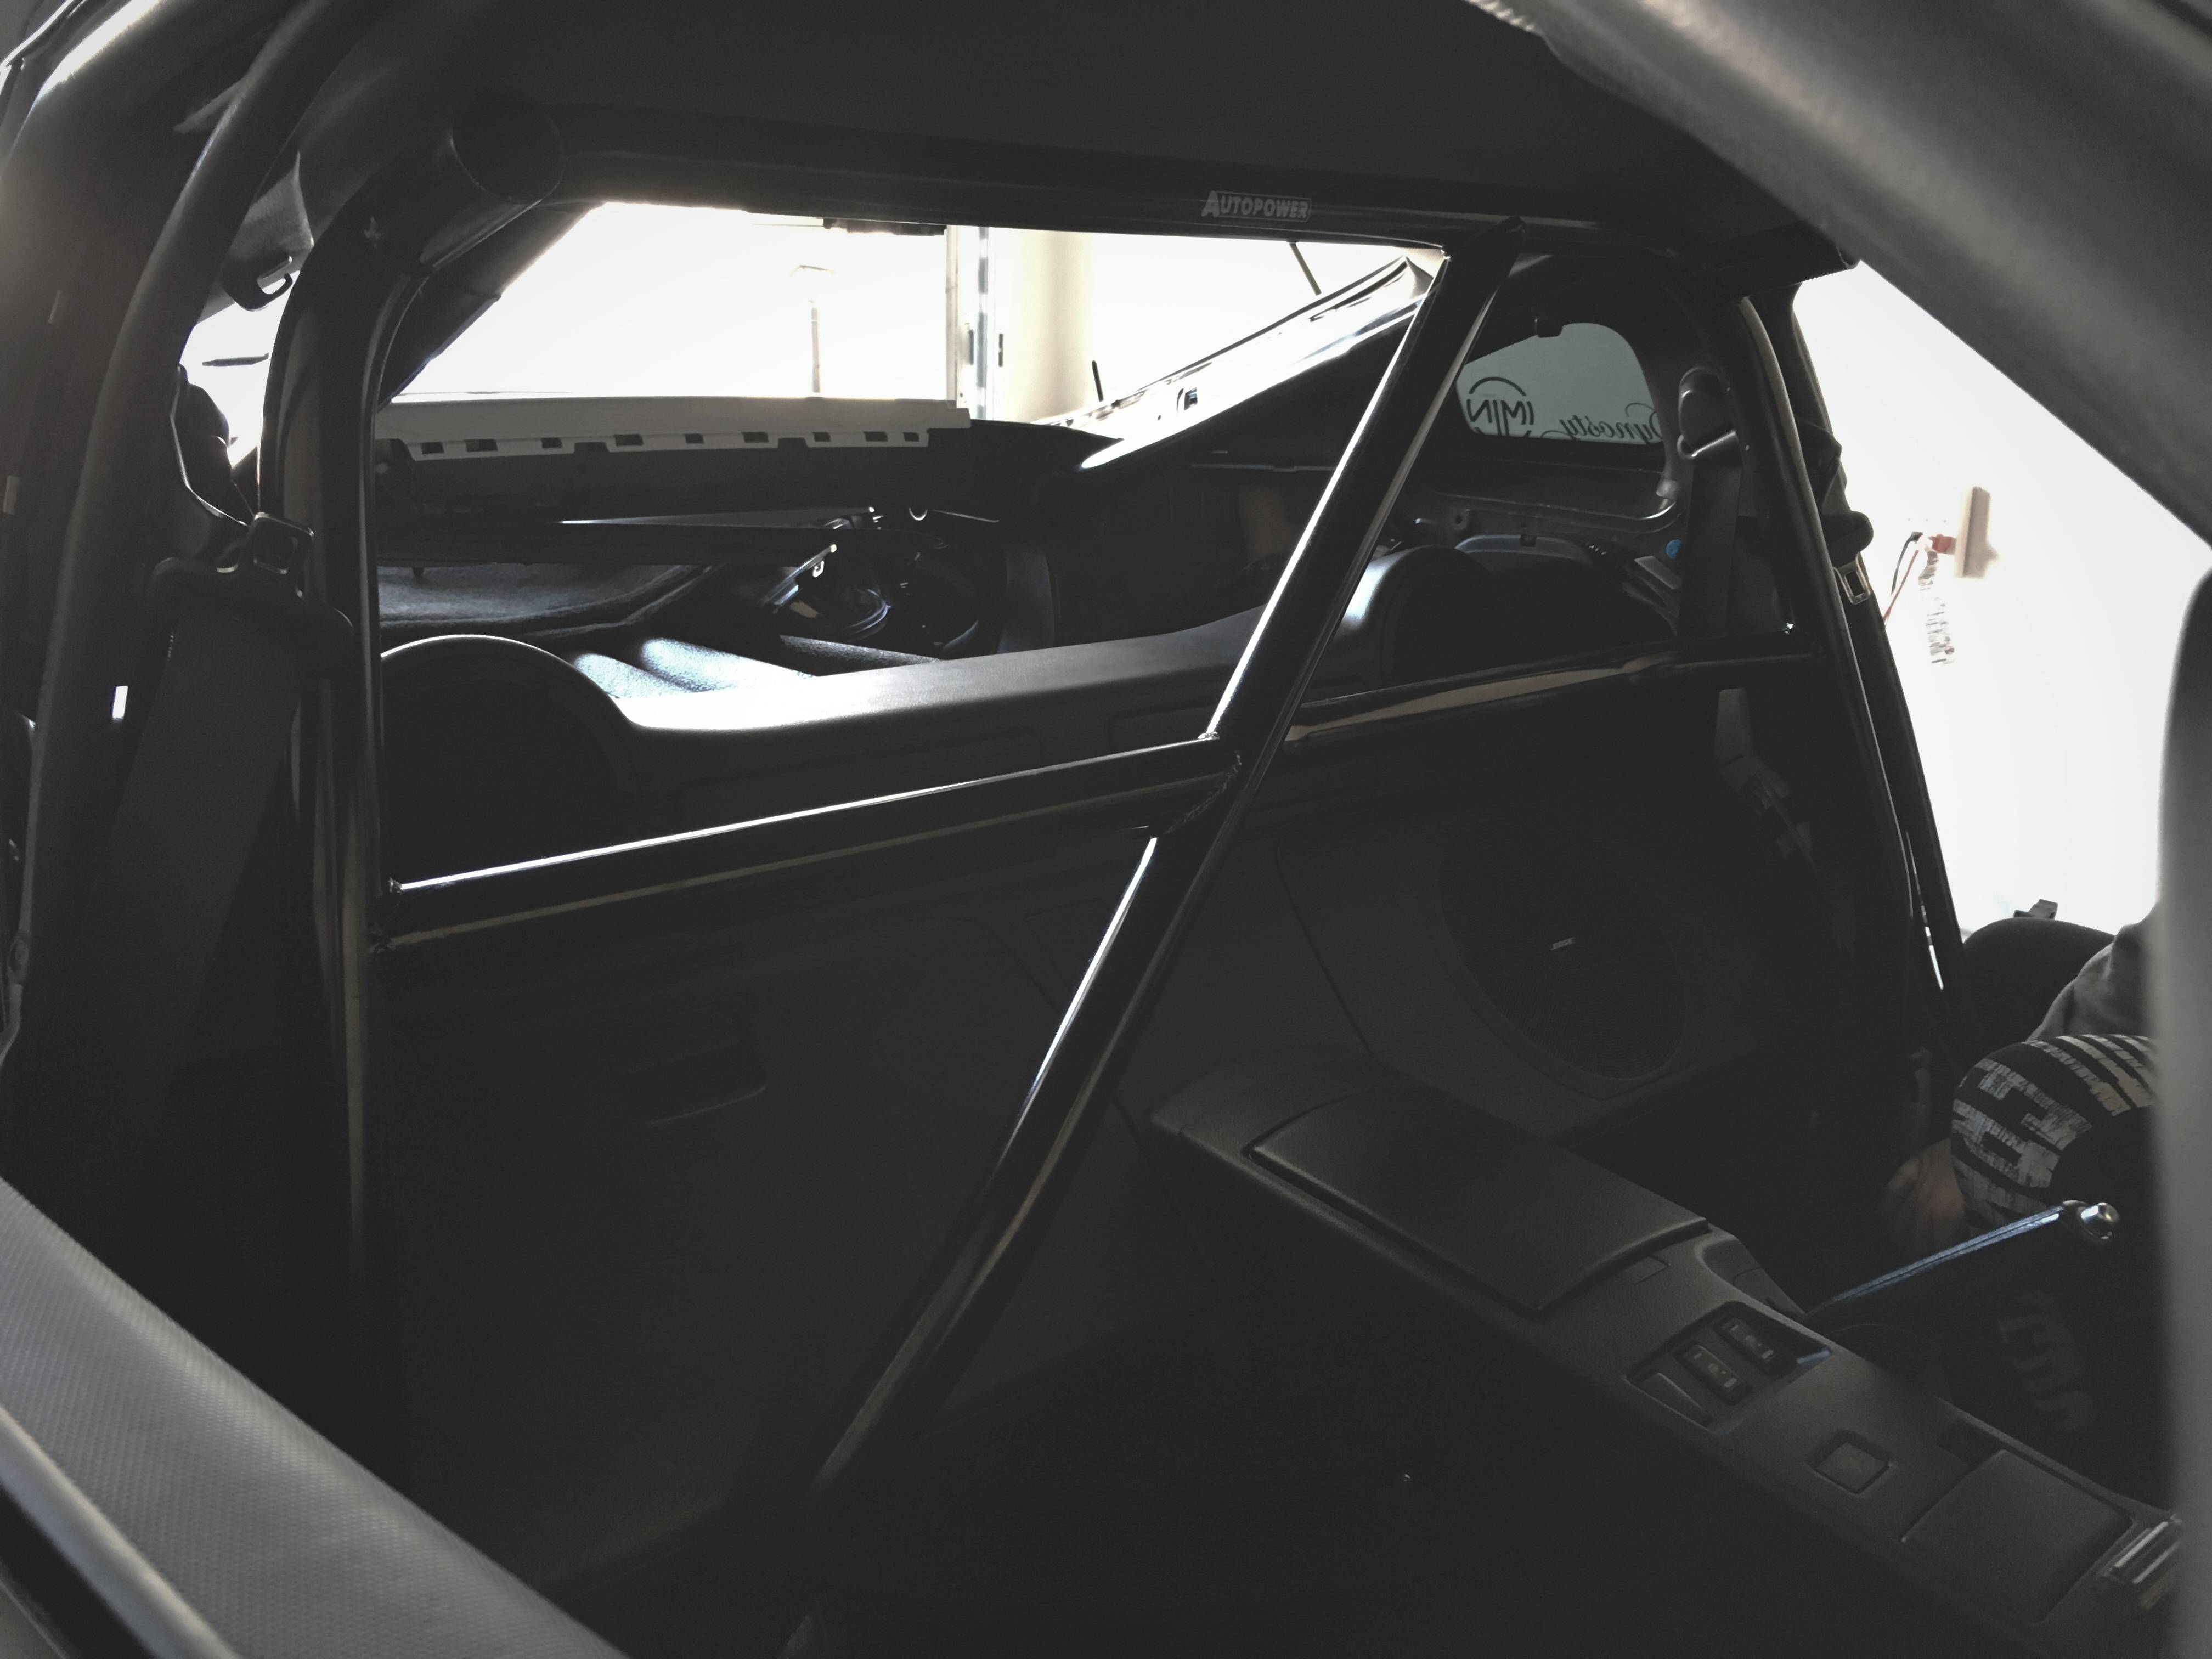
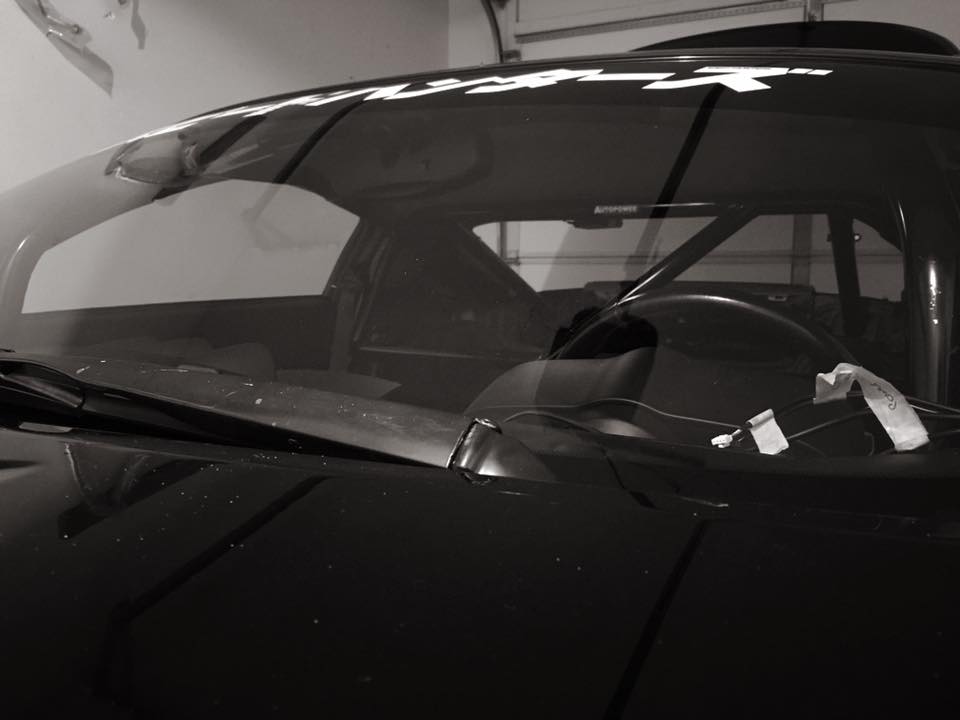
So I finally got the cage fitted into the car complete, but still have to weld everything in now as well as drill the holes for the front portion as well as the slip-overs for the front bars to the main hoop, and the slip-overs for the front bar to the bar just behind the windshield.
The fitment on this thing is super freaking tight, took 3 of us to get everything in and get it into the place it currently sits (Oh, and a decent sized rubber mallet ). I also had to cut the carpet (obviously). Plans to remove the carpet won't be done until I move away after graduating and am running standalone,etc. That's when I will gut the car, re-paint the interior, and probably go with a full custom cage. But this will do for now.
Here's some pictures to hold everyone over.
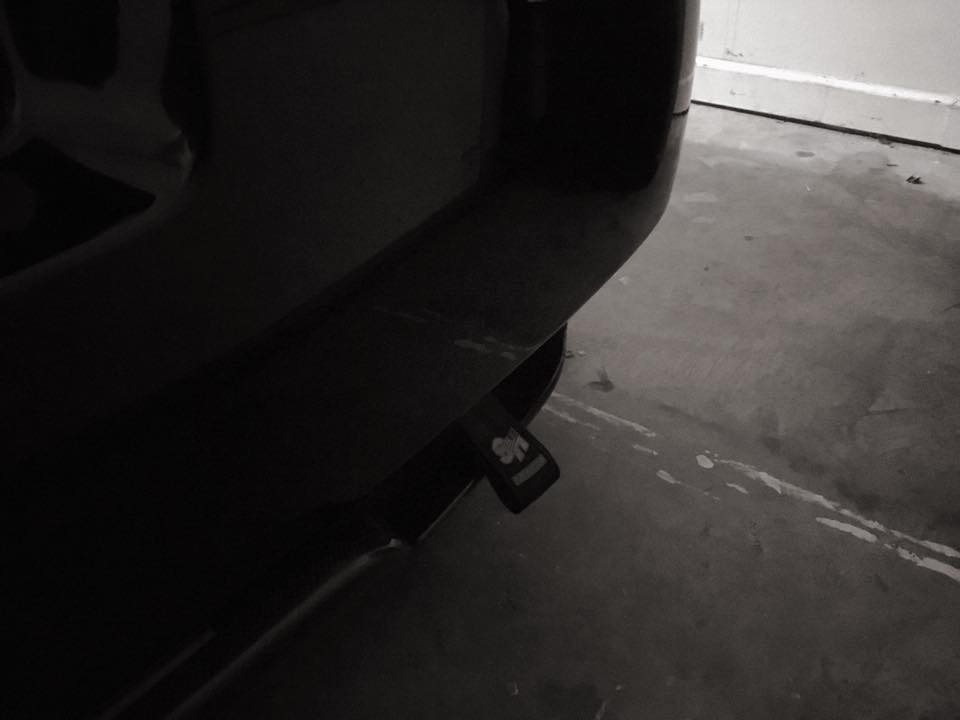
Oh, and I finally mounted the rear tow strap to the car. Took for freaking ever to get this thing in there -.-

Anyhow, here is a small update. Still quite a few things to do on the car of course.
Things left to do:
- NATS Sync (dealership)
- Weld the cage in place
- 10mm Rear Spacers
- Pick up the bumper from paint
- Work on a quick disconnect solution for the bumper
- Mount/Fasten Harnesses
- Put the seats back in
- Seat belt relay? I don't want a seatbelt light -.-
- Mount gauges somewhere else (a-pillar mount won't work
 )
) - Find a new a-pillar for the car -.-
So, #2 on the list is weld the cage in place. Autopower makes this cage, and since SCCA and NASA rules have changed, this cage requires a bit of welding to actually mount the cage in the car. I have to weld the main hoop in, the rear bars to the strut bar in place, and then the door bars have to be welded to the main hoop and the front bars. Which pretty much means that this cage might as well be an entire weld-in cage at this point. Doesn't make too much sense in my opinion, but whatever.
So I finally got the cage fitted into the car complete, but still have to weld everything in now as well as drill the holes for the front portion as well as the slip-overs for the front bars to the main hoop, and the slip-overs for the front bar to the bar just behind the windshield.
The fitment on this thing is super freaking tight, took 3 of us to get everything in and get it into the place it currently sits (Oh, and a decent sized rubber mallet
). I also had to cut the carpet (obviously). Plans to remove the carpet won't be done until I move away after graduating and am running standalone,etc. That's when I will gut the car, re-paint the interior, and probably go with a full custom cage. But this will do for now.Here's some pictures to hold everyone over.

Oh, and I finally mounted the rear tow strap to the car. Took for freaking ever to get this thing in there -.-
 04-03-2016, 12:20 AM
#154

 05-10-2016, 01:13 PM
#156
Registered User
Thread Starter
iTrader: (2)
Wow, it has been a while...
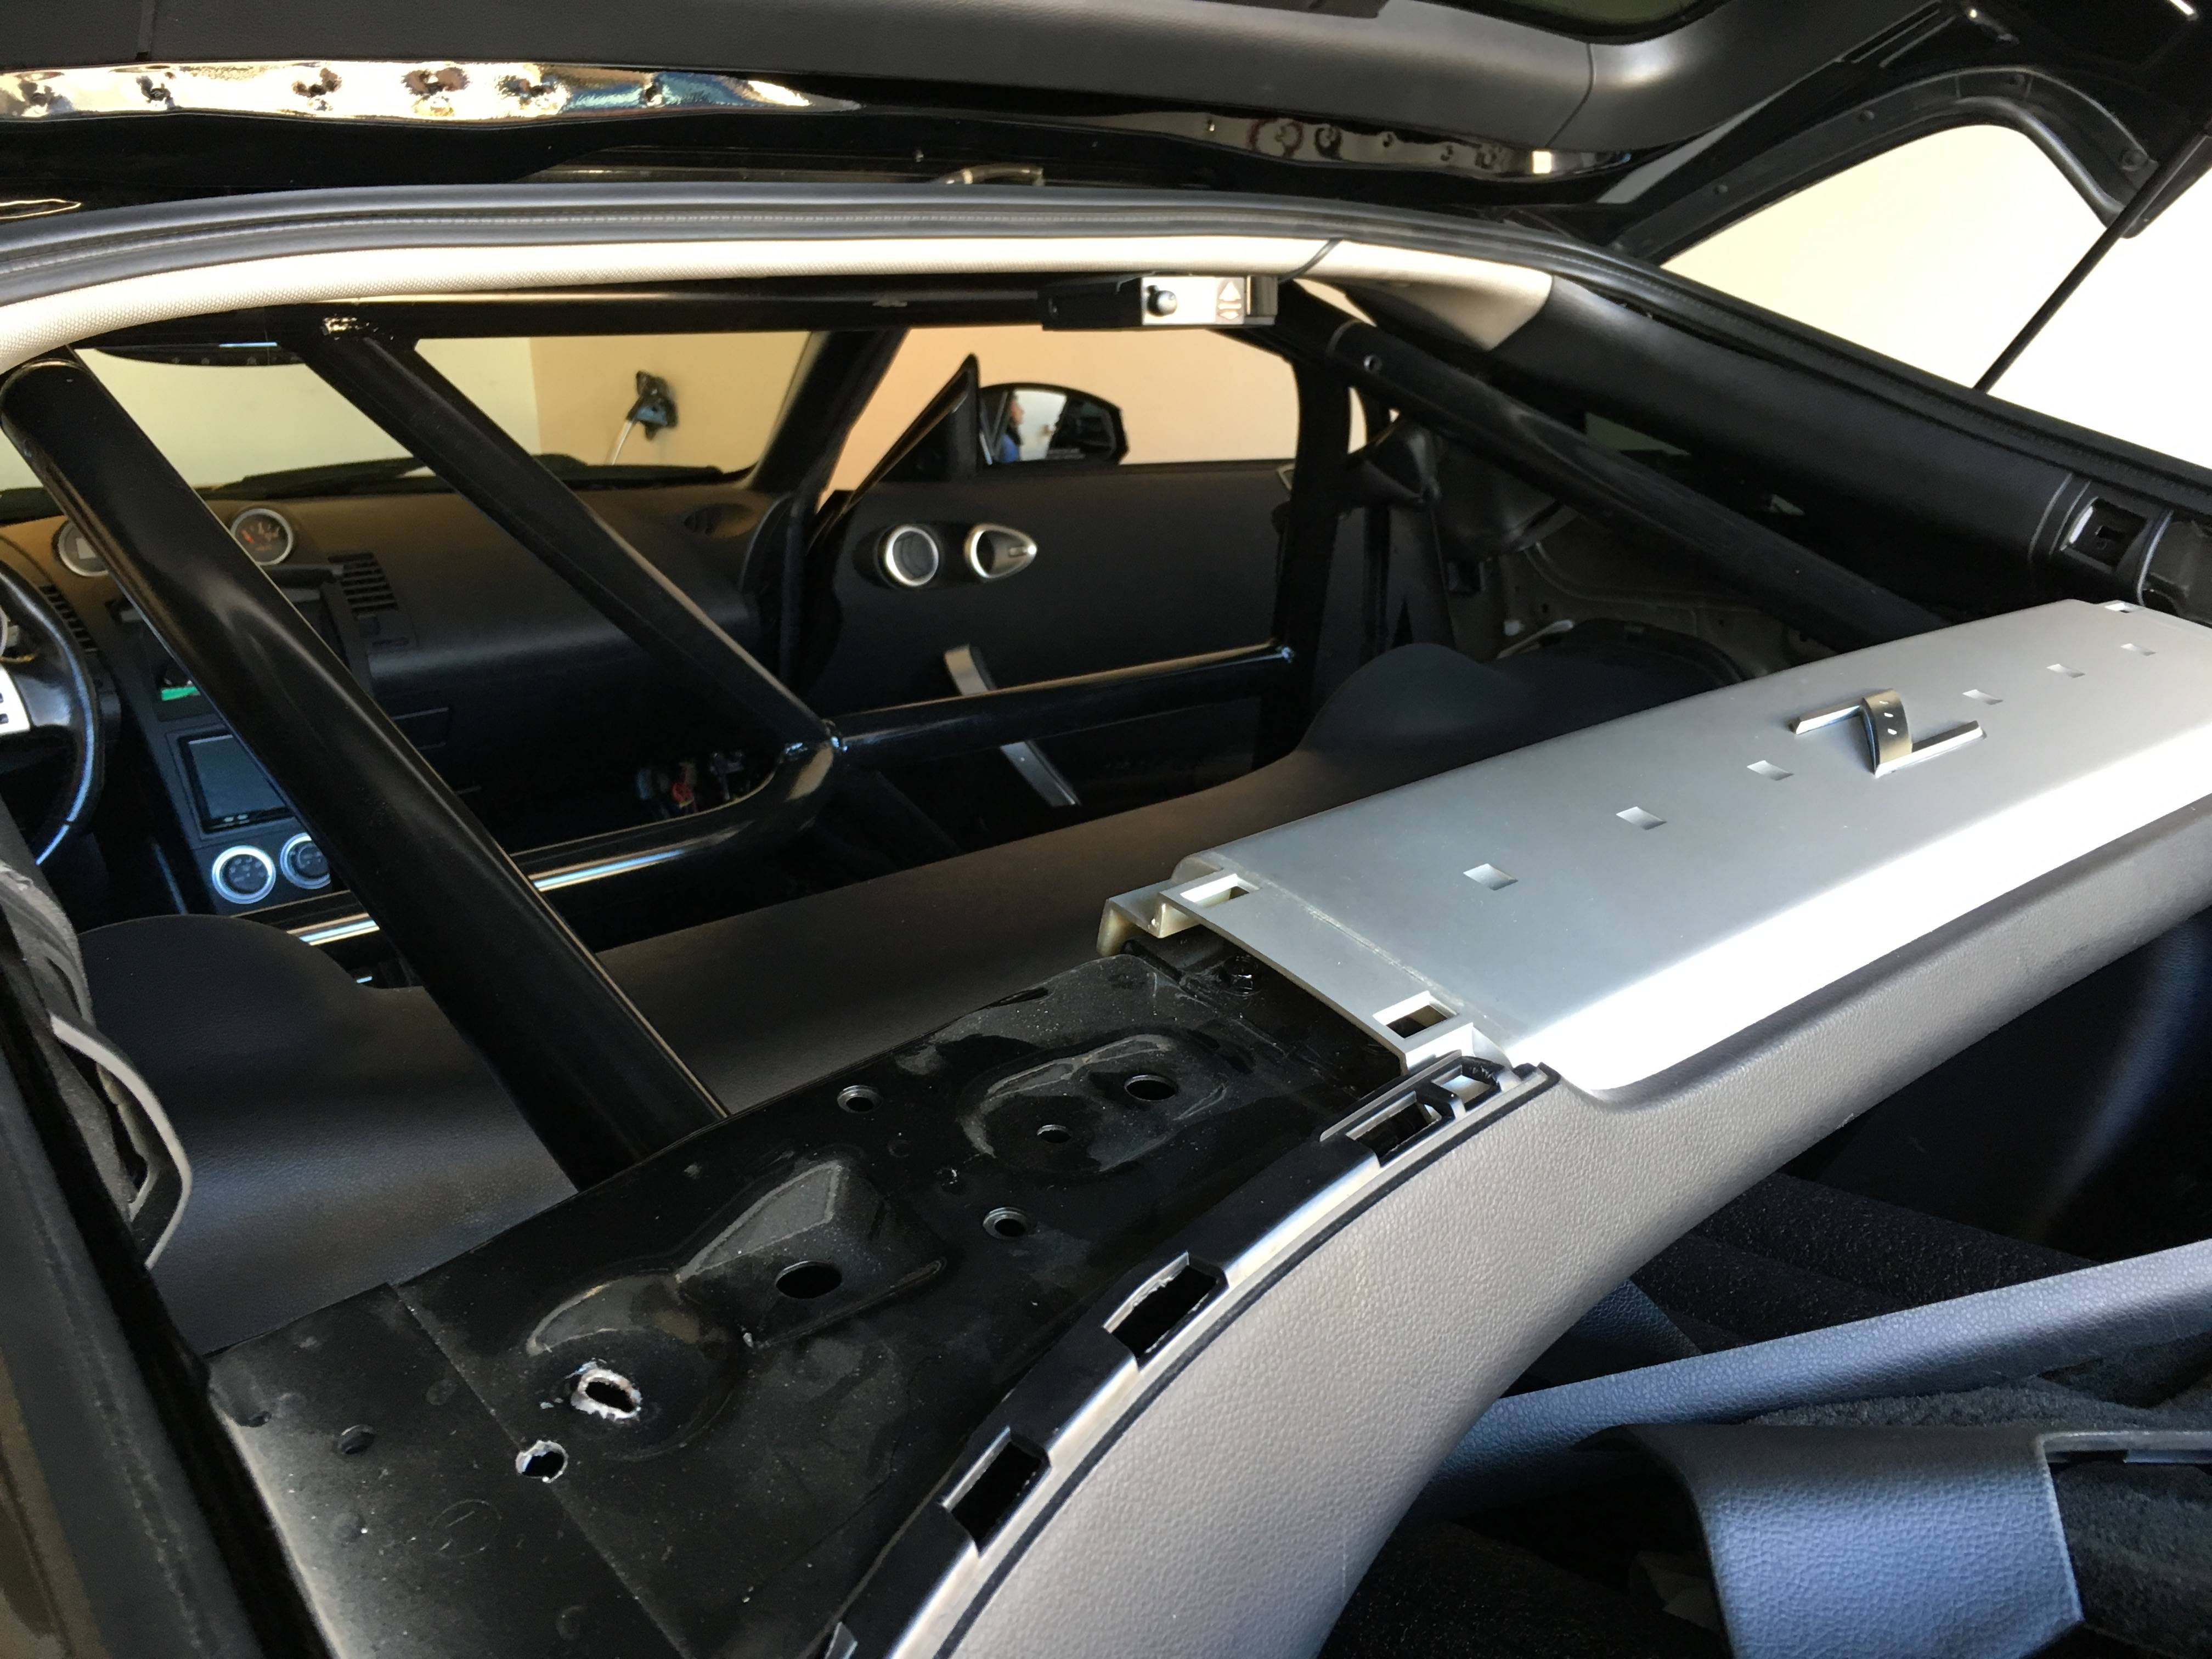
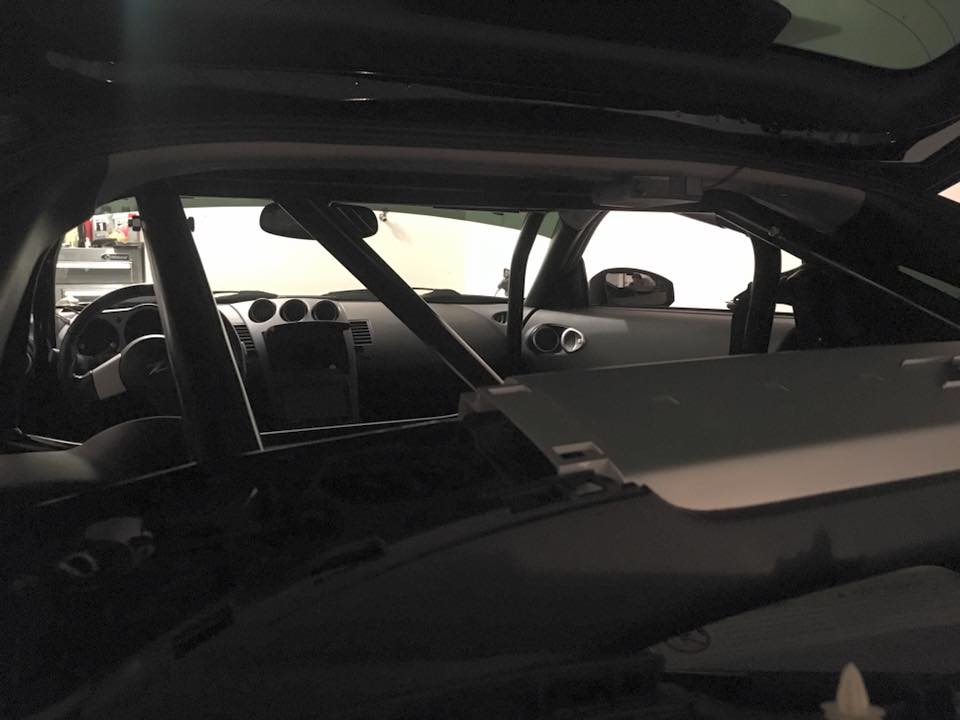
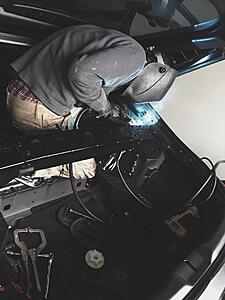
So there has been a lot that has happened since the last update. Got the cage welded in thanks to my buddy Chuck. Here's a bit of an action shot. Can't thank this guy enough for lending his help and welding expertise to weld in the cage.
Though this Autopower cage is a "bolt-in" cage, the new SCCA and NASA guidelines state that the cage must be welded in per the way this one is constructed, according to Autopower that is. So that main hoop had to be welded in, and so did the rear bars to the strut brace. After that, everything bolted in (the rear bars to the main hoop), and the halo.
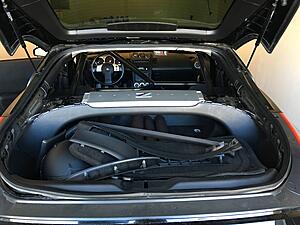
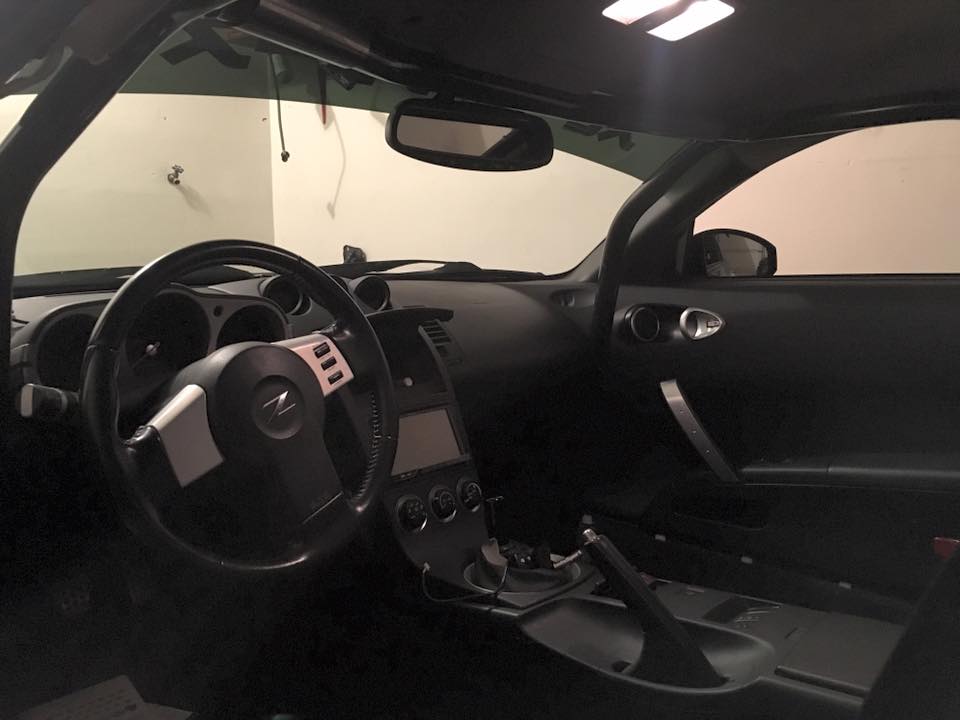
After welding the cage in and getting that all addressed, it was time to put the seats and harnesses into the car and get everything set up. I went ahead and put the seats in first and did the harnesses after so I Could make sure that it was addressed accordingly per the length of the harnesses and where I wanted them to sit.

Now that the seats are in, and the harnesses on, etc, it was time to get the car ready to take to the dealership to get the new ECU synced. So I prepared to have the car towed to the dealership, tow truck arrived and got it over to the dealership. Registered the ECU, but for some reason the car was still running at ~75% fuel trim, which was definitely not right. So the car would idle dip randomly and then die. So I decided to try and limp it to the house, after driving it around the dealership a couple of times, the brakes were super spongey, and the car ended up dying on the second lap around the dealership and the car would not crank over at all.
At this point, I had enough and decided to send the car back down to Dynosty to have them look at the car and address the issues that the car had been giving me. After they had worked on it they found that the main engine to chassis ground was bad. For some reason, Momentum has a bracket for the charge pipe on the passenger side which mounts on that chassis ground, and I had also lost a bolt there. This had been providing enough resistance through the harness to pop the ECU's, injector drivers, and ignition coils. I'm ultimately glad that it didn't do more damage to the other components within the car, and I'm extremely happy and thankful that Dynosty figured out what the issue was, and fairly quickly. There are still a few little quirks about the car that need to be ironed out, but I know that the car is in much better shape now than it was. I still need to do an ohm test on the fuel pump hanger and the sending unit to see what is going on with my gas gauge and why it is reading incorrectly, and then I also need to replace the throttle body I'm fairly certain (more information on this in the bottom of this post).
For some reason, even when Hal had fixed the ground and resynced the ECU, etc, there was still the issue of the fuel trim being off. We are still uncertain why this happened as there is nothing mechanically that has changed on the car, the fuel pumps, injectors, maf, throttle body, etc., are all the same.

So - the car runs now.
Here is a picture that Jill at Dynosty took for me to ease my separation anxiety haha
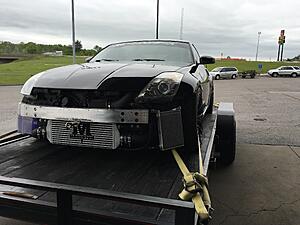
Towing the car back from Dynosty. Important note: The strap looks like it's pulling the oil cooler out, but it's not. The oil cooler is actually fixed in that position, at a slight angle to clear the bumper and ensure that the bumper mounts to the car/fenders properly.
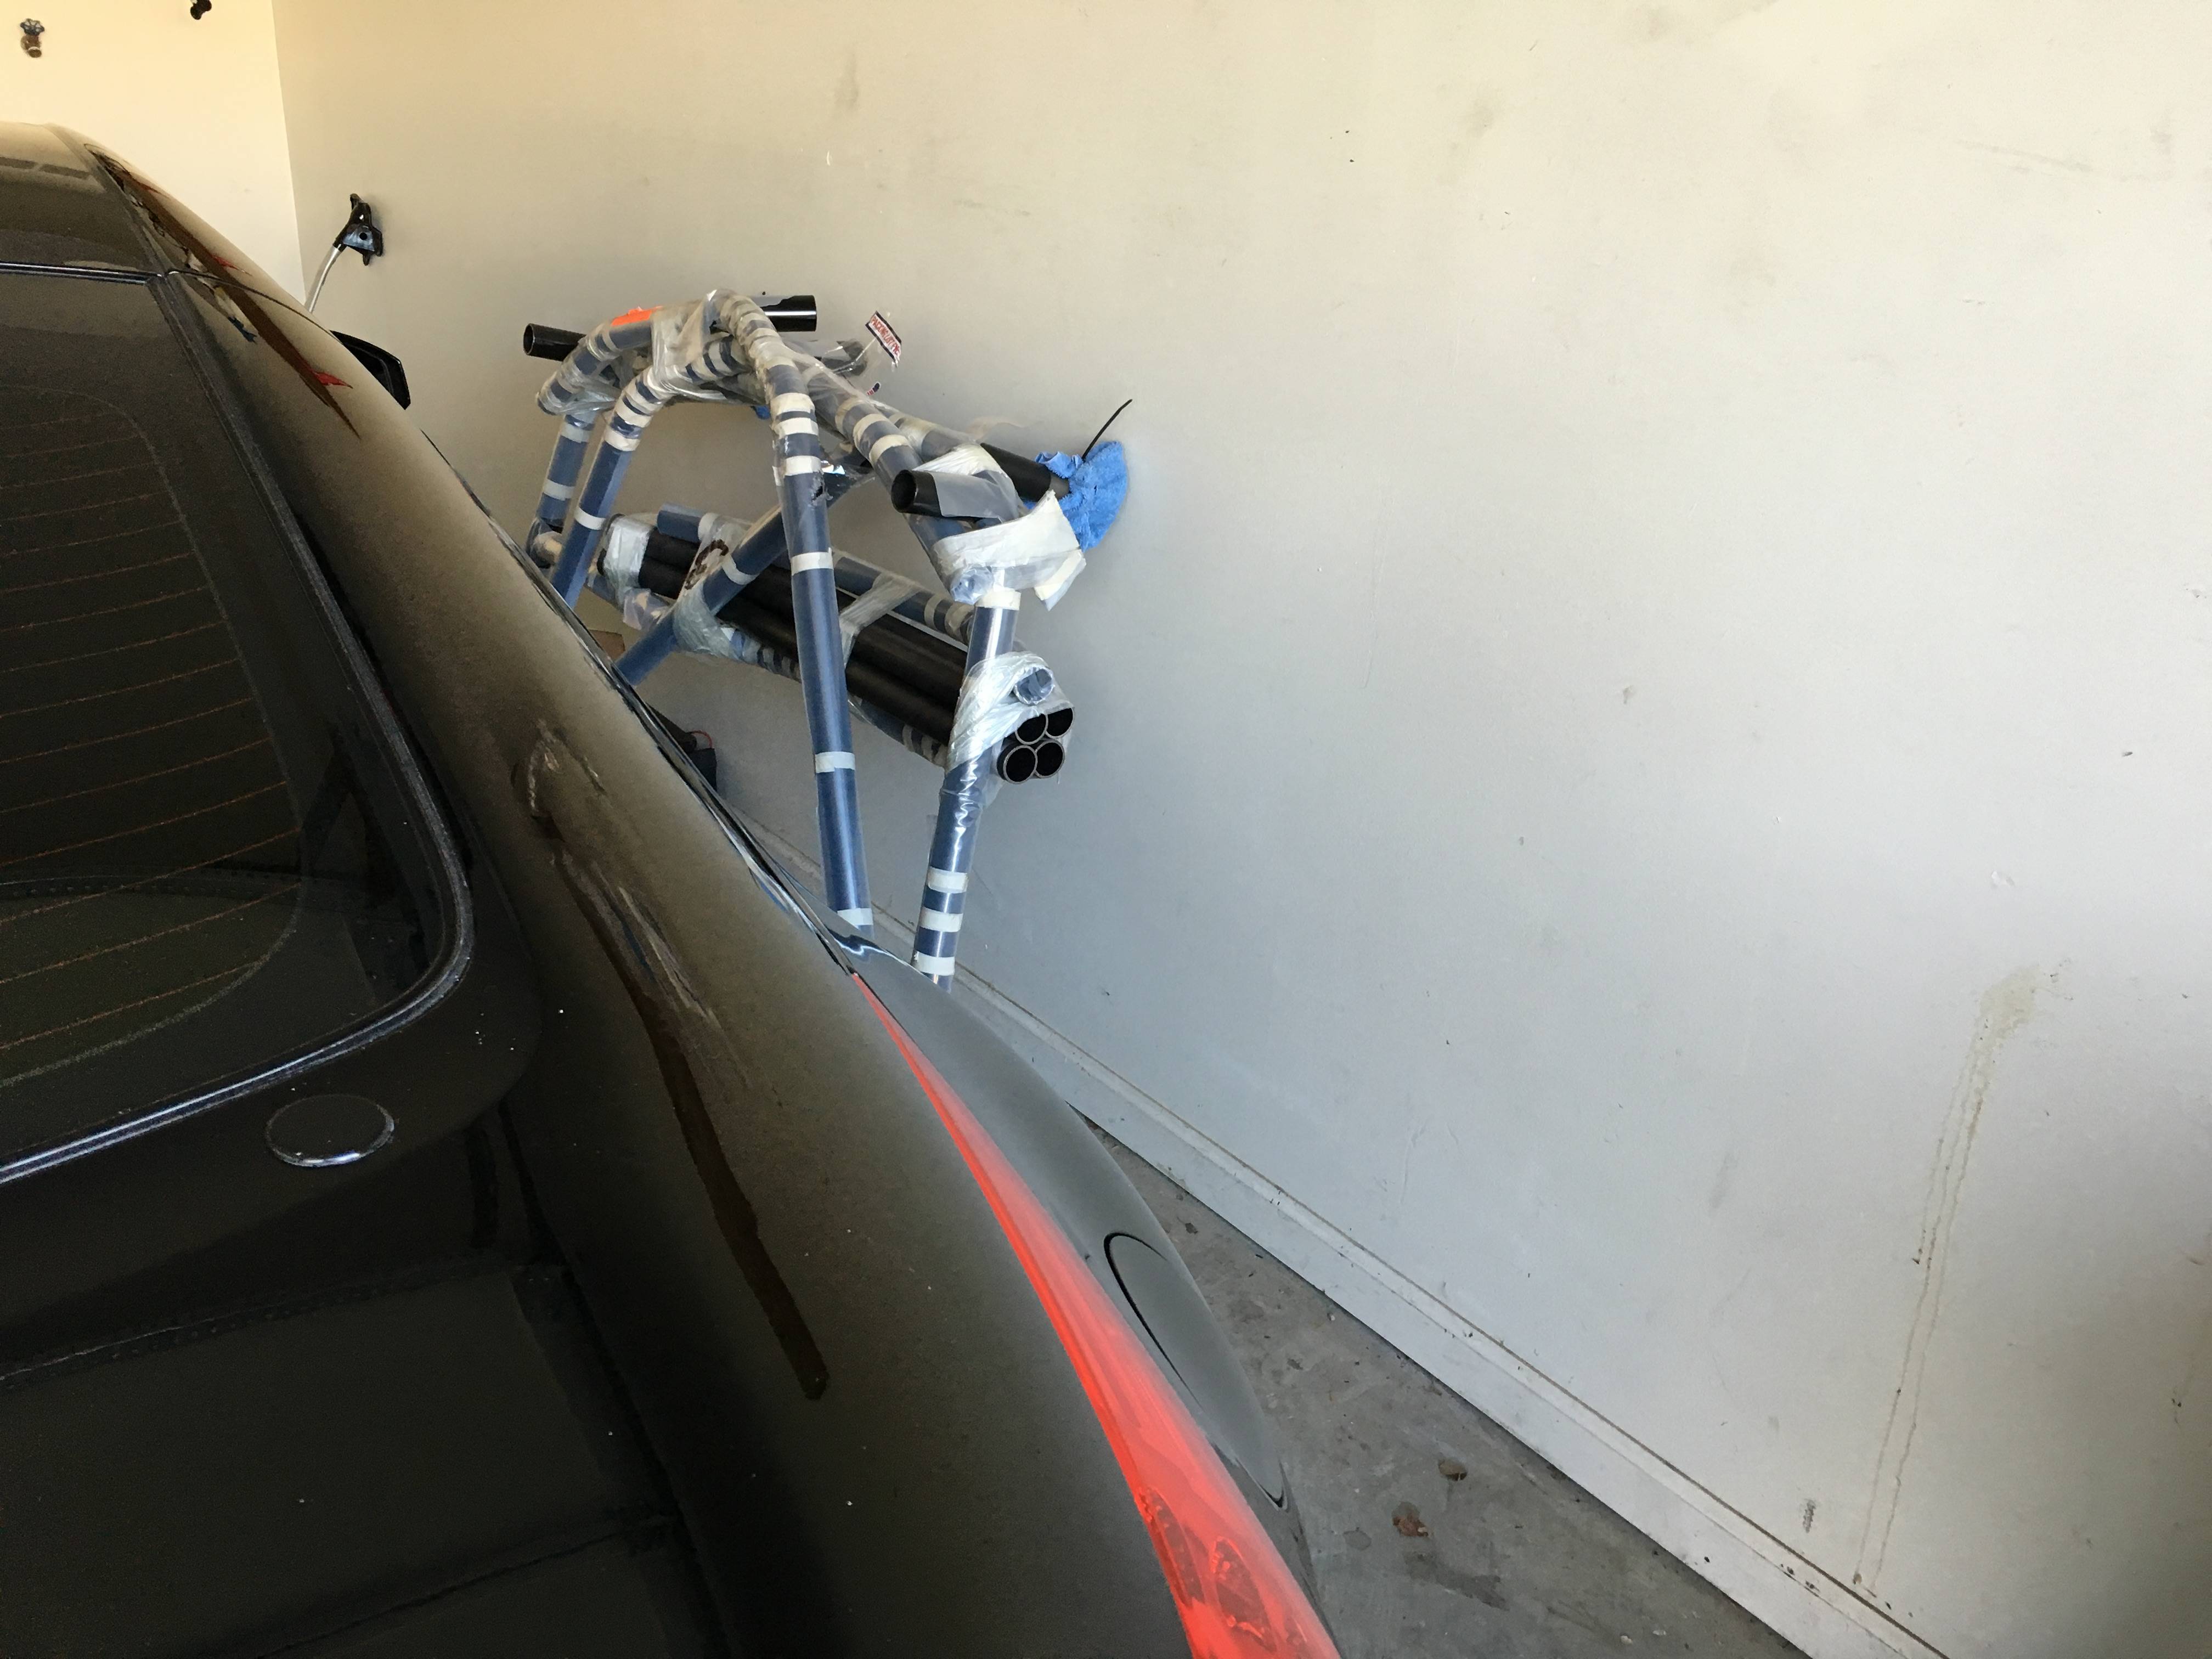
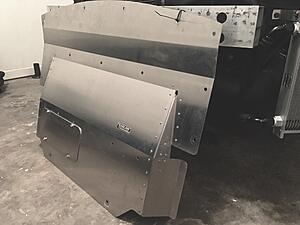
Some other fun stuff: picked up a RareJDM aluminum undershroud. I got this thing for half cost of a new TBW or ZSpeed undershroud, so I can't complain. I know a lot of the purists are going to hate me for this, but I don't really care too much because I got this for functionality and because it was cheap. But I have to cut a pretty decent sized hole in the undershroud for my external wastegate.
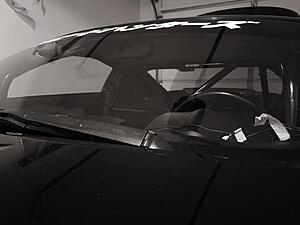
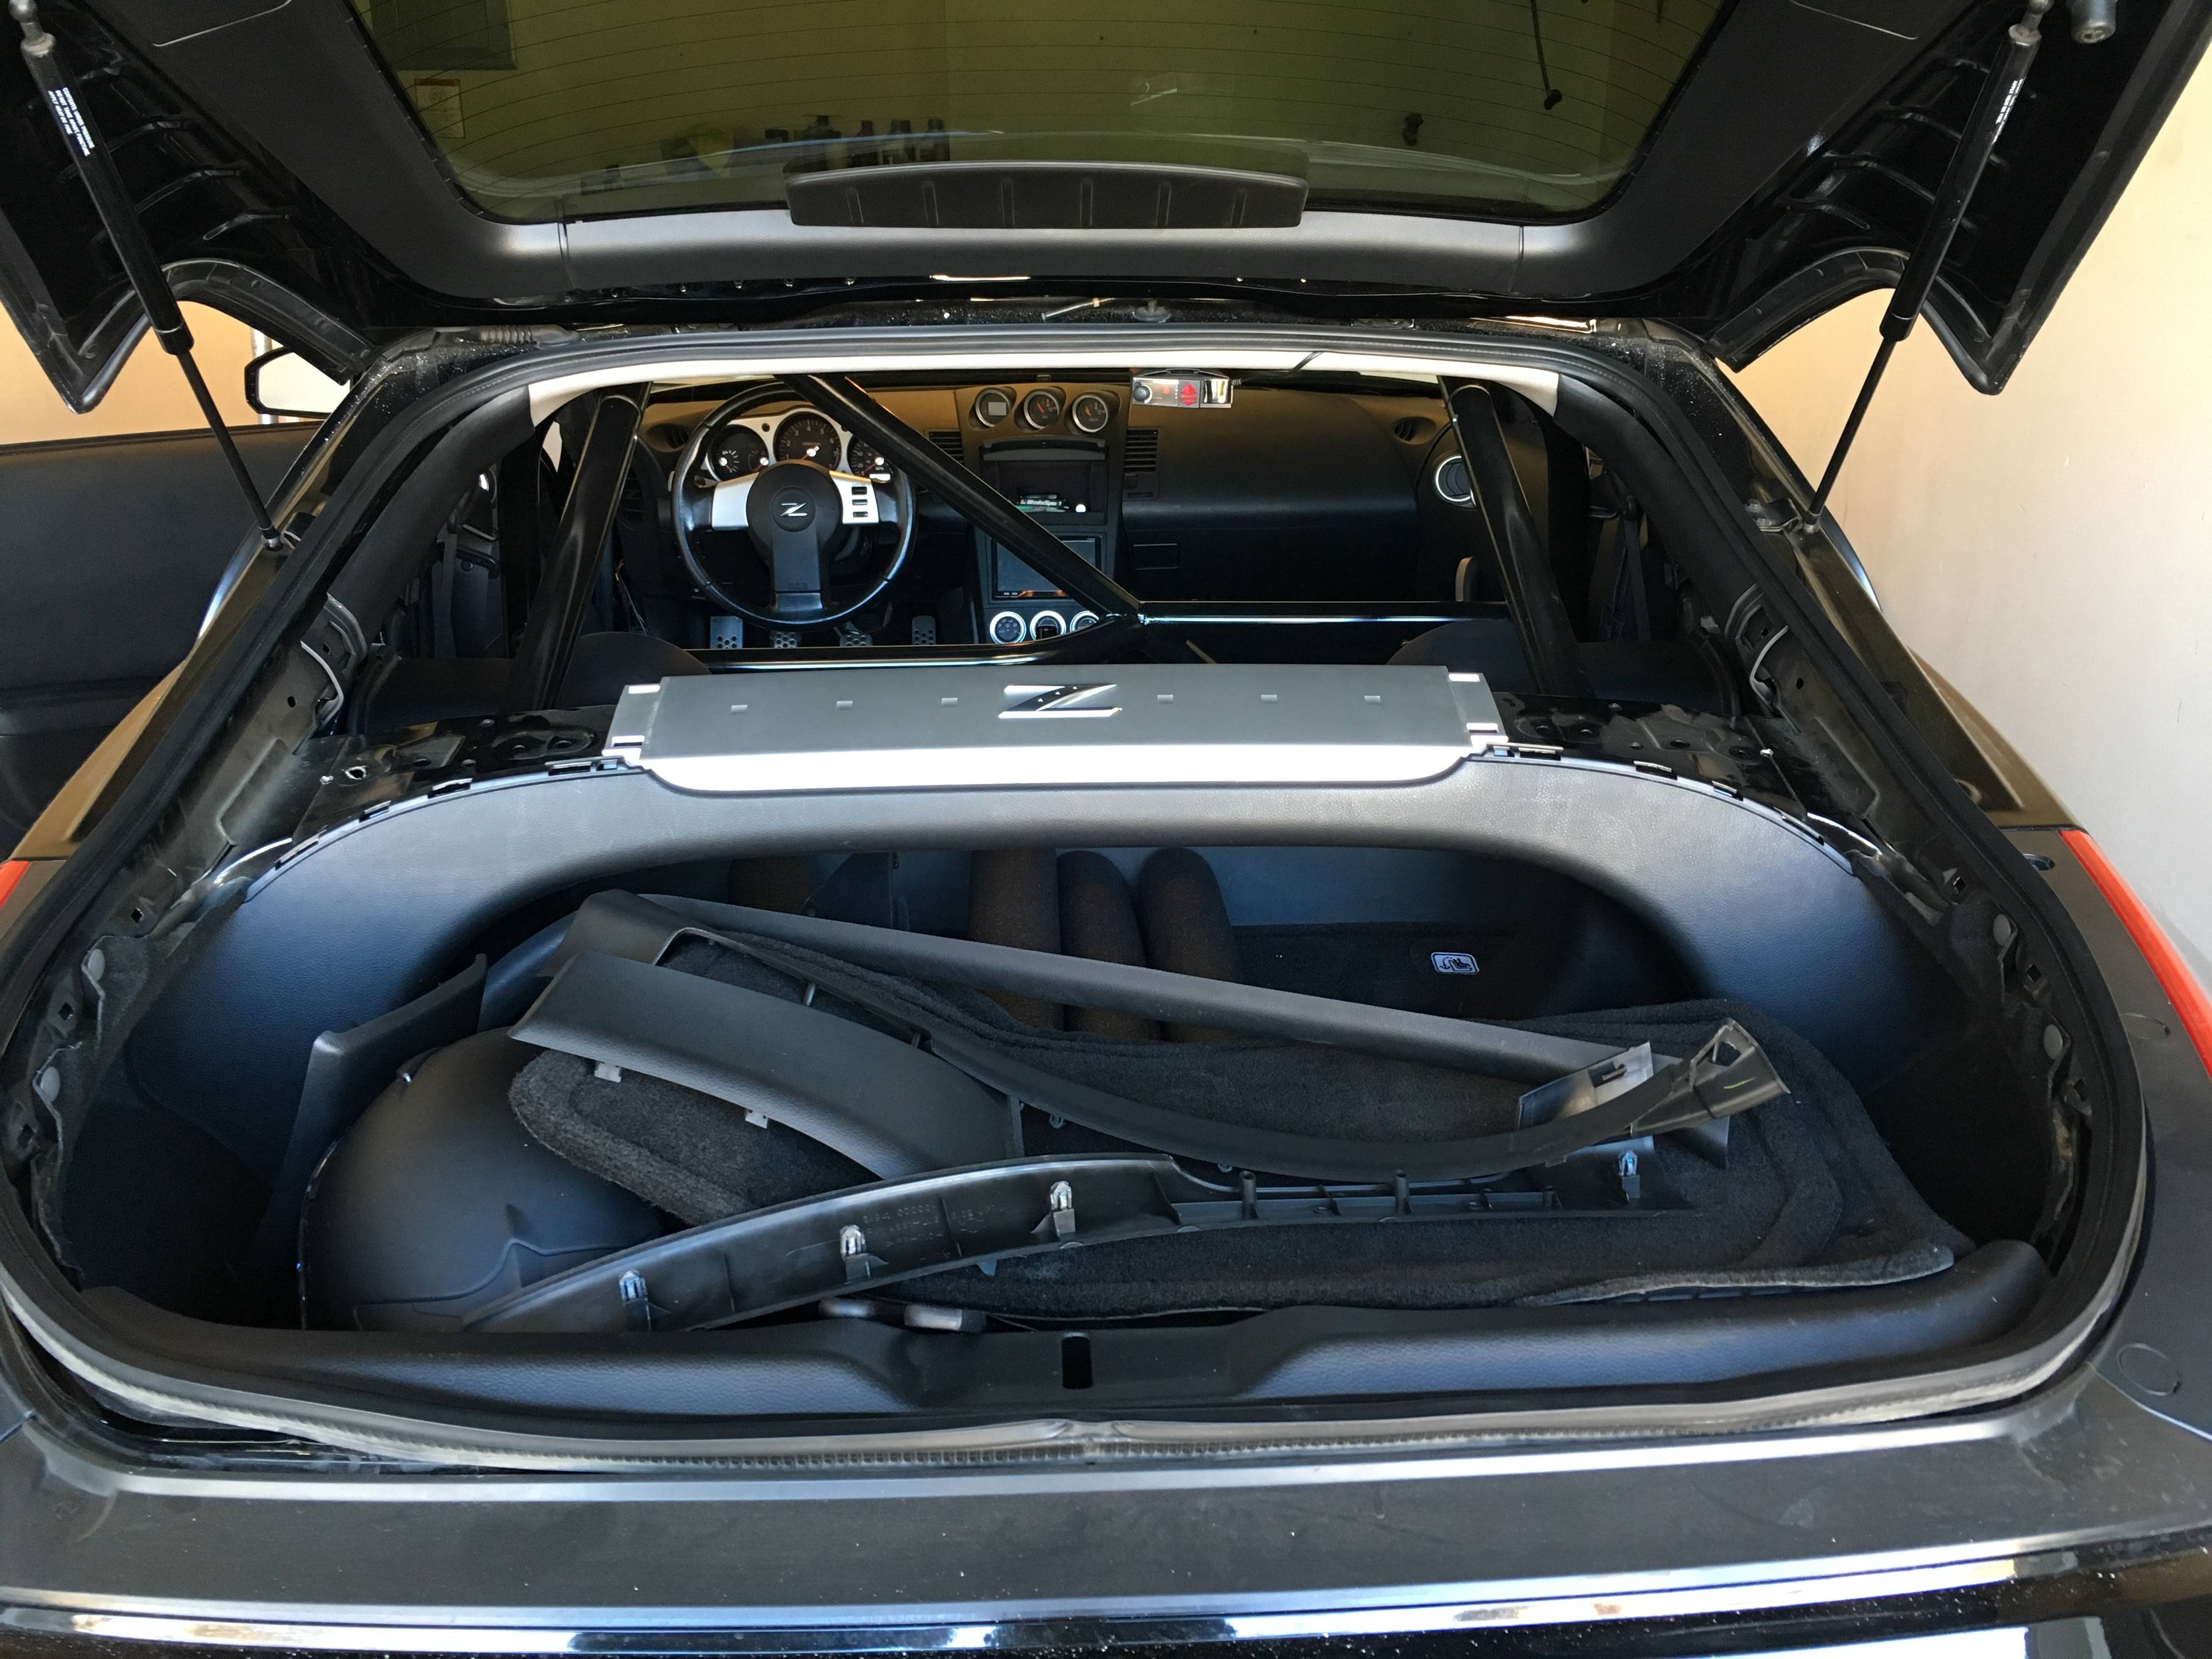
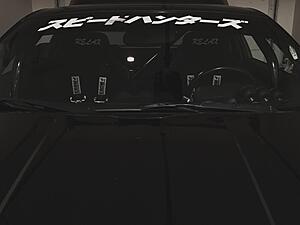
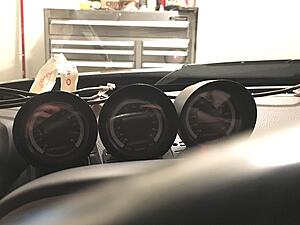
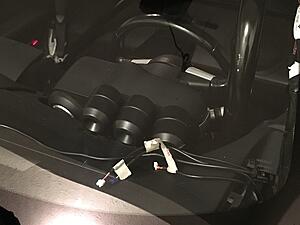
Also, I mentioned earlier that I had to move my gauges due to the cage being in the way. I ended up sticking them on the dash using some double sided mounting tape which has held up really well so far. I ended up finding someone who needed a triple pillar pod and wanted to trade for an OEM a pillar, so it worked out to my advantage. At first I was worried how this would look (maybe a bit too ricey), but then I remembered how the rest of the car looks, and it looks like a racecar, and it is a racecar, so I decided to stop worrying about that. The gauges are in a "meh" location to be honest, but I couldn't really come up with anything better in the amount of time that I had. The oil temp is going to be a bit hard to see at certain points, but if I stretch just right, it's visible, as is the boost gauge. The wideband is visible in almost every position of the driver's seat.
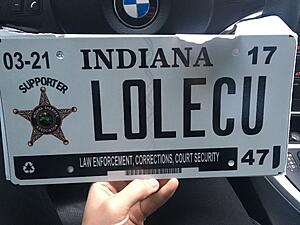
And lastly of new things obtained, I got a new license plate. Figured I would have a little bit of fun with it now that the ban on personalized license plates has been lifted. So I decided to play with it and have some fun with my situation that I've been going through for the past 9 months or so.
So, some more information to add to all of this:
Drove the car about 300 miles over the weekend, made it to Street Car Takeover, and had a great time driving the car. It's fantastic to be back in the car.
The bumper is awesome, and I'm super happy with the way it looks, it makes the car look so much sportier and so much more aggressive. But I'll have a full write up on the bumper on my next update. I believe I'm going out to shoot the bumper tomorrow with my roommate, and to drive the car a little bit more.
I did notice today that the paint is literally flaking off of the bumper, and the paint job is not all that stellar, so I will likely be taking it back to the body shop to have them fix these issues as I paid a lot of money to have them paint the bumper.
I also noticed I have a small leak from the oil cooler and whatnot, so I will be addressing that issue later this evening as having oil in the car is definitely important
Another couple things to touch up on: getting the oil temp sensor to display a temperature, currently displays dashes across the display for some reason, and tightening the passenger side seat just a little bit more (creaks just a little bit when someone around 200lbs sits in the seat and there is stress on the seat).
Something else that has been happening is that the car has extreme idle dips, and the car will actually shut off randomly when coming to a stop. I haven't figured out how to replicate this issue, but I'm fairly certain that the issue lies within the throttle body. Hal noticed this when it was at Dynosty, and mentioned it to me as well, so I think this is something that I'll be replacing in the very near future.
But that is it for this update! Look forward to the next update which will have pictures of the car in its current state, and all cleaned up as well as pictures of the new bumper up close, etc.
So there has been a lot that has happened since the last update. Got the cage welded in thanks to my buddy Chuck. Here's a bit of an action shot. Can't thank this guy enough for lending his help and welding expertise to weld in the cage.
Though this Autopower cage is a "bolt-in" cage, the new SCCA and NASA guidelines state that the cage must be welded in per the way this one is constructed, according to Autopower that is. So that main hoop had to be welded in, and so did the rear bars to the strut brace. After that, everything bolted in (the rear bars to the main hoop), and the halo.

After welding the cage in and getting that all addressed, it was time to put the seats and harnesses into the car and get everything set up. I went ahead and put the seats in first and did the harnesses after so I Could make sure that it was addressed accordingly per the length of the harnesses and where I wanted them to sit.
Now that the seats are in, and the harnesses on, etc, it was time to get the car ready to take to the dealership to get the new ECU synced. So I prepared to have the car towed to the dealership, tow truck arrived and got it over to the dealership. Registered the ECU, but for some reason the car was still running at ~75% fuel trim, which was definitely not right. So the car would idle dip randomly and then die. So I decided to try and limp it to the house, after driving it around the dealership a couple of times, the brakes were super spongey, and the car ended up dying on the second lap around the dealership and the car would not crank over at all.
At this point, I had enough and decided to send the car back down to Dynosty to have them look at the car and address the issues that the car had been giving me. After they had worked on it they found that the main engine to chassis ground was bad. For some reason, Momentum has a bracket for the charge pipe on the passenger side which mounts on that chassis ground, and I had also lost a bolt there. This had been providing enough resistance through the harness to pop the ECU's, injector drivers, and ignition coils. I'm ultimately glad that it didn't do more damage to the other components within the car, and I'm extremely happy and thankful that Dynosty figured out what the issue was, and fairly quickly. There are still a few little quirks about the car that need to be ironed out, but I know that the car is in much better shape now than it was. I still need to do an ohm test on the fuel pump hanger and the sending unit to see what is going on with my gas gauge and why it is reading incorrectly, and then I also need to replace the throttle body I'm fairly certain (more information on this in the bottom of this post).
For some reason, even when Hal had fixed the ground and resynced the ECU, etc, there was still the issue of the fuel trim being off. We are still uncertain why this happened as there is nothing mechanically that has changed on the car, the fuel pumps, injectors, maf, throttle body, etc., are all the same.
So - the car runs now.
Here is a picture that Jill at Dynosty took for me to ease my separation anxiety haha

Towing the car back from Dynosty. Important note: The strap looks like it's pulling the oil cooler out, but it's not. The oil cooler is actually fixed in that position, at a slight angle to clear the bumper and ensure that the bumper mounts to the car/fenders properly.

Some other fun stuff: picked up a RareJDM aluminum undershroud. I got this thing for half cost of a new TBW or ZSpeed undershroud, so I can't complain. I know a lot of the purists are going to hate me for this, but I don't really care too much because I got this for functionality and because it was cheap. But I have to cut a pretty decent sized hole in the undershroud for my external wastegate.

Also, I mentioned earlier that I had to move my gauges due to the cage being in the way. I ended up sticking them on the dash using some double sided mounting tape which has held up really well so far. I ended up finding someone who needed a triple pillar pod and wanted to trade for an OEM a pillar, so it worked out to my advantage. At first I was worried how this would look (maybe a bit too ricey), but then I remembered how the rest of the car looks, and it looks like a racecar, and it is a racecar, so I decided to stop worrying about that. The gauges are in a "meh" location to be honest, but I couldn't really come up with anything better in the amount of time that I had. The oil temp is going to be a bit hard to see at certain points, but if I stretch just right, it's visible, as is the boost gauge. The wideband is visible in almost every position of the driver's seat.


And lastly of new things obtained, I got a new license plate. Figured I would have a little bit of fun with it now that the ban on personalized license plates has been lifted. So I decided to play with it and have some fun with my situation that I've been going through for the past 9 months or so.

So, some more information to add to all of this:
Drove the car about 300 miles over the weekend, made it to Street Car Takeover, and had a great time driving the car. It's fantastic to be back in the car.
The bumper is awesome, and I'm super happy with the way it looks, it makes the car look so much sportier and so much more aggressive. But I'll have a full write up on the bumper on my next update. I believe I'm going out to shoot the bumper tomorrow with my roommate, and to drive the car a little bit more.
I did notice today that the paint is literally flaking off of the bumper, and the paint job is not all that stellar, so I will likely be taking it back to the body shop to have them fix these issues as I paid a lot of money to have them paint the bumper.
I also noticed I have a small leak from the oil cooler and whatnot, so I will be addressing that issue later this evening as having oil in the car is definitely important
Another couple things to touch up on: getting the oil temp sensor to display a temperature, currently displays dashes across the display for some reason, and tightening the passenger side seat just a little bit more (creaks just a little bit when someone around 200lbs sits in the seat and there is stress on the seat).
Something else that has been happening is that the car has extreme idle dips, and the car will actually shut off randomly when coming to a stop. I haven't figured out how to replicate this issue, but I'm fairly certain that the issue lies within the throttle body. Hal noticed this when it was at Dynosty, and mentioned it to me as well, so I think this is something that I'll be replacing in the very near future.
But that is it for this update! Look forward to the next update which will have pictures of the car in its current state, and all cleaned up as well as pictures of the new bumper up close, etc.
Last edited by QuintonC; 05-10-2016 at 01:26 PM.

 05-16-2016, 10:55 AM
#160
Registered User
Thread Starter
iTrader: (2)
That being said, I should have more pictures coming up here soon of the car. Our little shoot last week got rained out, so we're trying to arrange a new day where we can get together and shoot.