QuintonC's 350Z Build
 12-08-2014, 04:09 PM
#1
Registered User
Thread Starter
iTrader: (2)

This has been a long time coming, and I've just neglected to make one.
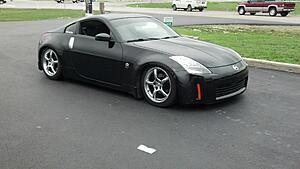
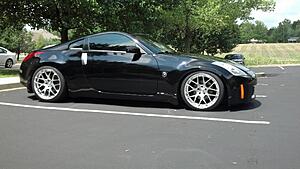
So initially I picked up this 2005 Super Black Nissan 350Z as a dream car of mine. I had wanted one for quite a while, did a lot of research, and determined that this was the next car I wanted to get.
My first car(s) were 200(2,4) Jaguar X-Types (fancy Ford Taurus). I fell in love with the car, and wanted to do crazy stance things to it. However, mom and dad totaled my first one, and the second one had British problems. So after doing months on months of research, I decided that the 2005 was the platform for me to jump on. I wanted to grab an 07/8, but it was out of my price range at the time.
I threw roughly 10k down and the rest was a present from my parents (insert hate below ).
).
As soon as I got it, my parents told me that I could do whatever I wanted to with the car as it was mine, but they wouldn't help. Seemed like a fair trade to me, right?
So I worked tirelessly, day after day, saving my money to get the parts to lower the car, get the wheels on, get the alignment goodies, and tires for the Z. And the rest has been steady progress from there.
I will create a new post for each item that I have added to the car, or each time I have done something with/to the car.
If you would like to keep up with the Z on a much quicker pace, feel free to follow me at @quinton_c on Instagram.
Pics to follow
So initially I picked up this 2005 Super Black Nissan 350Z as a dream car of mine. I had wanted one for quite a while, did a lot of research, and determined that this was the next car I wanted to get.
My first car(s) were 200(2,4) Jaguar X-Types (fancy Ford Taurus). I fell in love with the car, and wanted to do crazy stance things to it. However, mom and dad totaled my first one, and the second one had British problems. So after doing months on months of research, I decided that the 2005 was the platform for me to jump on. I wanted to grab an 07/8, but it was out of my price range at the time.
I threw roughly 10k down and the rest was a present from my parents (insert hate below
).As soon as I got it, my parents told me that I could do whatever I wanted to with the car as it was mine, but they wouldn't help. Seemed like a fair trade to me, right?
So I worked tirelessly, day after day, saving my money to get the parts to lower the car, get the wheels on, get the alignment goodies, and tires for the Z. And the rest has been steady progress from there.
I will create a new post for each item that I have added to the car, or each time I have done something with/to the car.
If you would like to keep up with the Z on a much quicker pace, feel free to follow me at @quinton_c on Instagram.
Pics to follow
Last edited by QuintonC; 09-03-2015 at 07:45 AM.
 12-08-2014, 04:33 PM
#2
Registered User
Thread Starter
iTrader: (2)
So to kick off the first post, we will start with the days in which I first got the car.
The beginning of the story is really bittersweet. So my parents are pretty tricky, you see. When it came time to sell the Jag and get the Z, I had been telling my parents how the Z was the car I wanted, I located the car, and offered to put all of my cash down at once to get the car.
My parents initially told me that they got denied to get the car, and felt that it was best due to insurance for the cost of a then 17 year old to be driving a sports car. I agreed and started to look for other platforms, big body sedans (my sweet spot).
Fast forward a week or so, and my father told me after school that I needed to drive him into town to meet my mom so they could go and meet two friends for a comedy club show up in Indianapolis.
So I drop my dad off with my mom and they go on their way. I go home and fantasize about owning a 350z for quite a while until it was time to go to sleep. So I'm in the middle of sleeping, it's a Tuesday night, and my parents get home rather late from said comedy show.
Mom comes to my door and wakes me up and tells me to come help dad inside because he's super drunk (totally believable, gotta admit it's kinda funny thinking about it now).
I walk out the front door expecting to see my father faceplanted in front yard, and instead I am greeted with my Z. It's 2 in the morning, I start freaking out hahah! I have school the next day and can barely sleep, in fact, I don't believe I did. I go to school, and rush home after I get out to learn to drive a manual (yep, that's right.. my first manual car).
So I come home and she's still sitting in the yard.
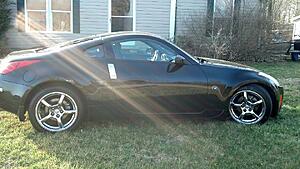
I knew the first thing to do was get the windows tinted, remove the badges up front and get my double din in the car.
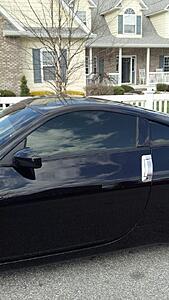
So first thing first, window tint! I like dark windows, and never get hassled for it, it's 5% all around. Night driving isn't bad at all!
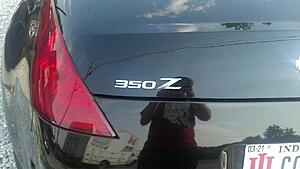
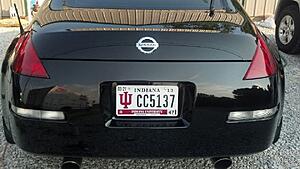
Now comes the time to remove the 350Z badge on the back, I like a clean look after all.
Some heat, fishing line, some adhesive remover, and some good ol' elbow grease.
The car initially came with a billet grill which I removed before I took it on the road XD
The beginning of the story is really bittersweet. So my parents are pretty tricky, you see. When it came time to sell the Jag and get the Z, I had been telling my parents how the Z was the car I wanted, I located the car, and offered to put all of my cash down at once to get the car.
My parents initially told me that they got denied to get the car, and felt that it was best due to insurance for the cost of a then 17 year old to be driving a sports car. I agreed and started to look for other platforms, big body sedans (my sweet spot).
Fast forward a week or so, and my father told me after school that I needed to drive him into town to meet my mom so they could go and meet two friends for a comedy club show up in Indianapolis.
So I drop my dad off with my mom and they go on their way. I go home and fantasize about owning a 350z for quite a while until it was time to go to sleep. So I'm in the middle of sleeping, it's a Tuesday night, and my parents get home rather late from said comedy show.
Mom comes to my door and wakes me up and tells me to come help dad inside because he's super drunk (totally believable, gotta admit it's kinda funny thinking about it now).
I walk out the front door expecting to see my father faceplanted in front yard, and instead I am greeted with my Z. It's 2 in the morning, I start freaking out hahah! I have school the next day and can barely sleep, in fact, I don't believe I did. I go to school, and rush home after I get out to learn to drive a manual (yep, that's right.. my first manual car).
So I come home and she's still sitting in the yard.

I knew the first thing to do was get the windows tinted, remove the badges up front and get my double din in the car.
So first thing first, window tint! I like dark windows, and never get hassled for it, it's 5% all around. Night driving isn't bad at all!

Now comes the time to remove the 350Z badge on the back, I like a clean look after all.
Some heat, fishing line, some adhesive remover, and some good ol' elbow grease.


The car initially came with a billet grill which I removed before I took it on the road XD
12-08-2014, 04:46 PM
#3
Registered User
Thread Starter
iTrader: (2)
The blood, sweat and tears start to roll as I worked my butt off to afford parts for this thing! As a 17 year old I feel like I did a damn good job, eh?
Anyway, here we go!
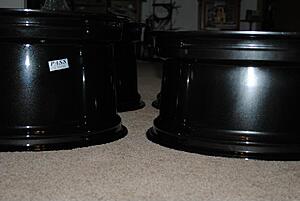
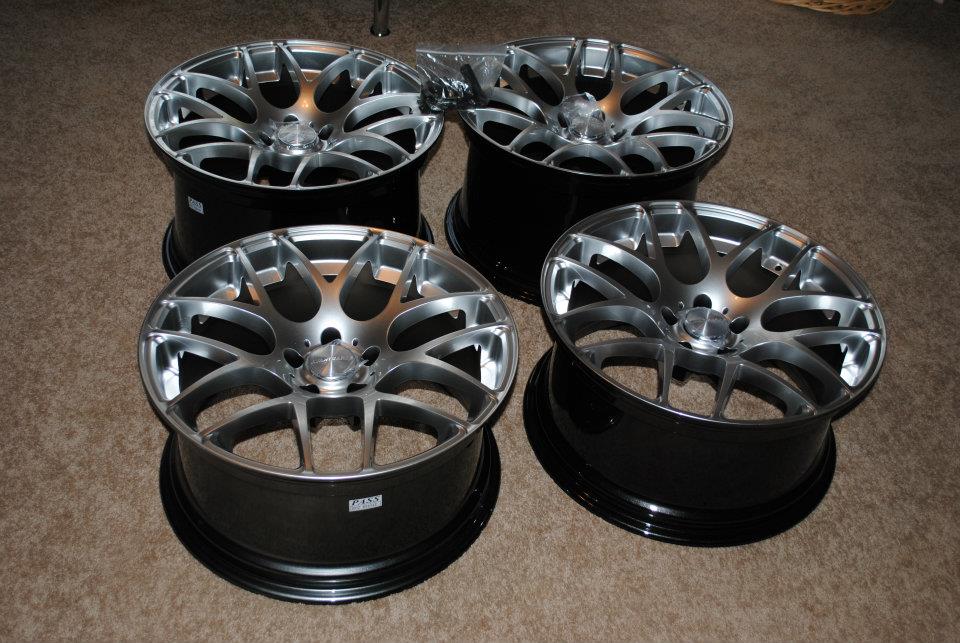
First up was the wheels. I found this small company out of California that I hadn't heard much of, Avant Garde Wheels, and decided I REALLY liked one of their designs. So I started to roll with it! <haha!
Came home from school to 4 boxes with some wheels!
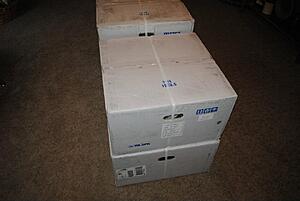
Proceeded to unbox, who doesn't love unboxing parts?

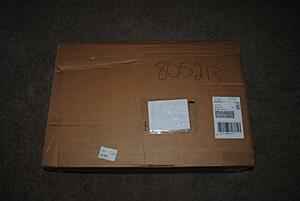
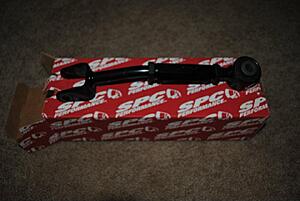
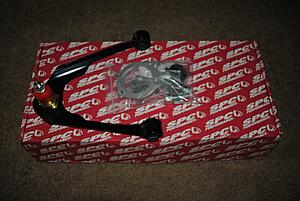
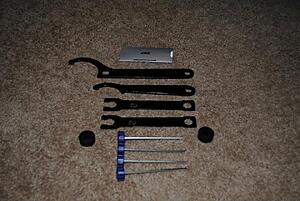
The next purchase was alignment goodies, upper control arms, rear camber arms and toe bolts!
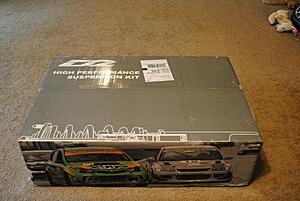
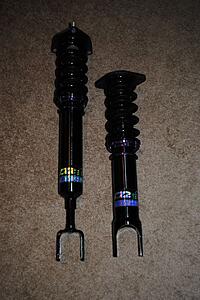
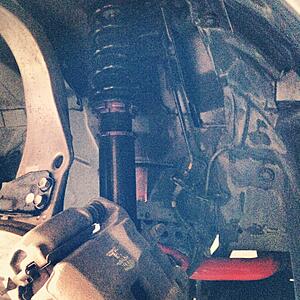
Then I sweat out another $900ish to afford some coilovers. I did quite a bit of research and a lot of my friends were actually running D2 RS Coilovers. I rode around in their cars and decided that they were the best bang for the buck as I wasn't going to be doing any extensive tracking of the car. (Fast forward a bit, the coilovers are fully stiffened, and honestly it rides great! Girlfriend approved and the handling is wonderful to be quite honest. More than pleased with the product given the price.)
Anyway, here we go!
First up was the wheels. I found this small company out of California that I hadn't heard much of, Avant Garde Wheels, and decided I REALLY liked one of their designs. So I started to roll with it! <haha!
Came home from school to 4 boxes with some wheels!

Proceeded to unbox, who doesn't love unboxing parts?

The next purchase was alignment goodies, upper control arms, rear camber arms and toe bolts!


Then I sweat out another $900ish to afford some coilovers. I did quite a bit of research and a lot of my friends were actually running D2 RS Coilovers. I rode around in their cars and decided that they were the best bang for the buck as I wasn't going to be doing any extensive tracking of the car. (Fast forward a bit, the coilovers are fully stiffened, and honestly it rides great! Girlfriend approved and the handling is wonderful to be quite honest. More than pleased with the product given the price.)


 12-08-2014, 04:47 PM
#4
Registered User
Thread Starter
iTrader: (2)
Okay,
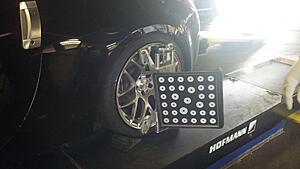
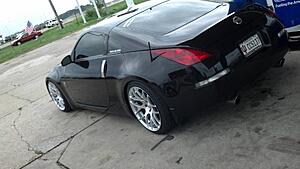
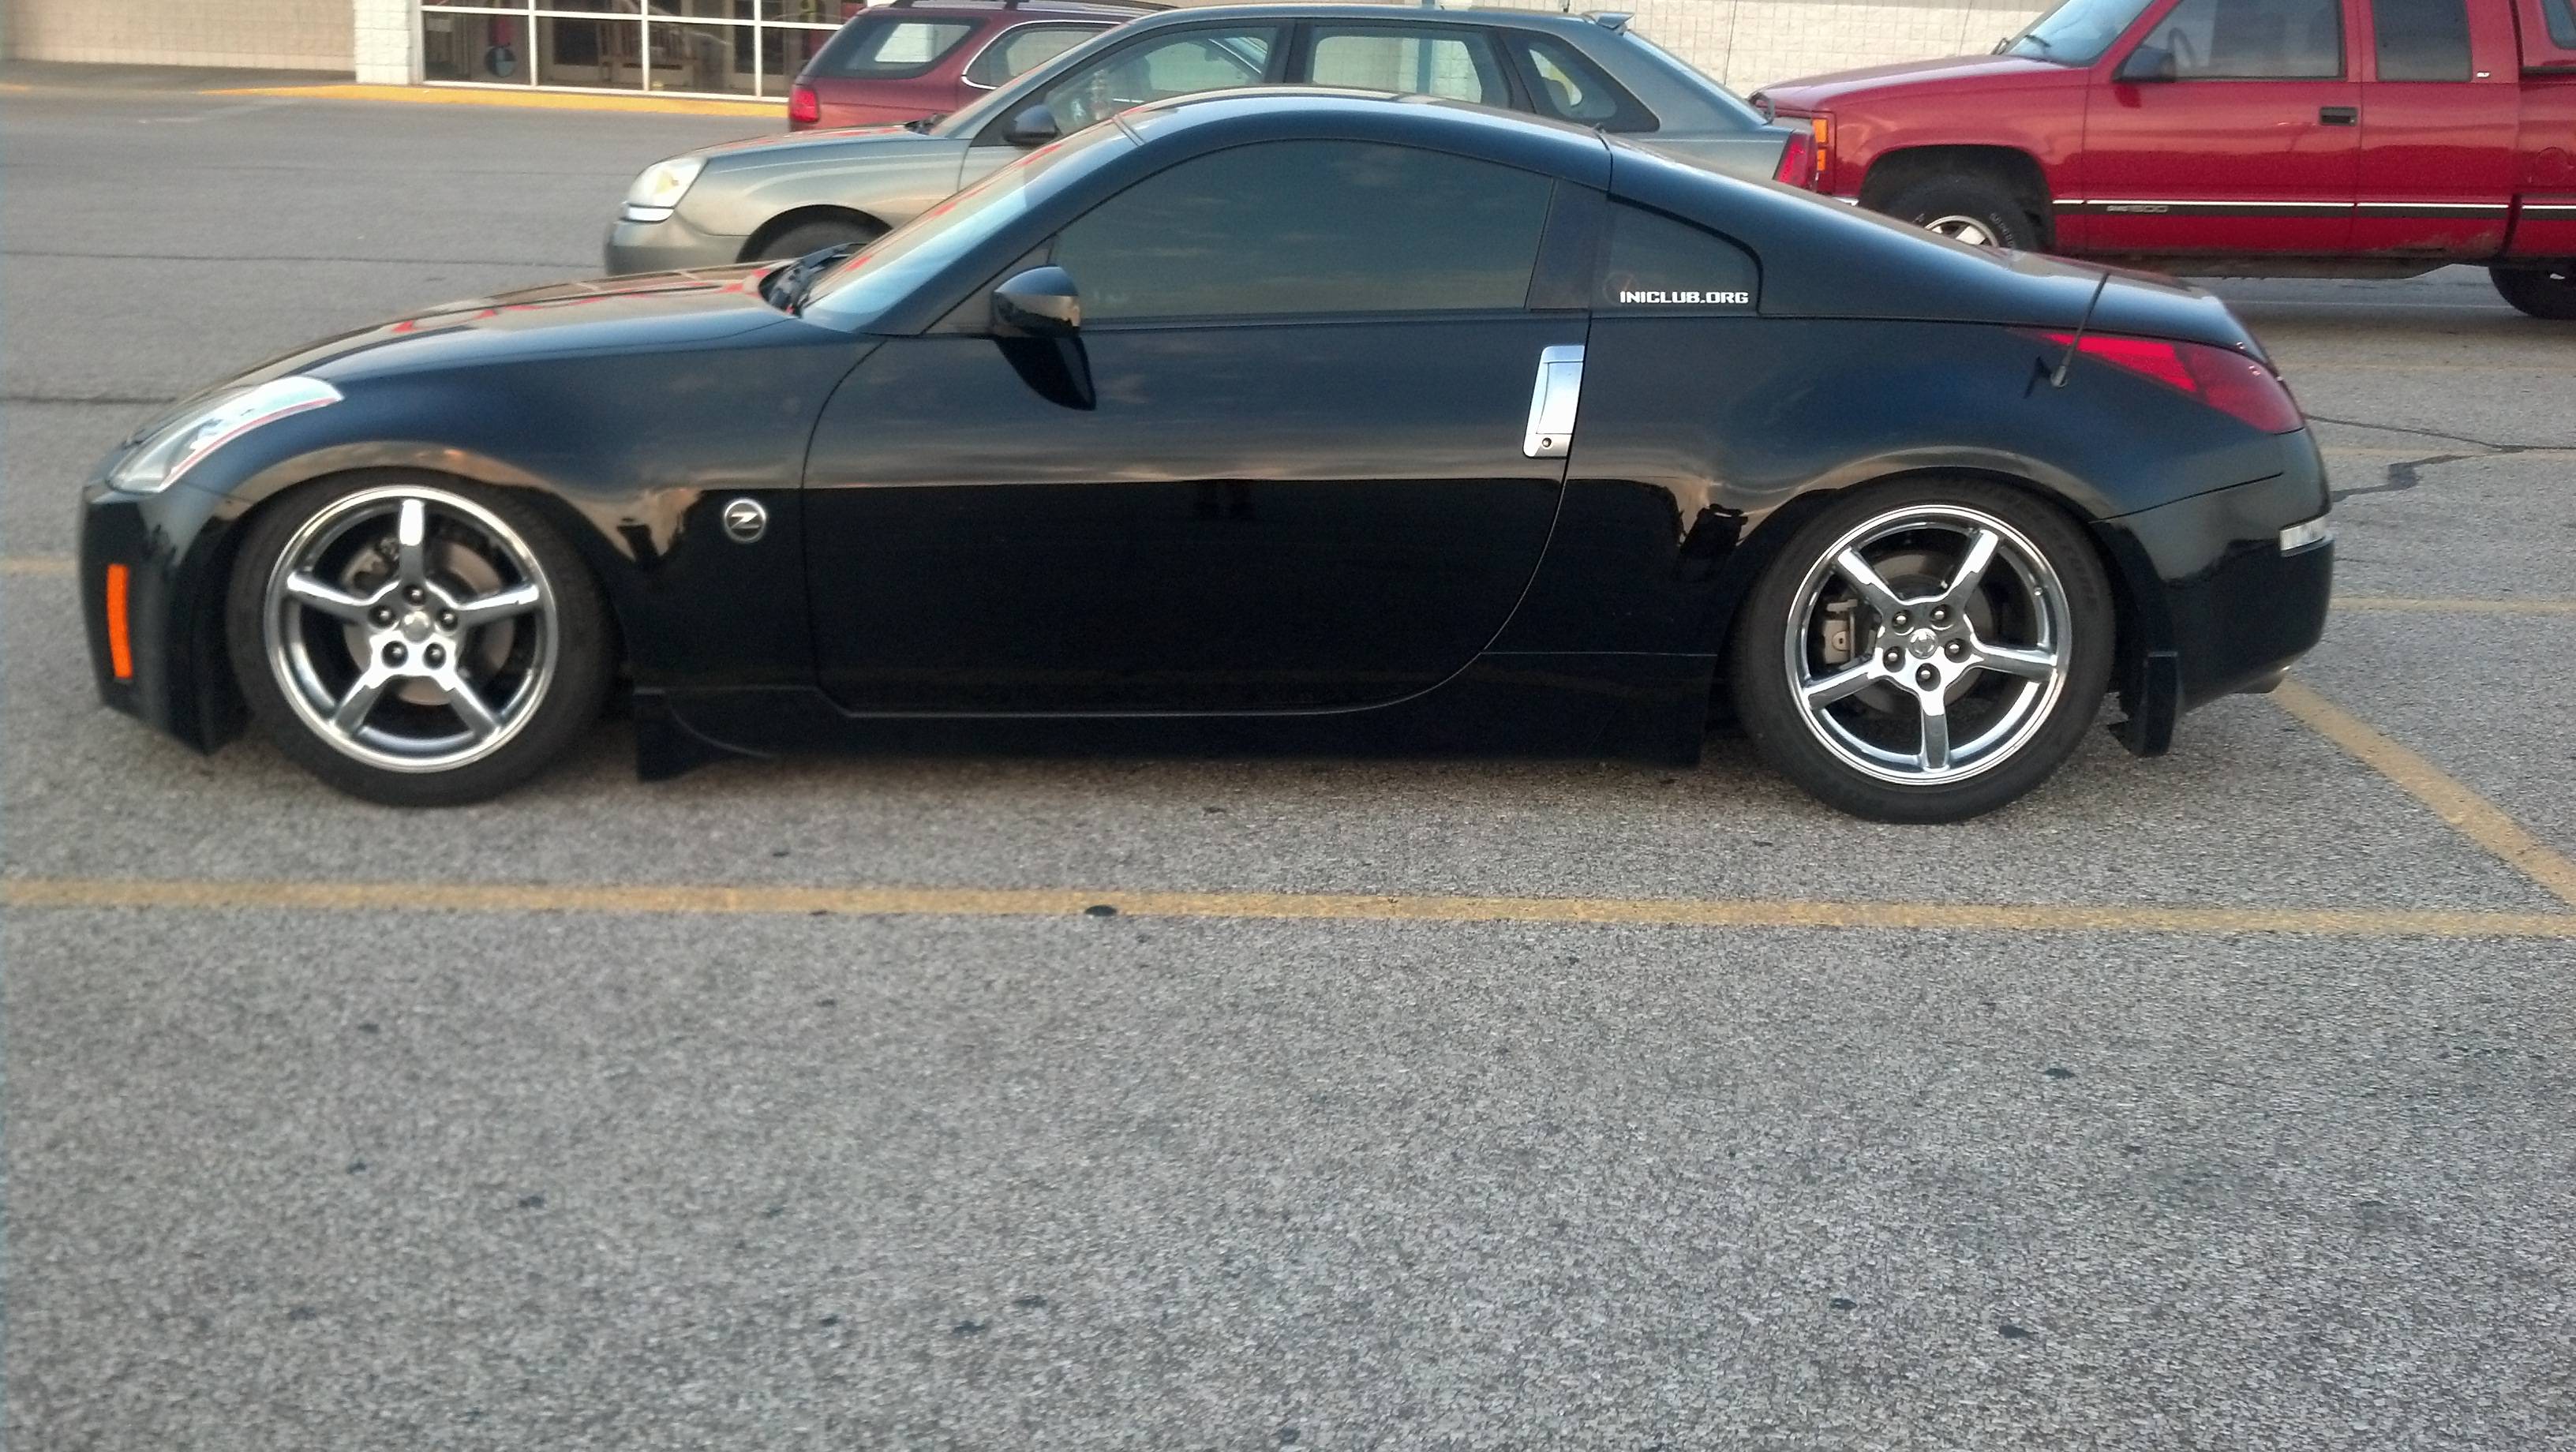
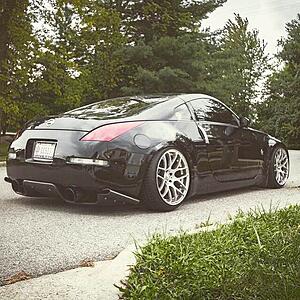
So at this point I was ready to slam the car, and that I did. Here is how it sat with the coilovers as low as they would go. (I had to raise it significantly after this, couldn't get on the alignment rack, and I couldn't get the wheels to fit without running like -12 camber at this height)
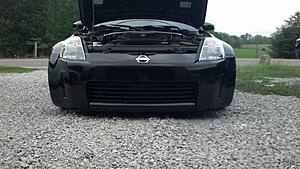
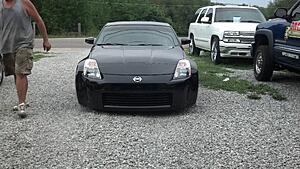

So the end result was essentially where my car actually currently sits, but with much better fitment, the offsets near 0 all around, and the camber dialed to -4R, -3F in the end picture. But I ran around with my car in spec for a while, front was at -2 though.
That's it for this post.
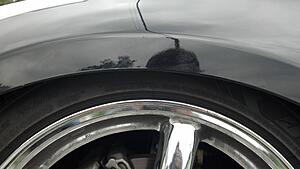
This trip had consisted of me travelling to Fort Wayne, IN to have a friend roll my fenders. I later did a pull myself and was successful. The alignment place I went to honestly wasn't worth the drive, but went on advice of my club. Oh well.
So at this point I was ready to slam the car, and that I did. Here is how it sat with the coilovers as low as they would go. (I had to raise it significantly after this, couldn't get on the alignment rack, and I couldn't get the wheels to fit without running like -12 camber at this height)


So the end result was essentially where my car actually currently sits, but with much better fitment, the offsets near 0 all around, and the camber dialed to -4R, -3F in the end picture. But I ran around with my car in spec for a while, front was at -2 though.


That's it for this post.
This trip had consisted of me travelling to Fort Wayne, IN to have a friend roll my fenders. I later did a pull myself and was successful. The alignment place I went to honestly wasn't worth the drive, but went on advice of my club. Oh well.
Last edited by QuintonC; 12-10-2014 at 06:10 PM.
12-08-2014, 04:48 PM
#5
Registered User
Thread Starter
iTrader: (2)
This post was a trip that me and two of my club members went on.
We went to Atlanta because some guy was parting out his TT Z. I snagged some 06 lights and a RareJDM engine harness cover for $400 total plus my headlights. At this point, I also purchased an 06 front bumper and 06 fender liners from my work. The fender liners aren't required for the 2006 bumper to fit, but they definitely make the fitment much better. There is a slight difference between the two if I remember correctly.
Onto the pictures!
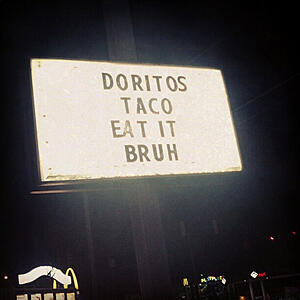
We stopped at a Taco Bell to get some tacos before we set off on our trip to Atlanta. I mean, after seeing this sign, who wouldn't?
Here is my buddy Derrick on our way down to Atlanta (he snagged full brembo swap for $600)
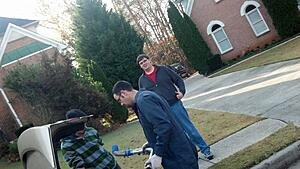
We clowned around while our friend Brian (the mad scientizt) inspected the greddy TT kit from the car
Picked up the gray RareJDM cover for dirt cheap.
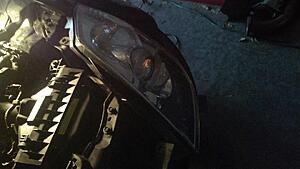
Woot, Bixenons!
Here's the new fender liners. As I said above, I'm not 100% positive that these are required, but I know that they make the fitment much better.
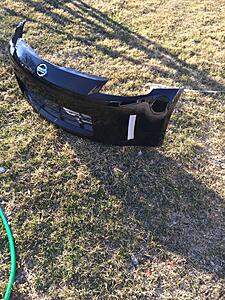
My coworkers at the dealership told me I wouldn't be able to fit my bumper in my car. Proved them wrong.

We went to Atlanta because some guy was parting out his TT Z. I snagged some 06 lights and a RareJDM engine harness cover for $400 total plus my headlights. At this point, I also purchased an 06 front bumper and 06 fender liners from my work. The fender liners aren't required for the 2006 bumper to fit, but they definitely make the fitment much better. There is a slight difference between the two if I remember correctly.
Onto the pictures!
We stopped at a Taco Bell to get some tacos before we set off on our trip to Atlanta. I mean, after seeing this sign, who wouldn't?

Here is my buddy Derrick on our way down to Atlanta (he snagged full brembo swap for $600)

We clowned around while our friend Brian (the mad scientizt) inspected the greddy TT kit from the car

Picked up the gray RareJDM cover for dirt cheap.

Woot, Bixenons!

Here's the new fender liners. As I said above, I'm not 100% positive that these are required, but I know that they make the fitment much better.

My coworkers at the dealership told me I wouldn't be able to fit my bumper in my car. Proved them wrong.

Last edited by QuintonC; 12-10-2014 at 06:24 PM.
The following users liked this post:
PP08HR (08-17-2015)
12-08-2014, 04:49 PM
#6
Registered User
Thread Starter
iTrader: (2)
So, finally getting back around to updating the thread. Here are a few things that happened around the same time. Unfortunately not too many pictures.
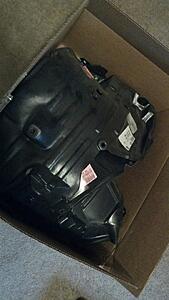
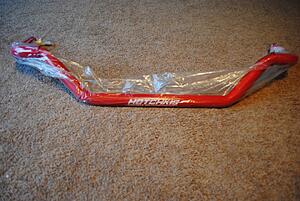
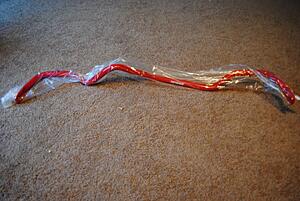
But I finally picked up a set of Hotchkis sway bars around this time, and got to installing them!
God, these things are so beefy!
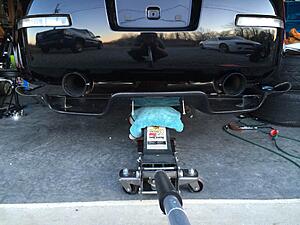
Here's the rear
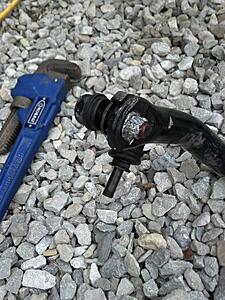
This nut was like gum.. I don't know what it was.. I tried everything - 6 point socket, 12 point, crescent wrench, pipe wrench. Finally just said forget it and went about bought a new tie rod end lol.
But I finally picked up a set of Hotchkis sway bars around this time, and got to installing them!

God, these things are so beefy!

Here's the rear

This nut was like gum.. I don't know what it was.. I tried everything - 6 point socket, 12 point, crescent wrench, pipe wrench. Finally just said forget it and went about bought a new tie rod end lol.

Last edited by QuintonC; 01-05-2016 at 12:22 PM.
12-08-2014, 04:52 PM
#7
Registered User
Thread Starter
iTrader: (2)
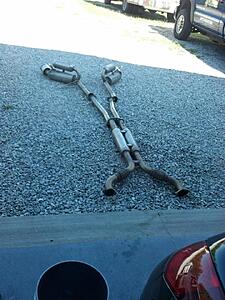
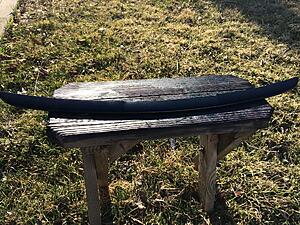
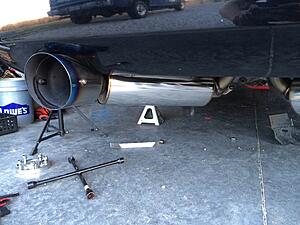
I've always been a fan of HKS stuff, particularly just the quality that comes from their products. I picked up a used HKS Hi-Power Exhaust and a HKS cold air intake from a couple club members here in Indiana.
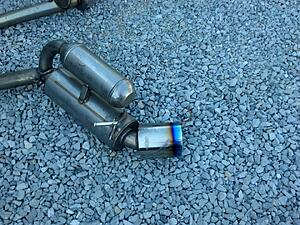
Exhaust laid out. Only issue with the exhaust was the flex pipe just had a few scrapes on it, and the rear tips had some scrapes. No big deal though.
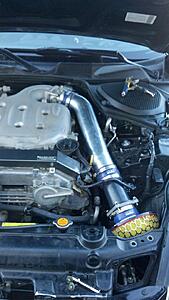
Love the intake so much, it makes incredible noises! One of these days I'll get around to getting a tune. Probably after some longtube headers.
Exhaust laid out. Only issue with the exhaust was the flex pipe just had a few scrapes on it, and the rear tips had some scrapes. No big deal though.


Love the intake so much, it makes incredible noises! One of these days I'll get around to getting a tune. Probably after some longtube headers.

Last edited by QuintonC; 01-23-2015 at 12:48 PM.
Trending Topics
12-08-2014, 05:40 PM
#8
Registered User
Thread Starter
iTrader: (2)
So no pictures with this update for some reason. I thought that I had taken hundreds of pictures, but apparently I deleted them. Oops.
I bought some speakers to completely re-do the sound system. I was getting some crackling with the Bose system, and the bass wasn't as nice as I had hoped for in a Bose setup.
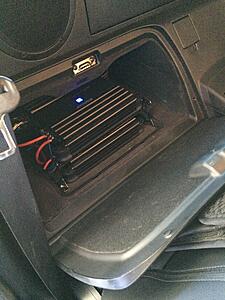
I currently run two Alpine amps, one for the sub, and one for the component speakers. I've got a Kenwood 10" subwoofer and 4 Kenwood speakers all around. The trickiest part was getting everything hidden the way I had hoped, I'm not one to show off audio stuff because it's not too big of a deal honestly.
I managed to build a box for the 10" subwoofer that met all specifications from the manufacturer and managed to squeeze it into the stock subwoofer location. It took a lot of effort, but I finally got it.
The second hardest part had to have been running wire to the door speakers. That molex connector was a pain to learn. But after the first door which took roughly 4 hours to do, the second door was done in at most 30 minutes. Word to the wise is to definitely just be patient and respect the molex.
I bought some speakers to completely re-do the sound system. I was getting some crackling with the Bose system, and the bass wasn't as nice as I had hoped for in a Bose setup.
I currently run two Alpine amps, one for the sub, and one for the component speakers. I've got a Kenwood 10" subwoofer and 4 Kenwood speakers all around. The trickiest part was getting everything hidden the way I had hoped, I'm not one to show off audio stuff because it's not too big of a deal honestly.
I managed to build a box for the 10" subwoofer that met all specifications from the manufacturer and managed to squeeze it into the stock subwoofer location. It took a lot of effort, but I finally got it.
The second hardest part had to have been running wire to the door speakers. That molex connector was a pain to learn. But after the first door which took roughly 4 hours to do, the second door was done in at most 30 minutes. Word to the wise is to definitely just be patient and respect the molex.
Last edited by QuintonC; 01-23-2015 at 12:52 PM.
12-08-2014, 05:44 PM
#9
Registered User
Thread Starter
iTrader: (2)
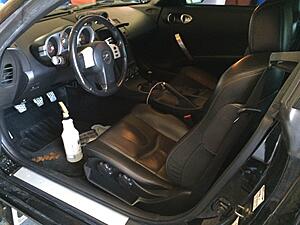
It was getting close to time to bring the car back out, so I went ahead and detailed it while I could.
Gotta keep the interior nice and clean as well!
Managed to find this picture of the amp setup. It's a pretty crappy stand that I made, manages to hold all of the weight up really well though. It also has a fan in the back to keep air flowing through there, and the stand is mounted to a piece of MDF I had leftover from the box build. It's all nice and snug in there
Went ahead and painted the 06 grill inserts black (I like the gray color, but they blend in so well when they're black.)
Also got some clear reflectors from my girl for Christmas. (Keep in mind these are pictures from 2014, this is all being updated way away from the dates that it all happened)
Shine up the exhaust! Just to cover it up, but it's better to keep it clean.
Never again, this was a total pain in the *** to install. Took forever to do this (then again, I was doing it alone) Ended up being just a tad bit crooked, but it's been fixed since then. Look at that shiny butt!
Went ahead and cleaned up the fender wells too. Cleaned all the grimy grit up out of there and it's all clean (well, it was..)

Gotta keep the interior nice and clean as well!

Managed to find this picture of the amp setup. It's a pretty crappy stand that I made, manages to hold all of the weight up really well though. It also has a fan in the back to keep air flowing through there, and the stand is mounted to a piece of MDF I had leftover from the box build. It's all nice and snug in there

Went ahead and painted the 06 grill inserts black (I like the gray color, but they blend in so well when they're black.)


Also got some clear reflectors from my girl for Christmas. (Keep in mind these are pictures from 2014, this is all being updated way away from the dates that it all happened)

Shine up the exhaust! Just to cover it up, but it's better to keep it clean.

Never again, this was a total pain in the *** to install. Took forever to do this (then again, I was doing it alone) Ended up being just a tad bit crooked, but it's been fixed since then. Look at that shiny butt!

Went ahead and cleaned up the fender wells too. Cleaned all the grimy grit up out of there and it's all clean (well, it was..)

Last edited by QuintonC; 01-23-2015 at 01:10 PM.
12-08-2014, 05:49 PM
#10
Registered User
Thread Starter
iTrader: (2)
Hankook V12s aren't fans of camber, changing these were way past due.
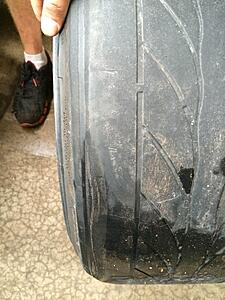
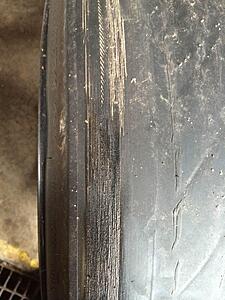
Now I just run some cheap chinese tires. They're Mayrun MR500's. I've been very impressed with them so far. They are pretty grippy when they're warm, have handled the camber extremely well so far, and hey.. they were $80 a piece brand new.
Had to grind the hole out a bit more so we could adjust the front camber. We were initially trying to get everything back to 2 degrees up front, but ended up just going with 3.

Last edited by QuintonC; 01-23-2015 at 01:10 PM.
12-09-2014, 12:42 PM
#11
New Member

Those wheels should give a huge improvement on the look of the car, i have never been a fan of chromies. The new stance will be awsome.. just hope you have good luck with the D2's.

 12-10-2014, 10:02 AM
#13
Registered User
Thread Starter
iTrader: (2)
I've been through two tire setups to get the fitment just right. I'll be editing this thread later for sure with all of the updates. I grabbed my old phone so I will be grabbing all kinds of pictures off of there!
Cheers for the views, guys!
Stay tuned, Richard! We're working on something BIG for the Z platform
01-23-2015, 01:16 PM
#14
Registered User
Thread Starter
iTrader: (2)
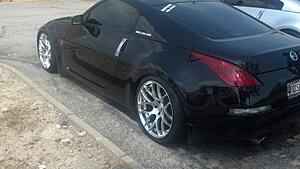
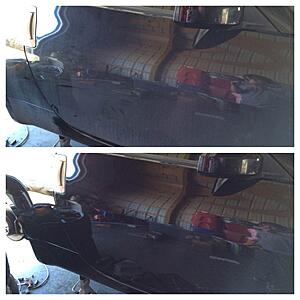
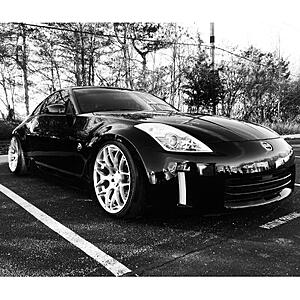
Here's a bit of an update on how it sits now.
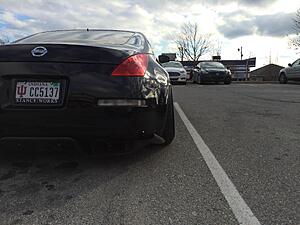
This was before someone backed into me and whatnot. Hit and runs suck if you don't know that already.
Had to get the hatch fixed, the rear bumper needs some heat and it'll be all fixed up again. But no big deal there, I need to re-align the diffuser just a tad bit more to favor the drivers side. It also gave me the opportunity to pick up some LED tails. Some dealer in California was selling them for $315 shipped and Insurance paid me $300 for one cracked non-LED tail. I'll shell out the $15 for the upgrade.
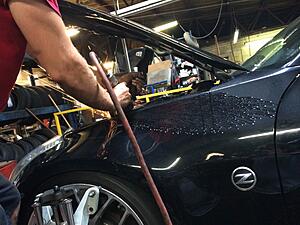
From the other day - It was super nice so I cleaned it up some. No water since it's still super cold out, but the EcoSmart RU from Chemical Guys is great stuff, even when it's coldish out.
You can see the rear bumper still has a small indentation in it. A heat gun will fix it right up though, no worries there.
Also!!
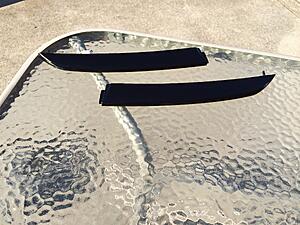
I've been working on an overfender kit for the Z with my buddy's composites shop. We've shelled out a few products for the Z, but he wants to get into the overfender game and since there are only two kits for sale at the moment, it's a good time to get his out there.
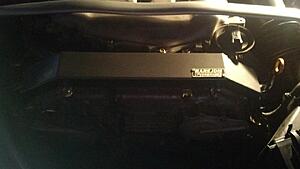
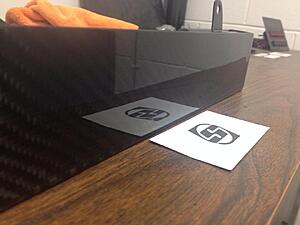
Here's one of the products that we've done for the Z so far. We've also currently got a radiator diversion panel waiting to finish being cleared at the painters and then I'll be test fitting that.
Super super shiny. A few people here on the forums have actually picked one up and can attest to the quality.
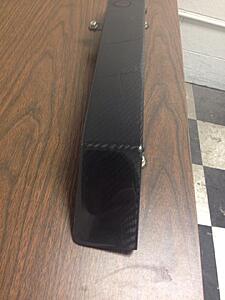
Another shot!
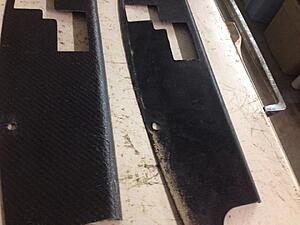
Here are some shots of the radiator diversion panel I was speaking of earlier. The one in the back (not sure why he put it in the back) is the one he made. The one in front of it is an APR diversion panel. Don't get me wrong, APR is great.. but the panel had a LOT of flex in it. It was not very sturdy, and the coating was very cheap on it.
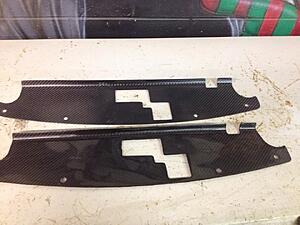
You can see here that it yellowed after one winter..
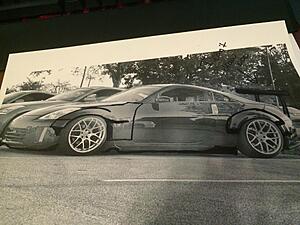
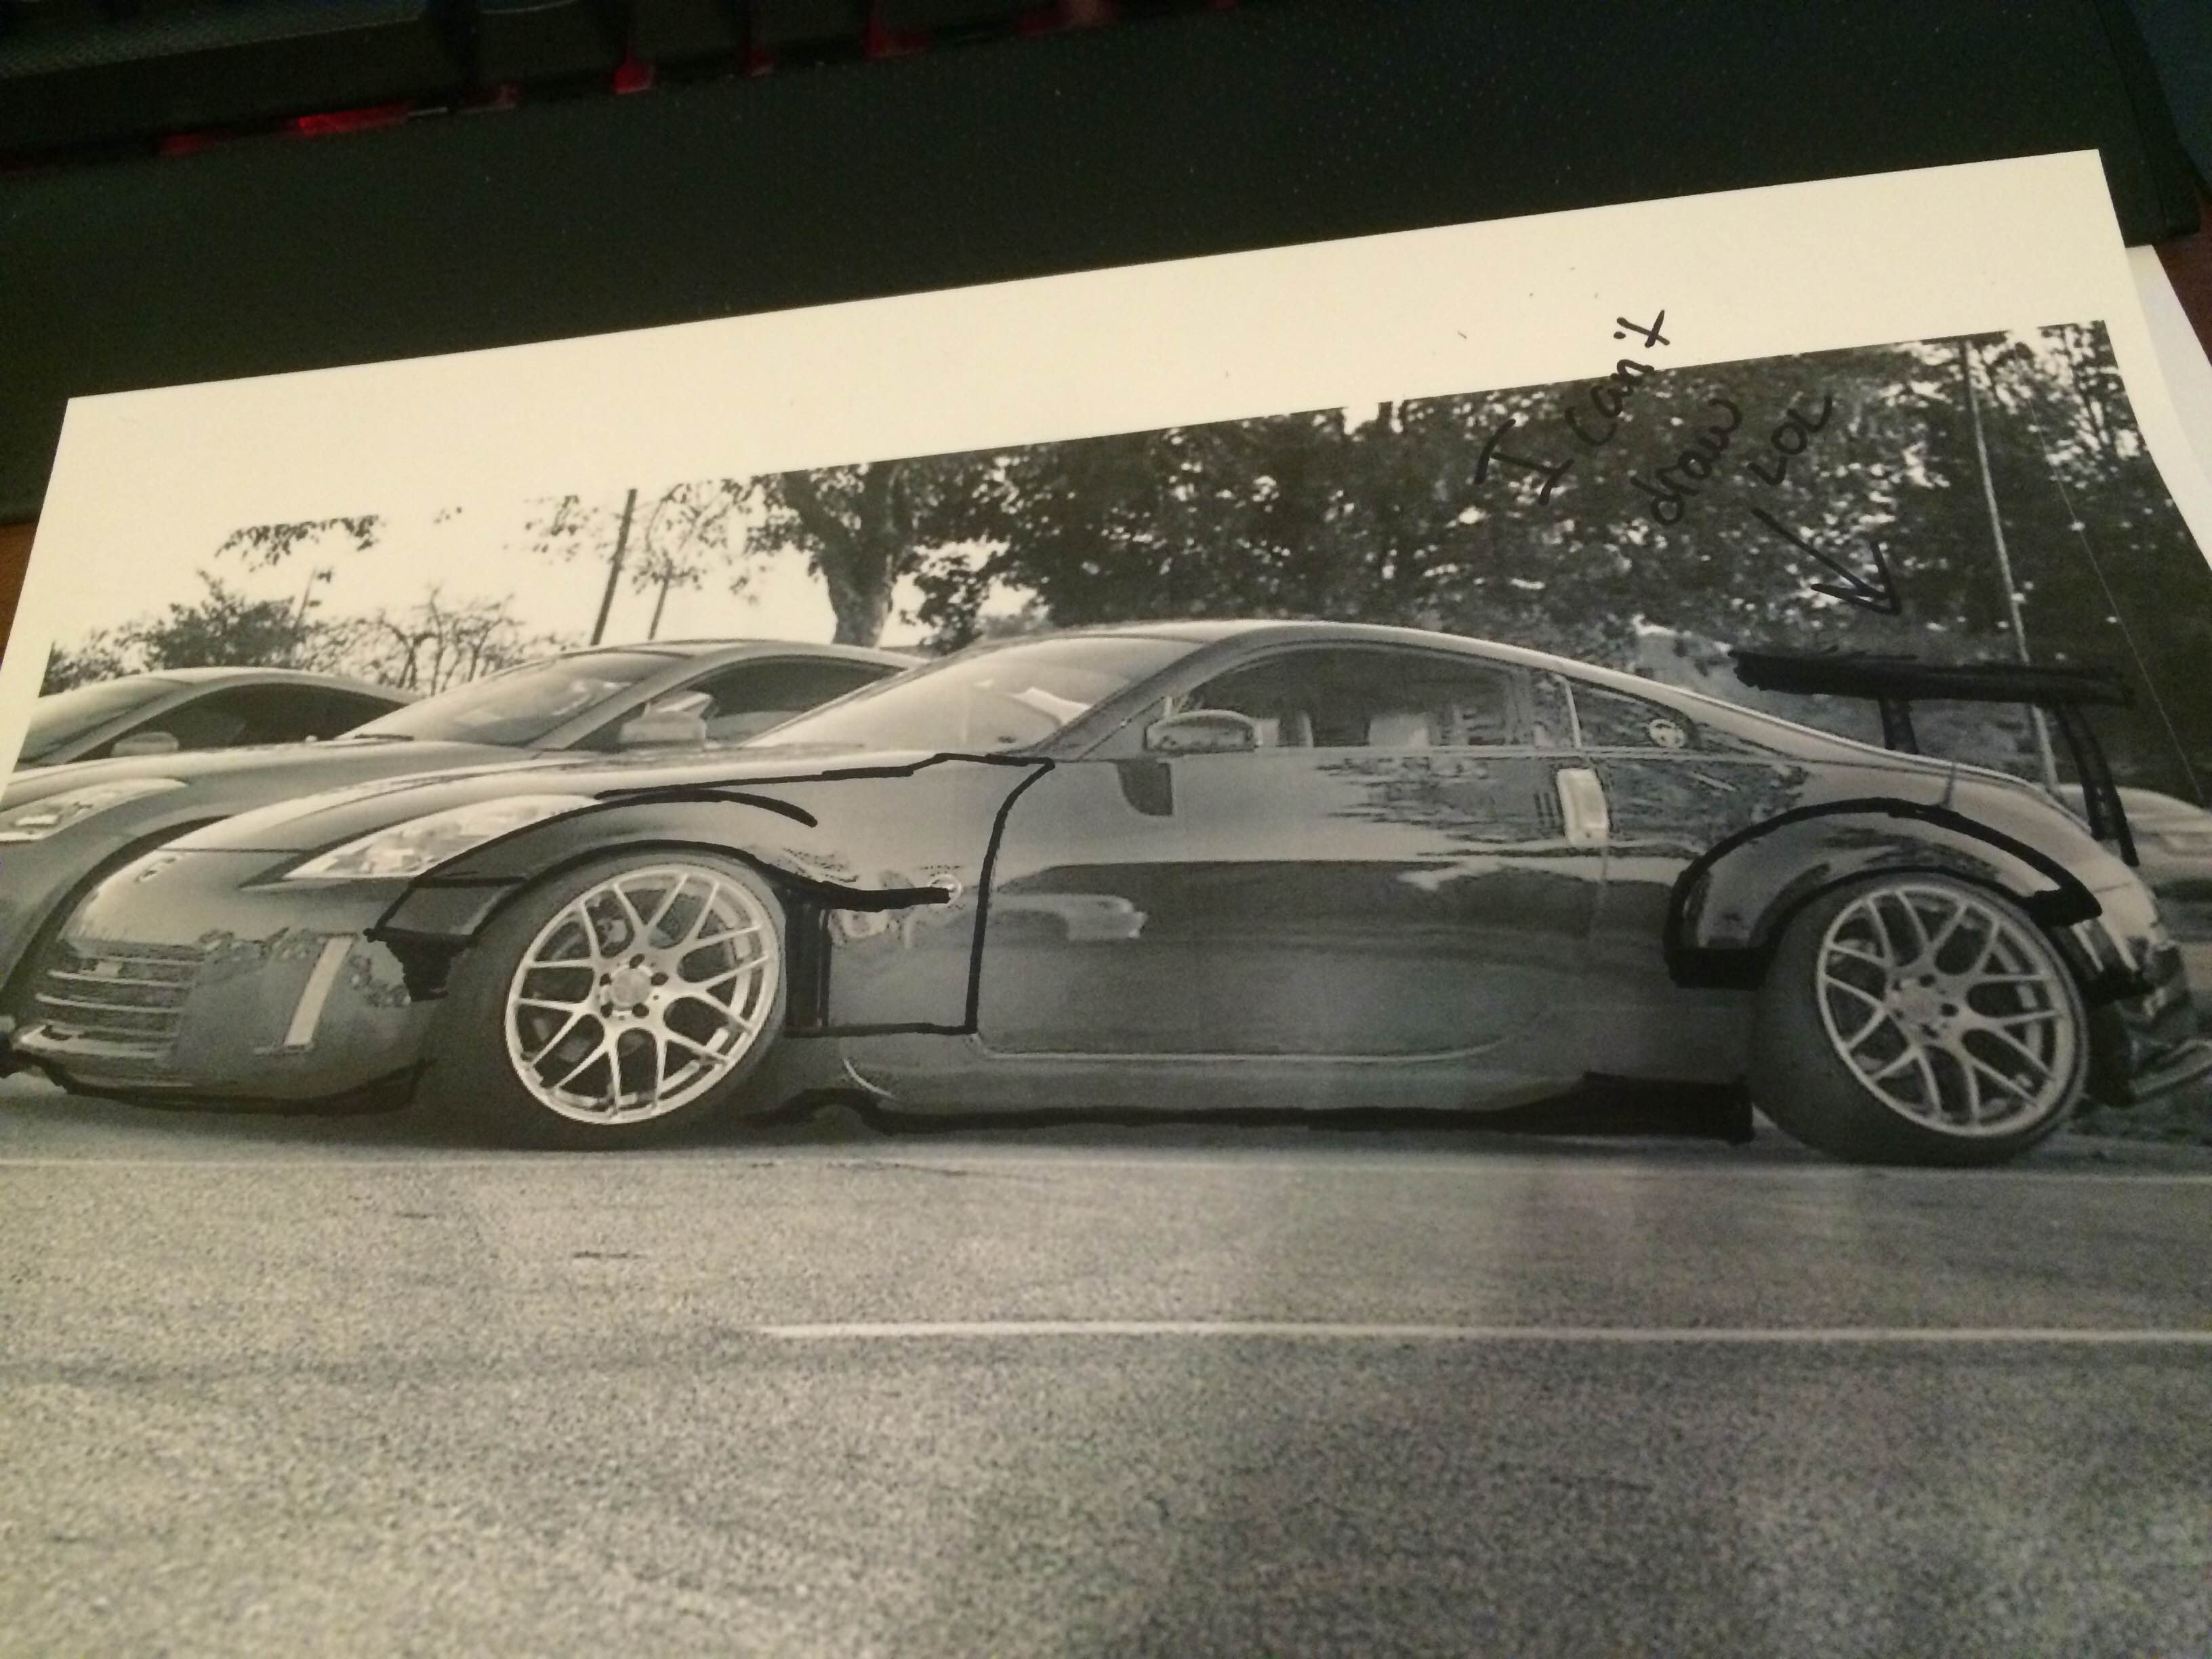
We've not done any molding on the car or anything yet, but just drawing it up for now. We're going to be slapping some foam on the fenders and shaving it down to the shape we want so we can make some molds.
Here are a few of the drawings that I did (I'm terrible at drawing lol.)
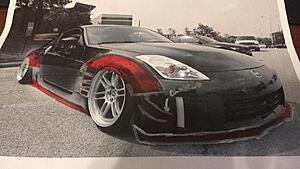
This was before someone backed into me and whatnot. Hit and runs suck if you don't know that already.

Had to get the hatch fixed, the rear bumper needs some heat and it'll be all fixed up again. But no big deal there, I need to re-align the diffuser just a tad bit more to favor the drivers side. It also gave me the opportunity to pick up some LED tails. Some dealer in California was selling them for $315 shipped and Insurance paid me $300 for one cracked non-LED tail. I'll shell out the $15 for the upgrade.
From the other day - It was super nice so I cleaned it up some. No water since it's still super cold out, but the EcoSmart RU from Chemical Guys is great stuff, even when it's coldish out.

You can see the rear bumper still has a small indentation in it. A heat gun will fix it right up though, no worries there.

Also!!
I've been working on an overfender kit for the Z with my buddy's composites shop. We've shelled out a few products for the Z, but he wants to get into the overfender game and since there are only two kits for sale at the moment, it's a good time to get his out there.
Here's one of the products that we've done for the Z so far. We've also currently got a radiator diversion panel waiting to finish being cleared at the painters and then I'll be test fitting that.
Super super shiny. A few people here on the forums have actually picked one up and can attest to the quality.
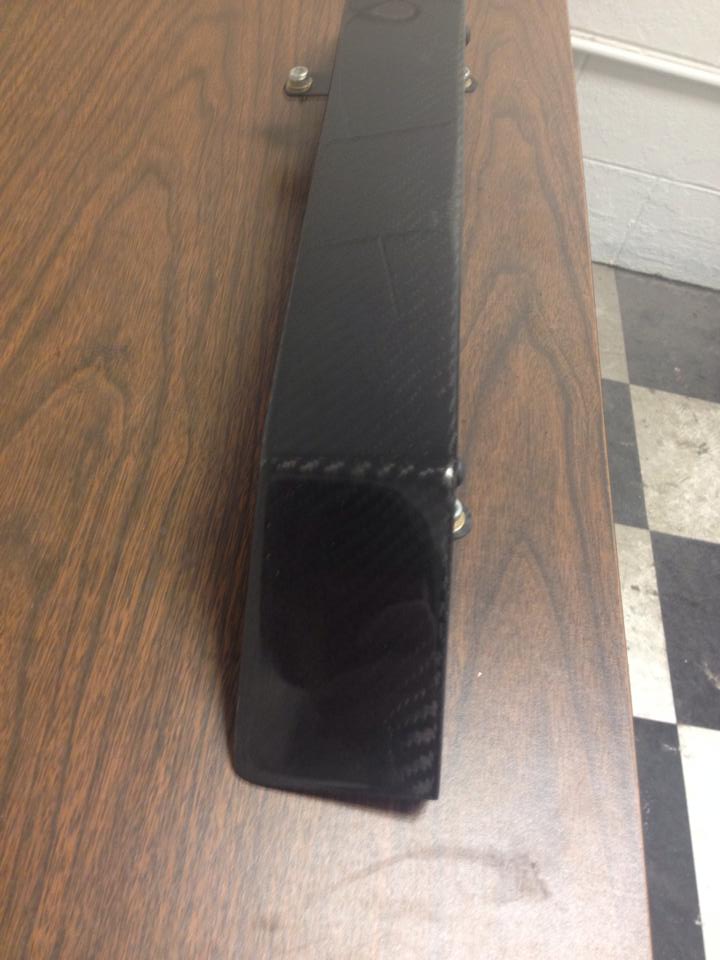
Another shot!

Here are some shots of the radiator diversion panel I was speaking of earlier. The one in the back (not sure why he put it in the back) is the one he made. The one in front of it is an APR diversion panel. Don't get me wrong, APR is great.. but the panel had a LOT of flex in it. It was not very sturdy, and the coating was very cheap on it.

You can see here that it yellowed after one winter..

We've not done any molding on the car or anything yet, but just drawing it up for now. We're going to be slapping some foam on the fenders and shaving it down to the shape we want so we can make some molds.
Here are a few of the drawings that I did (I'm terrible at drawing lol.)

Last edited by QuintonC; 01-23-2015 at 01:26 PM.
 01-23-2015, 01:30 PM
#16
Registered User
Thread Starter
iTrader: (2)
Well, the wheels are Avant Garde M310's. They're 19x9.5 +18F and 19x11 +20R. Front has Hankook V12 235/35/19 on it as well as a 15mm spacer (finding an 18 is a chore..), and the rear has a Mayrun MR500 255/35/19.
 01-24-2015, 01:15 PM
#20
Registered User
Thread Starter
iTrader: (2)
He does actually! I'll pm you the details. The diversion panel is prototype right now, and since he's on vacation for a week, we won't be able to test it. But I can e-mail him and get a price, etc. for you.

