When you click on links to various merchants on this site and make a purchase, this can result in this site earning a commission. Affiliate programs and affiliations include, but are not limited to, the eBay Partner Network.
Starting to think of changing around my color scheme before I finish painting my engine bay and parts. I think the gold is too much, even though i think it would still look decent if it was all finished.
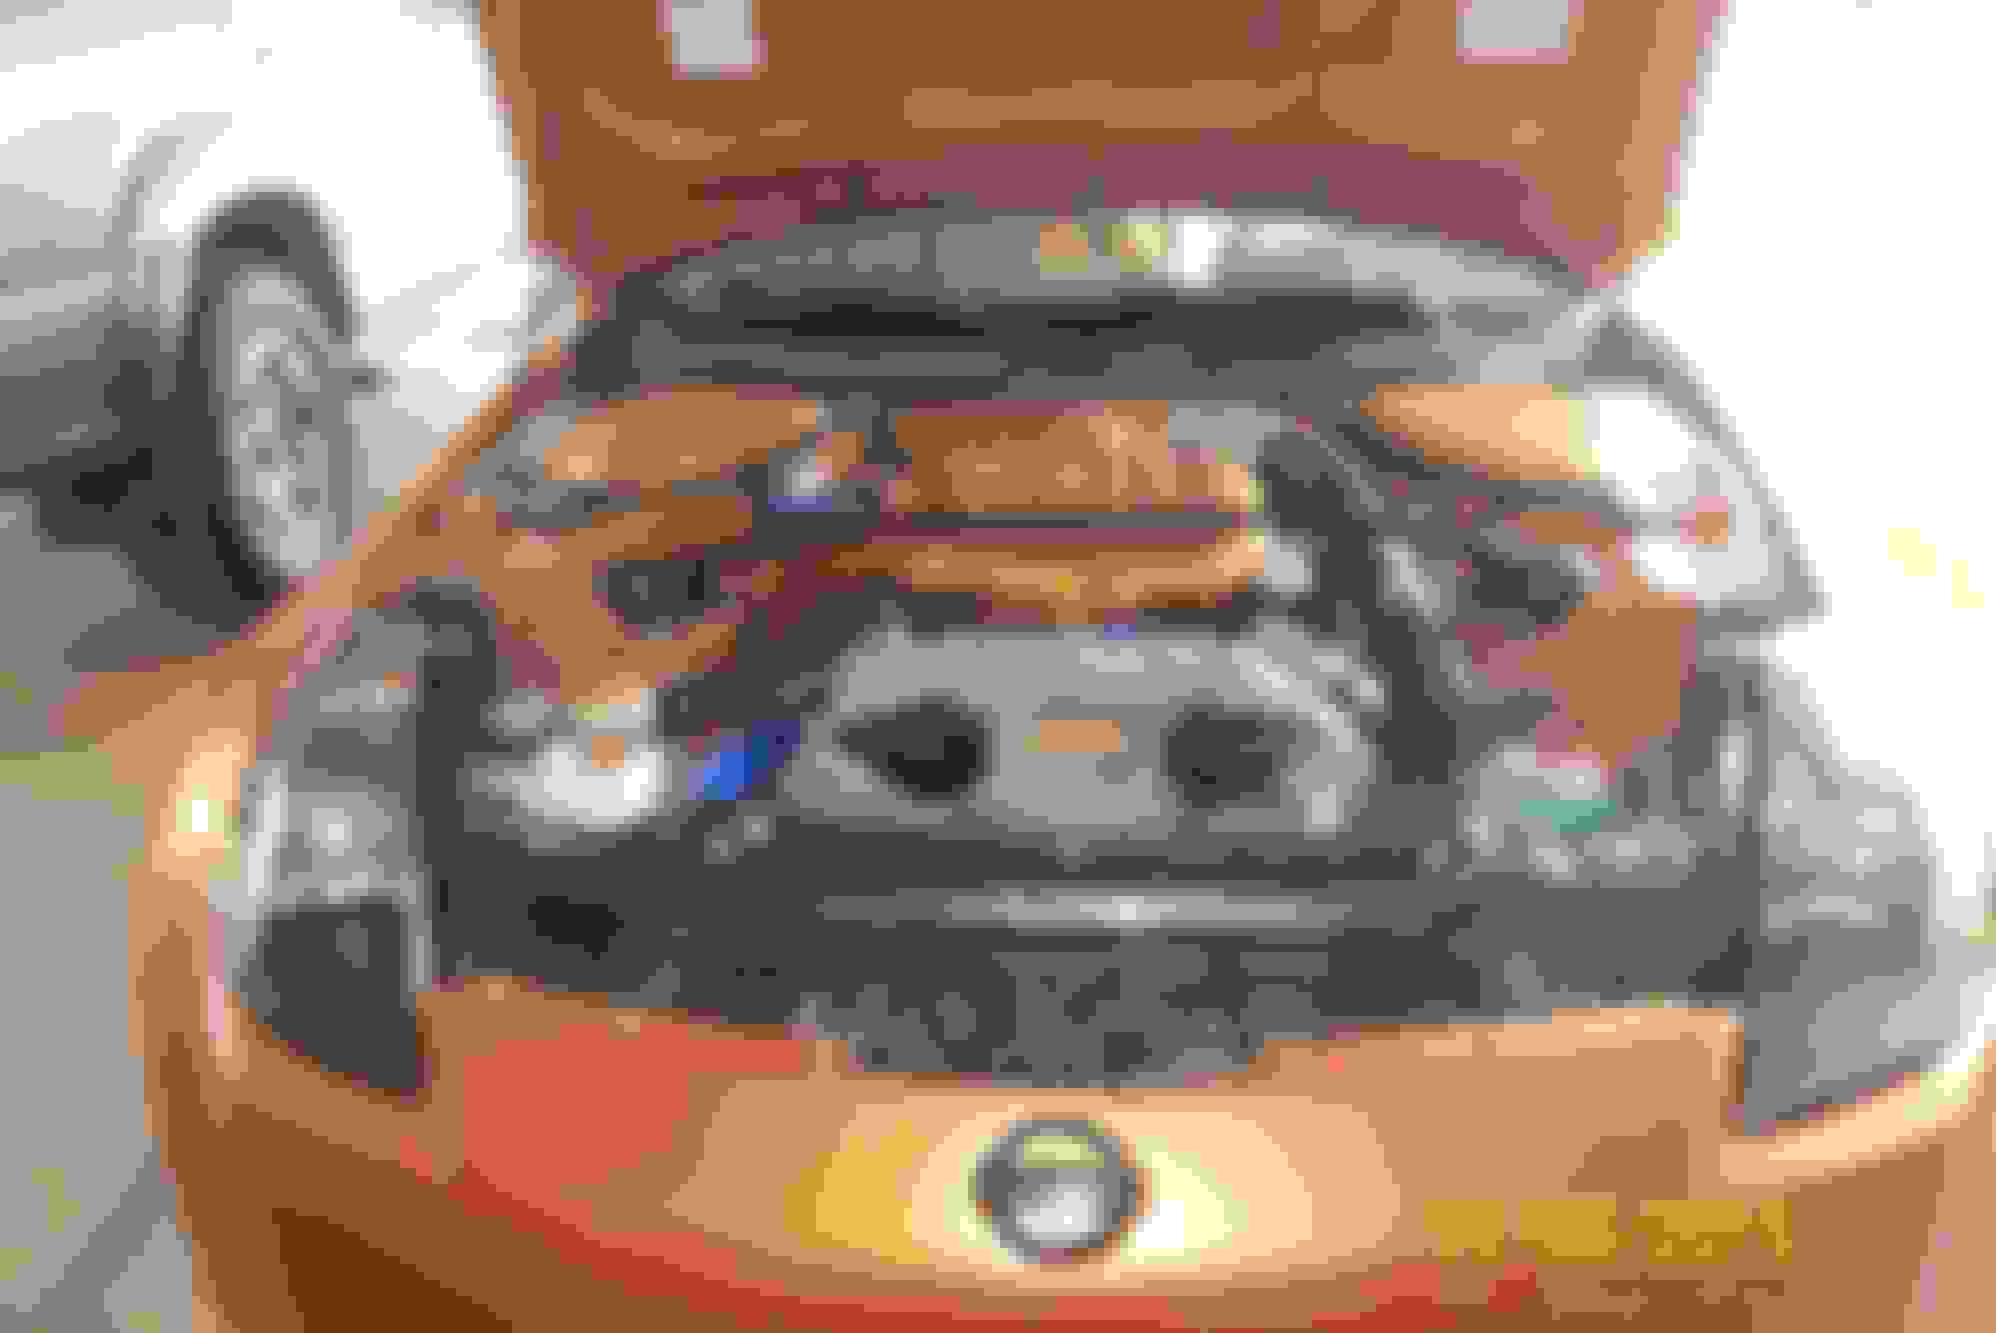
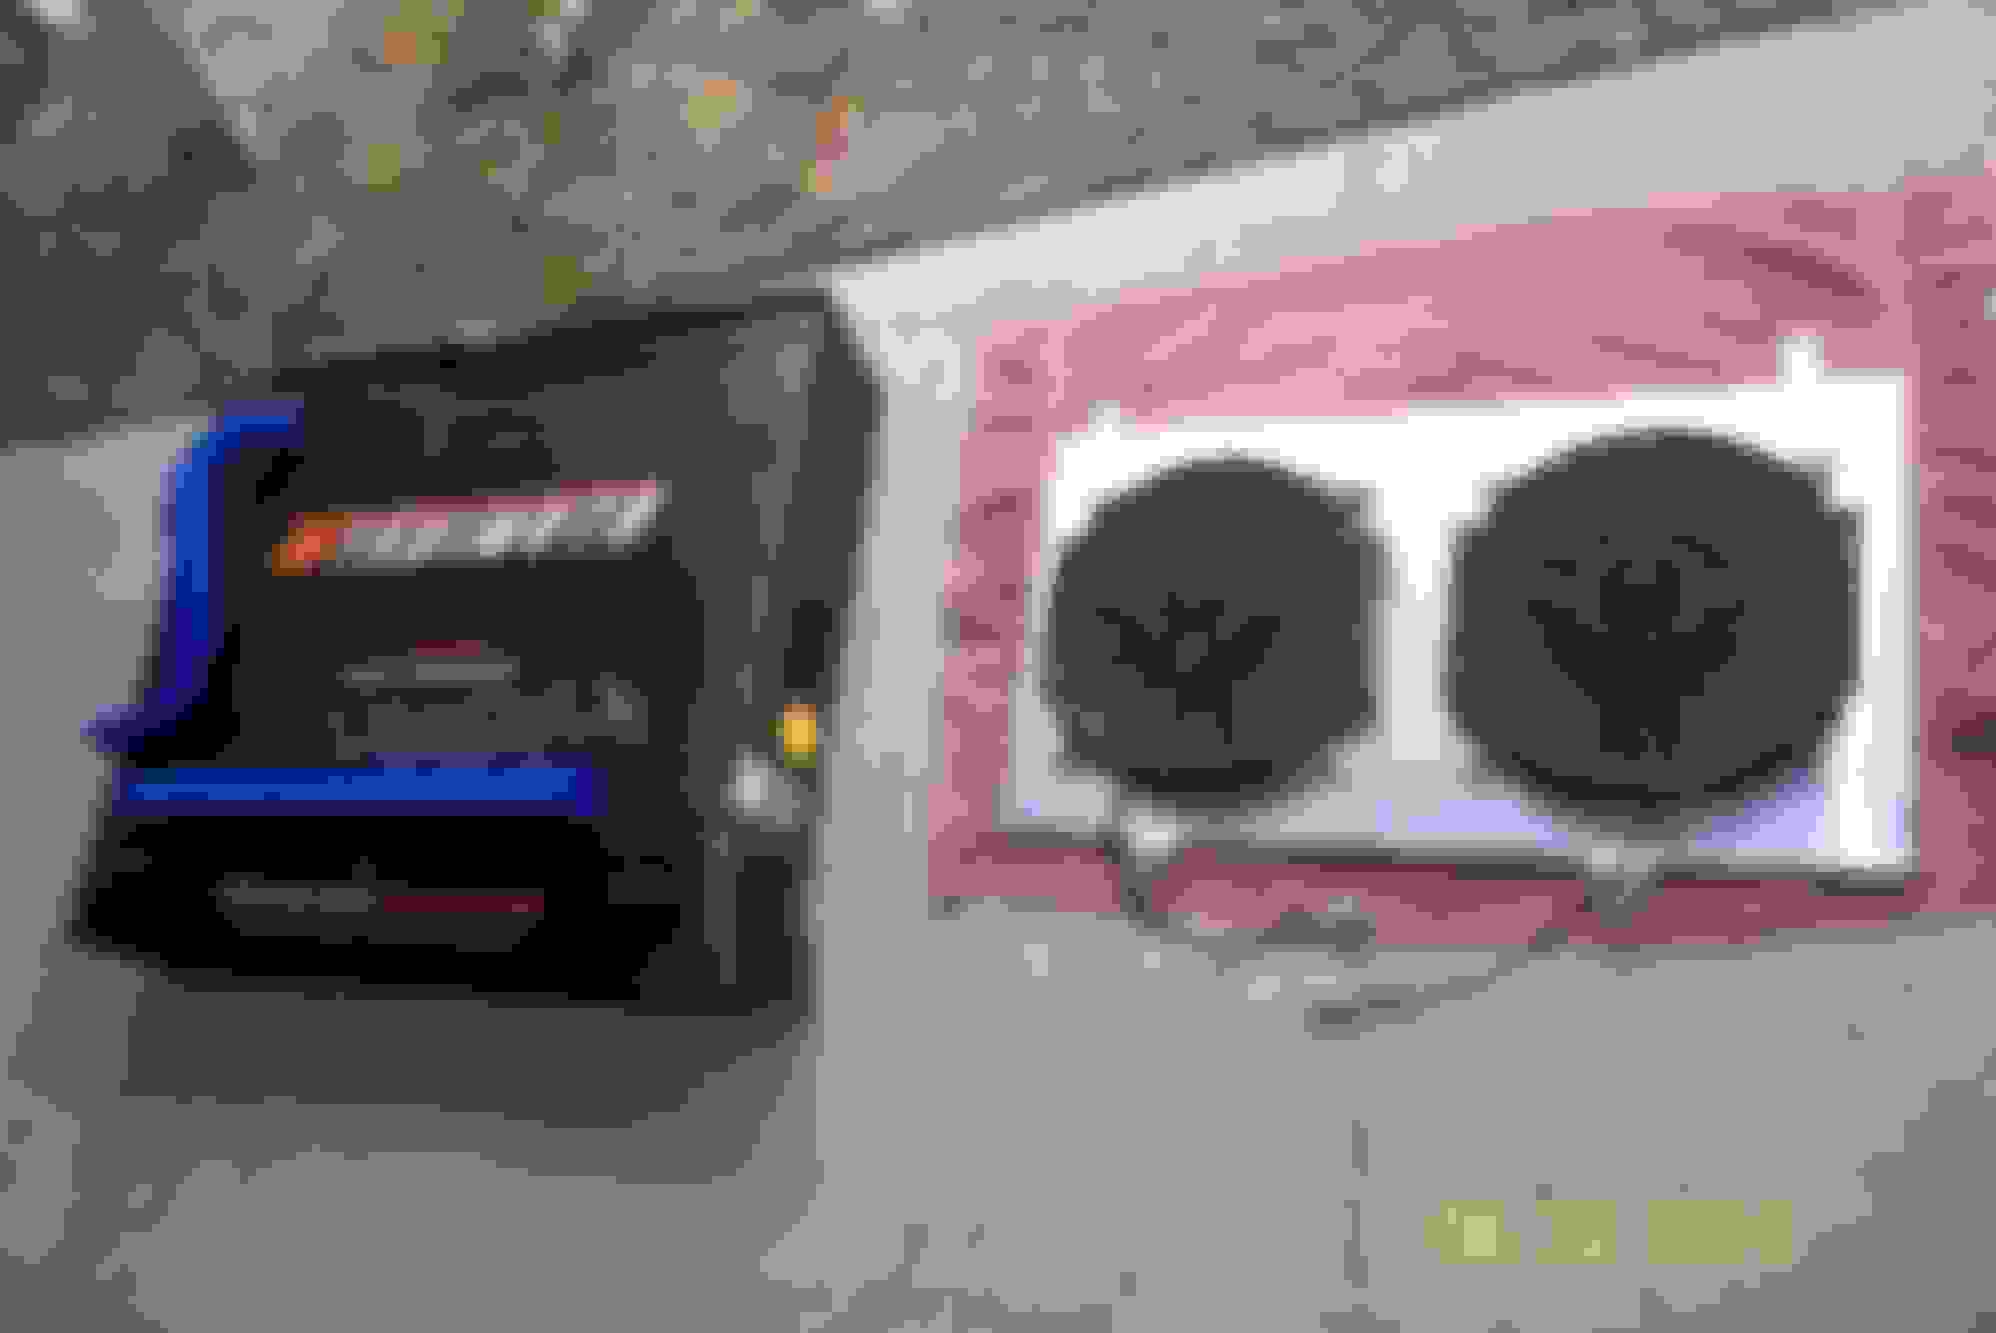
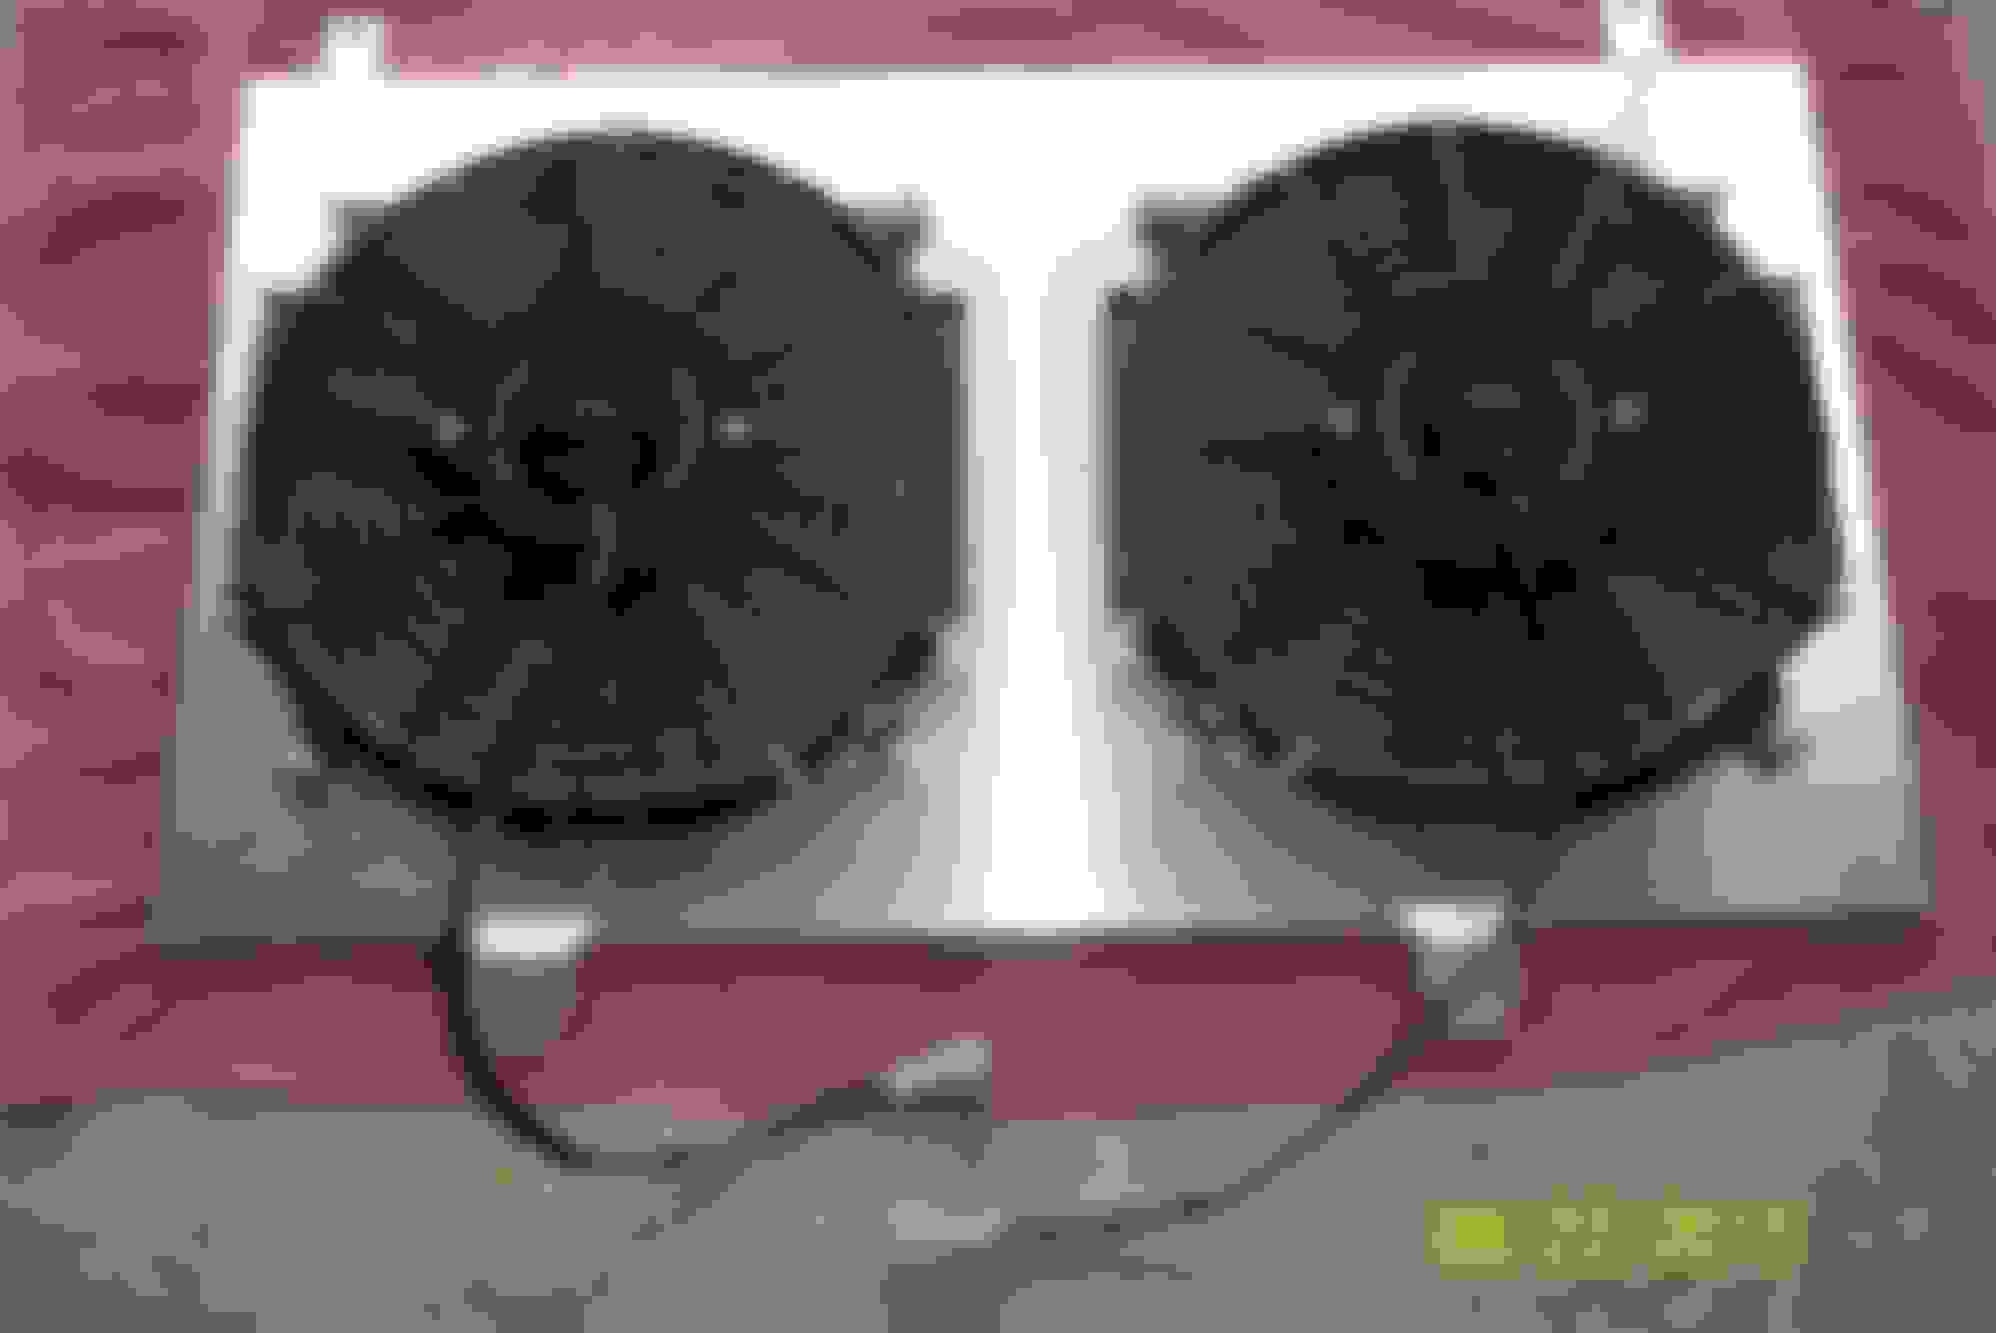
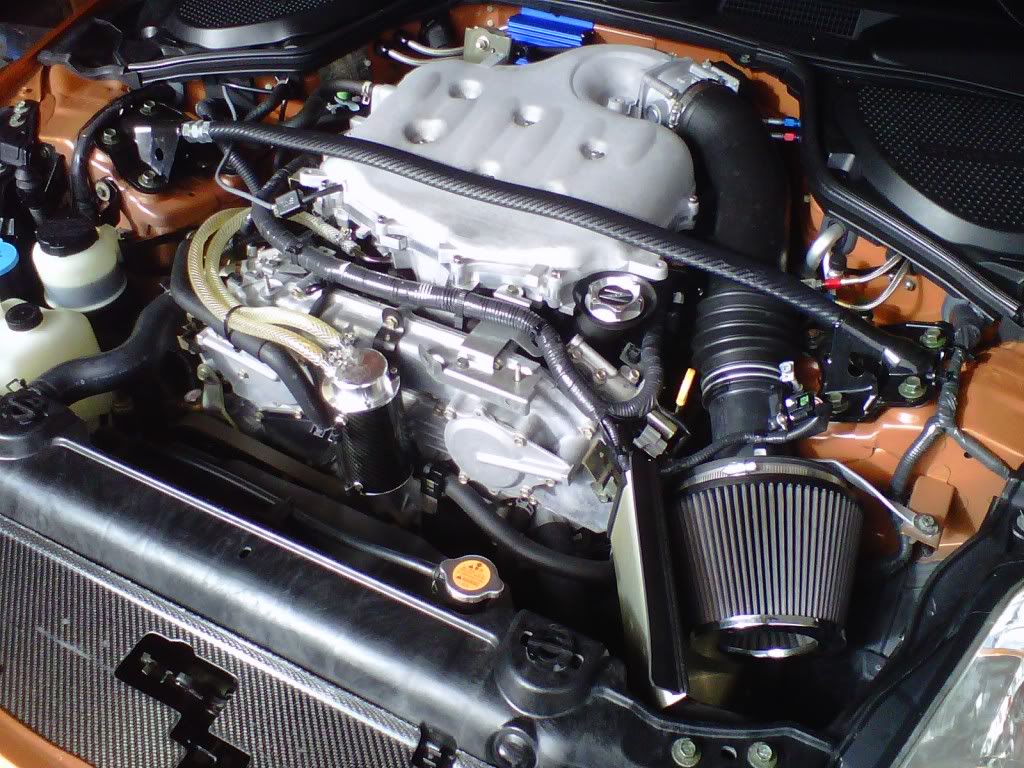
Still contemplating changing some of my color scheme, but for now I finally got around to finishing my cooling system, changed my headlights and started modding the brake power booster vaccum hoses. The main hose is on back order. Also need to find a PS alternator belt to convert that over but the a/c belt is now done. Over the next year I plan on redoing the PS hydraulic hose system and finally getting around to moving around my resevoirs. Also a few weeks ago had to change my RF hub bearing and rear 2 hub bearing coming due. I had gotten really slow on progress due to some financial issues but since my neighbor accidently backed into my driver side quarter panel which i will repair myself I took some of the left over funds to finish up a few goodies. Enough of the banter, here are the current pics.
Well I opened my hood today and thought it didn't look too bad under their, and then I clicked on this thread and now I need to go stand in a time out.
Thanks guys. Can't wait to do my next mod but the next month or so will be working on my rear quarter panel. I have started working on it a little already but much more to go till its done right. Gonna be shaving the antenna while I am at it. Soon as I find my pics I post up the damage.
You're off to a good start!! Here is some motivation.. Engine bay clean up is a slippery slope, once you start you find more, and more, and more that you want to change and clean up!
If you have any questions along the way just PM me, I don't check threads on here too often anymore.
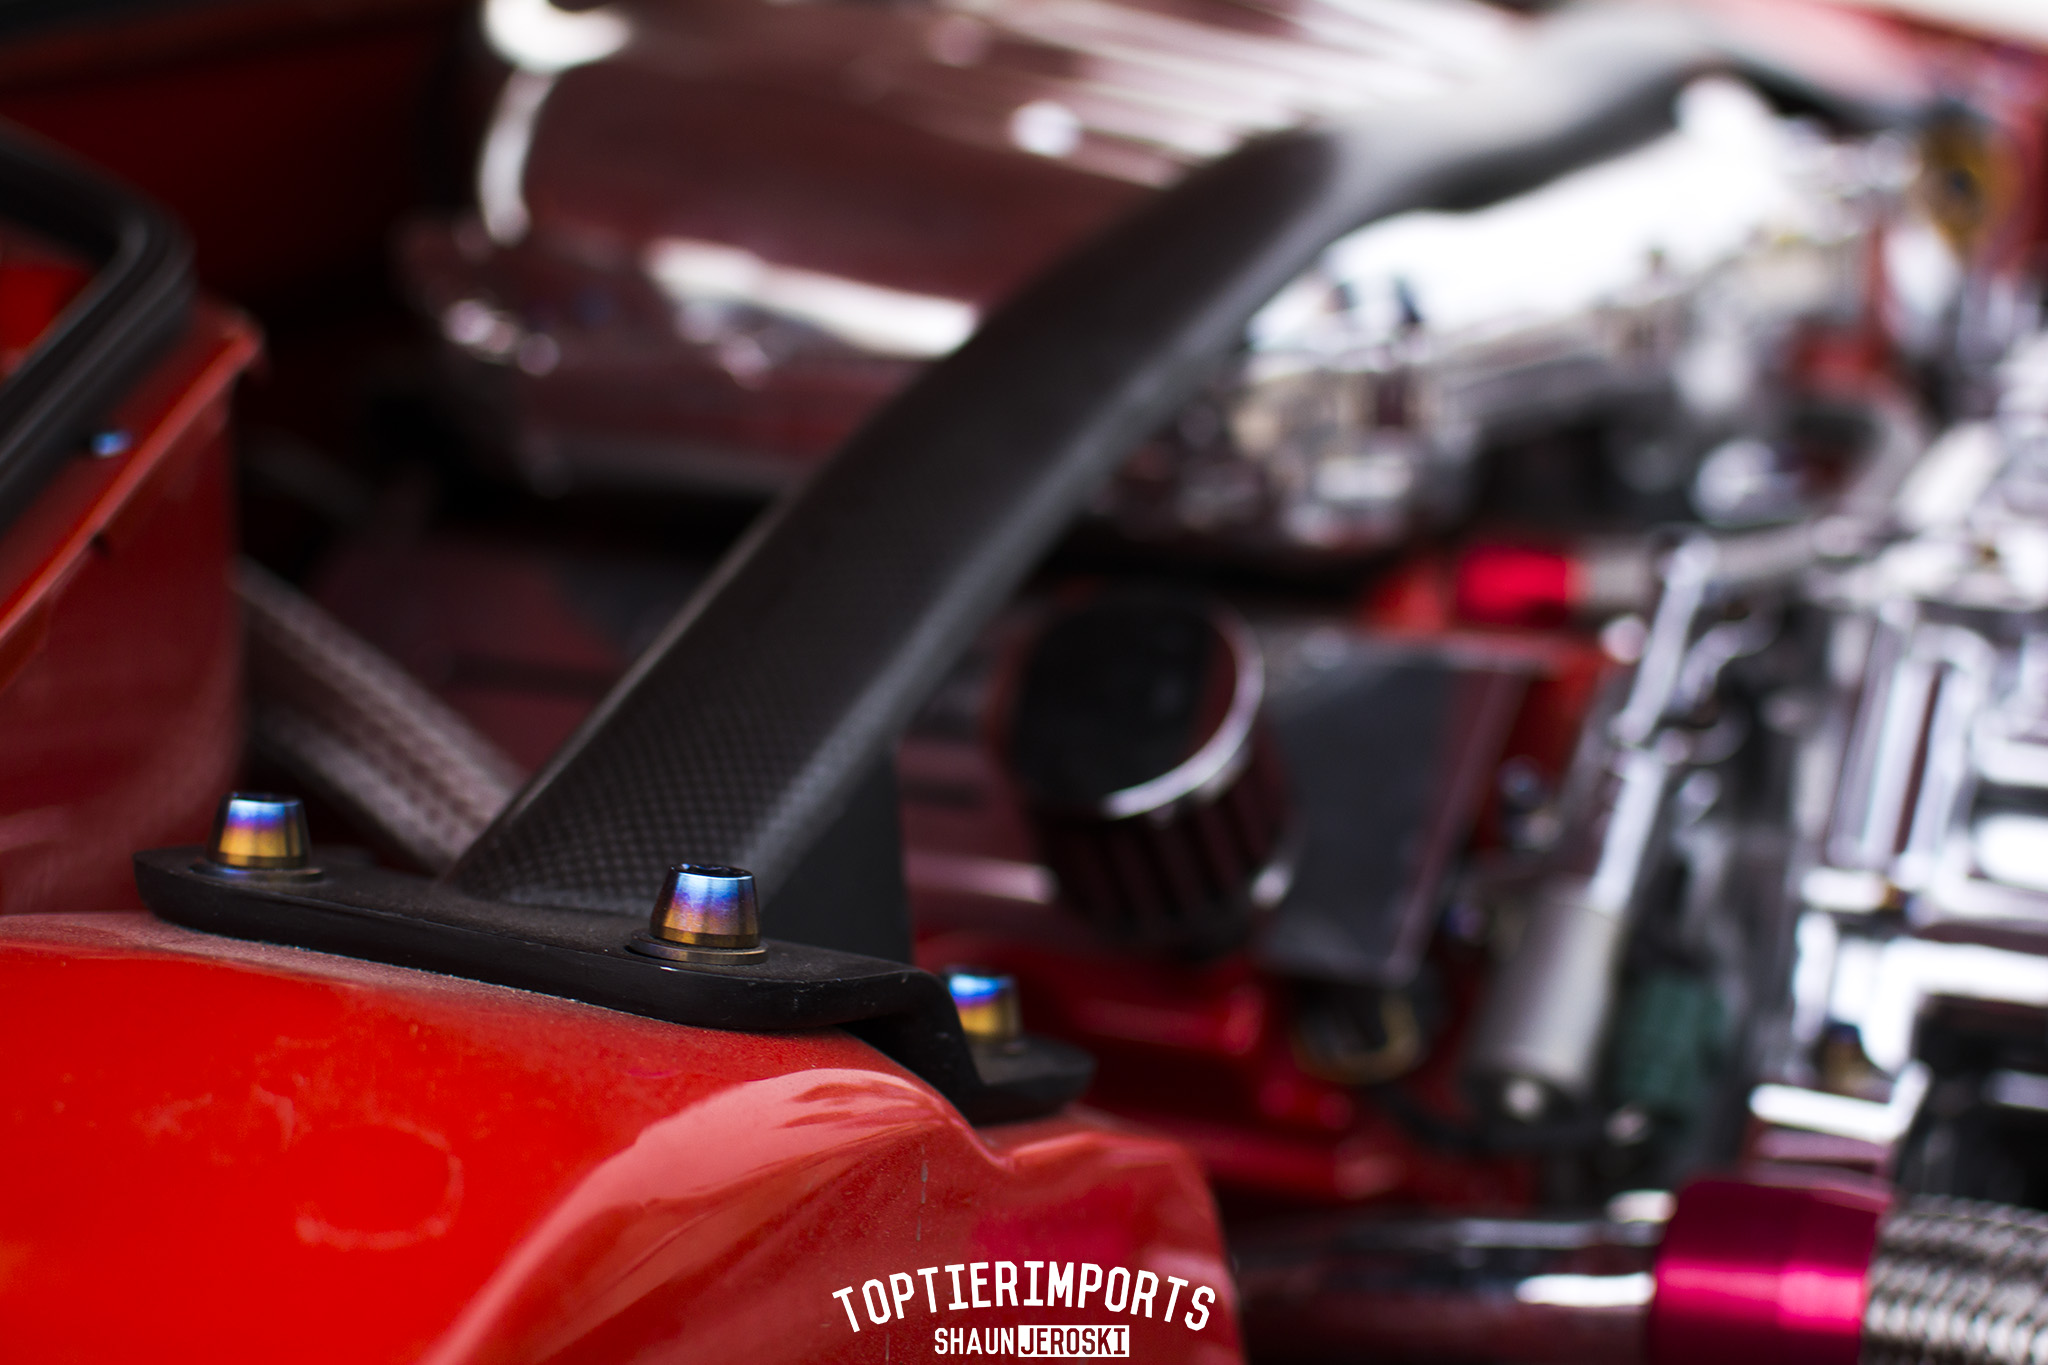
350zAl, that is definitely the look I am after. Of course I won't be getting rid of my lemans color though. I think that I will go with your strut bar concept if you don't mind. Mine being gold seemed to be too toyish. Had been pondering what i wanted to do with it, ie; replace with cusco or just repaint. Is yours a true carbon or a wrap?
350zAl, that is definitely the look I am after. Of course I won't be getting rid of my lemans color though. I think that I will go with your strut bar concept if you don't mind. Mine being gold seemed to be too toyish. Had been pondering what i wanted to do with it, ie; replace with cusco or just repaint. Is yours a true carbon or a wrap?
The new one isn't wrapped. It looks like true dry carbon. I suspect it's an Evo-R bar. I ordered a different brand, and this is what showed up... I liked it, so I ended up keeping it, not really knowing what it actually is lol
The old one in the first pic is just the stock bar wrapped in 3m Di-Noc carbon fiber vinyl.
Yup that is the one, the price is a bit higher then I thought it would be. Looks like the bar will move much further down the project list. I have numerous other projects on my Z that need the money before I invest into carbon and TI parts.
I may just get a can of satin epoxy black to hold me over to get a similart look though
My next proects that I am planning on are rear hub bearings, sub frame and control arm bushings. Then shortly there after going with BDE motor mounts.
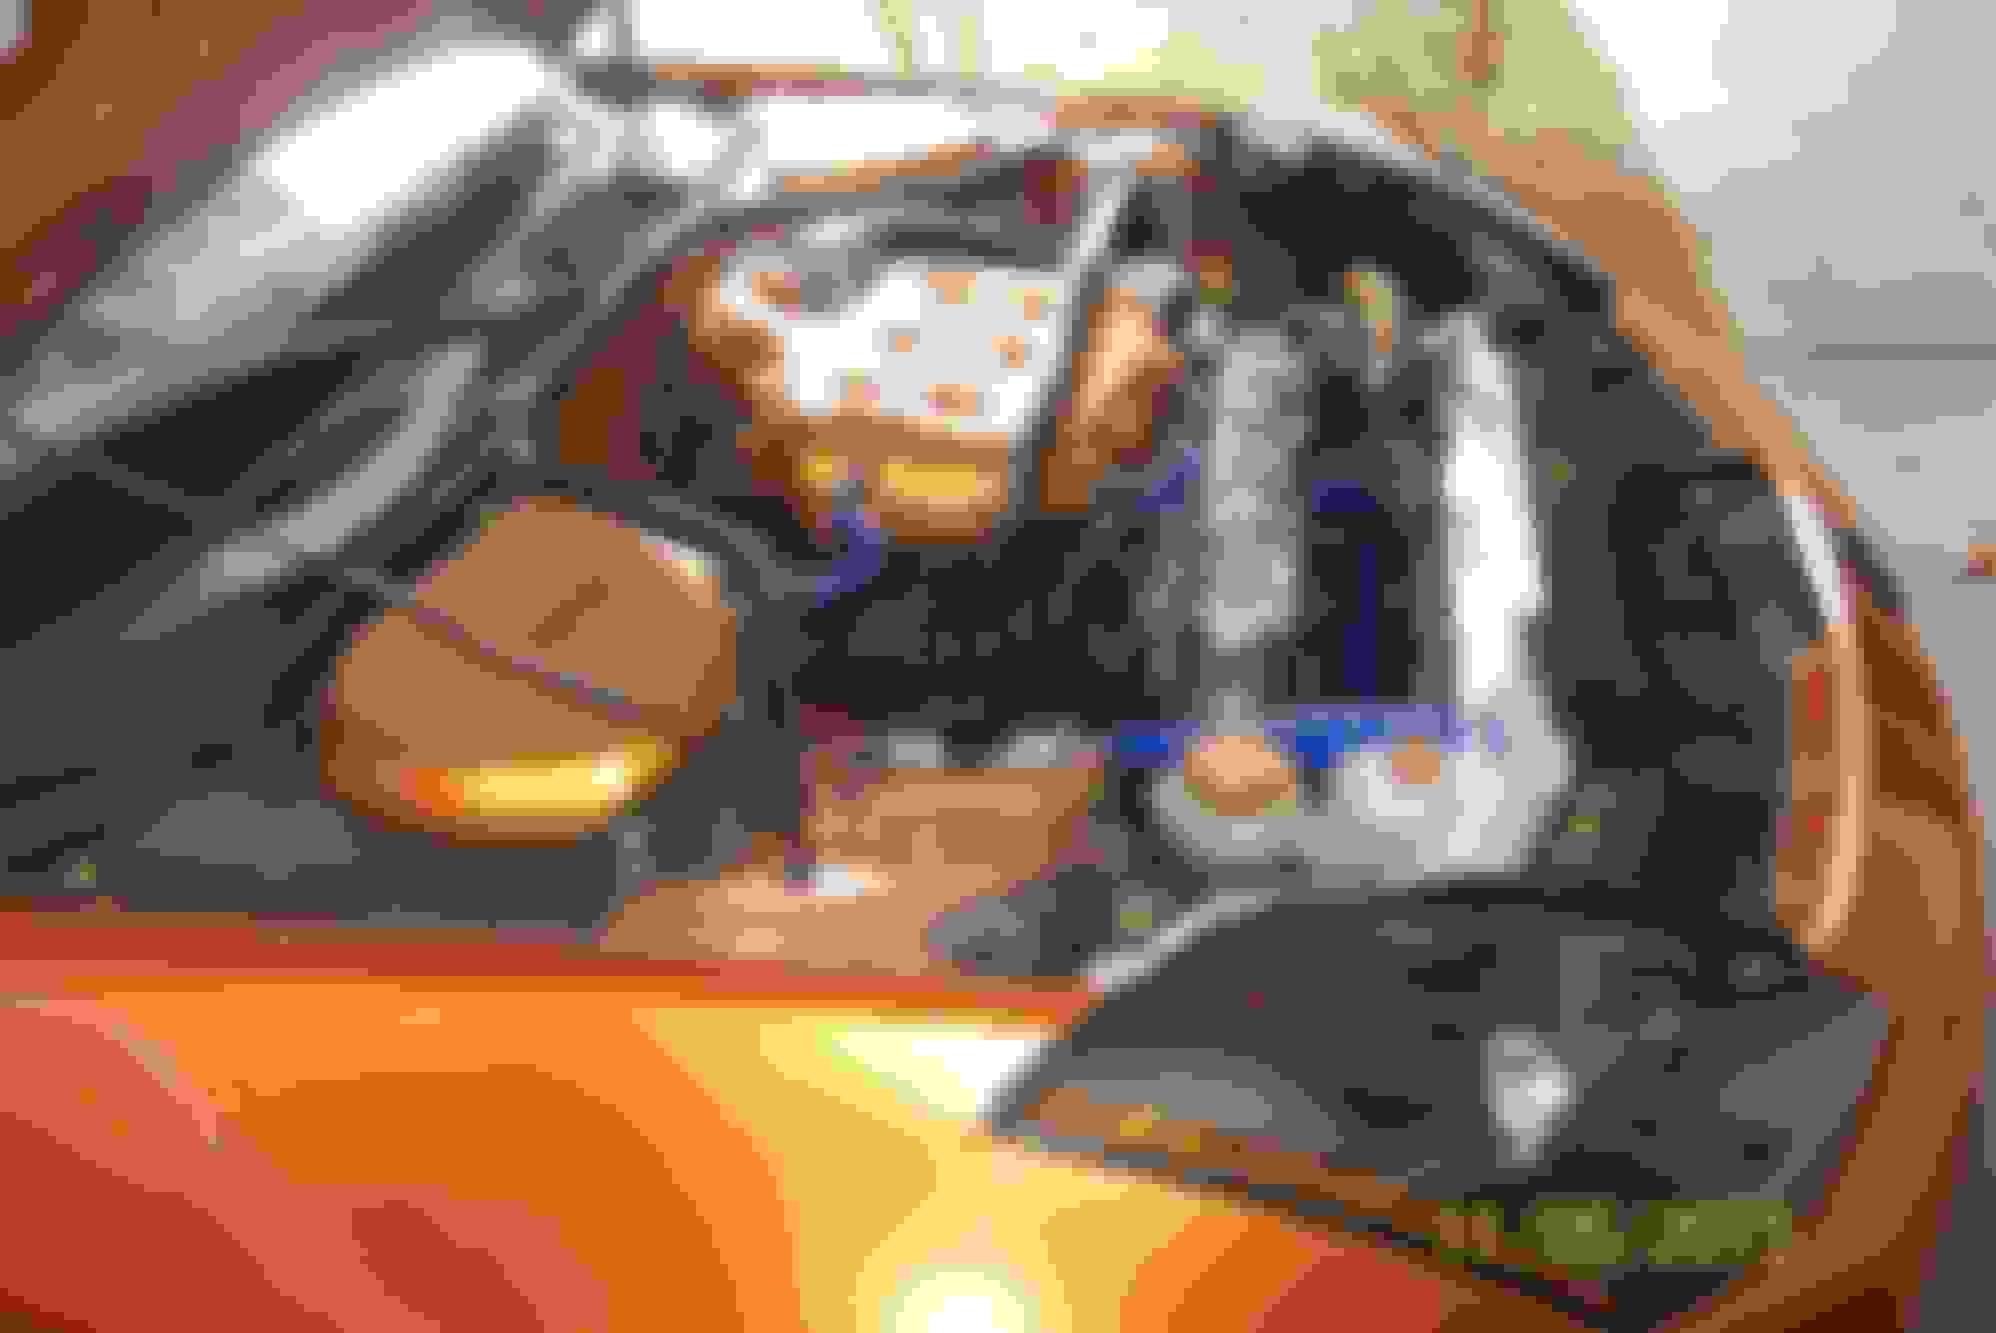
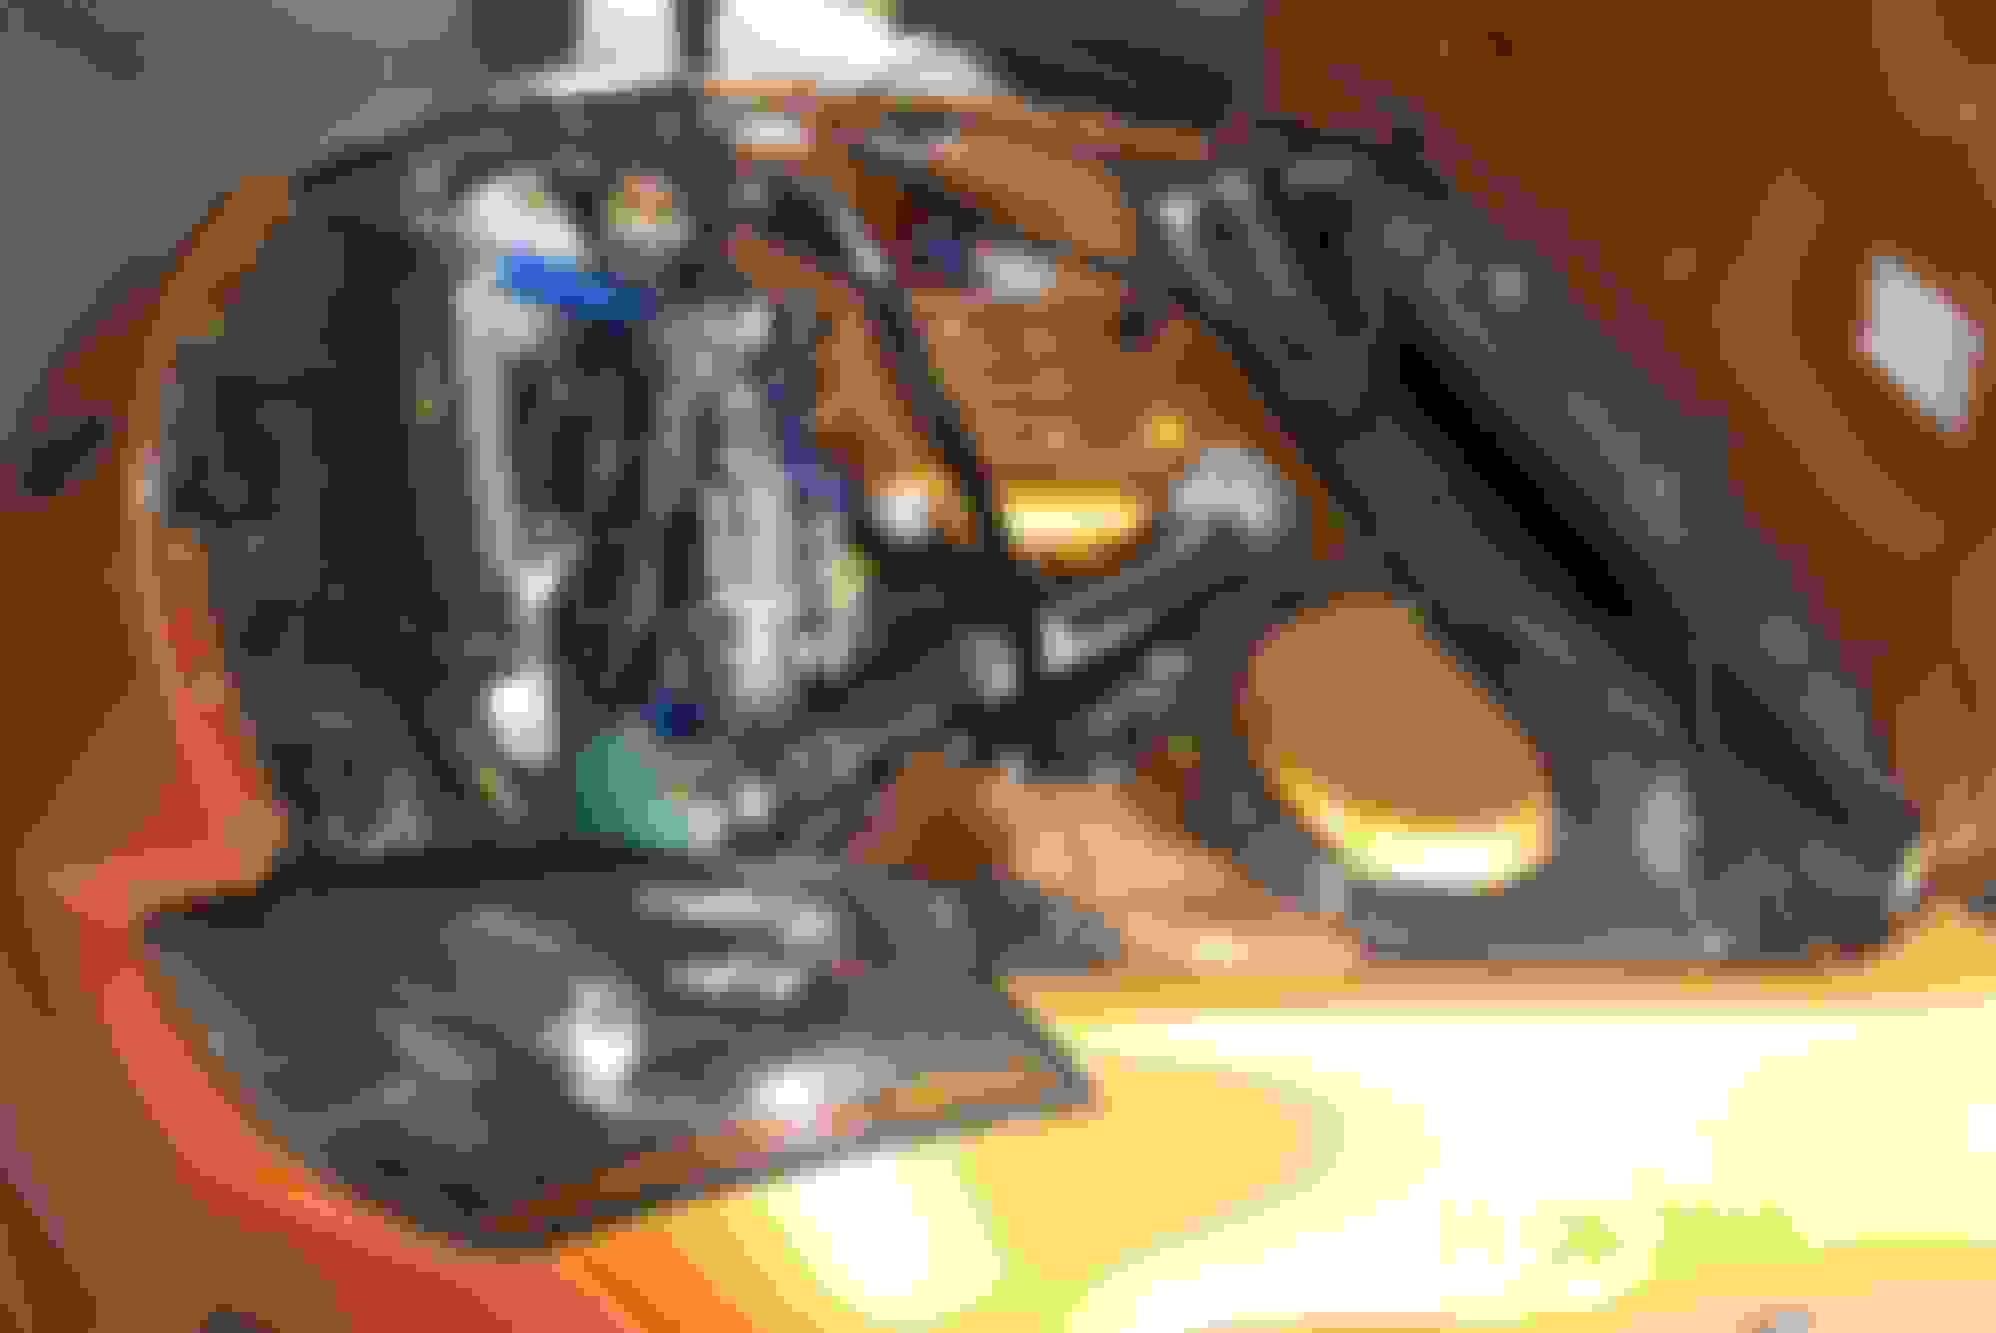
Cux350z got me a little motivated to do a little more work. Weather has been to cold for me to do too much atm and funds are short from Christmas so I decided to tackle a small project. Adding some brembo gold to the engine bay was too over kill in my opinion and looked too much like a matchbox car so I tamed things down a little. Also removed my homemade cooling plate in preparation for a mod to come. Please don't mind the dust.
Once the weather warms up a little more i am going to repaint the plate that I had made to fill in the hole on the timing cover. More then likely I will just paint it satin black.
Thanks!! Can't wait to see your final completion pics this time around. I do have a few things up my sleeve for more work under the hood this year. Just gotta see how many nickles I can save up first though lol.
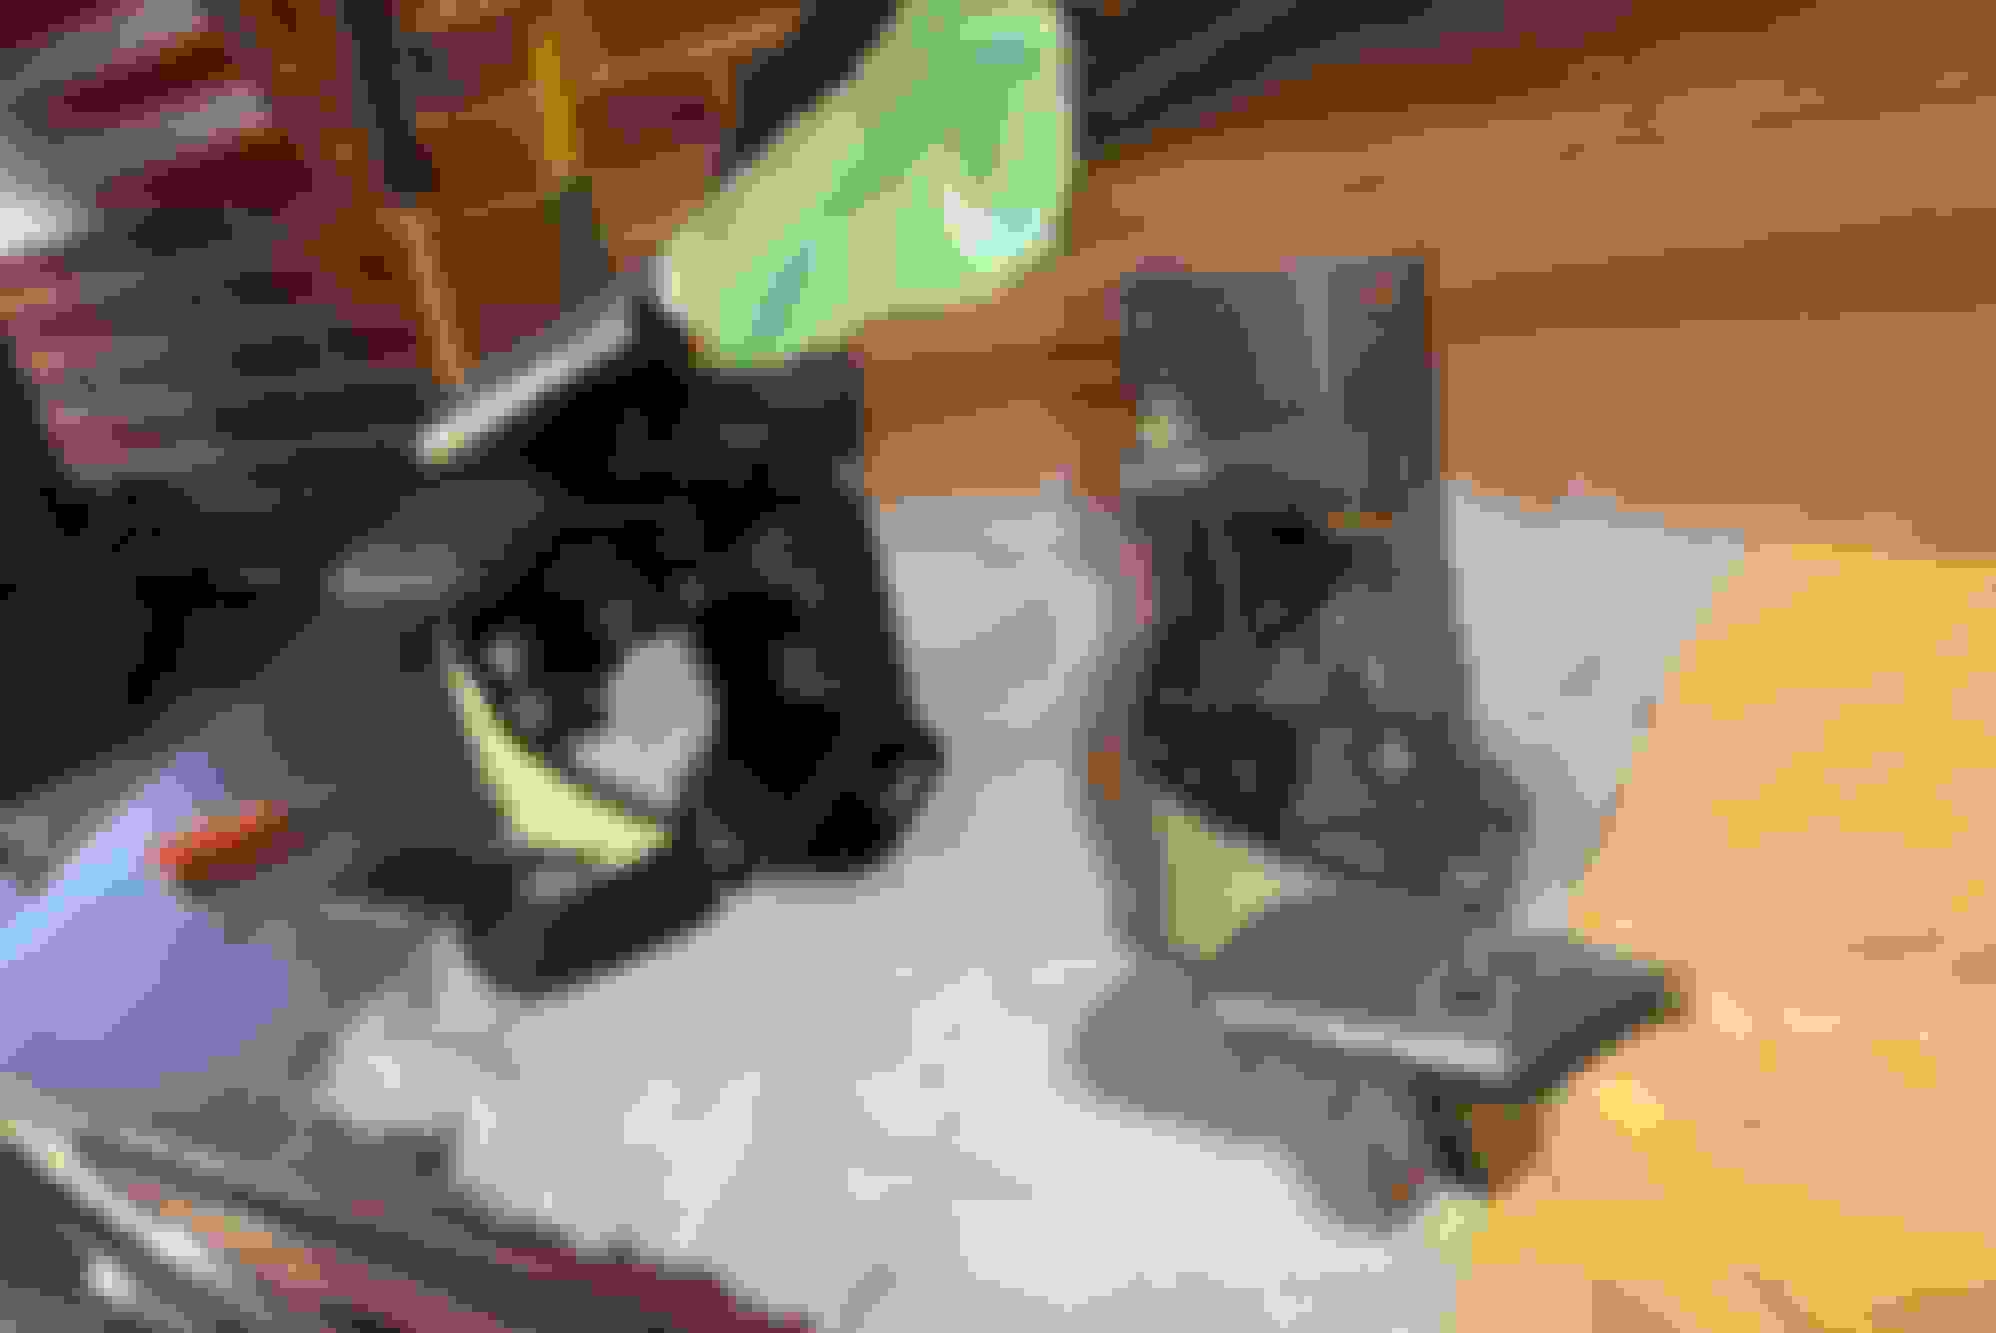
Finally got another part ordered. Wasn't what i was origionally doing next but after reading reviews for a year I had to pull the trigger. Ordered my RJM pedal assy friday, he said it should be shipping today. Definitely gonna post some pictures up on this. I don't see alot of comparison pictures of the stock vs. rjm side by side so I am gonna take more so others can really see the real deal here.
Friday my RJM clutch pedal assy came in. Got a chance to install it today after a run to nissan to get some switch pads. Part # included in pics. Haven't driven the z yet but in the driveway with the car running the car went through the gears great. Pedal feels awsome. Install was straight forward and simple with the seat out.
Got another order on the way... Ordered the ultraracing rear subframe brace since my rear brace had alot of damage before I purchased the car a couple of years ago. I had gotten some urethane subframe bushings about 6 months ago but haven't done them yet due to the condition of the brace and didn't want to use the same OEM brace. Also ordered a set of lockout bolts for my camber arm and a set of ES rear control arm bushings. Looks like I will be very busy the first week of March.
So far the clutch pedal is working out nicely. Haven't done much with adjustments since I am trying to relearn driving the car. It is alot more predicatable now, just have to decided what adjustment needs to be made if I even want to adjust more.

 08-27-2015, 03:47 AM


 ...
...

 ics/DSC_29261.jpg.html]
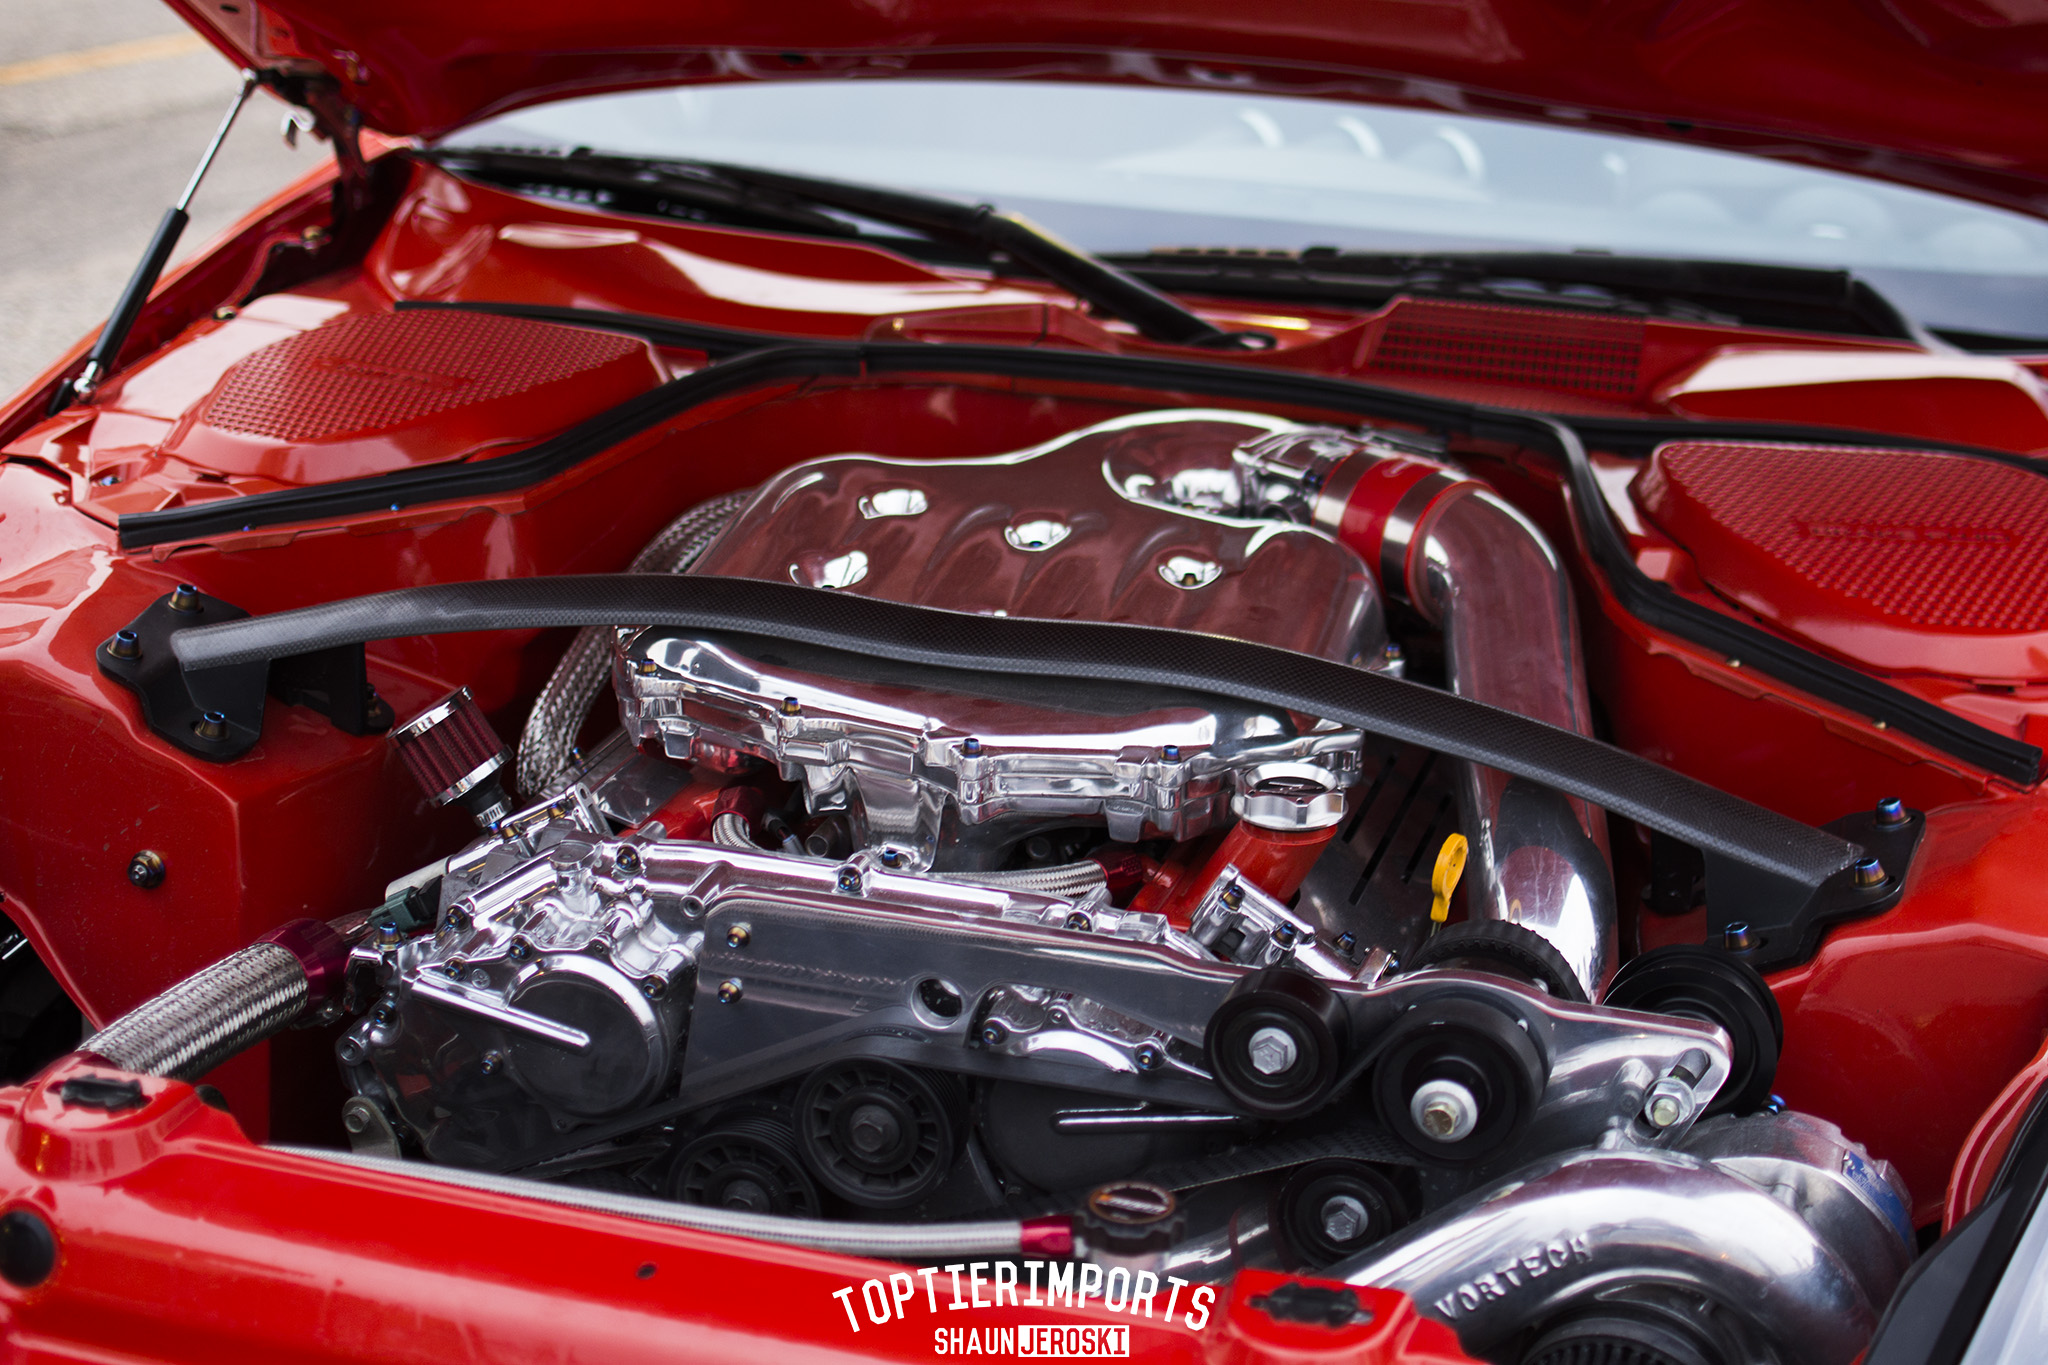 [/URL]

 ics/DSC_29261.jpg.html]