When you click on links to various merchants on this site and make a purchase, this can result in this site earning a commission. Affiliate programs and affiliations include, but are not limited to, the eBay Partner Network.
Well joking with my boss at work i managed to get christmas week off. I was planning to do both front side body harnesses but decided to go a bit further.
I want to thank my350z and G35 forums for all the information that i used for this mod process. I still have a few more pics to take after i finish some detailing. There is a few more details i want to do before i really call this complete. Well enough of the talk and lets get the pics going.
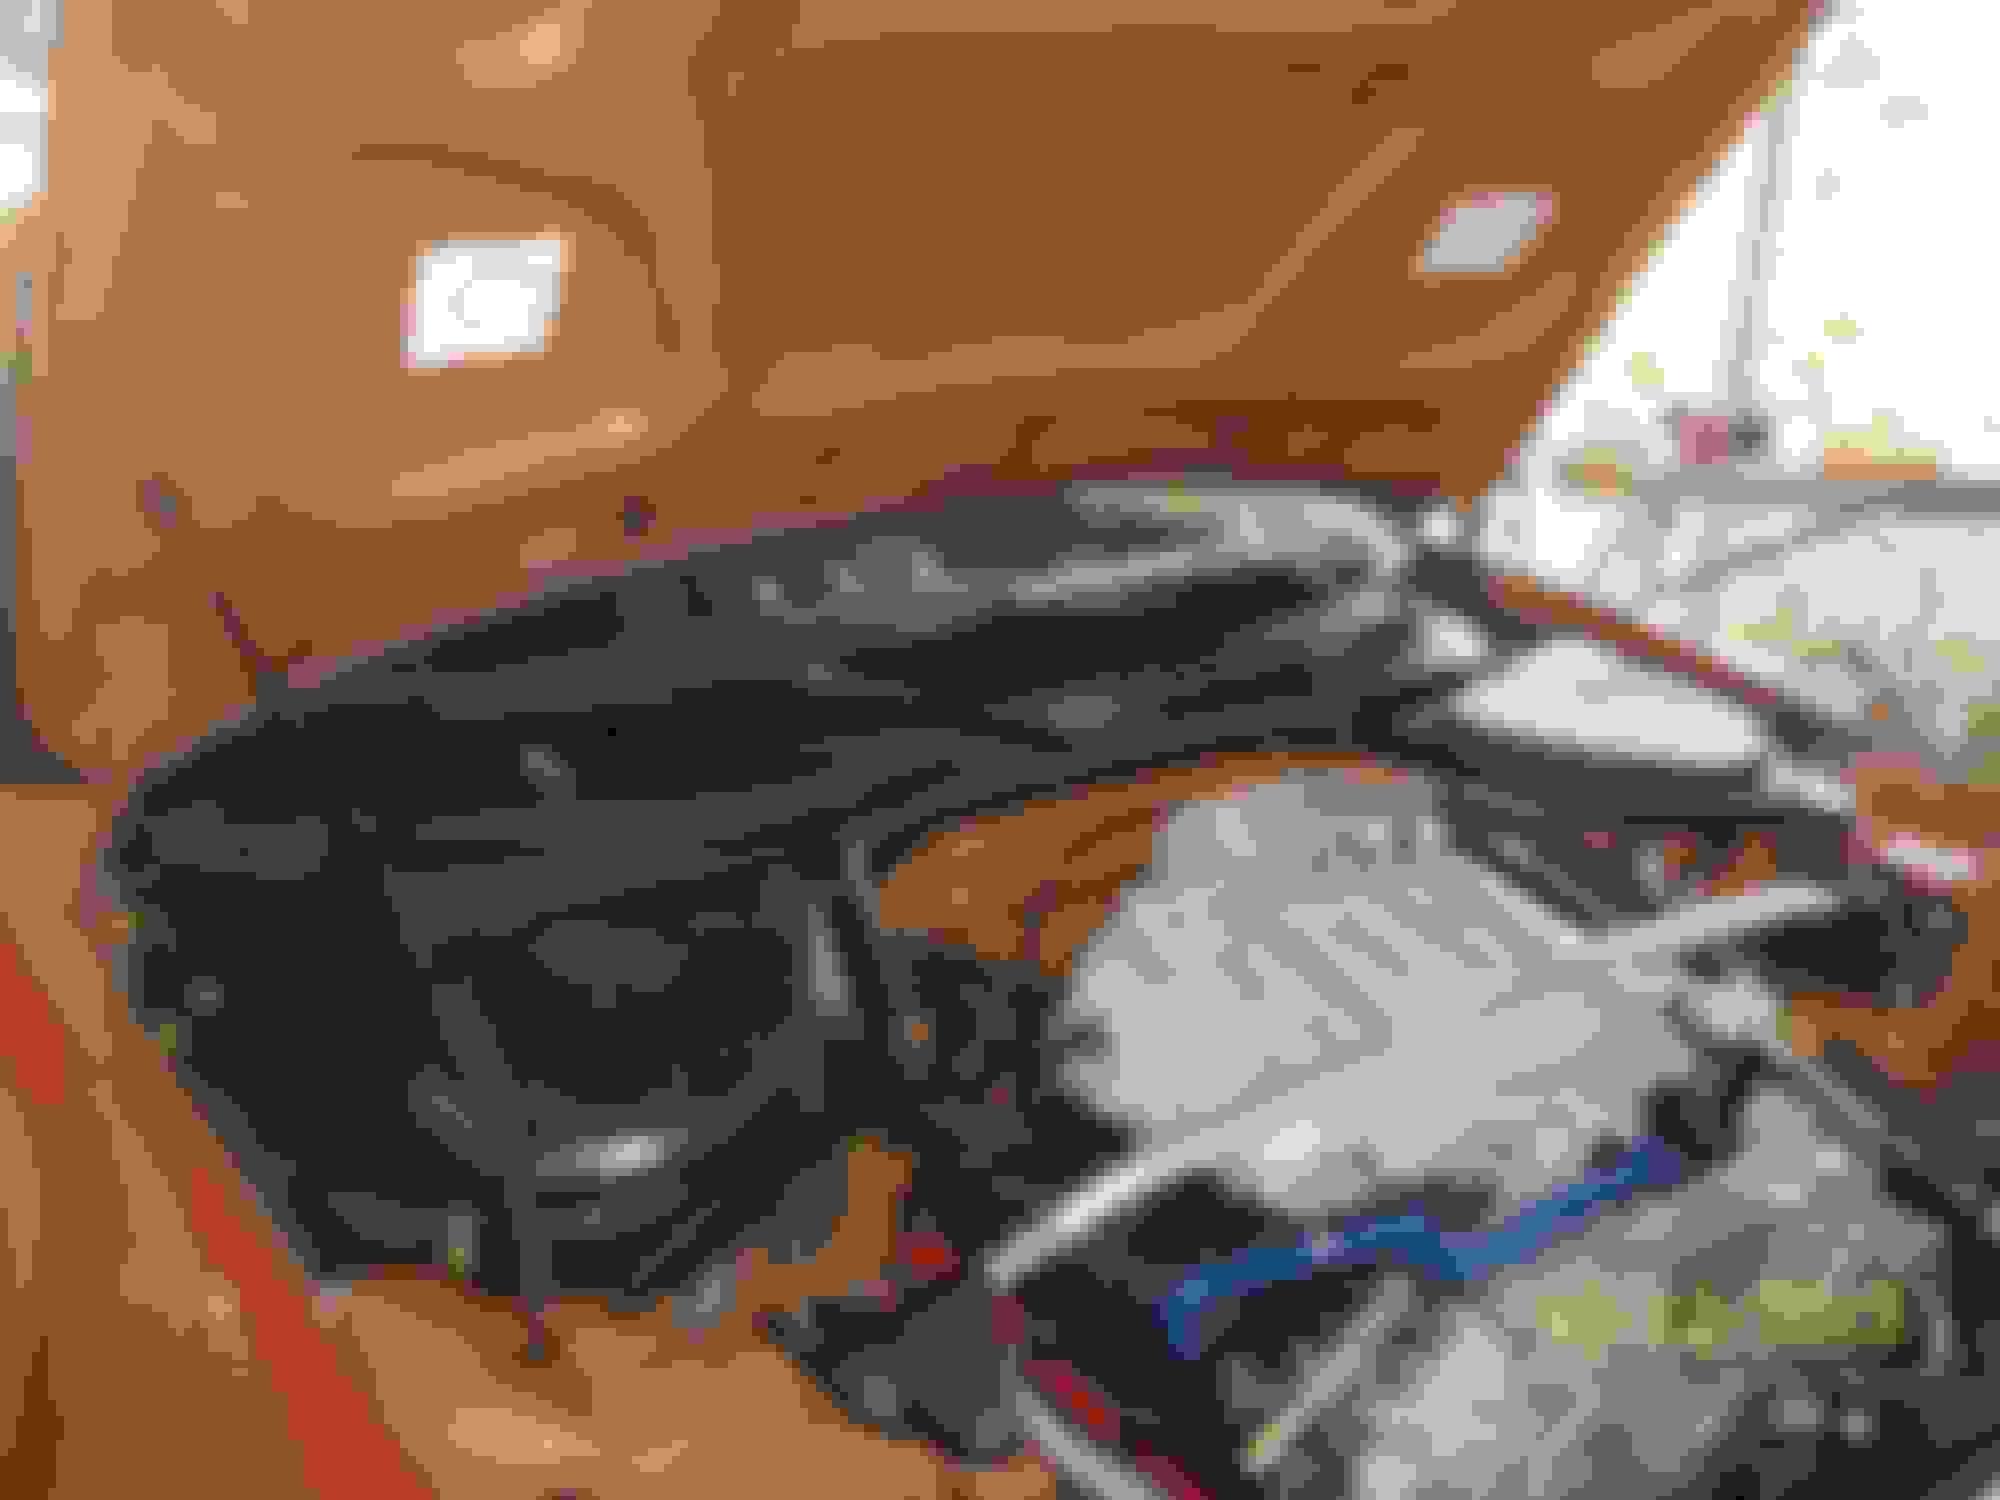
before with some cleanup all ready done
a few process pics
After i do a few a little detailing today i will upload a few completion pics.
There are several more things that i want to do to clean this up alot mroe over the next couple months so this will turn into a progress thread. I hope you all enjoy this thread. I also hope you all had a very merry christmas as well.
Last edited by rustyschopshop; 02-17-2016 at 08:21 PM.
Reason: change title for progress thread
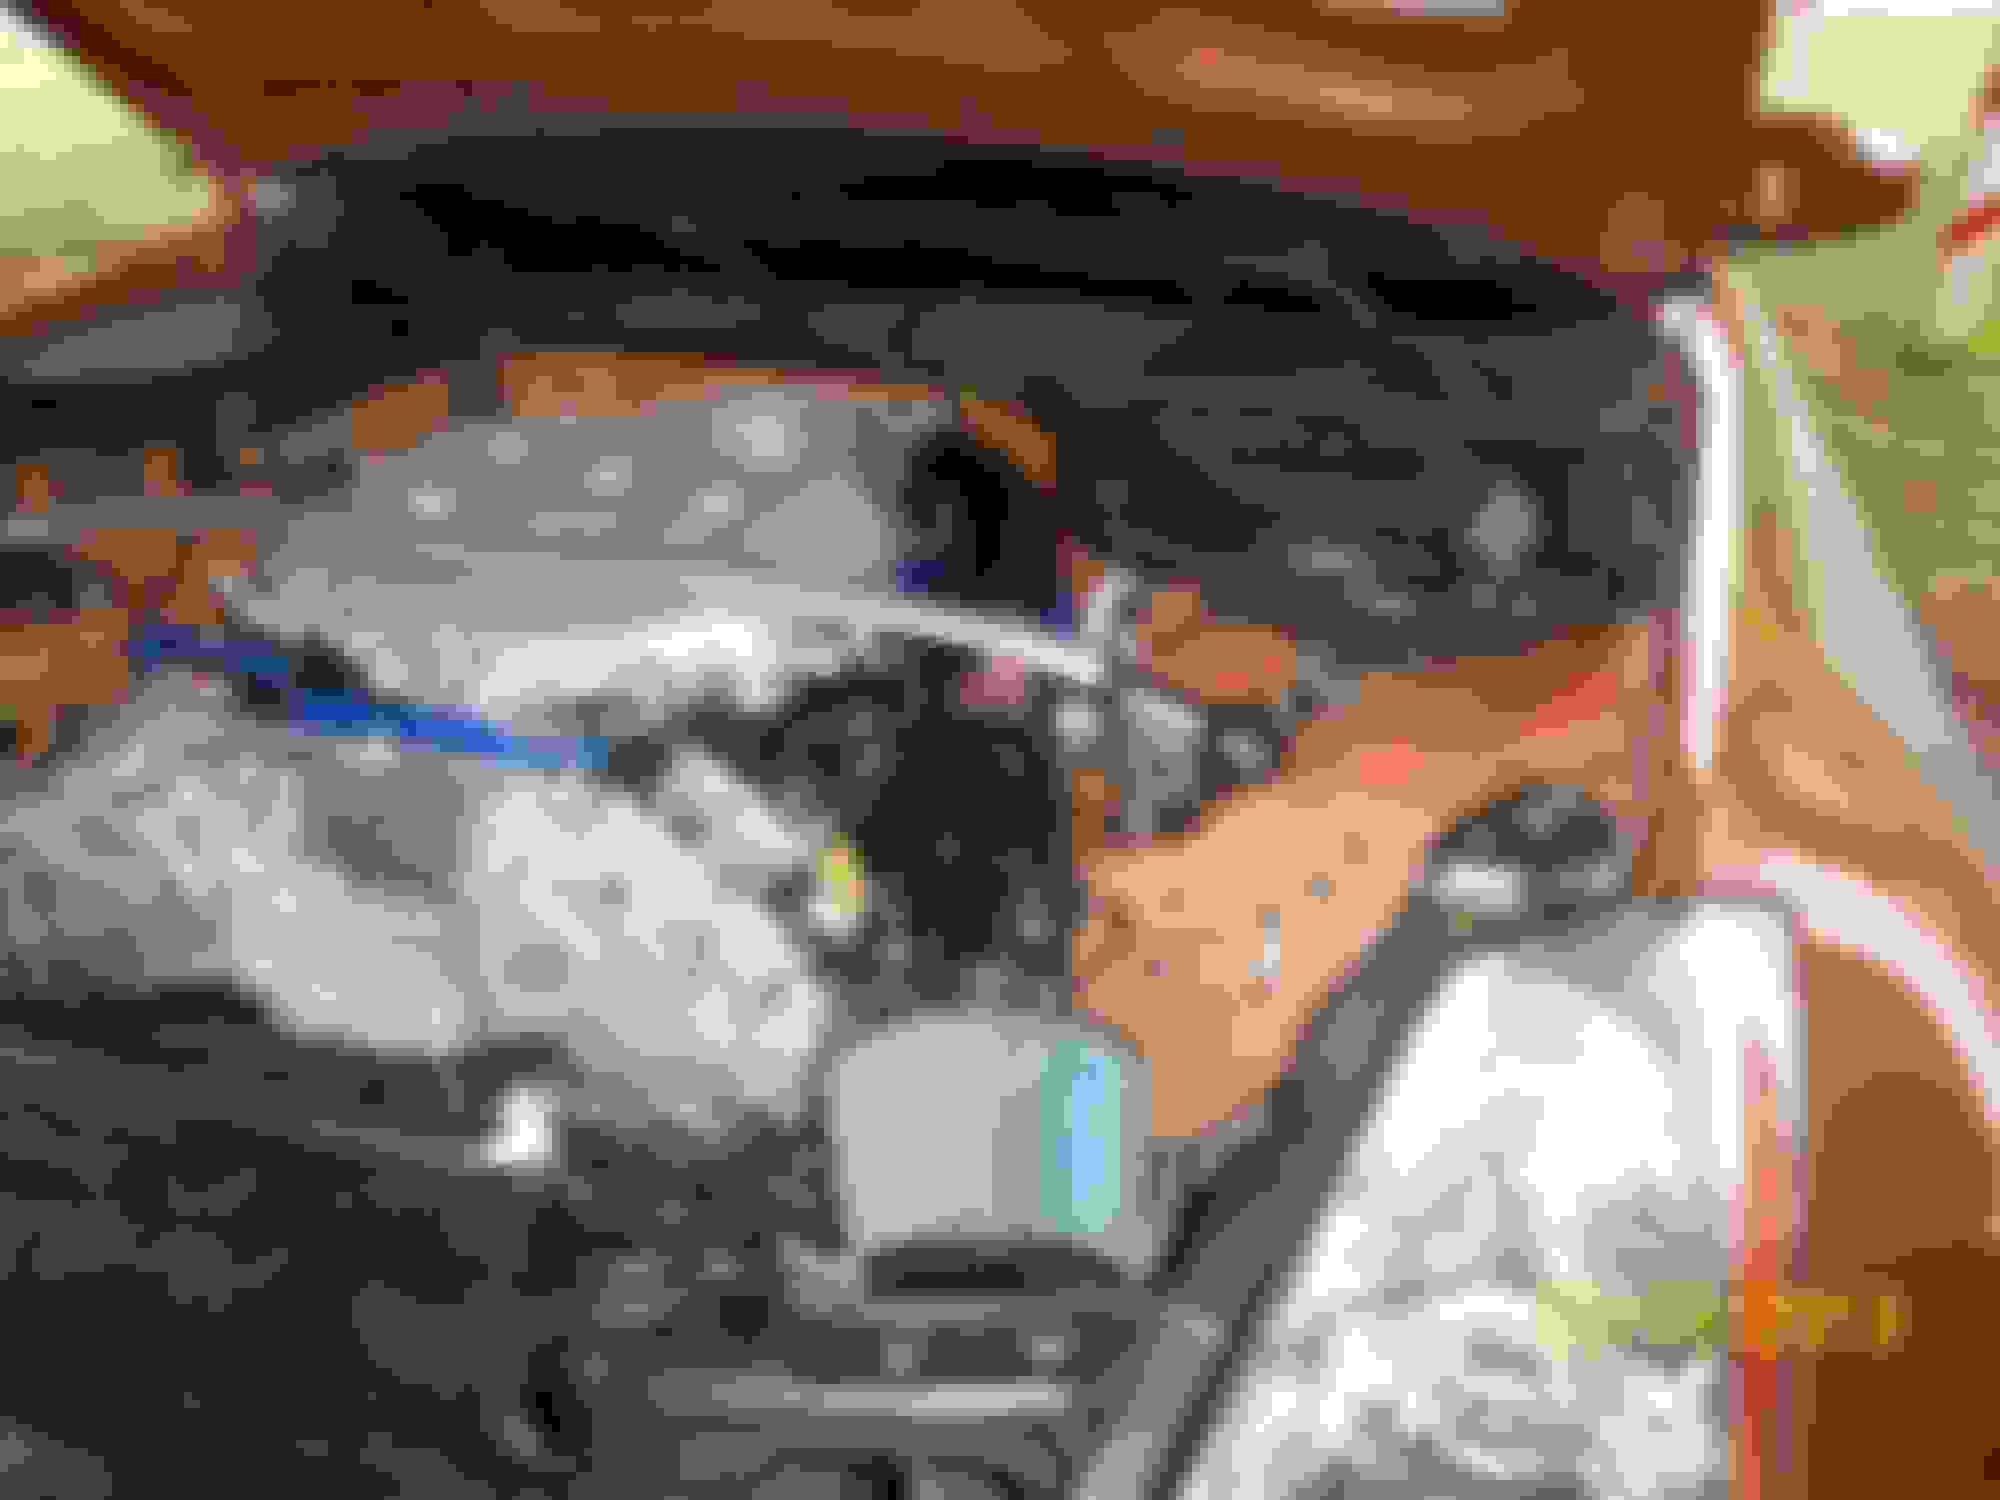
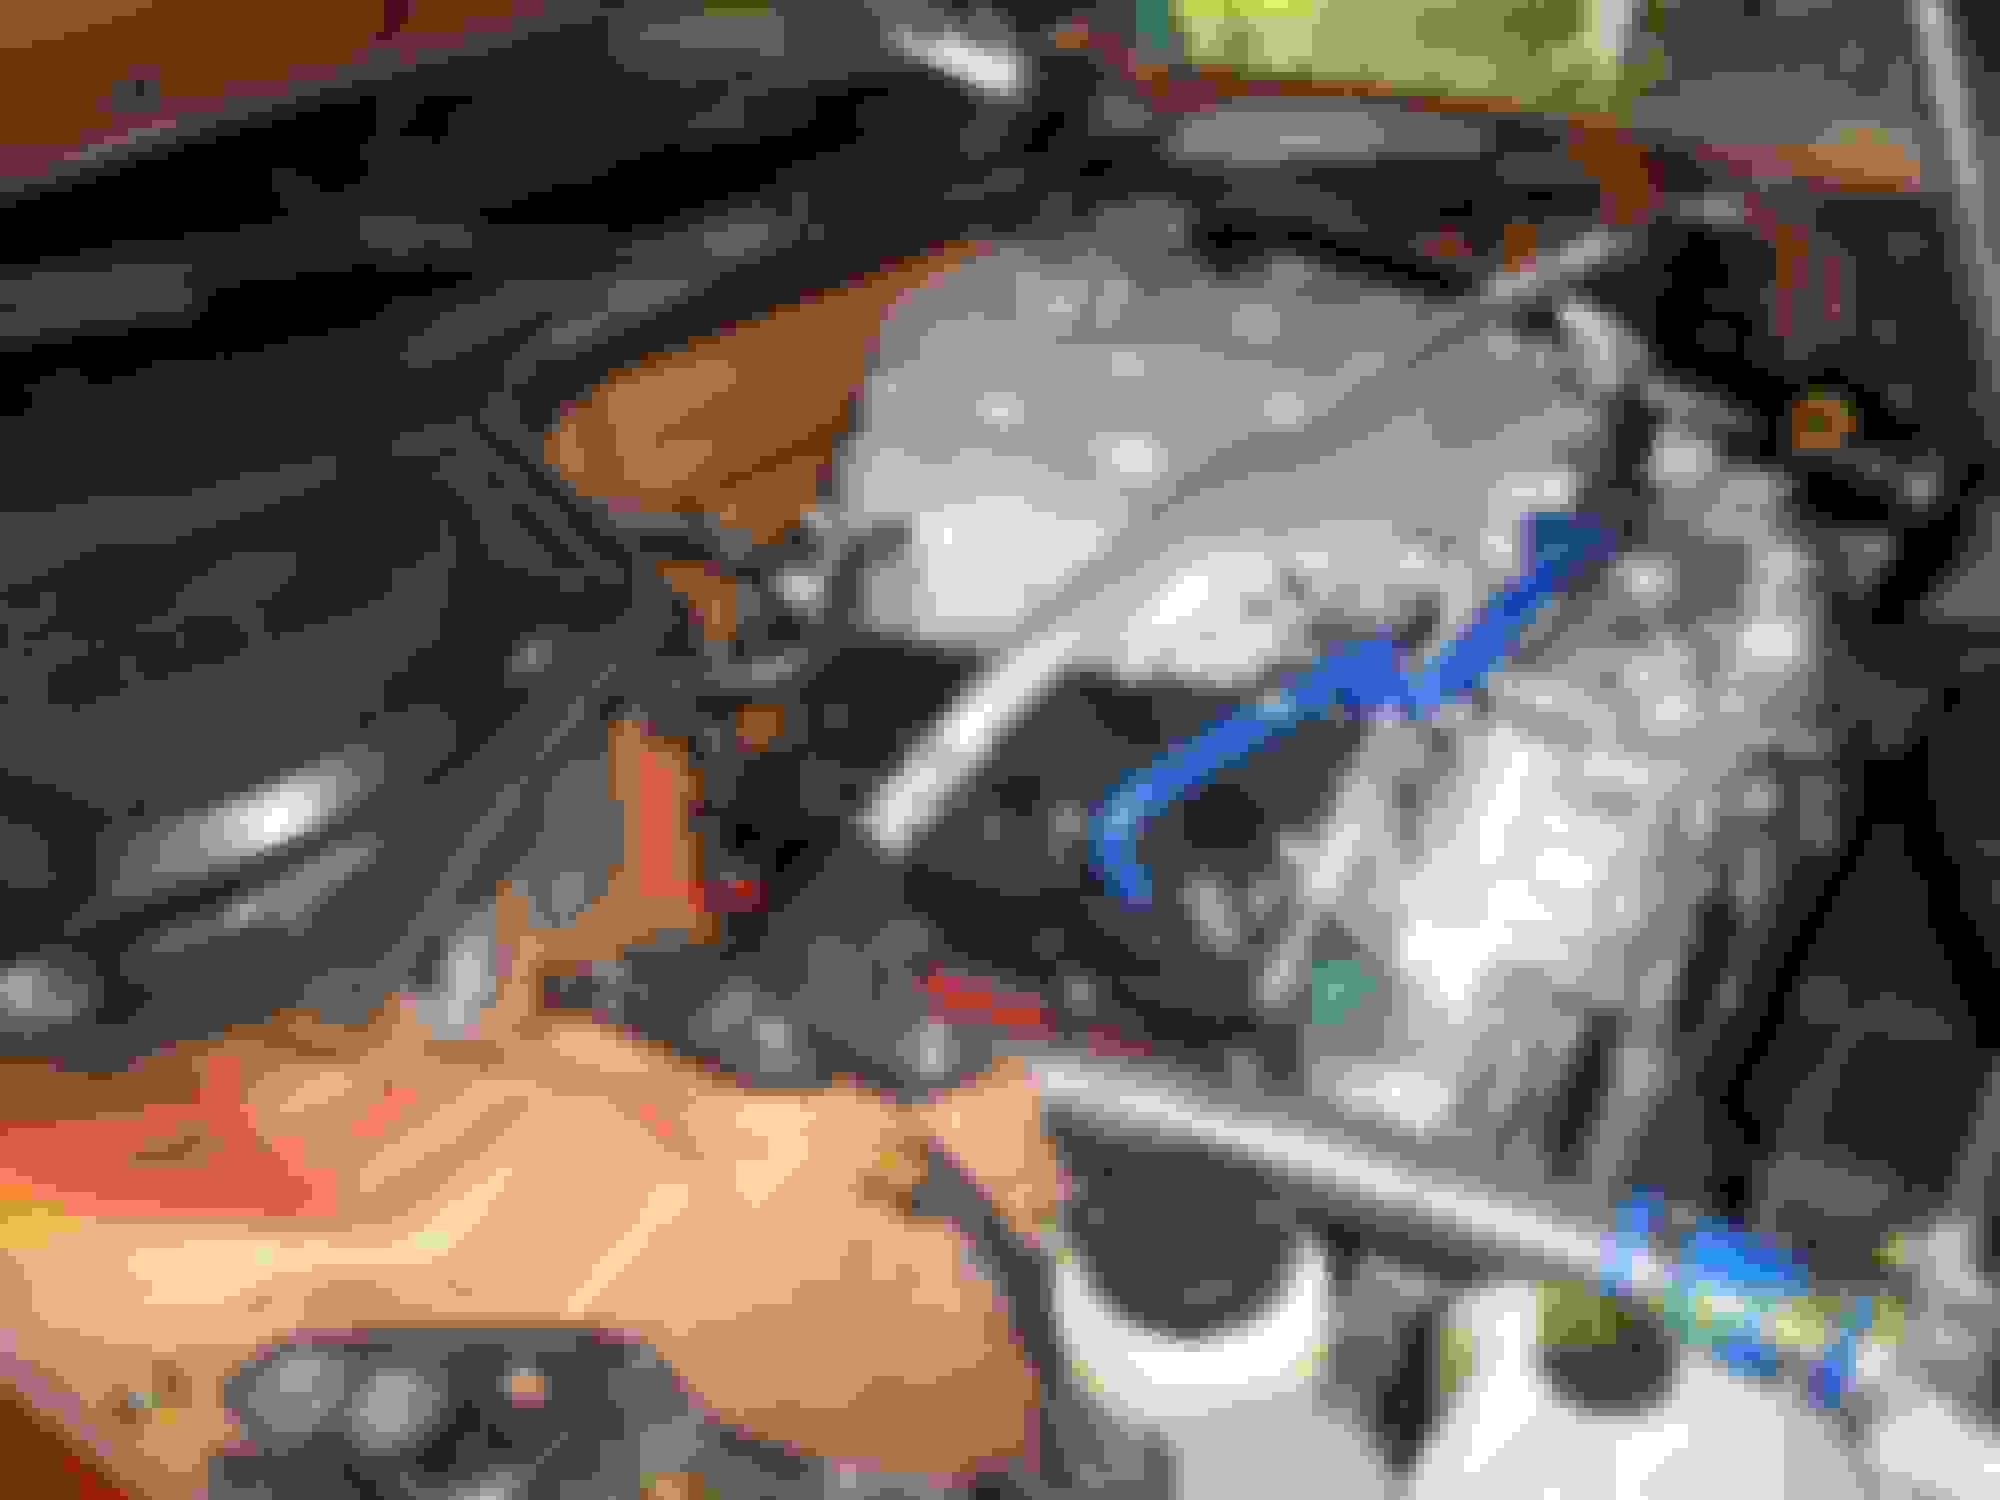
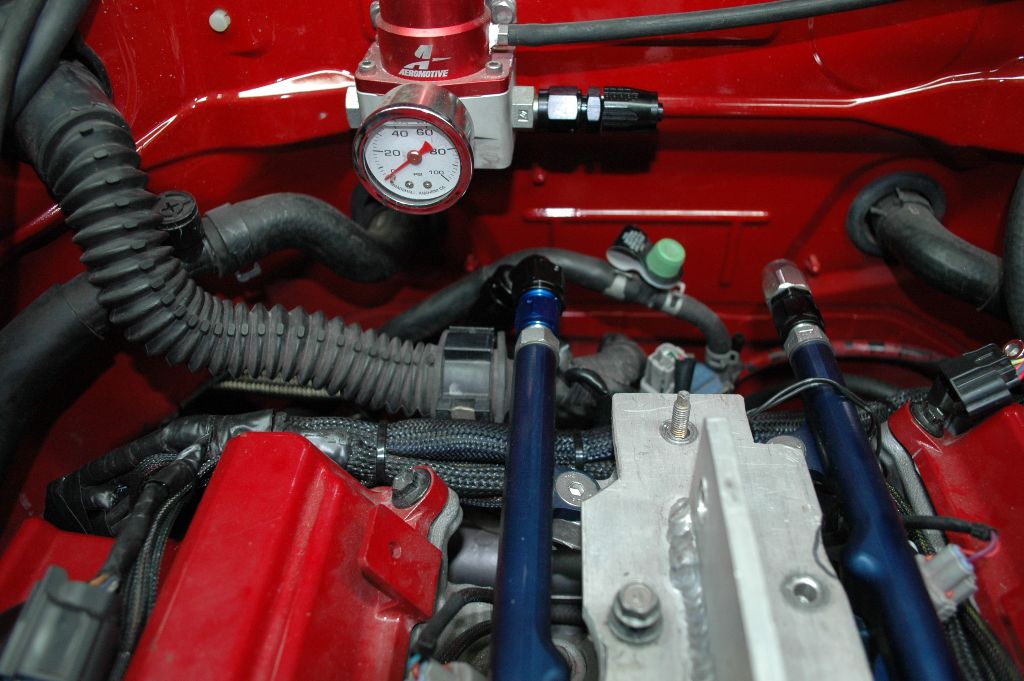
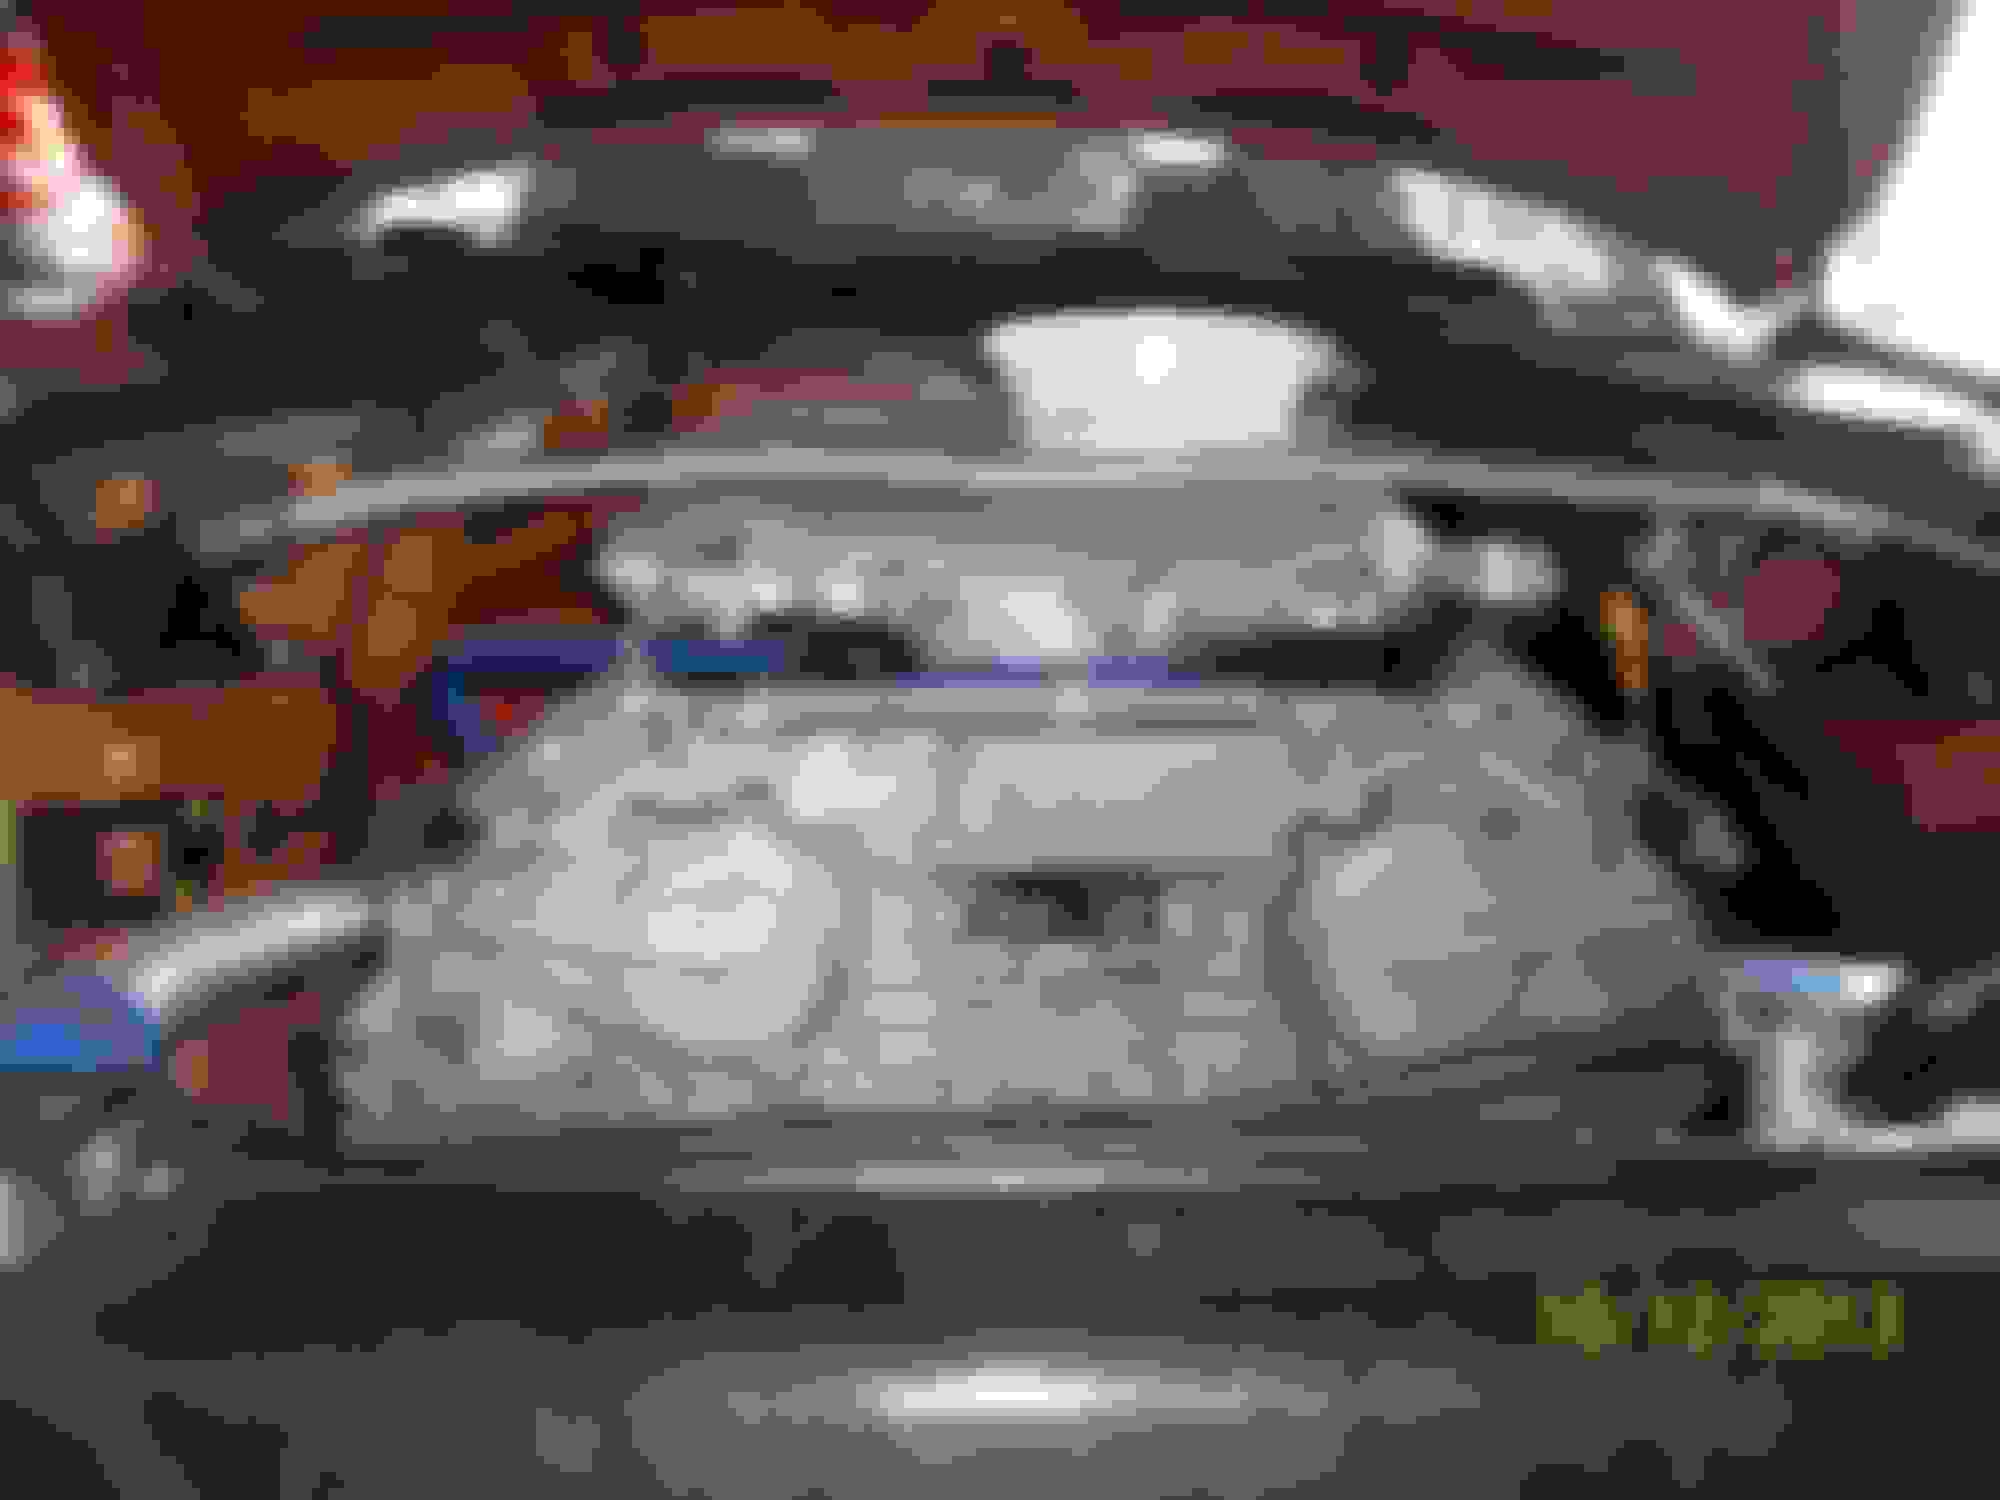
After uploading the first batch of photos i realized my photographer (son) and i forgot to take some more pics of the wiring before reinstalling the intake manifold. So later on when i start shaping the intake manifold i will edit and upload more of the tuck process. For now at least i have the after pics of how it looks now after the tucking. I still have alot of minor changes i want to make in looming and ect.
Hope you enjoyed these pics, there are alot more to come. I had started shaving the upper and lower intake manifold but my electronic regulator on my aircompressor took a crap and wasn't able to finish my grinding. Also plan on doing alot of shaving on the upper timing cover. If you notice i did my wire tuck a quite a bit different then how most do it. I pulled most of the excess wire harness into the wiper cowl and loomed it there so that the back of the engine is not covered in wiring. The whole intention was to make sure that i could service the engine without alot clutter in the way. Eventually i am planning on doing my own rendition of the pathfinder mod. Also the SS upper hose side pipe is temporary. I had the pipe laying around from an old project that i had and used it to save money and speed up the build.. fab process to get my layout set. In the end it is all going to be in the details.
Last edited by rustyschopshop; 06-05-2015 at 03:53 PM.
thanks, it does take quite a bit of work to get it all in there, i pulled strands and taped each stand doubled over under the cowl. Tuesday when i am off from work i am planning on taking the whole wiper cowl off so i can zip the lines to the hard power booster line so they don't rattle. While i am in there i will take a couple pics so you can see how i did the routing.
If you are not in a rush do redo your tuck. Hopefully within the month, i will be taking my intake mani back off so i can shave it. I will take some closer pics of my under hood wiring so you can get a better idea of how i was able to delete most of the underhood clutter.
I have deleted my wipers and the hard line vaccum hose so there is nothing under my cowls so it should be easy. But yeah...there are a ton of wires to hide that I just wrapped and double backed behind the motor.
i def love the cleaner look, I always say the devil is in the details, and now the details are barely ready to get started. There are so many small things rolling around my head that i want to transpose under the hood. Just need alot more time, a new aircompressor since i broke another reed valve, and a few $. The latter is always the case though lol
v
I have a few thoughts on the holes; since i don't have access to a welder to install new fresh sheet metal, i have plans on cutting some acrylic and using some panel bond. After cured smooth out all the edges, a little light sanding then paint. Also planning on trimming the upper covers to give a even cleaner look.
Most of the small details are going to have to wait till i get a new air compressor. Just waiting on the Mrs. to let me pull the trigger on it. Just found my lower front control arm bushing blew out so i will be ordering some ES to fix it.
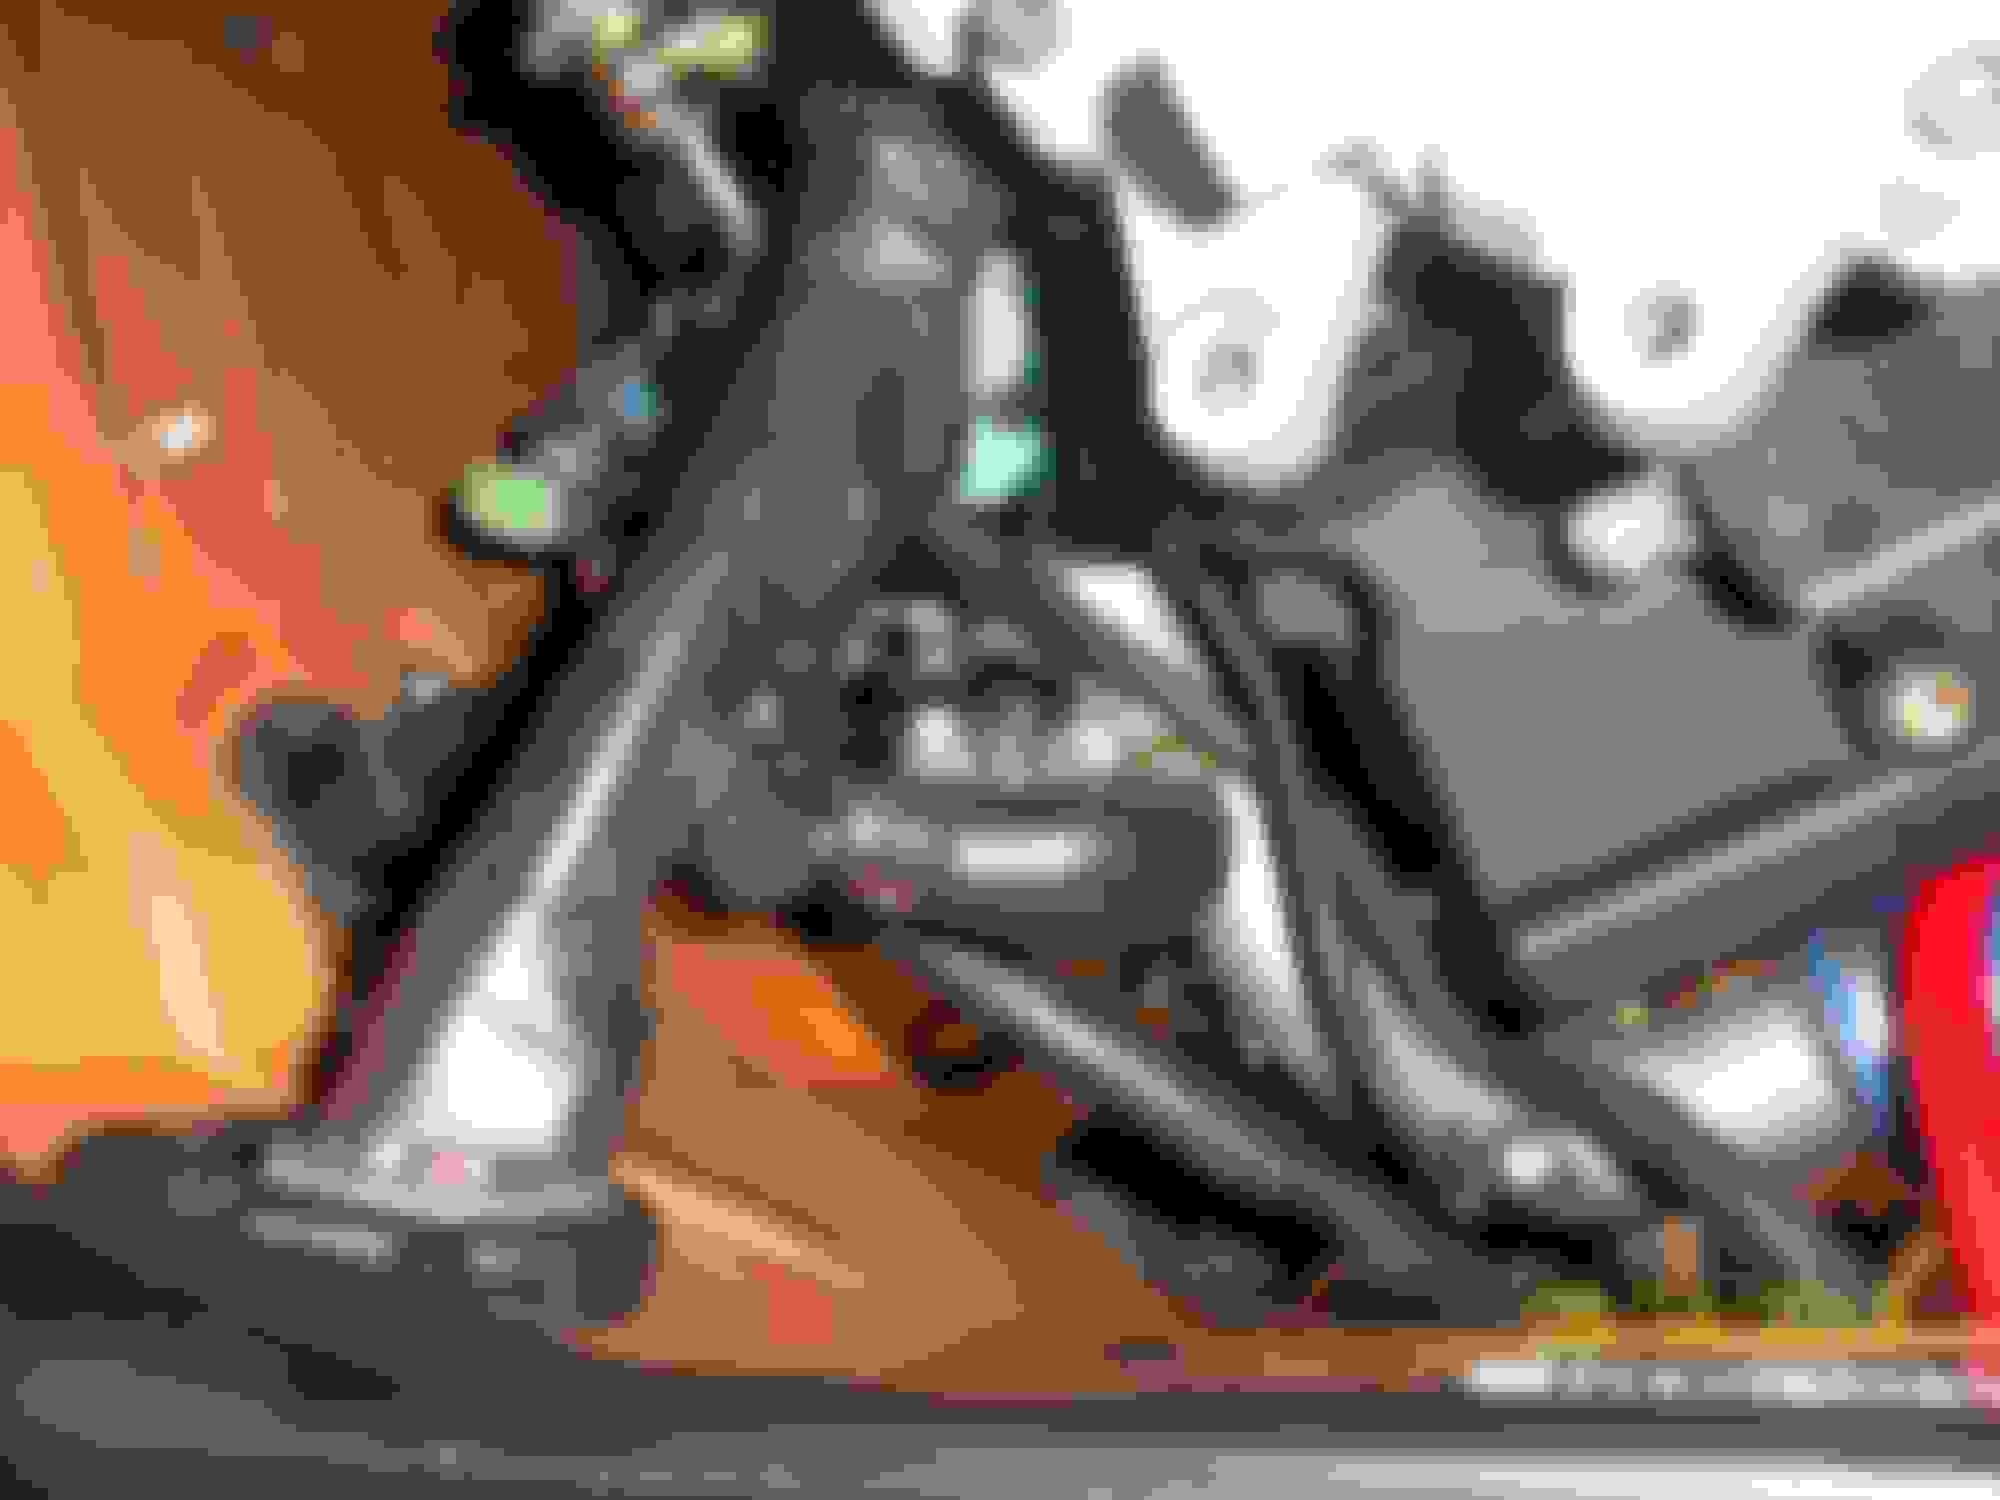
Finally got around to zip tying the wires under the wiper cowl today and a little more bay dress up. Here are the pics of the hidden wires and some more progress pics.
Decided to do a little painting and slight mod to change some bolts on the timing cover.
If everything goes as planned the next part is going to be shaving the loom grommets at the battery and brake boxes. 2nd part that i am planning after that is complete is relocating the windsheild washer and coolant reservoirs. The relocation idea i got off of one of GTM's FI kits. Planning on running a smaller washer bottle and deleting the 2nd pump since i have already deleted the rear wiper.
Time for a small update. I haven't been able to get as much done as I had been hoping for since my wife has tightened up the purse strings. Lmao. Unfortunately my water pump started leaking so I decided to get another part of my coolant tuck completed.
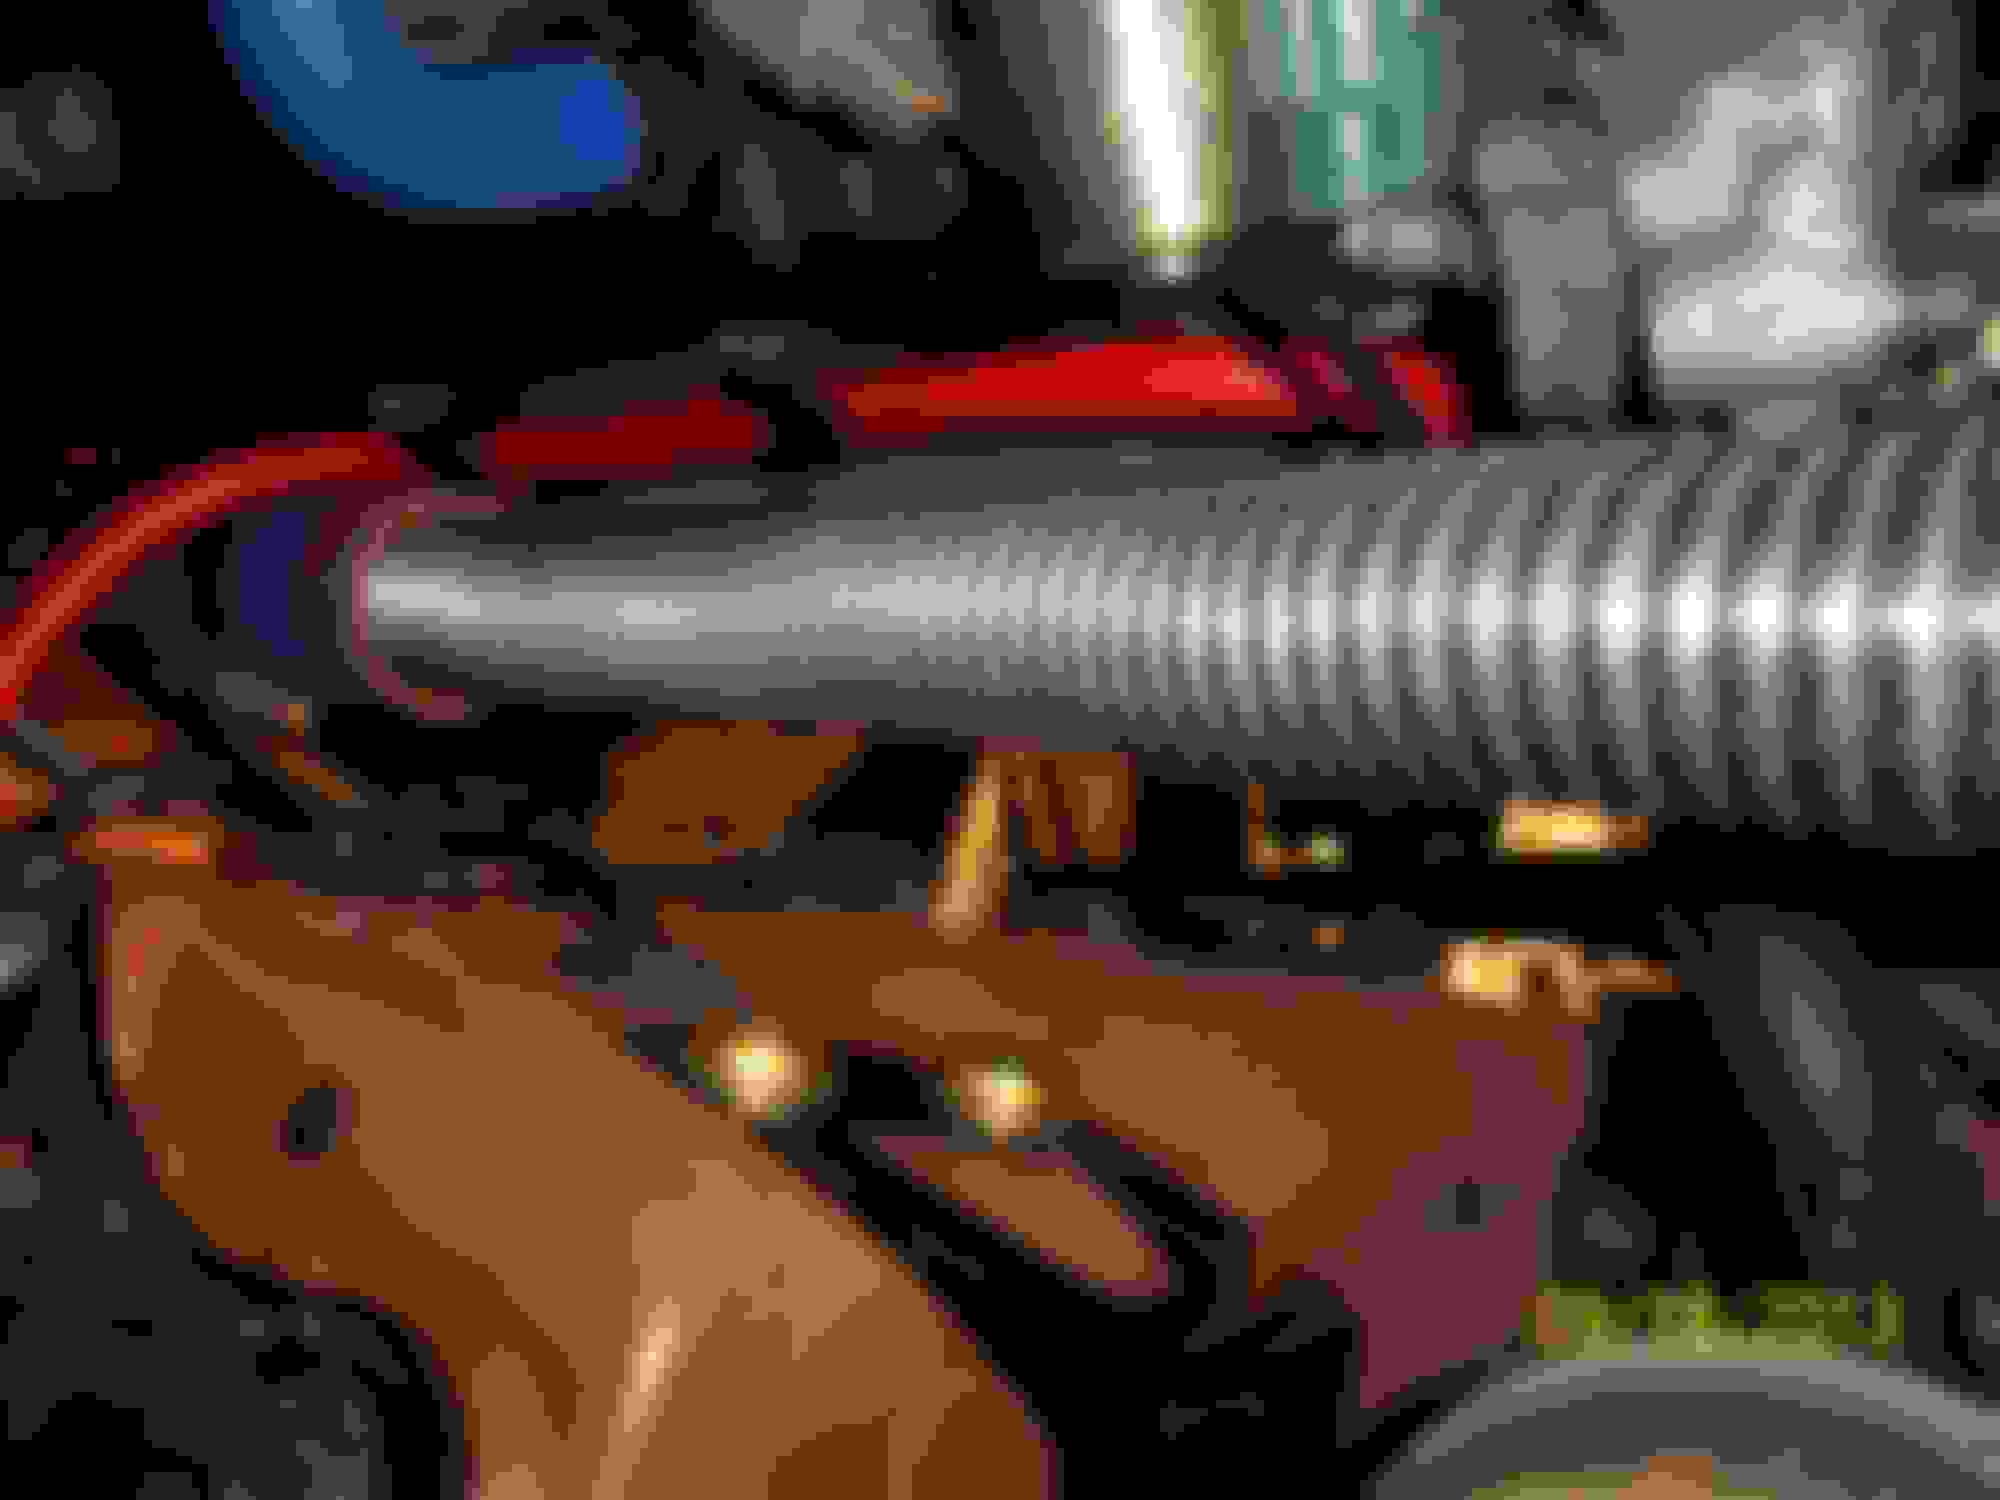
Two days ago i modded the heater return pipe, enjoy.
Tomorrow i need to take a few pics of my thermostat housing that i touched up a little and started changing some fasteners on my driver side valve cover. Stay tuned more to come
Time for a small update. I haven't been able to get as much done as I had been hoping for since my wife has tightened up the purse strings. Lmao. Unfortunately my water pump started leaking so I decided to get another part of my coolant tuck completed.
:
Weep hole for the water pump is just above the a/c compressor. Started noticing a damp spot with green gel on the bottom of the compressor. Then just over 1 week ago started getting a small wet spot in the driveway.
Can someone do me a bug favour and point out the 2 brake vacuum lines ?
(I know the main one going to the upper plenum intake but trying to see where the other is!)
The 2nd booster line is at the brake power booster. There is a hard line that connects the 2 booster rubber lines. If you open your brake fluid cover you will see it.
 12-27-2014, 09:22 AM


 lol
lol


 Lmao. Unfortunately my water pump started leaking so I decided to get another part of my coolant tuck completed.