Manny's 2004 350z Progress Thread


 03-05-2016, 08:52 AM
#23
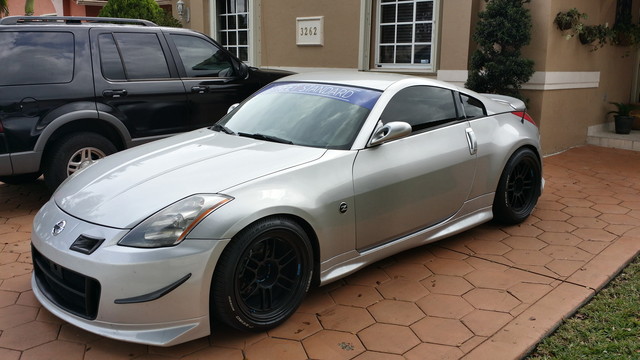
Alright so finally got my mirrors yesterday afternoon and got around to installing them. They're suppose to be "ganador" reps but I'm not feeling how they look. Time to get some Craft Square mirrors.
Aside from that got some more parts in. Whiteline radius bushings, Greddy oil drain plug, exhaust gaskets, and since the whole center dash was redone poorly by the previous owner, I didn't want to the excessive amount of work to undo the mess sooo.. I went ahead and ordered brand new center dash pieces. Still waiting on the cubby to come in.
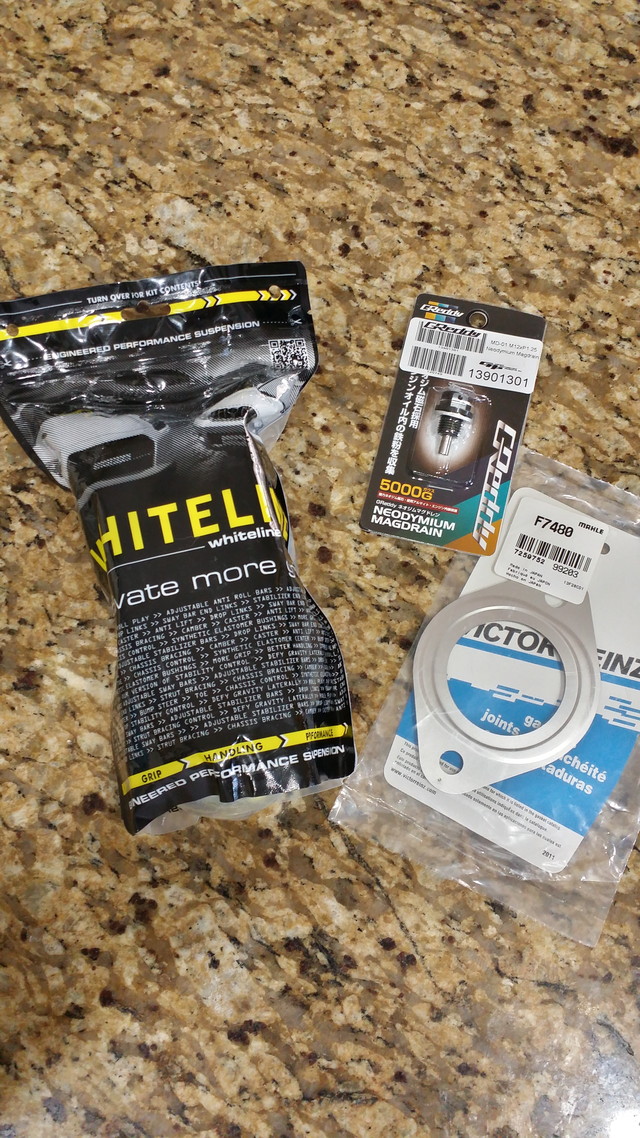
Aside from that got some more parts in. Whiteline radius bushings, Greddy oil drain plug, exhaust gaskets, and since the whole center dash was redone poorly by the previous owner, I didn't want to the excessive amount of work to undo the mess sooo.. I went ahead and ordered brand new center dash pieces. Still waiting on the cubby to come in.


 03-10-2016, 10:56 AM
#25
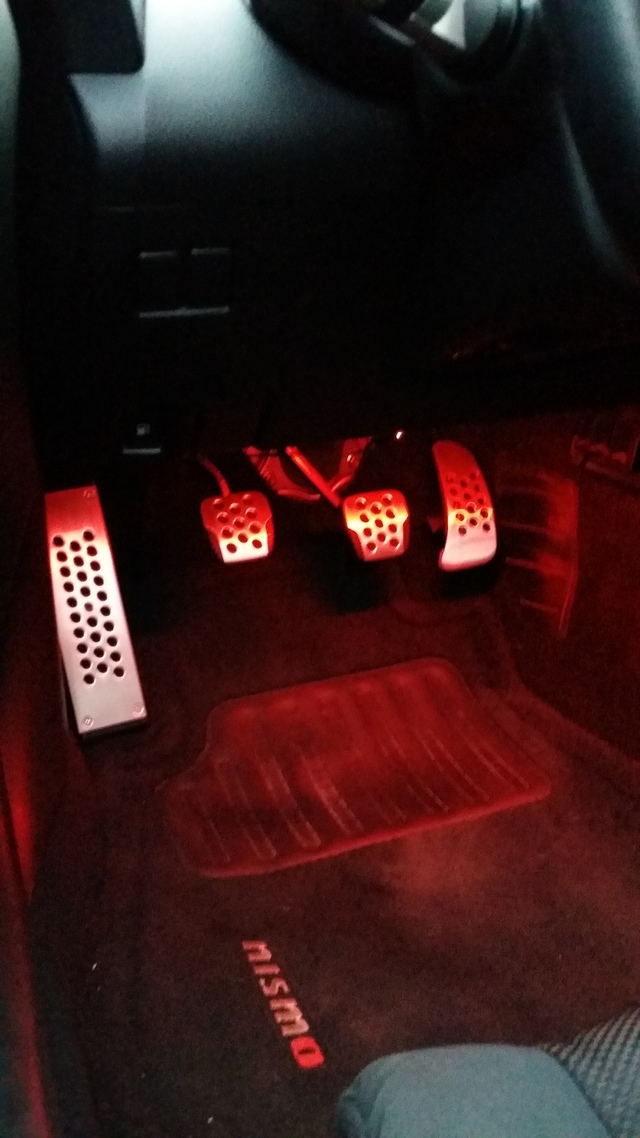
Thank you! If you're referring to the footwell lights It's pretty easy and straight forward. Just went to my local autozone or autoparts store and bought a red 6" led strip which are double sided tape and placed under the plastic that the steering wheel sits on top of.
If I'm not mistaken, I taped into the bcm module.. I believe it's the "pink" wire and just ran the wire across, I'll double check once im off of work. The light only turns on when unlocking/opening door of the car and once the car is started or locked the lights shut off.
If I'm not mistaken, I taped into the bcm module.. I believe it's the "pink" wire and just ran the wire across, I'll double check once im off of work. The light only turns on when unlocking/opening door of the car and once the car is started or locked the lights shut off.
Last edited by Manny00; 03-10-2016 at 10:59 AM.
The following users liked this post:
bad boyz (03-11-2016)

 03-11-2016, 10:11 AM
#27

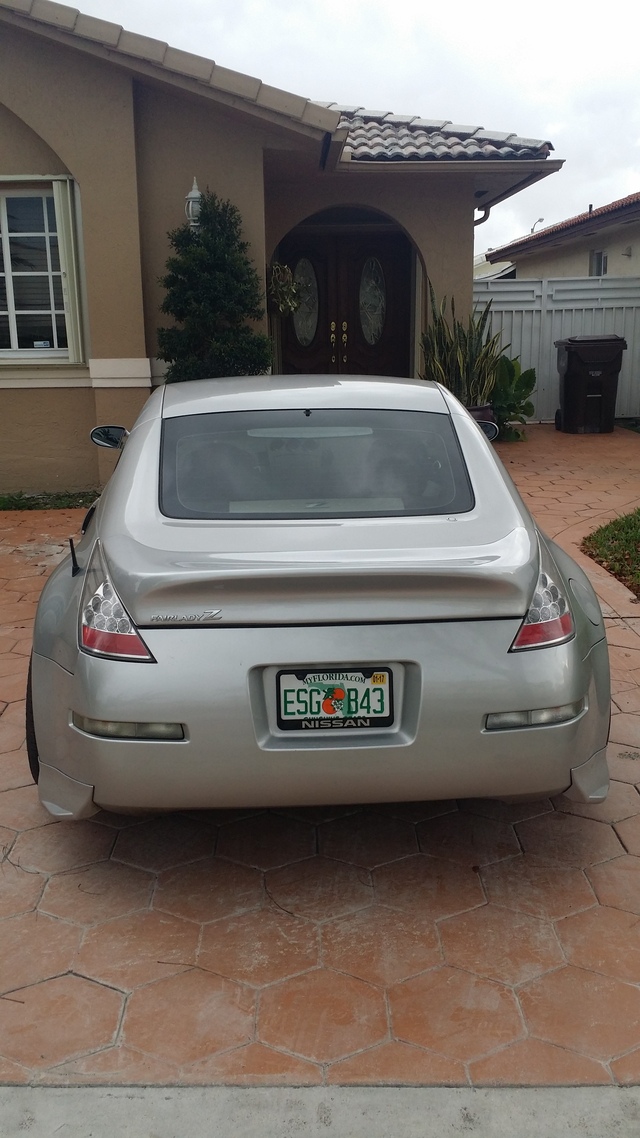
Great job with your Z!!. I've thought about doing the rear bumper tuck but not 100% sure I'll love it. I'm assuming you're still at stock ride height?
Maybe I've missed it but have you had your car tuned for all of the extra mods you've installed?
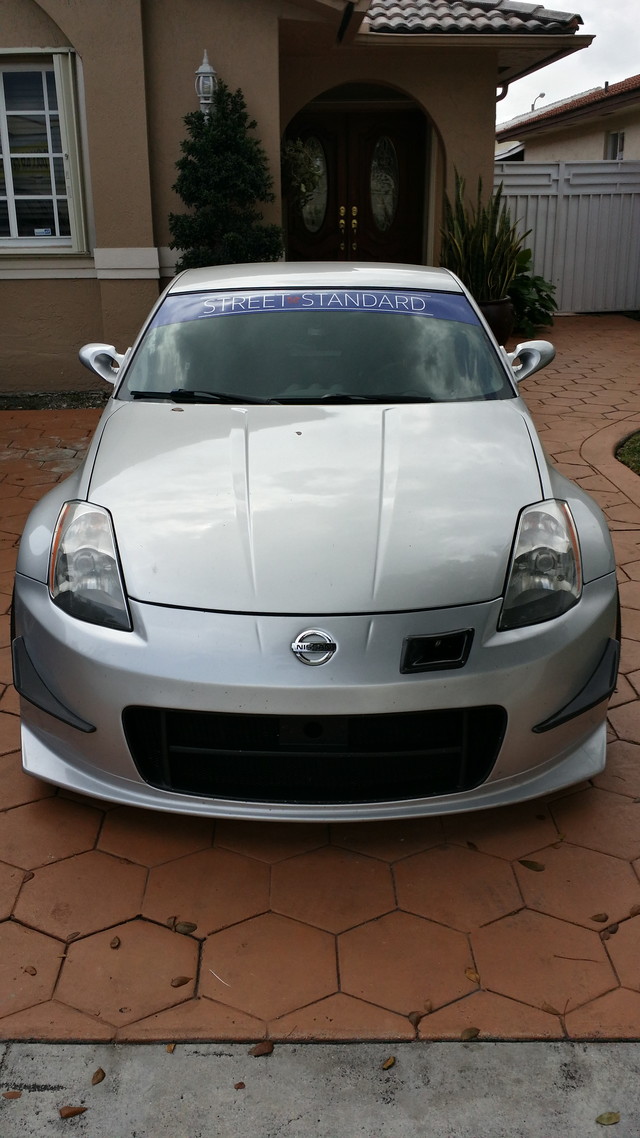
I love everything about your car except for the sticker running across the windshield.
I noticed you have some R35 injectors,do I see boost in the future ??
??
Maybe I've missed it but have you had your car tuned for all of the extra mods you've installed?
I love everything about your car except for the sticker running across the windshield.
I noticed you have some R35 injectors,do I see boost in the future
??
03-11-2016, 11:41 AM
#28
Great job with your Z!!. I've thought about doing the rear bumper tuck but not 100% sure I'll love it. I'm assuming you're still at stock ride height?
Maybe I've missed it but have you had your car tuned for all of the extra mods you've installed?
I love everything about your car except for the sticker running across the windshield.
I noticed you have some R35 injectors,do I see boost in the future ??
Maybe I've missed it but have you had your car tuned for all of the extra mods you've installed?
I love everything about your car except for the sticker running across the windshield.
I noticed you have some R35 injectors,do I see boost in the future
??The bumper tuck imo looks great for both setups, single or dual. In my case I'll be undoing it since I'll be purchasing a rear diffuser. As for the ride height I'm on eibach springs for now, haven't decided which coilovers I wanna go with.
The car hasn't been tuned yet, hopefully within a month or 2 it'll go in so it can fully wake up. Some of the mods haven't been installed such as the intake, injectors, and nwp tb due to that it's already running a bit lean. For the GTR injectors I got a good deal on them especially since they were new and with all the supporting mods I've seen/heard people reaching 90% duty cycle on stock injectors. Thought about boosting it but for around the same $$$ I've decided to do a swap in the future.
Last edited by Manny00; 05-17-2016 at 01:35 PM.


 03-25-2016, 03:24 PM
#32
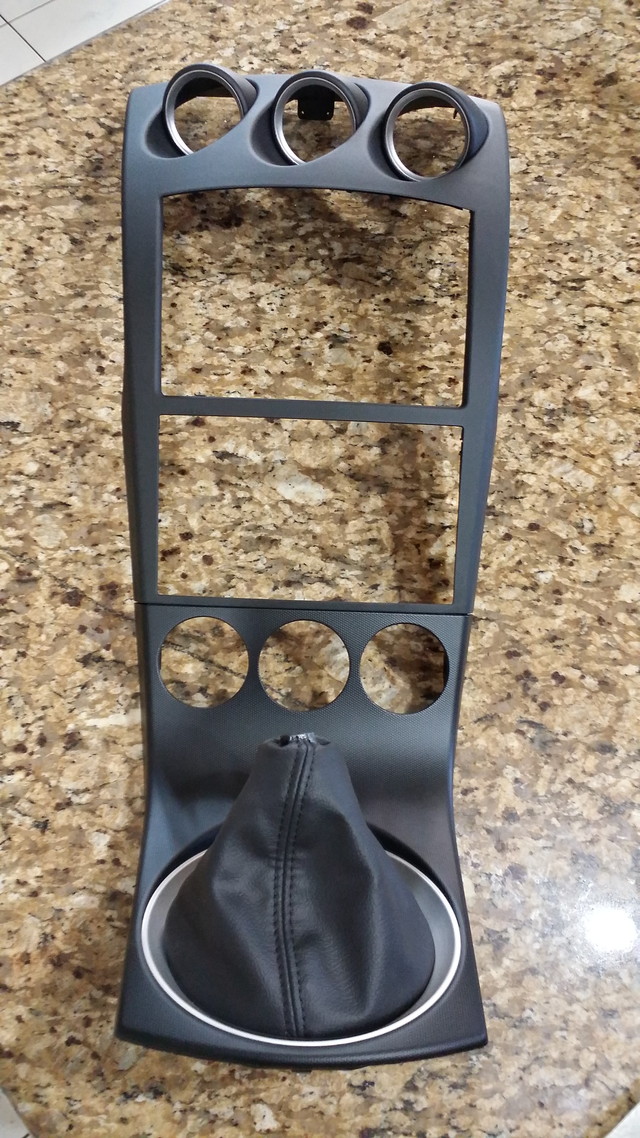
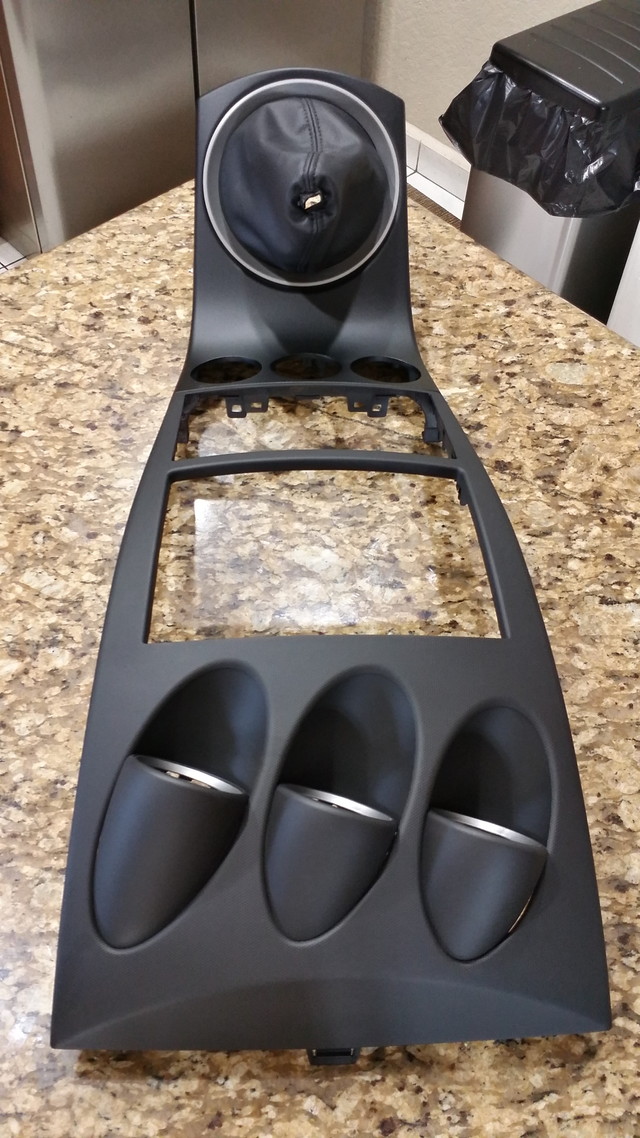
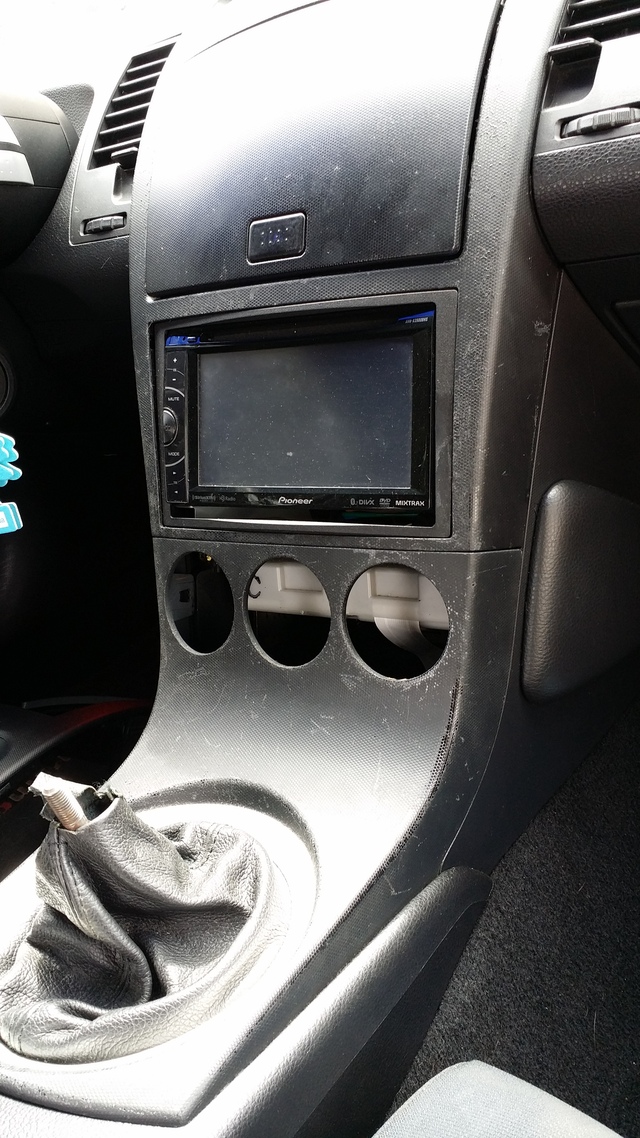
Alright peeps here's the update on the center console.
It's all about the details that makes eveything.
Here's how the center looked before

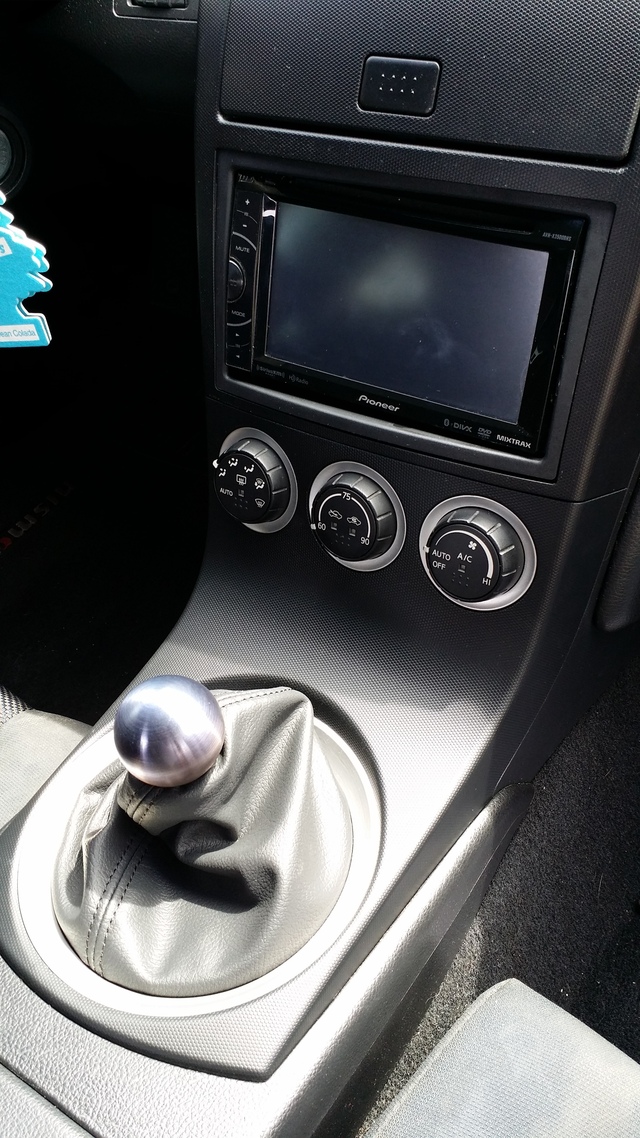
And here's all the new pieces. What a huge difference.

Also went ahead and replaced the rubber pedals with new aluminum pedals along with the 380rs pedal.
It's all about the details that makes eveything.
Here's how the center looked before


And here's all the new pieces. What a huge difference.


Also went ahead and replaced the rubber pedals with new aluminum pedals along with the 380rs pedal.

Last edited by Manny00; 03-25-2016 at 05:04 PM.
05-17-2016, 01:26 PM
#33
UPDATE:
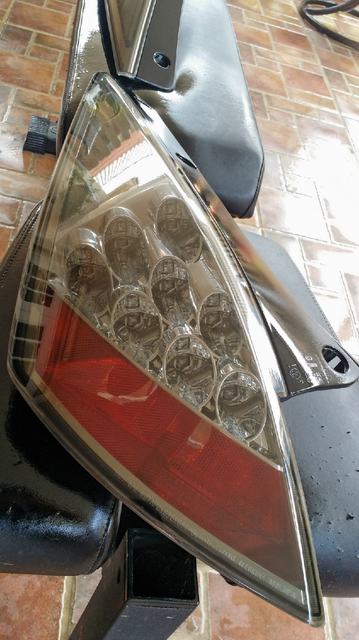
Traded my 06/08 taillights for the jap taillights.
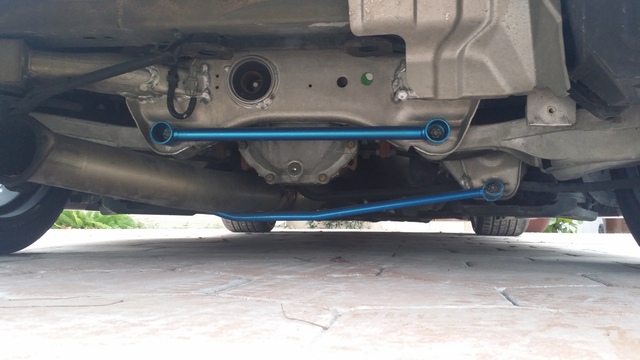
Installed GT Spec lower lateral bar. Also painted the Stillen tie bar to match.
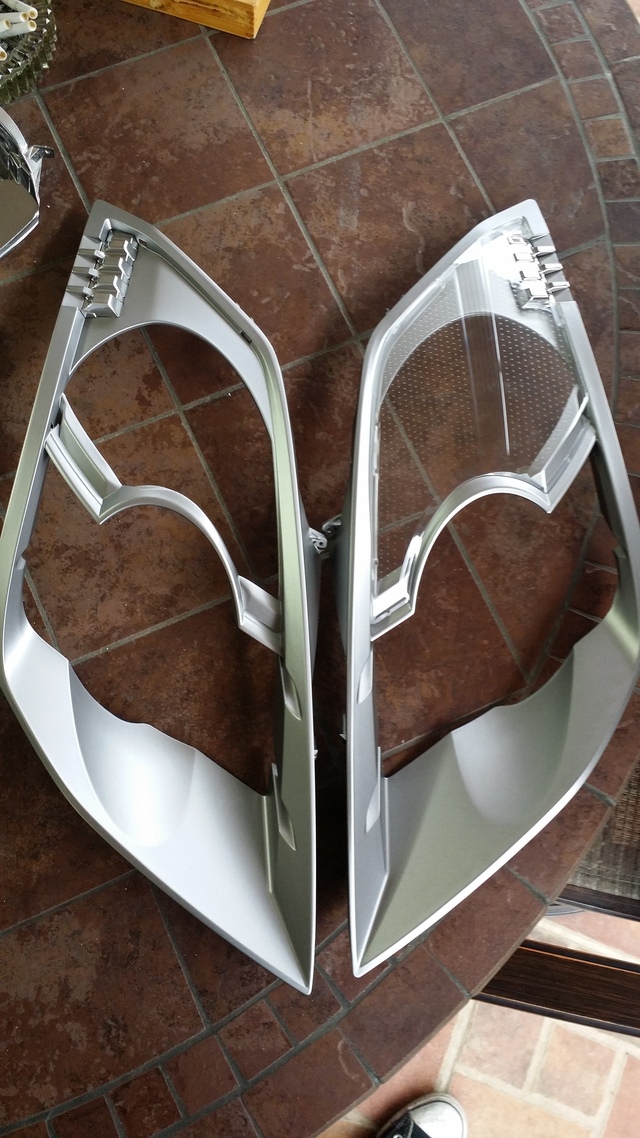
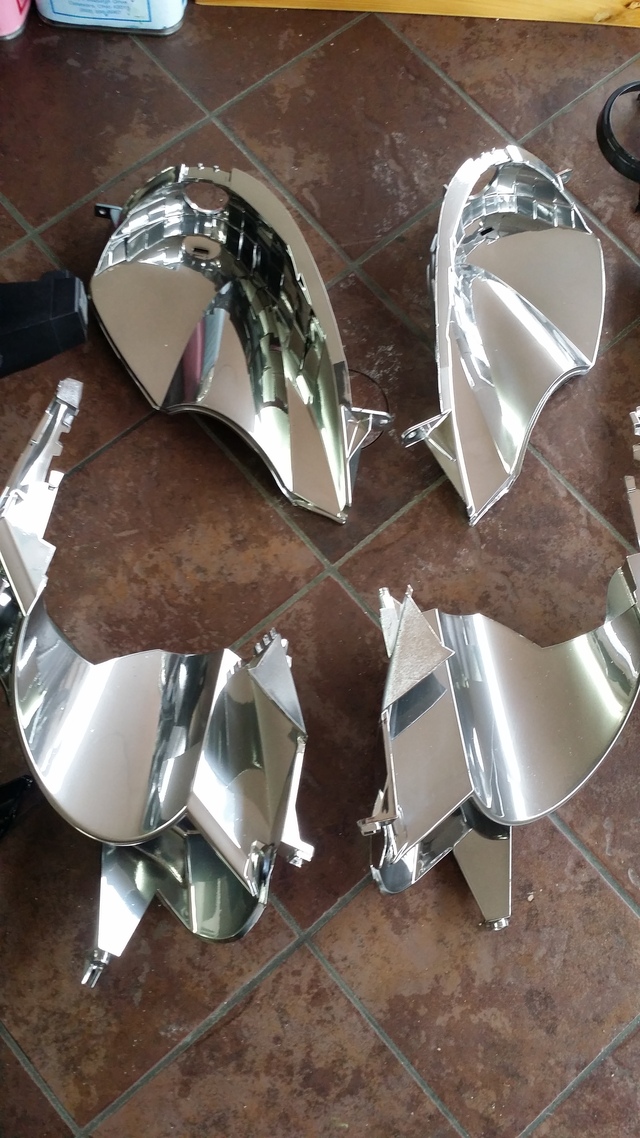
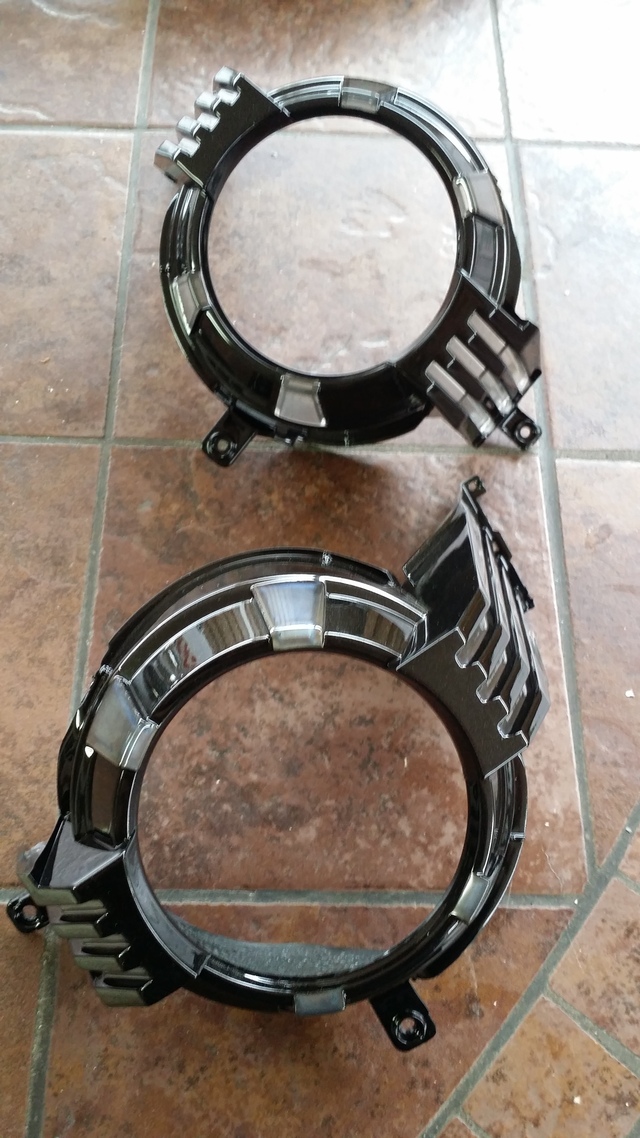
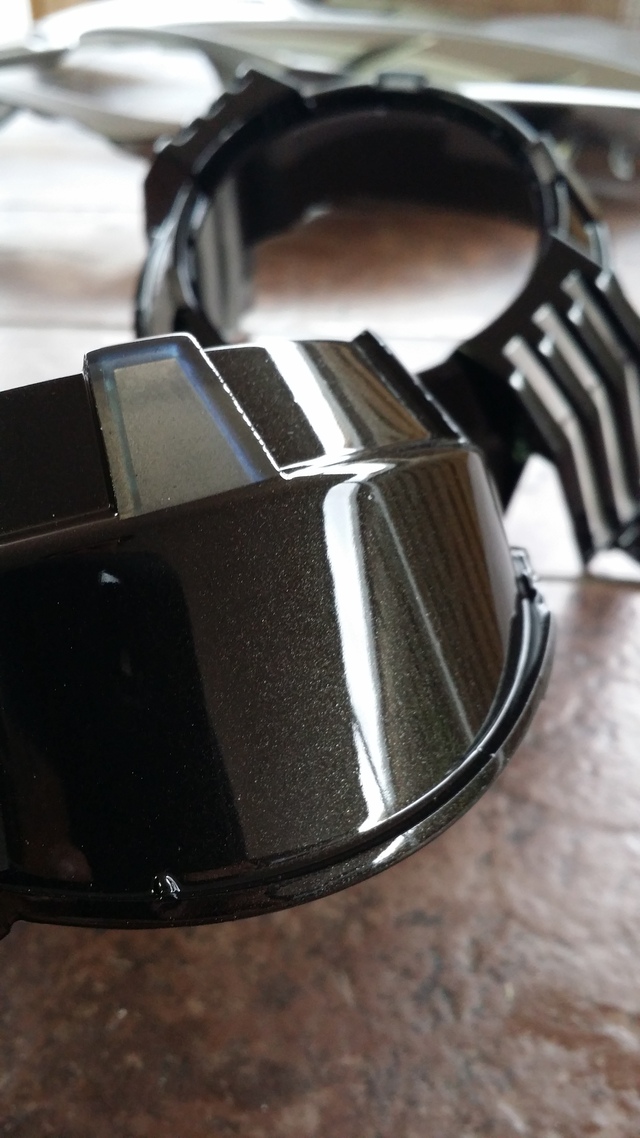
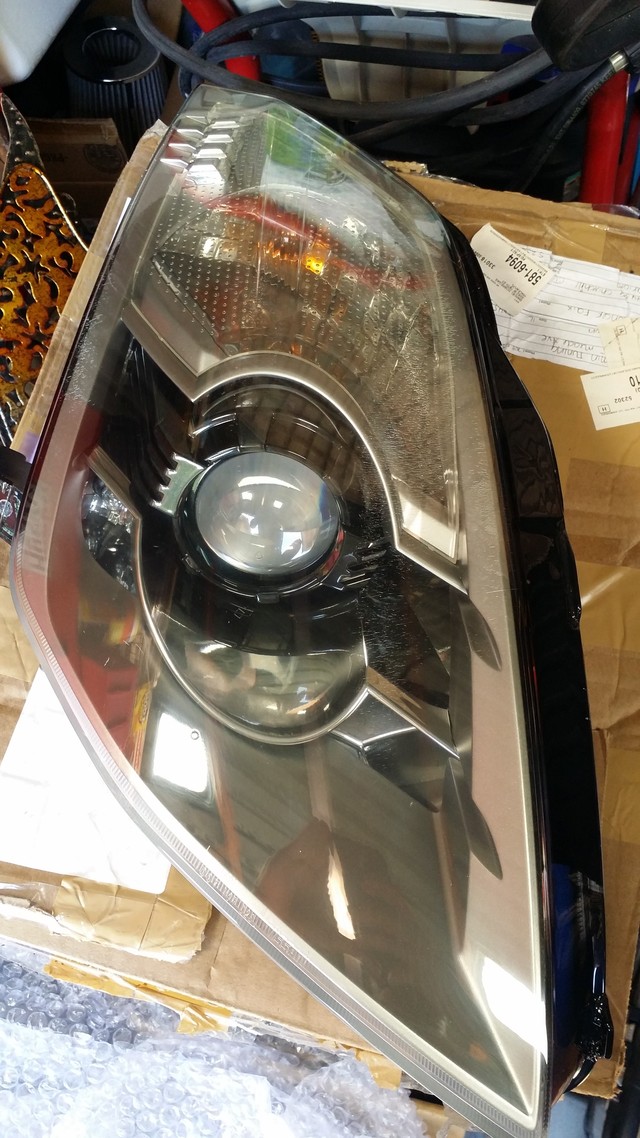
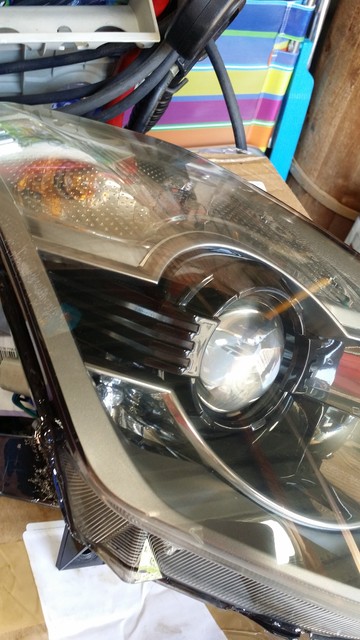
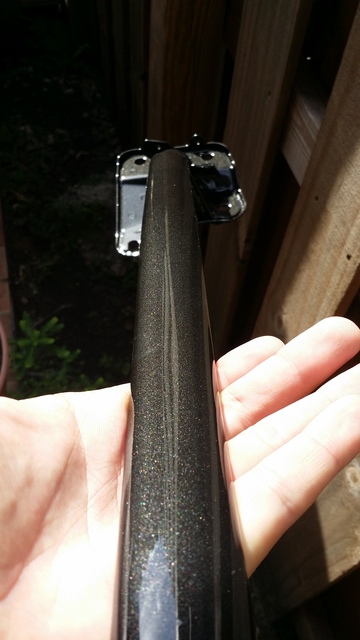
Finally started on my headlight project. Almost complete, just need to finish up on the lenses and seal them up. As for the info, Housing trim painted gunmetal, Smoked out ALL chrome pieces, Projector bezel painted metallic black with the iron man mod and smoked out.
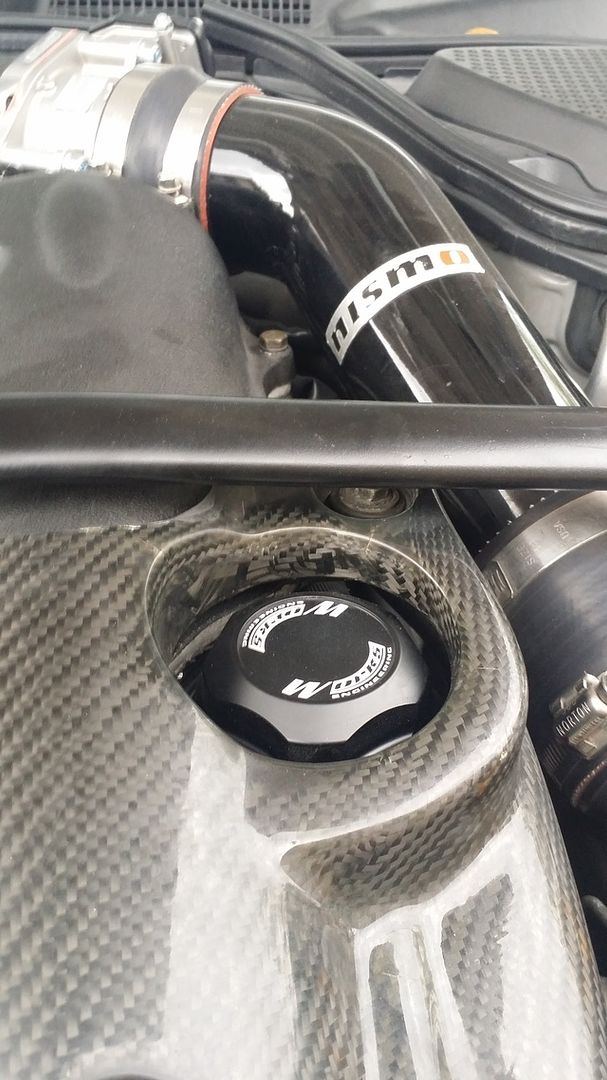
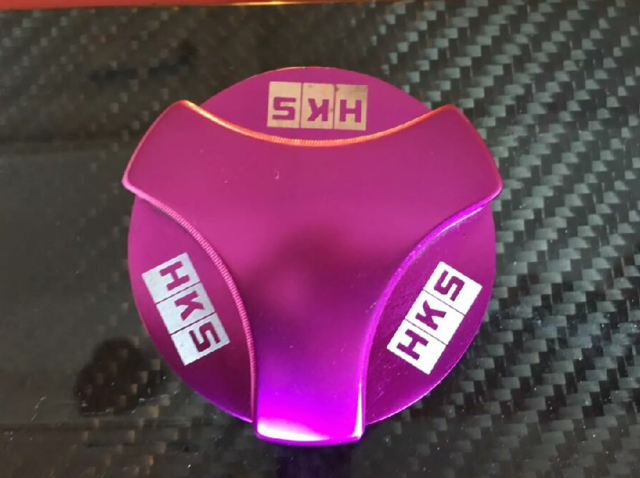
Works Engineering oil cap to replace the oem cap, And also scored on a little gem.. discontinued HKS purple oil cap.
Traded my 06/08 taillights for the jap taillights.
Installed GT Spec lower lateral bar. Also painted the Stillen tie bar to match.
Finally started on my headlight project. Almost complete, just need to finish up on the lenses and seal them up. As for the info, Housing trim painted gunmetal, Smoked out ALL chrome pieces, Projector bezel painted metallic black with the iron man mod and smoked out.
Works Engineering oil cap to replace the oem cap, And also scored on a little gem.. discontinued HKS purple oil cap.


Last edited by Manny00; 05-17-2016 at 01:32 PM.
06-14-2016, 06:15 PM
#34
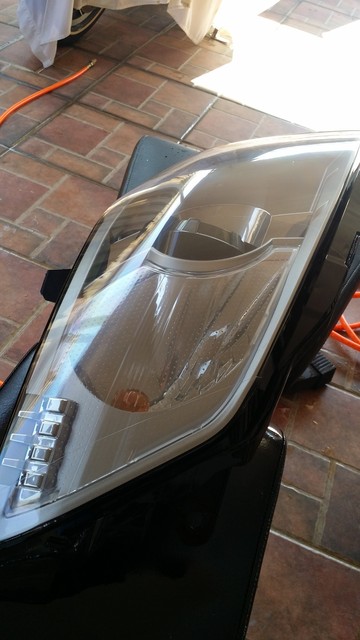
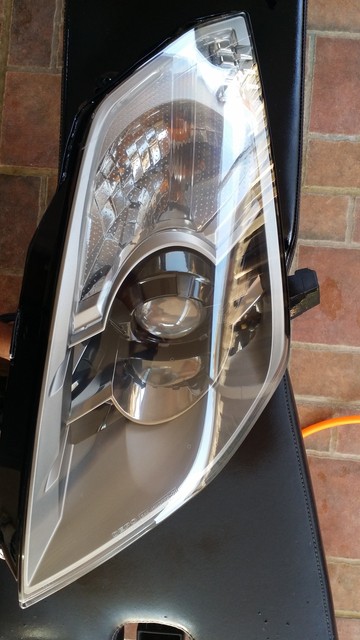
Headlights and taillights are almost done. The day was promising today and finally got to lay down the clear coat on both front and rear lights. Only thing left to do is give them a nice wet sand/buff and paint the glossy black parts of the headlights/taillights flat black.
Since I was already at it the canards were looking a bit dull and needed some attention, so I wet sanded them down and gave it a new clear coat.

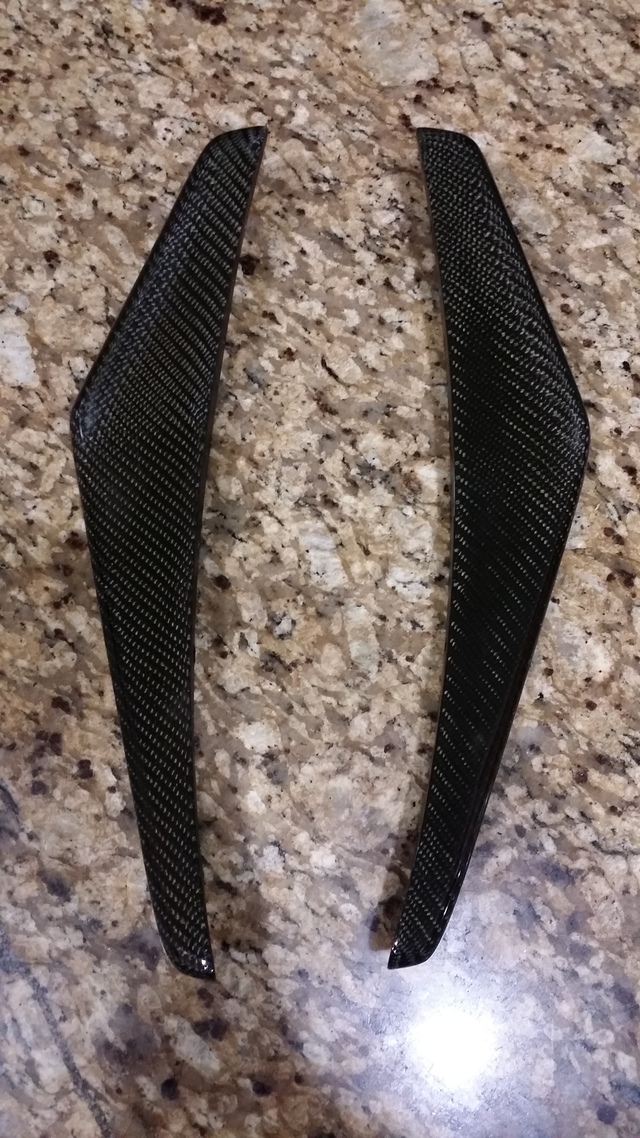
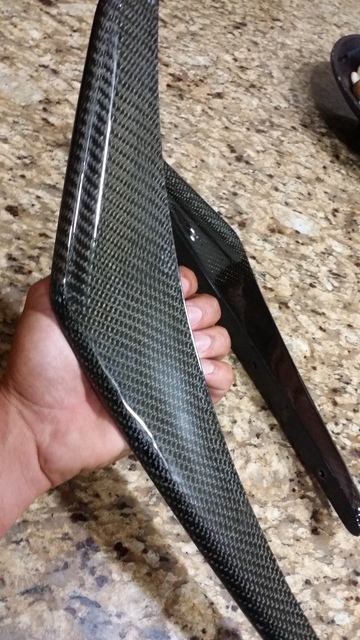
Since I was already at it the canards were looking a bit dull and needed some attention, so I wet sanded them down and gave it a new clear coat.


 06-15-2016, 08:15 AM
#35
New Member

Such a great update, very nice progress!! Love the quality of build and parts.The only thing I would have done different is on the headlights. The upper spotted clear len I would have deleted to give the headlights a cleaner look. Everything else is phenominal!!
06-20-2016, 05:51 PM
#36
I was planning on deleting the plastic clear lens but it looked a bit empty/plain to me. Then I thought maybe if I smoke it a little it'll do the trick but then I kept looking at it and realized that it'll be too dark up top and no color breakage. So I just ended up cleaning the hell out of it and now when the light hits it there's that rainbow effect and that just sold it to me haha.
Aside from that everyone tends to remove that piece so I decided to just keep it and be that guy lol. I'll probably end up buying a clear bulb for the top to make it look cleaner.
Tomorrow I'll be working on them and hopefully (crosses fingers) they'll be done so I can finally put them on and be able to see at night better.
Last edited by Manny00; 06-20-2016 at 05:52 PM.
07-08-2016, 05:29 AM
#38
Little things being done slowly. Much work, not enough time.
Wet sanded carbon plenum cover and did a black metallic fade into the carbon with a nice wet coat of clear.
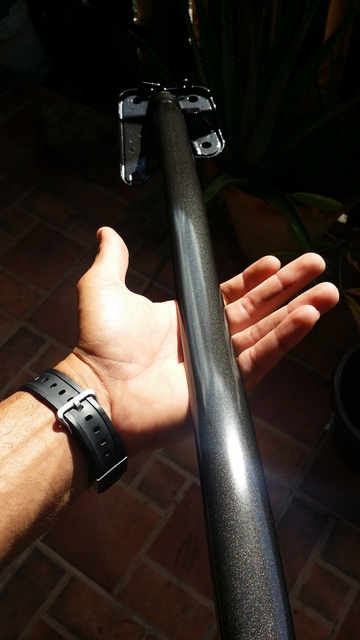
Strut bar got painted black metallic as well with a nice clear finish.
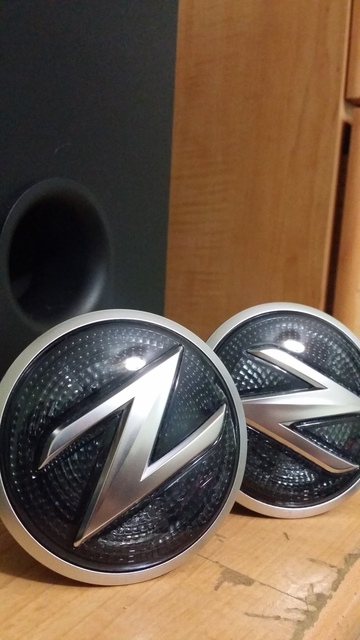
Also managed to pick these oem 370z fender blinkers for a steal.

Wet sanded carbon plenum cover and did a black metallic fade into the carbon with a nice wet coat of clear.
Strut bar got painted black metallic as well with a nice clear finish.
Also managed to pick these oem 370z fender blinkers for a steal.


 08-10-2016, 04:18 PM
#39
Finally got around to getting some coilovers a couple weeks back.... True style D2 Racing coilovers. They're not top of the line but they'll do for now, and for the price I paid this was literally a steal.
1 rear damper was leaking so placed an order for 2 rear dampers and adjustment ***** from D2 Racing. Both rear dampers came in today and adjustment ***** should be here by next week. I will also go ahead and order the front dampers later on that way everything is fresh and 0 issues.
Currently still trying to get my exhaust done. I did end up selling the K-Tuned exhaust since the body was short and a bit chunky for my taste and now I will be customizing a 3" Kooks exhaust that my friend gave me which the body is exactly what I was looking for.
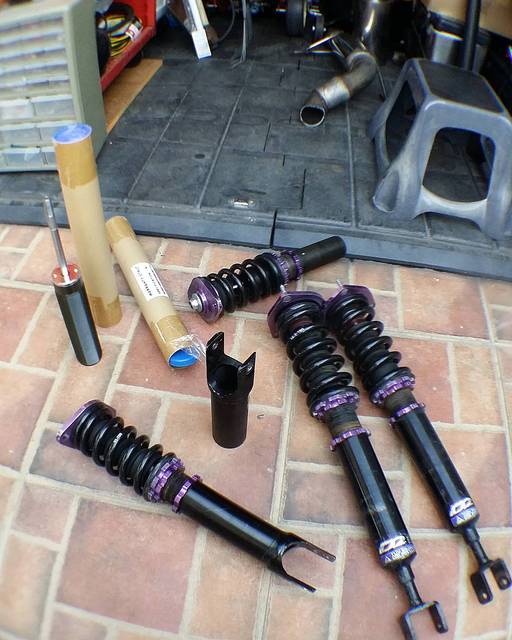

Last edited by Manny00; 08-10-2016 at 04:20 PM.
08-10-2016, 04:31 PM
#40
This was done about a month ago. Took the car to Pros Tuning for 3 baseline pulls. Pulls were done on a mustang dyno. Final pull she did 269hp and 250tq. Still need to install admin intake, gtr injectors, and of course a uprev tune.
I'll find the dyno sheet later to post up.
Headphone users be warned.
http://vid35.photobucket.com/albums/...psqnk73pnv.mp4
I'll find the dyno sheet later to post up.
Headphone users be warned.
http://vid35.photobucket.com/albums/...psqnk73pnv.mp4
Last edited by Manny00; 08-10-2016 at 04:33 PM.