The Mild Transformation
 04-08-2015, 01:43 PM
#1

This isn't much of a build thread, however, I will use it for that whenever I add any parts to my car.
My old setup was 2 12" MTX subs, nothing too special.
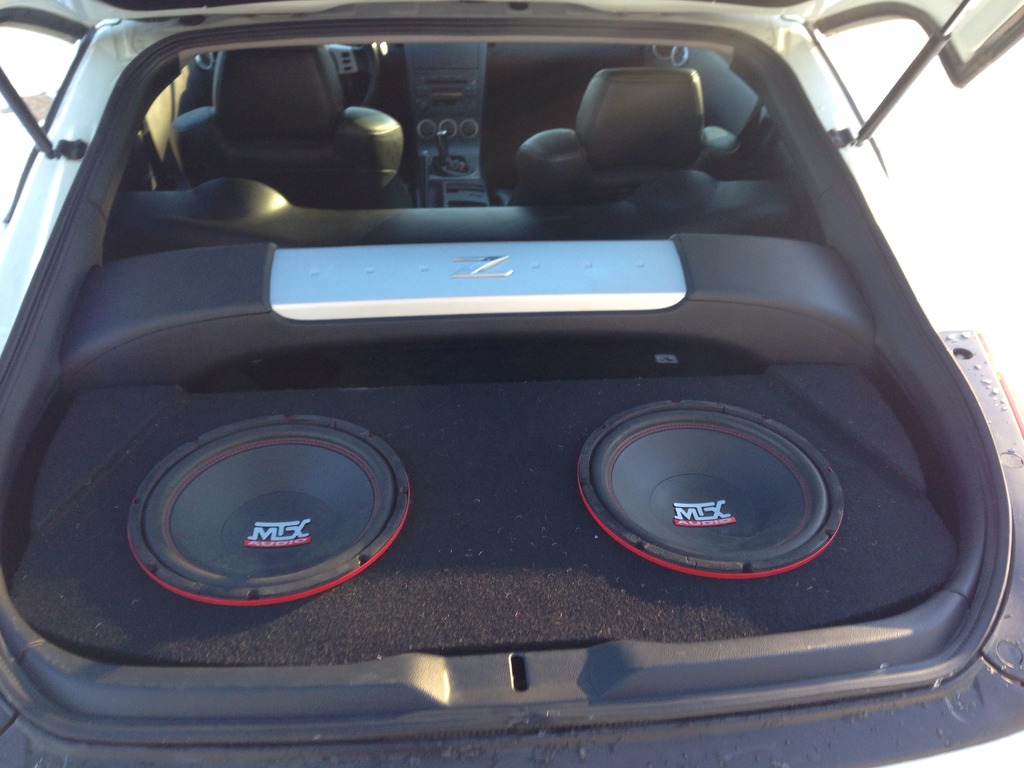
My new setup includes 2 10" JL Audio W3's as well as installing Airlift Suspension.
(For anyone interested, my old sub box and current nismo springs/struts will be going for sale)
Day 1:
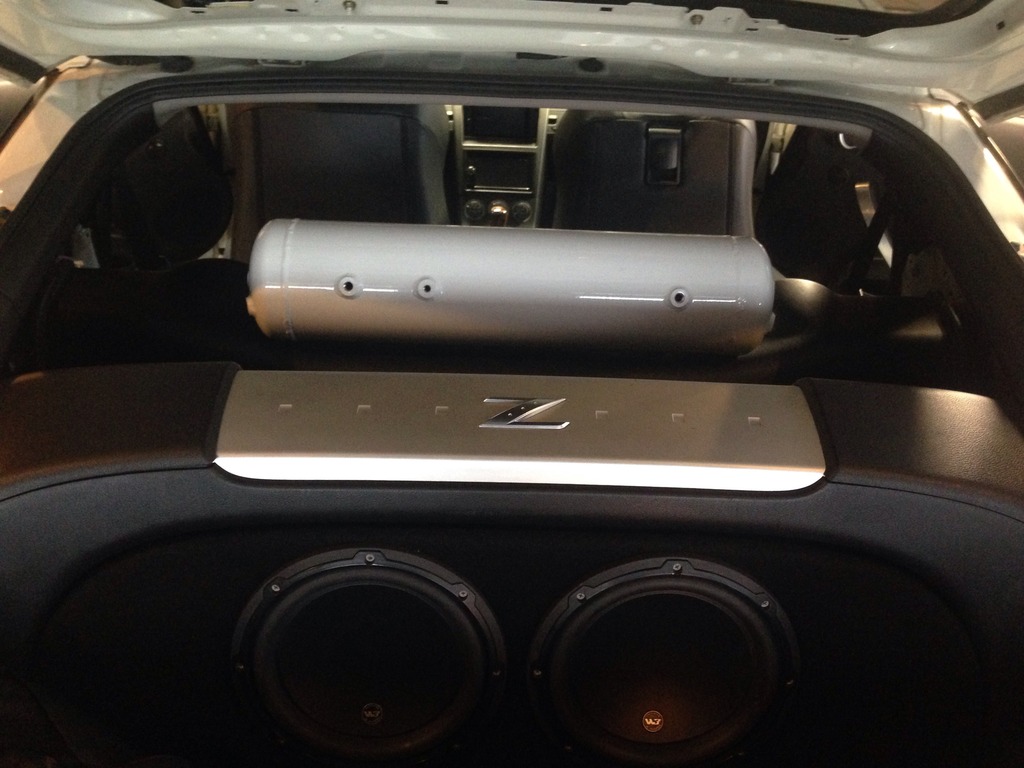
Sub swap is complete, very pleased with the outcome. The JL's don't hit quite as loud (meaning they don't pouch your body as hard), but the sound they put out is much deeper and much more pleasant to listen to.
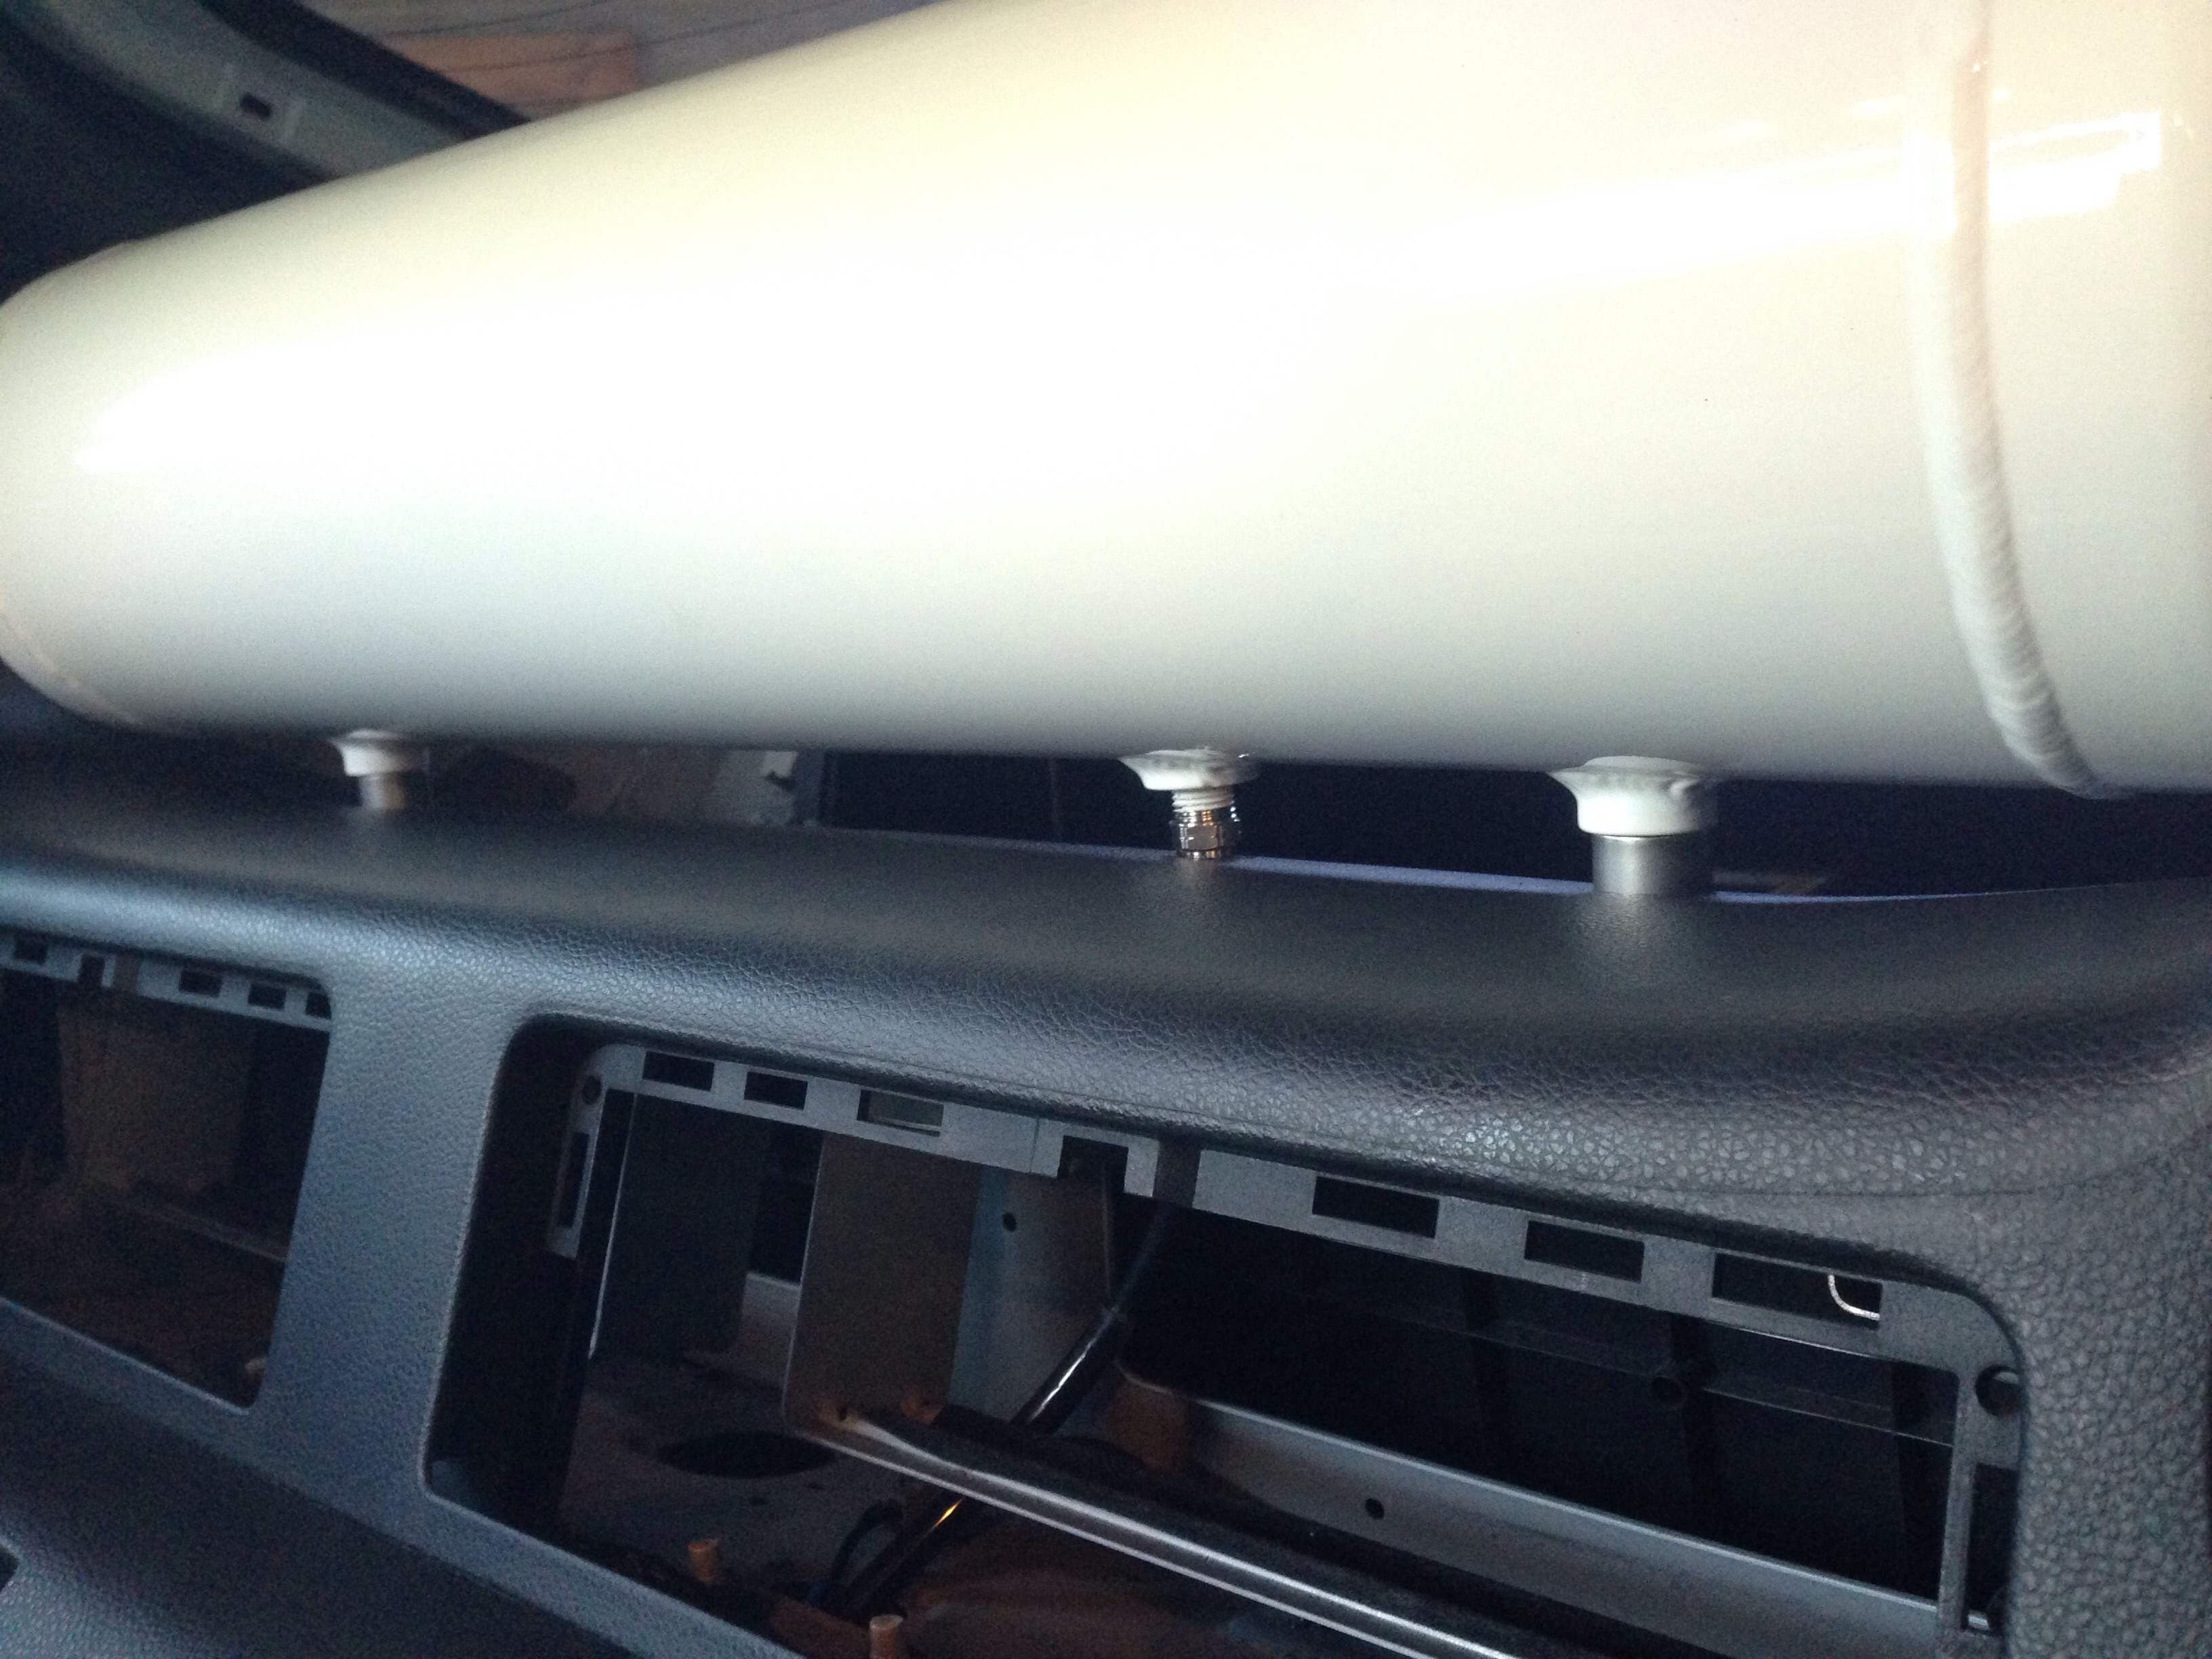
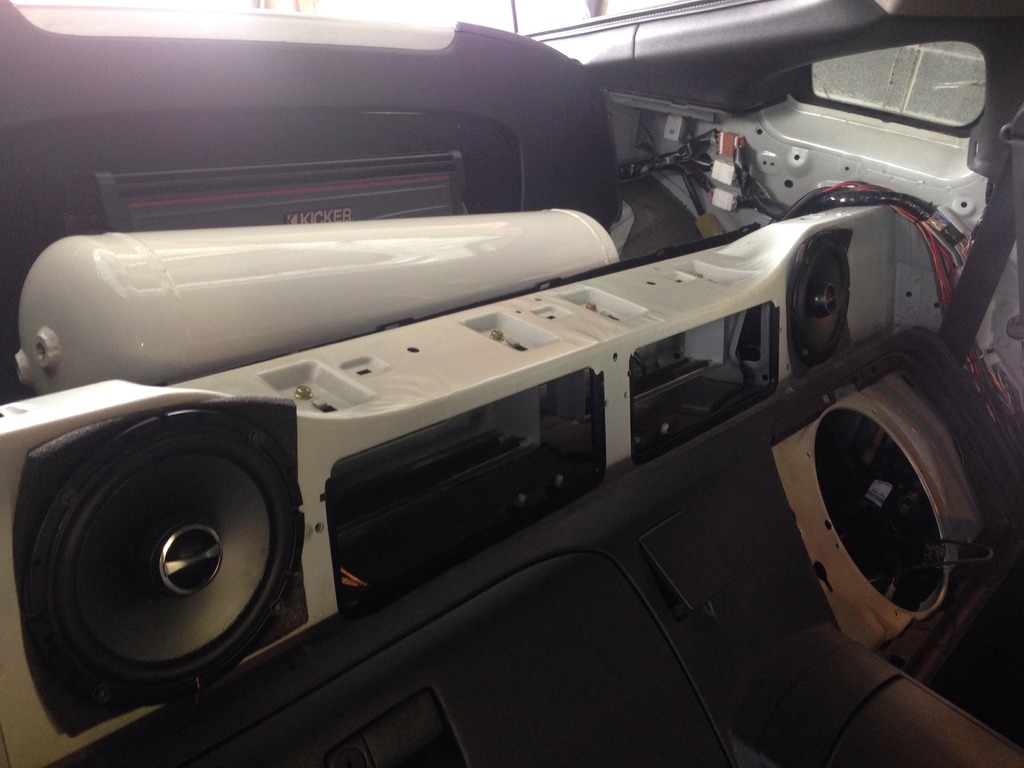
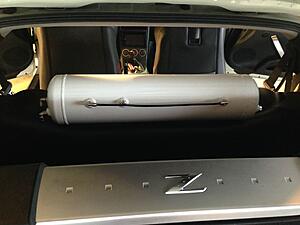
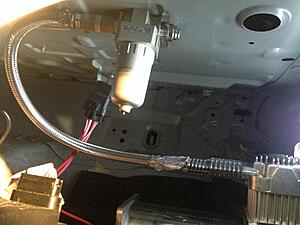
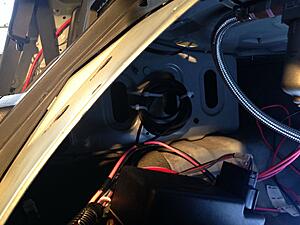
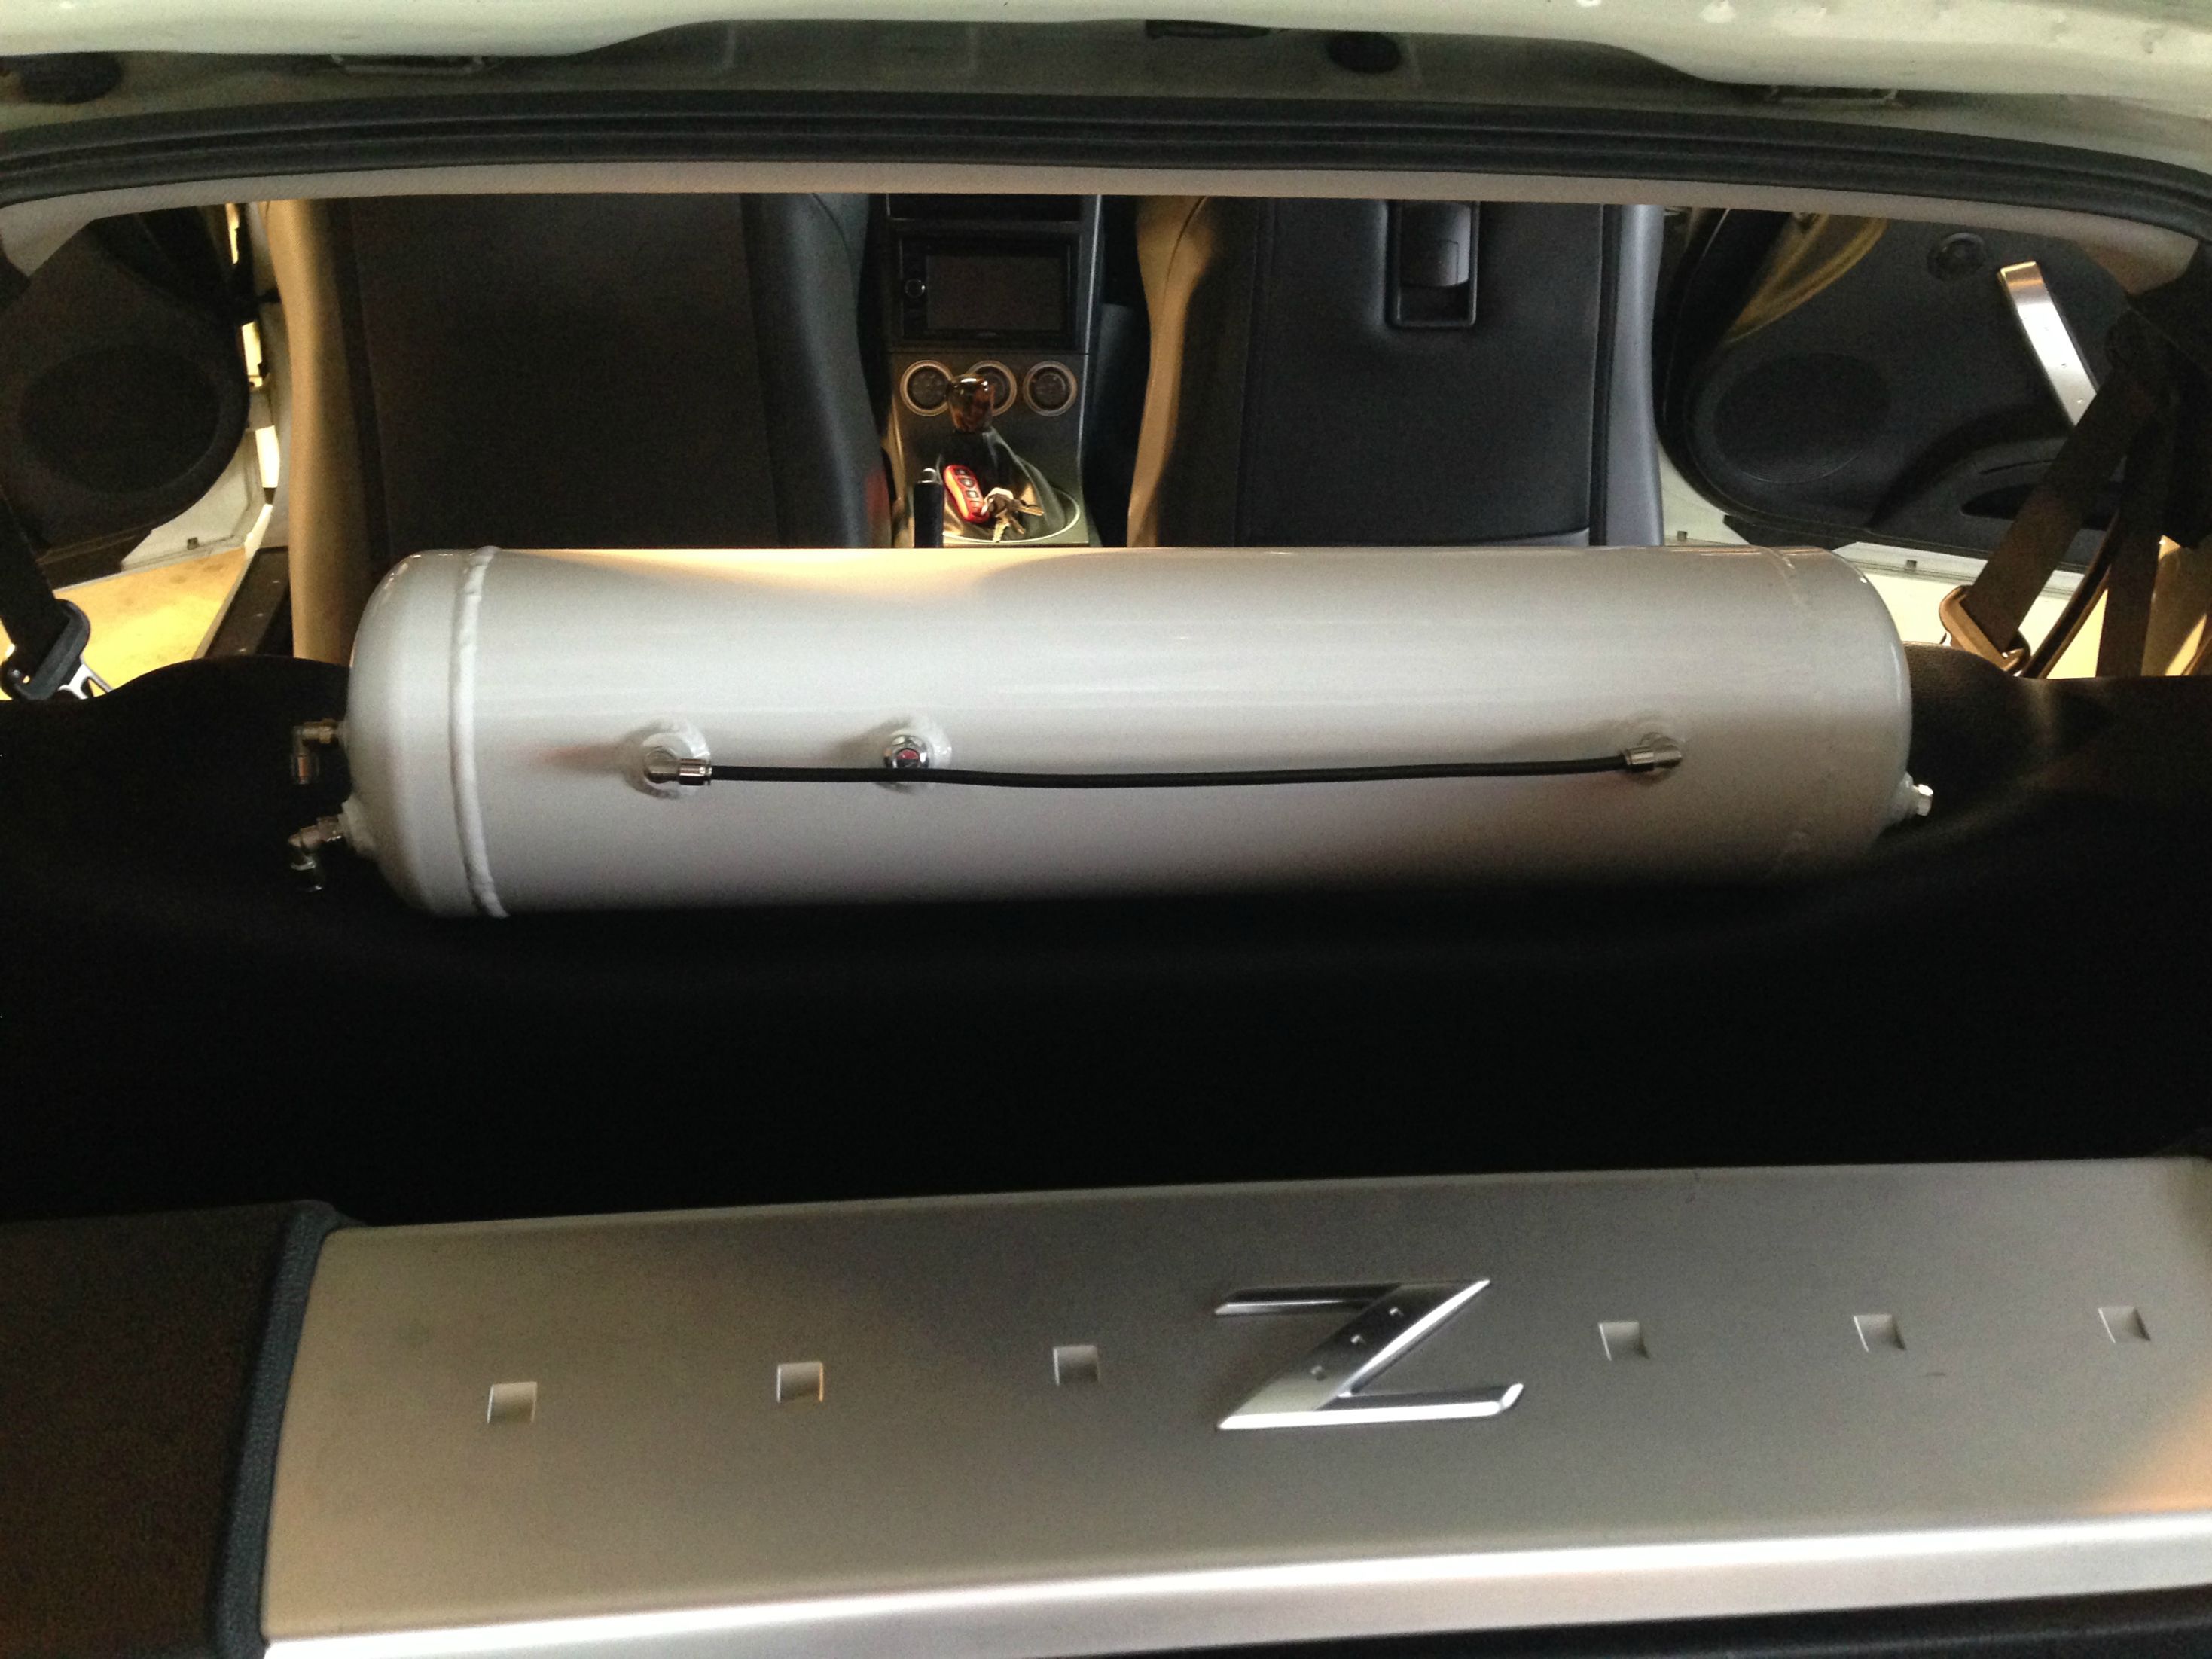
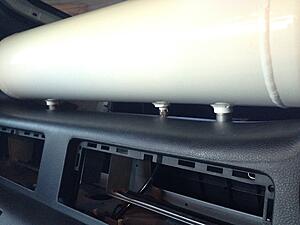
The air tank has been mounted, very pleased with where I chose to mount it. I haven't seen anybody attempt this before. The width of the tank is nearly perfect to fit without hitting the speaker bulges in the speaker bar behind the seats.
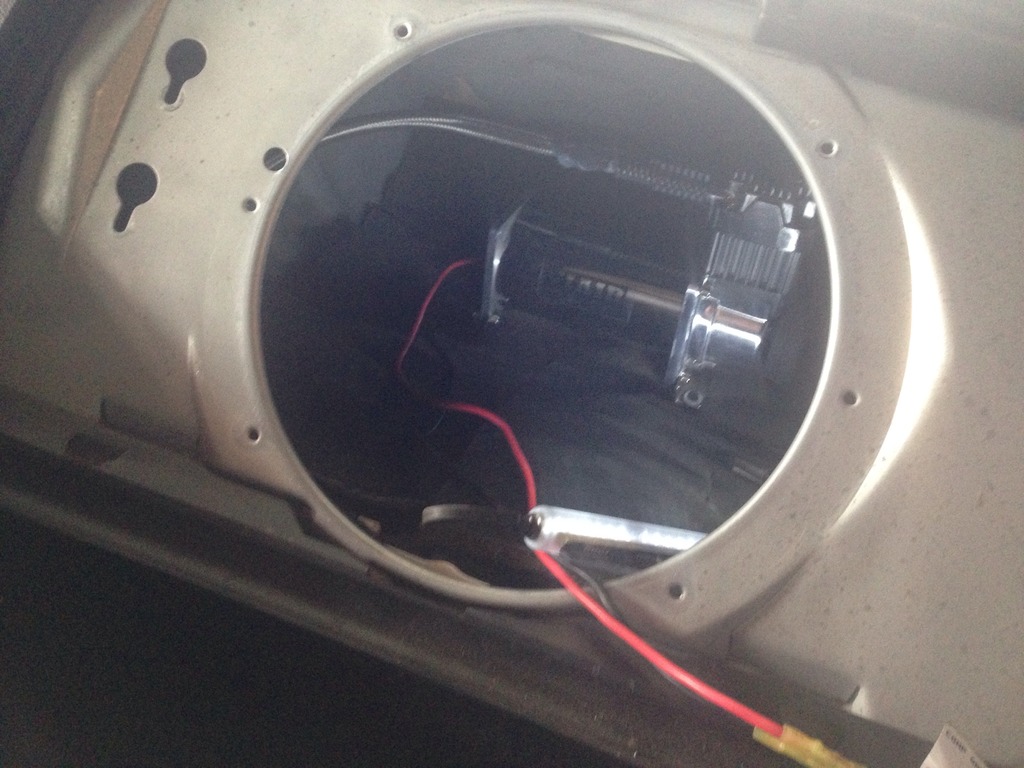
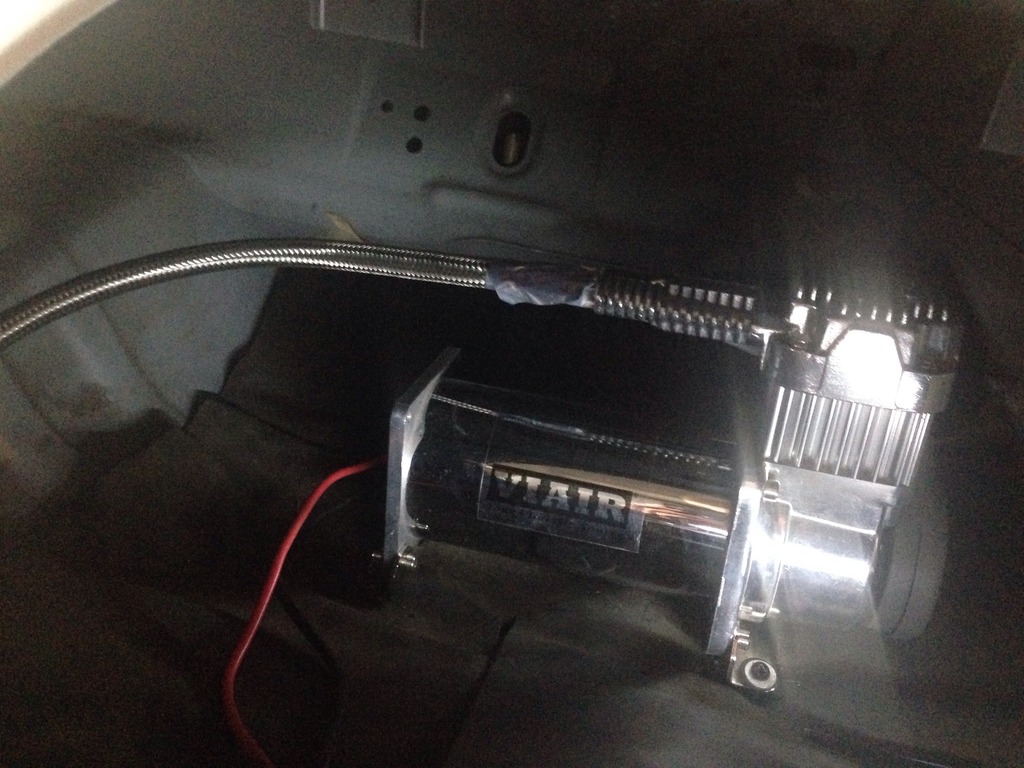
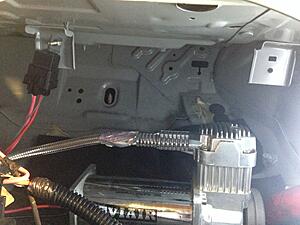
Also managed to mount some other components such as the compressor and main module. All components other than the air tank will go in the OEM sub location. Also very happy with how that is coming out.
Your thoughts and opinions are welcome here...


My old setup was 2 12" MTX subs, nothing too special.
My new setup includes 2 10" JL Audio W3's as well as installing Airlift Suspension.
(For anyone interested, my old sub box and current nismo springs/struts will be going for sale)
Day 1:
Sub swap is complete, very pleased with the outcome. The JL's don't hit quite as loud (meaning they don't pouch your body as hard), but the sound they put out is much deeper and much more pleasant to listen to.
The air tank has been mounted, very pleased with where I chose to mount it. I haven't seen anybody attempt this before. The width of the tank is nearly perfect to fit without hitting the speaker bulges in the speaker bar behind the seats.
Also managed to mount some other components such as the compressor and main module. All components other than the air tank will go in the OEM sub location. Also very happy with how that is coming out.
Your thoughts and opinions are welcome here...


Last edited by craig12895; 05-03-2015 at 08:43 AM.
 04-10-2015, 10:51 AM
#2
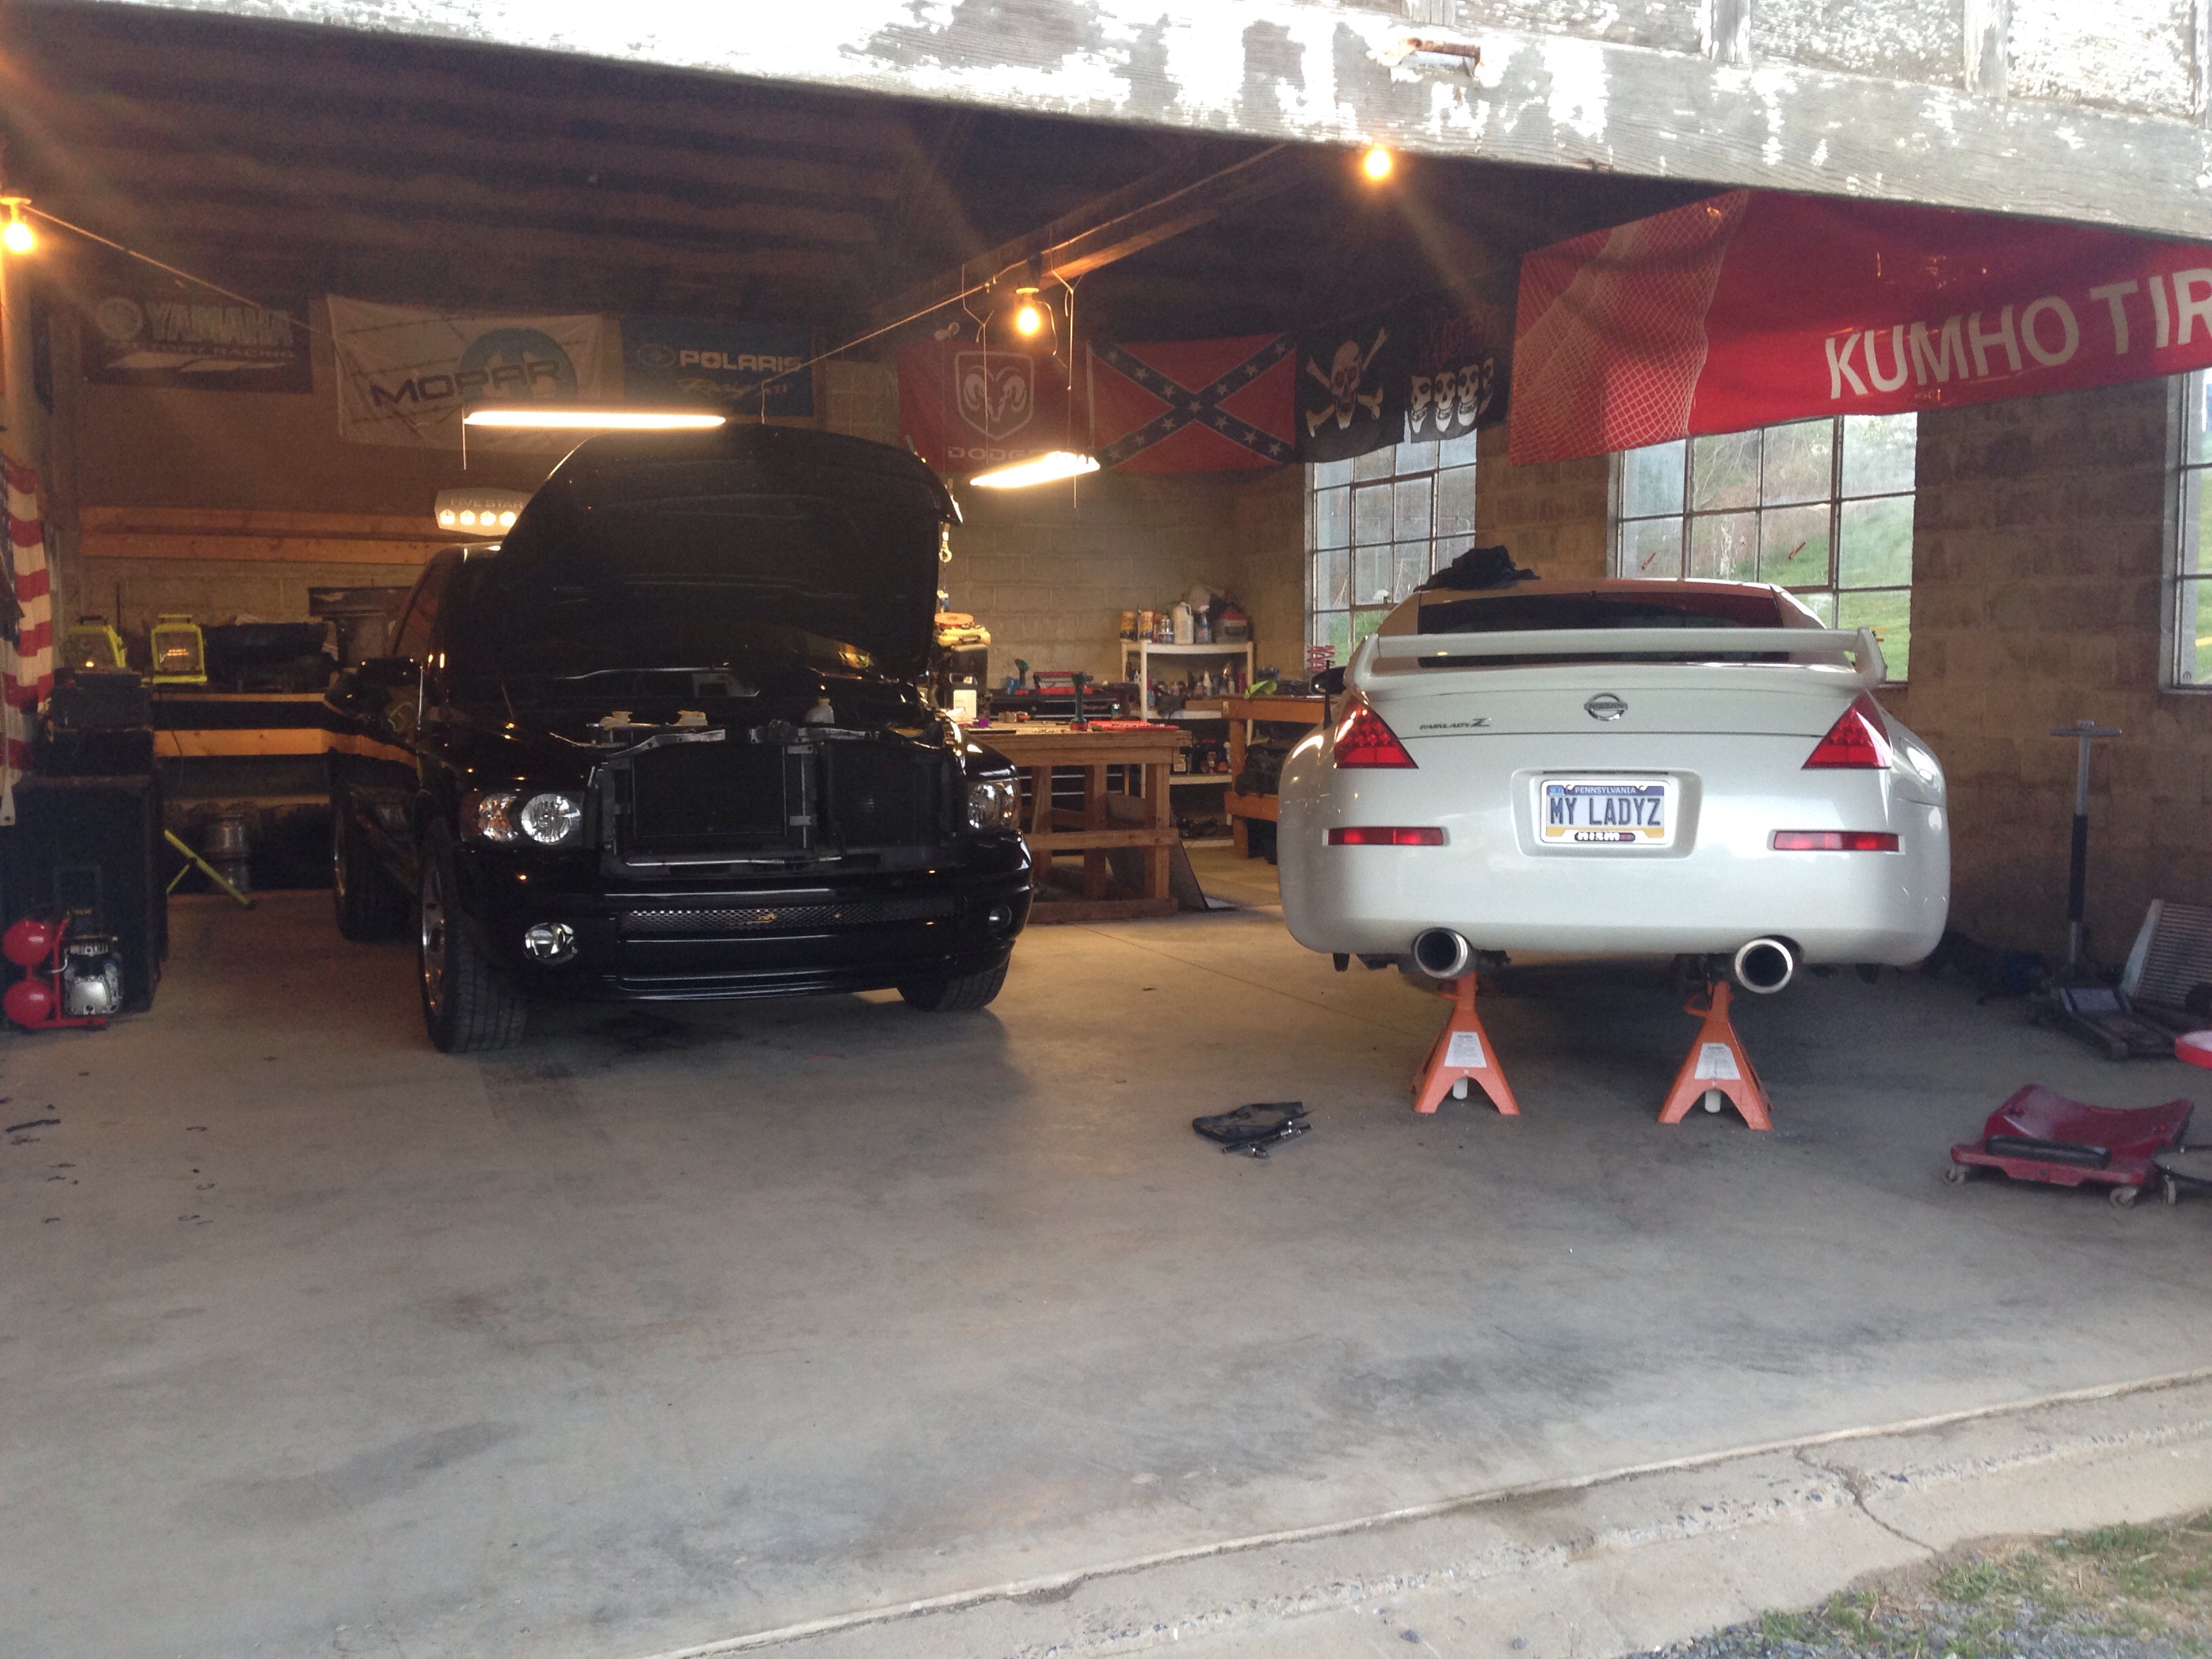
I forgot to mention this is my daily driver so this work is being done slow over a period of time.
Had another chance to do some work yesterday. Slowly making progress.
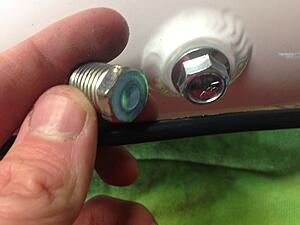
First thing I did was put all the plugs into the air tank as I only need 3 of the 8 holes in the tank. The plugs did not want to go in all the way and did not match the other bolts so I decided to take some extra elbows and make it look like some hoes were being used So let me say that what I have done here is 100% useless and has no function
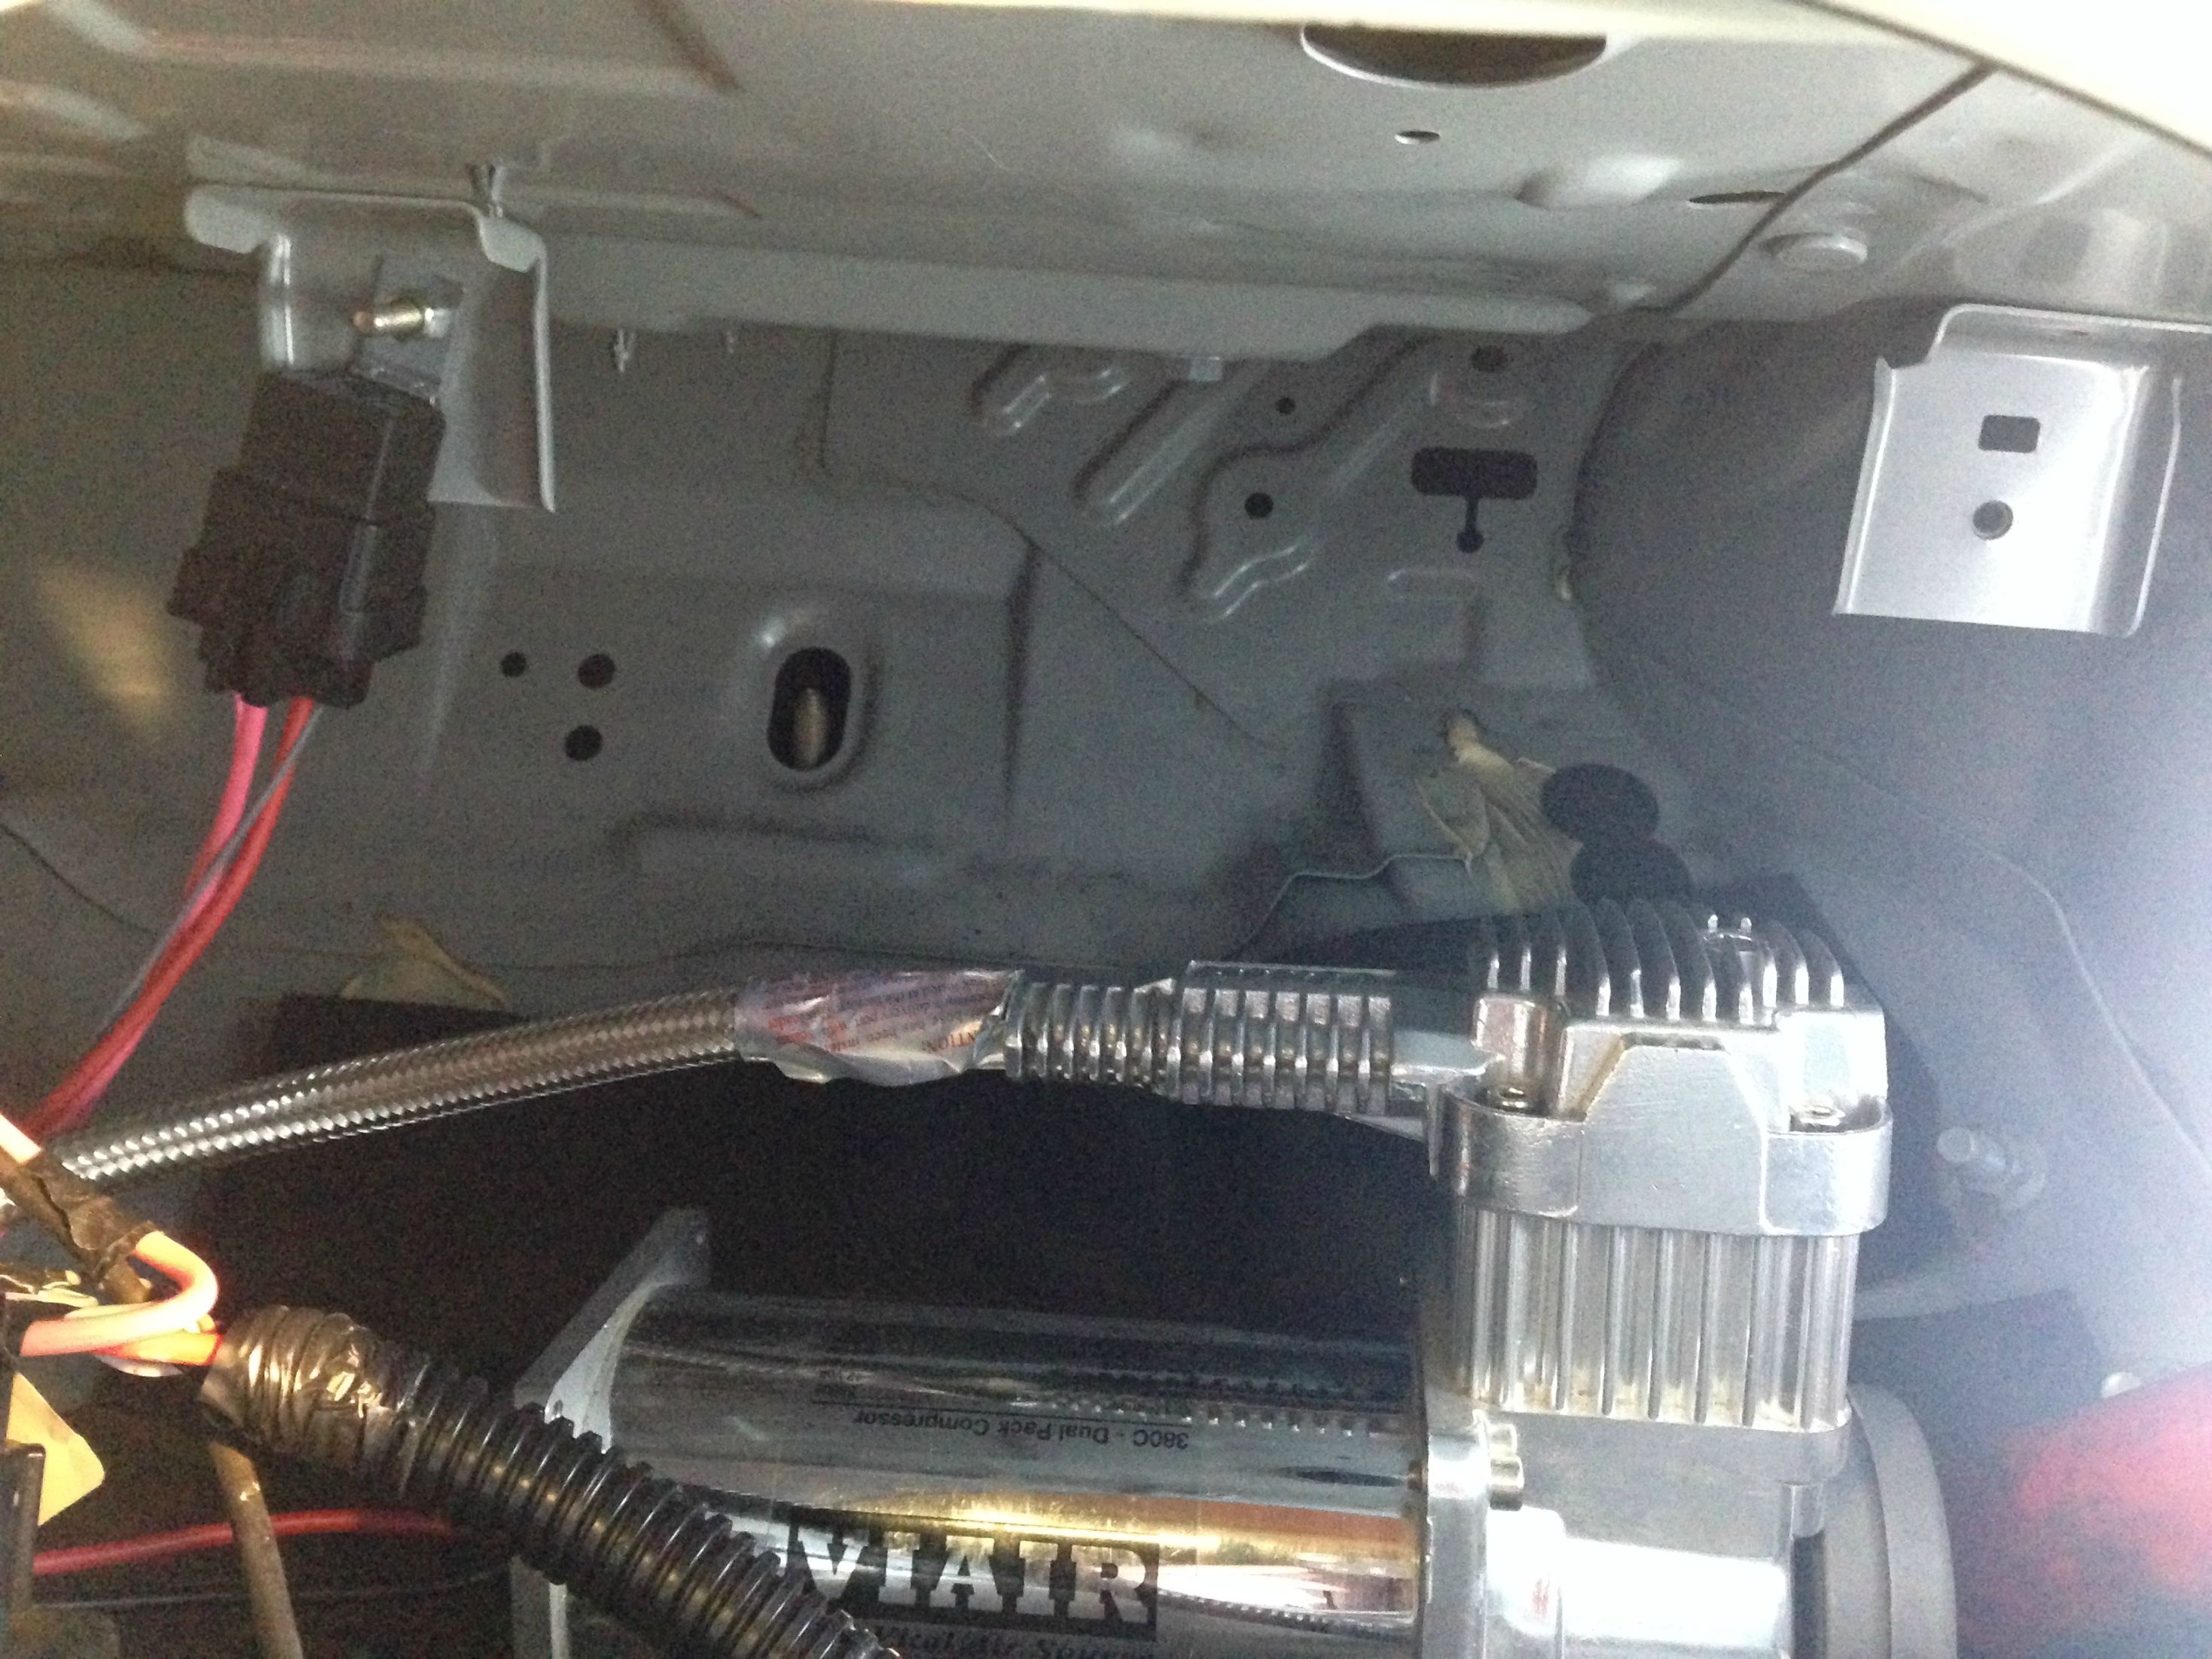
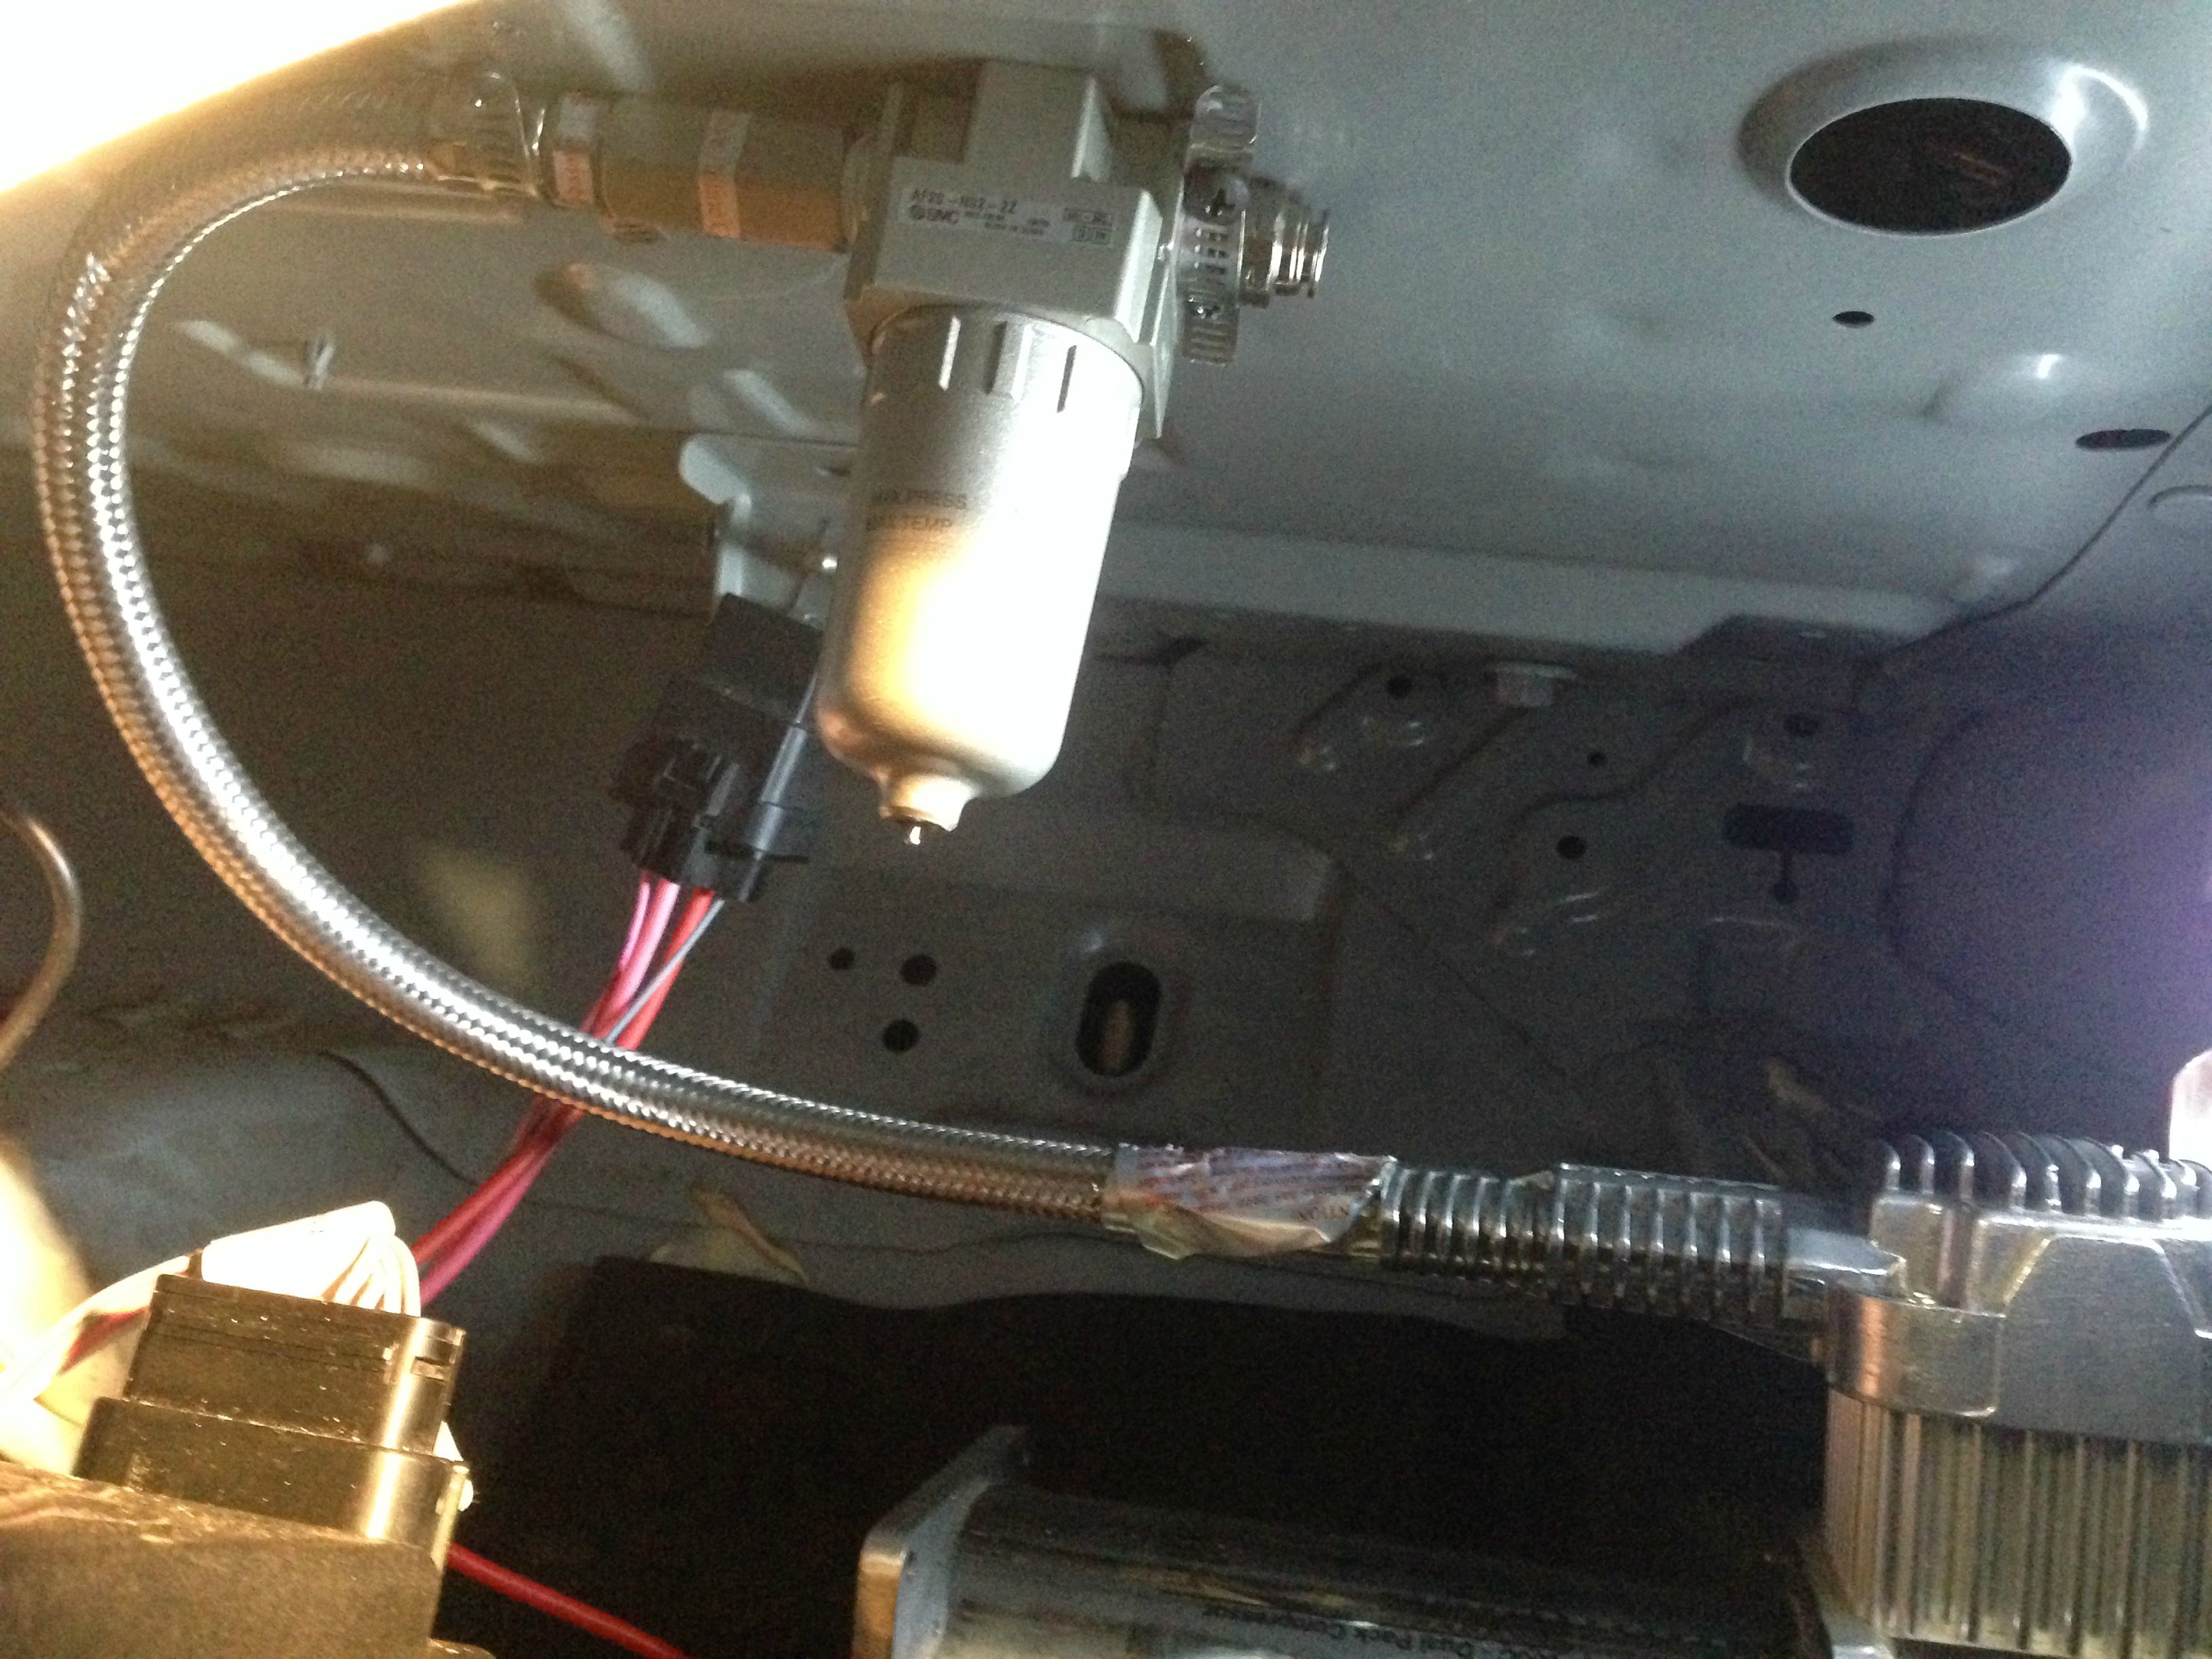
Next the relay was mounted to an extra flange that was found inside the sub location. I also made a half-a$$ rigged way to mount the water trap.
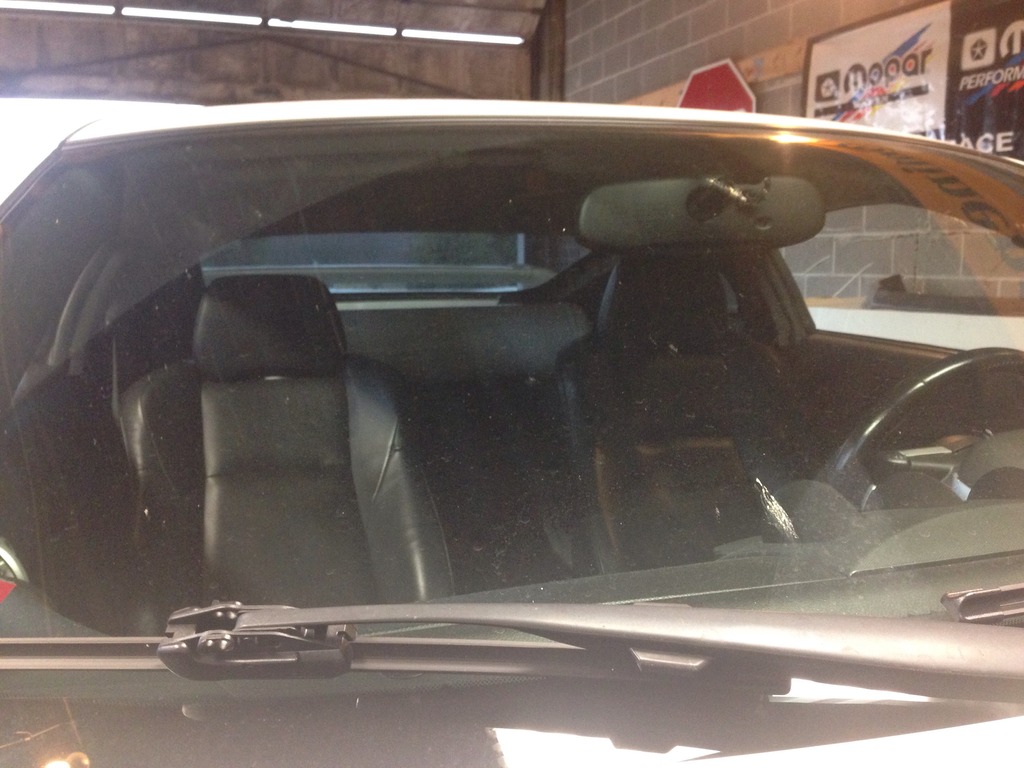
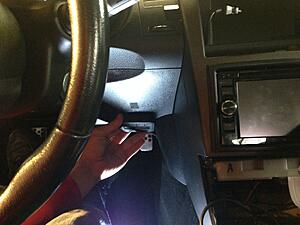
Trying to figure out where to noun the controller. I don't want it obnoxiously in the middle of the dash but I want it easily accessible so I am thinking about velcro'ing it here so I can pull it out if I need to
To finish off the day I cleaned up some wires in the sub cubby. All the loose wires were driving me insane so I wrapped some up and zip tied the extra wire that goes to the controller.
Had another chance to do some work yesterday. Slowly making progress.
First thing I did was put all the plugs into the air tank as I only need 3 of the 8 holes in the tank. The plugs did not want to go in all the way and did not match the other bolts so I decided to take some extra elbows and make it look like some hoes were being used
So let me say that what I have done here is 100% useless and has no function
Next the relay was mounted to an extra flange that was found inside the sub location. I also made a half-a$$ rigged way to mount the water trap.
Trying to figure out where to noun the controller. I don't want it obnoxiously in the middle of the dash but I want it easily accessible so I am thinking about velcro'ing it here so I can pull it out if I need to

To finish off the day I cleaned up some wires in the sub cubby. All the loose wires were driving me insane so I wrapped some up and zip tied the extra wire that goes to the controller.

 04-10-2015, 11:01 AM
#3
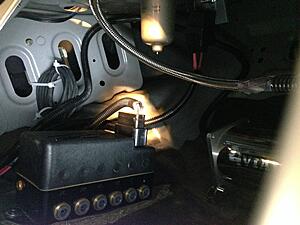
And if anybody has any input here, looking for advice on wiring. All I have left to wire is the main power and ground wires, as well as the ignition wire.
I am going to tap into the power and ground that I have for my amp because they are in the spare tire well so it would be very easy to do.
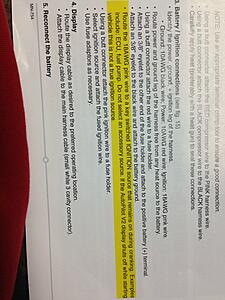
My question is about the ignition wire, I will attach a picture of what the airlift install manual says. Basically the wire has to be connected to a source that has power while the engine is cranking. It gives the example of a fuel pump, which would be very convenient for me because I am mounting everything right above the fuel pump. But how would I go about tapping into the pump?
I am going to tap into the power and ground that I have for my amp because they are in the spare tire well so it would be very easy to do.
My question is about the ignition wire, I will attach a picture of what the airlift install manual says. Basically the wire has to be connected to a source that has power while the engine is cranking. It gives the example of a fuel pump, which would be very convenient for me because I am mounting everything right above the fuel pump. But how would I go about tapping into the pump?


 04-30-2015, 05:11 PM
#5
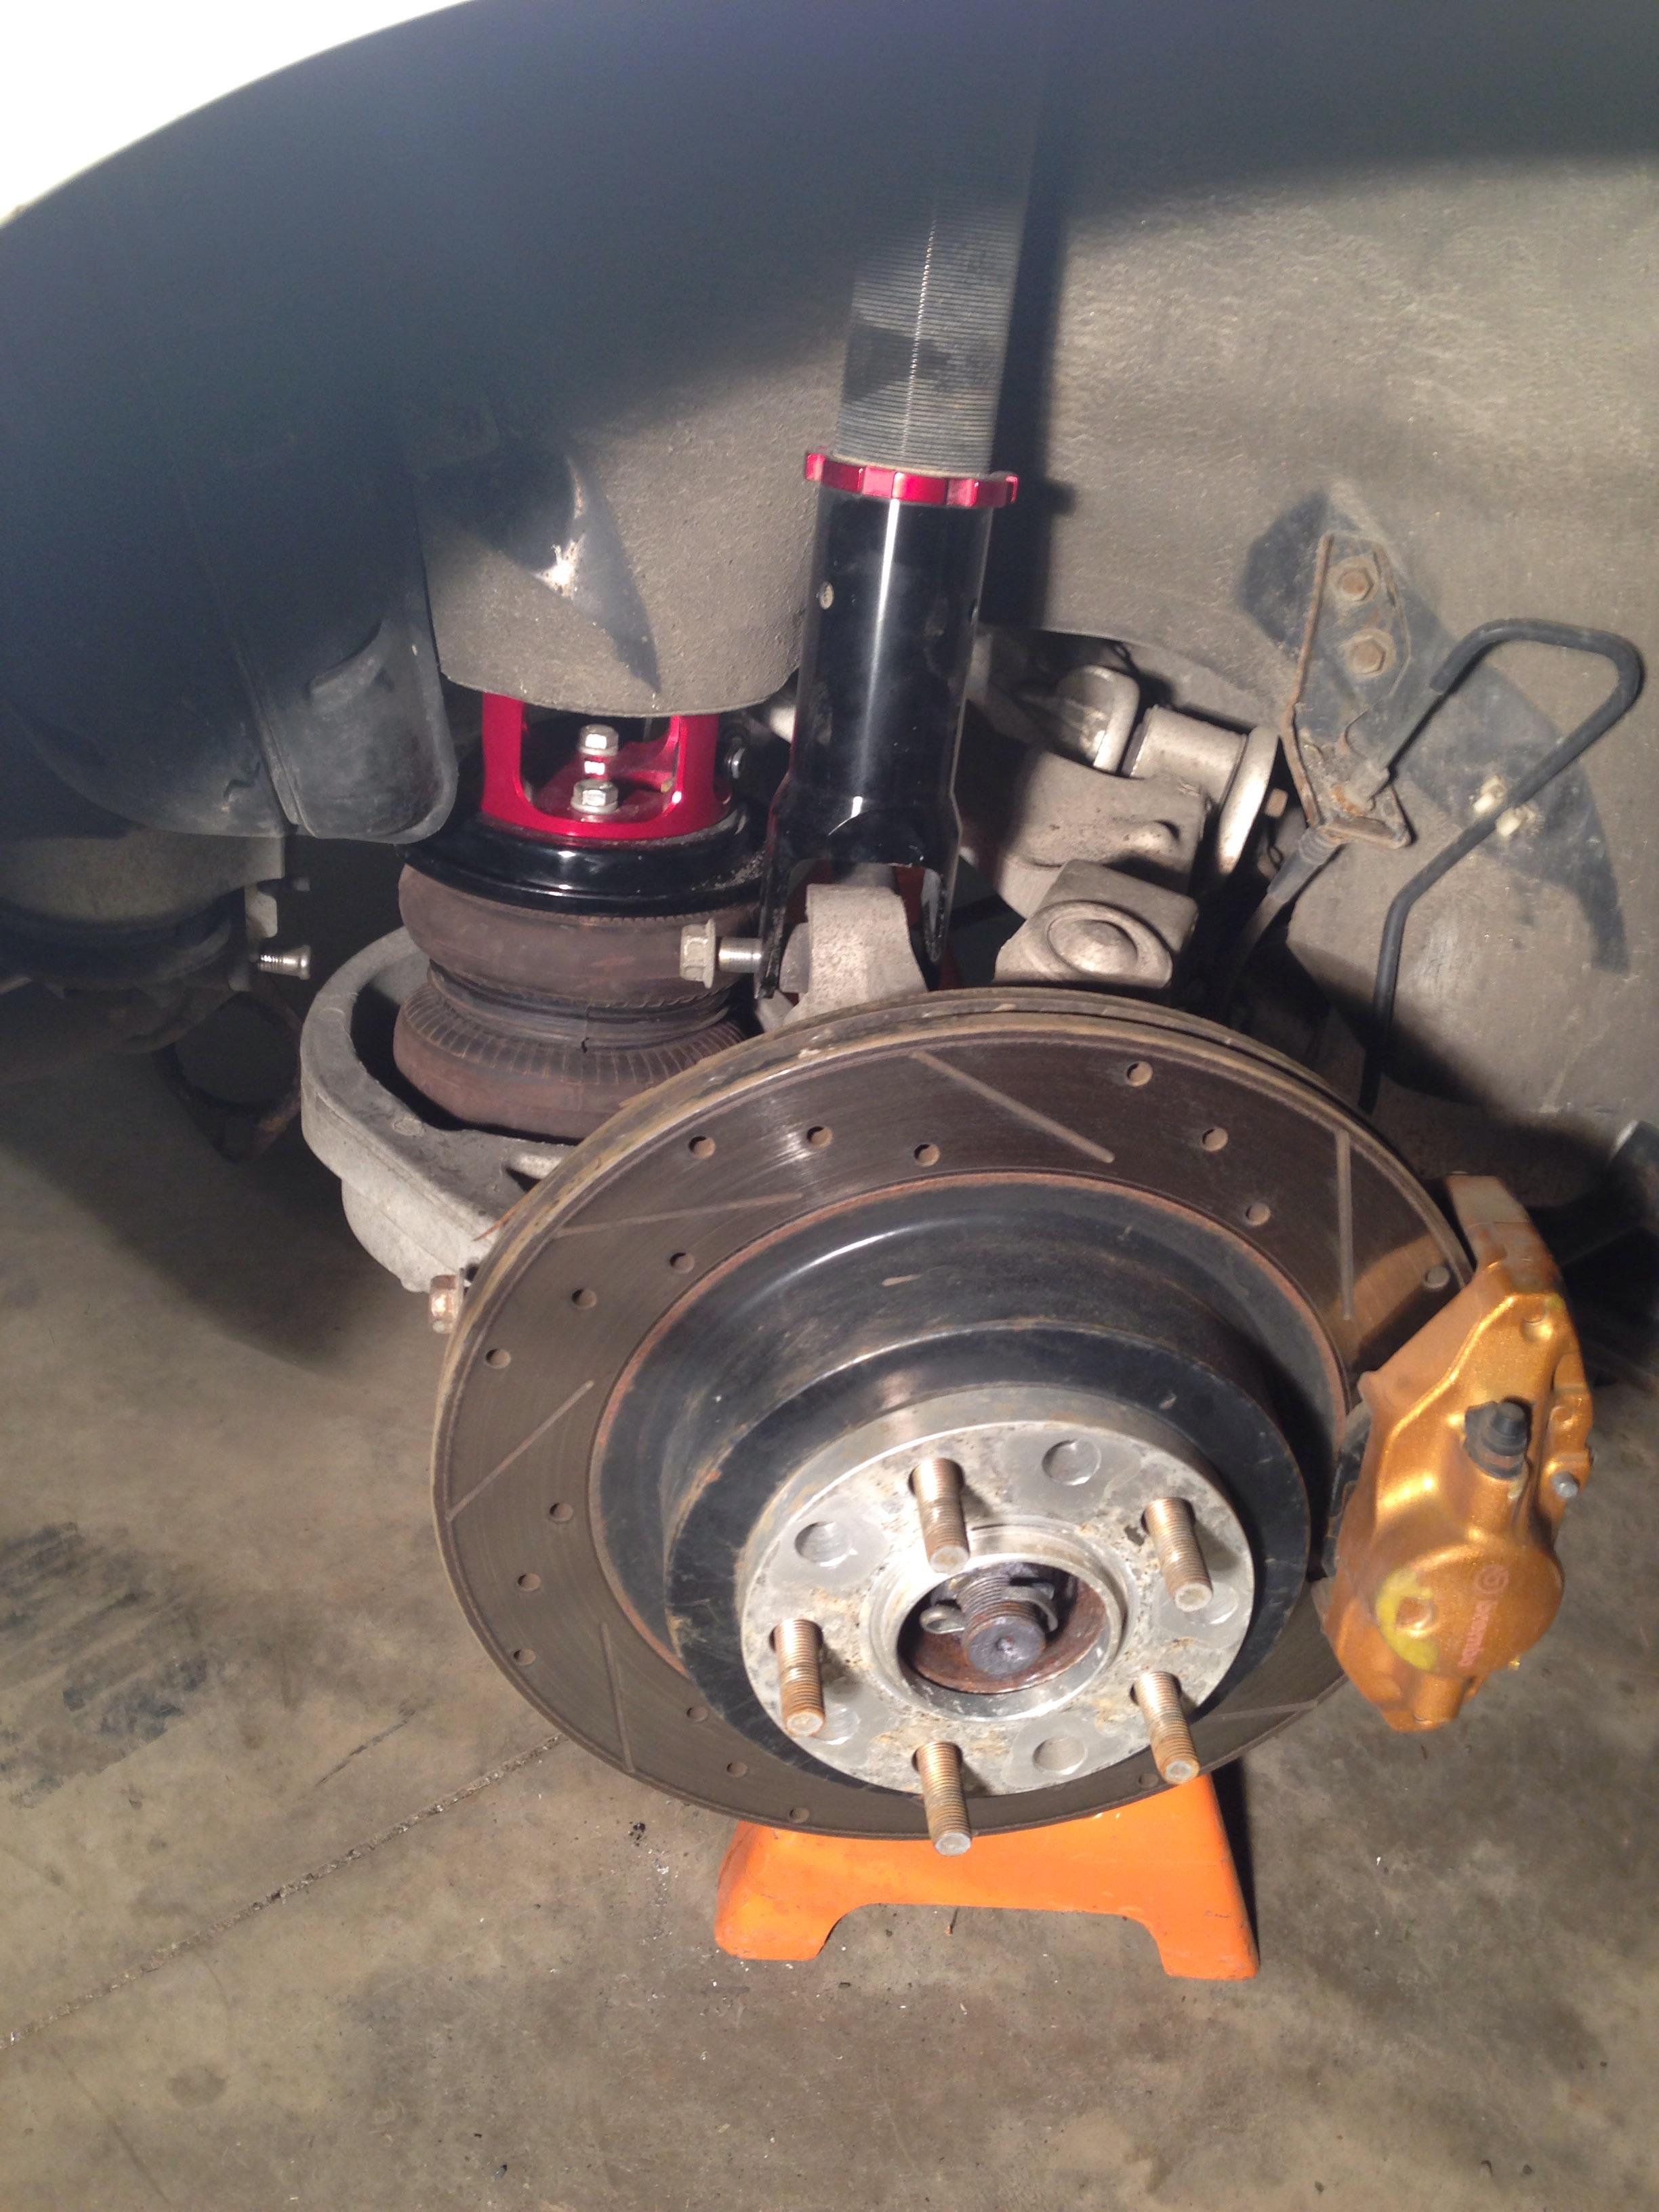
Well its been a while since I have had a chance to work on the car but I made some time today. I managed to get all of the bags and struts on, modified how the tank was mounted, and ran all of the air lines except the ones that go to each of the bags.
Waiting on an under brace until I get the car back on the ground, currently it is in hovercraft mode.


Waiting on an under brace until I get the car back on the ground, currently it is in hovercraft mode.