Notices
Media Share Z Related Photos and Video

From the wreckage of Zoe...Nitro emerges PICTURE HEAVY

Thread Tools
 
Search this Thread
 
Old 08-25-2016, 05:10 PM
  #41  
KJFire4Life
Registered User
Thread Starter
iTrader: (6)
 
KJFire4Life's Avatar
 
Join Date: Nov 2015
Location: Pittsboro, NC
Posts: 317
Received 25 Likes on 21 Posts
Default Day #1 Update

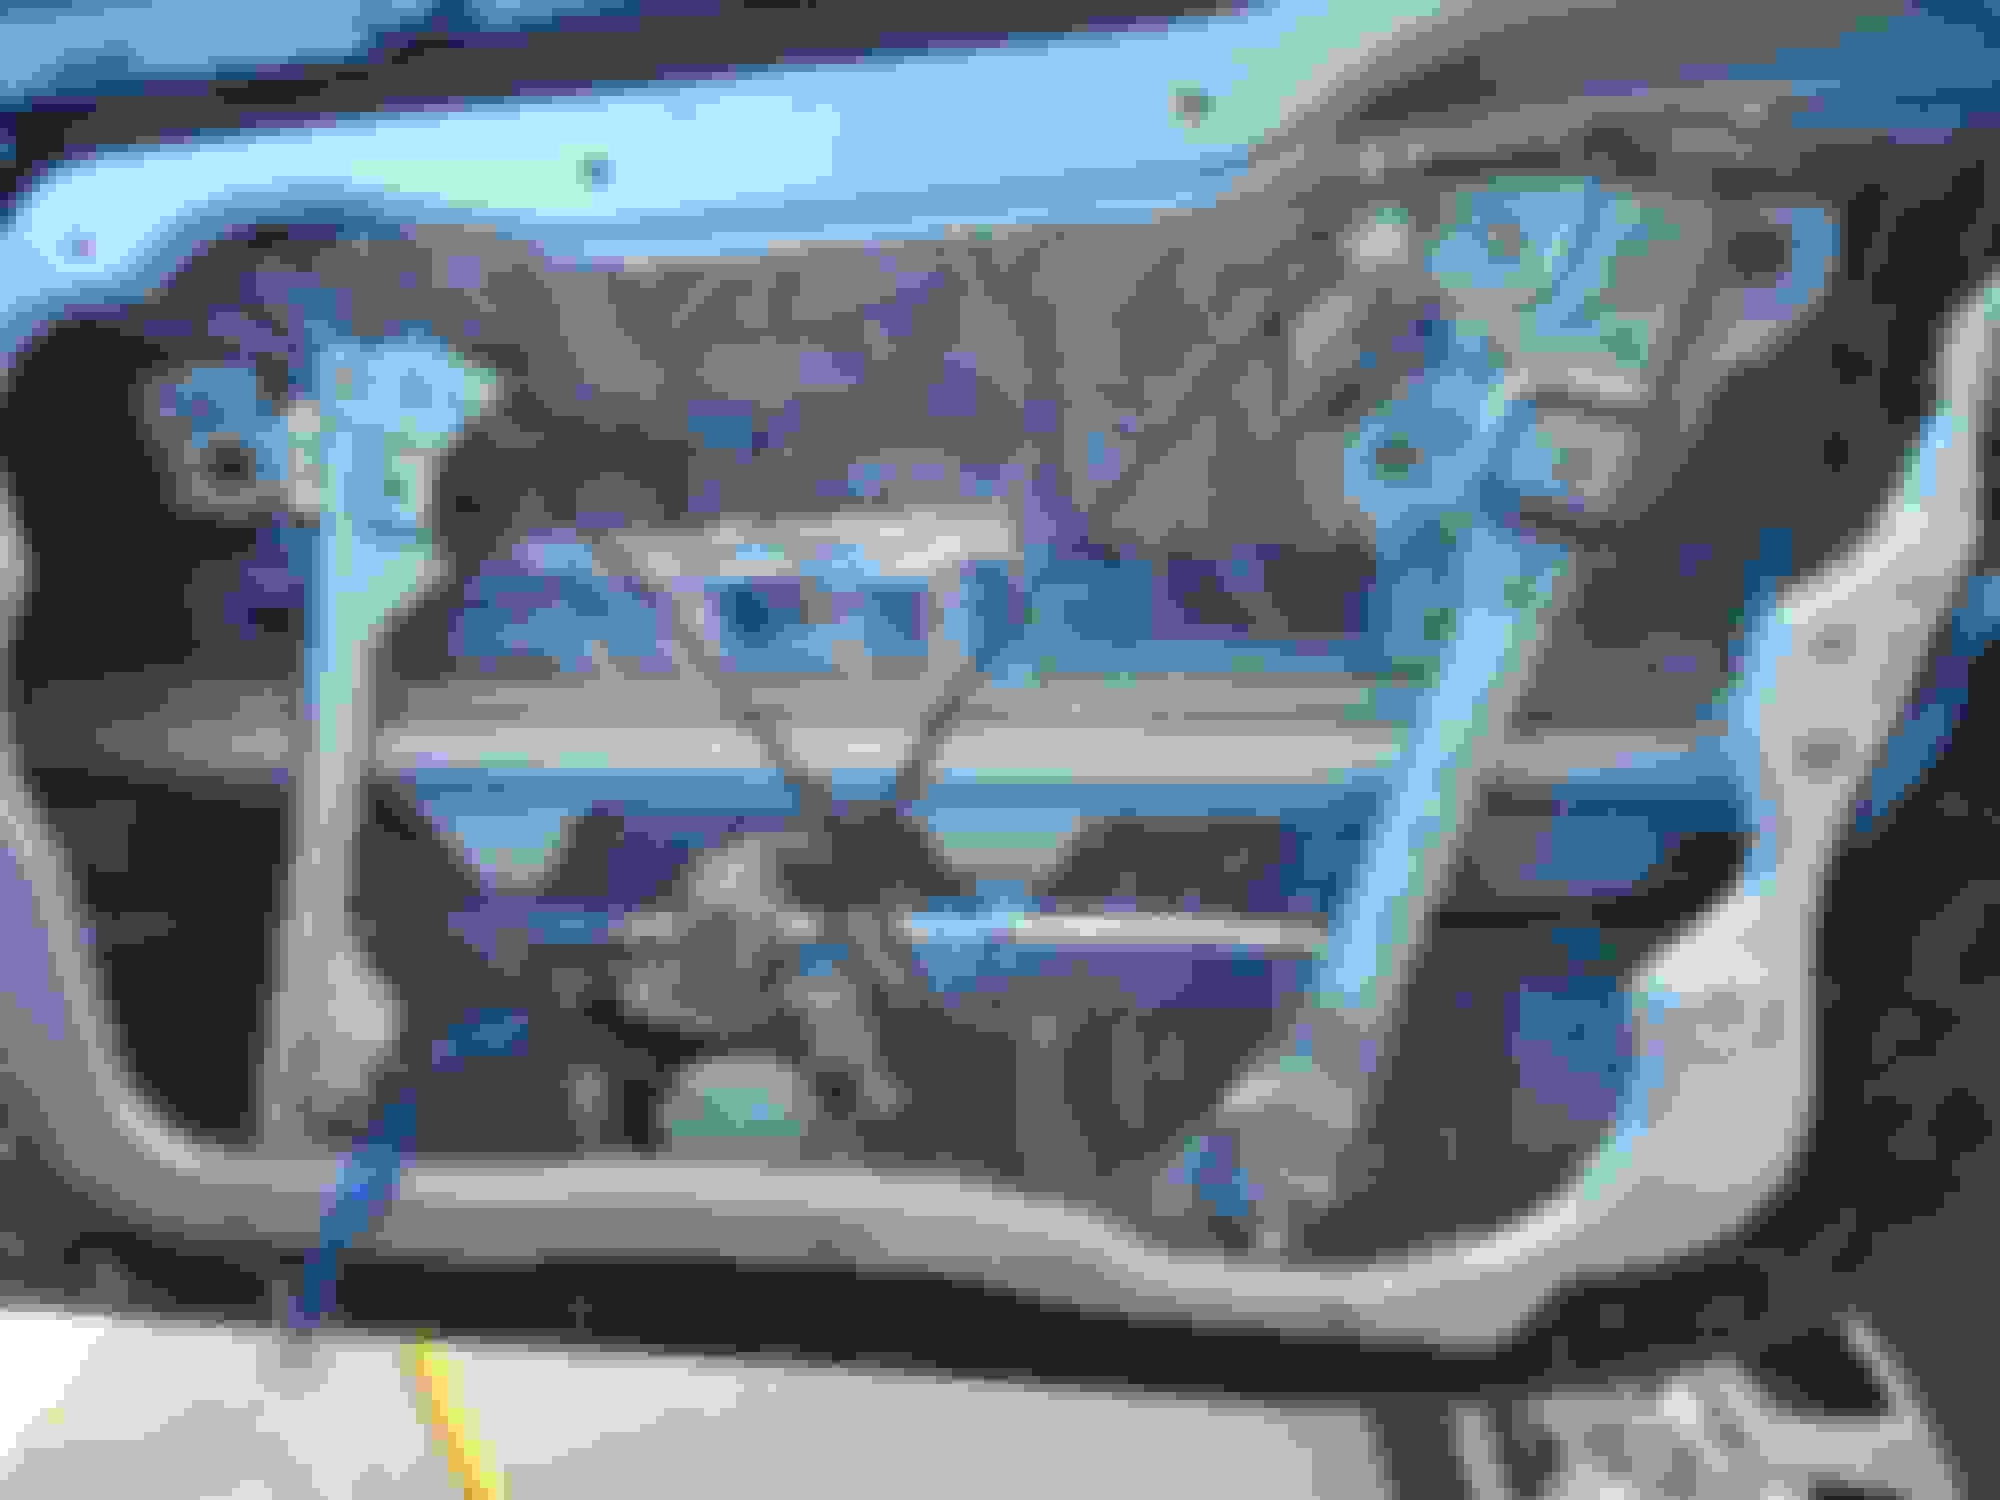
Okay guys, sorry to disappoint, but it is VERY EASY to install Whiteline lower control arm bushings and front lower shock mount bushings.


Use a 29mm impact socket, it fits PERFECTLY on both bushings. Here it is on the lower shock mount bushing


Here it is on lower inner control arm bushing. Both sides push straight through in less then 5 minutes


Then take the new bushings, and a 36mm socket and simply press the new bushing in, 30 seconds, easy as pie.


Finished product, 20 minutes later.


Not pictured:
New Front W brace
SPL Solid Compression arm bushings
New front brake rotors, calipers, pads, stainless steel lines installed.
Wheels broke down, sent out for media blasting and powdercoating.
A Pillars painted
Underside of hatch/hood finished

This is day #1.......Goal is to have engine installed by Sunday night, cross your fingers
Old 08-29-2016, 02:56 PM
  #42  
KJFire4Life
Registered User
Thread Starter
iTrader: (6)
 
KJFire4Life's Avatar
 
Join Date: Nov 2015
Location: Pittsboro, NC
Posts: 317
Received 25 Likes on 21 Posts
Default Engine

I'll let my pictures do the talking:


Old compression arm bushing driver side (came off frame with a little convincing)


Old compression arm bushing passenger side (I spent 4 HOURS ON THIS SOB)


Shiny new bushings!


Stoptech Stainless Brake lines installed


Fresh set of OEM sway bar links, shocks, tie rod ends, and whiteline filled trailing arms bolted into place!


The new bling pre W brace installed


Freshly cut rotors, new pads, rebuilt calipers, new hardware

Last edited by KJFire4Life; 08-29-2016 at 02:58 PM.
Old 08-29-2016, 03:08 PM
  #43  
KJFire4Life
Registered User
Thread Starter
iTrader: (6)
 
KJFire4Life's Avatar
 
Join Date: Nov 2015
Location: Pittsboro, NC
Posts: 317
Received 25 Likes on 21 Posts
Default Engine update

Finally RE-STABBED


Shop closed down for the night


Transporting back over to the house


GREEN


Mixed in with TONS of spare parts


Late Sunday night......engine is installed with longtubes and transmission. all at once

Last edited by KJFire4Life; 08-29-2016 at 03:09 PM.
Old 08-29-2016, 09:16 PM
  #44  
pyshin
New Member
iTrader: (14)
 
pyshin's Avatar
 
Join Date: Jun 2013
Location: socal
Posts: 2,314
Received 75 Likes on 53 Posts
Default

This has been an awesome revival, man. Kudos.
Old 08-30-2016, 04:40 AM
  #45  
SmoothZ
Senior Super Moderator
MY350Z.COM
iTrader: (13)
 
SmoothZ's Avatar
 
Join Date: Aug 2004
Location: Twin Cities, MN
Posts: 28,899
Received 1,906 Likes on 1,354 Posts
Default

Holy rebuild, man! Great job! Thanks for the pic warning in the title!
Old 08-30-2016, 09:02 AM
  #46  
bboypuertoroc
New Member
iTrader: (4)
 
bboypuertoroc's Avatar
 
Join Date: Feb 2005
Location: Get out my way pimpin, VA
Posts: 22,909
Received 2,446 Likes on 1,768 Posts
Default

Awesome rebuild.
Old 08-30-2016, 04:56 PM
  #47  
dboyzalter
6 inch cawk is my fave!
iTrader: (3)
 
dboyzalter's Avatar
 
Join Date: Apr 2015
Location: Mass
Posts: 6,557
Received 972 Likes on 759 Posts
Default

Coming along great, hope you put a coat of paint on those freshly rebuilt calipers... I got a new set for my Honda and about 2 months later they are completely surface rusted over...

I wish I had a awesome press like that one.. I dont think I even have a big *** 28mm impact socket, I have 5 different sets and I think my biggest is a 24.
Old 08-30-2016, 07:37 PM
  #48  
rustyschopshop
New Member
 
rustyschopshop's Avatar
 
Join Date: Mar 2014
Location: Watauga, Texas
Posts: 1,405
Received 373 Likes on 279 Posts
Default

Car is coming alot great, keep up the great work.
Old 08-30-2016, 07:39 PM
  #49  
KJFire4Life
Registered User
Thread Starter
iTrader: (6)
 
KJFire4Life's Avatar
 
Join Date: Nov 2015
Location: Pittsboro, NC
Posts: 317
Received 25 Likes on 21 Posts
Default

Thanks guys! I LOVE coming on here and reading your comments, seeing what you guys think. Even if you have suggestions to try and make or do something better. I've done several car builds and this is by FAR my favorite, I'm never getting rid of this car! You think the engine and body are cool to see be put together? Wait till you guys see my interior going back in. Don't worry, as per usual.....There will be LOTS of pictures. Getting back out there and working on it again tomorrow night with a good friend of mine to help! I'll update again shortly! Thanks again!
Old 09-01-2016, 09:32 PM
  #50  
seekanddestroy
Registered User
iTrader: (13)
 
seekanddestroy's Avatar
 
Join Date: Jul 2007
Location: Northern California
Posts: 1,011
Likes: 0
Received 1 Like on 1 Post
Default

I haven't been a part of this community in ages; I came in here to research my cylinder mis-fire and stumbled on your build. You have single handedly re-awoken a passion I haven't realized in some time. As much as I LOVE my car and all the work I put into her I haven't been able to continue the dream, but I know the exact event that curbed my momentum. Your posts brought back so many emotions for me that are pure magic. That's all I have to say right now other than thank you so much mysterious Z build dude! Thank you so much for sharing your experiences and keeping this passion alive. You have done more than you know to further the modified car culture, at least in my world!
The following users liked this post:
rustyschopshop (09-04-2016)
Old 09-08-2016, 11:31 PM
  #51  
KJFire4Life
Registered User
Thread Starter
iTrader: (6)
 
KJFire4Life's Avatar
 
Join Date: Nov 2015
Location: Pittsboro, NC
Posts: 317
Received 25 Likes on 21 Posts
Default Wire Tuck and Update 9/9/16

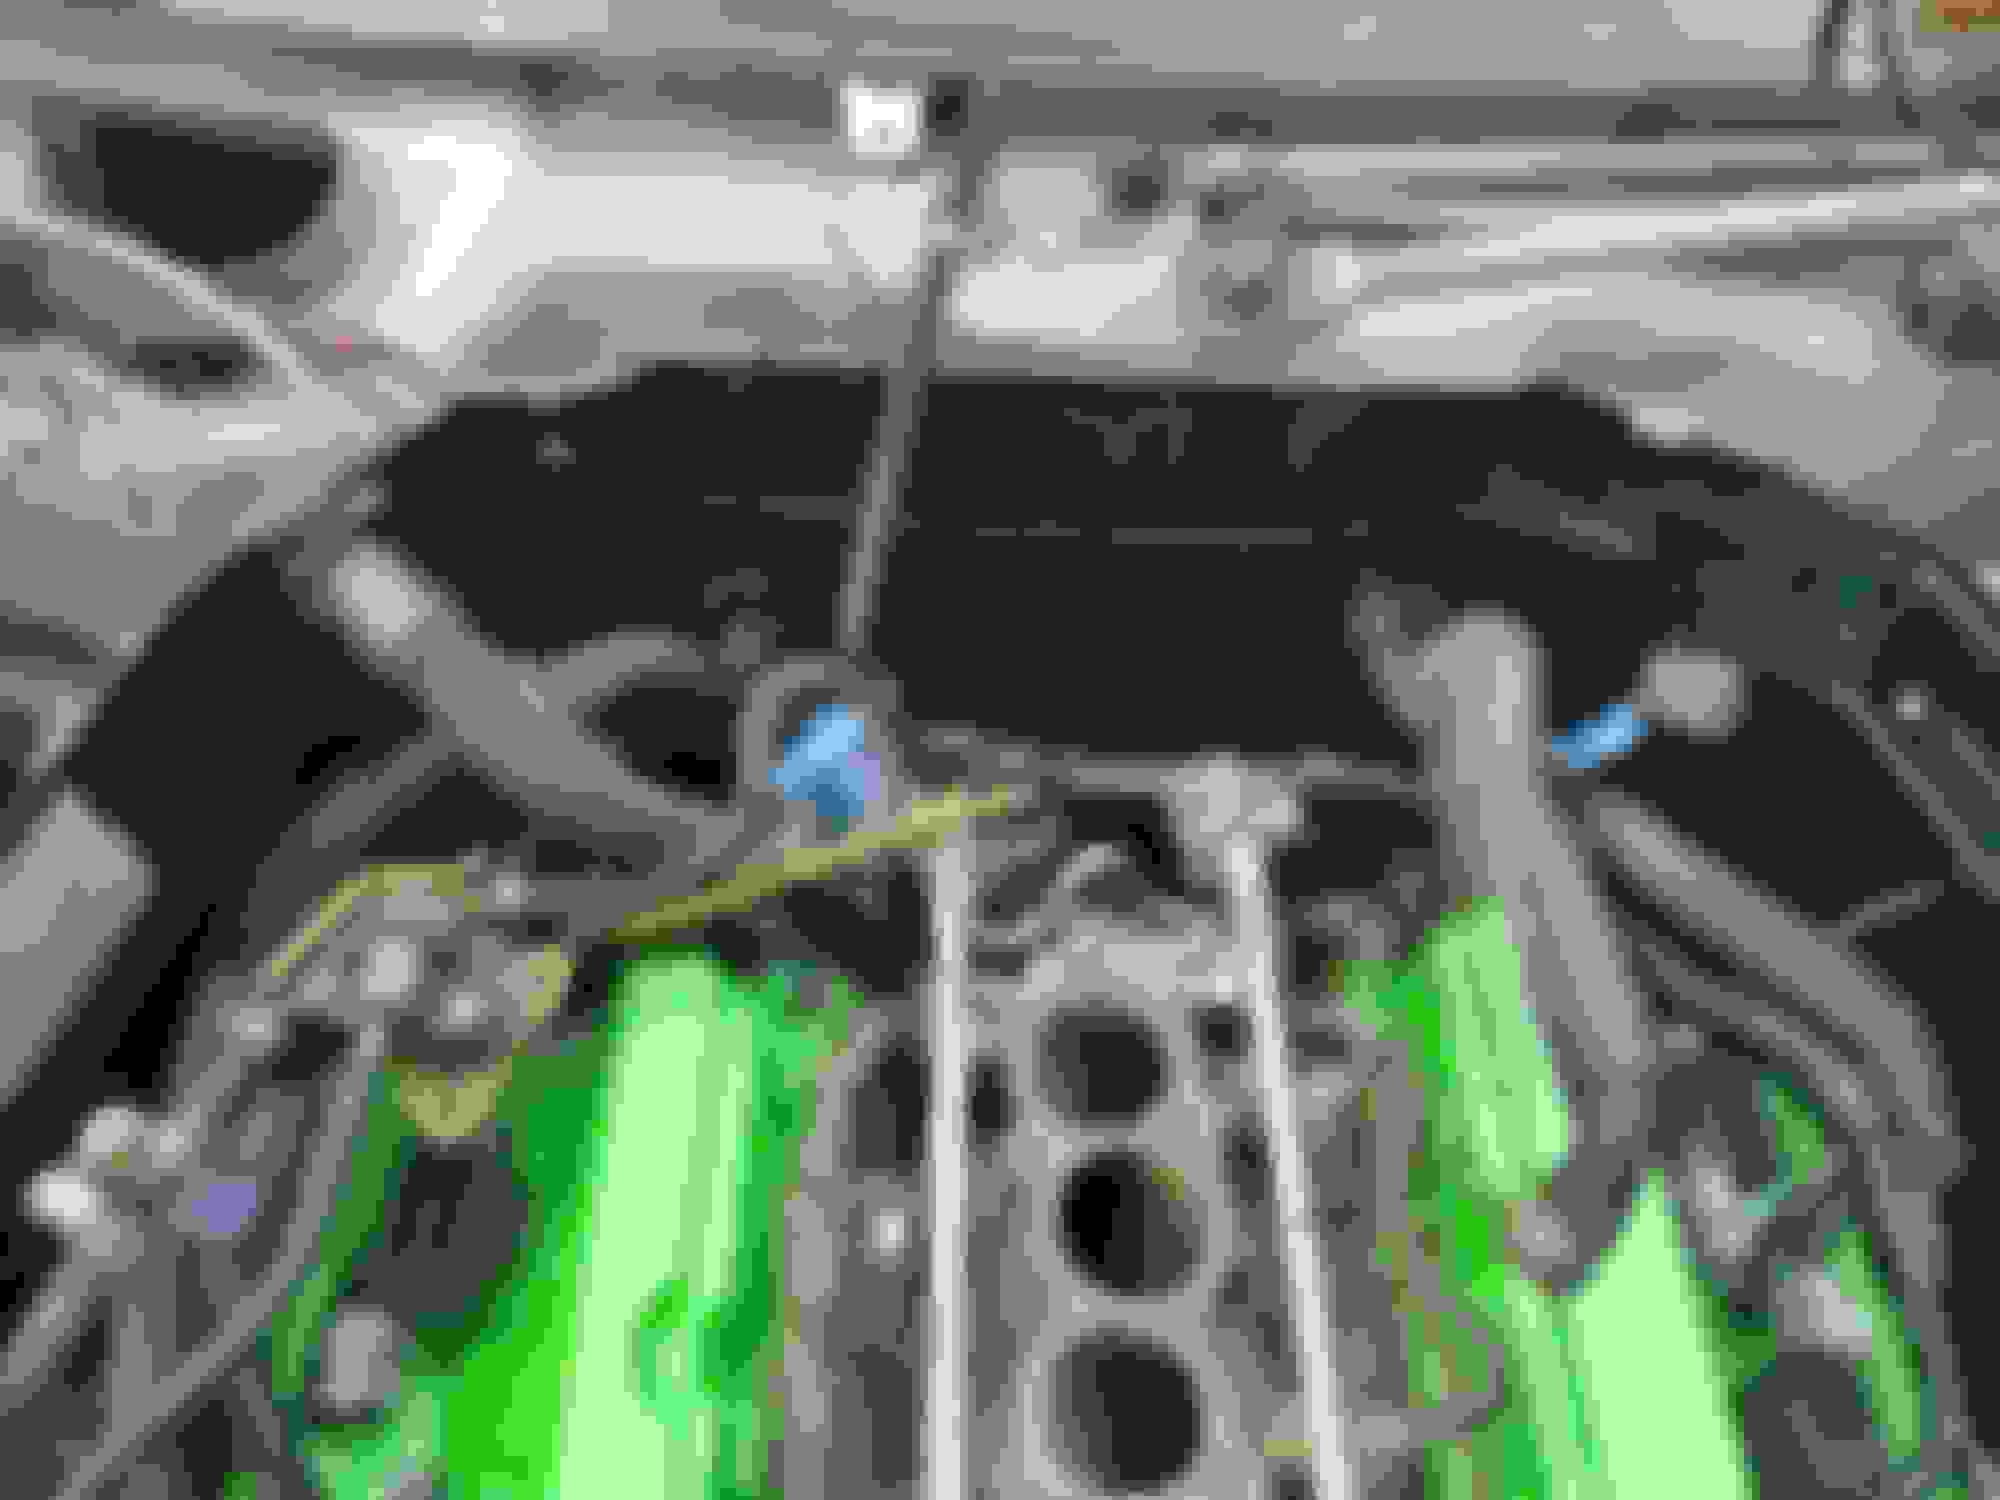
Well, I didn't get much done over labor day weekend as I worked all weekend (Gotta love C shift). But once things settled down, my cousins went back to NY, and I got some time to futz around. I really started getting into a part of this build that has had me worried since day 1.......The wire tuck! It's worth it to mentions, that the only things I did achieve over the weekend was finally getting the transmission cross brace in, and the engine mounts fully settled (Solid Mounts are a ***** to set right for reference!) Here's a couple pics from the last few days, I have off all weekend so it's gonna be a helluva time


New hatch strut


Another new hatch strut!!! It finally stays open!!


Okay, for reference, You start the passenger side by taking the whole harness and feeding it through this hole!


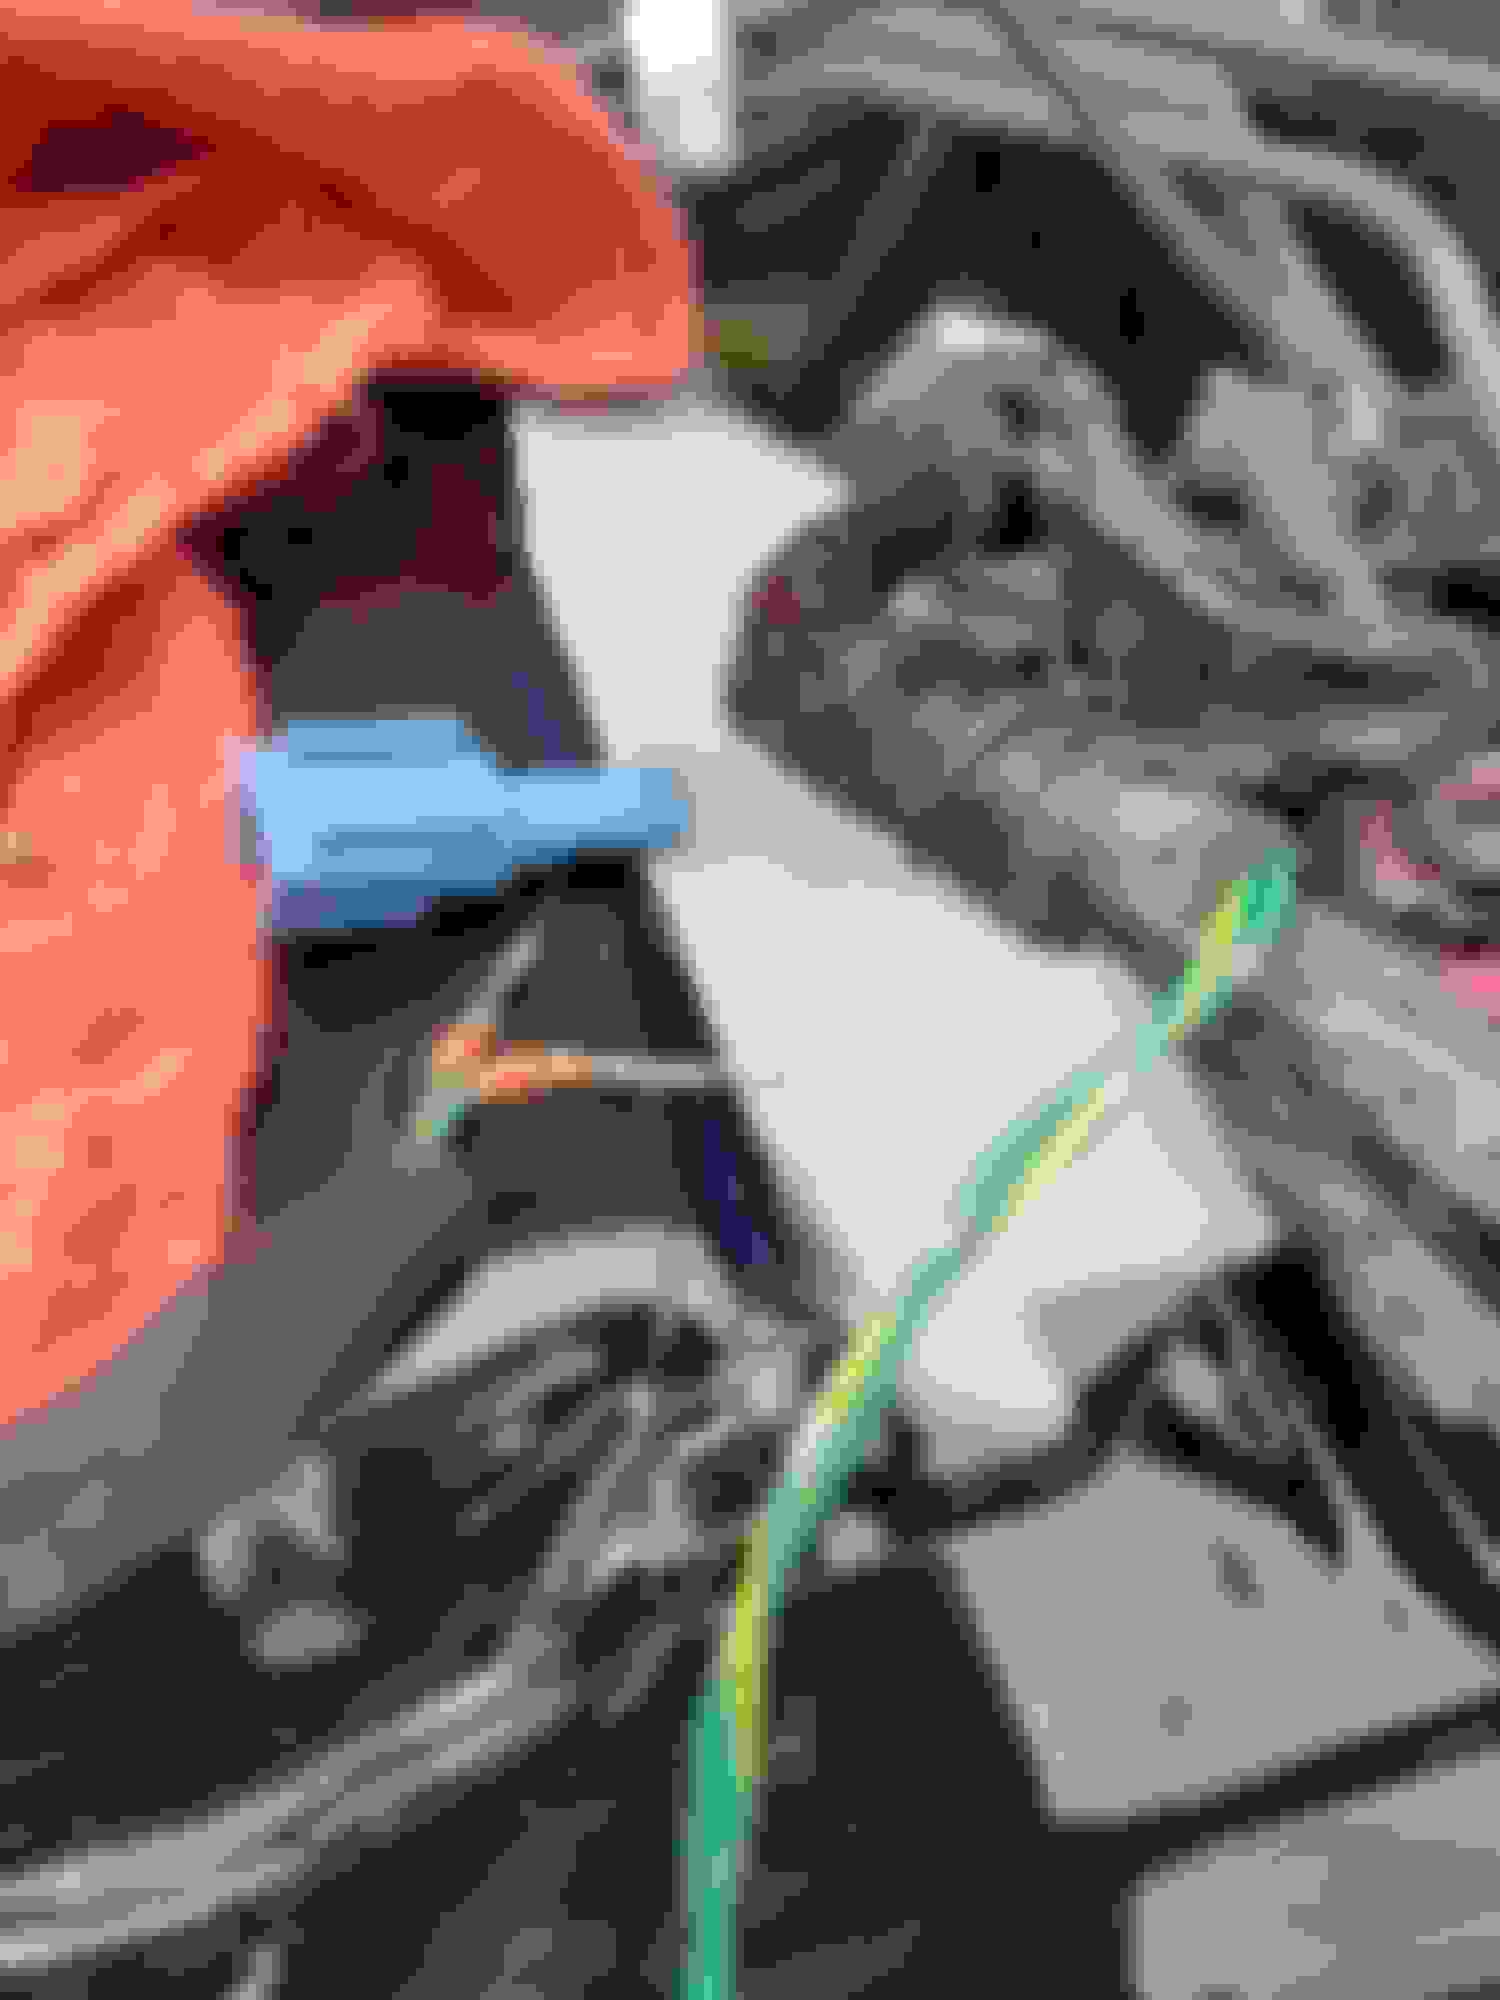
De-loom as much as you want to. and pull it straight across with the wiper wash hoses. watch out for the little ground still stuck inside, it will stretch more then enough, just gotta be careful with it.


My new ground location for the fat ground on this harness. Under the headlight support


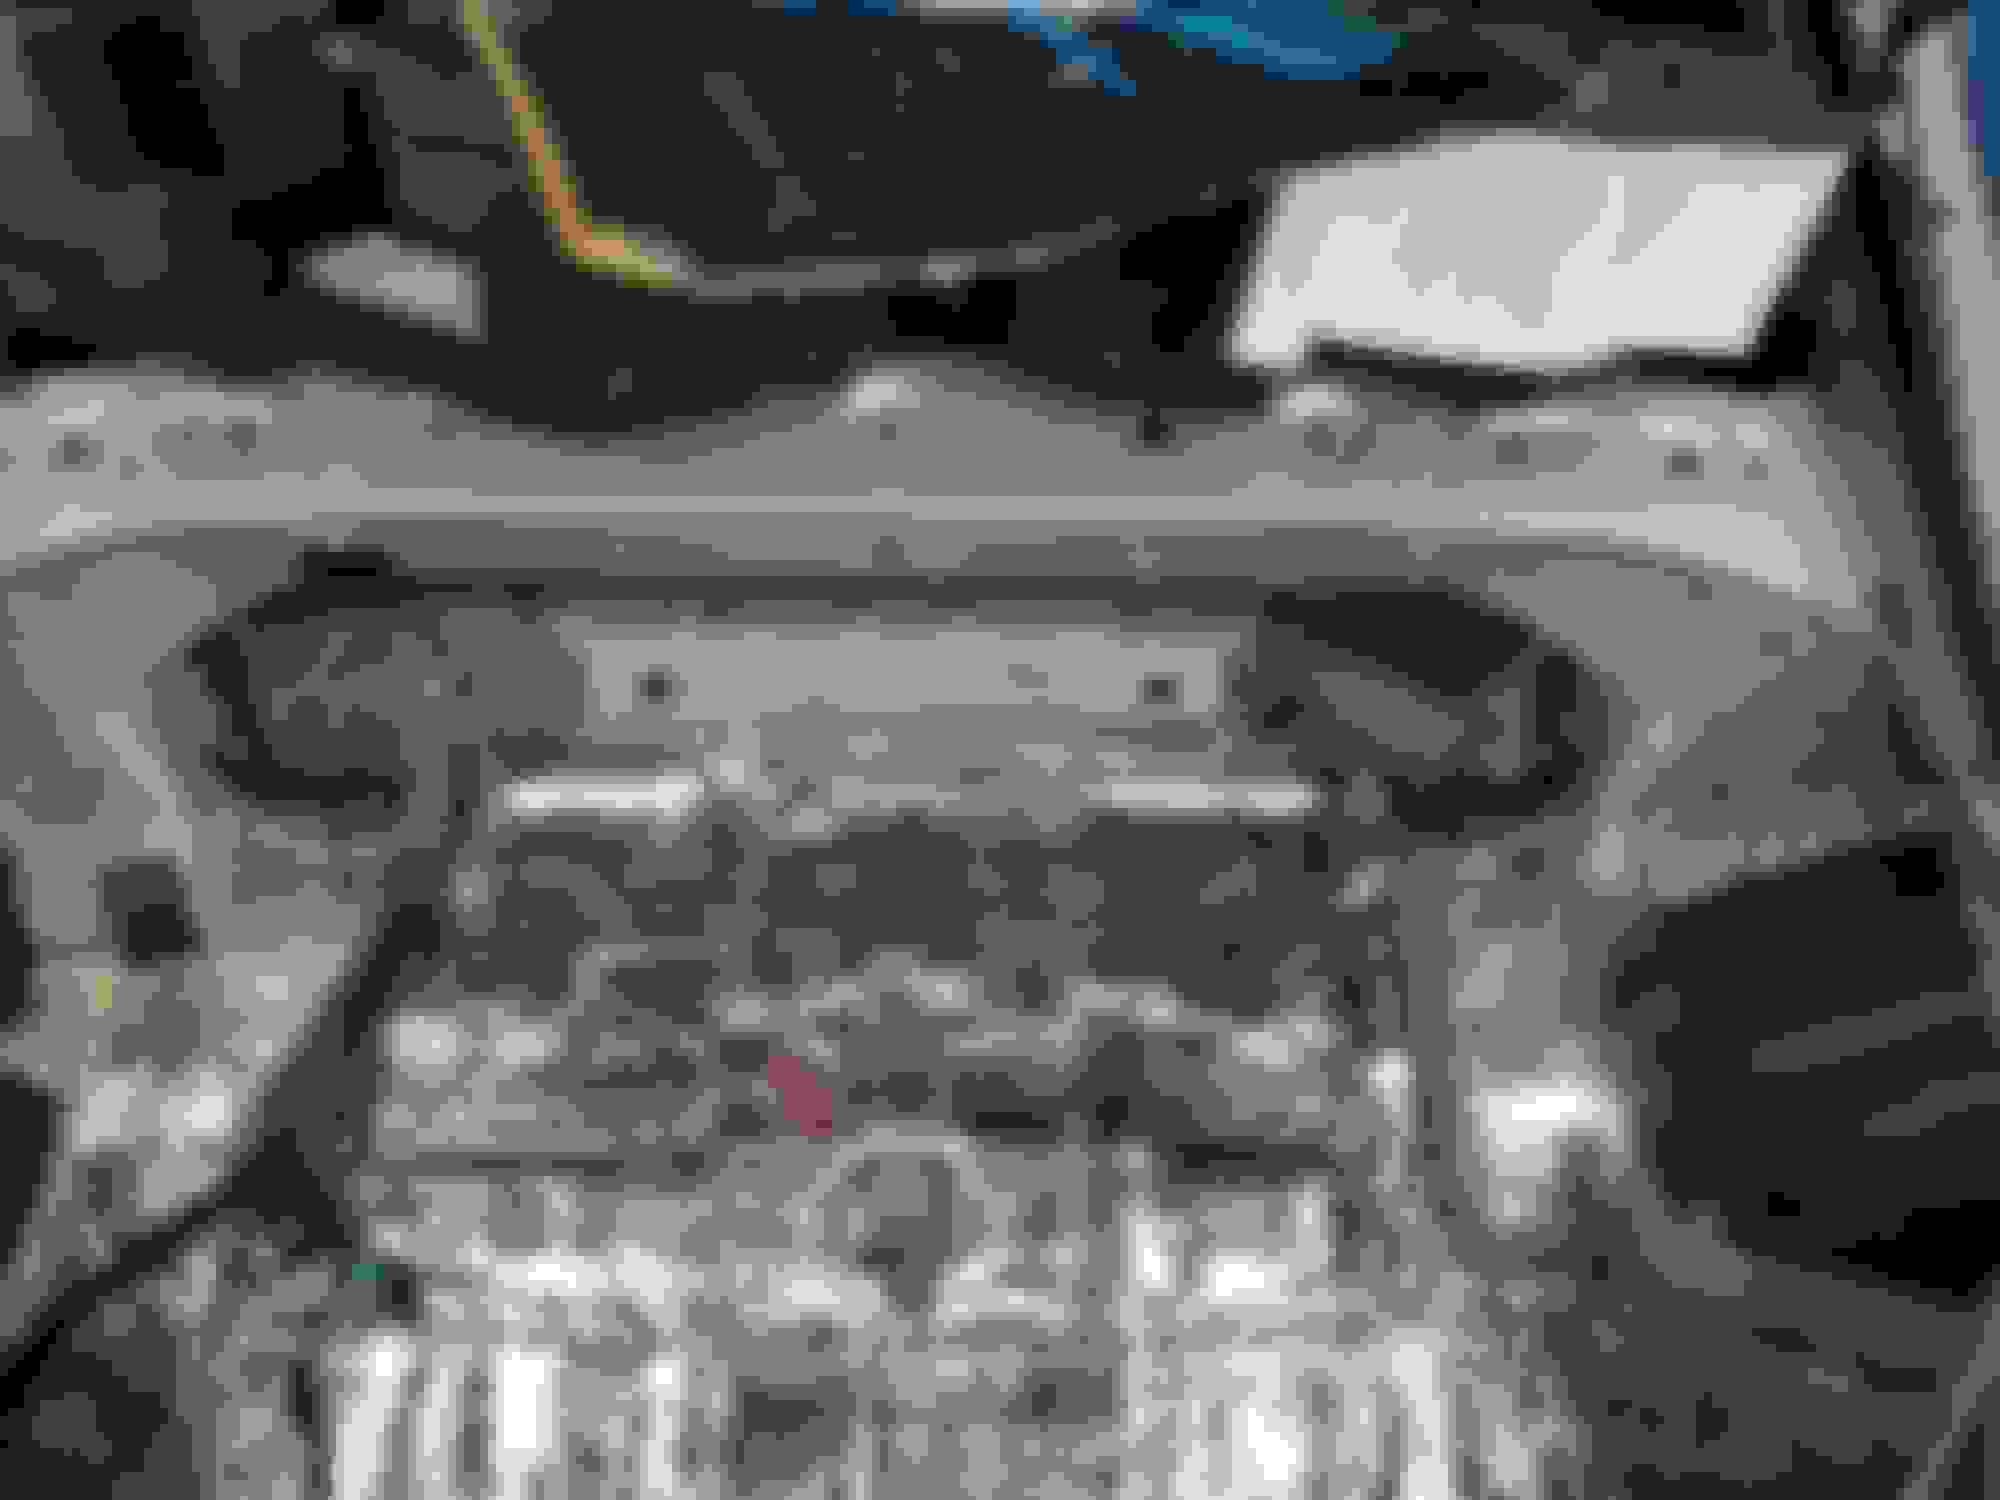
de-loomed, and run around the front of the core support (yes I got that installed to!


Core support installed, radiator/Condensor/fans as well, wiring all hooked up and routed as I want it (out of the way) have to tape/loom/tape tomorrow! Then onto the drivers side!!! (easy side lol)
Old 09-12-2016, 03:44 PM
  #52  
KJFire4Life
Registered User
Thread Starter
iTrader: (6)
 
KJFire4Life's Avatar
 
Join Date: Nov 2015
Location: Pittsboro, NC
Posts: 317
Received 25 Likes on 21 Posts
Default Wiring.....Done

Okay so I really love wiring, especially making it tidy, neat, and clean.....You tell me how I did.

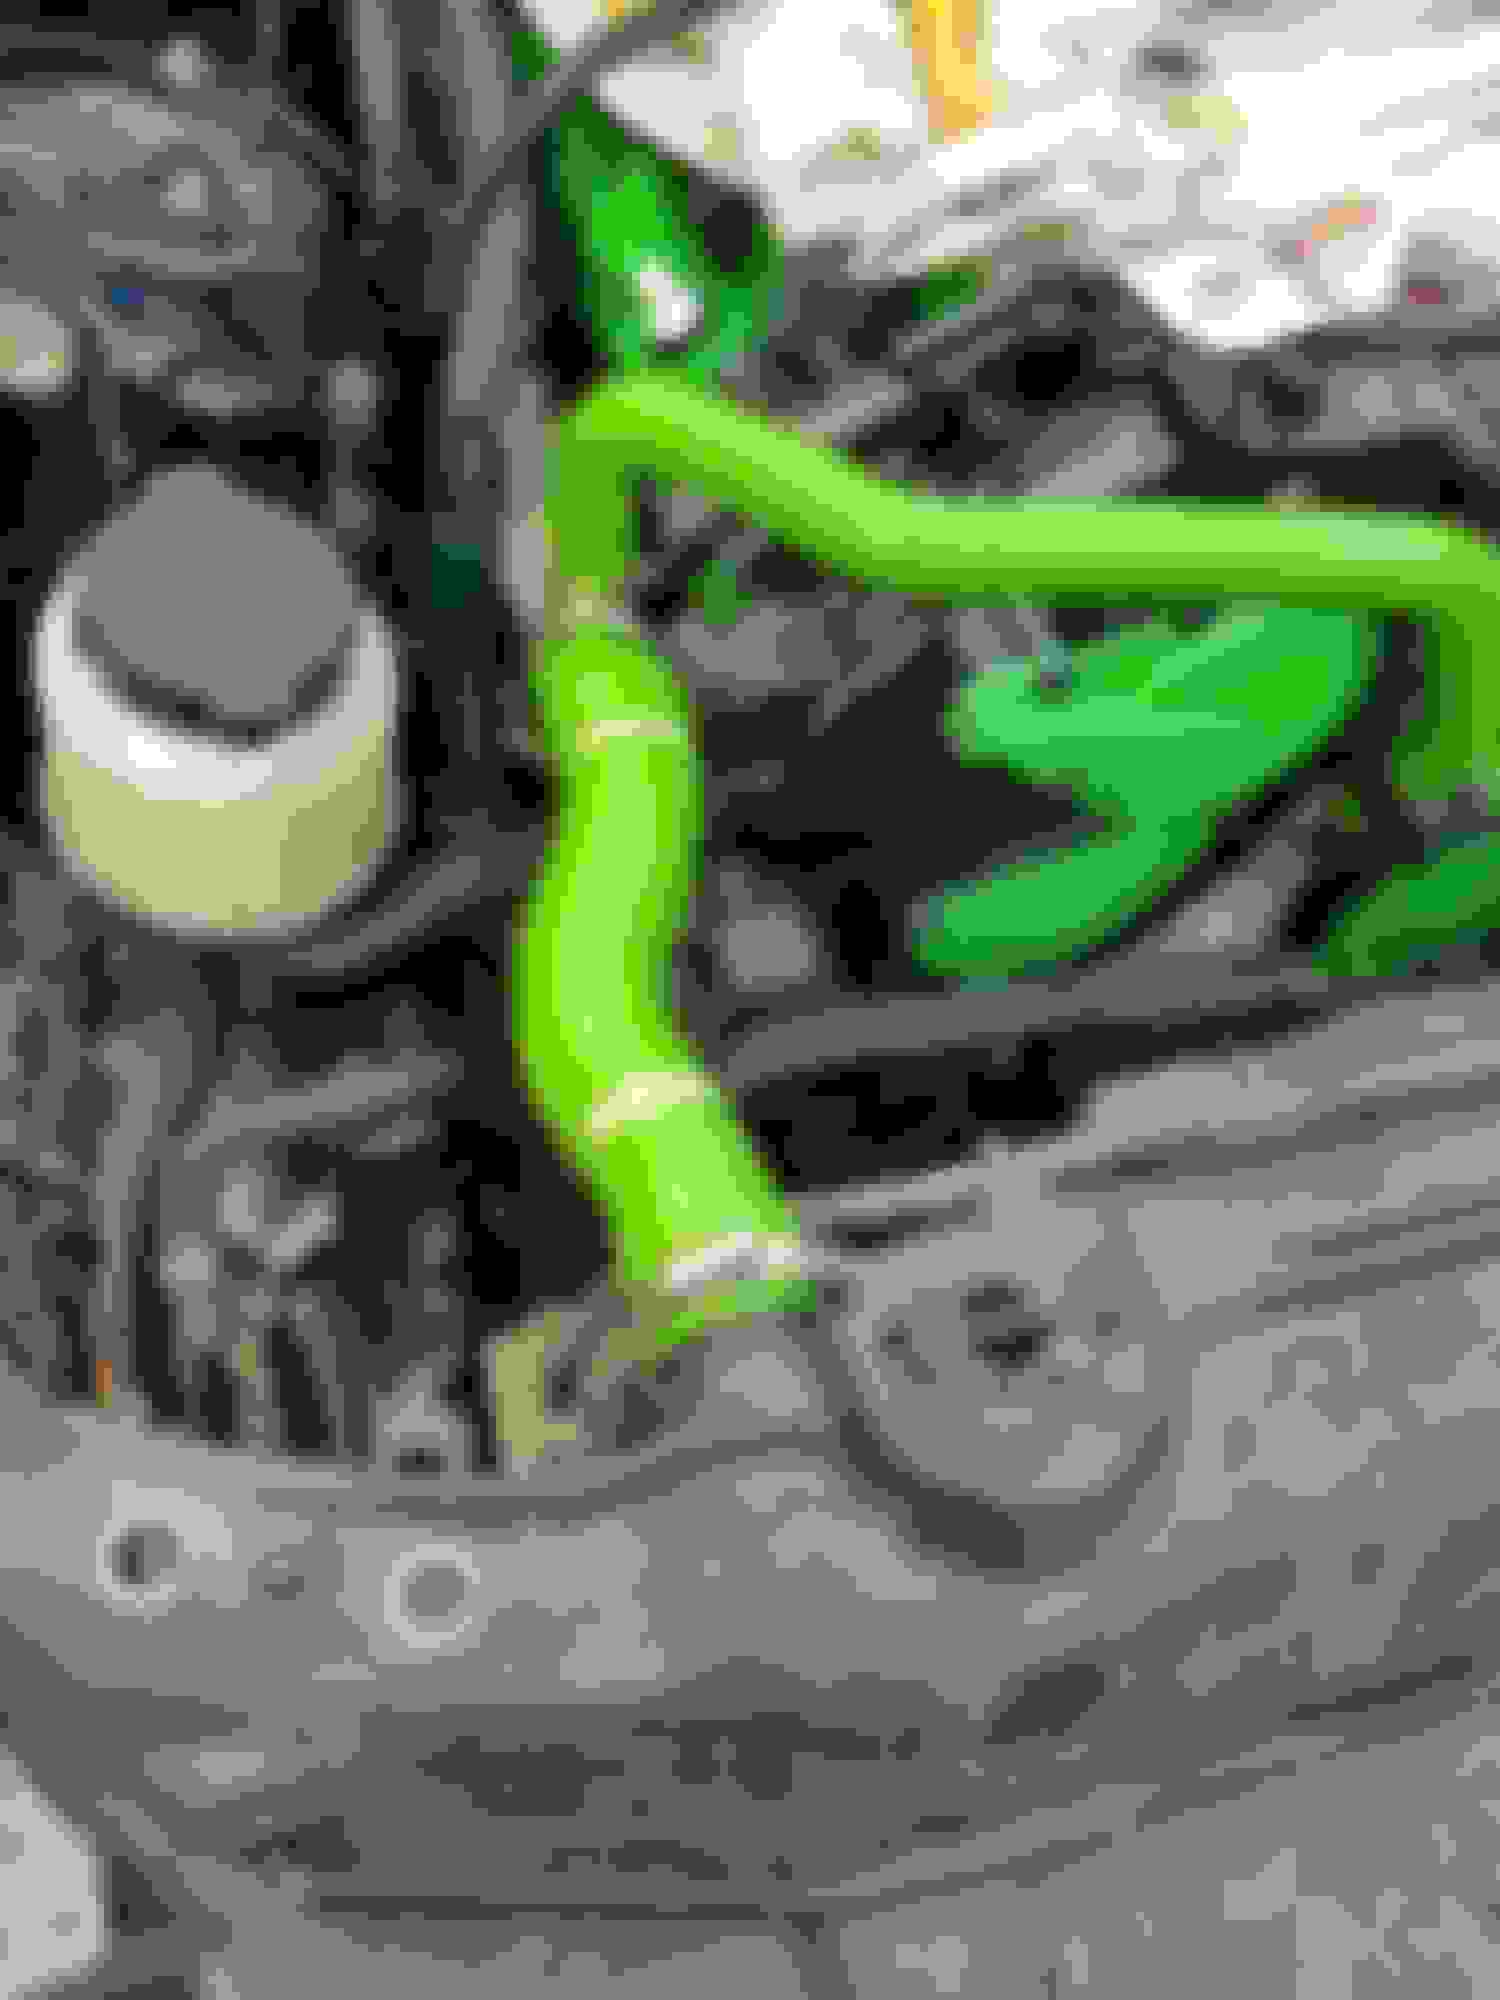
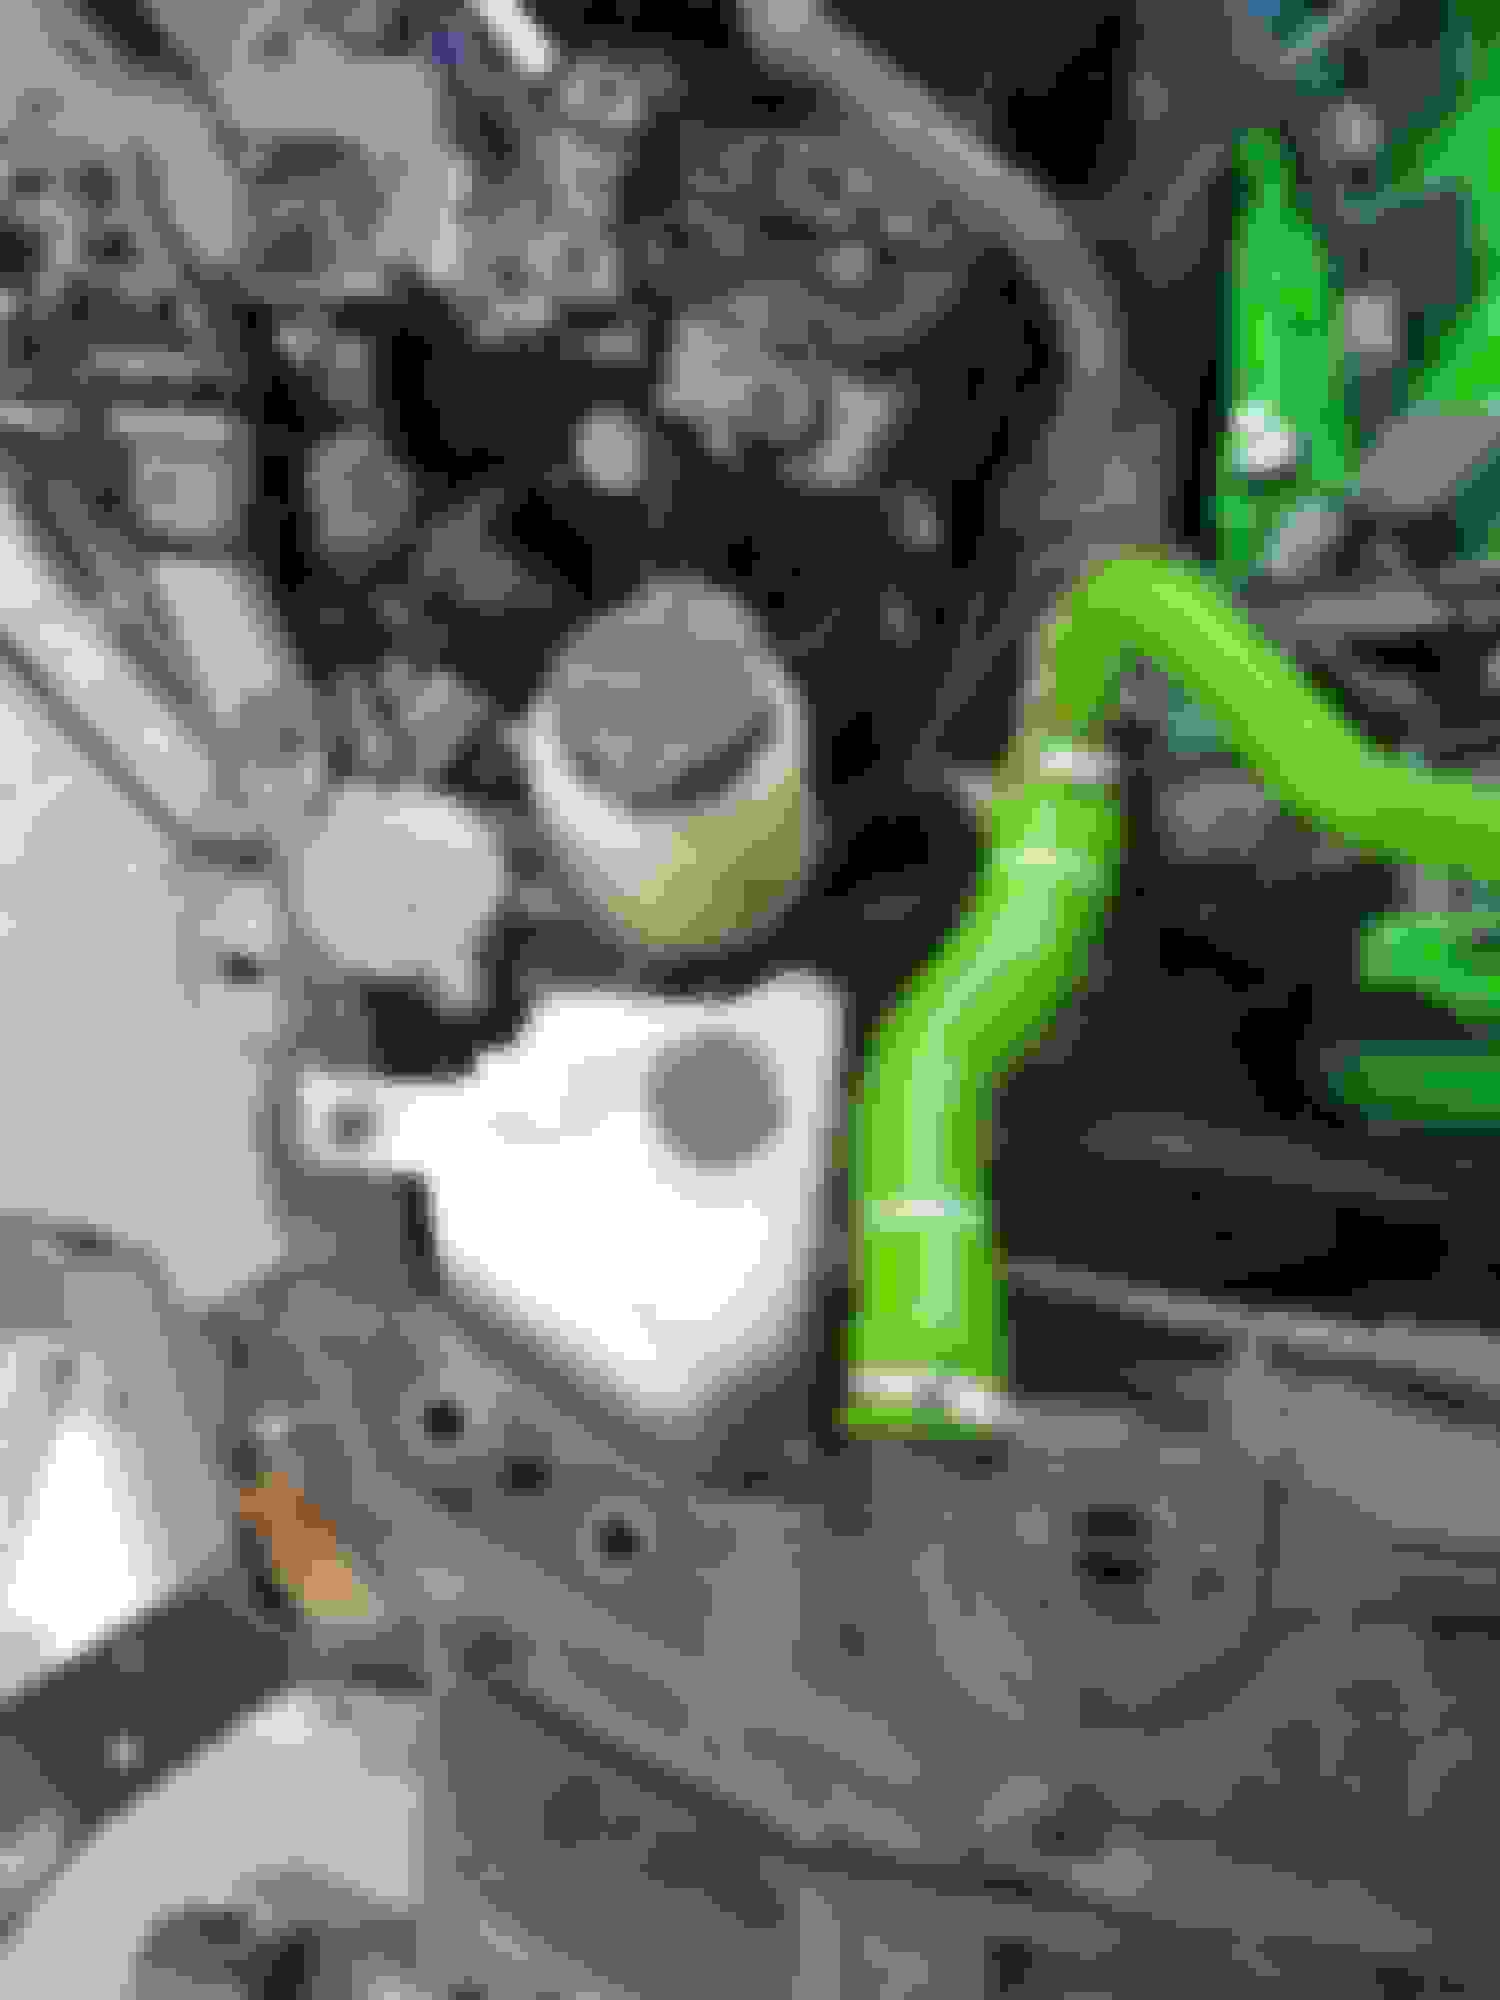
Radiator hoses on, coolant in


Passenger side harness is a *****, but totally worth it to see the clean passenger side engine bay once it's done


driver side harness is a speed sensor, ground, and headlight....that's it. I de-pinned the speed sensor and put it through this hole as it wasn't long enough:


The hole I'm referring to is right there below the big letter "G" (bring on the jokes now )
Old 09-12-2016, 03:56 PM
  #53  
KJFire4Life
Registered User
Thread Starter
iTrader: (6)
 
KJFire4Life's Avatar
 
Join Date: Nov 2015
Location: Pittsboro, NC
Posts: 317
Received 25 Likes on 21 Posts
Default Day 2


Harness pulled apart, and fixed to make it shorter and less noticable


During install


Put together and routed


These fuel lines are annoying....they got to go....any suggestions????


The majority of the wiring harness. Hidden from sight


During wrapping


Driver side coil harness being figure out


AC/MAF sensor harness routing


Driver side


Love it when everythings neat and uniform!


A day well spent
Old 09-12-2016, 04:01 PM
  #54  
KJFire4Life
Registered User
Thread Starter
iTrader: (6)
 
KJFire4Life's Avatar
 
Join Date: Nov 2015
Location: Pittsboro, NC
Posts: 317
Received 25 Likes on 21 Posts
Default Day 3

Spent this day tidying up, putting on the brackets that I needed to. (deleting the ones that were stupid and bypassed) cleaned up the harness, got it set in it's final position. got everything else routed right and decent. Transmission harness tidied up and hooked up. Also got crash bar, bottles, and fluids all filled up and bleeding over time. Here's how she sits right now: I'm almost ready to start her up!!!!


Wiring harness.....Done


This was a monumental moment for me putting this plate back on......I literally almost cried
Old 09-16-2016, 03:58 PM
  #55  
KJFire4Life
Registered User
Thread Starter
iTrader: (6)
 
KJFire4Life's Avatar
 
Join Date: Nov 2015
Location: Pittsboro, NC
Posts: 317
Received 25 Likes on 21 Posts
Default So I got bored....

Just a lit....errrrr BIG update lol. More pics! Cause that's what I know you guys like


Door deadened


06+ panel on and cleaned up!


Drivers door


Cutting those corners is annoying lol


Hatch after stripped and cleaned


PARTS


Almost done


DONE! Wiper delete and all plastics back in. Restored all the plastics after this pic with trim restore as well.
Old 09-16-2016, 06:20 PM
  #56  
jhc
General & Tech Moderator
MY350Z.COM
 
jhc's Avatar
 
Join Date: Jan 2013
Location: ZdayZ
Posts: 10,400
Received 2,225 Likes on 1,594 Posts
Default

Nice work, KJF! Great attn to detail that most would never bother with.

I may have missed it, what's your goal? DD I would guess with the sound deadening wrap.
Good luck, sir.
Old 09-17-2016, 01:02 PM
  #57  
rustyschopshop
New Member
 
rustyschopshop's Avatar
 
Join Date: Mar 2014
Location: Watauga, Texas
Posts: 1,405
Received 373 Likes on 279 Posts
Default

Your car is coming together niceley, keep up the great work.
Old 09-17-2016, 04:14 PM
  #58  
dboyzalter
6 inch cawk is my fave!
iTrader: (3)
 
dboyzalter's Avatar
 
Join Date: Apr 2015
Location: Mass
Posts: 6,557
Received 972 Likes on 759 Posts
Default

What do you use for the valve covers? Just normal paint or high heat? I would imagine that grave digger geeen isnt a standard engine color for high heat...

I just got some new ones I might as well paint them to remind myself to never try changing the spark plugs again.
Old 09-17-2016, 06:44 PM
  #59  
KJFire4Life
Registered User
Thread Starter
iTrader: (6)
 
KJFire4Life's Avatar
 
Join Date: Nov 2015
Location: Pittsboro, NC
Posts: 317
Received 25 Likes on 21 Posts
Default

@jhc Goal is a fun, trackable, weekend/sunny day driver. There's build parts on the engine I haven't given out yet lol. Goal HP is 300 at the wheels after tune. And with the parts I have that should be easily attainable. But we shall see.

@rusty Thank you brother! I'm having a blast putting it back together!

@dboy High heat engine enamel, coated/dried/coated/dried/coated/cleared/dried/cleared/dried and then I used small washers on the valve cover bolts to prevent paint from cracking as i torqued valve cover bolts properly. Also, why is it hard to change spark plugs? yeah you gotta take intake and stuff off....but it's honestly not that bad!
Old 10-06-2016, 12:22 AM
  #60  
KJFire4Life
Registered User
Thread Starter
iTrader: (6)
 
KJFire4Life's Avatar
 
Join Date: Nov 2015
Location: Pittsboro, NC
Posts: 317
Received 25 Likes on 21 Posts
Default Update


Just got them back from powdercoating


Injector lines #1


Injector lines #2


Test fitment


All buttoned up


Hood back on and yes it's DUSTY


Fenders Installed and aligned


Fenders fit (DUSTY TOO)


Rear shelf installed over new Kicker coxials


People say you don't have to do this, guess what.....I did weight yes, but adds a TON of sound dampening to the car and with an 8.1 surround setup it's needed


Shift trim fit with short shifter installed


06+ door panels


Floor layout, power wires ran down passenger side, audio down drivers. oh....and dual gloveboxes


Coilovers? Why yes.....yes they are


Toying with fitment before spacers came in


Sex shot #1


Sex shot #2


Quick Reply: From the wreckage of Zoe...Nitro emerges PICTURE HEAVY


All times are GMT -8. The time now is 07:38 PM.