When you click on links to various merchants on this site and make a purchase, this can result in this site earning a commission. Affiliate programs and affiliations include, but are not limited to, the eBay Partner Network.
After getting too much noise from the right rear brakes (I suspected a dragging rear caliper) - my suspicions were confirmed when I put the Z on my lift and took a closer look today. The RR brake pads were worn *almost* to the backing plate. When I checked the RL, those pads were still OK with plenty of material left. The RR pads wore through in ~15k miles.
I've ordered a rebuilt caliper and carrier and new brake pads - should be here for the weekend.
The RR caliper I need should arrive today, and the brake pads will arrive tomorrow.
In the meantime, I set about repairing one of the captive nuts I had in place for the engine splash shield. I don't recall exactly what the originals looked like, but I had replaced these 2 under the radiator core support with stainless metric rivet nuts - like this:
But, one of them had pulled through again, so I fashioned a solution by applying a rivet nut to a fender washer and then creating a backing plate from another washer:
It's been a busy Saturday. I installed the new RR brake caliper, new brake pads in the rear, and then in the front, and then bled the brakes. A new FR compression rod arm was installed (Mevotech Supreme) and then a new air filter. I topped off the oil after the oil change and then went for a test drive. EDIT: Oh, I forgot to add: as I was re-installing the wheels, one of the LF wheel studs cracked off. This happened as I was putting the wheel in position - I hadn't even gotten to torque it down. Fortunately, my local Autozone had the correct size in stock.
Unfortunately, the rear brakes have a slight scraping sound - I'm wondering if it may have to do with the orientation of the brake pad clips/shims. I've put a question in the Brakes section here .
After sitting over night, when I took the Z for a quick shake-down drive today it started off quiet with no sound of brake drag. But, about 1/2-way through my "test loop", I started hearing the light "swish-swish-swish" of drag. When I got back to the house, the brakes were nowhere near as hot as they were yesterday.
A confession: when I put the tires back on after all the repairs yesterday, I tightened them down and then went for the test drive. A little ways from the house, I realized that I had tightened, but not torqued the wheel lugs . I got back to the house and then torqued them down to the spec'd 85 ft/lbs. When I took another short drive - the drag noise from the brakes was considerably less. And then on today's drive, with everything having cooled down overnight, there was no noise to start and then the "swish" I mentioned.
I've spent the past month (weekends only) slowly working my way through repainting the interior panels and trim pieces. I had a rough start. If you've been following my refresh posts, then you may already know that I'm using SEM products (100%) for final preparation and laying down paint. SEM interior plastics, vinyl, and leather paint products are top quality, but they are a bit unforgiving to use. They are very sensitive to temperature and humidity, meaning you will need to adjust your spray distance a lot if the ambient temp swings 10 degrees. When the instructions say "light coats" and "wait 5-10min between coats" they truly mean it. Because of the learning curve, I ended up having to sand and start over with my first set of test pieces, but I learned valuable lessons in the process.
I'm happy to report I'm having excellent results so far. I've figured out a color match blend process that is insanely close to the OEM look and feel. It's not a 100% match, but it's very close. I did try to get the paint color custom mixed to match OEM, but I quickly discovered that the price is 3x vs. standard pre-defined color options. Also there's very few shops in the area that are certified SEM dealers that also offer custom paint mixes. The one expert I managed to meet and speak with advised against going with a custom mix in rattle can form and instead recommended I try a different SEM color.
Secret to excellent results.....Quick tangent 1st. I have tried 3 different web browsers and I'm not able to upload photos/attachments. The popup does indeed pop, but it's just a blank window (no buttons, nothing). I'm writing this over my company laptop, so I suspect either the website is acting up, or our IT/Infosec team just rolled out some new security features (They've been doing that a lot lately and it's extremely irritating). Otherwise I would be sharing some high-res photos of the excellent results I'm getting. If this is a website issue, I'm hoping to swing back and edit the post to add the pics.
Ok the secret with SEM Paints!
Won't go into insane detail about paint prep, as I think that's all been pretty well covered before. But make sure you prep all your pieces! This means remove the old crappy paint, sand if needed, scrub with a wax/grease remover type of soap, scuff surface with a scotch pad (ideally gray), do a final wipe down with a lint free cloth and wax/grease remover (paint prep) type of product. Last but not least, right before spraying, hit the piece with a tack cloth just in case dust settled on it during transport to painting area.
Now for the good stuff...
Get yourself some Landau Black (SEM Color Coat line) & Limo Flat Black (SEM Classic Coat line), lay down 4-6 light coats or until full coverage is achieved. Wait 5-10 min between coats, I set a 7min timer based on temperature in my garage and that seemed to work perfectly (low humidity with ambient temperature in low to mid 80*F). Once full coverage is achieved with Landau Black, switch over to the Limo Flat Black and hit your pieces with 3-4 light-med coats. The Limo Flat Black I found was more forgiving if you sprayed a bit more heavily. To be safe you can always do lighter coats, but this will require more coats in the end which makes the process take longer, also you waste a lot of paint & propellent between coats since you need to clear the sprayer throat (hold can upside down) to prevent clogging and believe me this paint will clog the sprayer if you let it.
By using the Landau Black as your base coat, you achieve a slightly darker black vs. the Flat Black by itself, but using the Flat Black as a finisher is a must to tone down the reflective sheen you get with pure Landau Black. I discovered this entirely by accident thanks to my 1st set of test pieces. The results are a near perfect color match in both the reflective aspect and shade of black. If you want to get some additional shine out of it, you can always use an interior plastic and vinyl detailer/cream (after installing in the car of course). But I actually like the semi matte finish I've achieved.
As a side note, I went a bit crazy with this project. I built a paint booth in my garage, complete with a filter screen and fan to capture dust and rogue paint particulates. I also need the ventilation since I'm doing this with my main garage doors closed (because wind!) to prevent more dust from settling on pieces. Using a tack cloth is also a big MUST if you want to achieve near perfection. So far (knock on wood) this formula has been working great. I have 6 pieces left to paint out of 14, so over halfway there!
Other notes. I'm using proper PPE, the stuff in these paints is nasty, don't breath it in unless you get off on headaches and cancer. Also, although I purchased adhesion promoter, I opted not to use it in the end. Why? Because I've read that the adhesion promoter can dilute or distort the color of the finished product. I want a consistent finish and I think using the adhesion promoter adds additional risk. I'm also not sure how it would react to the original satin gray paint I left behind on most of the pieces. What I can say, is that my 1st set of test pieces that I had to sand back and start over with had zero paint adherence issues. This stuff sticks great without adhesion promoter so long as you properly clean and prep the surface.
Cheers!
-Icer
Center waterfall front after curing overnight. Center waterfall top. Original paint on left. SEM blend match on right. Original on left. Pure Landau Black on right My mistake in pure Landau Black. Notice the wrinkles?
Icer, those painted pieces are looking great! The prep work is extremely important and as well as following technical data sheet for any paint product. Good stuff man
Thanks for the compliment! I'm following the SEM RAP-1 datasheet, all the important information about product compatibility, substrate material types, and prep steps are listed there. Once the painting is complete, I'll snap pictures of all the interior trim pieces and we can compare before and after images.
The pieces I have left to cover are the two door switch bezels, the gauge cluster side bezels (that hold the silver cluster buttons), the A/C & shifter bezel, and finally the center cubby door release latch/lever/button thingy. Most of these pieces should be easy to paint. The door switch bezels proved to be the most difficult pieces to prepare because of the recessed finger pockets for the window switches. These are also the only pieces I needed to cover in fresh primer after initial sanding, I didn't want faint lines or ridges to show in the new paint and unfortunately the satin gray factory paint is thicker on these and would have shown some weird transition lines in the paint. Long story short, I've spent more time (beyond reason) on the door switch bezels vs. any other piece I have prepped and painted. The good news is that all the sanding and priming was finished last weekend for both pieces.
One of the lessons I learned is that my little painting stand (actually a solder helping hand station) works great! But only being able to hold 1-4 pieces at a time is causing this to take much longer. If I were to do this again, I would have spent the extra $30 and bought another helper station to double the number of pieces I can paint per coat. I've exhausted far more rattle cans of SEM paint than I care to share. Again this is primarily from product waste, courtesy of clearing the spray nozzle between coats. Only being able to handle 1-4 pieces per painting session just adds to this efficiency problem. Another consideration...once the rattle can gets down to about 15-20% capacity, you start getting uneven spray patterns if you don't hold the can upright. This can lead to "spitting" larger droplets which creates an uneven texture/finish. One last thought, most of these pieces are angled or constructed in such a way that traditional wire hanging won't work very well when painting because of the awkward angles you would need to hold the can at, this is why I chose to use the solder helper station. If only I had a modeler's airbrush setup and knew how to use it!
Cheers!
-Icer
P.S. I confirmed that the picture upload issue I was experiencing is indeed a data protection policy that my employer recently rolled out, annoying but I have workarounds.
good idea to use a solder helping hand station. Im gonna have to try that when I decide to do this to my interior pieces.
Question when you removed the factory finish on lets say the water fall, was it smooth after or does it still have the texture?
For the center waterfall, cubby door, and AC/shifter bezel textured pieces, I was very gentle during the original paint removal process. I used a toothbrush with denatured alcohol to remove all the loose original black paint. This did not and will not damage the texture, but it took a very long time! DO NOT use something harsh like a wire brush or sand paper on the textured pieces. I also had excellent results using SEM Soap with a gray scotch pad. The gray scotch pad will leave very fine scratches in the surface, but will not distort or damage the texture. The scratches are so fine they are completely hidden after repainting. The SEM RAP-1 datasheet recommends prepping all pieces with SEM Soap and gray scotch pad. The SEM Soap has fine abrasives in it along with wax/grease removing properties. It's designed to remove plastic mold release or detailer gels/creams.
Specifically for the textured pieces, If I were to do this again, I would skip using a toothbrush and go straight to gray scotch pads with SEM Soap. I have not tried using the scotch pad with denatured alcohol.
I'm very happy with the results achieved on the textured cubby door and center waterfall (still need to do the shifter bezel). I'm very excited to get the remaining pieces done and start the re-assembly and swap.
Cheers!
-Icer
Icer I use this for when i prep/paint bumper covers. Super good on plastic or urethane. Best stuff to use. Im guessing its very similar to the SEM product you used
When you say replaced, are you talking about new OEM pieces? With the same paint issues? I considered that, but anytime a friend or my wife rides with me, there's a 50/50 chance they will scratch off the paint somewhere! I'm going through this hellish project for piece of mind (durable finish) as well as having an aesthetically pleasing interior.
When you say replaced, are you talking about new OEM pieces? With the same paint issues? I considered that, but anytime a friend or my wife rides with me, there's a 50/50 chance they will scratch off the paint somewhere! I'm going through this hellish project for piece of mind (durable finish) as well as having an aesthetically pleasing interior.
I'm guessing you and only YOU ride in your Z.
Cheers!
-Icer
Yes, to a degree, the plastic paint doesn't do that when its new (unless you are aggressive) the door pieces are carbon fiber, so that fixes the main problem. Nobody should be touching the waterfall for any reason lol.
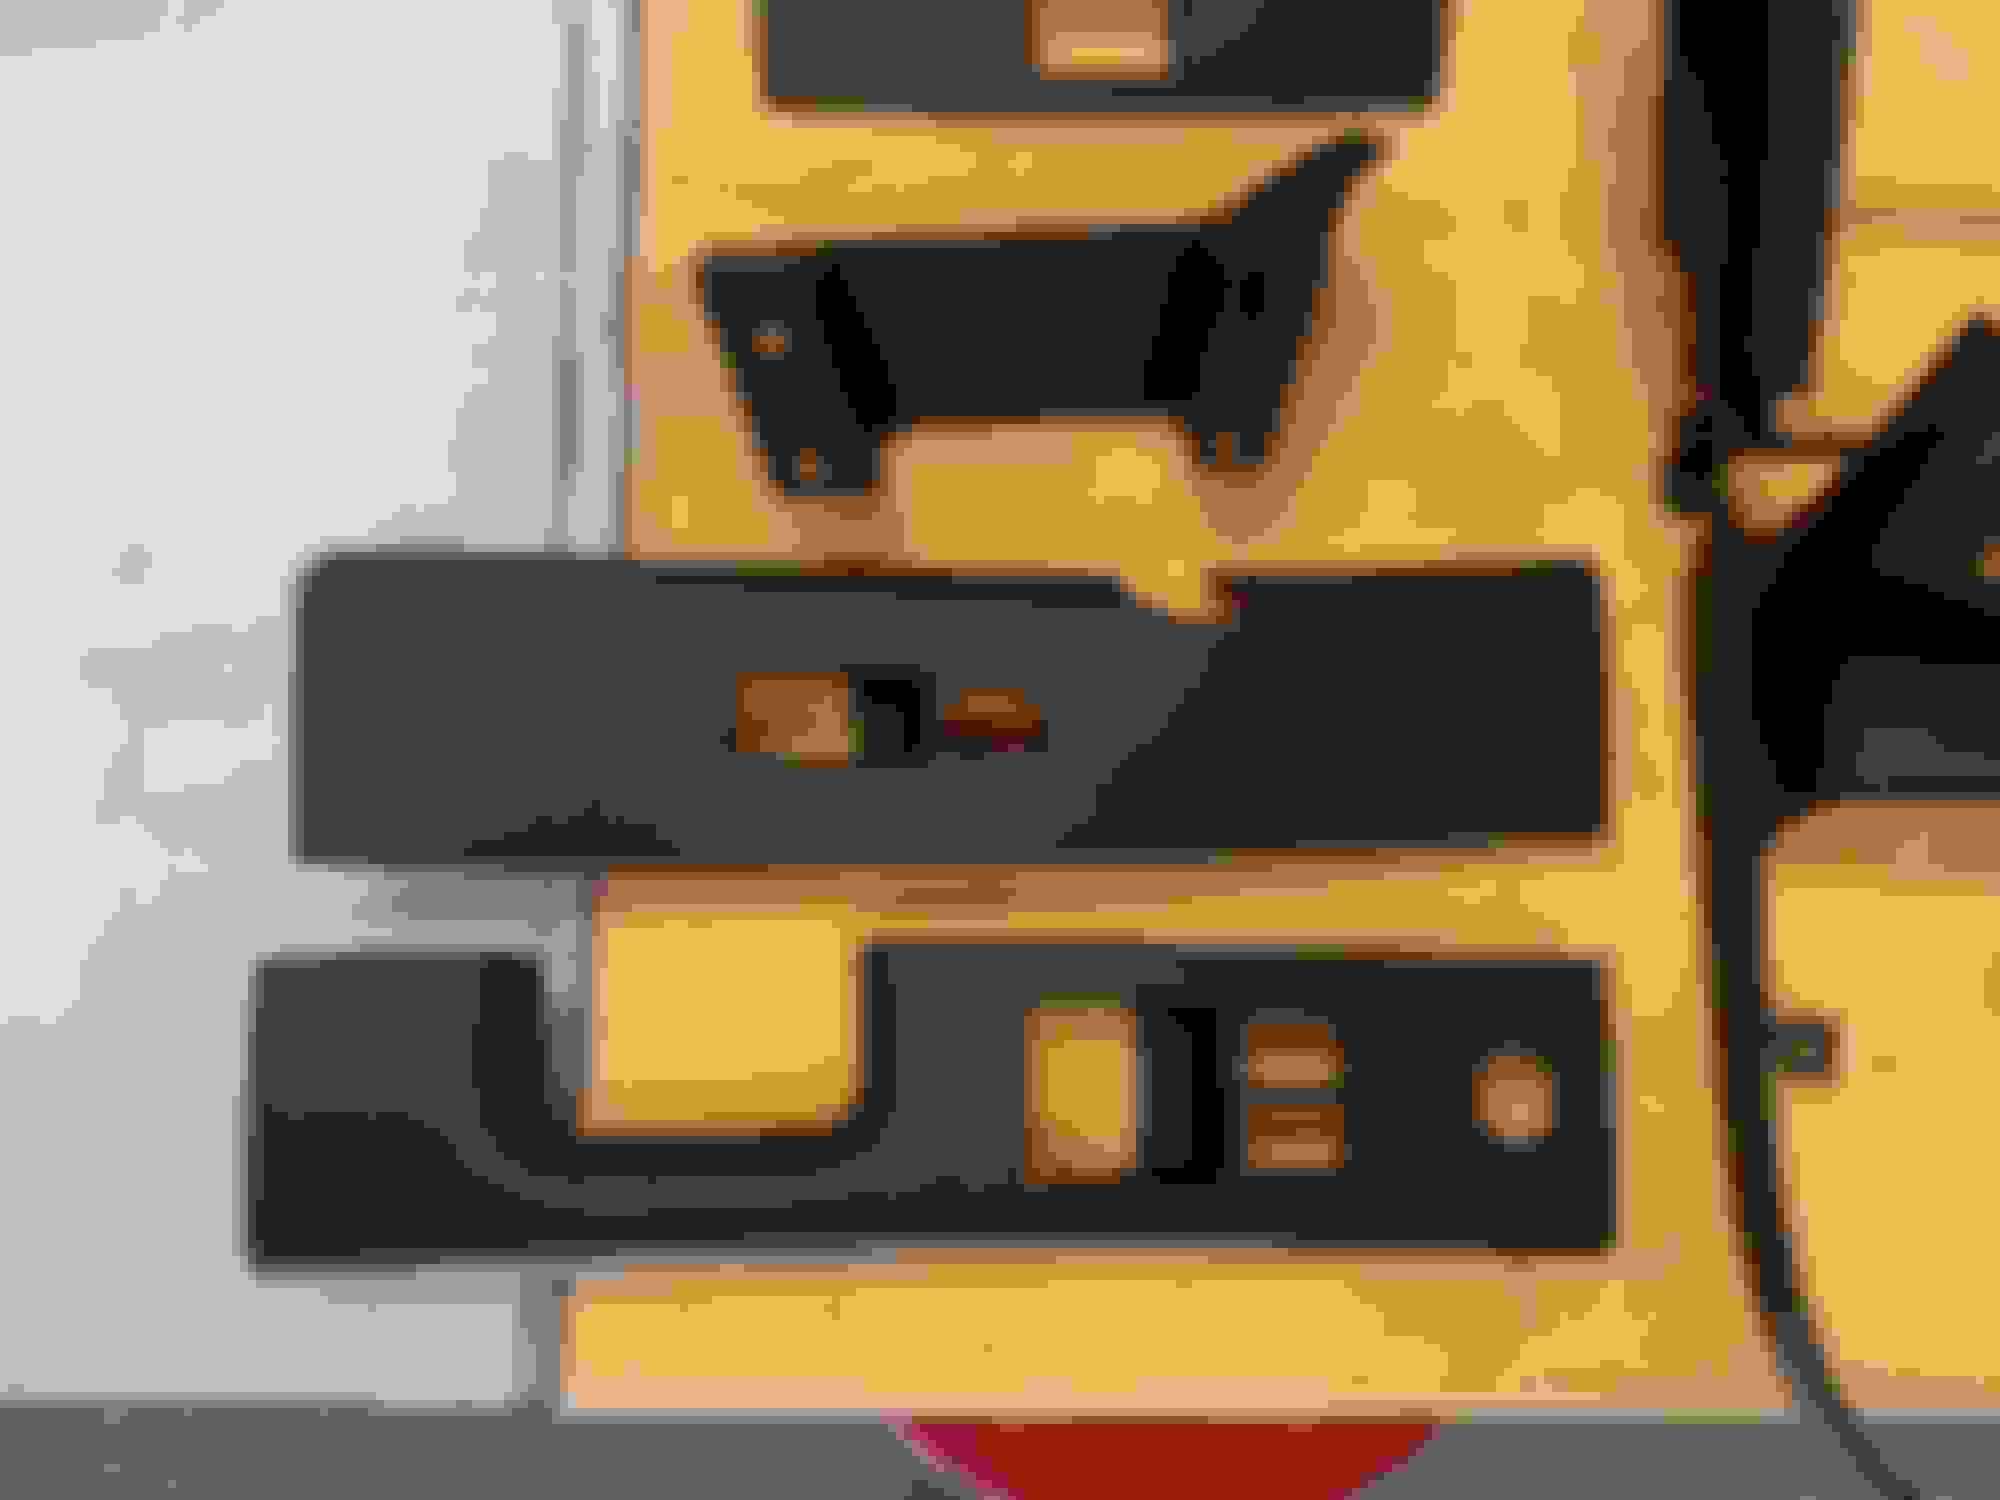
This past weekend I was finally able to finish painting all the interior pieces. I even managed to tack on one more piece (the lower half of the driver's side door switch bezel). Most people don't even notice this piece, but I could clearly see scratch marks which I knew would bug me if I just let it be. It's not verify difficult to remove from the door card, just lots of screws and you do need to pull off the foam filler piece to access one of the screws. Not a big deal, just re-glue the foam block when you go to re-install. That makes 16 pieces total for the interior with the garbage paint. Overall I'm very pleased with the results. Only the cubby lid shows some very minor imperfections in paint coverage over the textured finish (upper left corner), I'm confident I can cure with an extra coat or two. It's very minor and only visible/noticeable under just the right viewing angle. All the other textured pieces in the center console/waterfall came out beautifully.
As promised, here's some before and after pictures. I also threw in a shot of my cheapo DIY paint booth.
Cheers!
-Icer
Center waterfall missing from shot, was a work in progress when taken. Door switch bezels & center cluster pods. Main gauge cluster furniture and door handle bezels. Shifter bezel and waterfall cubby lid. The finished product! All pieces finally painted! Door switch bezels. Gauge cluster furniture. Door handle bezels and center cubby lid. My DIY paint booth. I spent more time clearing floor space than I did taping this thing up. It worked fantastic! Especially the filter box, believe it or not, that's the 3rd replacement filter!
exact model. It's pretty powerful, I was running it on the med-speed setting while painting. It worked incredibly well as the pictures show. Aside from capturing the rogue paint particulates, it also really helped keep the fumes down. The fan is pointing straight out the side door. As I mentioned before, I kept the main garage doors closed to prevent wind and dust from settling on the pieces, but this also meant the fumes would build up to uncomfortable levels without some sort of ventilation. So the filter and fan setup takes care of both issues. I did custom build the 2x4" filter frame using spare wood I already had on hand. It didn't take long to measure, cut, and build with a miter saw and deck screws I already had on hand.

 06-16-2024, 02:29 PM


 . I got back to the house and then torqued them down to the spec'd 85 ft/lbs. When I took another short drive - the drag noise from the brakes was considerably less. And then on today's drive, with everything having cooled down overnight, there was no noise to start and then the "swish" I mentioned.