
Three tie rod choices- about time!

 06-14-2007, 06:42 AM
#63
Registered User
iTrader: (2)

Join Date: Aug 2004
Location: Bronx N.Y.
Posts: 1,055
Likes: 0
Received 0 Likes
on
0 Posts
I sure will.....in the manual that is  ....I took pics of things I didn't even need to take pictures of.... if a novice can't install these products, then he/she shouldn't even work on their car EVER....everything is detailed, and the pictures are VERYVERY clear. It will take me a little time to work on the manual though...give me a couple weeks...I need to proof read and all that crap...lol
....I took pics of things I didn't even need to take pictures of.... if a novice can't install these products, then he/she shouldn't even work on their car EVER....everything is detailed, and the pictures are VERYVERY clear. It will take me a little time to work on the manual though...give me a couple weeks...I need to proof read and all that crap...lol
06-14-2007, 07:04 AM
#65
Registered User
iTrader: (19)
Join Date: Jun 2002
Location: newport beach. so cal
Posts: 2,802
Likes: 0
Received 0 Likes
on
0 Posts
Originally Posted by rhythmnsmoke
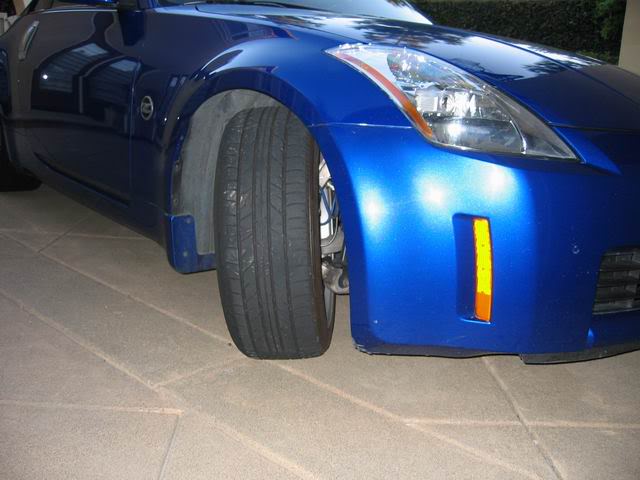
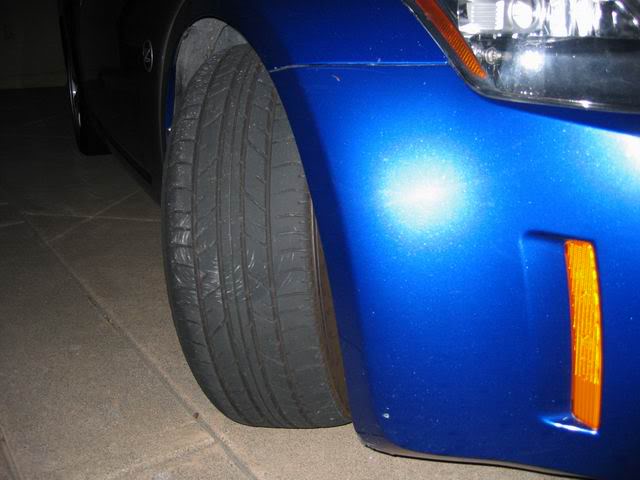
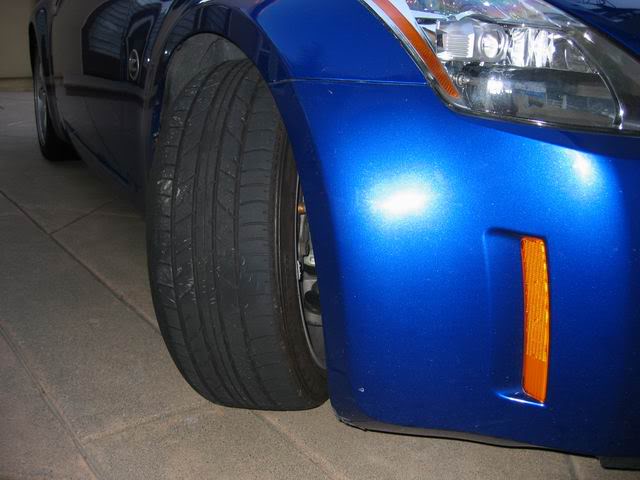
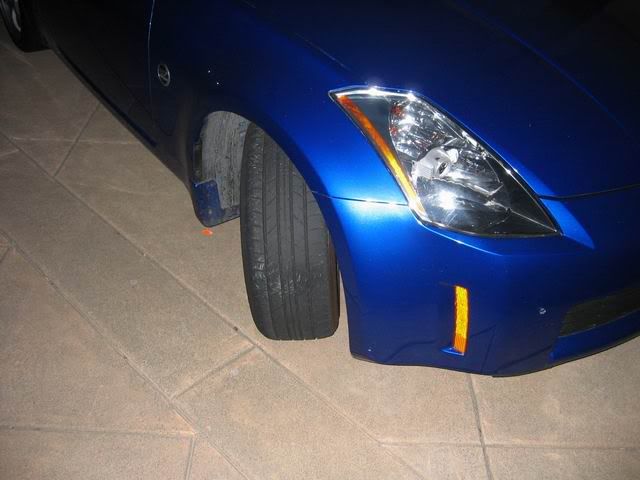
^^you don't happen to have any visual representation of the degree of turning increase do you? Like a before and after type deal?
before: (note the absence of blue brake lines)
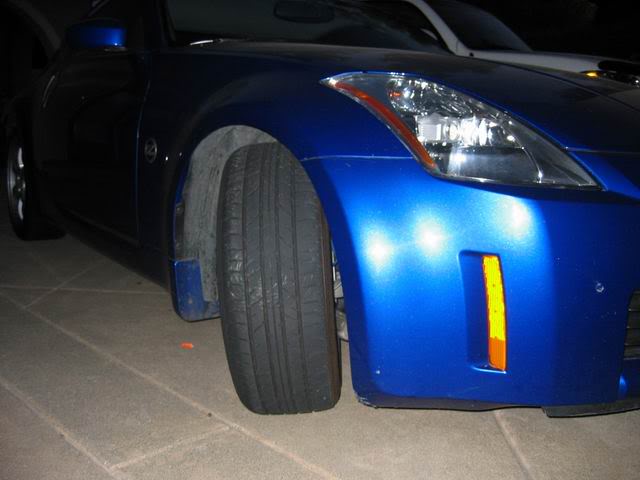
after: (can see the whole lower suspension and brake lines)
before:
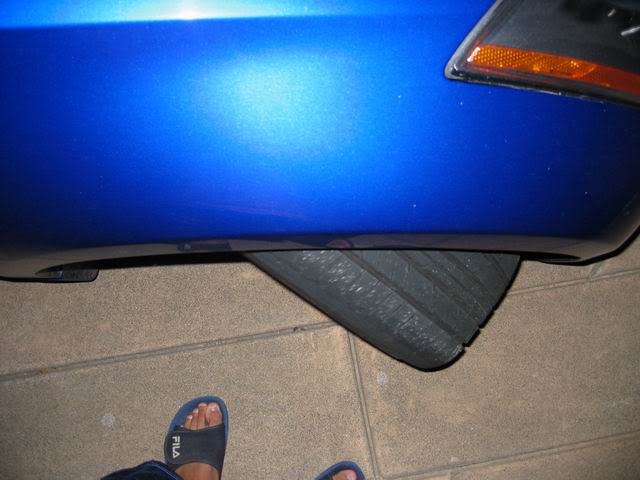
after:
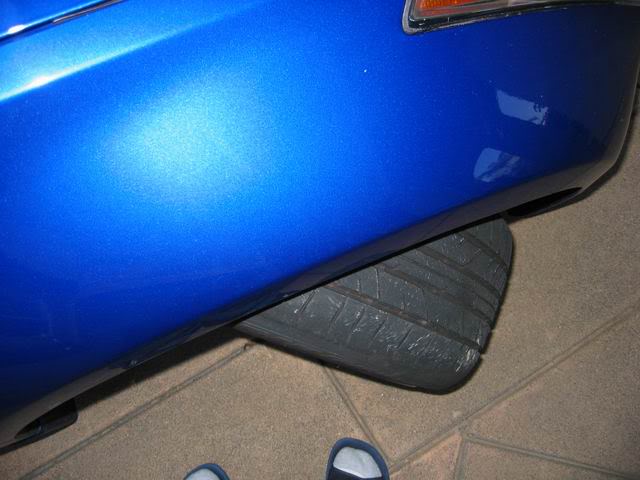
before:
after:
before:
after:
 [/QUOTE]
06-14-2007, 07:54 AM
[/QUOTE]
06-14-2007, 07:54 AM
#66
Registered User

Join Date: Dec 2006
Location: TN
Posts: 362
Likes: 0
Received 0 Likes
on
0 Posts
^^Nice Dude! I'm likin...and I'ma lovin...lol. You didn't have to cut anything either did you, like someone had mention earlier. Just installed Inner/Outter and optional spacer?
06-14-2007, 08:17 AM
#67
Registered User
iTrader: (2)
Join Date: Aug 2004
Location: Bronx N.Y.
Posts: 1,055
Likes: 0
Received 0 Likes
on
0 Posts
yeah no need to cut anything, but you willl need to use a little thread locker on the threads...it's very very straight forward...the most difficult part is removing the boot from the stock one.
 07-03-2007, 03:21 PM
#70
Registered User
iTrader: (5)
Join Date: Nov 2002
Location: Tempe, AZ
Posts: 621
Likes: 0
Received 0 Likes
on
0 Posts
Originally Posted by rhythmnsmoke
^^Nice. These are going to be my next mods.
I am waiting on more pics, I will post once they get uploaded.
08-09-2007, 03:56 PM
#71
Registered User
iTrader: (1)

Join Date: Mar 2007
Location: Salem, MA
Posts: 111
Likes: 0
Received 0 Likes
on
0 Posts
damn, if only i saw this thread before i ordered a replacement oem stock tie rod because my original one was bent. I am replacing it right now and im stuck. I have no idea how to take it off, does anyone know or have a "how to" link?
much appprecaited thanks, im stuck... lol
much appprecaited thanks, im stuck... lol
08-10-2007, 04:13 AM
#72
Registered User
iTrader: (2)
Join Date: Aug 2004
Location: Bronx N.Y.
Posts: 1,055
Likes: 0
Received 0 Likes
on
0 Posts
1.) Jack up the Vehicle and remove tires on both sides of the vehicle (Front wheels only).
2.) Locate the Outer Tie Rods as shown in Figure 1, and remove the cotter/split pin and the slotted nut.
3.) Remove the rod end from the steering knuckle using Very very light taps from a hammer. In most cases a couple of hits on the outer tie rod bolt will do the trick.
4.) Remove the boot bands shown in Figure 1, and slide it toward the outer tie rod.
5.) Locate the locking plate, and bend back the tabs in order to loosen. A flat head screw driver, and a hammer should do the trick. The tabs should be fully bent out wards in order to remove the Inner Tie rod.
6.) Locate the rack (Figure 1), and fix its position with a vise. Caution: Use a shop cloth that is pretty thick in order to use a vise grip on the rack…you do not want to scar the rack by using metal to metal contact.
7.) Begin to loosen the tie rod from the rack by using an adjustable open end wrench.
8.) Remove Tie Rod from vehicle.
9.) Hold stock Inner and outer tie rod, and Tein Inner and Outer Tie Rod close to each other, and make them even in length. Count the number of threads that are exposed. This will be your guide, because you have to take the tie rod apart for installation (This will ease the process of alignment later).
10.)Remove dust boot from old tie rod…if the stock inner and outer tie rods do not come apart easily, it may be necessary to cut the tie rod in half in order to remove the boot. This should be done with a Rotary tool (preferably a Dremel).

Thread
Thread Starter
Forum
Replies
Last Post