When you click on links to various merchants on this site and make a purchase, this can result in this site earning a commission. Affiliate programs and affiliations include, but are not limited to, the eBay Partner Network.
Bigger news...got on the dyno yesterday and things went well for the most part...
a few hours in to the tuning session my tuner (Nick @ Mac) noticed some inconsistencies with my intake cam shaft solenoids - sometime it worked flawlessly and other times it didnt work at all. We worked beyond it and it seemed to function more consistently as the session moved on. When it wasnt working it dropped my torque ~80 ft*lbs!!!
As the session continued, Nick made it into higher boost levels in the map there were issues with the boost control solenoid. We reviewed how it was plumbed in, it was kept it in open loop mode, increased the duty cycle progressively and nothing...we were able to monitor the duty cycle from the haltech but theres a disconnect with the valve. The wiring is correct and I believe it's activated within the settings of the haltech, but it's something I gotta go back and check.
I have 14psi (large blue) springs in the waste gate and the car consistently held 11 to 12 psi (didnt data log anything so I am not 100% certain). The wastegates were being forced open from manifold pressure around 4500-5000rpm.
At this point, and only briefly trouble-shooting the boost control solenoid, I had nick get me to a safe spot in the fuel and ignition and call it a day. He also made great progress on the hot starts, idle-consistency, and some of the other less used maps.
Big picture - car put down 476 whp and 467 ft*lbs around 12psi. I'm pretty happy with these numbers as it seems the intake track modifications are paying off. I'm happier that the car rolled off the dyno under it's own power. I consider this tune more of a stepping stone than a final destination.
The dyno room at mac was pretty hot - approximately mid 80s and the car reached a top temp of 215, but for the most part cycled between 190 and 205 degrees ECT - which I was pleased with.
The solid engine mounts worked as expected - no engine shifts on throttle lifts - pretty cool to see it tight in the bay.
I'll upload some media soon!
In the near future - I cleaned/tested an extra set of VTC solenoids that I have on the shelf that I'll put on the car and continue to monitor their duty cycle.
I'll also check out the boost control solenoid - luckily those things are relatively inexpensive if I have to replace it.
Over the next few months looking forward to throttle'ing the car and opening it up!
A few things before my next tune(possibly next spring?):
1. I'd like to add tasteful hood louvers to mitagate engine bay temps (suggestions welcome)
2. I'd like to upsize my filter to turbo inlet to 3"
3. I'd like to upsize my turbo outlet to IC to 2" (or whatever the IC inlet is)
4. I'd like to rebuild the rack my IC/Rad/Coolers sit on - go to aluminum and relocate coolers to reduce weight & hose lengths - it's currently steel.
5. I'd like to go to a 3" downpipe, into a 3" in / 4" out Y pipe to better match my 4" exhaust
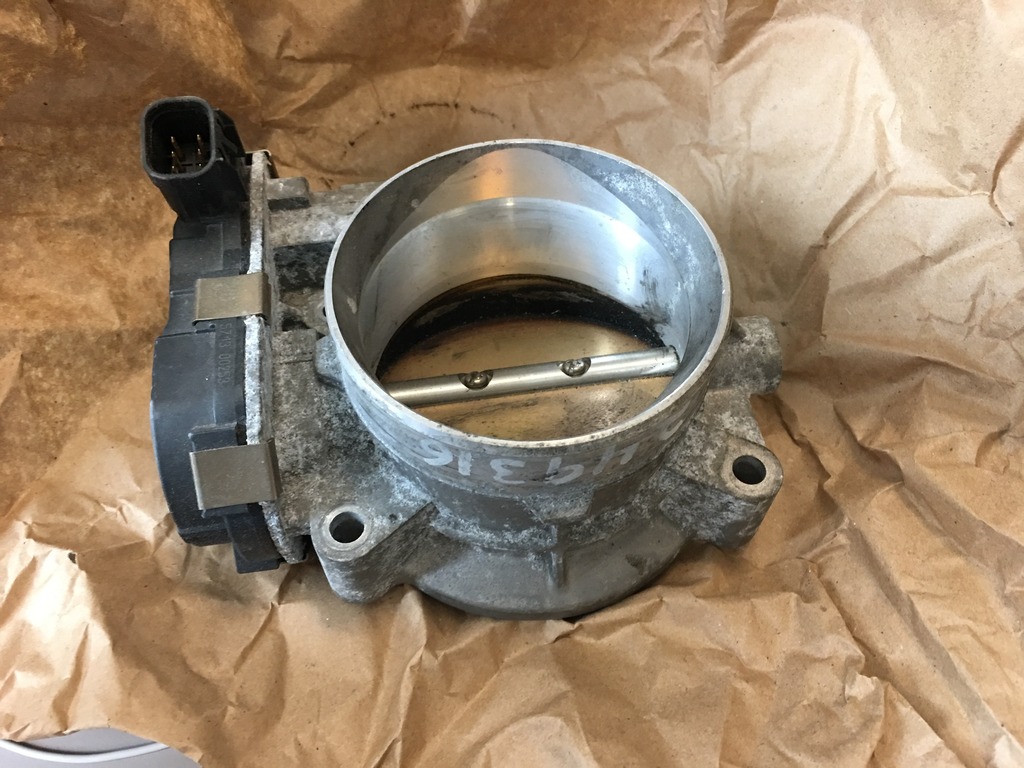
6. JDM-V35 and I are going to collectively install the 2009-14 maxima 75mm throttle body on both our rigs and modify the neck of the OEM upper plenum.
7. Continue to drop weight, including lighter wheels, I think I can drop 150 to 200 additional pounds.
Intake cams might not sync with the Haltech on start up. Watch intake cam using Haltech. If it sits at 0, then it didnt sync and you will lose all your midrange torque until you do a full rpm pull and it re-syncs. Or you can just turn the car off/on until it syncs. Once it syncs, you should be good (doesn't just drop sync as far as I know). I believe it stems from jitter in one of the sensors during start up. For me the passenger side cam sensor appears to show some jitter (it will read around 0, then flick to 2 and then hover back around 0). Anyway there is an experimental firmware that allows for more jitter and still locks the cams. You will need to talk to your Haltech dealer to get it.
I have tried replacing the sensor and adding an ignition capacitor to the power feed line to the cams and neither helped. Could try another sensor or put an RC filter on the signal line for the cam sensor. I wish Haltech had a filtering parameter for that input signal but I don't think they do (at least a parameter that end users have access to).
Open Ecu manager at idle and see if cam sensors working. If not then Haltech will not drive cam solenoids. Not a solenoid problem. The Haltech thinks cam sensors not working and disables the whole system.
I should have mentioned I only know this to be an issue with the pro plugin. Not sure about the piggyback version
I'll check it out for sure - great information - very thankful. I'll touch base with Hal and see if the beta/experimental version is applicable to my setup.
Open Ecu manager at idle and see if cam sensors working.
Went to a little show about 60 miles away - the car did well ... I had a few 65mph to 120mph pulls at high RPM/high load to check afr and look at my knock-signal (not that I know how I can tune ignition off it??).
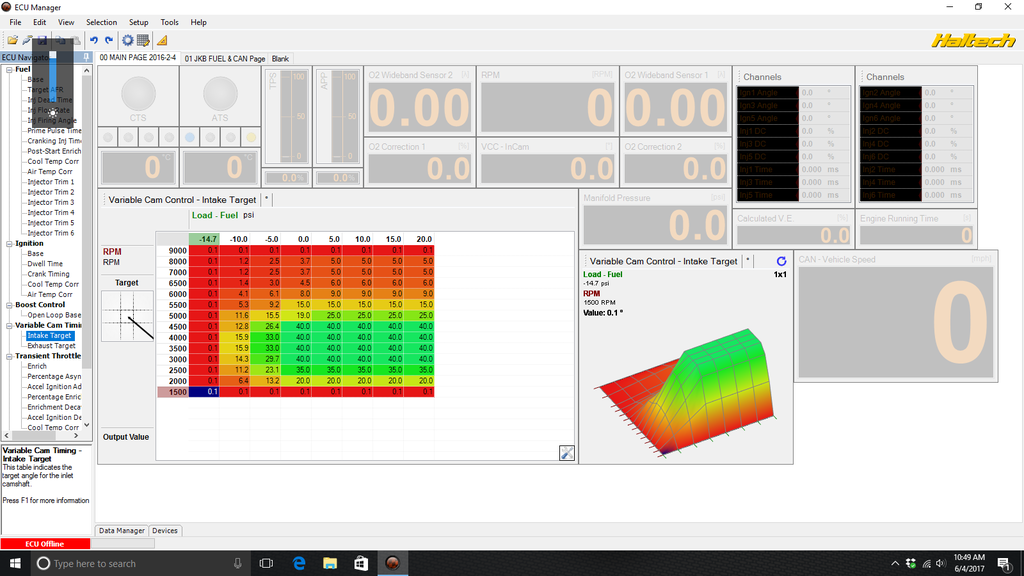
I opened my variable timing control table (within the haltech) and changed any '0' values (which occurred at high & low RPMs through the entire engine load spectrum and at -14in*hg of vac) and changed them to '0.1' ...
I also added a digital gauge on my control screen for the output of the variable timing control and my output was reading a value as I would expect it.
Going to move the TB ahead on the priority list and take the 87mm throttle body plunge...
first and foremost I'd like to thank Fixxxer & MW9 for their work on this subject already. I've read their post over multiple times and I don't know that I would have done this without their baseline work. Much appreciated fellas!!
TitanSS also has a thread that I have breezed over but have not read in-depth - soon though!
I picked up the 4.6liter GM throttle body and ordered the Nisformance jumper harness.
I have excess 4" aluminum pipe from my exhaust build and an extra upper plenum, ordered some 12"x12" 1/4" thick to make a flange.
It sounds like the differences between the voltage ranges are the 'problem child' of the swap. Im hoping the recalibration options in the haltech, my VE/Speed Density (non-MAF) tuning, and along with a little black magic up a buddy's sleeve will solve this.
(Like most the things I do) I will be taking this in staged baby steps. I'd like to go ***** to the wall and fab up a killer airbox/runners but I'm going to keep my hacked lower, plenum spacer and a soon-to-be hacked upper plenum.
I started fabricating a flanged neck that'll bolt the GM TB. I'll be hacking the OEM upper plenum to take a ~8" piece of 4" pipe (that'll take the 4" neck/TB) thatll 'dive' into the plenum to clear the hood. I'm hoping this helps equalize distribution of intake charge between the cylinders.
Intake cams might not sync with the Haltech on start up. Watch intake cam using Haltech. If it sits at 0, then it didnt sync and you will lose all your midrange torque until you do a full rpm pull and it re-syncs. Or you can just turn the car off/on until it syncs. Once it syncs, you should be good (doesn't just drop sync as far as I know). I believe it stems from jitter in one of the sensors during start up. For me the passenger side cam sensor appears to show some jitter (it will read around 0, then flick to 2 and then hover back around 0). Anyway there is an experimental firmware that allows for more jitter and still locks the cams. You will need to talk to your Haltech dealer to get it.
I have tried replacing the sensor and adding an ignition capacitor to the power feed line to the cams and neither helped. Could try another sensor or put an RC filter on the signal line for the cam sensor. I wish Haltech had a filtering parameter for that input signal but I don't think they do (at least a parameter that end users have access to).
i had this issue on my car. Call Hal, he has an 'experimental' firmware to fix this
i had this issue on my car. Call Hal, he has an 'experimental' firmware to fix this
Called Hal and we chatted for about 5 to 10min about the cams. Unfortunately the experimental firmware is for the standalone ... pretty interesting theory behind the development of the firmware and the noise pickup reductions. Hal gave me some insight on the cam position sensor and a few tricks I can incorporate to check - the sensor may be going out...
Regardless - RC & Ziv thank you for your post.
got the Nisformance harness in yesterday and worked on the voltages of both TBs gonna be sorting things out over the next few weeks.
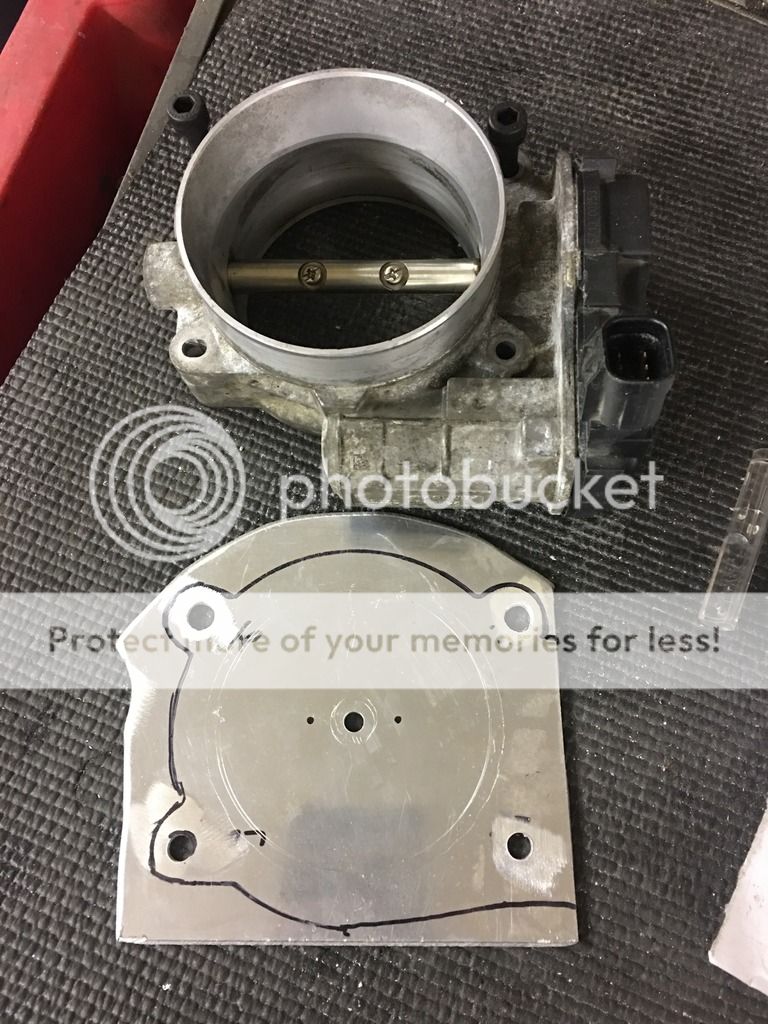
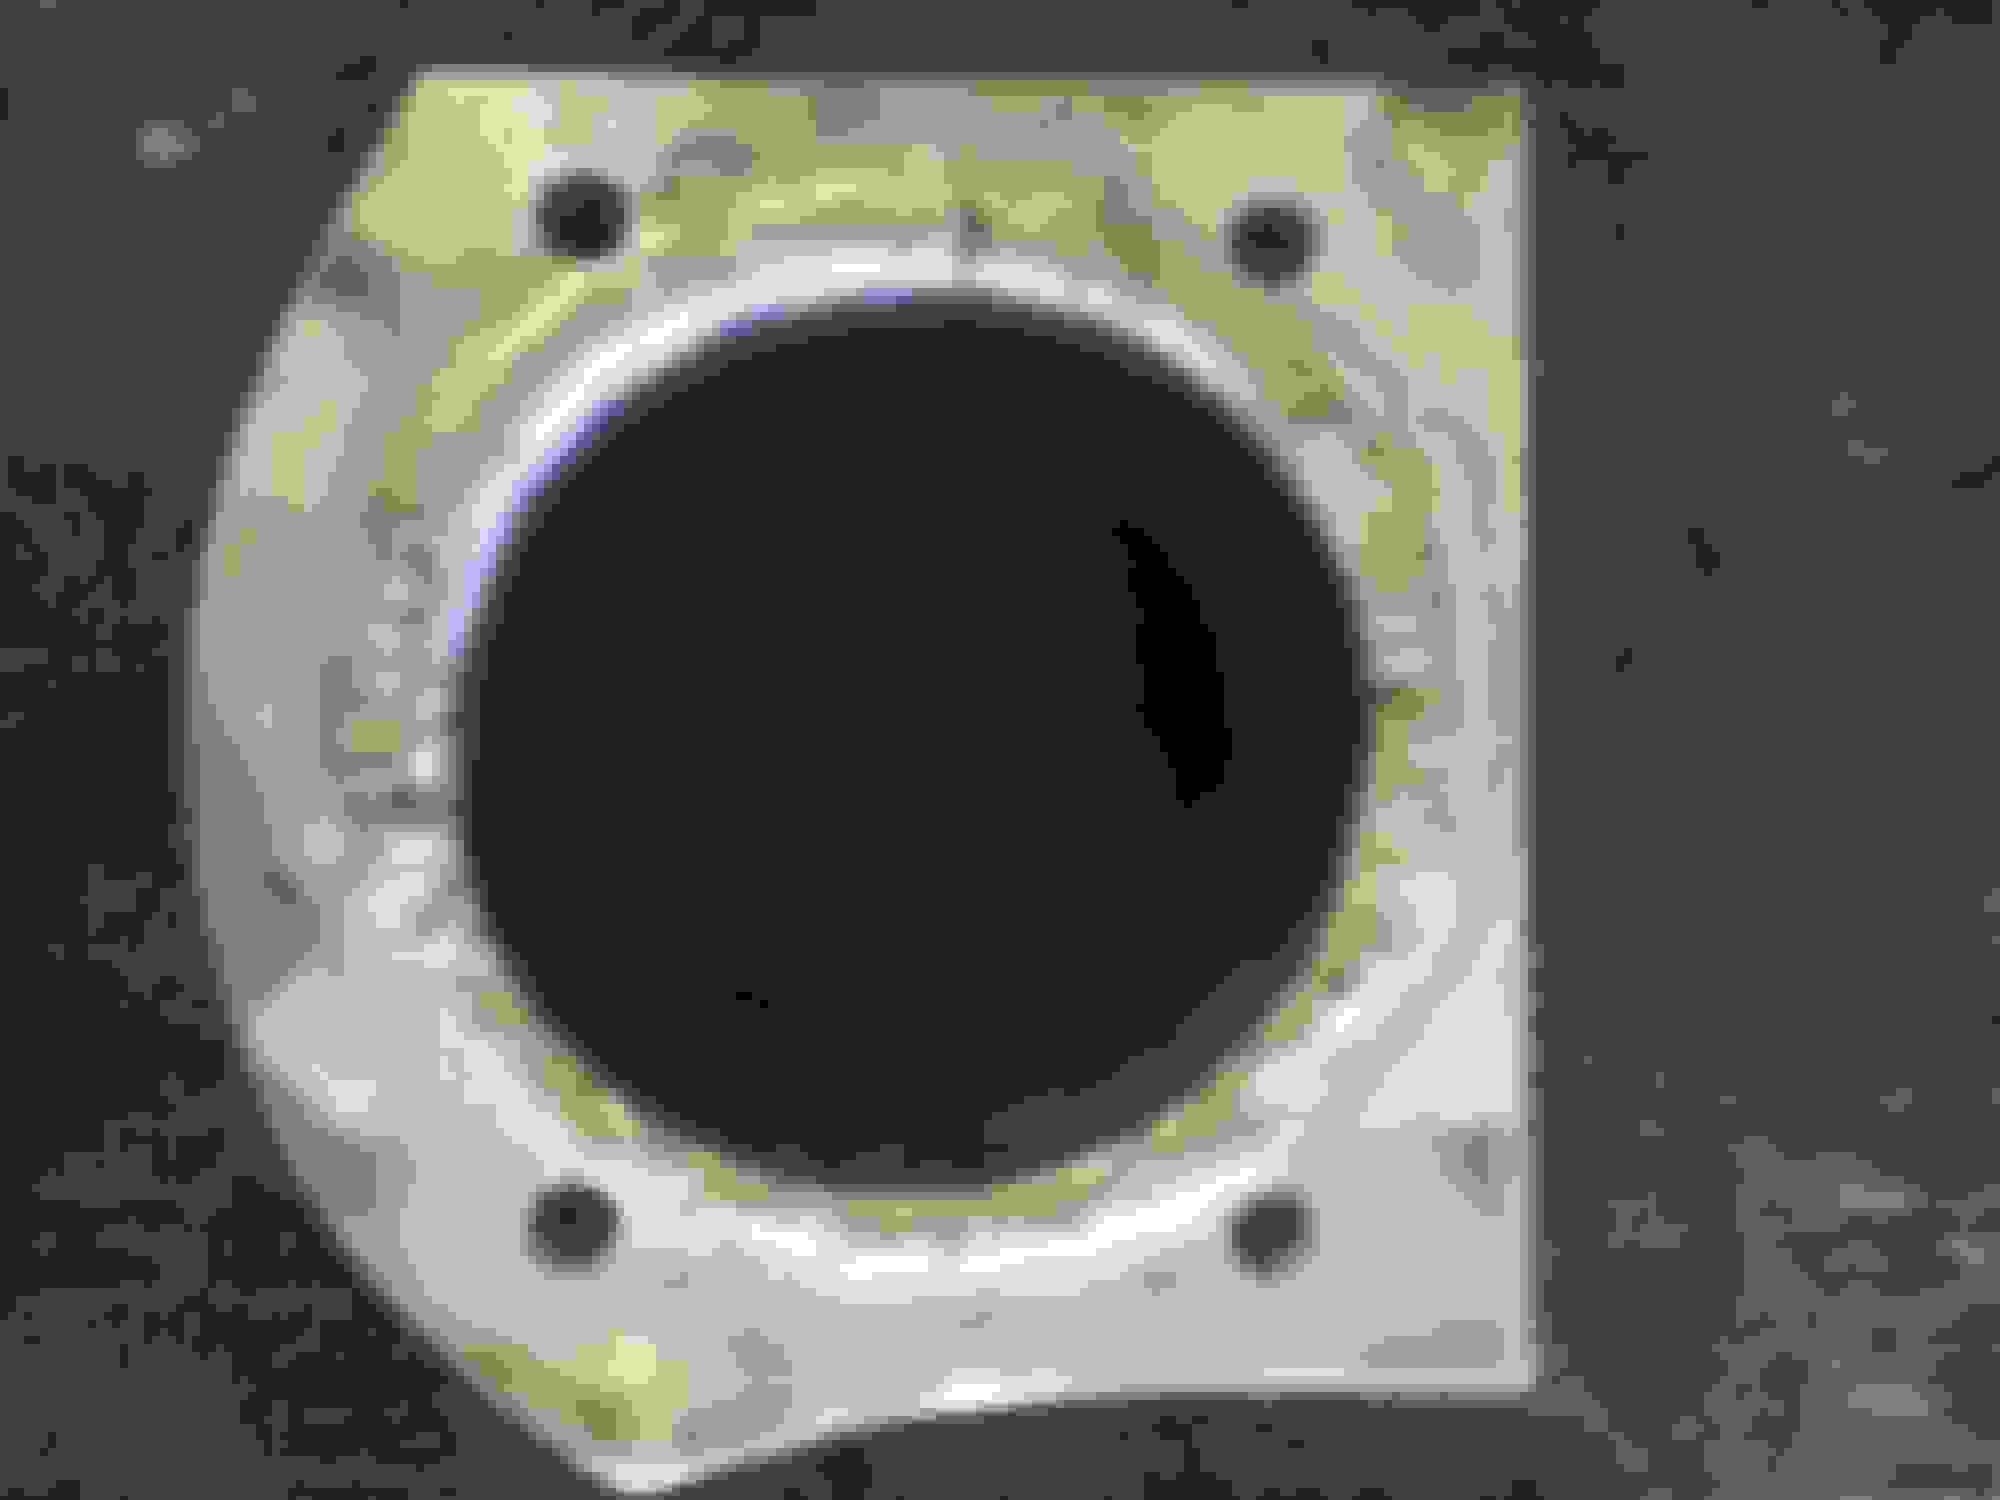
I was going through my parts box looking for a spare OEM TB and came across this - I think it's the MAF to Greddy charge pipe adapter - dont know why I kept it but if I re-drill the holes to mount to the OEM upper I can start tinkering with the GM TB & the haltech on the car.
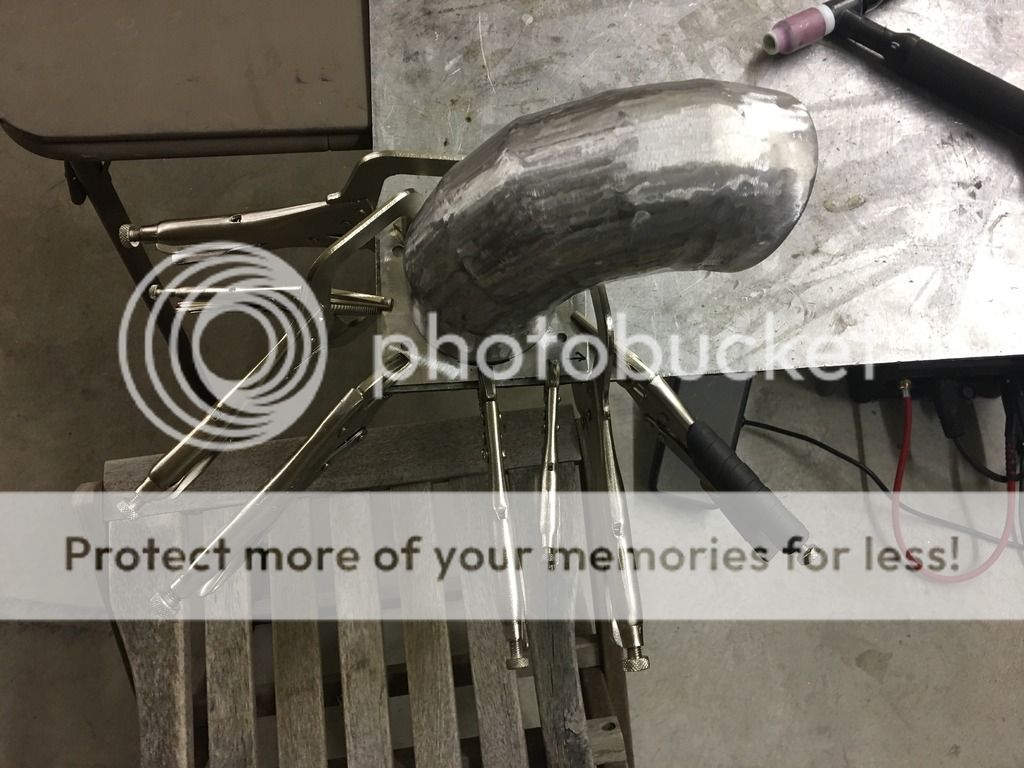
I've got a decent 4" neck with a 1/8" temp flange I can mount the 87mm TB on for some preliminary testing.
I got impatient and had some 1/8" scrap that'll work for flange temporarily but the final will use a 1/4"
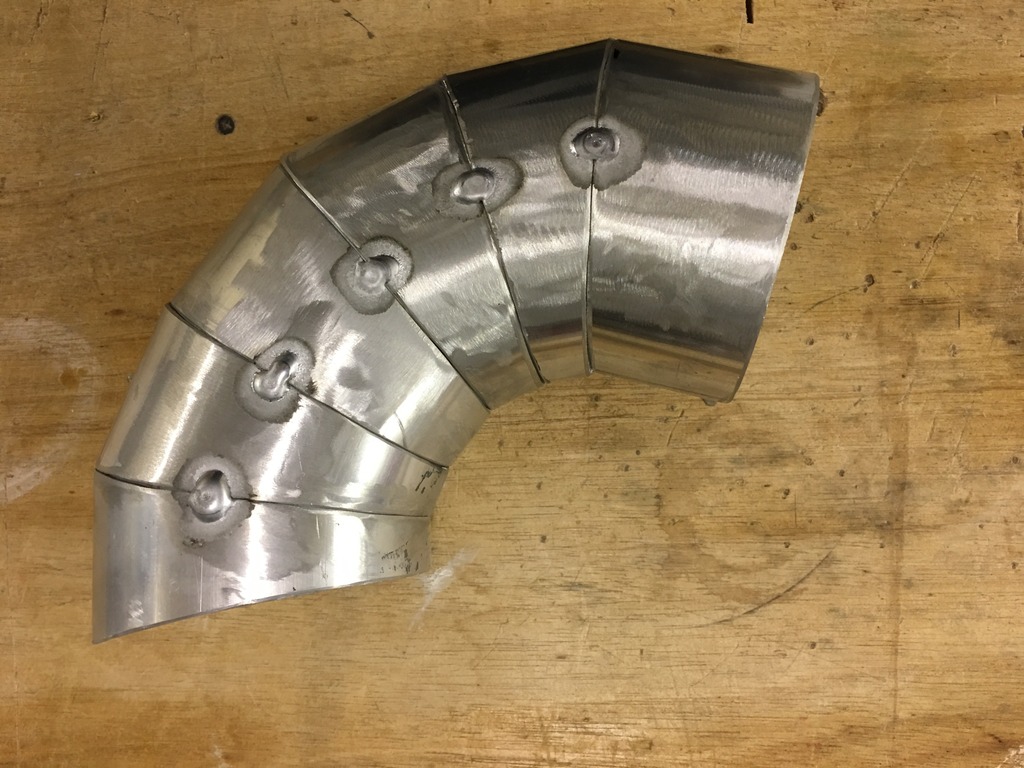
my welds look like complete dog-****...I all but gave up on the flange earlier in the week and just had to put it down for a few days. I'm putting way way way too much heat into the aluminum and not getting a good puddle. I'm also pretty low on gas - not sure if this has anything to do with it. Chalk it up to inexperience and working around my dozen clamps was difficult...ugly...
I'm not using the pulse feature on my welder which may help moving forward...
I've got a decent 4" neck with a 1/8" temp flange I can mount the 87mm TB on for some preliminary testing.
I got impatient and had some 1/8" scrap that'll work for flange temporarily but the final will use a 1/4"
my welds look like complete dog-****...I all but gave up on the flange earlier in the week and just had to put it down for a few days. I'm putting way way way too much heat into the aluminum and not getting a good puddle. I'm also pretty low on gas - not sure if this has anything to do with it. Chalk it up to inexperience and working around my dozen clamps was difficult...ugly...
I'm not using the pulse feature on my welder which may help moving forward...
A little advice on the tig welder... Make sure u have the correct tungsten tips in the welder. There are a few different kinds the two I'm familiar with have green stripes and one with red stripes. The green striped tungsten is specifically for welding Aluminum and the red is for ss mild and chrome moly. Also make sure your green striped tungsten tip has a nice ball on the end for welding Aluminum. If it has a sharp point it will make it difficult to melt the area needed to fill aluminum. Keep practicing man you'll get it. It took me almost every day for a year to master it.
A little advice on the tig welder... Make sure u have the correct tungsten tips in the welder. There are a few different kinds the two I'm familiar with have green stripes and one with red stripes. The green striped tungsten is specifically for welding Aluminum and the red is for ss mild and chrome moly. Also make sure your green striped tungsten tip has a nice ball on the end for welding Aluminum. If it has a sharp point it will make it difficult to melt the area needed to fill aluminum. Keep practicing man you'll get it. It took me almost every day for a year to master it.
I appreciate the guidance - I'm using a 3/32nd 2% Lanthanated(blue)... which I gathered is the a good 'middle of the road'...I dont know that it's the tungsten as my buddy uses my machine with the same 2% Lanthinated and his beads come out fine. I think I'm the issue, but that means I'm the solution.
I've used both a rounded and a sharp point - I prefer the sharp point as I'm trying to use lower amperage and I feel it directs heat better. Whenever I start balling up the point either I'm using too much cleaning or my amps are too high...
I'll look into a few different electrodes just to get a feel for them. Yea, more seat time for sure! I'll get there!!!
87mm TB time!! Let the circus begin!!
Another tip which I'm sure u already know or have figured out is make sure the welder is in AC mode if it's in DC it will make it very difficult or impossible. When I started my last job they assumed the tig welder was broken cause it wouldn't weld aluminum. I changed the settings from DC to AC and changed tips for the green stripe and it welded like a champ. I would also practice without filler rod first. Make sure u get a nice pool and bead consistency before u start adding filler rod. I think the filler rod I use is 4043 or 4340 can't remember but it's aircraft grade aluminum and it worked well on all the aluminum stuff i did from cast to forged. Once again though it requires practice for sure but it's a lot of fun once u get it down. One of the lost arts imo.
yeah! ha! It's def in AC! but that would be funny!!! Once I do get a puddle it goes pretty smoothly other than my newb-looking stacks...
Yeah, I'm using 4043
I needed to modify my computer rack to hold my cpu better - Its 1/16th inch angle aluminum - set the welder to 60amps pinned pieces and at 100% pedal it puddled just fine and I had to back off the pedal once I got my puddle rolling as I was burning through a little.
I hit the aluminum with the grinder and then wiped it down with acetone - everything came out fine. It was sorta a difficult weld as I was standing up to perform them.
I think I need more seat time, need to clean better and need to give myself plenty of room to move.
With that being said - let this be the first and second (of many) hurdles of the 87mm tb...
I frankensteined this mock-up to bolt the tb up to and surer than **** the Nisformance harness was WAY WAY WAY too short...no problem, I'll splice it so I got plenty of wire...
got everything hooked up, determined my max and min voltages and got them in the haltech, and reset my APP voltages as well (although they only changed .01 volt).
Did the TB relearn procedure and the TB blade did not move like the OEM one did which was pretty discouraging. reset the ECU via the haltech and started the car.
The car cranked for a few seconds and it started but it idle'd extremely rough and then sputtered out. I did this with my FI map and a canned square-one NA map and they both acted in similar manners.
My ECU flipped codes P1121 and P1122 - which are both TB actuator codes.
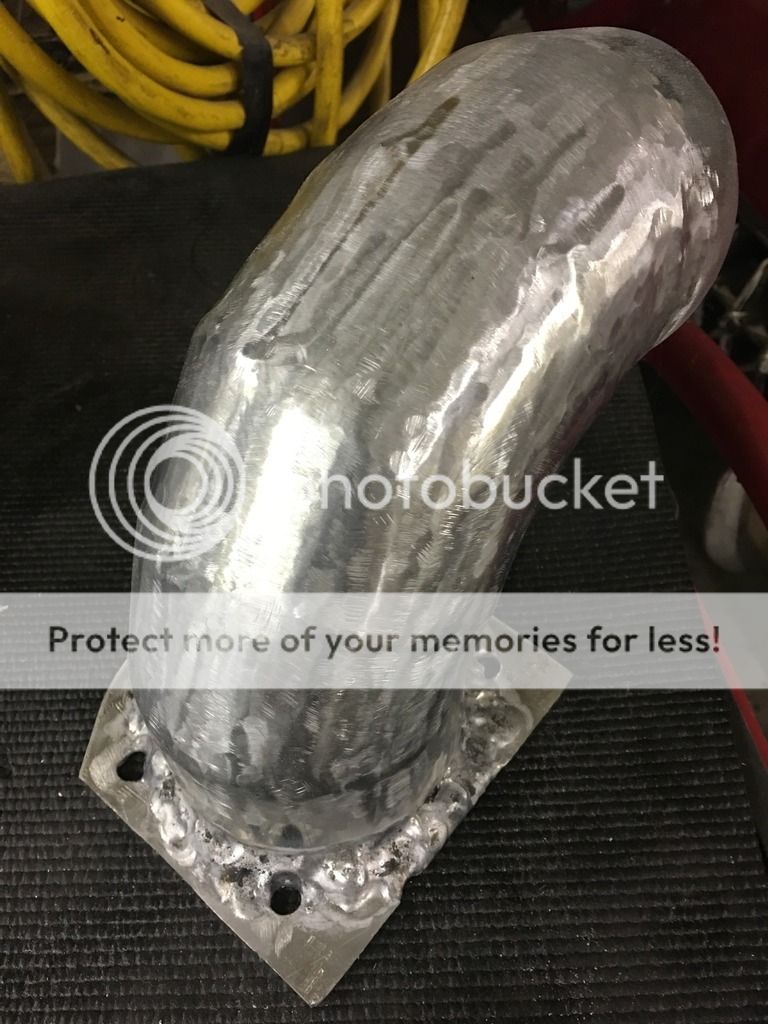
Got the welder out tonight and made some progress with my over-heating issues. Watched a few youtube lessons on pulse over the past few days and did about 30 minutes of trial & error on different pulse settings on some scrap.
my best results were max'ing out the machine at 200amps, minimizing pulse frequency (1 cycle per second), minimizing my pulse ratio (to 10%), and minimizing my pulse balance (set to 10%).
The welder would shoot 200 amps for (approximately) 1/5th of a second and then back it down to 20amps for the remaining 4/5ths of a second. I was good as long as I could dip my filler and move ~1/4" ahead. My best string of welds were the ones where I got into a rhythm and have a cadence. But leaps & bounds ahead of my previous flange weld! Sorta a participation-trophy as this isn't that pretty all things considered.
Looks much better man! Good luck with the throttle body install that looks like way to much of a pita for hp rewards in my book but still good luck I hope it works out for u.
 05-25-2017, 09:04 PM