When you click on links to various merchants on this site and make a purchase, this can result in this site earning a commission. Affiliate programs and affiliations include, but are not limited to, the eBay Partner Network.
Remember the upper oil pan gets installed AFTER the front and rear timing cover, and that there is a O-ring that goes in the front left inside hole. Directly Left of the front engine main. That is the O-ring i missed and cause my oil leak for a long long time.
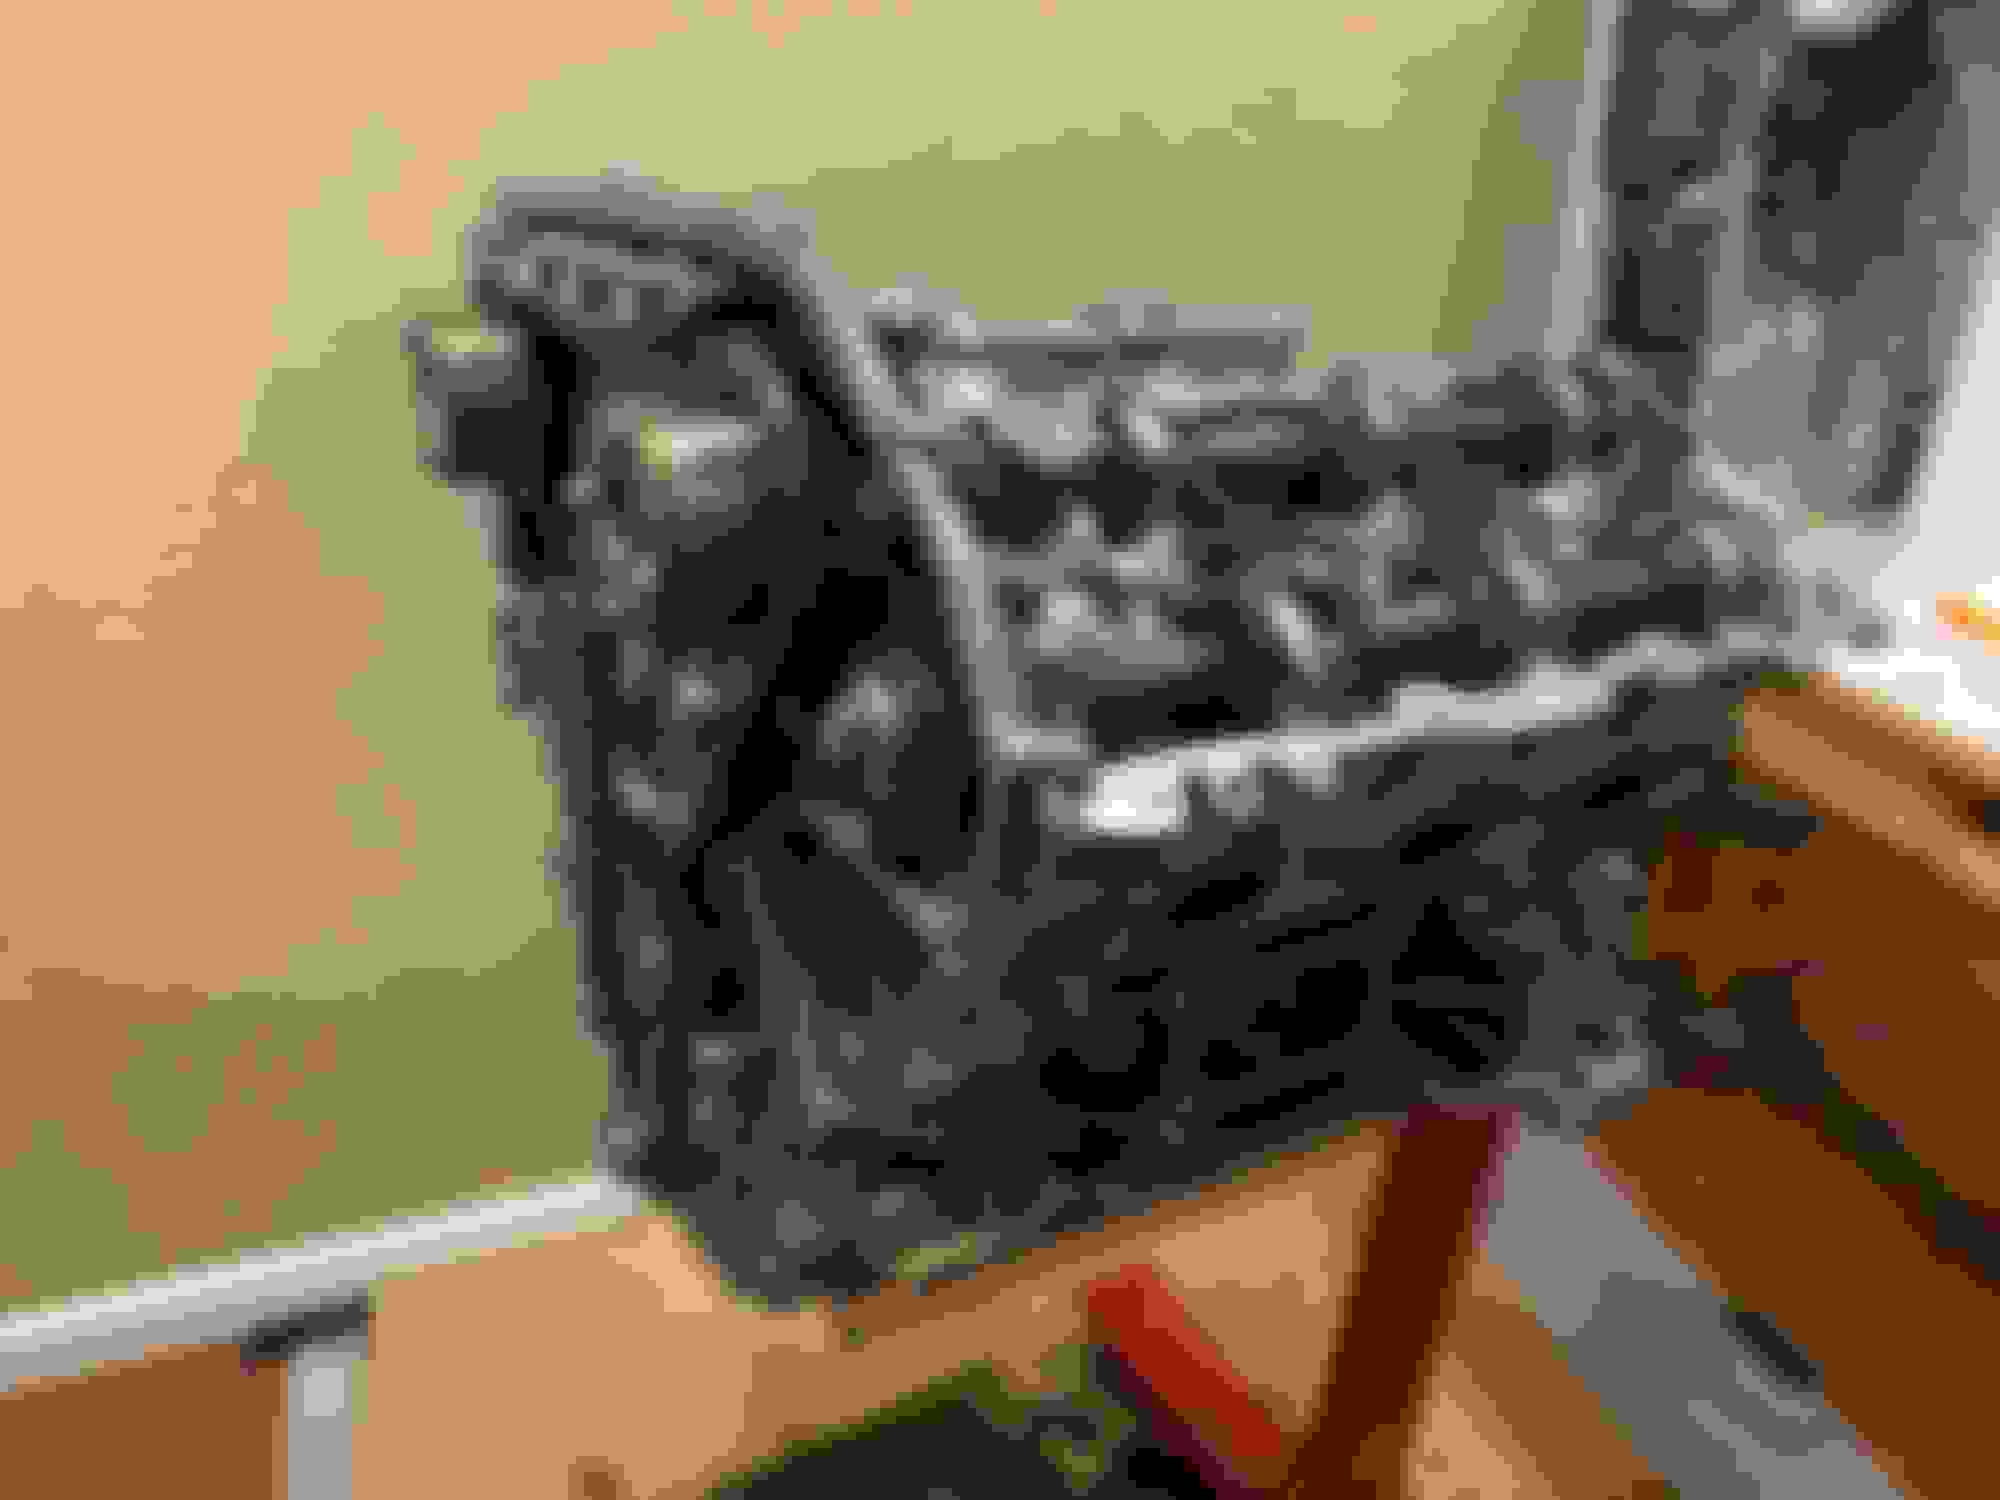
I'm following the FSM but it's always nice to have someone that's been through the process...I tried to bag-up anything and everything that came off the engine so but it's a matter of getting everything laid out and knowing where it goes.
Rod bearings, Rods, and pistons are next.
I have a incredibly busy week so probably wont do much on the build...
I don't know if I should installed the windage screen on the dynosty girdle � and if not on the girldle (I really don't want to tap into it) should it be installed on the upper oil pan?
Girdle won't fit. You need to modify upper oil pan for clearance. I tapped mine, installed and then took it off because i didn't really wanna grinding my upper oil pan. Dynosty saying it is not need it.
Girdle won't fit. You need to modify upper oil pan for clearance. I tapped mine, installed and then took it off because i didn't really wanna grinding my upper oil pan. Dynosty saying it is not need it.
girdle wont fit at all regardless of the windage tray?
I've considered just mounting it in the oil pan � I'm hesitant to run without it tbh
fantastic so far. Working on my own turbo build, it can be consuming.
Btw, thank you so much for the ace race parts . com reference. I have searched so long for sch 10 exhaust piping and couldnt find reliable sources with such an extensive selection. Excellent man!
Remember the upper oil pan gets installed AFTER the front and rear timing cover, and that there is a O-ring that goes in the front left inside hole. Directly Left of the front engine main. That is the O-ring i missed and cause my oil leak for a long long time.
can you point out which o ring you�re referring to? Also what�s the downside if the upper pan is installed before? Reason I�m asking is I took both front timing covers off both, and dropped offf the motor at the shop. Once I get it back the upper pan is already installed and I gotta reinstall the timing covers.
This O-Ring goes in the Upper Pan for the oil system.
Lower block O-Ring for oil.
You don't have to do the upper pan first, just lowers the risk of messing up the front oil pan seal. The timing cover has to go straight on due to dowel pins and RTV, but the front oil pan seal has to set in lower pan a certain way so its tricky to get it not to leak.
Originally Posted by SAMzG35
can you point out which o ring you’re referring to? Also what’s the downside if the upper pan is installed before? Reason I’m asking is I took both front timing covers off both, and dropped offf the motor at the shop. Once I get it back the upper pan is already installed and I gotta reinstall the timing covers.
Sorry I meant it won't fit with windage tray attached. Unless u modify upper oil pan.
Cool cool ... I wont fight it and I didnt realize how little space there was!
Update: I got pistons on rods, wrist pins installed, and rings on. Lubricated the rings & walls with both assembly lube and 80wt mineral oil. Rods, caps, and bearings cleaned and installed and assembly pushed into place with a universal ring compressor - which I thought may pose problems but it worked well. Big ends strapped to the crank and torqued down. Used a stretch gauge to get to Pauters .0055" ... I pushed them to roughly .006" which was pretty consistently 65ft*lbs of torque. At some point, reading the stretch gauge was more of an art than a science.
I got my heads back from the machine shop and aside from a recommended replacement of a valve lifter the heads came back ready to go. My machinist pointed out a slight accelerated wear on the front cam cap (likely from the spun bearing) but buffed it out and didnt think it'd pose a problem.
I'll look to install the heads, timing chain case, seals, and pans tomorrow and over the weekend.
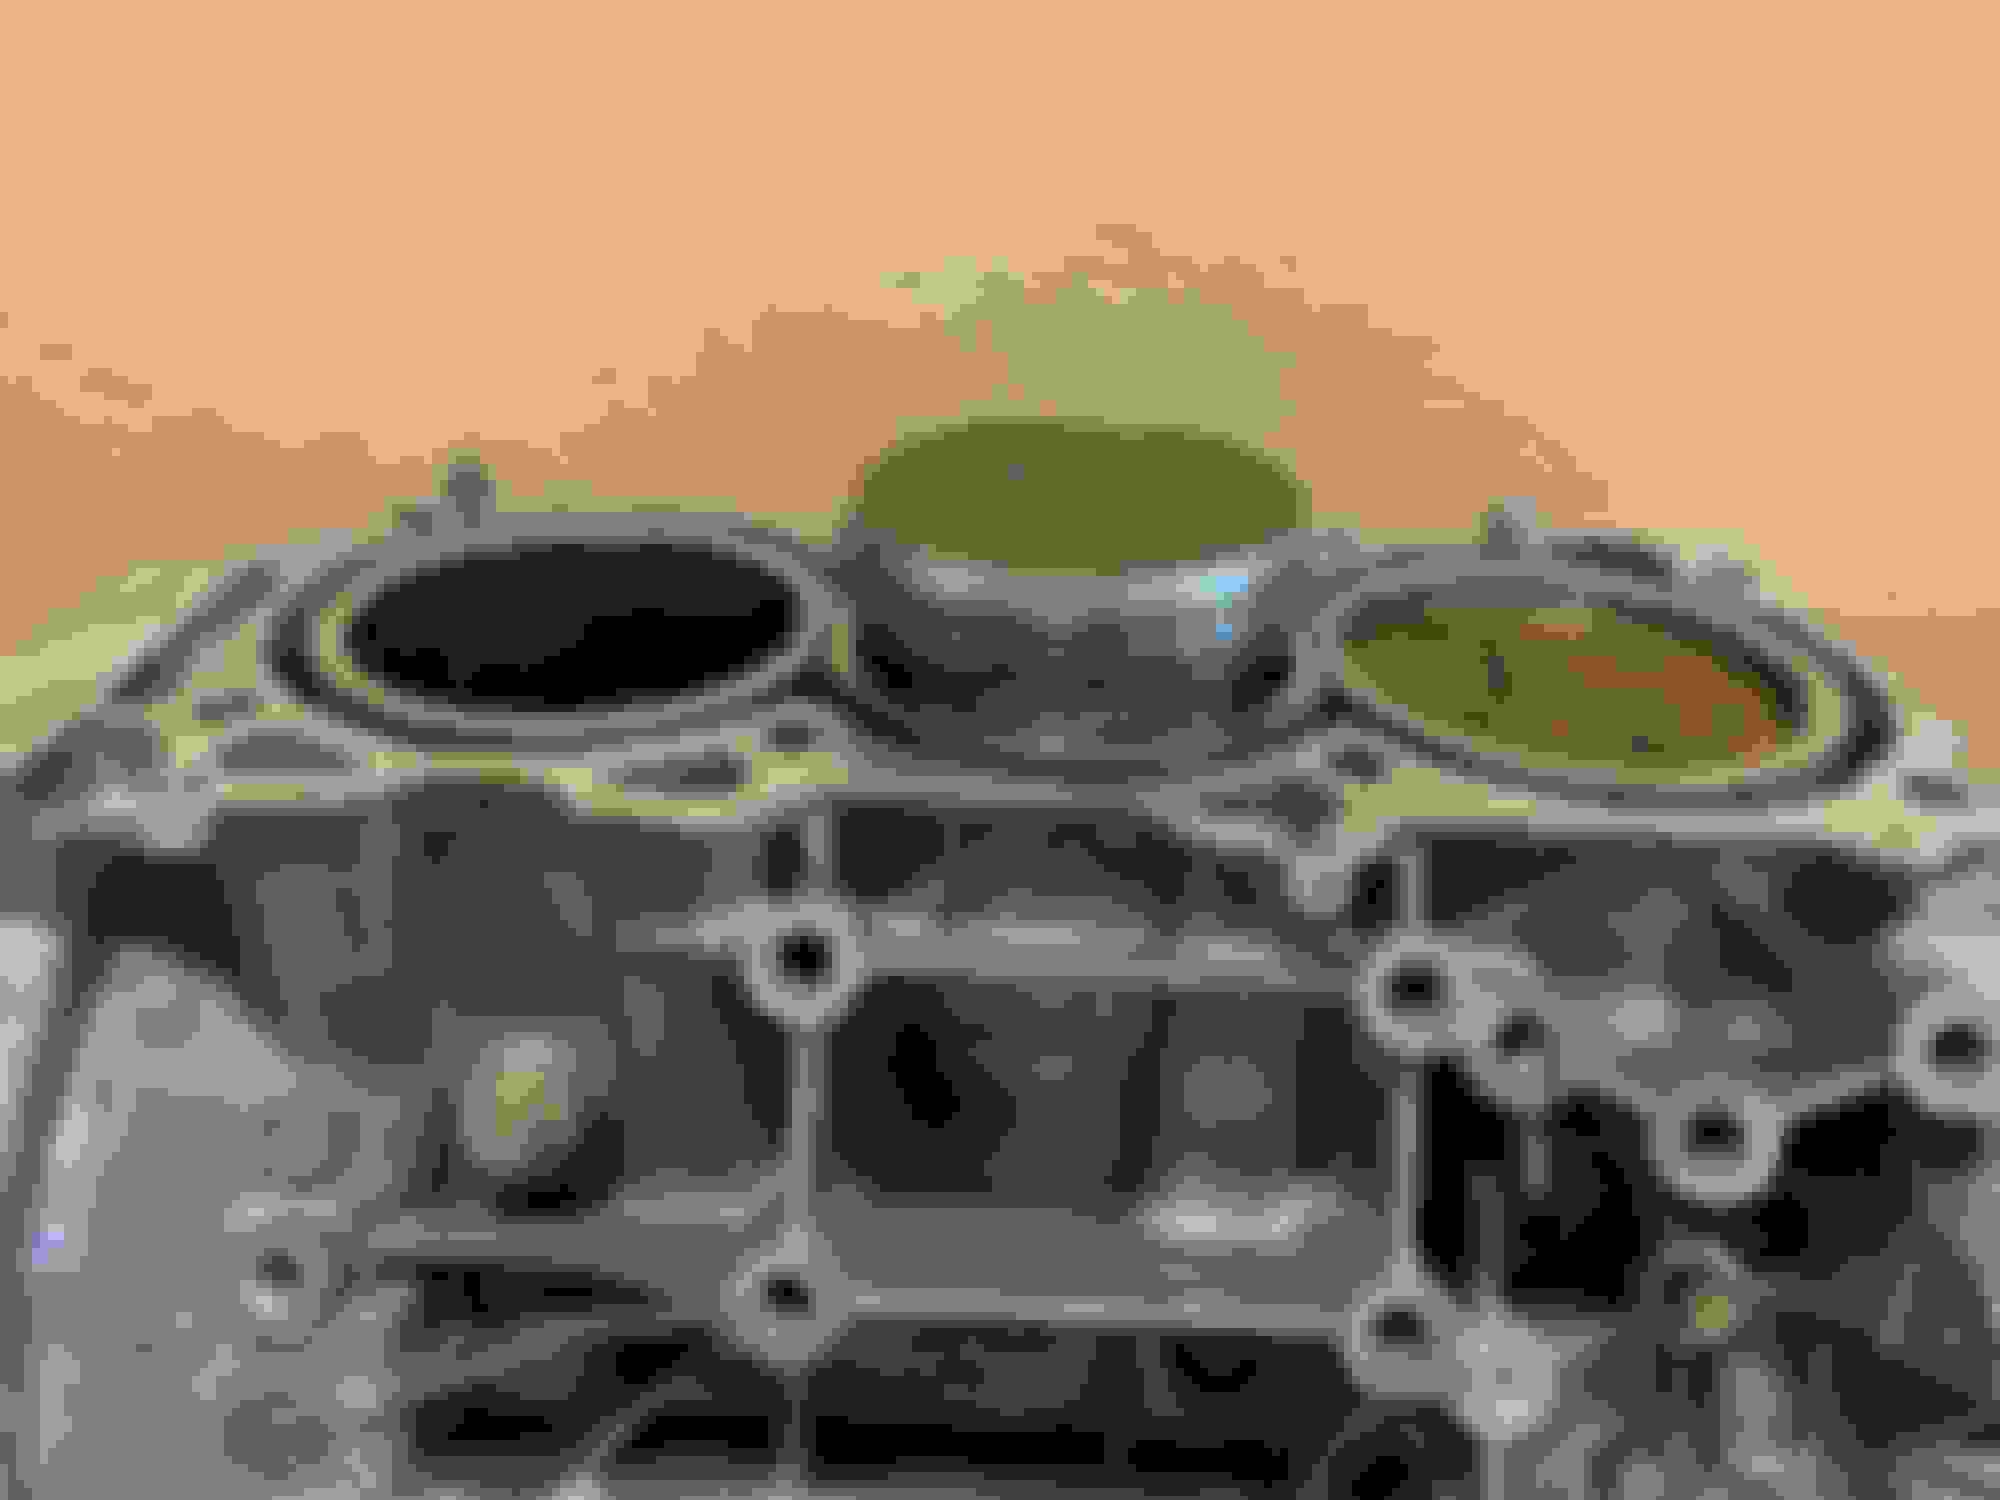
Some progress this weekend - got the head-stud (in the block) threads cleaned up ... I could not find a 11mm x 1.25 pitch thread chaser ... if you intend to clean your head-stud threads plan on picking up a 11x1.25 chaser. I cleaned with brake cleaner, vac'd out w/compressed air and then used a cutting oil and threaded in & out an OEM headbolt, then brush with a helix style wire brush. L19s lubed and installed. Mating surfaces cleaned, gaskets dropped and heads placed/bolted down. I used 95ft*lbs on the head stud bolts.
With the heads on it was sorta ambiguous as to install the cams & cam caps before or after the rear half of the timing chain case. I decided to install the cams / cam caps (most importantly the first/forward-most cap and how it interacts with the timing chain case). used a good amount of assembly lube on the cams/lifter/caps.
With the cams installed tacked the rear half of the timing chain case. Cleaned mating surfaces and rtv'd the surfaces as the FSM dictates.
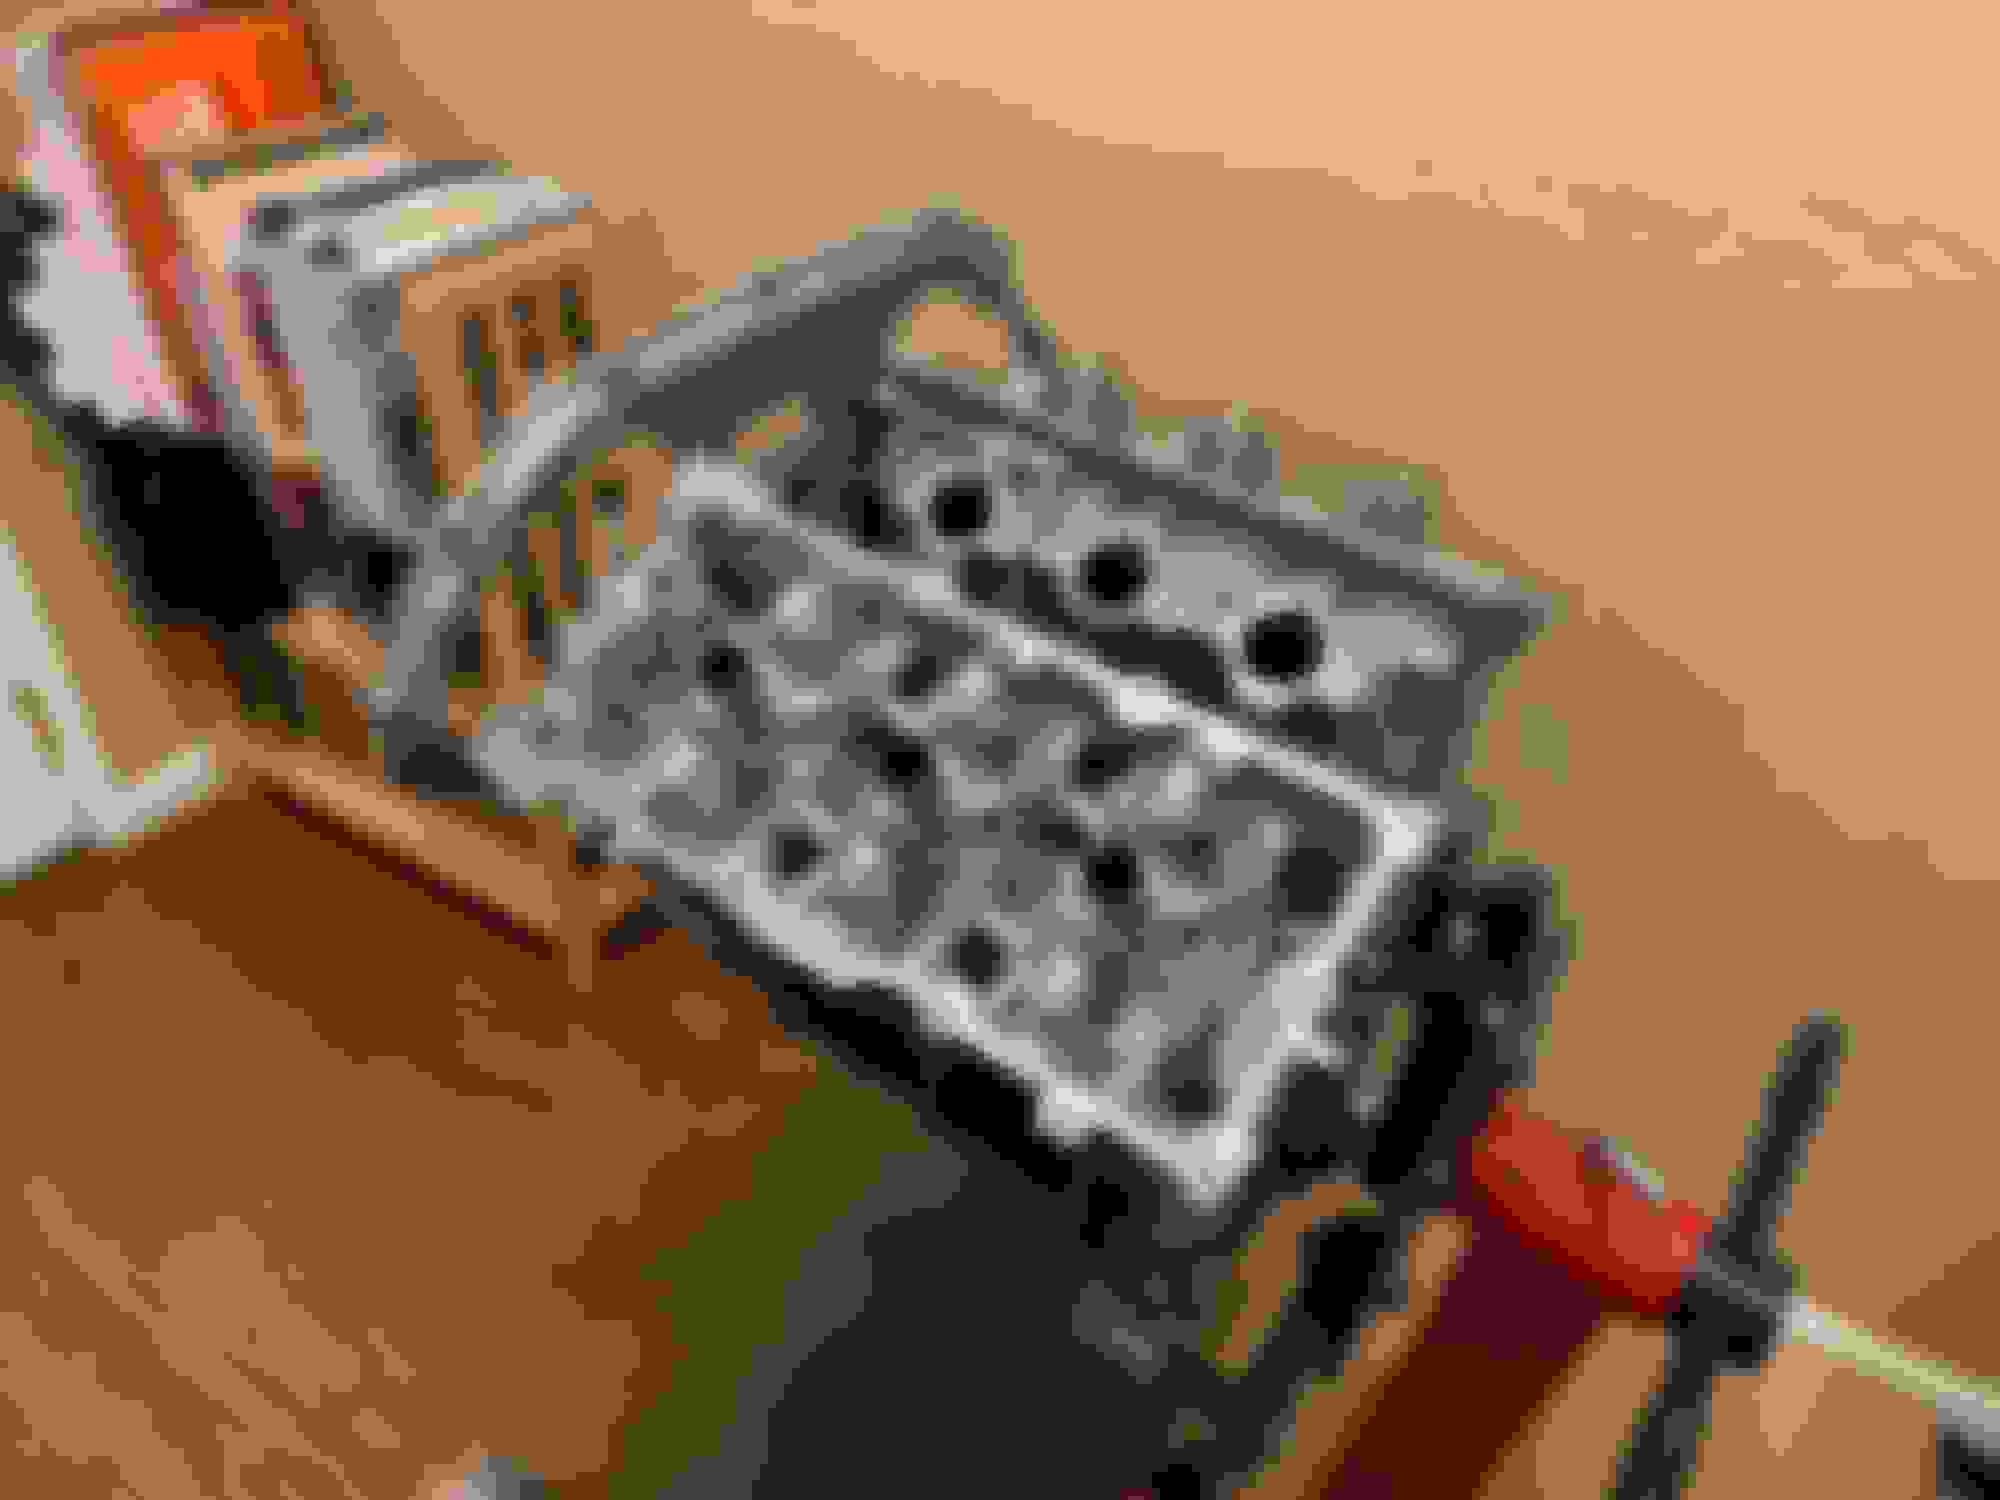
mounted & torqued down with the internal hardware.
Packed the oil pump with assembly lube (went away from vasoline and used assembly lube instead) and installed the oil pump.
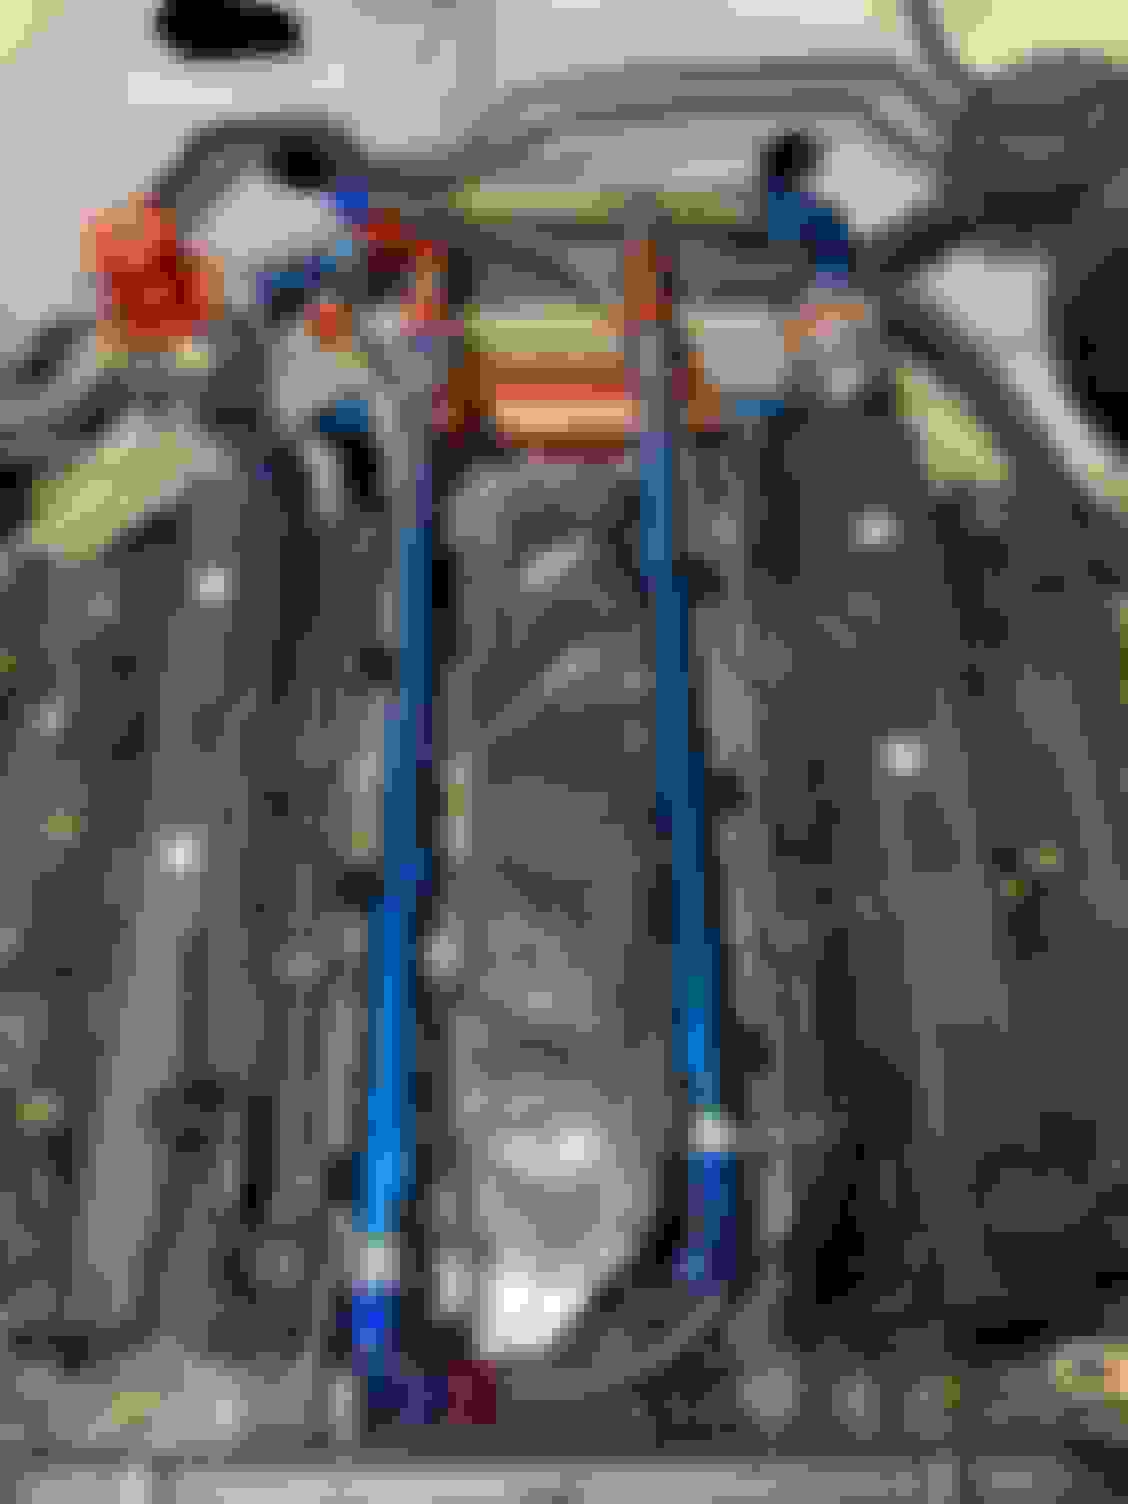
Took my time to install the timing/VTC per the FSM. I was very intimidated resetting the timing after my tear-down and after reading the FSM a few times it actually made complete sense and was pretty easy. I did end up using a replacement set of VTC cogs as one of my originals has a cracked pin-housing. I did disassembly each of the VTCs and cleaned each prior to installation.
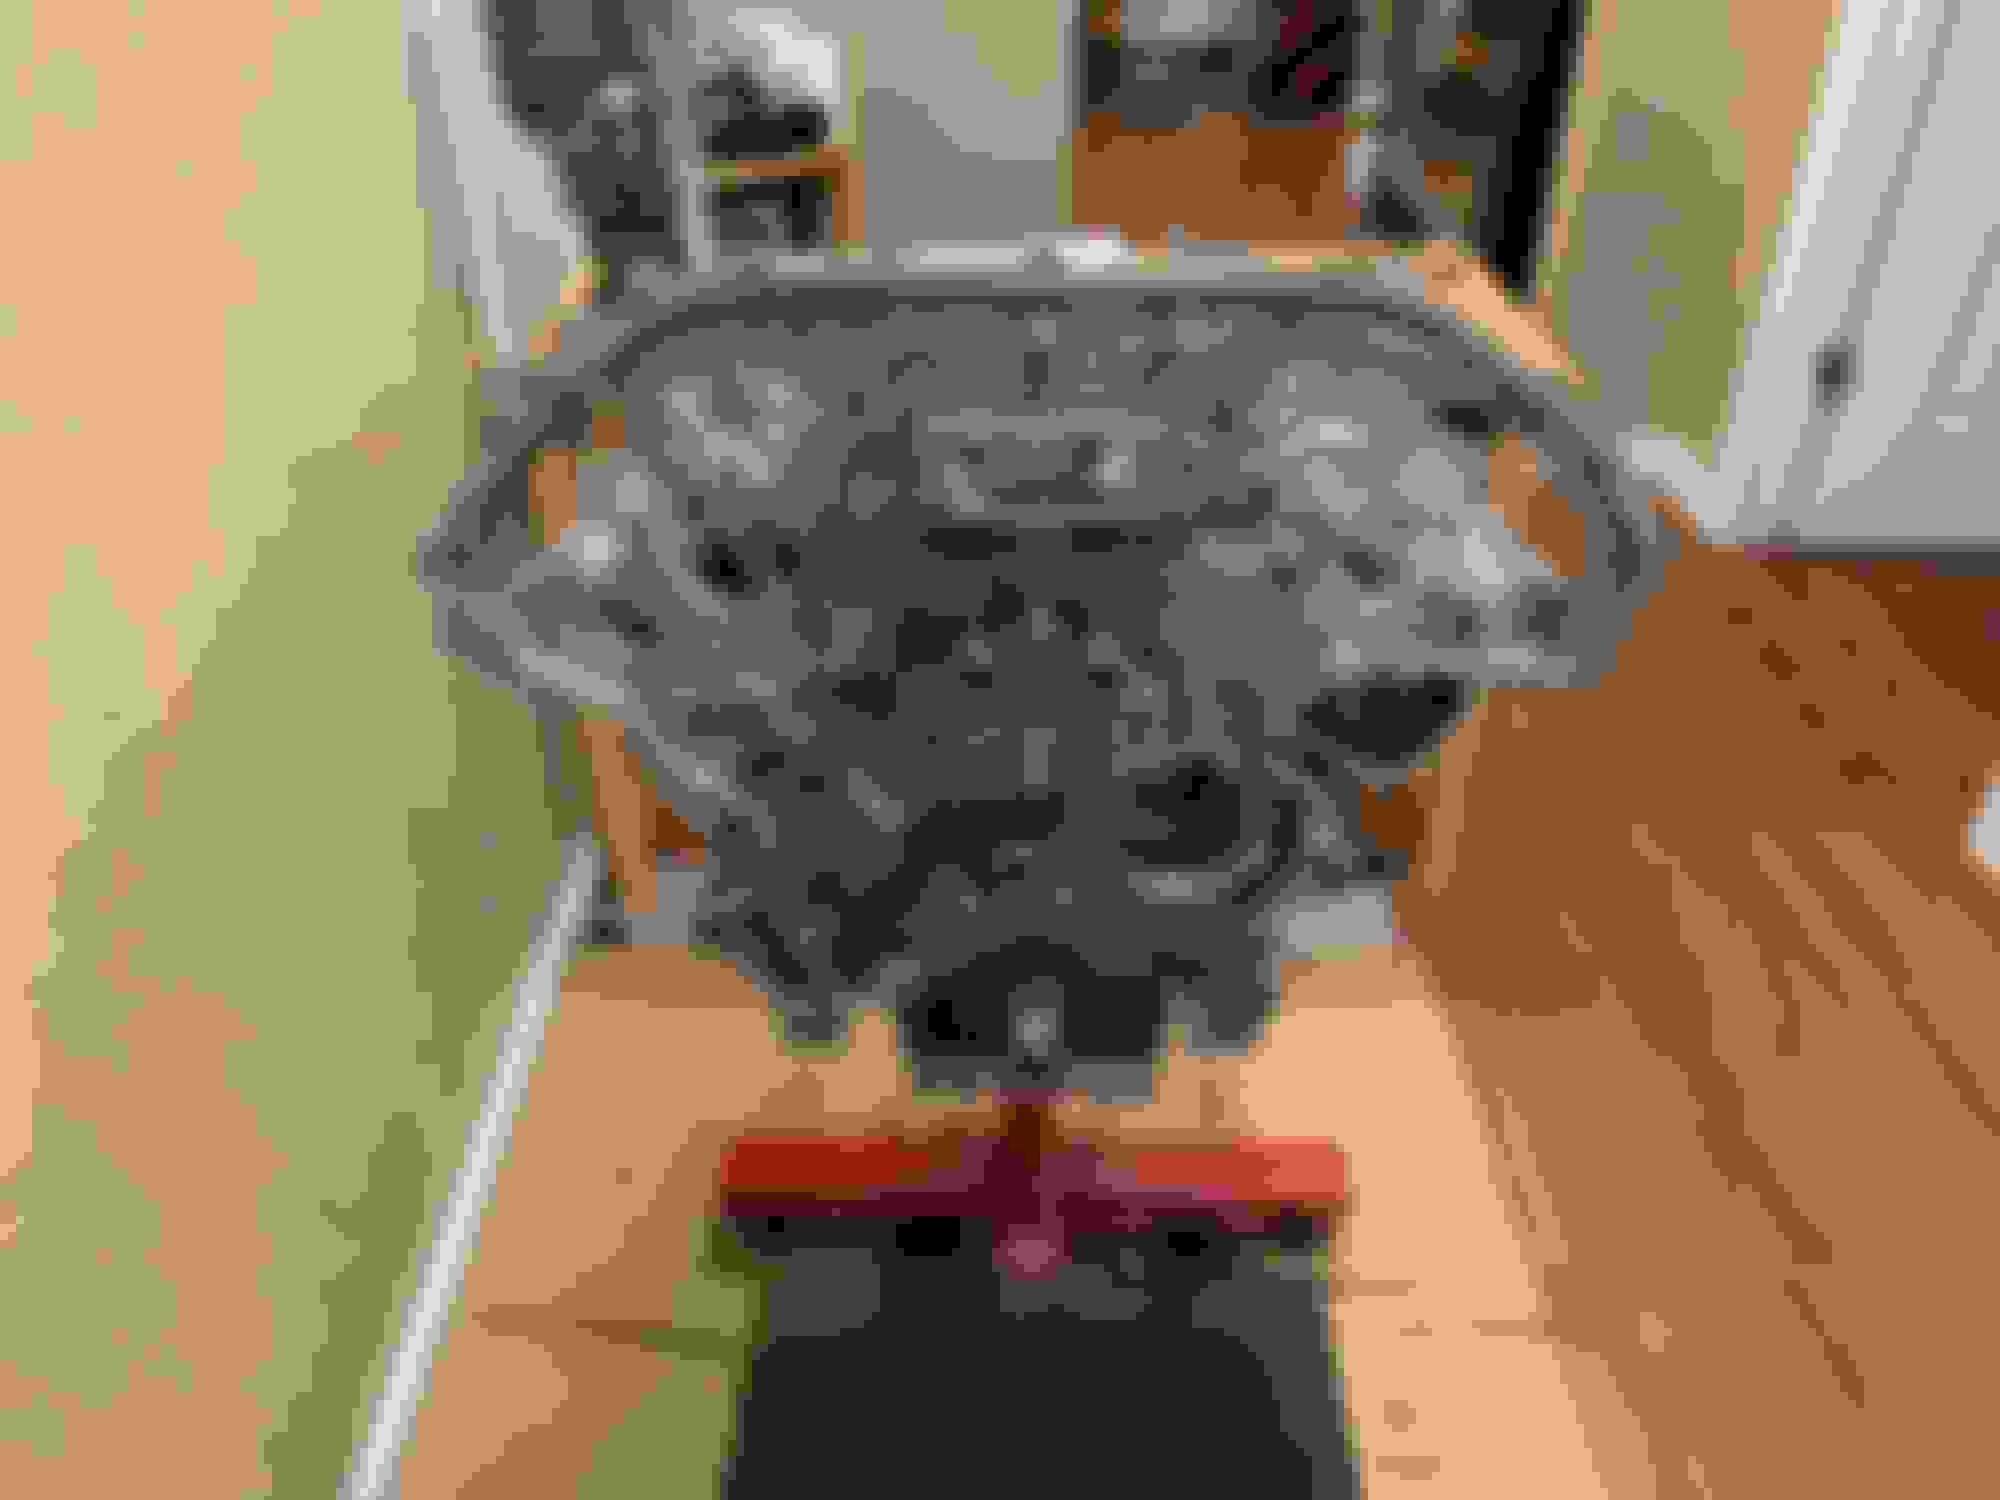
next came primary timing chain, guides, tensioners, and water pump...pretty easy to install after reading the FSM. Aside from some adjustment each color matched up to their respective marks.
I rotated the timing a few revolutions and it appears everything is linked correctly.
To wrap the night - I installed a new front main seal and gaskets and used a thin layer of RTV between the case and the seal and gasket (respectively).
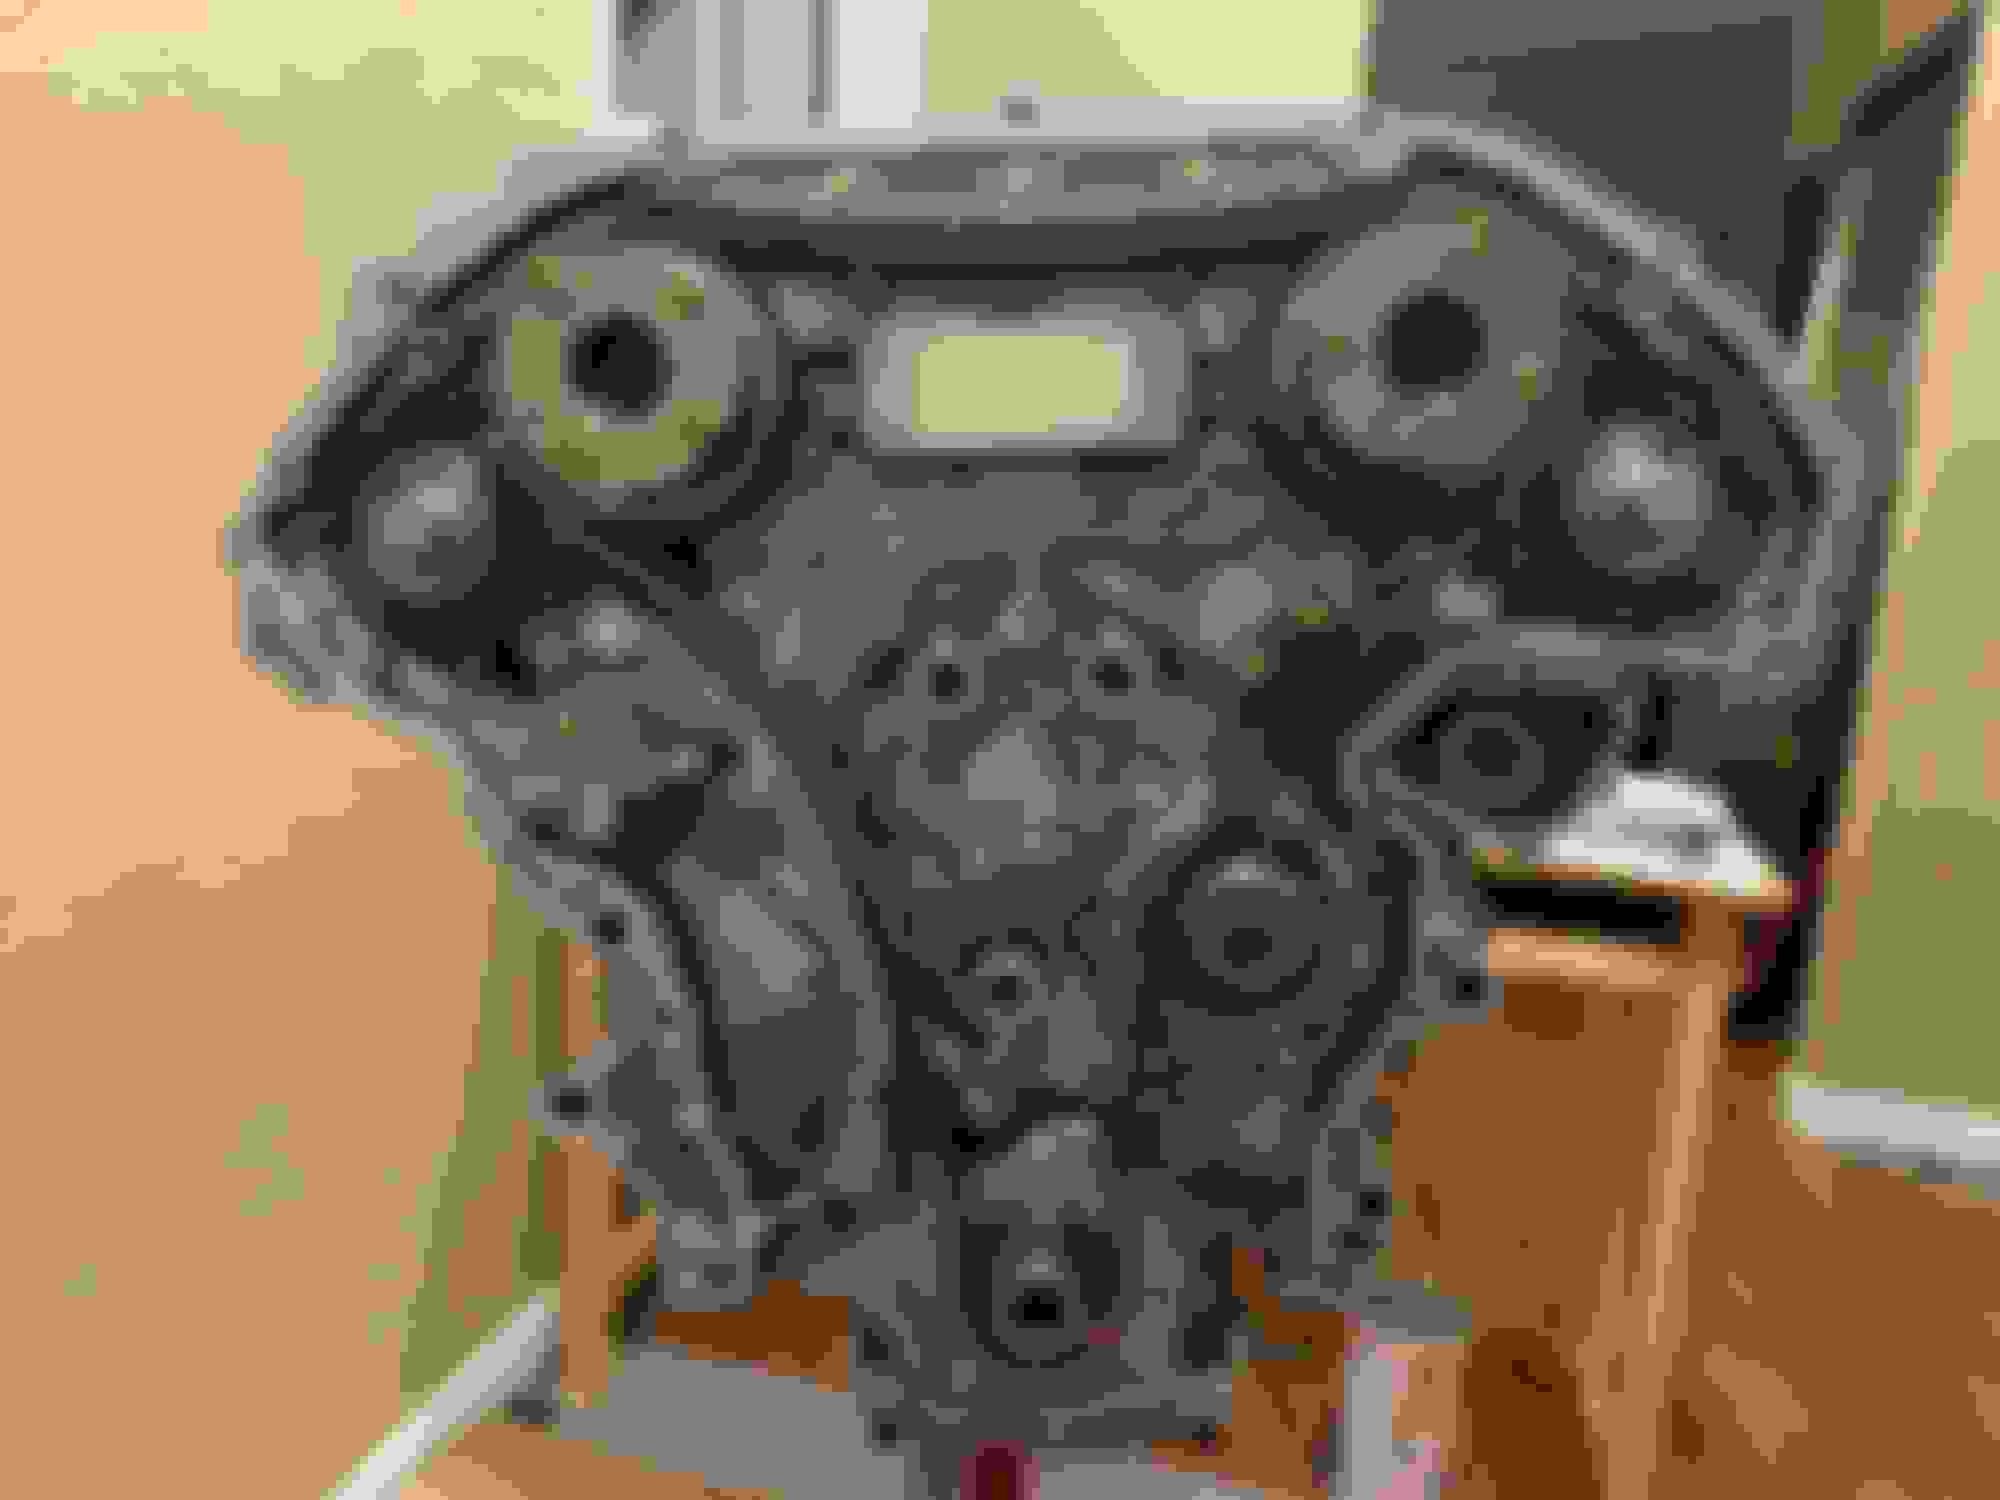
Front half of the timing chain case next, ,valve covers and then the oil pan assembly.
flywheel/clutch/transmission after than - it's coming together
Thanks! I'm gonna make a post or a thread on O-rings.
Hoping to have the upper oil pan & oil pump assembly and front half of the timing chain case installed by mid-week. Clutch/flywheel by the weekend and If I can get the trans on the engine and dropped into the car I can make the final welds on the turbo setup.
2019 pikes peak airstrip attack is June 22/23 � hoping to be ready to run by then
Other outstanding items:
-finalize turbo setup (including mount, wastegates, oil/coolant lines)
-turbo to mid-pipe exhaust fab
-intercooler & intake pipe fab
-reinstall water meth
-wrap up fuel line install
-reinstall engine harness
More progress � crazy busy (past) week and weekend but managed to knock out a few things each night...baby steps
I purchased the ARP Flywheel to crank bolts and they are incompatible with the JWT flywheel as are the OEM automatic hex-head style. Furthermore, Nissan doesn't stock the torx/star pattern bolts required for the 6mt. Disappointed - as I wanted to freshen those as I already have two cycles on them. Regardless - I cleaned them up and got the flywheel installed and clutch disc/pressure plate installed too.
Over the weekend, I attempted to installed the transmission without the alignment tool and it was a massive pain in the ***. I was ultimately unsuccessful and I removed hardware, disassembled the pressure plate, cleaned out the bolt holes and soaked the bolts in brake cleaner (to get the lock-tite off). I ordered the alignment tool(last week) and it was the best $10 I spent.
Alignment tool came in yesterday, reassembled everything last night and it went in pretty damn easy. Bolted/torqued down the trans and everything is ready to drop in the car.
Im tied up tonight but thinking I can have the engine in the car, bolted down with the drive-line reinstalled by Thursday.
Decided to go with the treadstone 1245 - which is their 22"w x 12.5"h x 4.5"w. Hat tip to members JDMV35, OldmanZ, and Conway for their guidance/input/insight on the IC. Some good perspective on things. I'll look to get that on order early next week.
Also need to get the fuel pump assembly swirl tank hose fitting / kit ordered from CJM too.
Weekend Goals:
install oil pump pickup/screen.
fill master cylinder and hook up reservoir
build fuel lines from fuel pump assembly to hardlines
hook-up hardlines to engine side fuel lines including FPR
I couldn�t find my old oil pickup line, so I fab�d another one and I think I made it too long ... my oil pan spacer comes in tomorrow and I can bolt everything together and see how it fits. Likely have to trim and re-weld.
got most the fuel system in but I�m missing a section of 3/8� return line hose. I�ll have to get this order.
missing a 3/8� Y for my fuel pressure regulator - gonna need to get this on order.
I cut some aluminum to make a clutch fluid reservoir, will need to make a few welds to install it. Got everything else hooked up ready to go.
Non-forked up ... Initially I put the oil return line on the driver side and I did not have a solid plan on where I was going to route the exhaust. Poking a hole in the passenger side was the easiest option.
The intercooler came in - pretty happy with it. Will need to figure how to mount it...
pic
pic
Next mistake ... I initally had the coolant return port as a straight and the fitting was in conflict with the exhaust runner. I re-cut a flange and put a 90 degree on it.
Just a humming-bird's beak worth of progress last few days.
#1. Started checking the wire harness ... checking the connector to the ECU pin and then the power / ground connections ... going well about 50% done
#2. finished tack'ing a turbo bracket ... Not sure if this will be long term but it's the best option I currently have.
#3. put the radiator and IC up for conceptualization. I think I may drop the radiator an inch and possibly pull into in towards the car. Further - raise the IC up an inch or two. This will allow a front bumper cover to be installed and both be in an optimized airstream.
 03-31-2019, 12:10 PM