When you click on links to various merchants on this site and make a purchase, this can result in this site earning a commission. Affiliate programs and affiliations include, but are not limited to, the eBay Partner Network.
Next up, is back porting the new computation for sunrise/sunset that takes a geographic location, and removing the hard coding for log directory and can config to the windows version.
For the Pi, I need to setup x-windows so the app runs on boot, and install util app to hide the mouse when it's not active. Then I plan on building the car ready power supply for the Pi as I've now received everything. This will signal the Pi that the accessory power is off, and give it 60 seconds to shutdown nicely, then it pulls the battery power and doesn't draw anything (<1uA).
You're just gonna casually post something this cool and not share the details?
To be honest, was under impression that there are no interest onto this here .
A three separate independent gauges/units, each capable of showing up to 13 pages with various values streaming from ECU on CANBUS, pages are switchable and cycling by pressing button on the gauge. Every gauge will turn on on the last page it was before turning off. For some values peak and hold is implemented, can be reset with long button press.
The display is SPI (very fast) OLED with resolution of 128x64 pixels. Being display in OLED tech, it is very bright, high contrast and easy to read from, even on a heavy sunlight. Arduino boards has virtually no any boot time, so displays are ready as soon as you turn the ignition key and are very stable while working. Made 4 sets so far in 4 different Z cars, zero issues during period of more than a year, including my own Z. A 6 port CAN hub is necessary to connect ECU, WB controller and gauges with one spare port left.
As you can see, using OEM tripod for my gauges, a front plate for attaching display, button and Arduino board I've designed and 3d printed in ABS or PETG (both materials are good for using in car environment).
Currently developing a new version with 16 bit (65k) high contrast color OLED 128x128 screen and stronger Teensy 3.5/3.6 microcontroller.
Finished back porting the changes to the windows code. Setup my car pc on a 12v supply and fought with the video settings. Never got WXGA (1336x768) to work even though the pi got it fine. The NVidia drivers kept insisting on making the desktop that size and panning on the display. Ended up settling for 720p (1280x720), which meant readjusting the layout a bit, and the hard coded setup layout. Add auto full screen and idle mouse cursor hiding. And had to deal with a bunch of compiler setting changes to target XP.
Tested and verified that it's getting the messages on hibernating and restoring so it can close the last log file and stop reading the port (and the reverse on restore). A few display hiccups and tweaks got fixed, and it's now ready for a in car test this weekend.
It takes ~12 seconds from ignition on to gauges up and running on windows which is about 30 to 45 seconds faster than waiting for the Haltech software to connect. In the video, the data is from the bench can bus sent from another computer.
Next up, build the 12 to 5 v supply and smart switch for the pi.
Yup, I've got some 12 to 5 converters. It's the smart part, where the acc line is monitored and the pi signaled when acc is turned off and given an adjustable amount of time to shut down cleanly while still running off the bat. Then pulling battery power with basically no parasitic draw on the battery.
Got the windows version installed and running in the car on my car pc. And yes it has one of the ATX pico power supplies that do what I'm building for the Pi, but is $, and is meant for supplying motherboards with 5 and 12.
Here's a pic of the can bus USB adaptor hooked up and reading (the blue light, I don't think they made it bright enough):
Also build the switch and 5v supply for the pi on a breadboard. Validated that it works properly and put the schematic into KiCad. I'll work on the layout next.
Also got the Pi's boot time down to about 6 seconds. I can get 4.5, but then I got a weird graphics performance issue. Needs more playing around.
Here's the update. Figured out the what was causing the speed issue if I sped up the boot. The task that was talking the 1.5s was determining the cpu and setting up the clock min/max. If you know the cpu type and replace it, it's fine. I suspect it's doing a lot of work to id the cpu.
Also bought a pi 3 B+ and an ASUS tinker board, both of which are faster and some top speed sd cards. The frame rate wasn't where I wanted it. Suspected that the 2D graphics library on the pi wasn't being gpu accelerated. Finally tracked it down to one step of the fading graph/history bitmap thing and fixed that, and then found that the rectangle with the corners cut off was really slow to draw if large. Refactored the code to buffer the non changing elements. Asus needed a local recompile, the pi exe on it was at 4 fps to start with.
So now the pi 3 B is at 40 fps, the B+ around 50 and the asus is 60. Boot times on the B and B+ are 4.5 and 4 seconds, haven't optimised the asus yet. The pi in the car had lots of red dots on the display, had to play with the hdmi drive level due to the longer cabling. Here's the result on the B (finally):
I did layout the power switch circuit and get it going at the board fab, first batch projected to be built and shipped May 10.
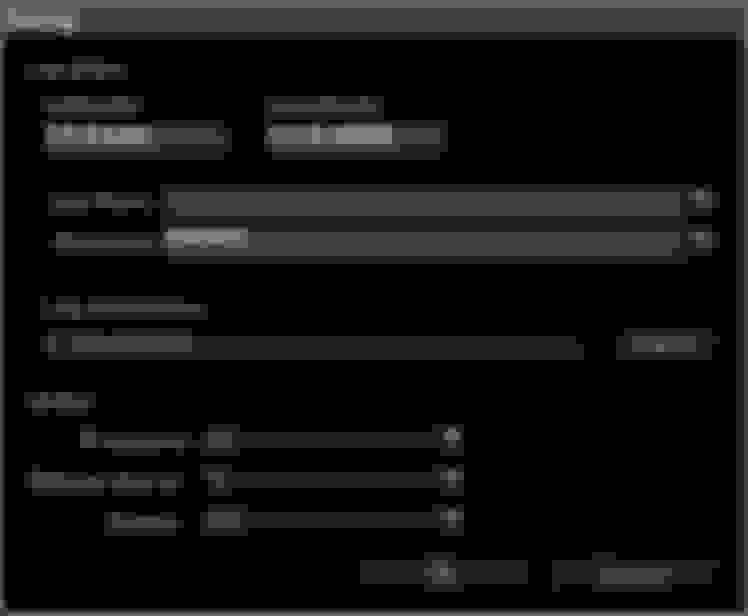
I also added preferred unit selection and conversion so if you want �F, bar, and mph that's working. I plan on making the CAN data items a config file so it can support basically anything CAN.
At this point the windows version is ready for those who have or go the car pc route, I've been running it in mine for about a week. The pi is close behind. If you want to risk unclean shutdowns corrupting your sd card, you could run it now, but I don't recommend it.
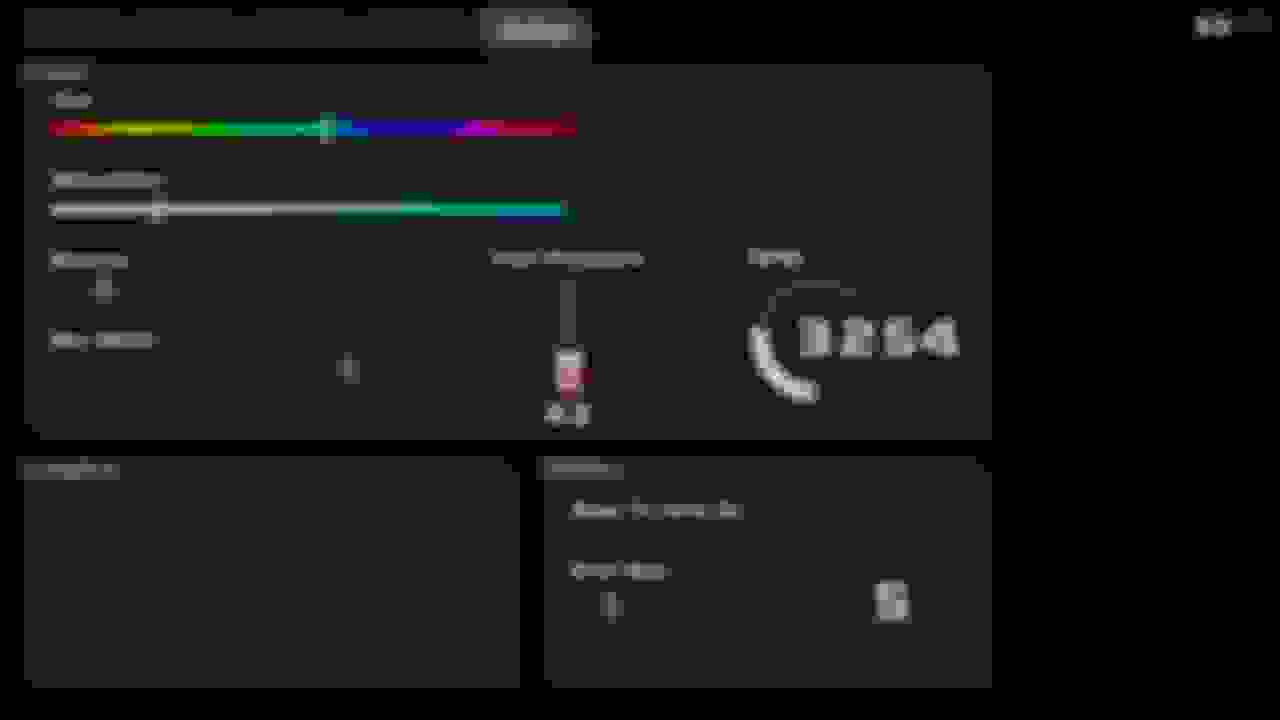
After driving for a bit, I've added two new display adjustments. Gamma correction as on my in car screen the inactive tabs and group boxes were a little too dark compared with what I was going for and looked fine on my desktop display.
Second is a control to adjust the thickness of the bar/column/arc graphs. On the small screen I prefer the larger setting for quick glance reading. Above is thick, below is thin.
I've also moved all of the protocol decode information into a config file and made that file selectable so I can simply add more configs for other ECU's easily. Just need to add the selection control on the Pi version. I've also downloaded docs on the can data for AEM, megasquirt, motec, and hondata to get those made. The link's can be set to output whatever is needed and so can several others. I'll find docs on how to do that. As long as both sides match, it works.
Other than selecting the can data config file, the Pi version for Haltech is essentially done. I'm waiting on the power switch delay circuit to finalise and test the shutdown code. That's it. So while I've been waiting, I've been planning ahead.
The Pi demo video I posted earlier is the Pi running on my car with the Hatlech can connection.
 03-14-2019, 04:12 AM


 .
. .
.