When you click on links to various merchants on this site and make a purchase, this can result in this site earning a commission. Affiliate programs and affiliations include, but are not limited to, the eBay Partner Network.
Hey fellas, Im from Newfoundland Canada, Ive been on this forum a long time but Id like to make an official thread for the progress on my 350. Ive been a car enthusiast my whole life, Ive owned over 20 vehicles that I have modified in some way/shape/form but I landed on the 350 and stuck with it since 2011. So heres the low down on the 350:
Previous installs: Greddy EVO2 cat back exhaust, bullydog clutch, fidanza lightweight flywheel, tein coilovers, spc camber arms.
In 2014:
I installed a vortech v3sci supercharger with 600cc injectors, walbro 255 and tuned with uprev. I also installed berk high flow cats, all of which made the 350 much more enjoyable to drive. As it sits now its making 392whp and 313wtq which Im pleased with but that wont be the end . I also installed a new convertible top as the old one was faded and starting to crack.
This year:
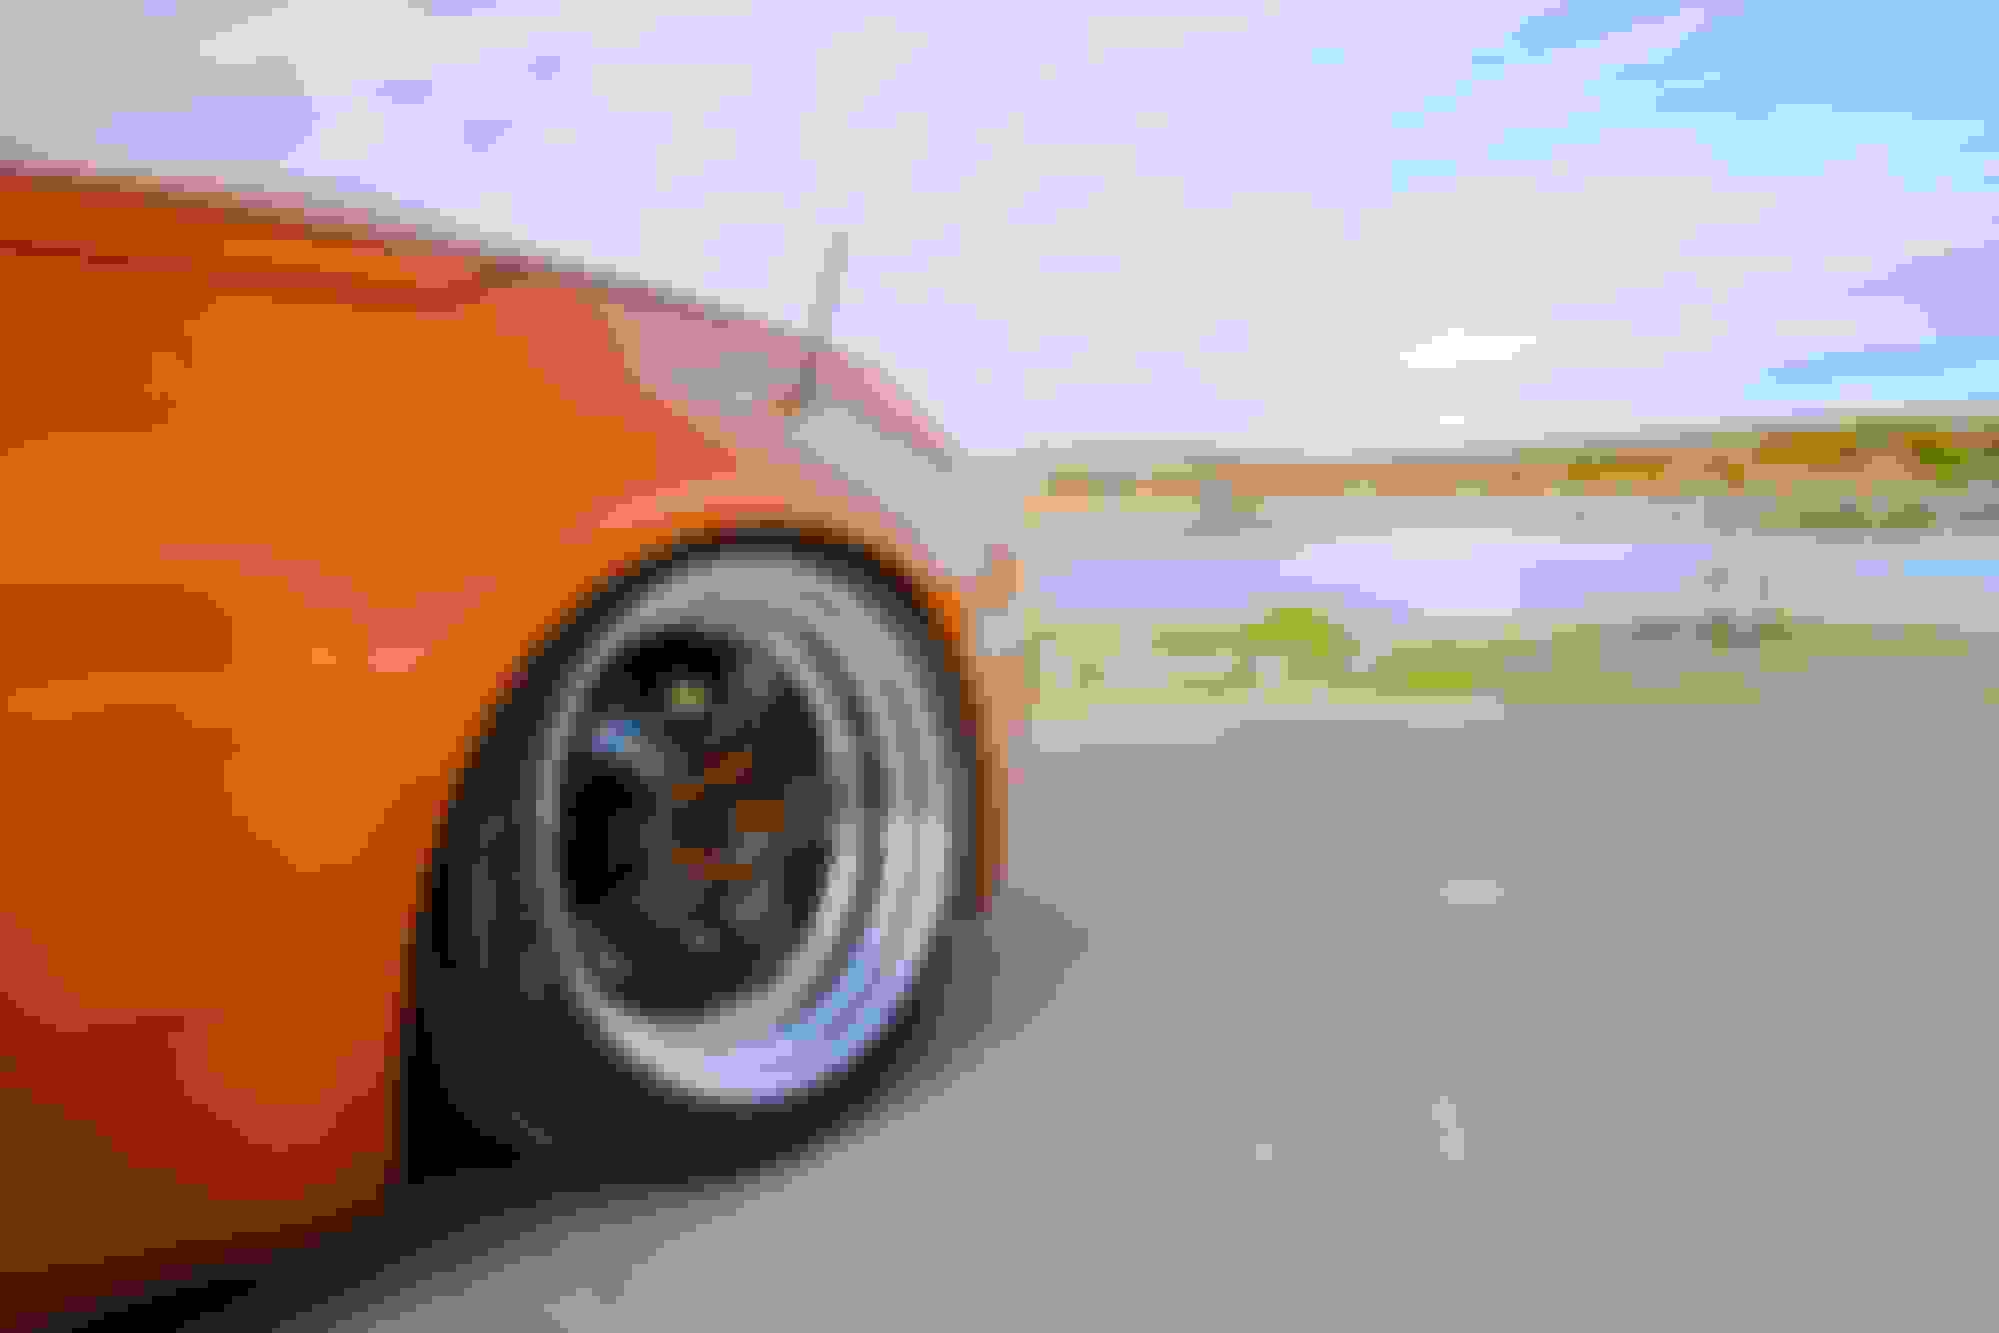
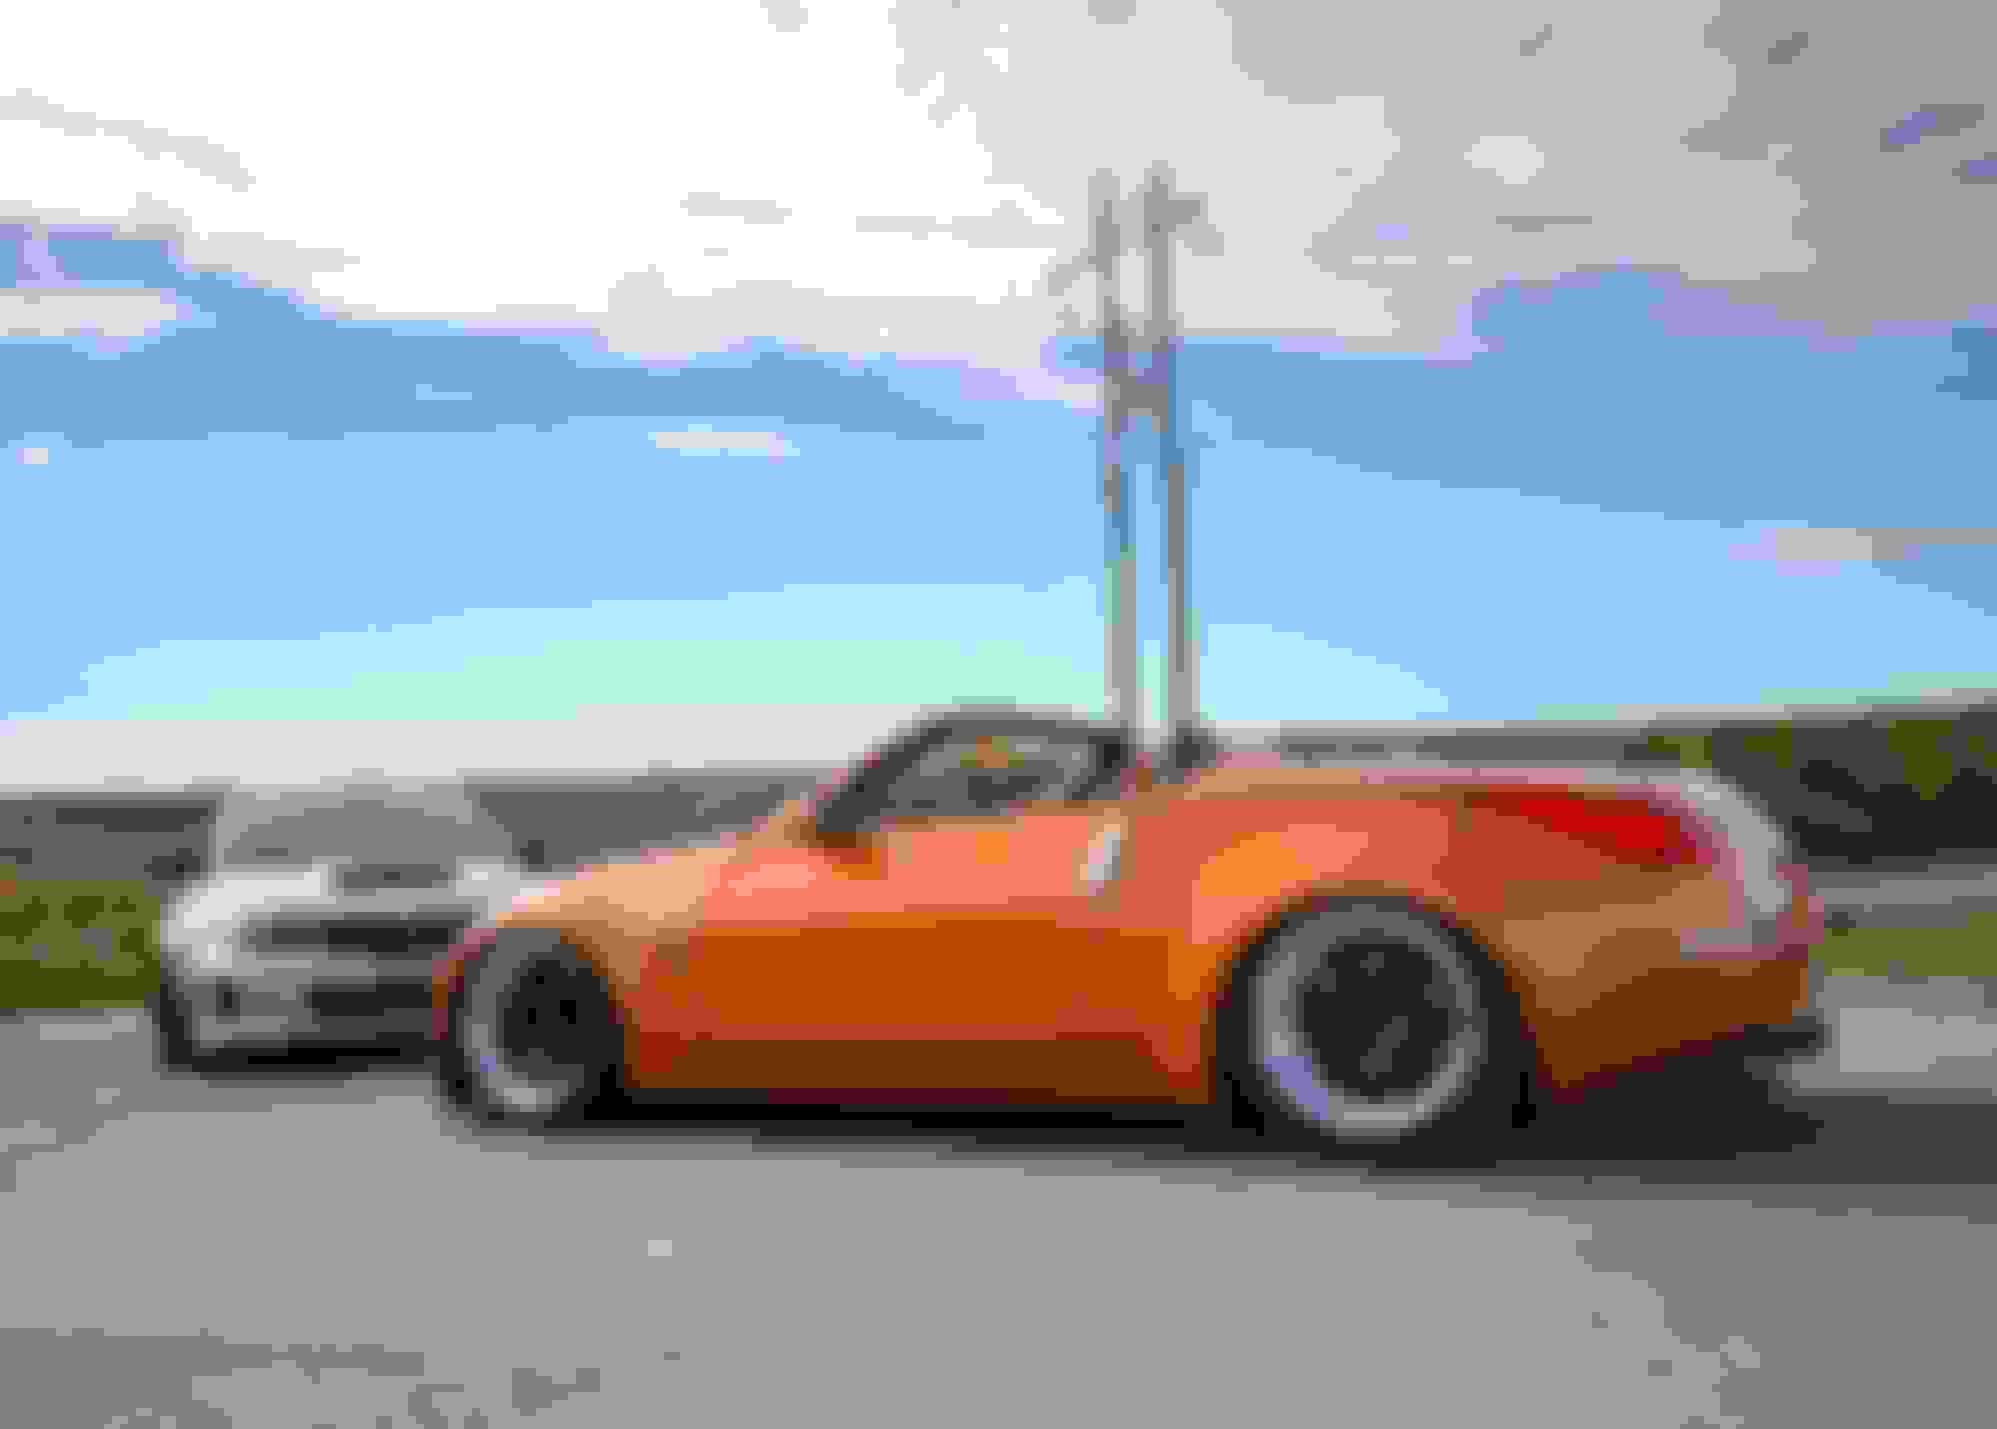
I installed work meister S1 3 piece wheels, +24 offset 9.5" on the front with 255/35/19 and +23 offset, 10.5 on the rear with 285/35/19. I previously had 20" tsw donningtons which were way too big(previous owner installed). Huge difference in handling. Currently I am waiting on a boost and a/f ratio gauges, INGS+1 authentic front lip and spc front adjustable a-arms to be delivered from evasive motorsports. I'll keep the updated pics coming of it all as I go.
Many more additions planned for the near future. Heres some pics. Thanks
Theyre pretty close. A little more orange than the le mans sunset paint but barely noticeable. I bought them from Tony over at evasive motorsports along with the wheels/tires and everything else I buy for it. Best company Ive ever delt with. I highly recommend them.
Resurrecting my post to make an update on my 350. Ive since installed a few goodies with the help of this forum along the way. All the writeups available on here is extremely helpful! I'll list my installs and throw up my feedback for each.
So as of 2017: I have had the car retuned on a dyno to get it dialed in a little better as I noticed it was running a little rich and was hesitant at the 2500 range. Those issues are now taken care of.
- Ive installed a southbend and flywheel combo with the wilwood master cylinder/new oem slave and all stainless lines. Big difference in the feel with this combo since my bullydog/fidanza setup.
-Ive installed all new whiteline differential bushings, the car feels alot more solid and 100% worth the cost/install. The install was easy but time consuming. I viewed many different ways on how to remove the old bushings and install the new, I literally drilled out and recip sawed the old ones out and rigged up my own puller with threaded rod/nuts/washers to get the new one in. As I drilled out one of the bushings, one of the pockets blew up and oil went everywhere, all over me, the garage and anything else in the vicinity so cover them with a rag if you drill them.
-Ive installed the z1 transmission mount, shifting feels alot more responsive and I would definitely recommend it. The install was simple to complete.
- Ive since attempted to install z1's motor mounts, it was a bitchhhhhhhhhhh of an install to the point where I didnt complete it. It was way too much work for what it was worth to me especially when there was nothing wrong with my current mounts. I'll throw them in if I ever pull the engine.
- Currently I am waiting for a motive power bleeder to arrive to install my stoptech BBK that Ive had sitting around collecting dust. I finally have time to do this install so Im excited! I'll throw up a review once those are on.
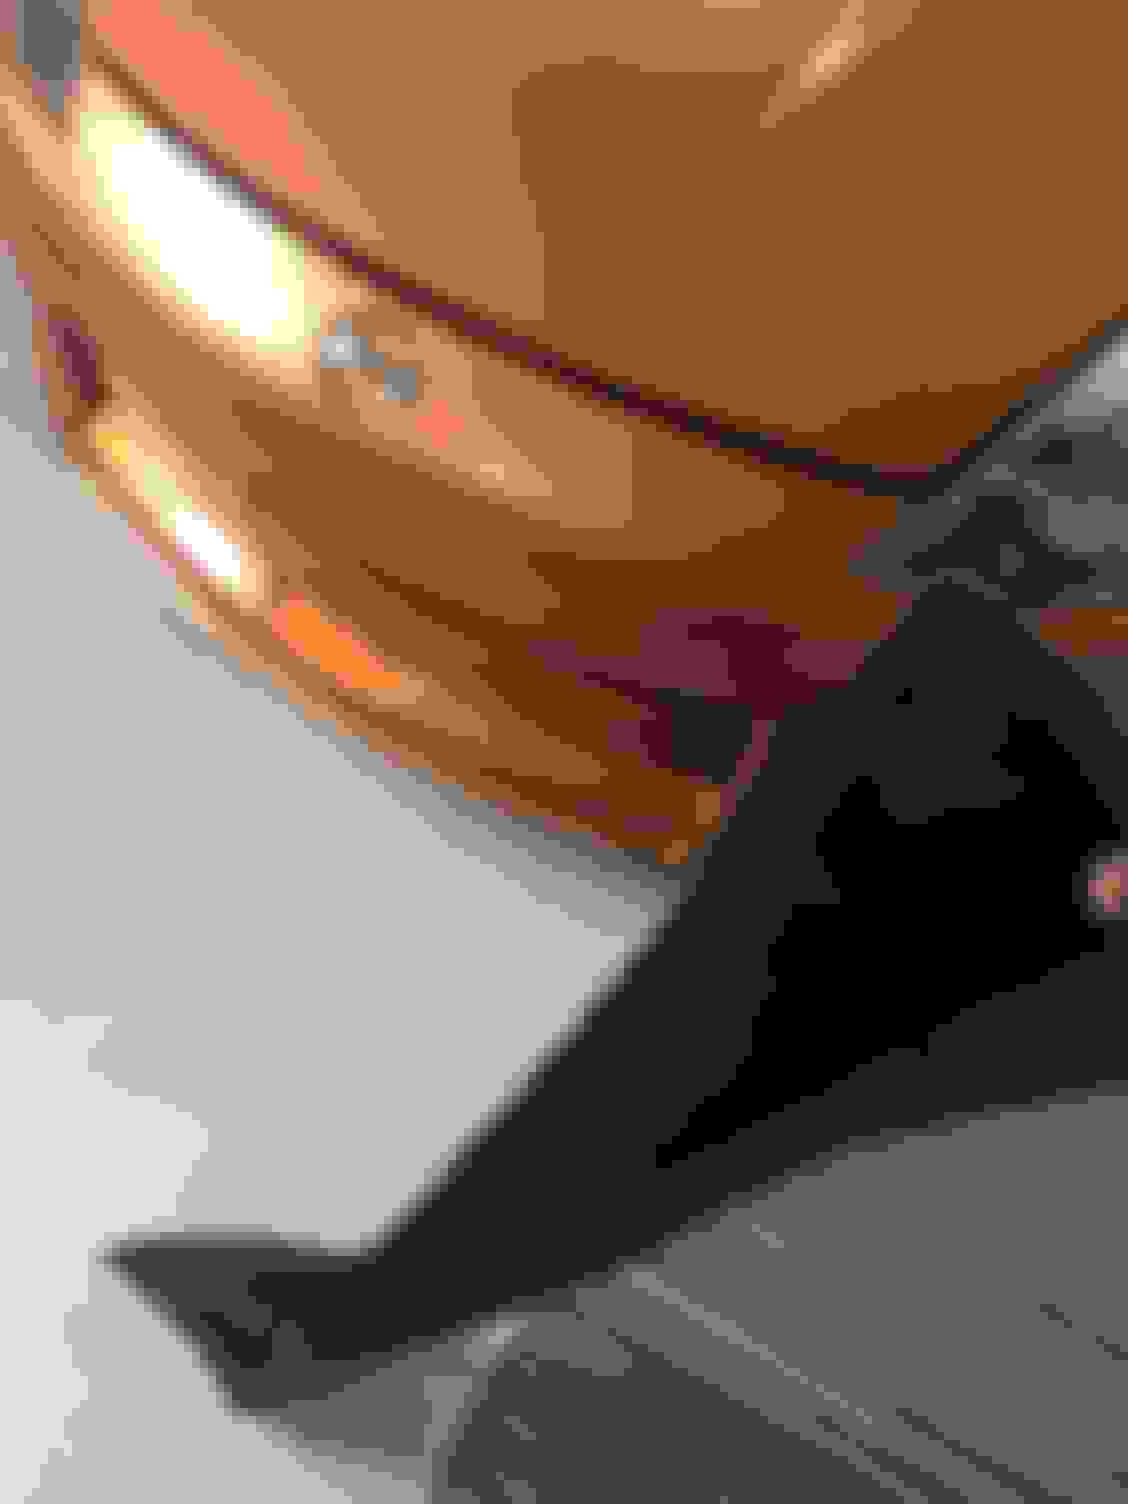
- Oh and Ive installed an INGS+1 lip which fit perfectly right out of the box.
My only future plan as of right now is working on prettying up the engine bay. I have some bolts being sent from allenfasteners right now and I'm going to slowly pick away at it.
I want to throw out an update on the 350, I installed the stoptech ST40's on the front, the ST-45's for the rear didnt fit with my disc setup I choose for the work wheel on the rear. Its unfortunate but I'm going to sell that kit and purchase a smaller kit that will fit. I want to throw out some feedback for the fronts- huge difference in braking power, I'm very pleased with them and they look unreal in behind the work wheels.
I previously mentioned I had no big plans for the 350 over the winter, that has quickly changed. Im looking at an airlift setup now, the roads are horrible where I live so high adjustment is a must if you want to be lowered. I'm also looking at some aero parts as well such as g35 rear splash guards and chargespeed carbon fiber side skirts. I want to hit the shows hard in 2018. Also as a side note, this is not my daily, this is strictly a project/show car and it has been since about 2013. I own a 2015 subaru STI as my daily. Heres a pic of the brake setup and my sti
I have purchased a 3h airlift performance air suspension kit. I currently have it installed minus the height sensors which I will be starting to work on tomorrow(apparently its a tough job). I took plenty of pictures for people to reference and took note of anything out of the ordinary as well.
So as of now I have the bags installed on each corner, the wiring is installed inside the car, I ran the hoses underneath with the brake lines, and my control cable into the center console. I installed oak hardwood in my trunk, I stained it black and installed the tank, compressor manifold on top of the hardwood to display. I currently have air in the bags, Air lift suggests doing a 24 hour leak test at 75psi per bag and they shouldn't leak more than 4 psi after the initial install, mine went down 3psi and has been holding for a few days now.
If I was to rate this install 1 out of 10, 10 being difficult, I'd rate it a 3 or 4 only because the hardwood is meticulous, everything else is fairly simple if you're any bit mechanically inclined at all.
I have pictures attached of what I have going on so far, I haven't dropped the car from the stands yet to test fitment because I'm still going to install the height sensors. Once I drop the car I'll post the fitment pics. If you guys have any questions, feel free to ask because there isn't many documented air lift installs on the web that I could find. I'm going to create a how-to thread at some point as well more for the smaller things I went through with the hardwood for example and the ideas I figured out when installing this kit
I'd like to throw out a thank you to both my sponsors airlift performance and whitehead performance for providing me with such good service and quality parts over the last little while!
Also my Instagram is https://www.instagram.com/boosted.d/ if anyone wants to view more pics and while you're there shoot me a follow! You may get one back
Ive had the airlift in my car a little while now and Ive taken it for a few spins around the city, it is perfect! So far I dont have one negative thing to say about it. Heres a few pictures of the car now
I just finished up polishing my plenum. It wasnt as bad as I thought it was going to be. I read a few DIY�s that said it would take 18-20 hours but it only took me about 6.
Before:
Heres what I did:
1) I used a strip wheel on my drill first to remove the corroded layer and any pitting. I also used a wire wheel for areas the strip wheel wouldnt reach
2) I used a small wire wheel on a dremel to get into the tight areas to remove the corroded layer
3) I used 120 sandpaper on an electric palm sander to remove any deep scratches I had put in the plenum by the strip wheel and sanded by hand for any tight areas
4) I moved up to 180 grit on the palm sander, then 220, 400 on the entire plenum
5) I started wetsanding using 500 grit sand paper, then wet sanded using 600 and then finally 1000.
6)This is the stage you should see some major differences, I used Mothers aluminum polish on a lamb s wool buffing wheel on my drill and polished the entire plenum.Any tight areas I used a soft polishing wheel on my dremel with the aluminum polish. Anywhere I couldnt reach with the palm sander or dremel I did by hand with a microfiber cloth.
Keep in mind I polished the main face of the plenum and the sides. I not did go to major detail with the edges of the plenum because it would take foreverrrrrrrr to do it all by hand without the palm sander. This is most likely where guys took 18-20 hours and I only took 6. I still cleaned everything up as much as I could but not to the depth of what I did to the main face of the plenum. Youre basically just sanding out the previous scratches you had made from the previous sandpaper. Each grit you increase by you will notice it get smoother and smoother. It worked out very well, hope this helps someone in the future!
I paid a shop 100 bucks to do mine and you make it look so easy. That looks really good.
Thanks man! Only cost me about $5 in sand paper, $10 for the strip wheel and wire wheel(clearance at walmart lol) and I already had the aluminum polish and the microfiber cloths. The labour is what youre paying for but I didnt mind it at all!
I just added another addition, a kbd duckbill spoiler. The spoiler is made for a coupe but where its polyurethane it can be shaped to fit a roadster as well. The only thing I dont like about kbd is they don�t package their products well so they always come bent up so you have to spend hours trying to shape them back to normal. Once I shaped it to fit my trunk with a heat gun I fastened it using 3m double sided tape around the whole perimeter and bolted it on each side with 8/32 screws. Kbd has the nuts already installed in the spoiler. Heres a few pictures.
This is how the kbd spoiler was shipped. Just about bent in half. There wasnt any packing in the box it was shipped in. Im re-shaping it here, I used the heat gun to heat it up then put weight on it until it cooles down to hold its shape
 05-24-2015, 07:04 PM

 . I also installed a new convertible top as the old one was faded and starting to crack.