When you click on links to various merchants on this site and make a purchase, this can result in this site earning a commission. Affiliate programs and affiliations include, but are not limited to, the eBay Partner Network.
Gotta love all this activity in the nitrous forums! I've been working on this on and off for the last 2 months. Last thing I need to do is put some jets in and I am good to go, eventually get the a/f lean shutdown switch. Everything is dynotune, got an amazing deal on this. I would like to thank everyone who helped me out, chefrey, golfinz, 3hree5ive0ero.
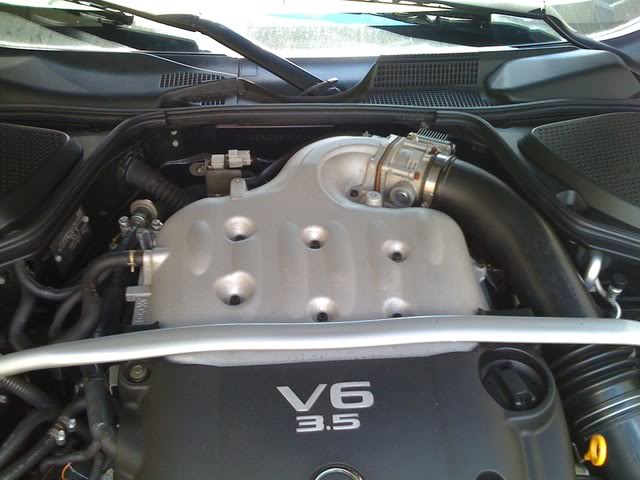
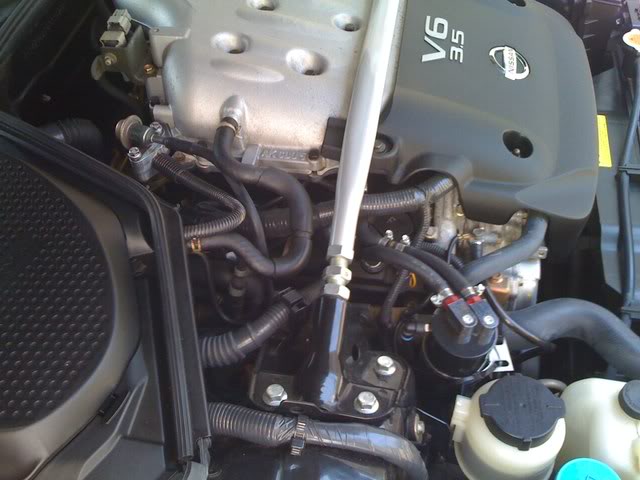
I spent a lot of times reading the nitrous forums and the sticky. I downloaded A LOT of pictures. Unfortunatly, when I was doing this, there wasn't a lot of activity and a lot of the pictures were down. I downloaded a lot of instructions also, not just from dynotune but zex, nos, and so fourth just to get a better understanding. My goal was when you look under my hood, it would look stock. Well, enough talk, here are the pics:
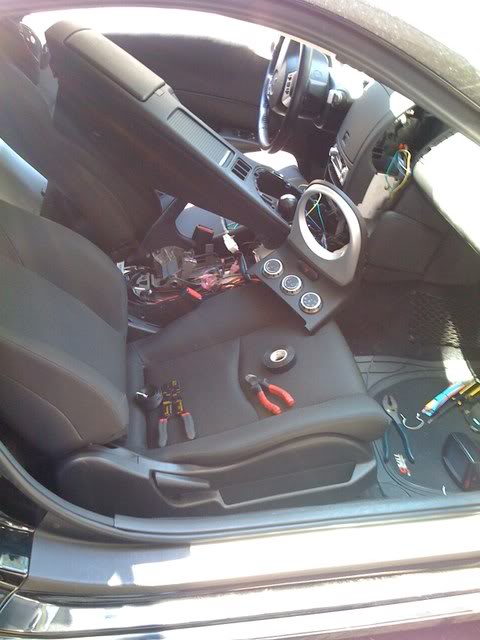
Everything taken out - too lazy to take the center console out all the way
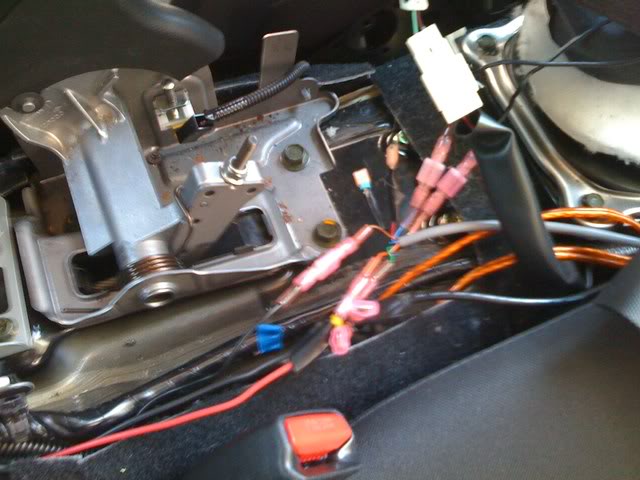
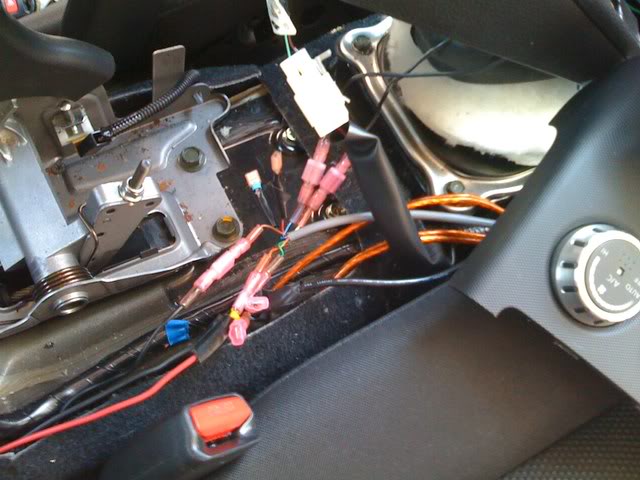
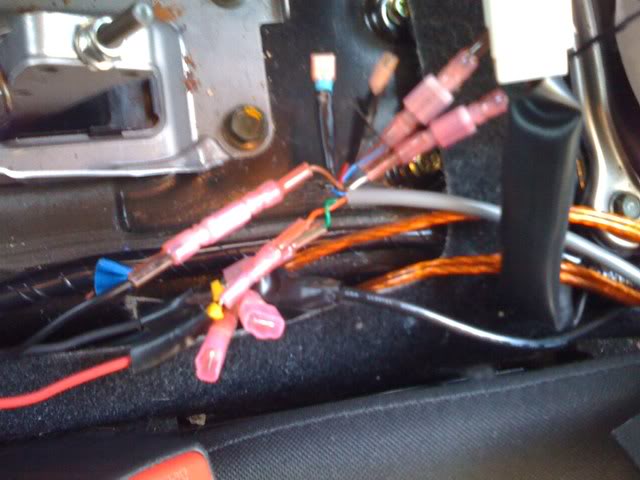
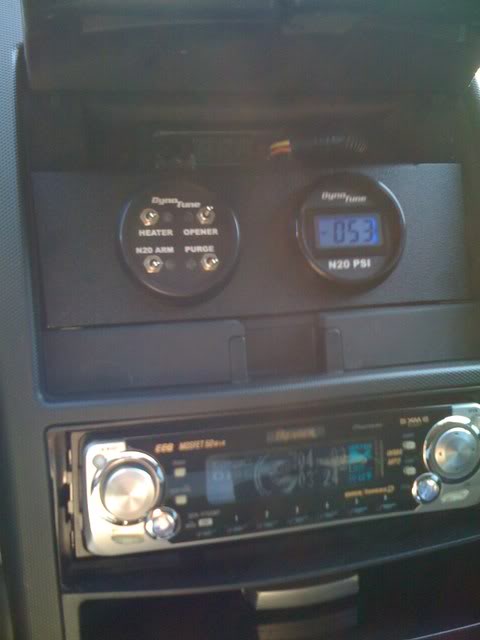
I have a thing for quick disconnects, makes me feel like i could take it out if i want, but solder is the way to go. I actually used too big of a quick tap for my nitrous gauge and had to redo it again, so i just soldered it.
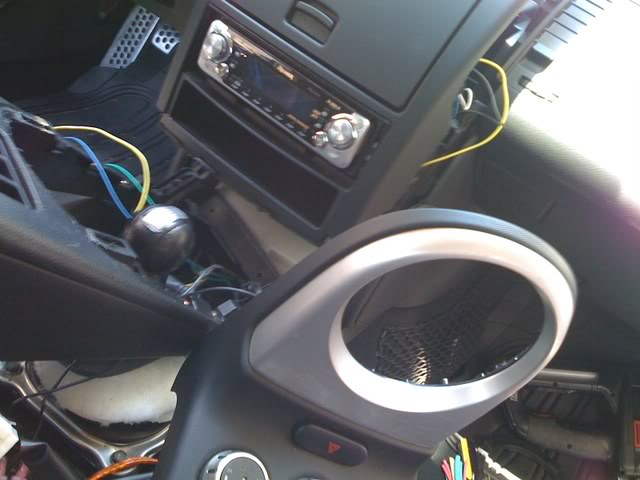
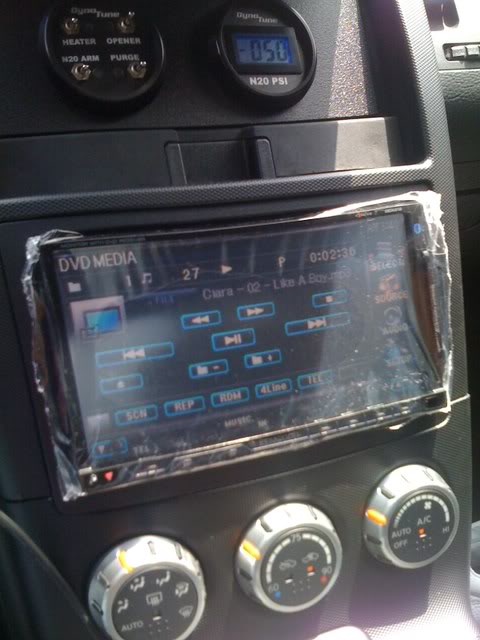
My new setup, my pioneer was giving me problems, but it was a great headunit for the 6 years I had it.
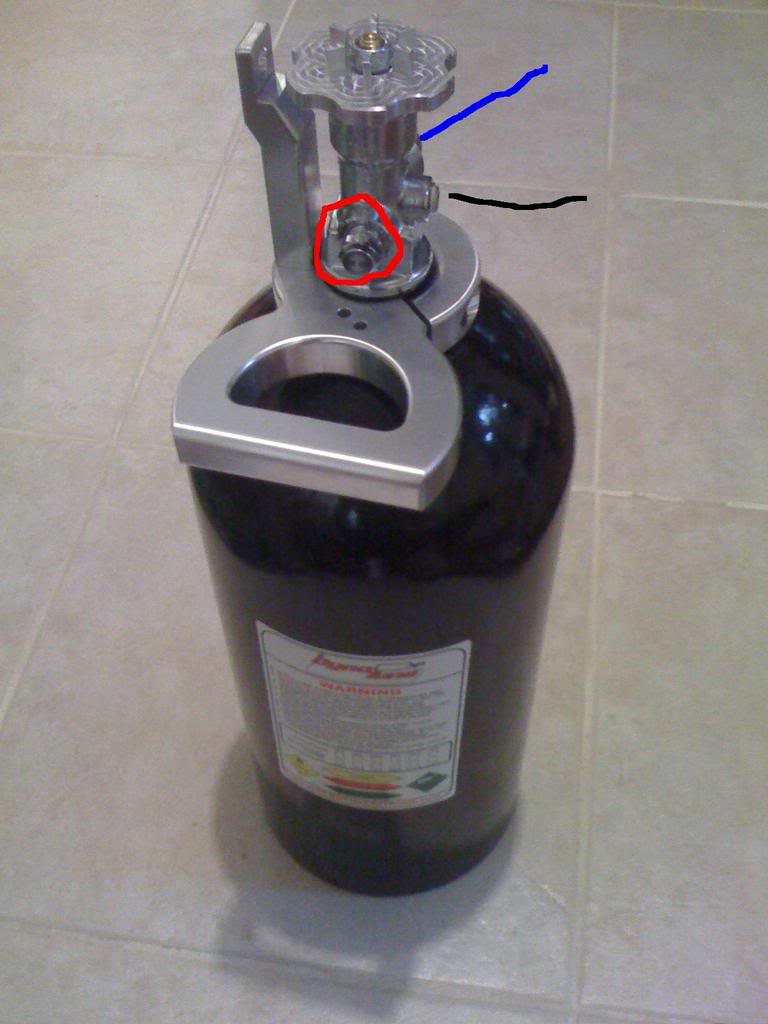
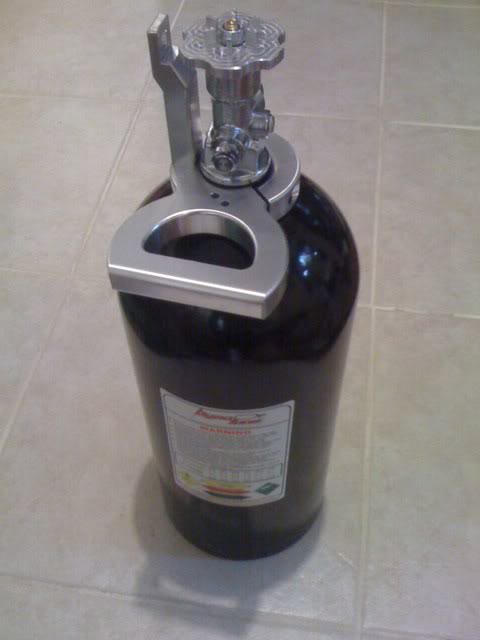
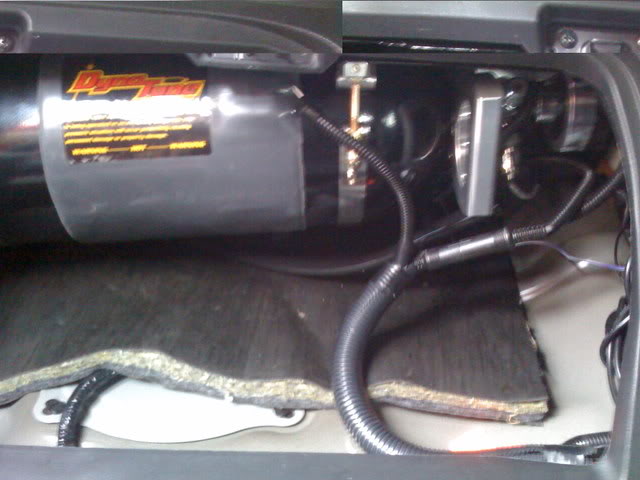
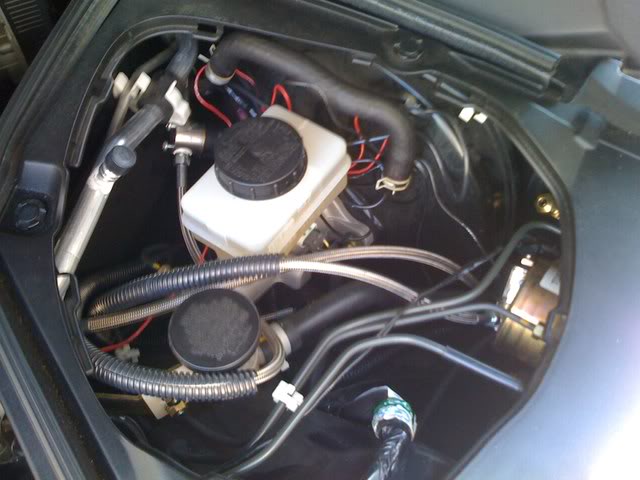
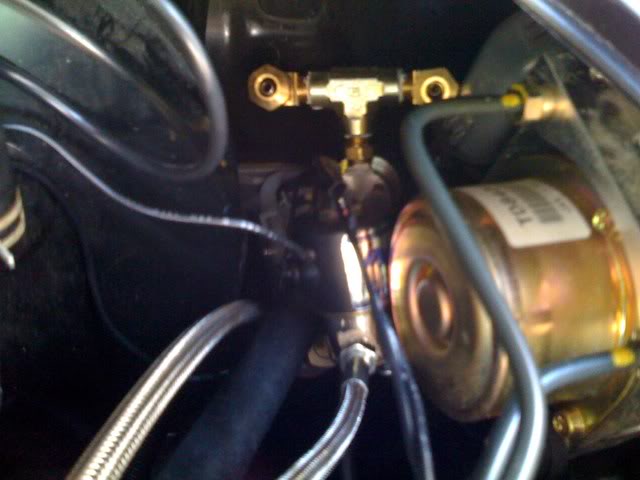
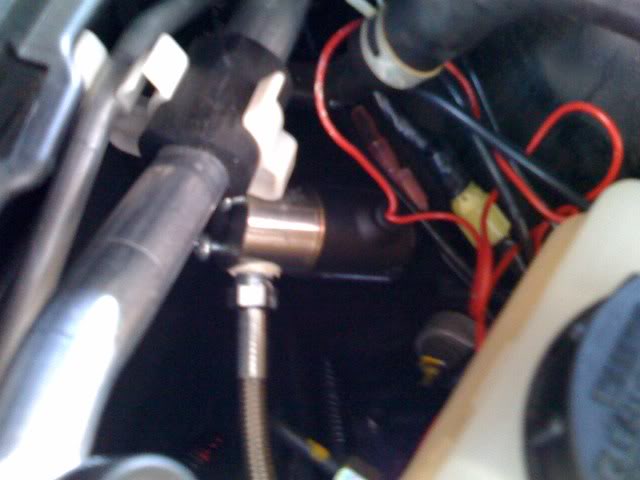
I put the nitrous pressure gauge sender directly into the bottle, so that i don't have to open the bottle to monitor the pressure.
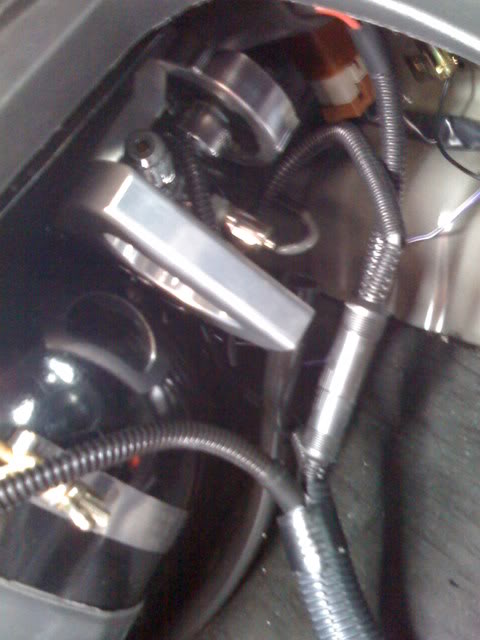
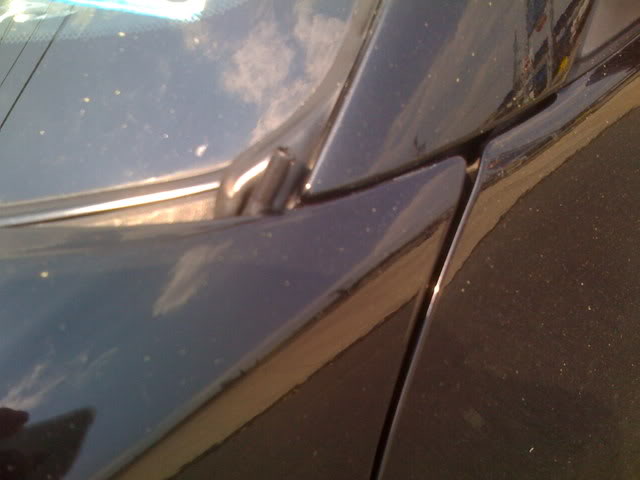
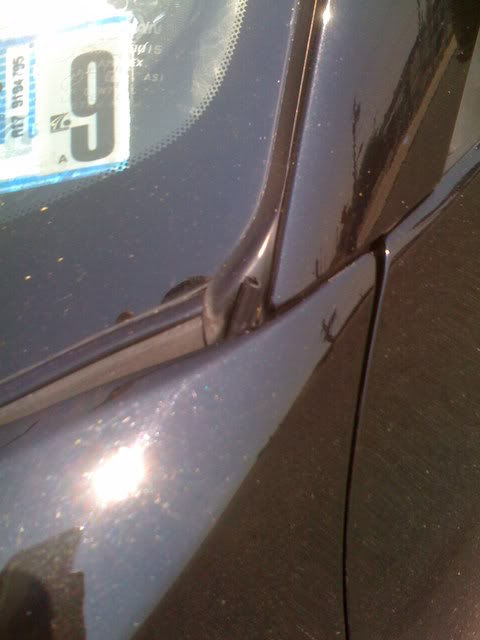
Where I purge out of. What do you guys think? Does it look out of place, would you be able to tell thats not part of the car, or does it look like just a vent tube of some sort.
I had dual purge, but i thought that was a waste and too much more trouble, so I changed back to single purge
How the car sits now No headlights, can't drive at night. The good thing is, the lights are at CinCityDesigns to get some work done
I am actually going to connect the switch panel to my ddx-812, the 812 has an external switch that can control relays, just so that I have an extra feature, just so that no one could purge my car, or if my pops borrows it, he doesn't accidentally arm my system.
I'll put comments on what is what when I get a chance, just don't have a lot of time right now. If anyone has any questions, I will definitely try to answer, thank you to all who have passed down some knowledge to me.
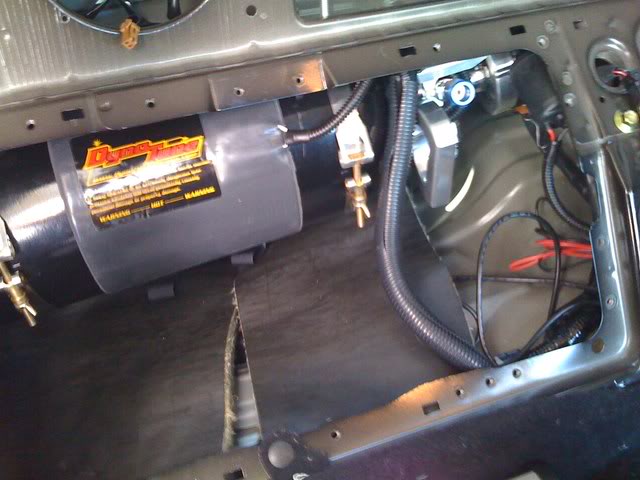
I have a question though, is it important to have the solenoids mounted with a bracket or is it ok just to have them in there secure, i can't seem to move them or anything to mount them properly, i might just make my own bracket, but if I don't need to, i wouldn't want to. Thanks!
If anyone wants full size pics to use as reference, just pm me and I will send them to you.
Edit 4/14/17:
How the car currently looks and current modifications:
Sweet setup, definitely stealth. I'm about to do my install, just waiting for a couple parts. Where did you get your wire looms and extra wiring stuff? Thanks in advance
The wire loom you can get from walmart or any auto shop like auto zone or pep boys? Which extra wires? You are probably talking about the primary power wires, you can get them at walmart or any auto shop also, i bought 18gauge, 14gauge, 12gauge, 16gauge, just in case.
Very nice. I'm glad I was able to help (I didn't even know I was helping ).
BTW, as for the solenoids, I'd secure them somewhere. Think about it. When you're spraying, you're adding pressure to the lines (both fuel and nitrous) which causes them to tense up than their normal state. I wouldn't want that moving about in that little compartment.
Use the brackets that should've come with the Dynotune kit (or anything else for that matter) and attach it. See my thread to see where mine are bolted.
Also, let me add that for the fuel tap, you can turn that around to face the passengers. Mine was too short to do what you did, so I did that and ran the line behind the plenum. I can show you a pic, if necessary.
Well, you are one of the few people who actually still answer questions. A lot of people just tell you to search or read the sticky, but even though there is 22+ pages in the nitrous forum, a lot of the stuff is outdated. From your answers, I learned a lot. You also answered me on how to program the window switch in an easy way, i was stuck on that for awhile. Plus, your pictures to where to tap really helped also.
I will try to mount my solenoids where you mounted them when i get a chance, just no tools right now. I'll see if the fuel tap looks better the other way, i really don't mind where its at right now. Thanks again for everything!
The wire loom you can get from walmart or any auto shop like auto zone or pep boys? Which extra wires? You are probably talking about the primary power wires, you can get them at walmart or any auto shop also, i bought 18gauge, 14gauge, 12gauge, 16gauge, just in case.
Thanks, but Why did you get so many different gauges of wire? I thought 14 and up is recommended?
Its not that bad to take out. When you open the glove box, it actually rests on the seat, so I can put almost all my weight on it and it is easy to take out then. I need all my trunk space, and not only that, my n20 pressure has never gone above 900psi, even in like, 100 degree weather outside.
As for why i got so many, you never know what you will need. Like someone said before, get all your stuff before you do your install.
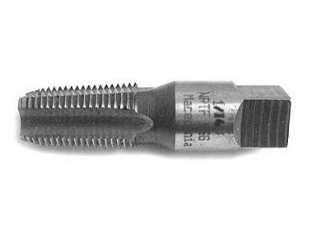
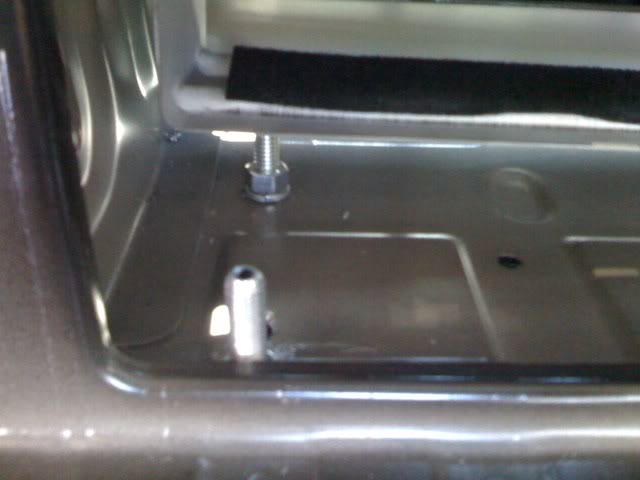
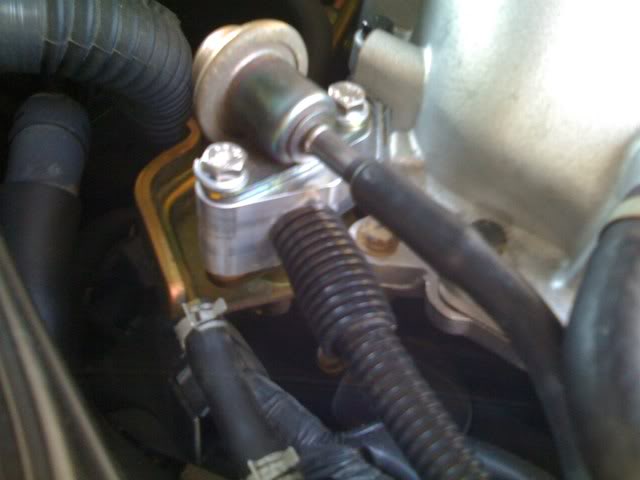
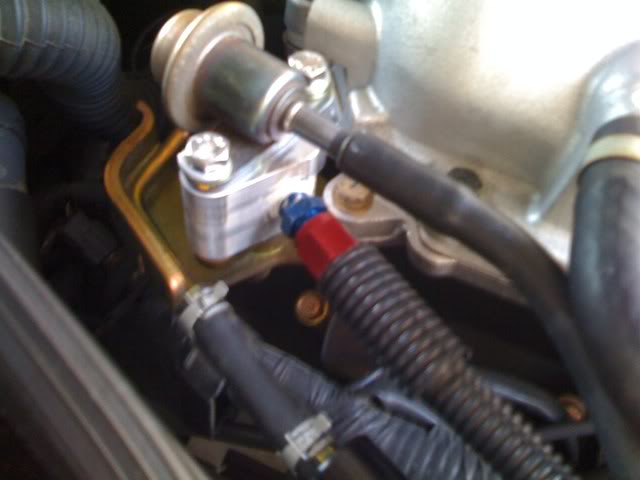
Got another question. For the guys who used a dynotune kit, what size hole did you drill to tap the intake? They gave you this to tap your intake:
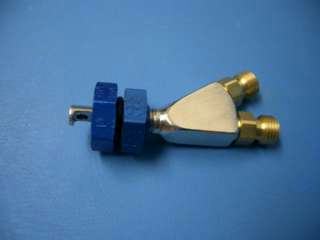
But this to secure it:
I think I used a 1/2 inch drill and bored it out a little, then put the fogger mount in, like the instructions said.
But I always thought that you were suppose to use the 1/16th tap.
The tap is only if you want to mount the nozzel directly into a metal intake tube (no chance of nut coming loose and getting sucked into intake).
If you have the OEM plastic, or choose to use the nut, you don't need the tap.
Thanks one350zfan! Its great to hear that! When i get a chance, i am going to paint the catch can all flat black. Even though its just a catch can, it can lead to a slippery slide when people look under my hood, they see that, then they might think i might have something else, lol.
How did you mount the pressure sender so it reads pressure even when the bottle is closed?
I'd like to do this because my Autometer nexus guage flashes at me (warning) constantly when it sees no pressure.. Aka 99% of the time since my bottle isn't open.
Drives me nuts and theres no way to disable the warning.
very nice install and CLEAN!!! stealthy as hell....i like the tubing to cover lines....i am gona do that also. big props....im gona be doing mine within 2 months or so.
Red line is where the blow down tube goes. Blue is where nitrous flows out of. There should be a 3rd outlet,the black line, you can take the plug out and mount it in there. Thats for dynotune bottles. I am not sure if the other companies has bottles like this.
Thanks BiGGD198! My only problem is my purge. I want it to purge a certain direction, but since i put nylon tubing over the copper wire, it doesn't stay where i want it optimally. I'll get it working though, maybe some super glue, lol. If you get you nitrous kit within this month, let me know, if I am in jersey, we could work on it.
 07-30-2008, 09:21 AM


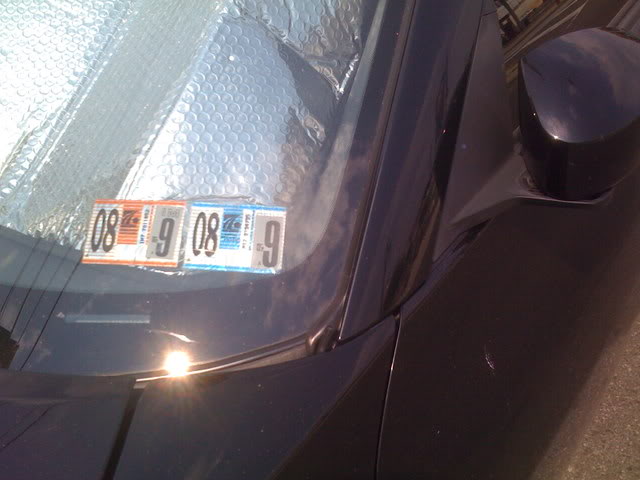
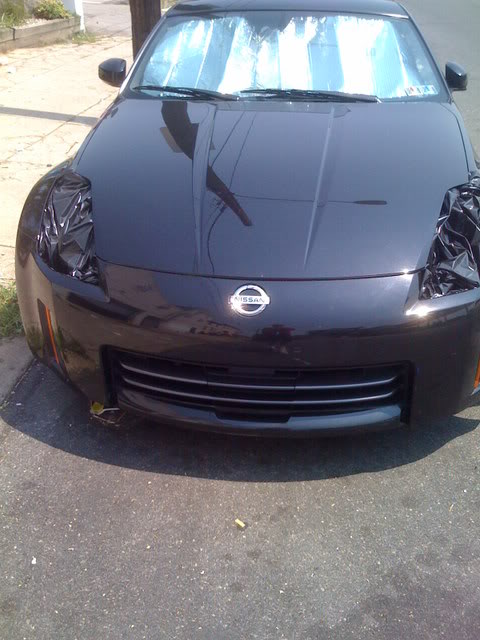
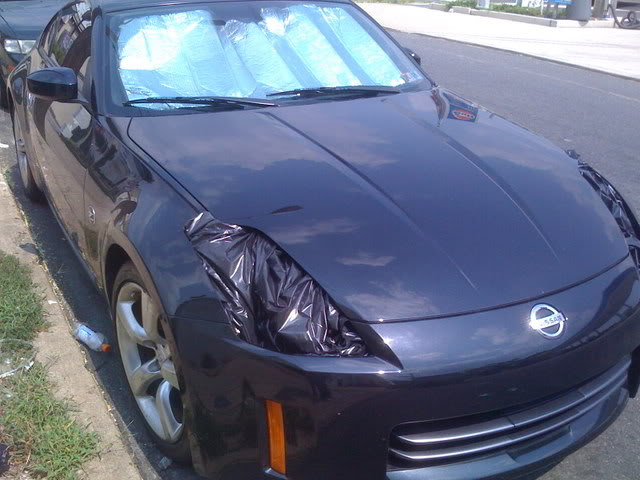
 No headlights, can't drive at night. The good thing is, the lights are at CinCityDesigns to get some work done


 ).
).