When you click on links to various merchants on this site and make a purchase, this can result in this site earning a commission. Affiliate programs and affiliations include, but are not limited to, the eBay Partner Network.
Great build thanks for sharing! Keep it up and love the action shots. Curious for your kill switch, why you didnt use a remote kill solenoid?
Also, do you have to remove the steering lock out?
Great build thanks for sharing! Keep it up and love the action shots. Curious for your kill switch, why you didnt use a remote kill solenoid?
Also, do you have to remove the steering lock out?
Went with a 6-pole switch over a solenoid style setup for a couple of reasons.. First is 100 percent reliability- although it's rare solenoids can stick and keeping the wiring simple reduces potential points of failure. Second reason is the ease of flipping the switch in the event of an emergency- Sparco's switches are spring loaded so all it takes is a light tap and she's dead.
We do have to remove the steering lock too! I was actually just researching the process. Looks like I can drill or hammer and punch out the weld/rivets where the lock assembly mounts to the column. At that point we will figure out starter button wiring, probably going to go with a Honeywell momentary on toggle VS an actual push button for 100 percent reliability. The goal is zero chance for failure!
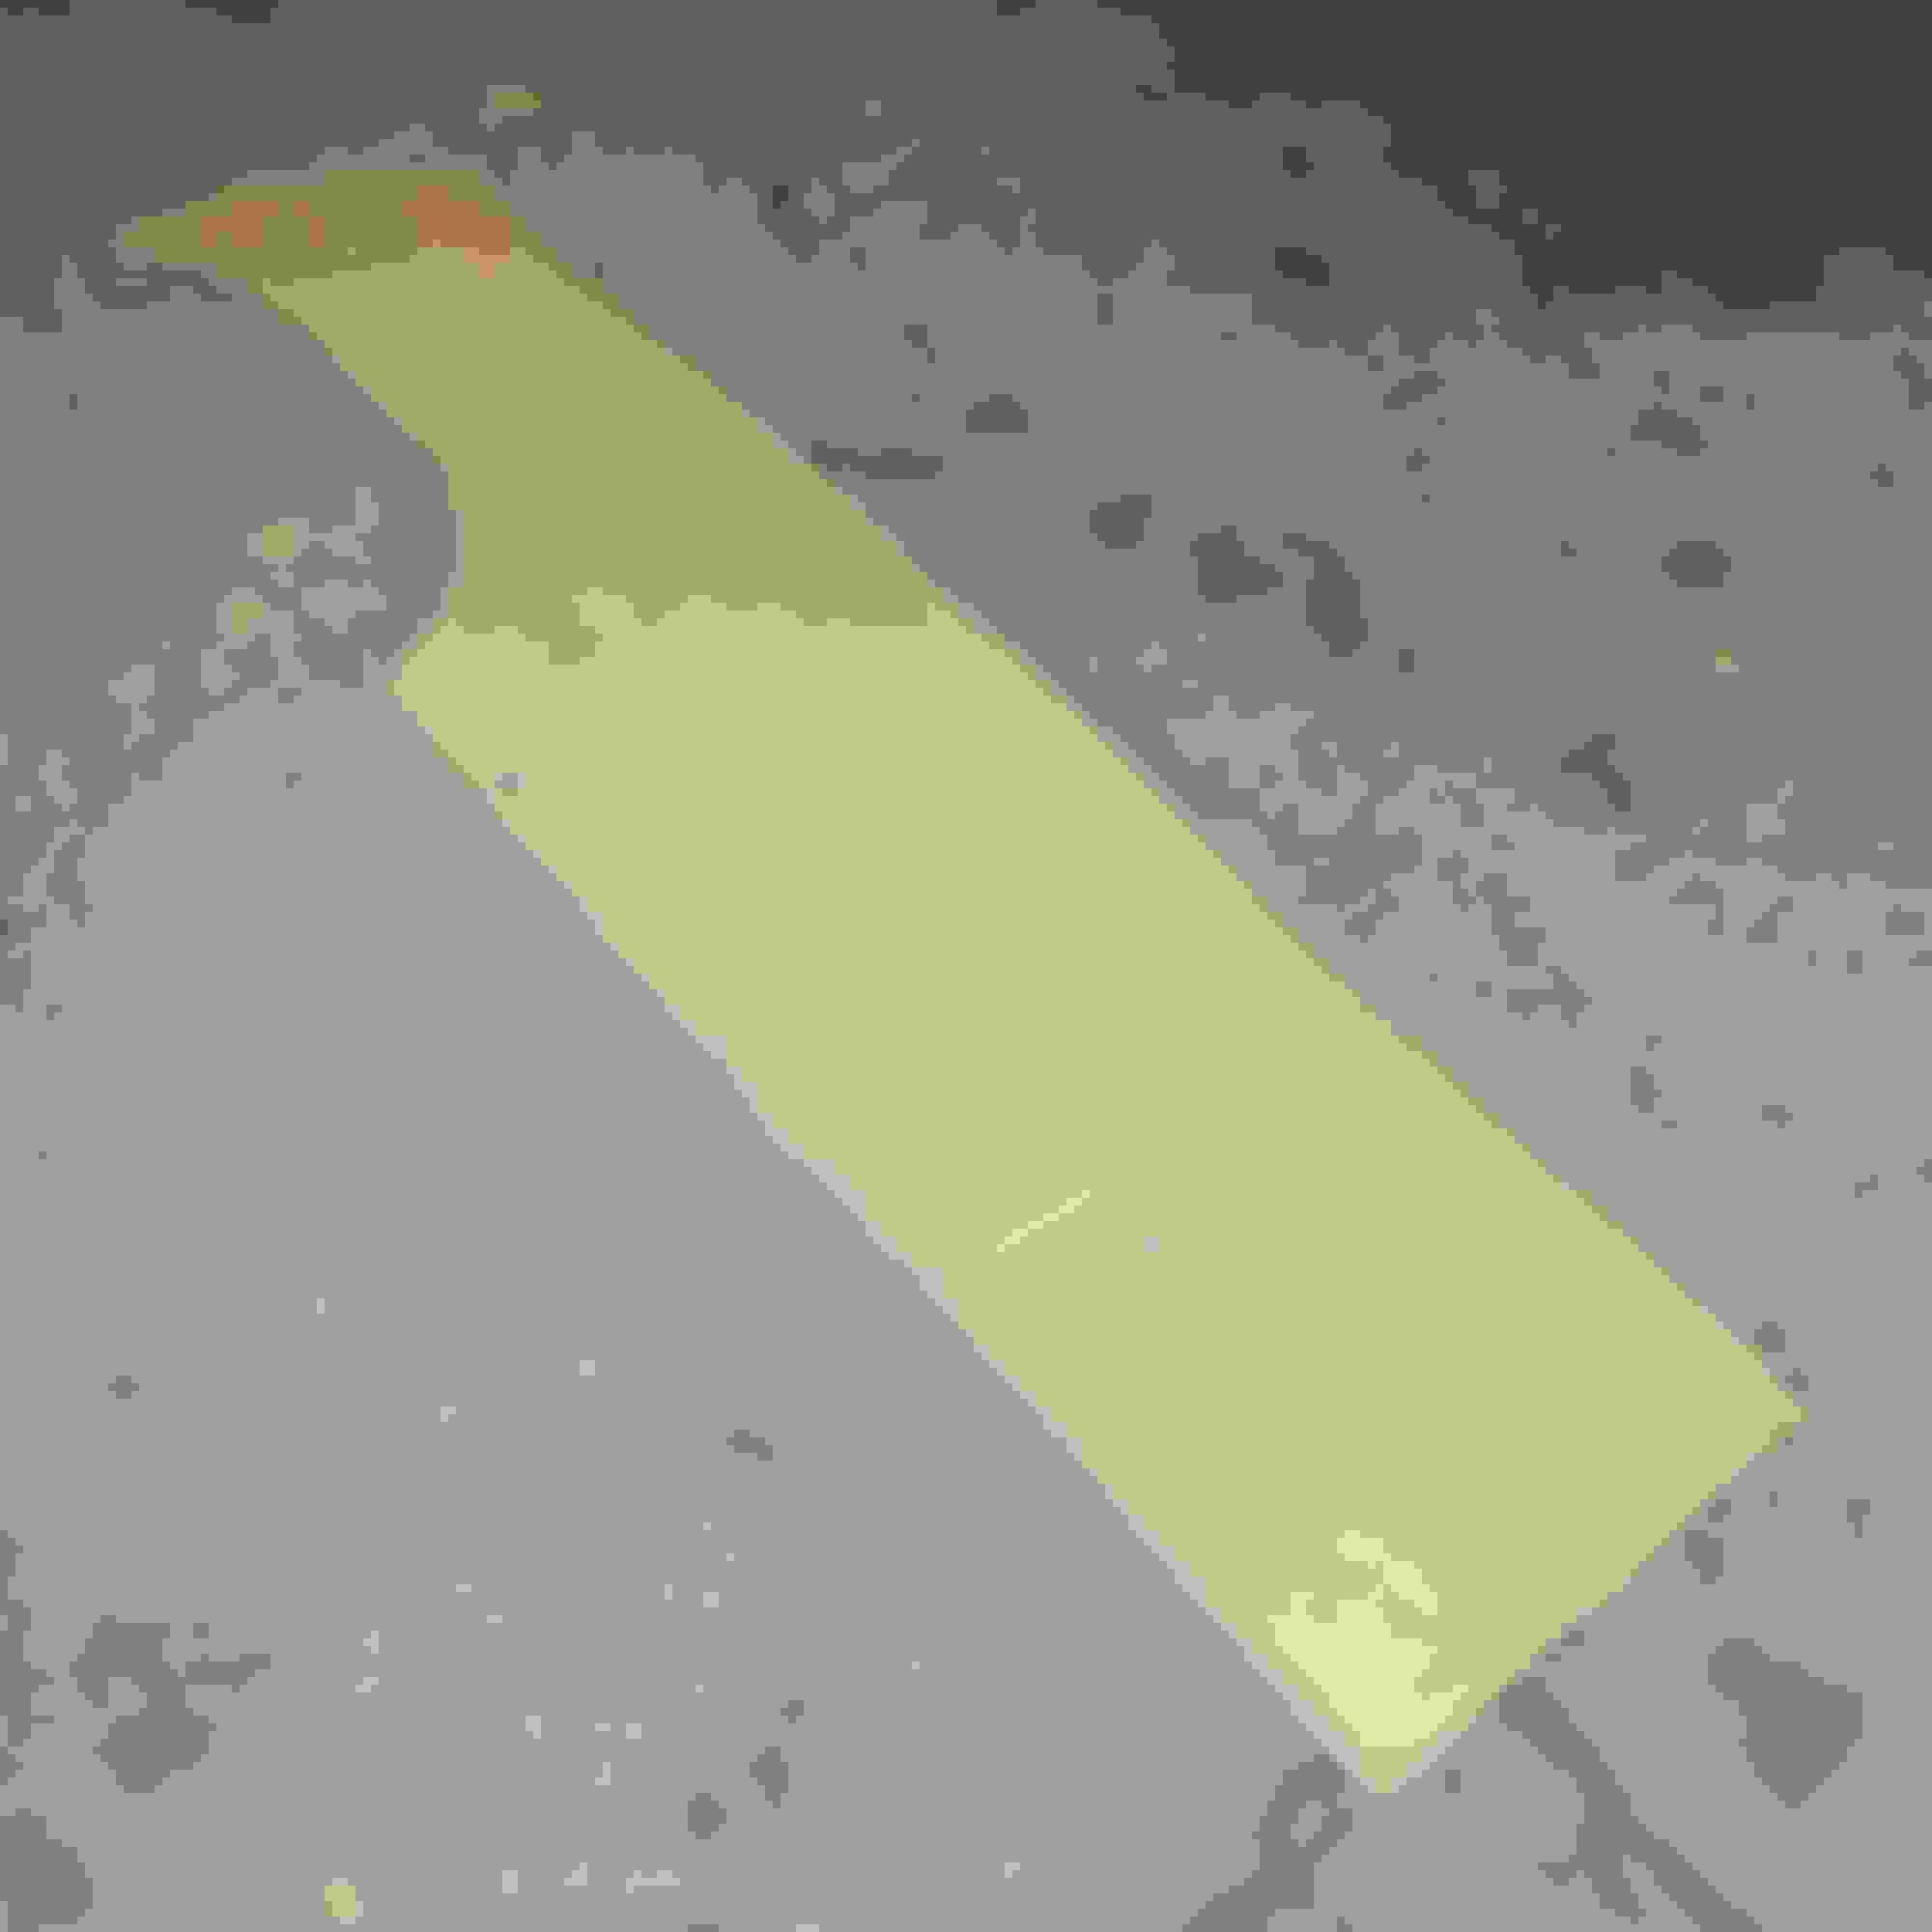
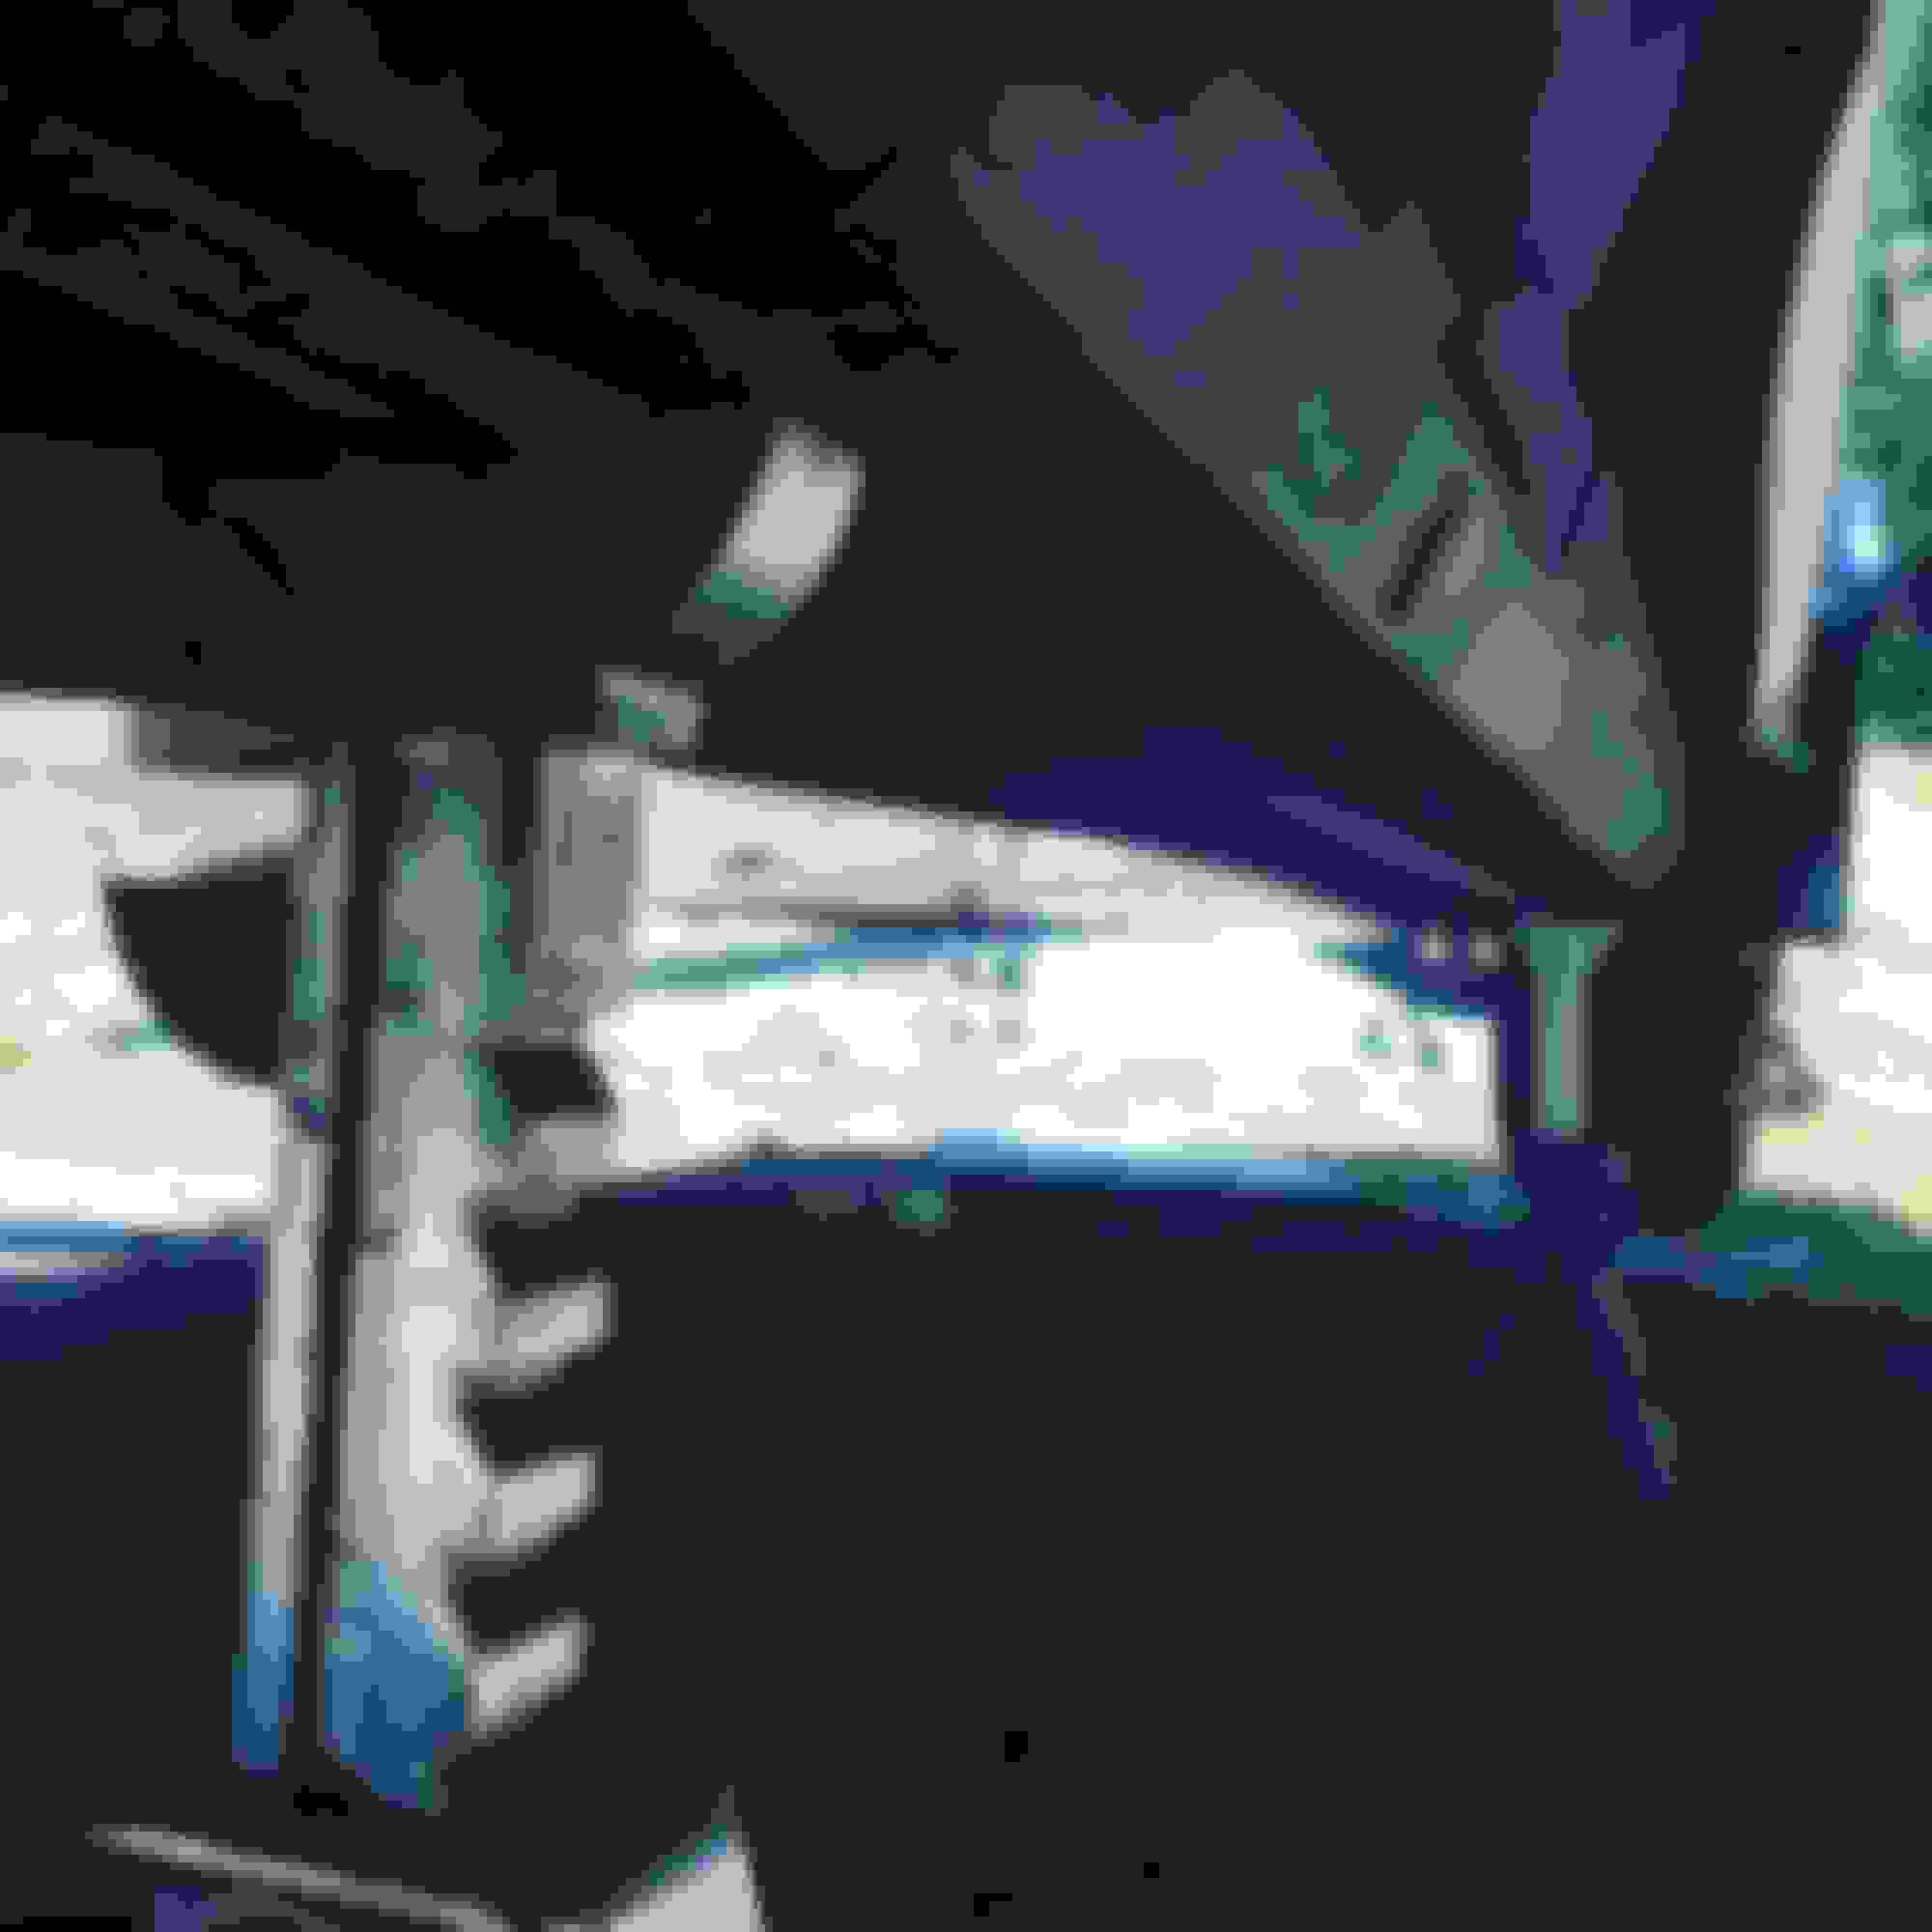
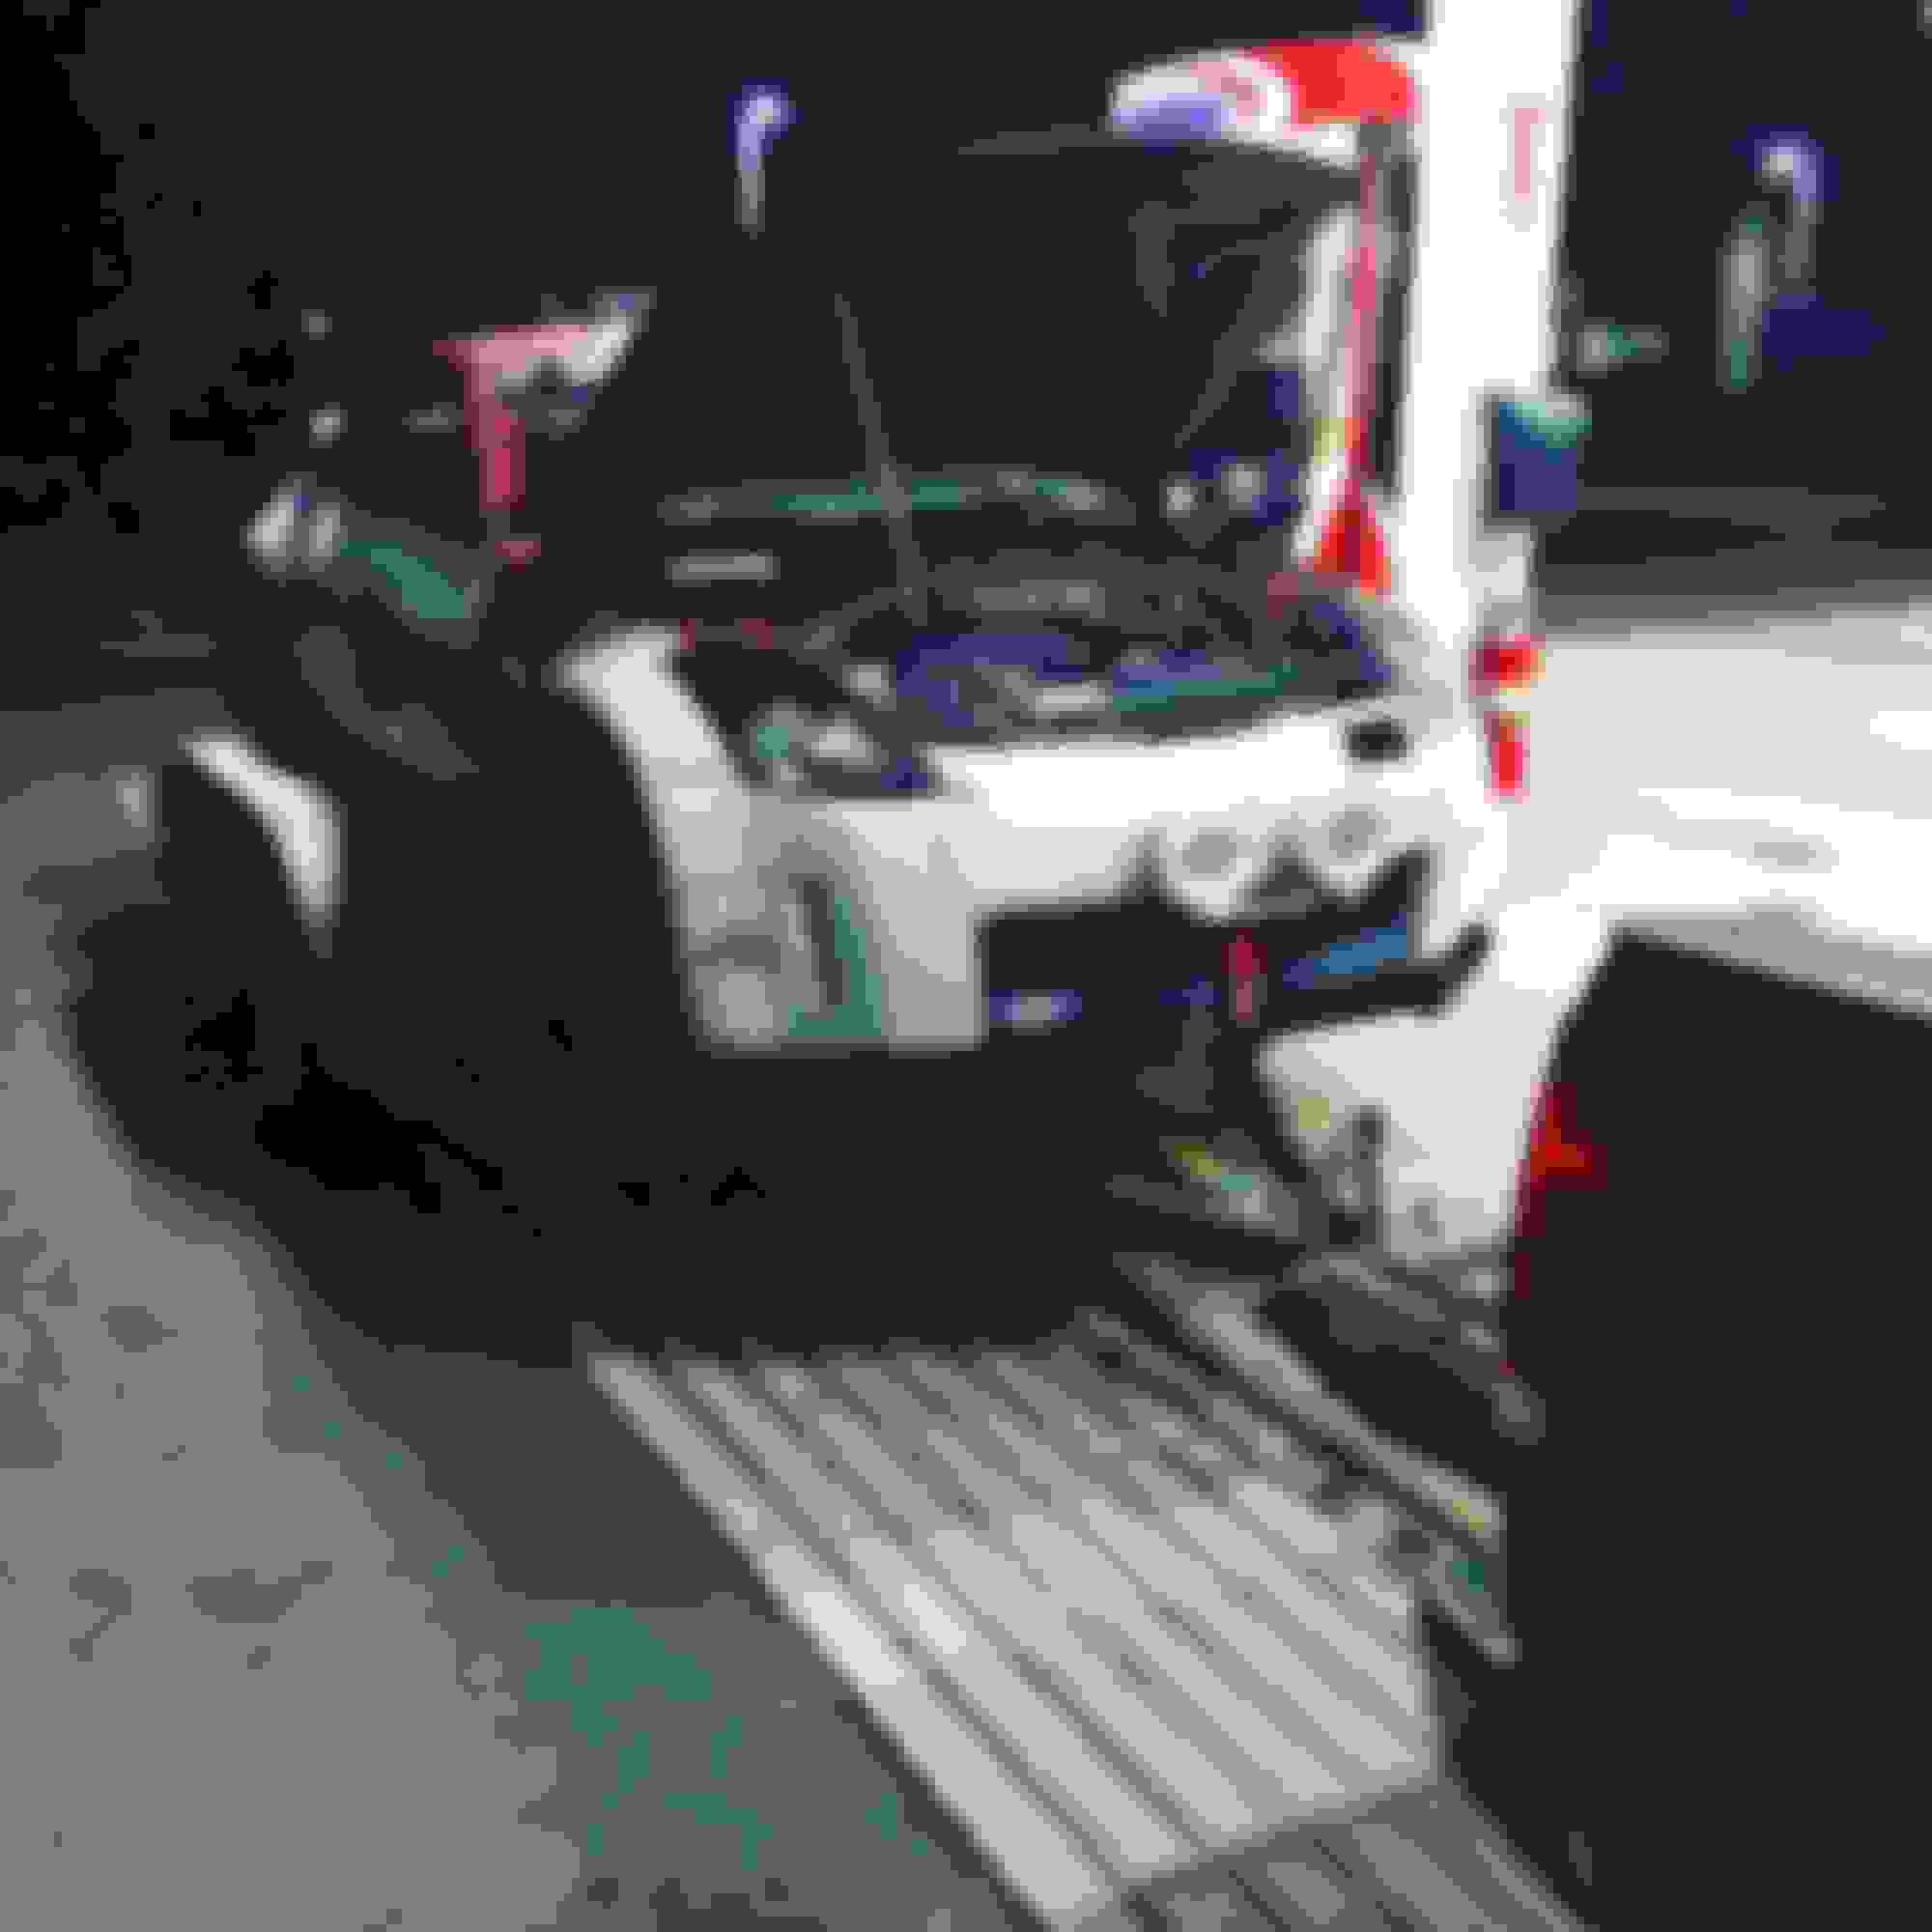
We have been working on some underbody reinforcement and protection VIA skid plates. Step one was to get the car way up onto jack stands so we could have a good look. Skid plates protect against gravel spray (you would be surprised how much damage gravel spray can do at speed) rocks, and anything else that the underbody might encounter. Critical areas are brake and fuel lines as well as the two fuel tanks. Also wanted to protect the rear lower suspension arms. With the suspension being soft, the rear squats down under acceleration and the entire car pitches to one side in corners... Imagine the rear LCA or spring bucket catches a large protruding rock at 80mph ("baby heads" or "icebergs" as we call them in rally. HARD TO STARBOARD) That doesn't end well!
Started off by figuring out mounting points and making some large cardboard templates. One template for each side of the car, starts just inside the pinch welds on the sill and extends to the exhaust. These large center plates will overlap the smaller rear sections, which will be attached to the rear lower control arms and rear spring bucket.
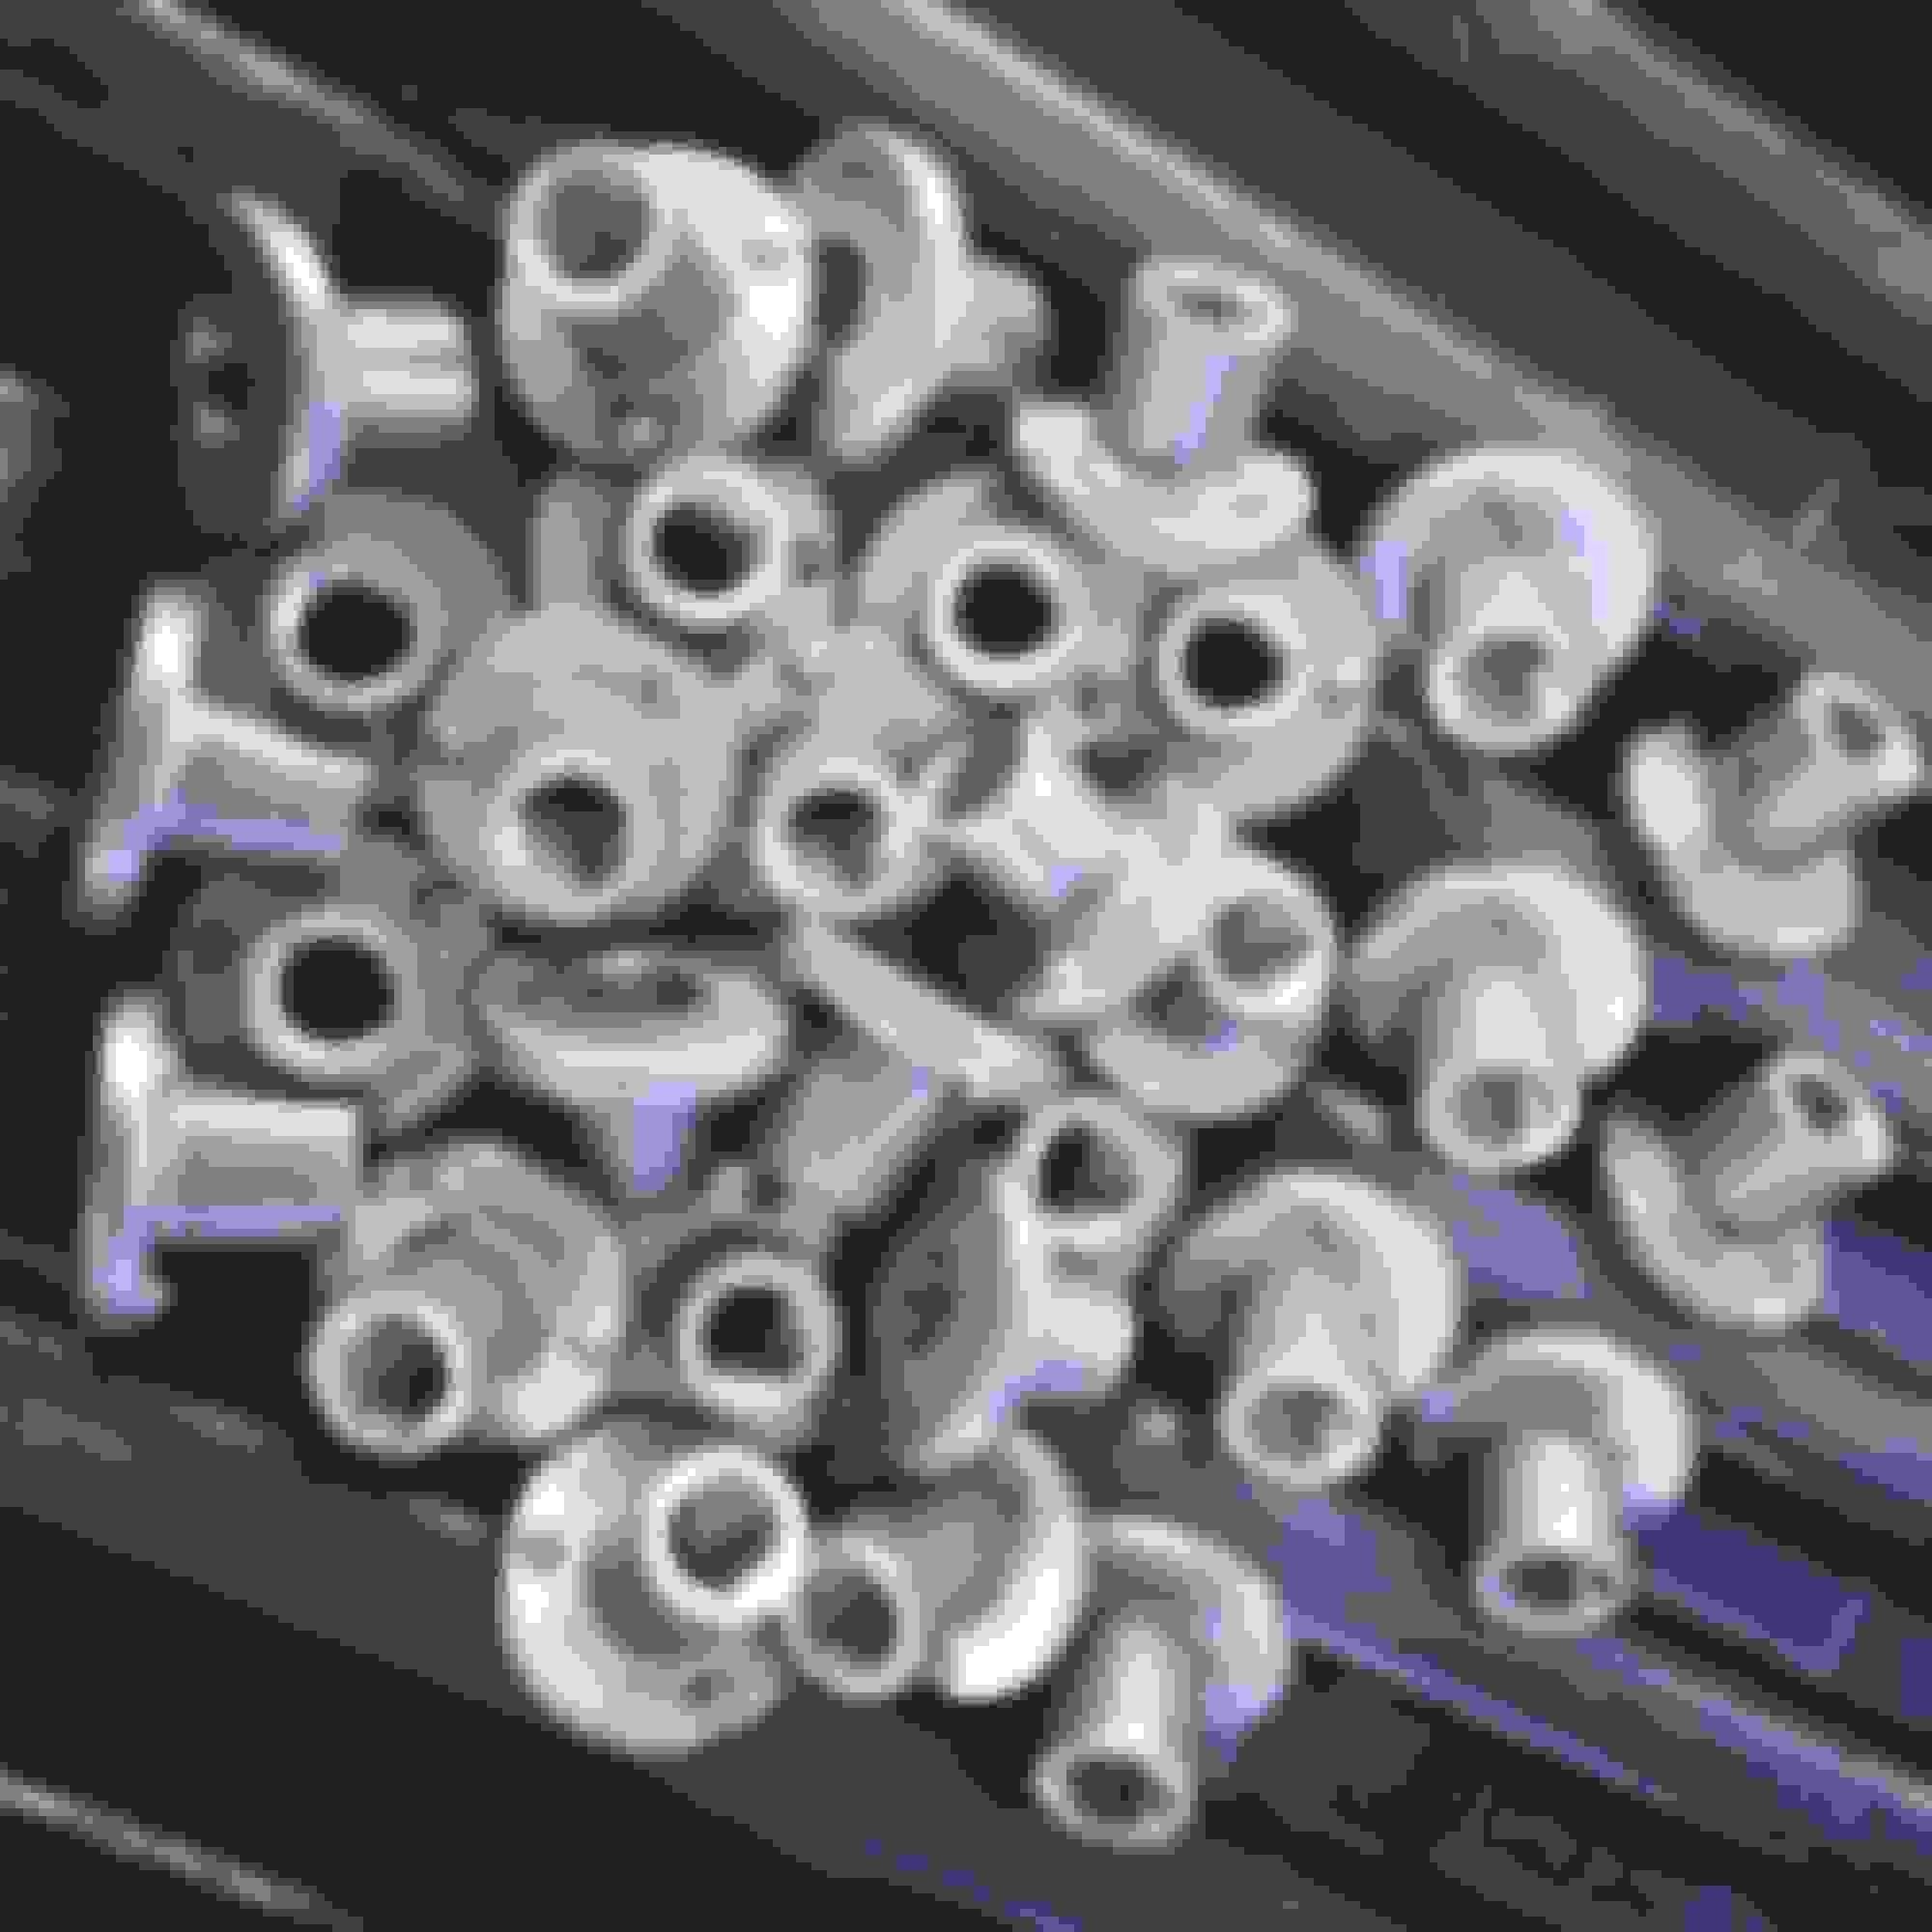
Next step is mounting points! We picked up these beefy M10x1.5mm weld nuts from rally.build. Makes the skid plate removable for service and replaceable. No matter what kind of material you use, it's going to get trashed (better the skid plate than your underbody) Drilled and welded them in all along the frame rail. An old aluminum 944 spare Jack came in handy to hold them in place. Also put a couple on the crossmember to secure the front (the most vulnerable part)
Now we're talking materials. Had the perfect amount of 3/16" HDPE left over for the rear suspension plates. Went to the plastic supply place in town and the guy recommended 3/16" ABS for the rest of the car. "Cheaper and stronger than HDPE" we were told.. Might have been stronger but it was definitely not as resilient. It literally shattered at our last event (which we will get to) haha. Trial and error. ANYWAYS.. Used the templates to trace and cut the main portions of the skid plates, drill the mounting holes, and VOILA!
Counting down the days to Mt. Snow, we knocked out a few other small jobs. Welded a long piece of angle iron along the pinch welds on the sills. Provides a solid emergency jack point along the entire side of the car. Also reinforces the sills a bit (anybody who has used a floor Jack on the pinch-welds knows how weak they are. Undercoated the sills too while we were down there.
Next step was the intake. The K&N we were using was attracting an insane amount of dirt and dust (despite the "dust cover"). My brother and crew chief picked me up a nice AEM brute force dry flow air filter for my birthday! Dirty 30 The brute force is extra rugged and specifically designed for off-road racing conditions. Should be much easier to wash between events (yes.. We wash the filter after EVERY race. It's that dusty!) Also picked up some rad nomex driving gloves from RJS racing Better grip on the wheel, and they're fireproof which is always a plus!
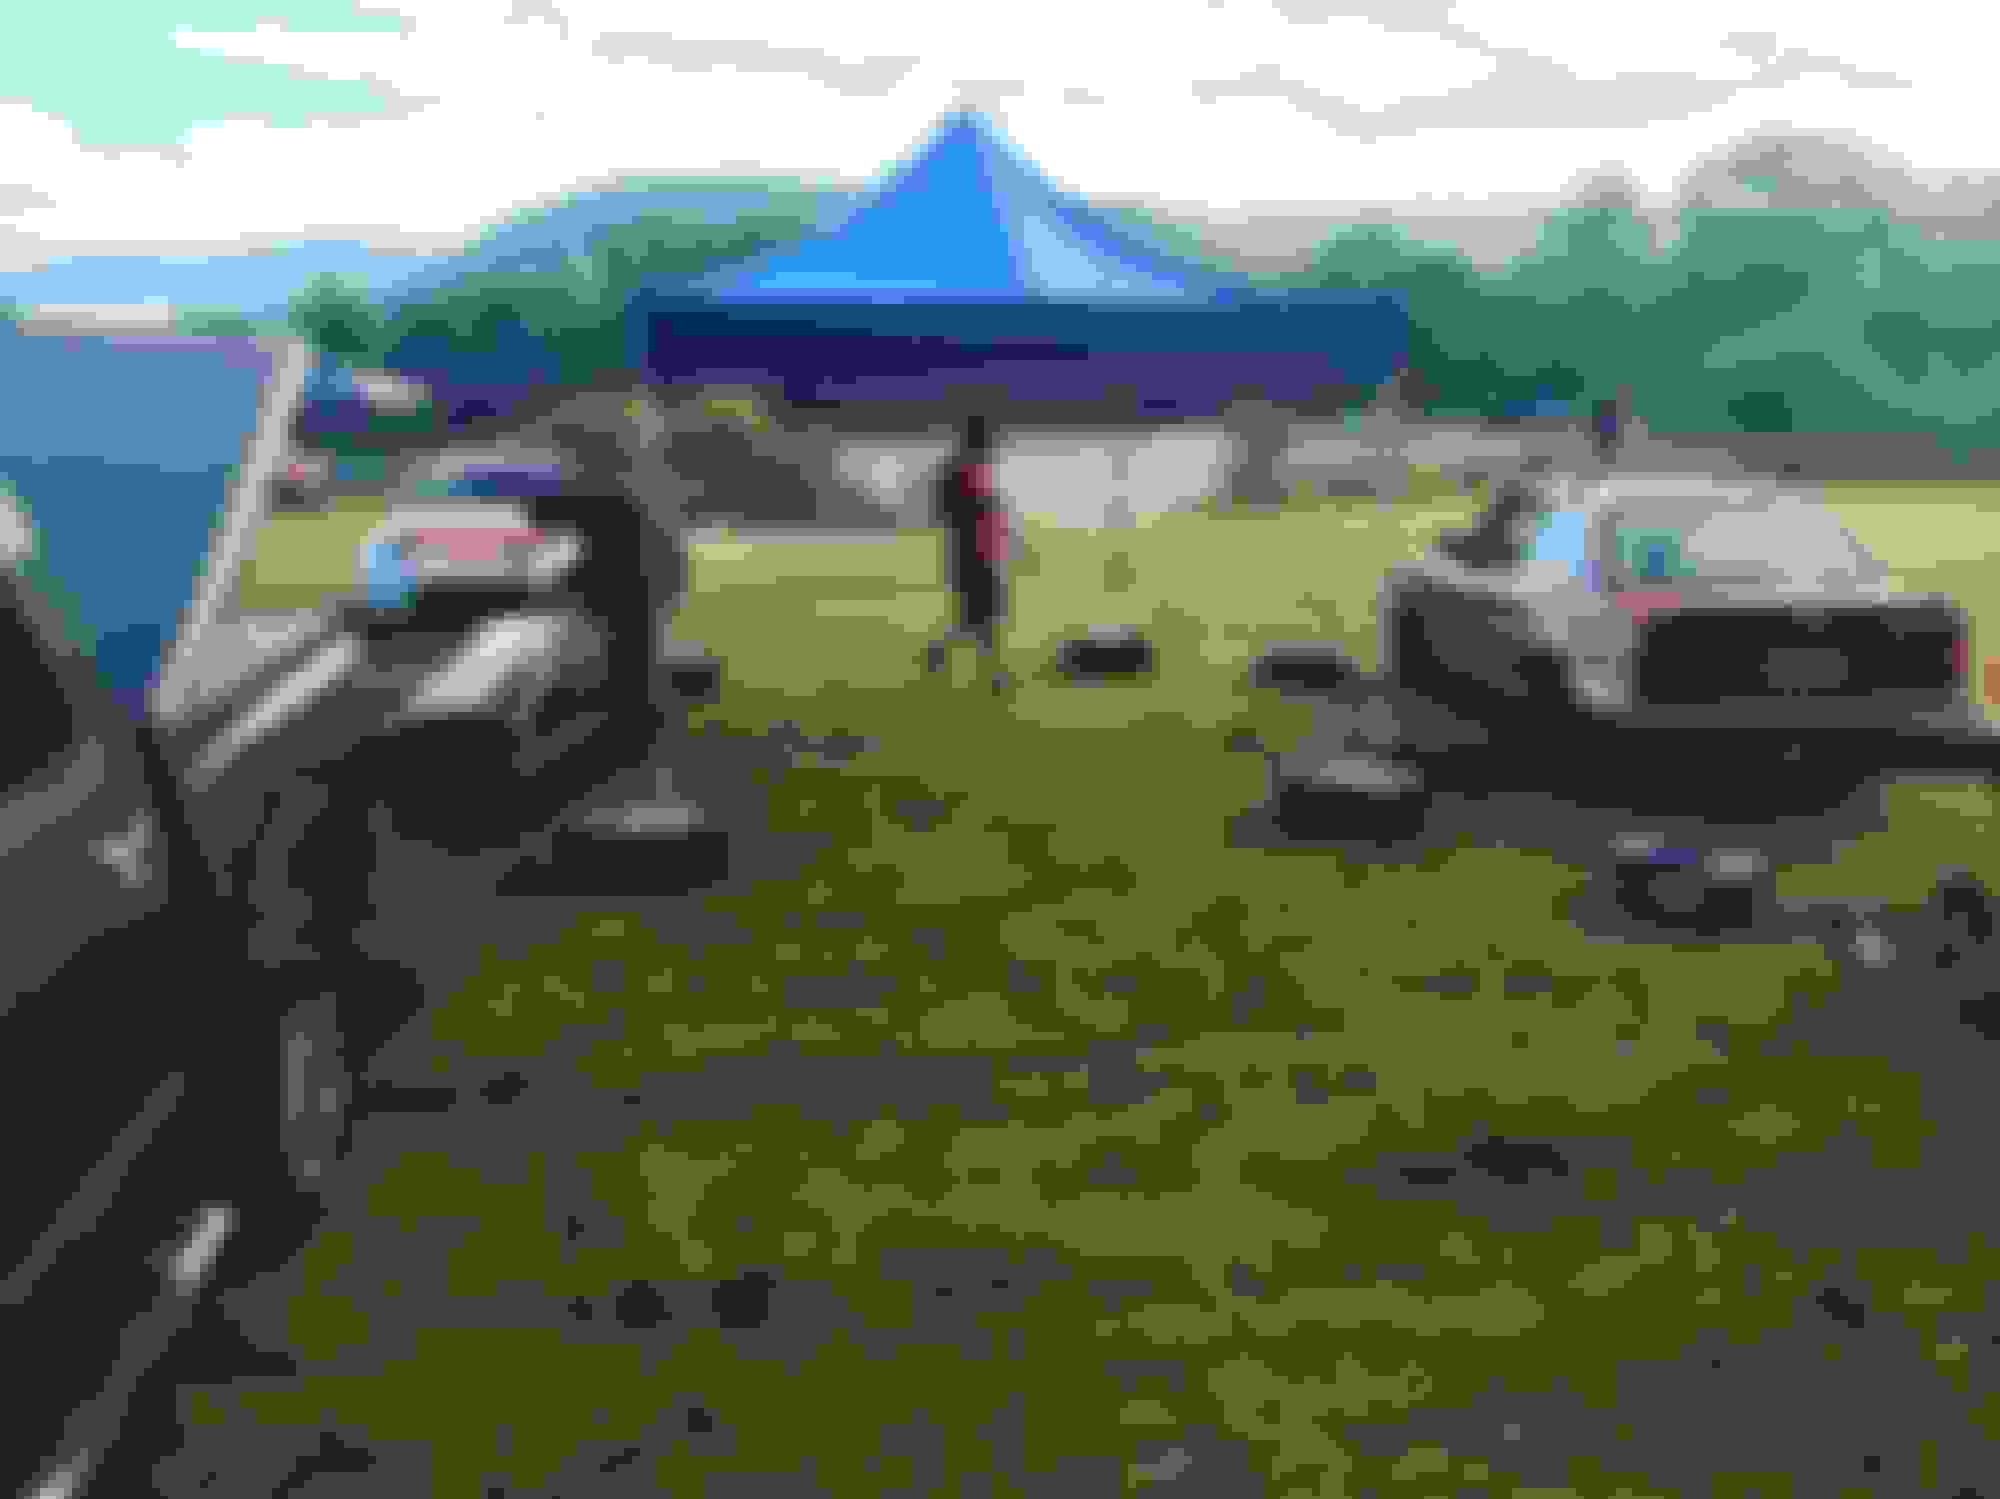
Some last minute prep and we were on the road to Vermont for SCCA RallyCross at Mount Snow!
Registered both my brother and myself to drive so we could put the car though it's paces and give the updated cooling system an overstressed test. We had 24 runs between the two of us and It performed flawlessly!! Temperature gauge never climbed above halfway and the ability to run the fans between runs with the car off was definitely a plus! BRAAAP BRAAAP
Some battle damage from the day. We will be replacing the 3/16" ABS with some 3/16" UHMW (thanks to Nameless Performance for the suggestion). Should be a little more rugged than the HDPE we use (fender liner ripped off at the mounting point but held up GREAT) Not too bad for a day of thrashing!
Did I mention that I picked up a new GoPro for my birthday??
We have been hard at work prepping for this months RallyCross at Okemo Mountain in Vermont! Picked up a hand-me-down Drift Armor front bash bar from a local 350z drift car. If you put drift armor on a rally car does it become rally armor??
Perfect foundation for front skid plate mounts/reinforcement, as well as an upgraded light rack Started out by measuring the vertical distance between the drift bar and the grille. Welded some square tubing between the two mounting bars/plates to serve as a solid and square base for the light rack. Welded in some spacers down from that bar to clear the bumper, then squared up and welded two horizontal square tubes from the drift bar mounting points to the spacers, then out the left and right side of the grille. Used plenty of gussets to reinforce the whole assembly. It's BEEFY. Don't want the lights bouncing around on the road, you want everything to be solid!
Next step was the light bar itself. Measured the curve of the bumper and cut a couple of notches, bent, and welded the bar so that it sits nice and flush with the front of the car. Will give the lights a staggered look too!
Did I mention we picked up a second pair of Hella 700ff's? What did you think?? I was going to upgrade the light bar and NOT add more lights?!?! They should be installed tomorrow night!! We will be sure to do another update after the race, and as always plenty of pictures (now that we have a GoPro, plenty of video too!) Stay tuned!!
Sweet evap canister, your inderside looks better than mine does, did you undercoat everything with rubberized undercoating in so the pebbled and stuff bounce off better? Mines getting rusty under their im thinking I will por15 it then paint it. Probably not the aluminum parts though...
I wish I could get the car up that high without freaking myself out.
Haha one of the joys of being an unregistered racecar (Bye Felicia) Trying to get the car registered and inspected for spring so the canister is going back in
Only have the rubberized undercoat on the sills right now, we're going to do the entire underbelly though. Not too much rust there as its never seen snow (except that one year we had all of the blizzards.. Took it out in a foot of snow for some Tokyo Drift) POR-15 is the best!! Was just telling my girlfriends dad about it.
We usually have some stainless panels or plywood under the jackstands for added stability, and I always keep one side resting on the Jack. Safety first. We want to build some pin stands over the winter.
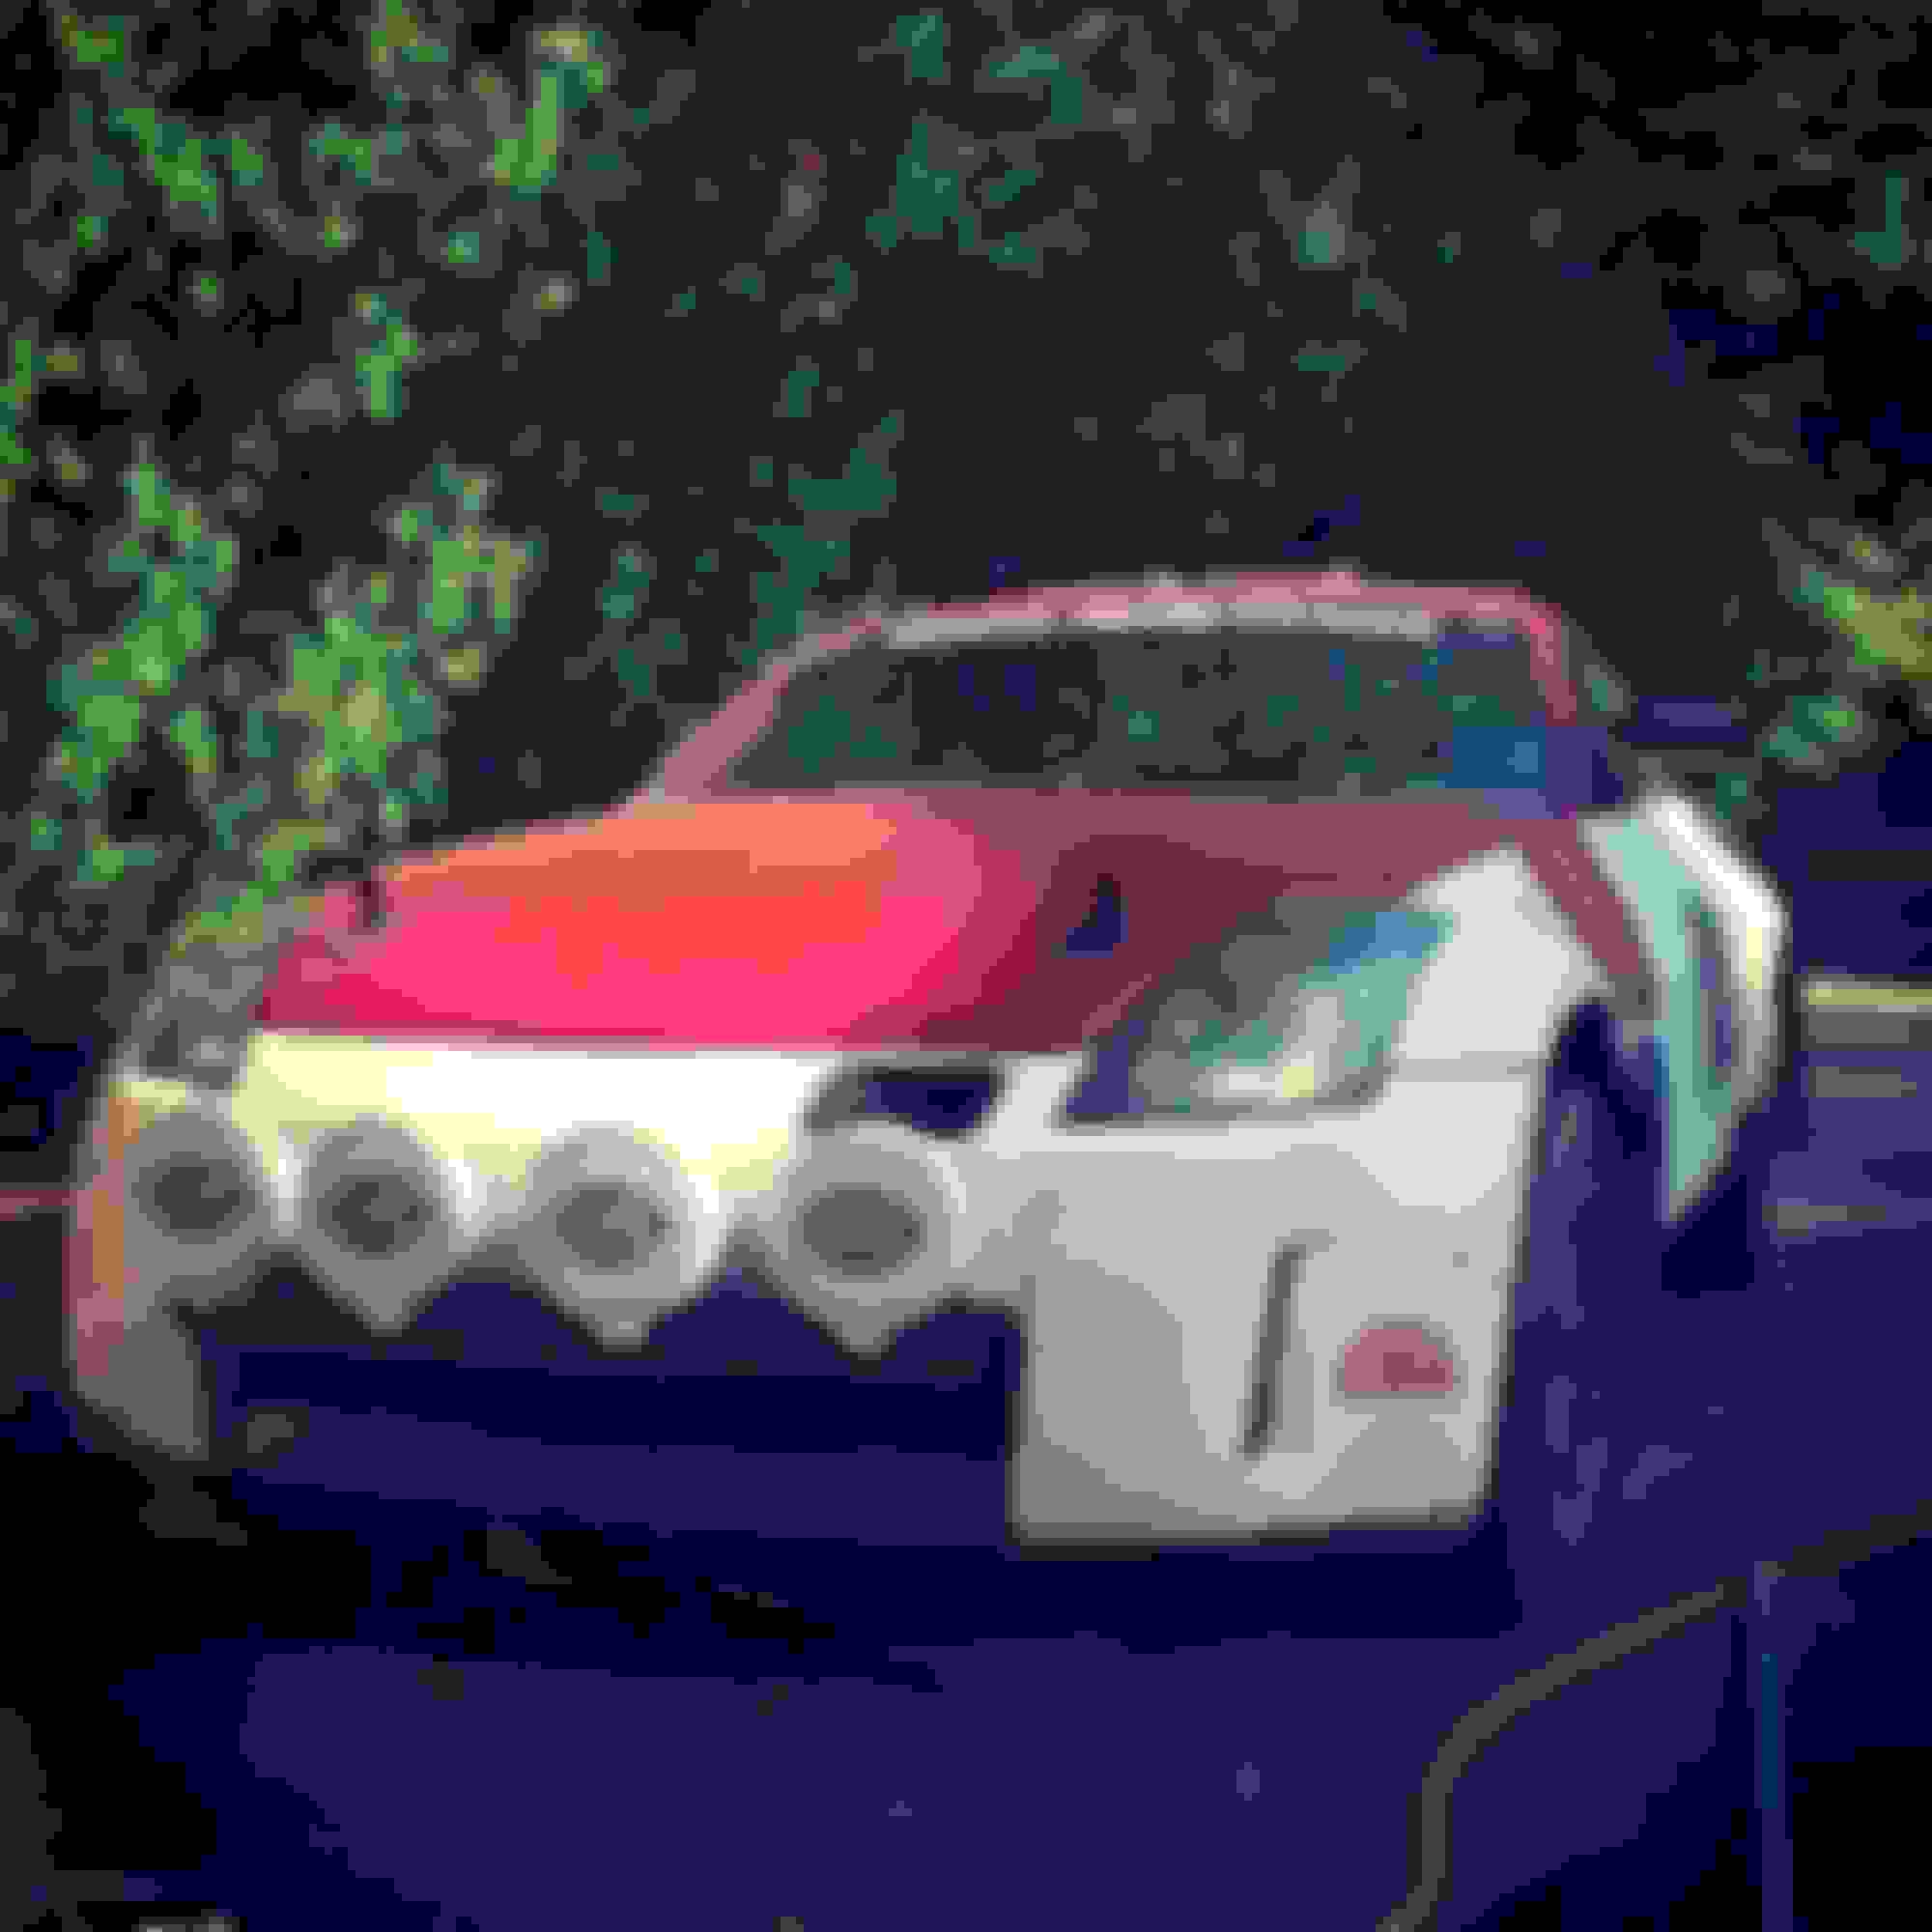
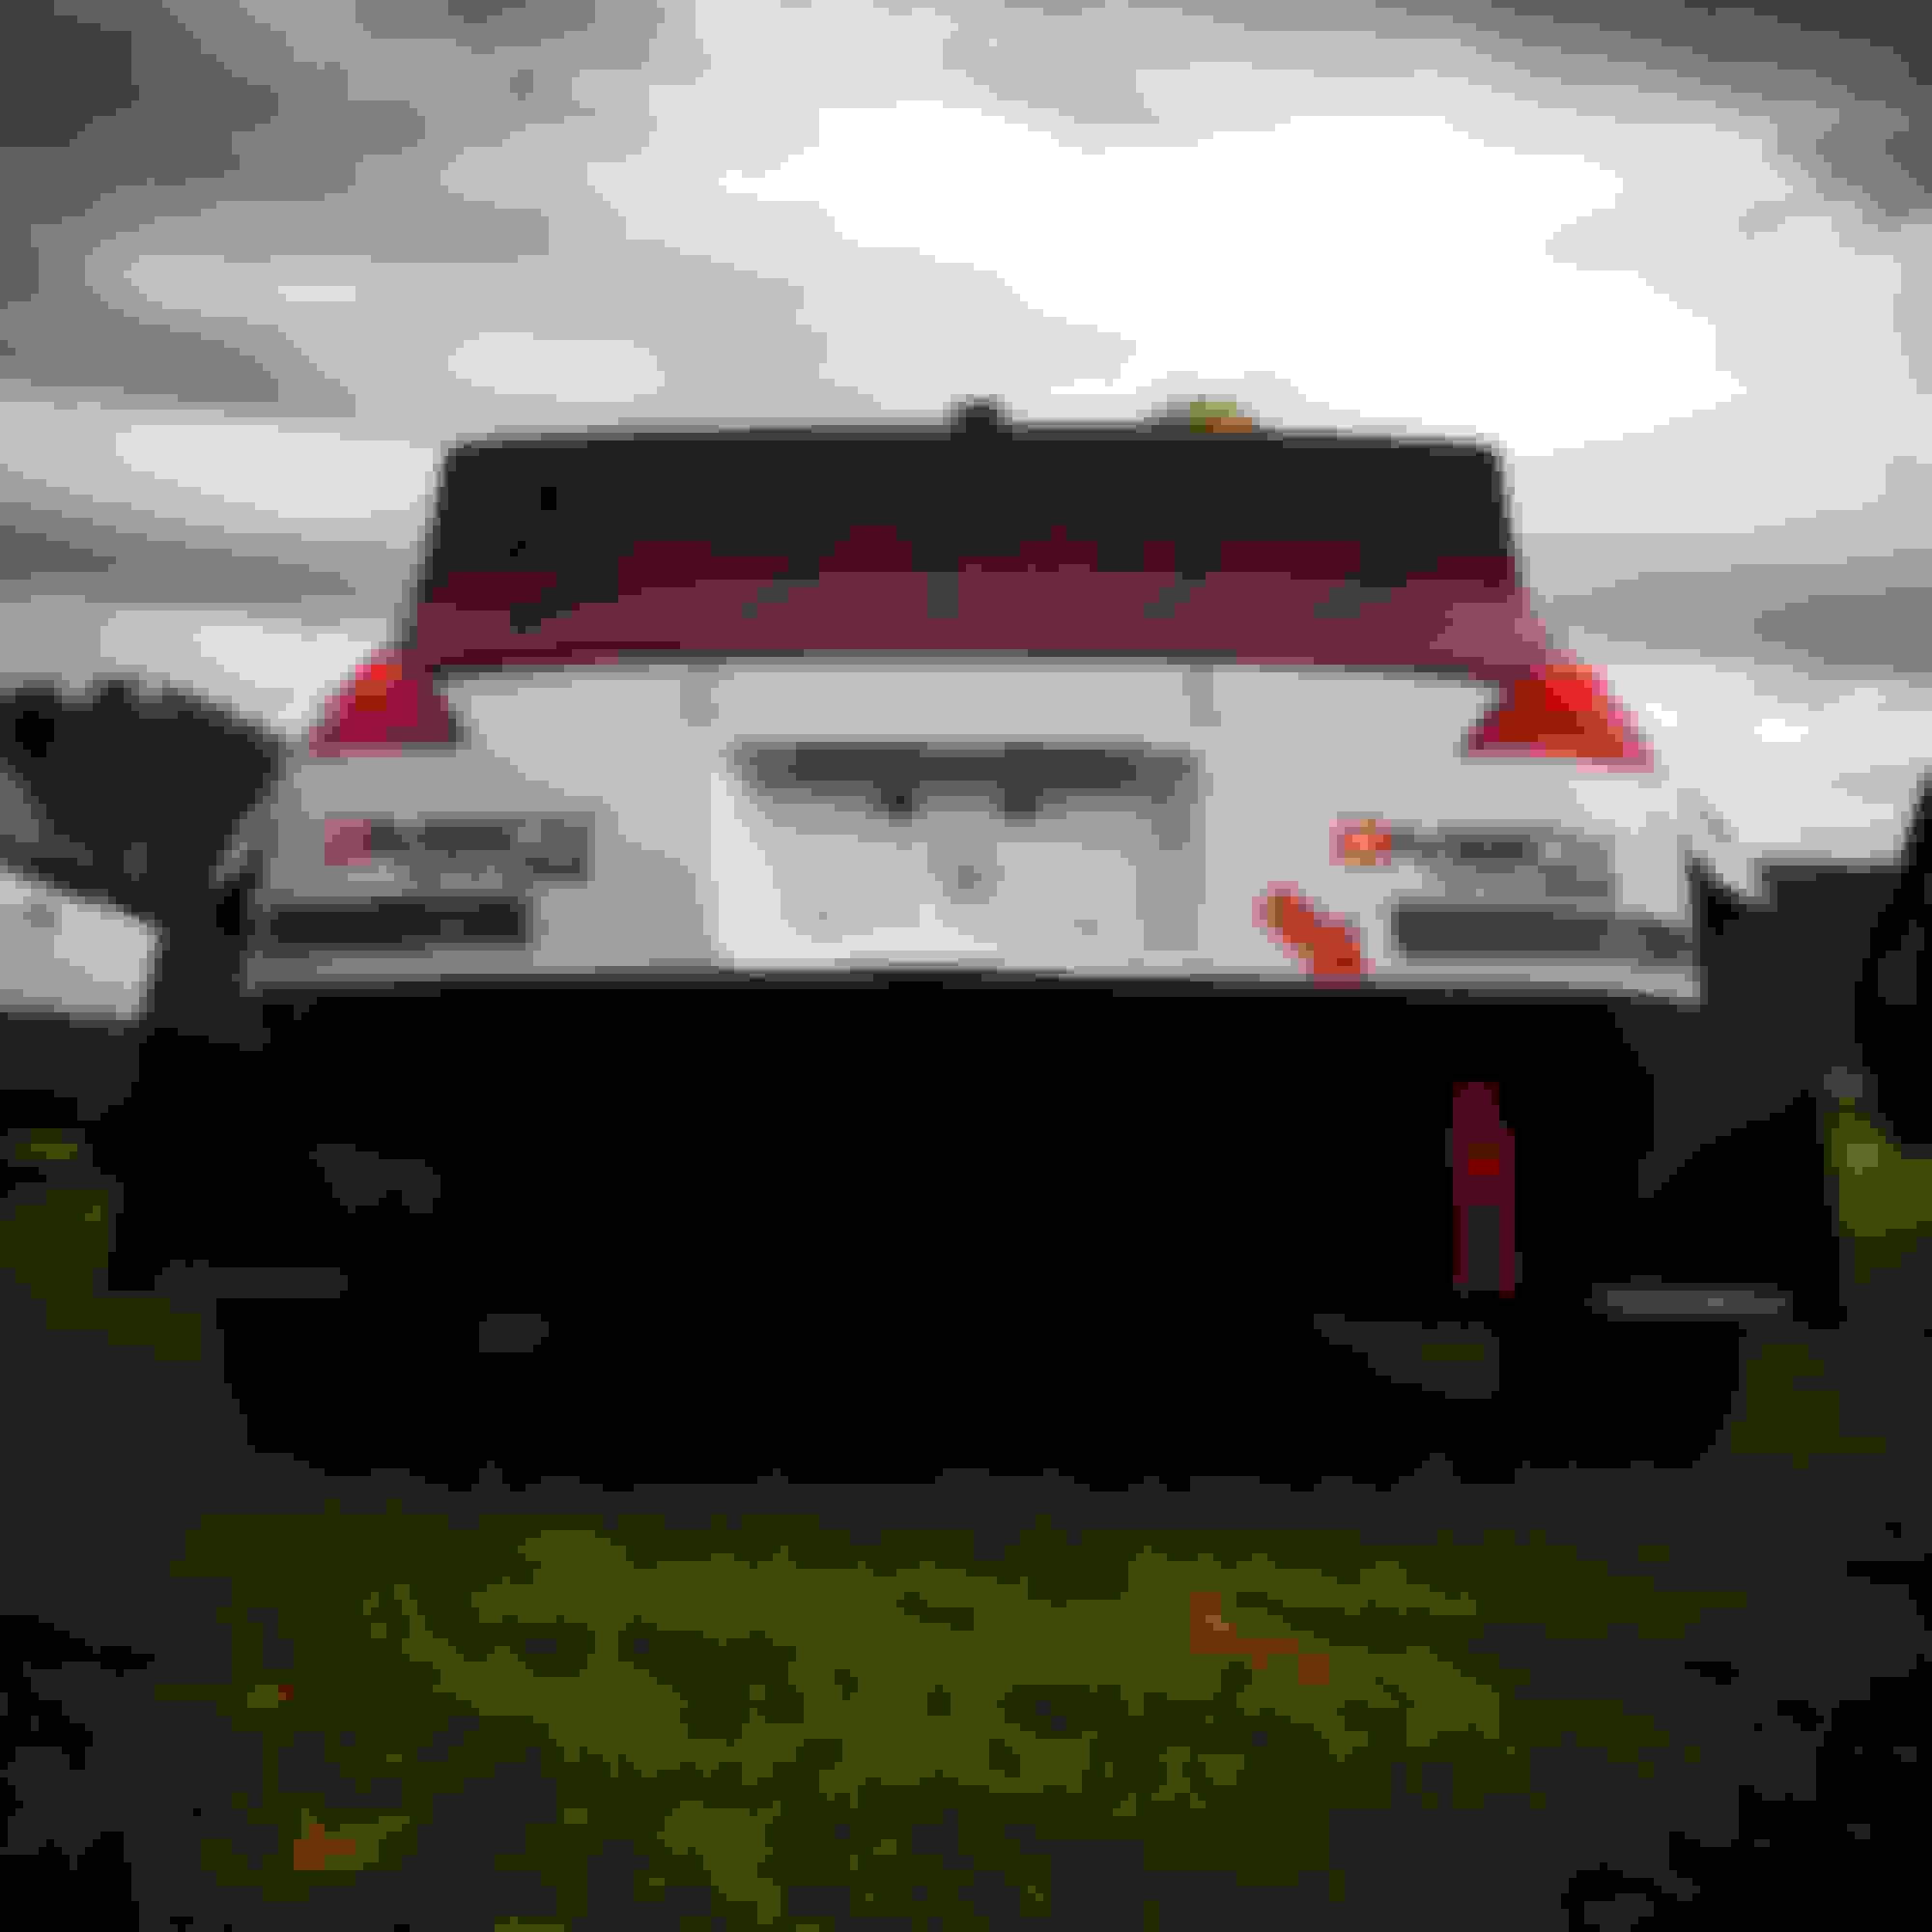
Burned a little bit of midnight oil the night before the race but we finished up the light bar, hit it with some bare metal primer/flat top coat, and mounted everything up! Haven't had a chance to weigh it but I would guess that it is similar to the weight of the stock bar (including the lights) Have to say it looks pretty badass with four lights up front VS two!! Group B feels TRIGGERED
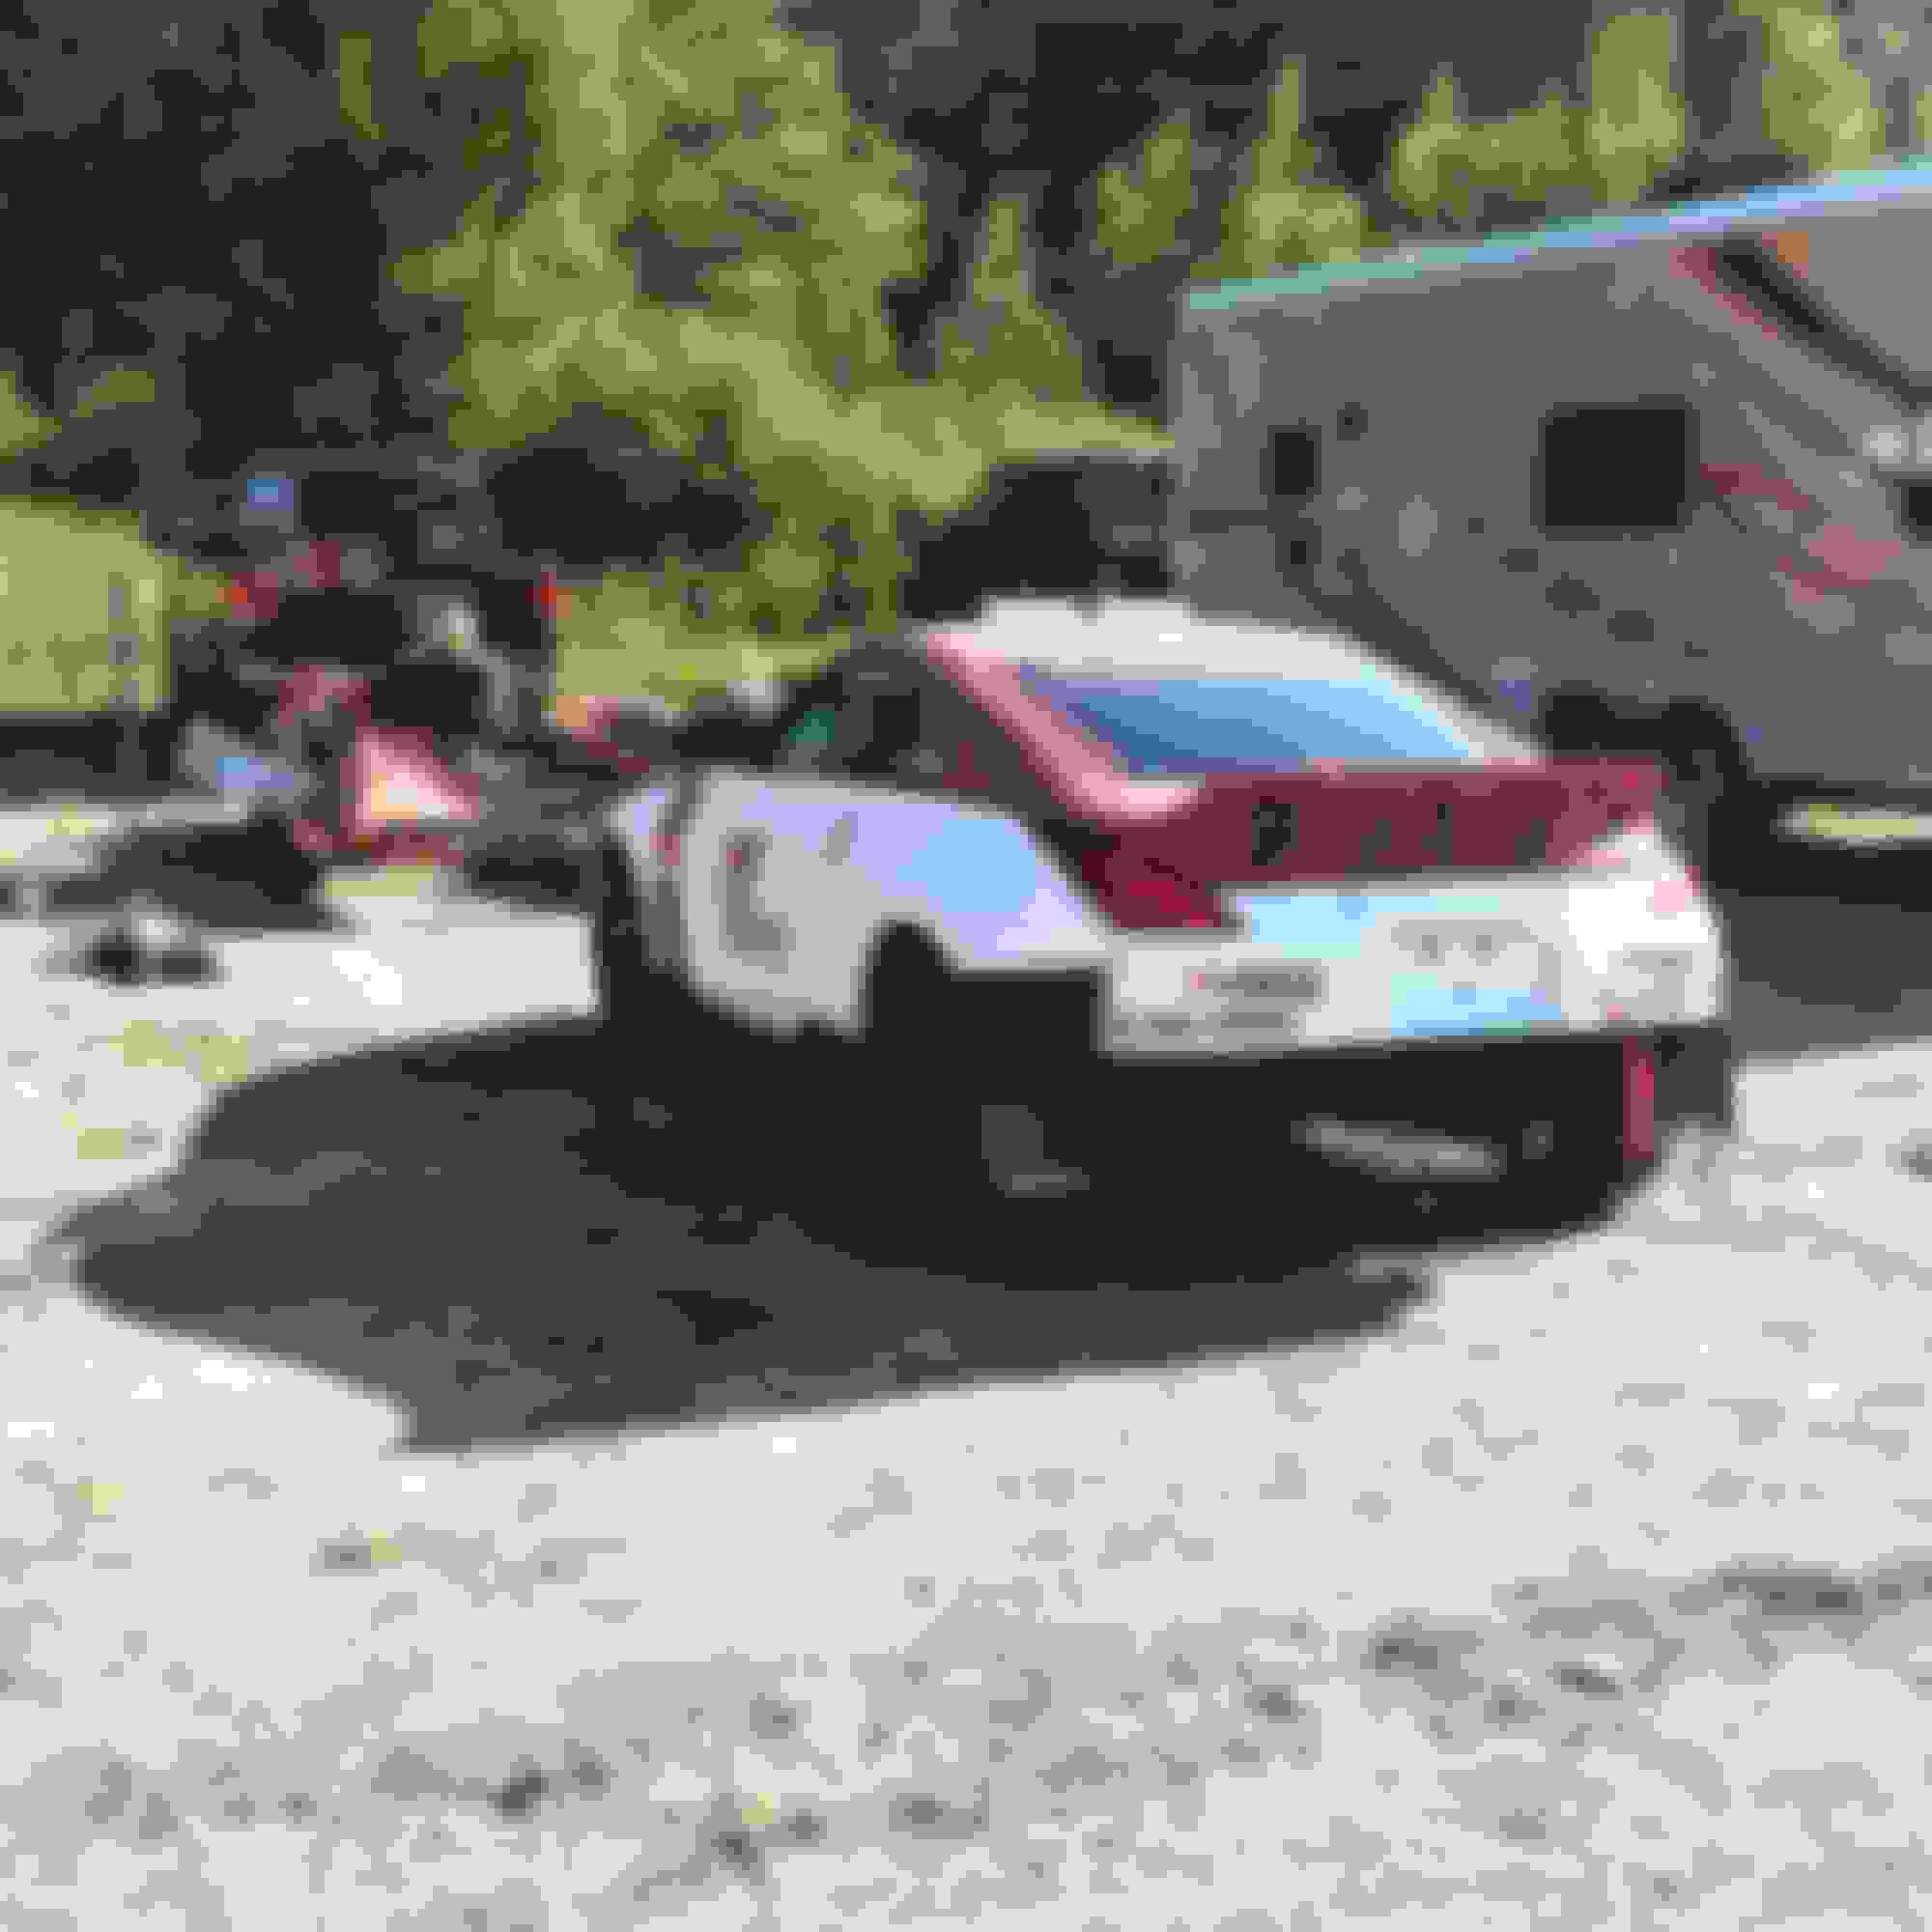
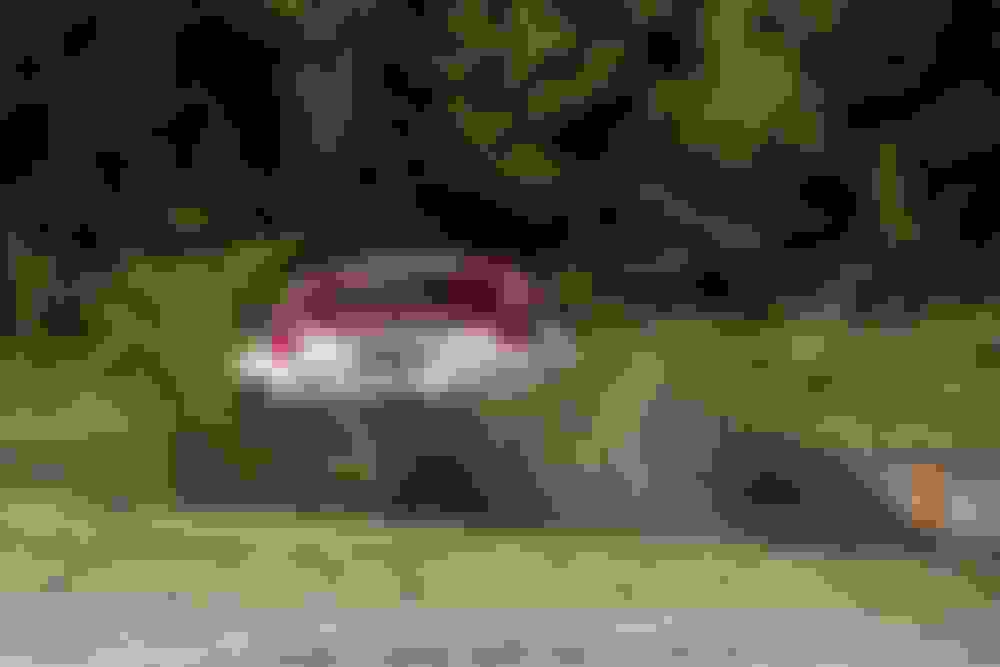
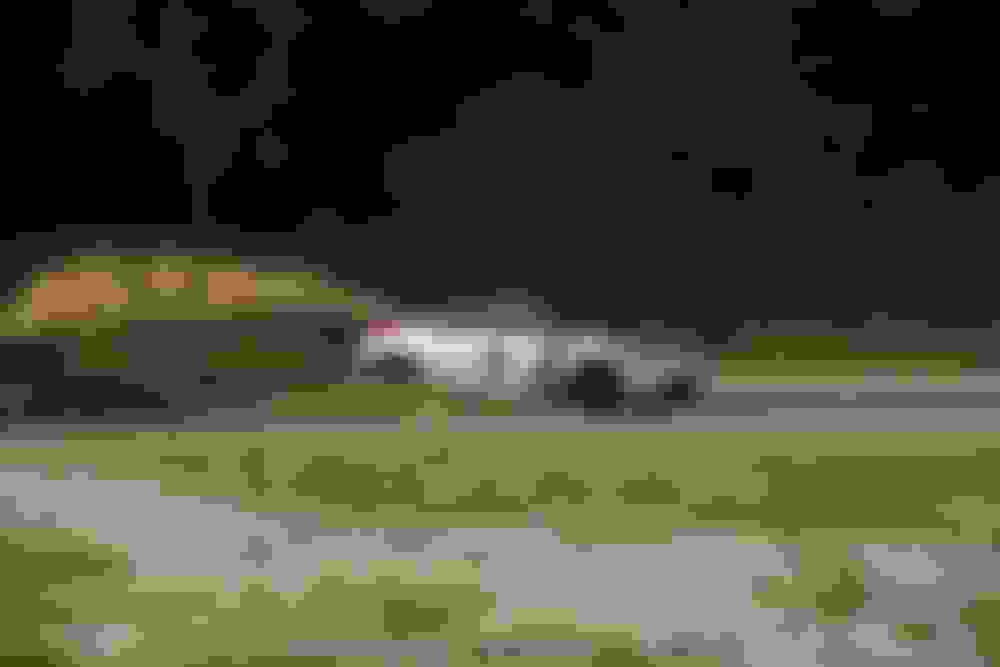
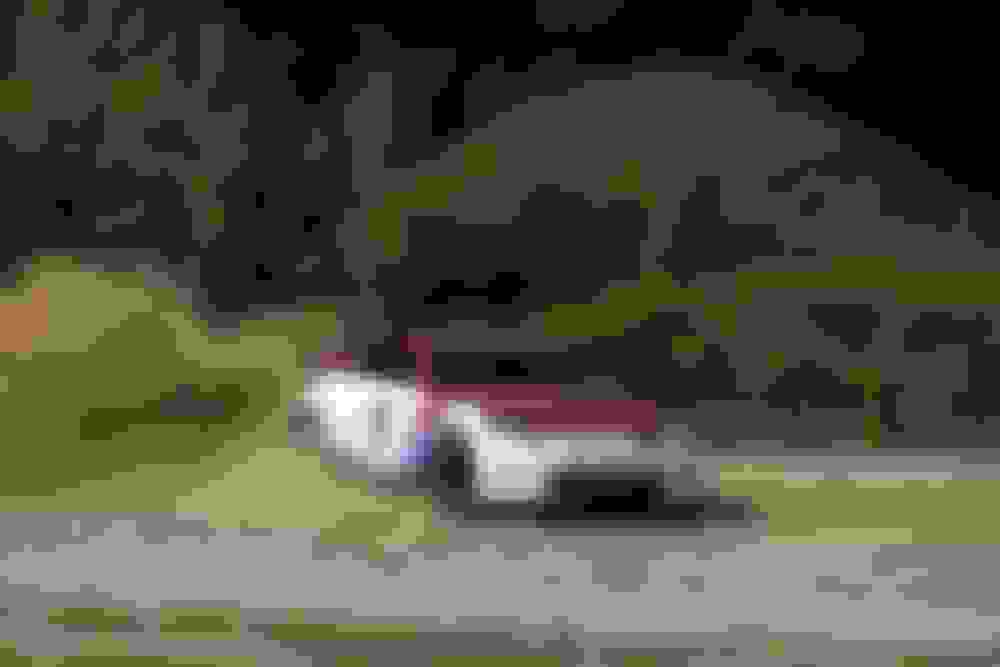
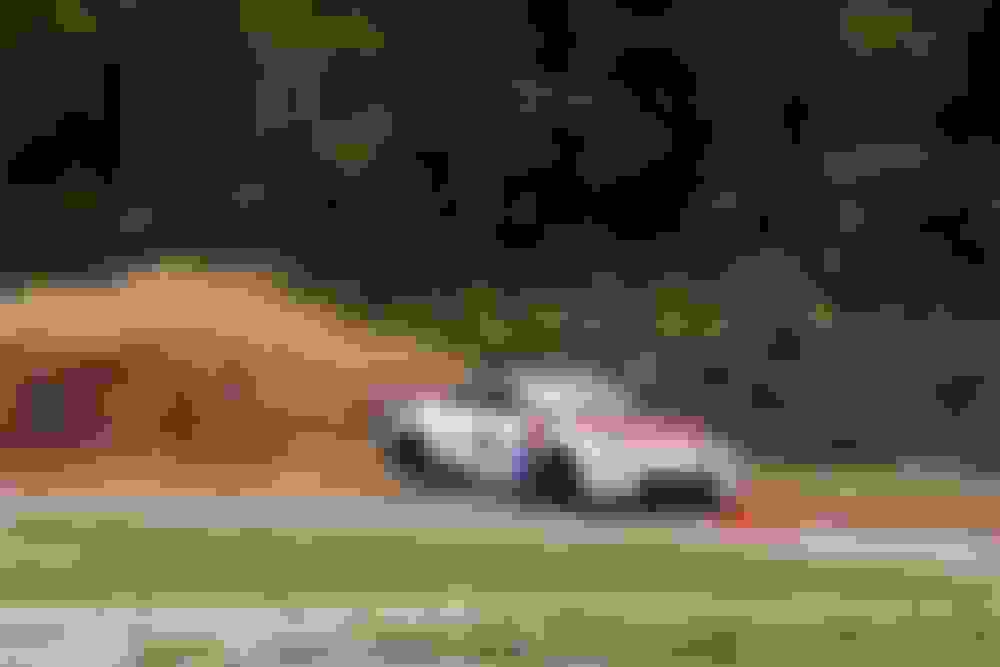
Woke up at 4:AM for the long trip to Vermont! Zelda performed flawlessly throughout the day and we finished third in class with ZERO mechanical failures Made some noise, got real dusty, and had a TON of fun.. that's a WIN in my book!! Put on one hell of a show too! She remains a crowd favorite at every event! Patiently awaiting photos from my photographer friends.. Here are a few snapshots from my iPhone and a short video clip to hold you over until then
Are you going to compete at the SCCA RallyCross Nationals coming up at the end of the month?
We will not be at nationals this year. Considered it but we have a lot of money tied up getting prepped for RallySprint and regional stage rally events in the Northeast. There are a few NER teams heading down though! Our region has a very competitive group of regulars including some very experienced stage rally teams.
"Gallo 24"? I didn't know pizza places made motors...
Love this car and your posts. Keep on keeping on, sir.
Hahaha all the best motors have cheese and sauce on top! Thanks dude!
Originally Posted by ASDTANK
i joined this forum just so i could keep track of the build, this thing is so kick ***!!!
ball park estimate RallyZ how much do you think you have invested into the car as it sits? what did method charge for the custom rims?
Thanks man!! She has come a LONG way!
Method took some +15 offset (2014+ STI fitment) wheels and machined out the center hub bore to fit the Z.
Haven't been keeping track of costs but just added some things up.. Probably somewhere close to $6500 or more haha. Still have a LONG way to go before she's ready to hit the stages.. cage and reinforced strut towers, passenger side seat, custom rally computer, harnesses, fire suppression, fireproof suit, open face helmet, HANS, intercom system, three or four spare wheels/tires, a bunch of little things (window hammers, safety triangles, spill/first aid kits, etc) and some custom Bilstein dampers from Team O'Neil. $$$$$$$$ We WILL get there though! Have a complete list out on paper so we can tackle things one by one when the budget allows for car parts haha. My brother and crew chief is now investing into the project as well so we are full steam ahead!!
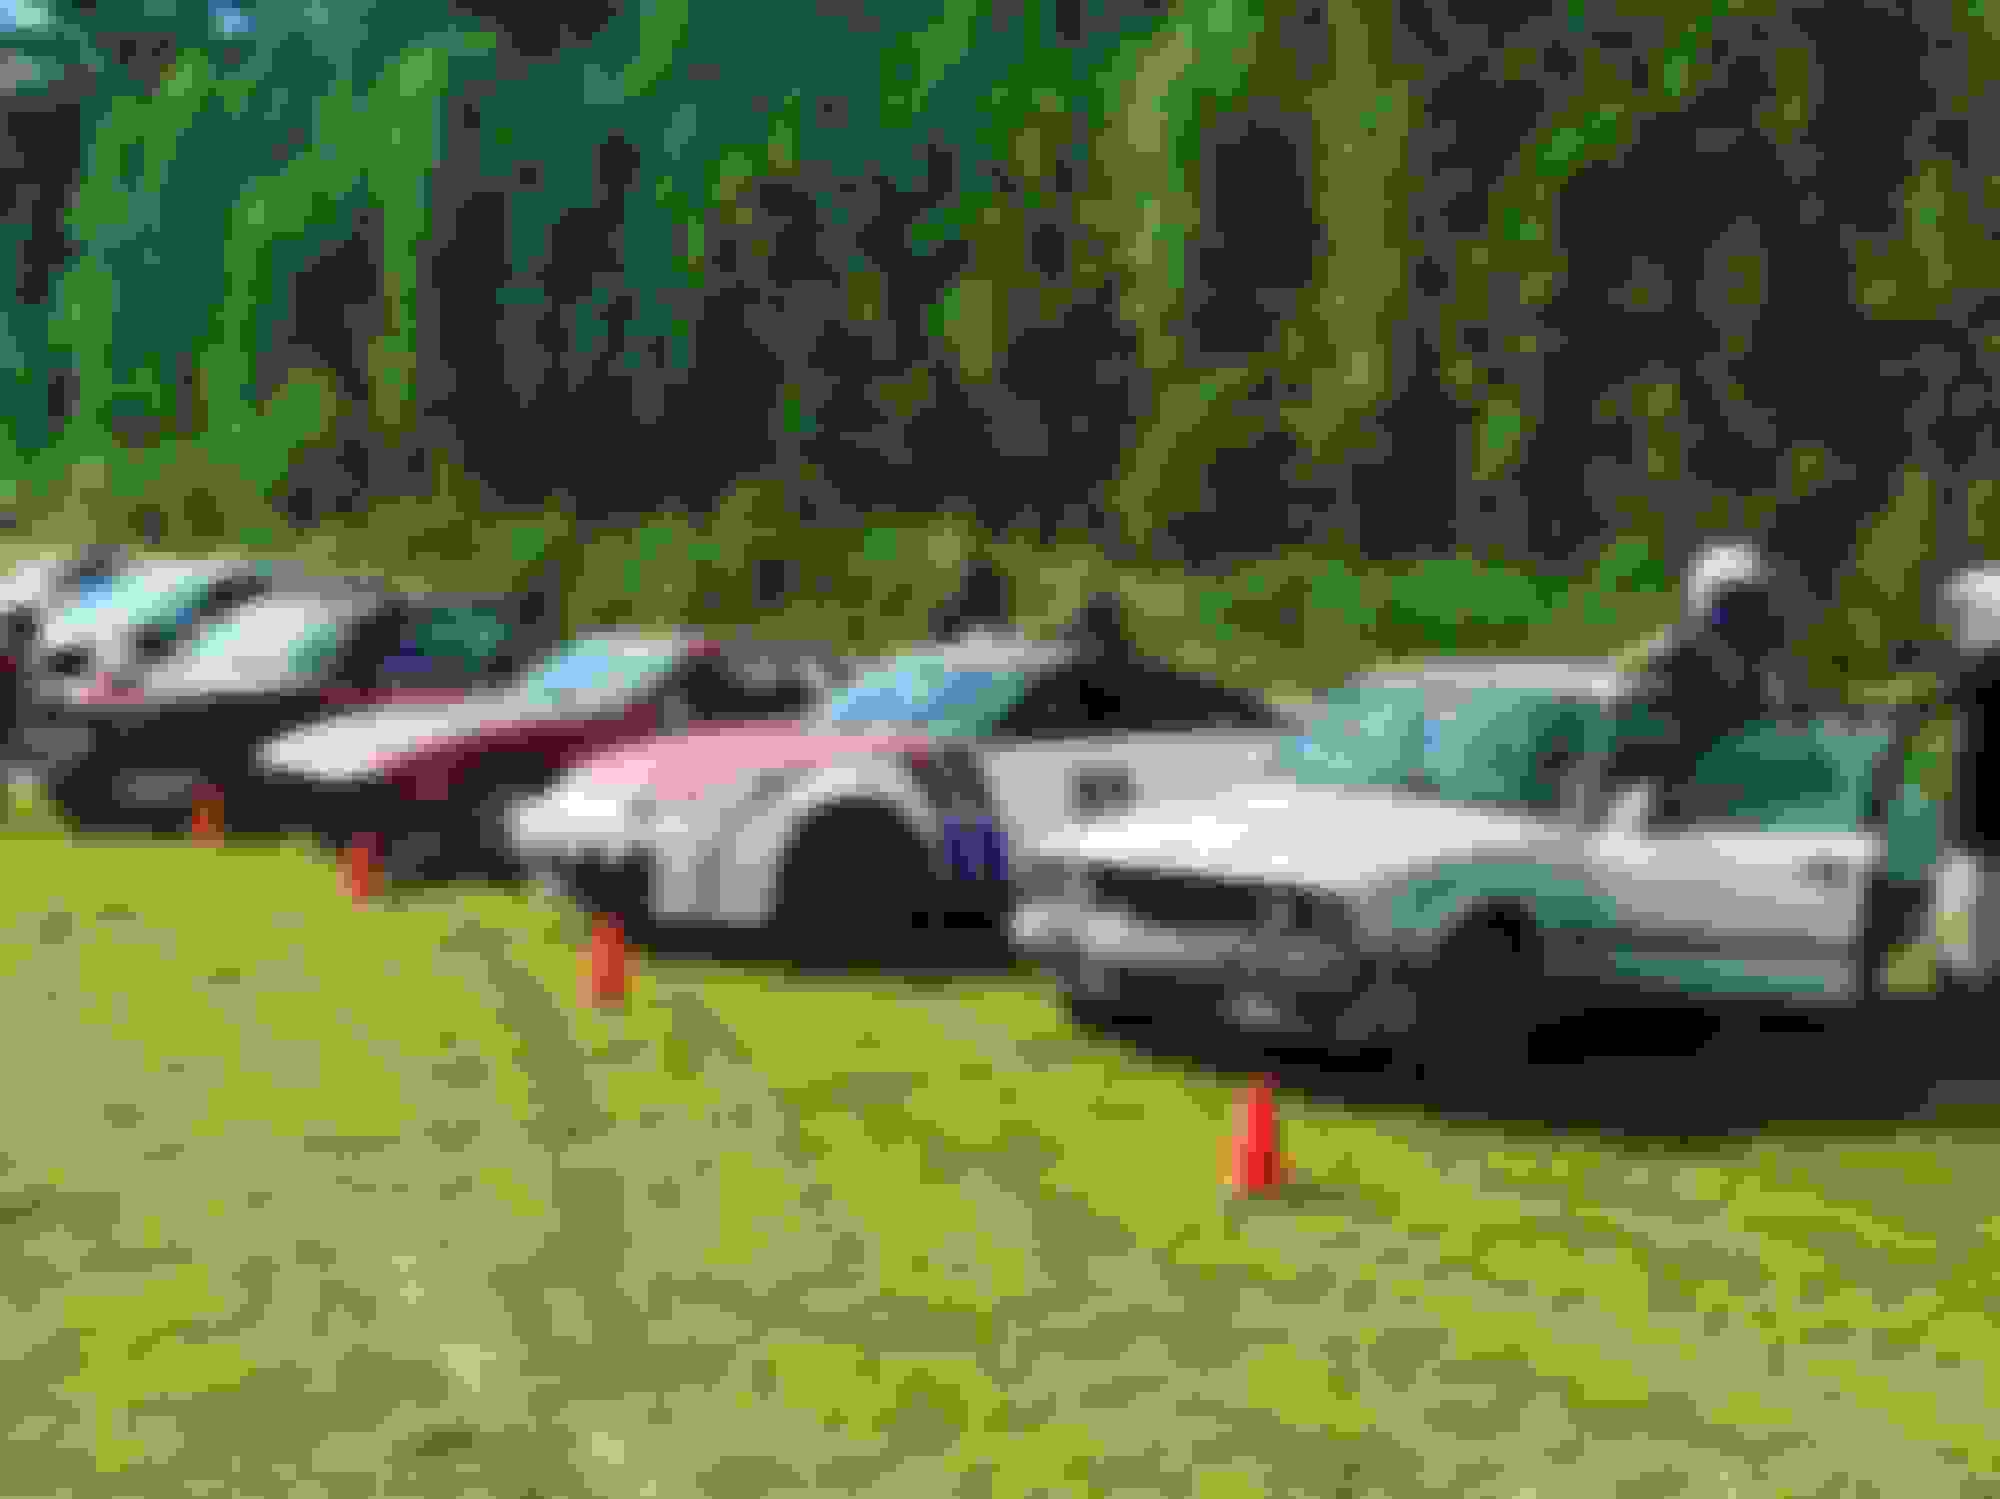
You have any competition? Looks like your in a league of your own with those cars
You would be surprised how well these little cars do on a small, tight, and technical rally course! The Z has a huge power advantage but it doesn't help us much at this level of competition. That's why we're hustling to get her ready for RallySprint and stage rally.. 80+ mph on course and long, swooping turns! Plenty of room to stretch our legs and put the power down Oh.. and trees. Haha
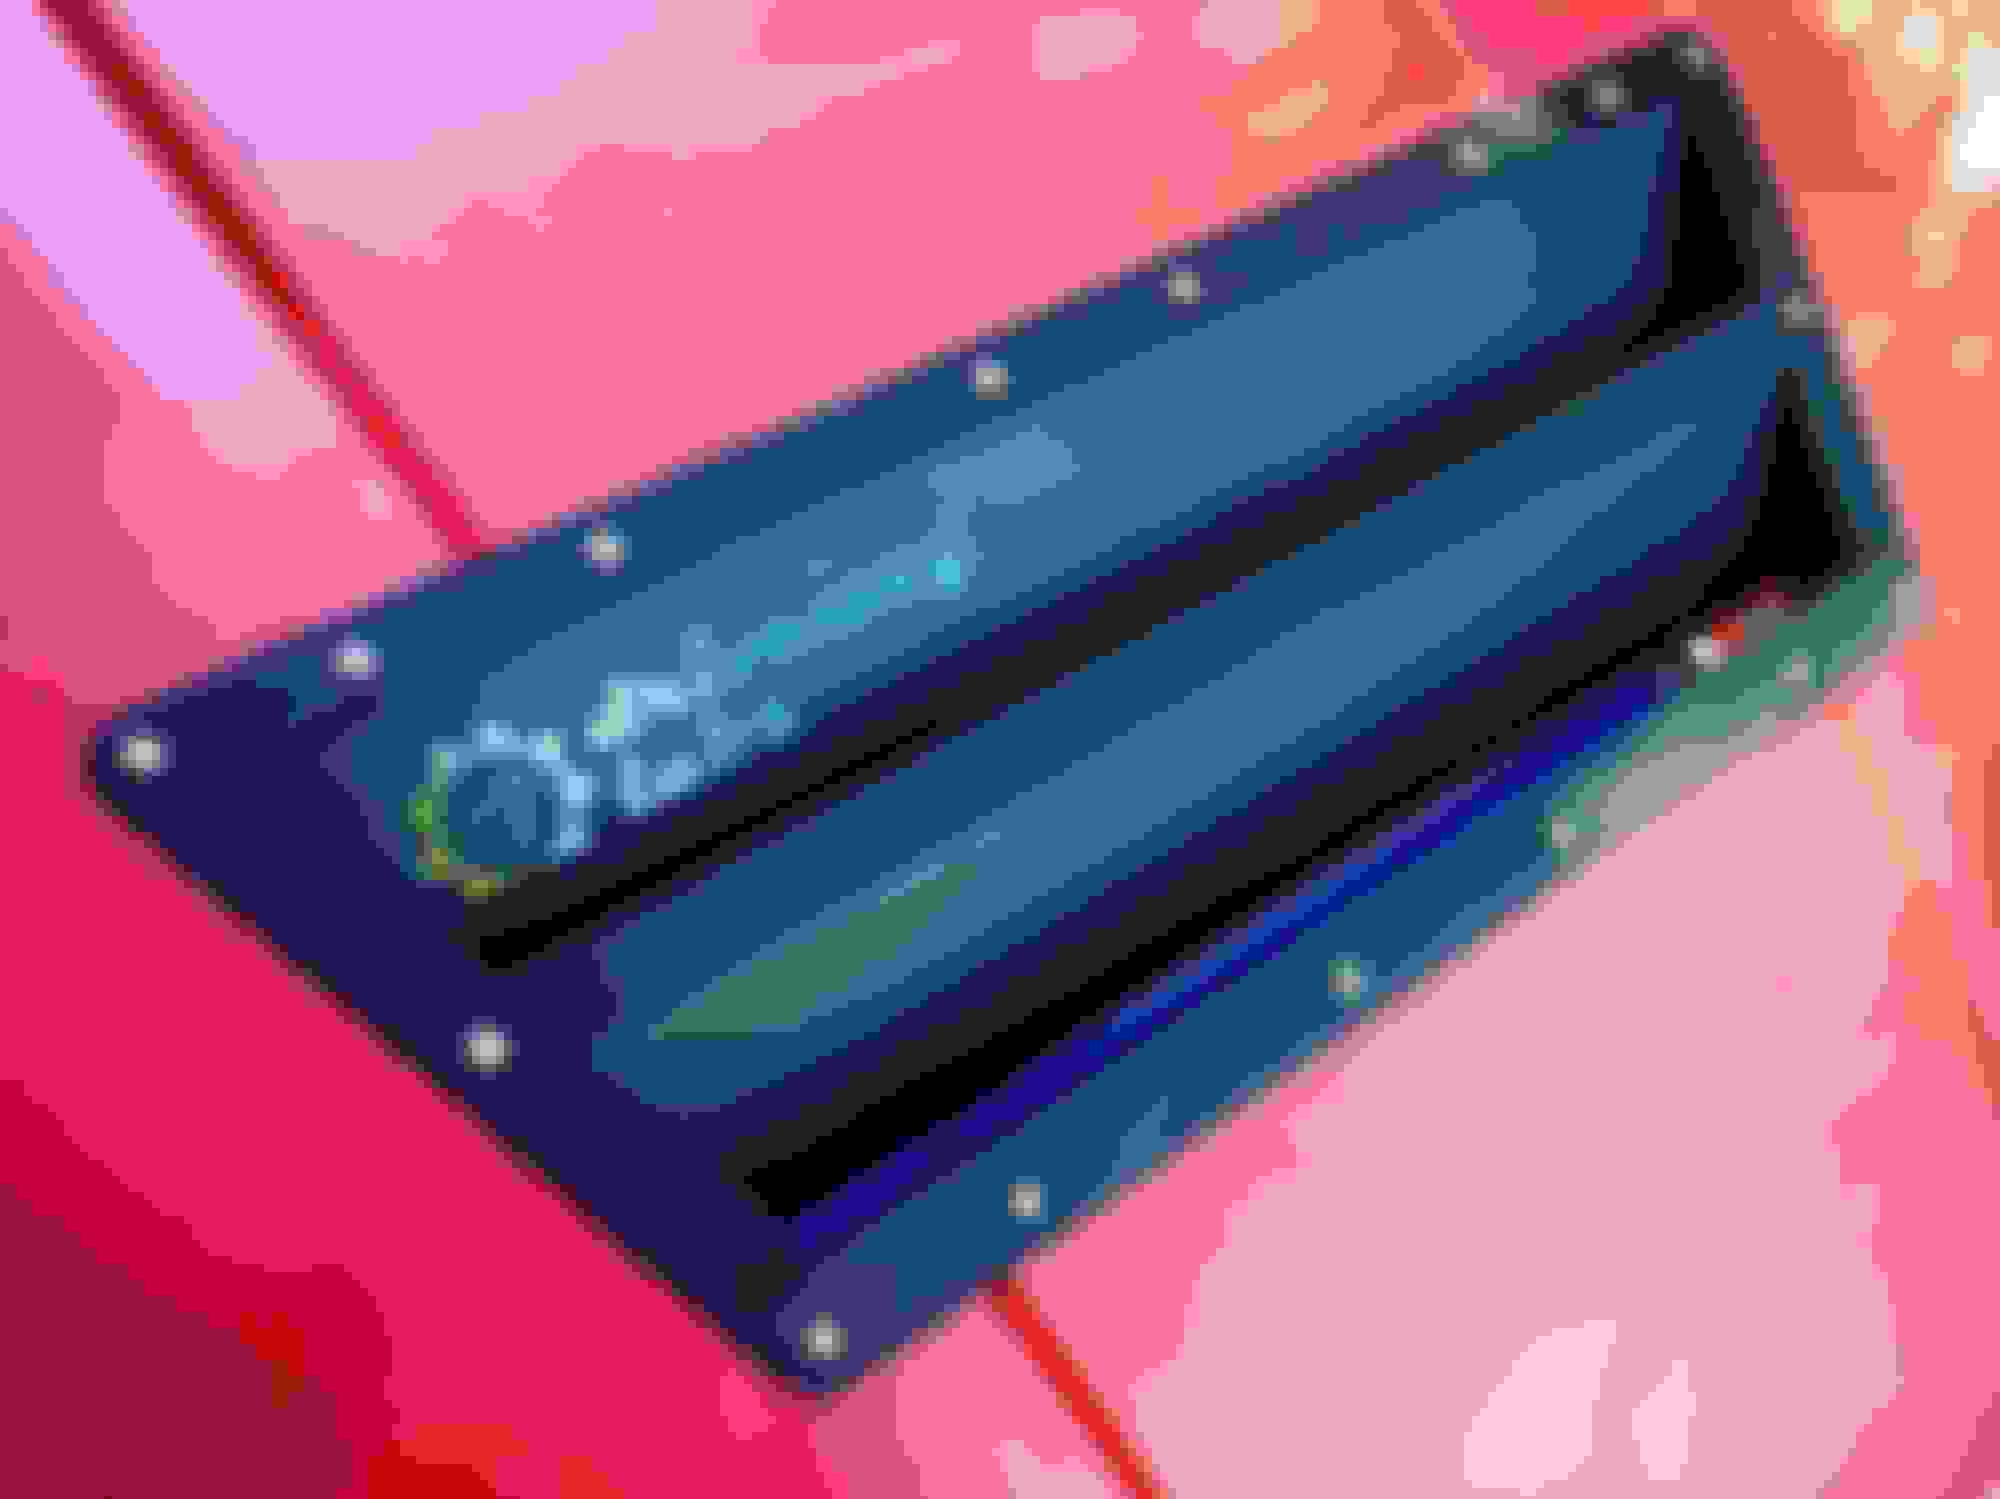
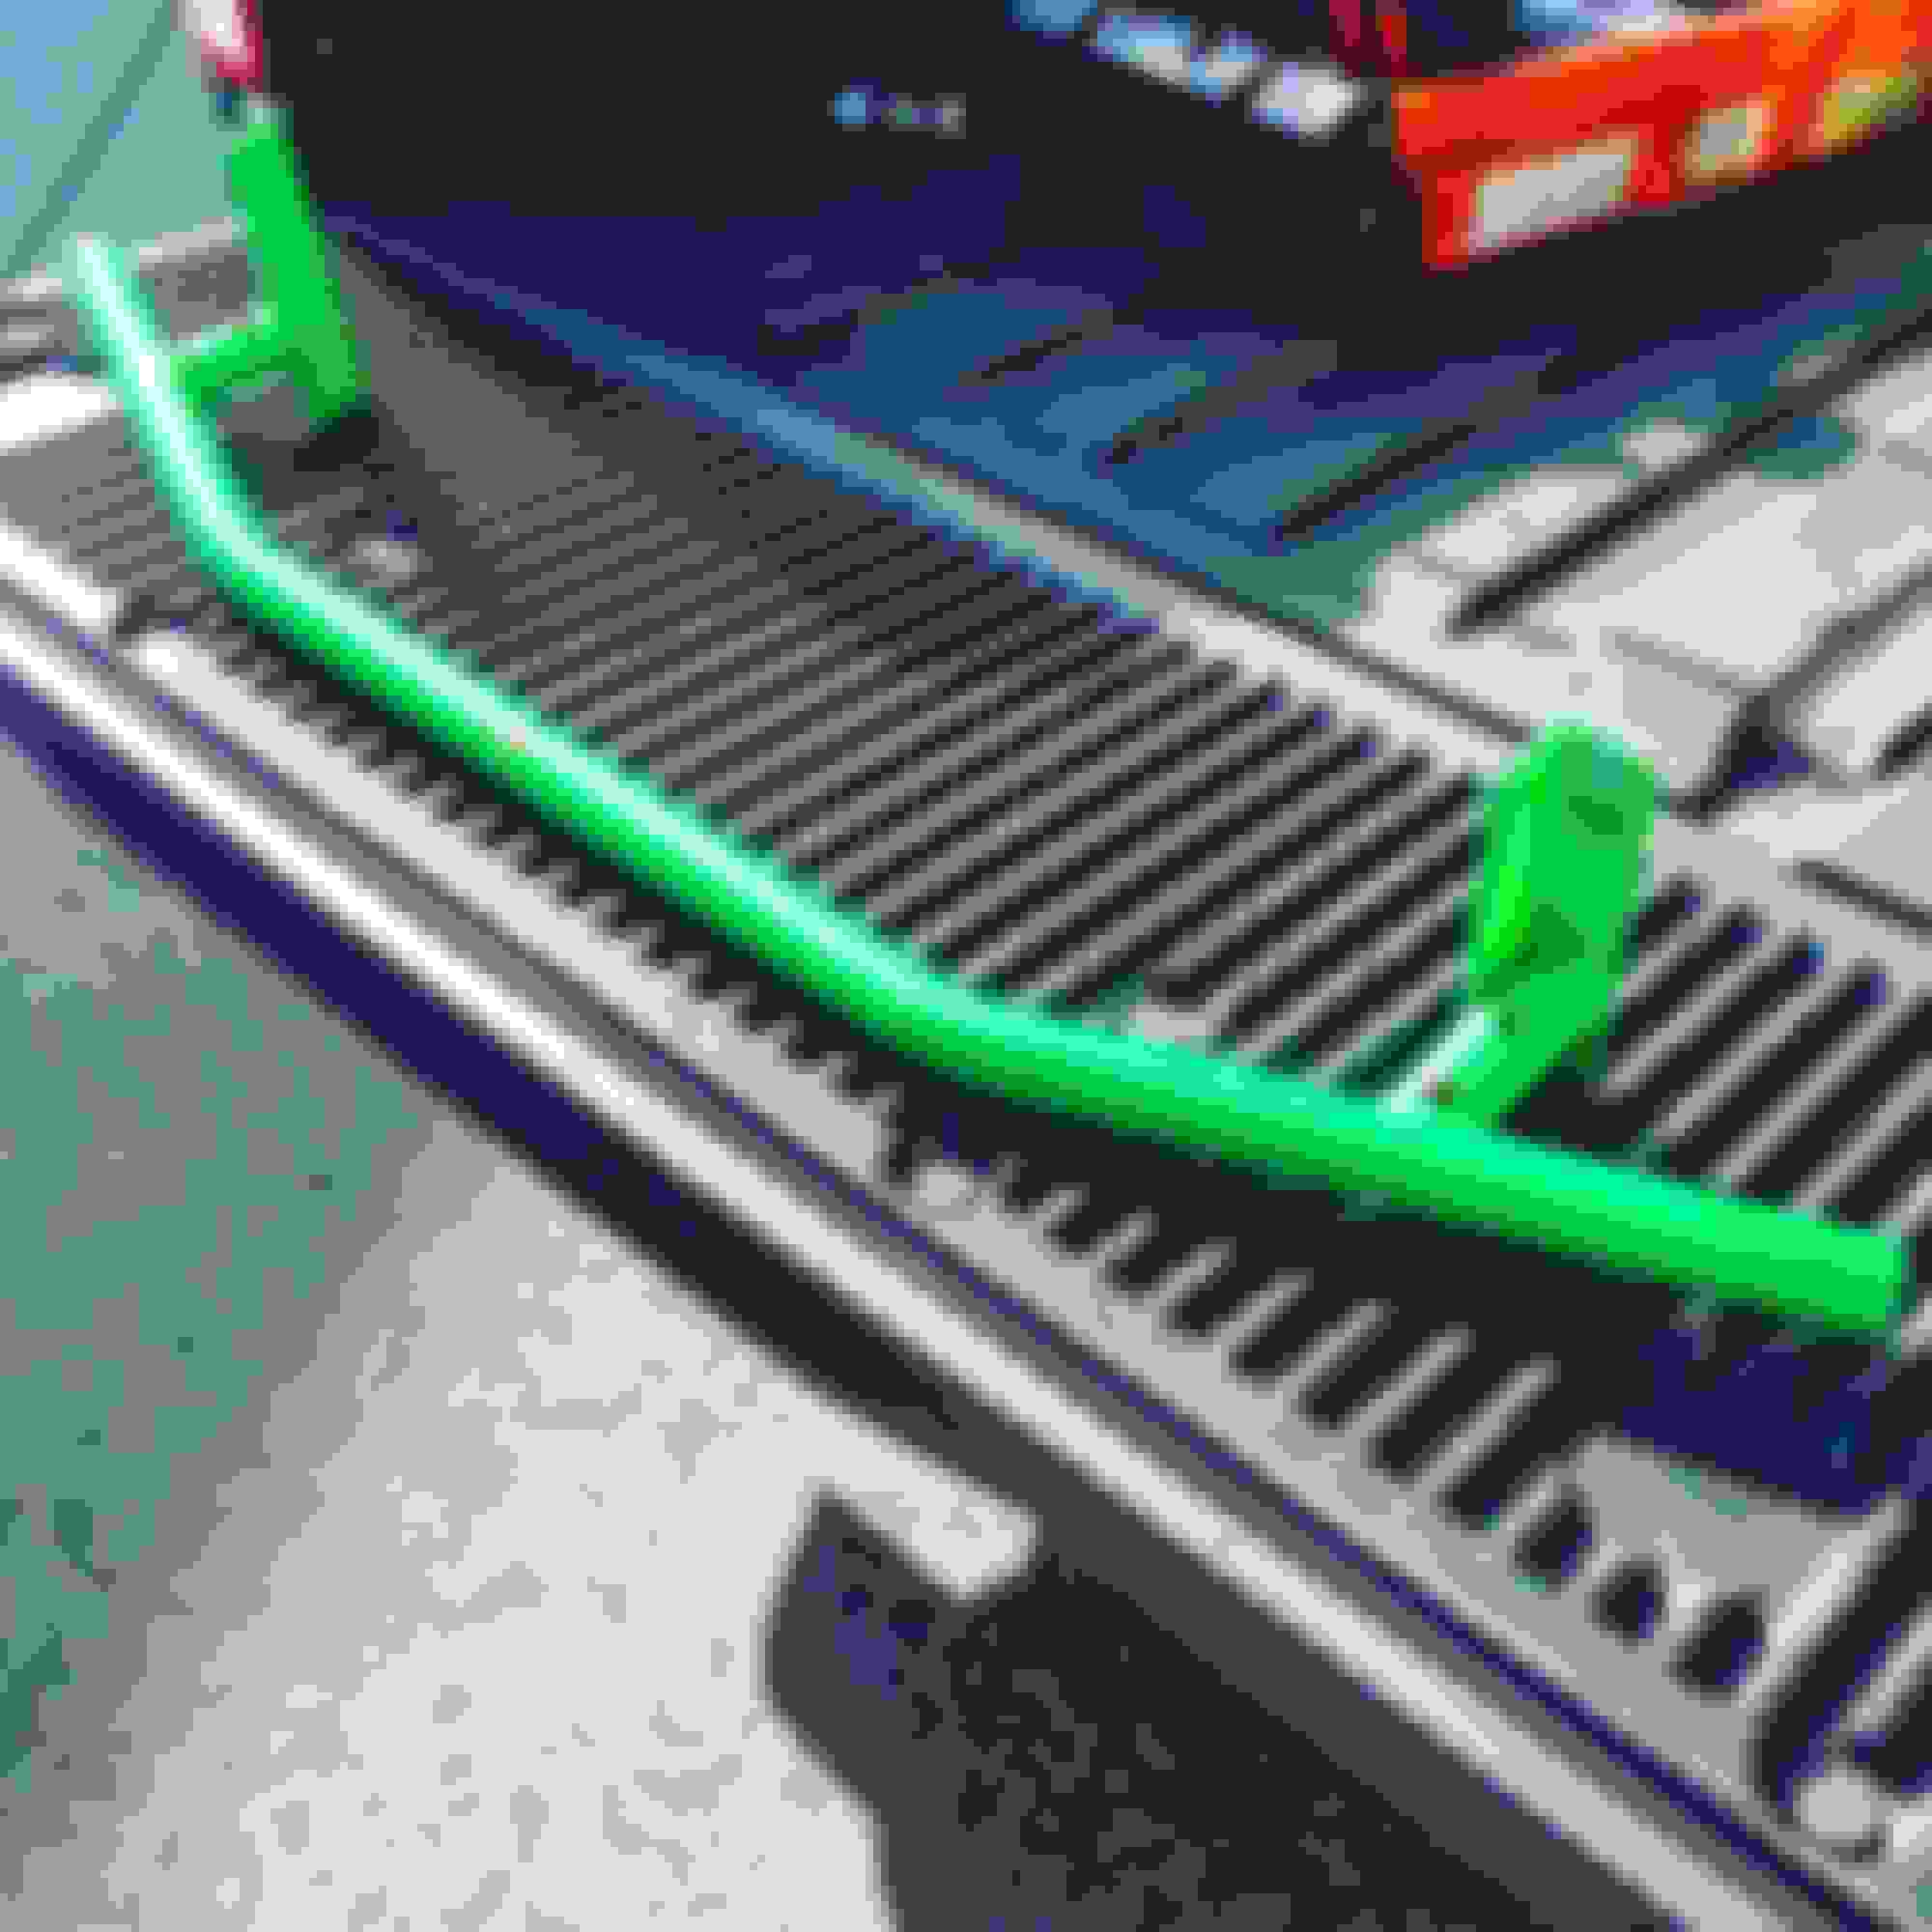
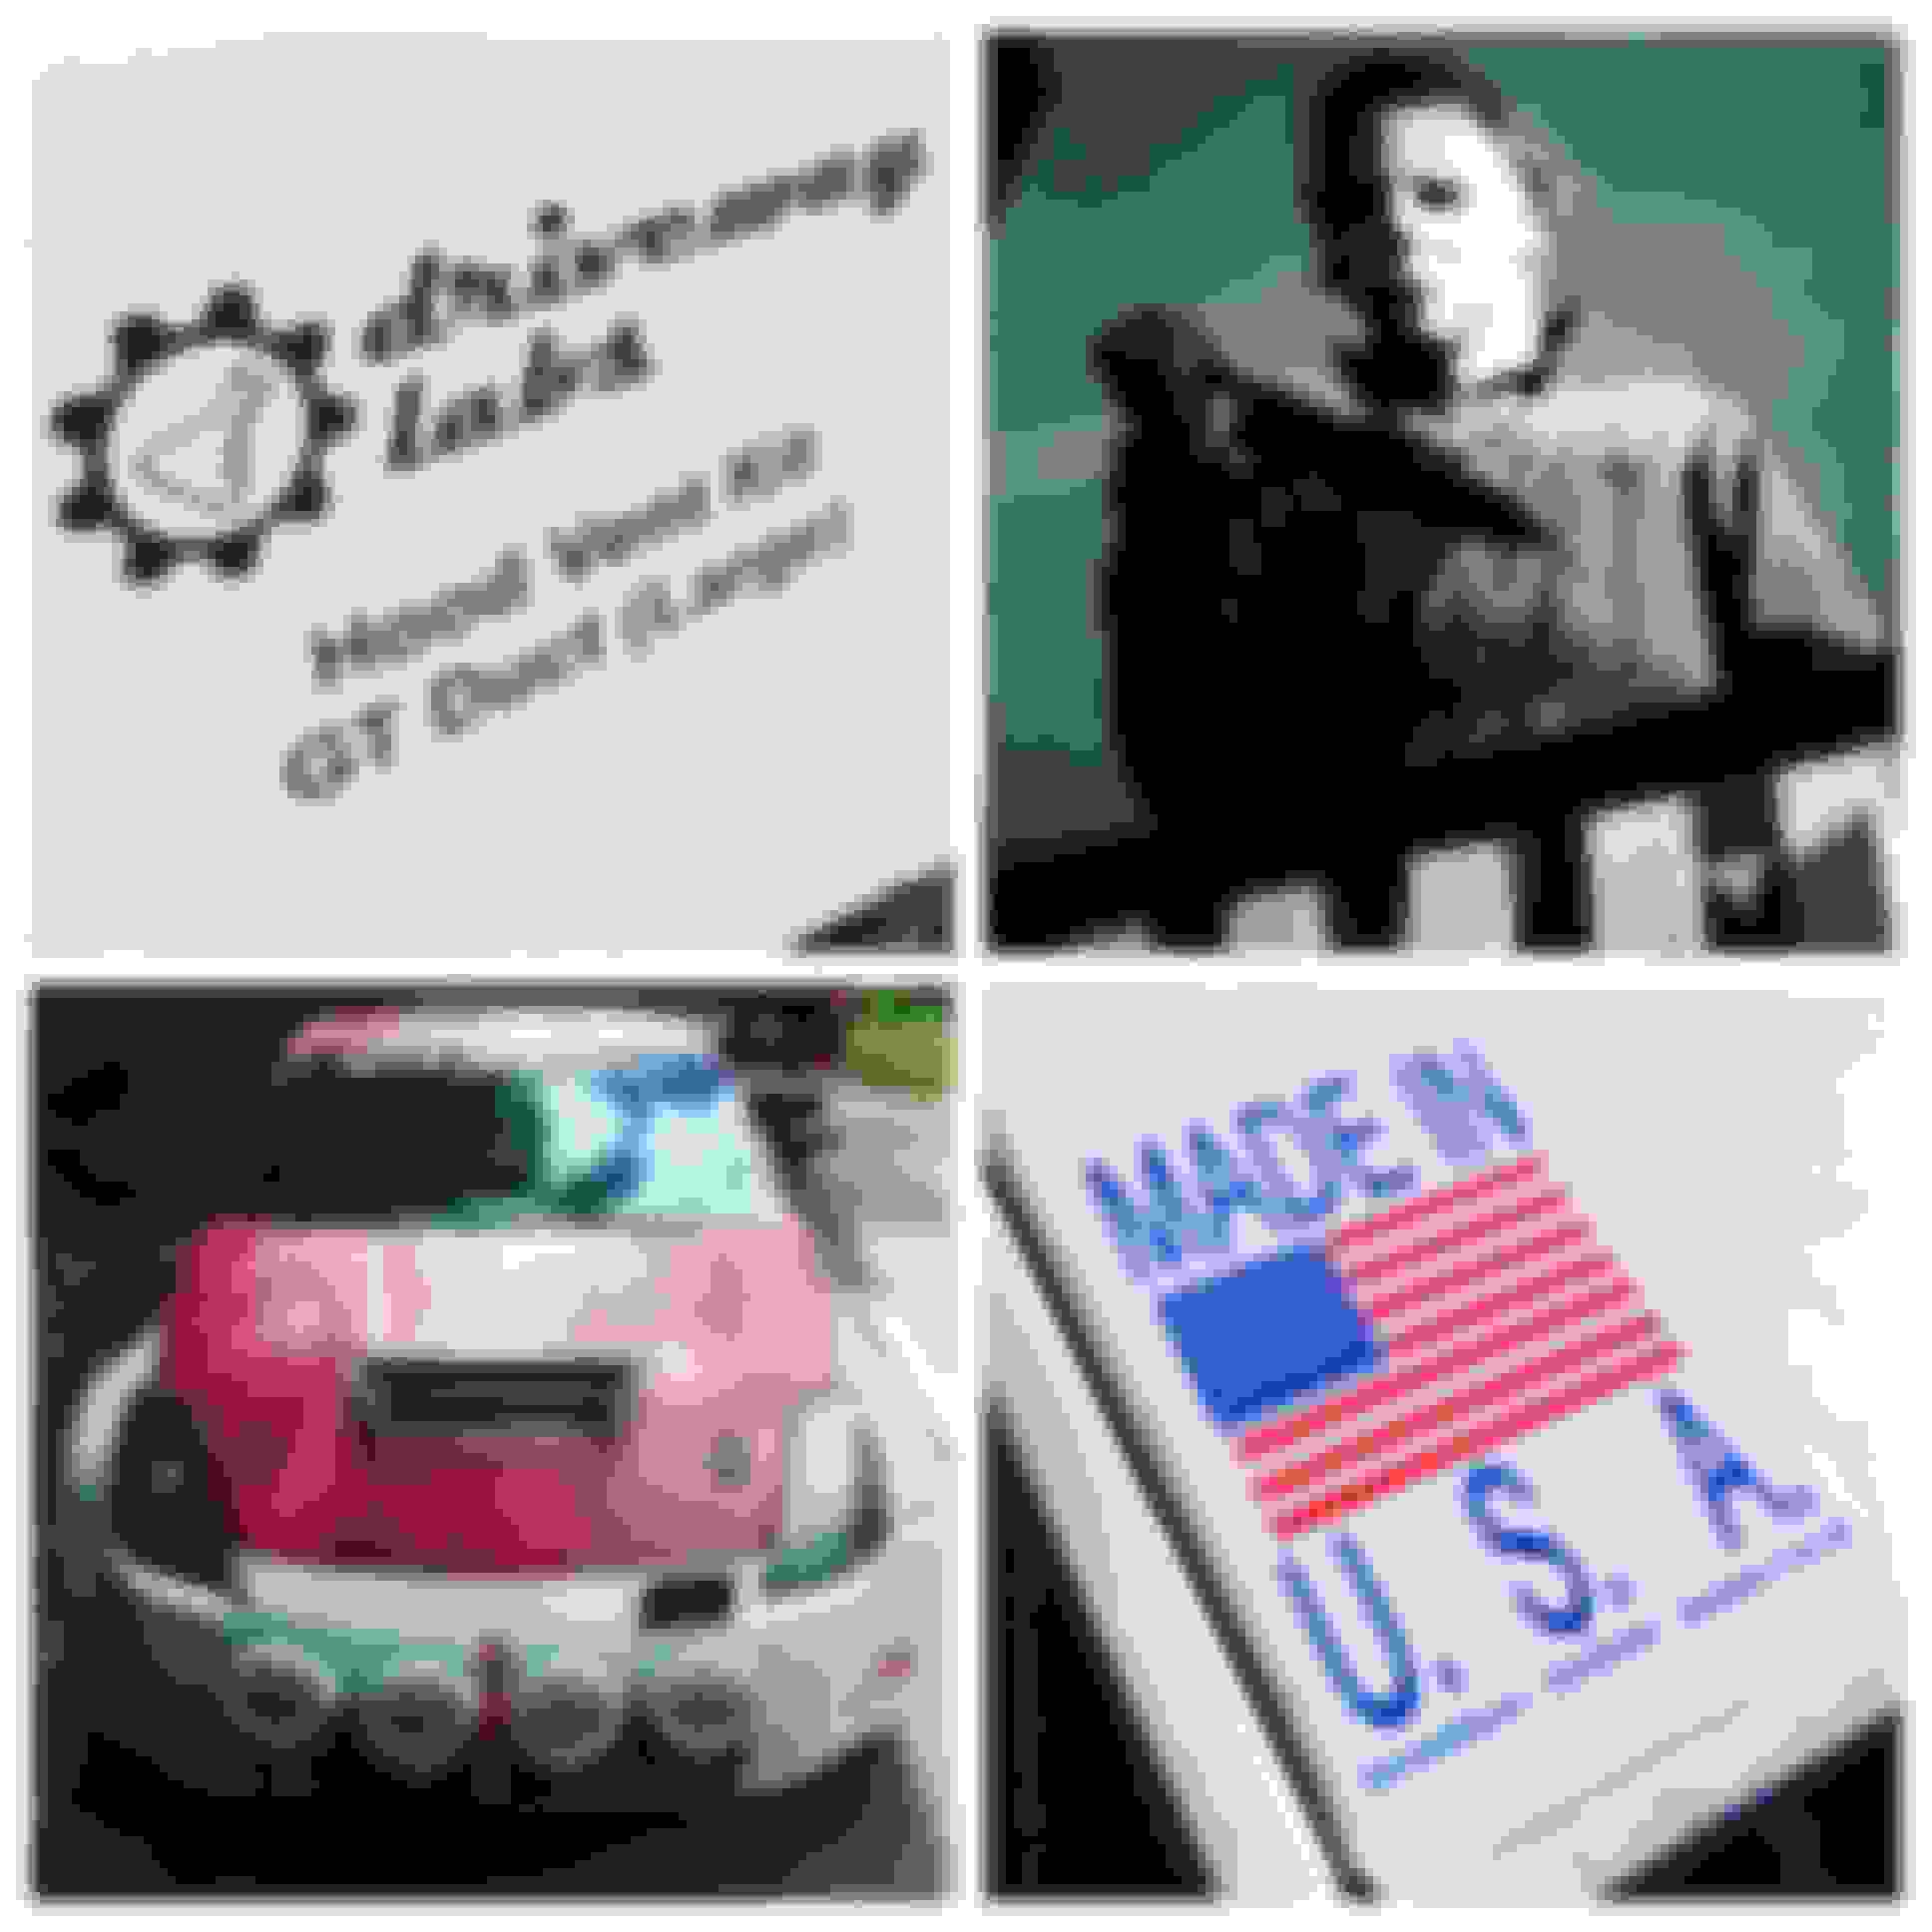
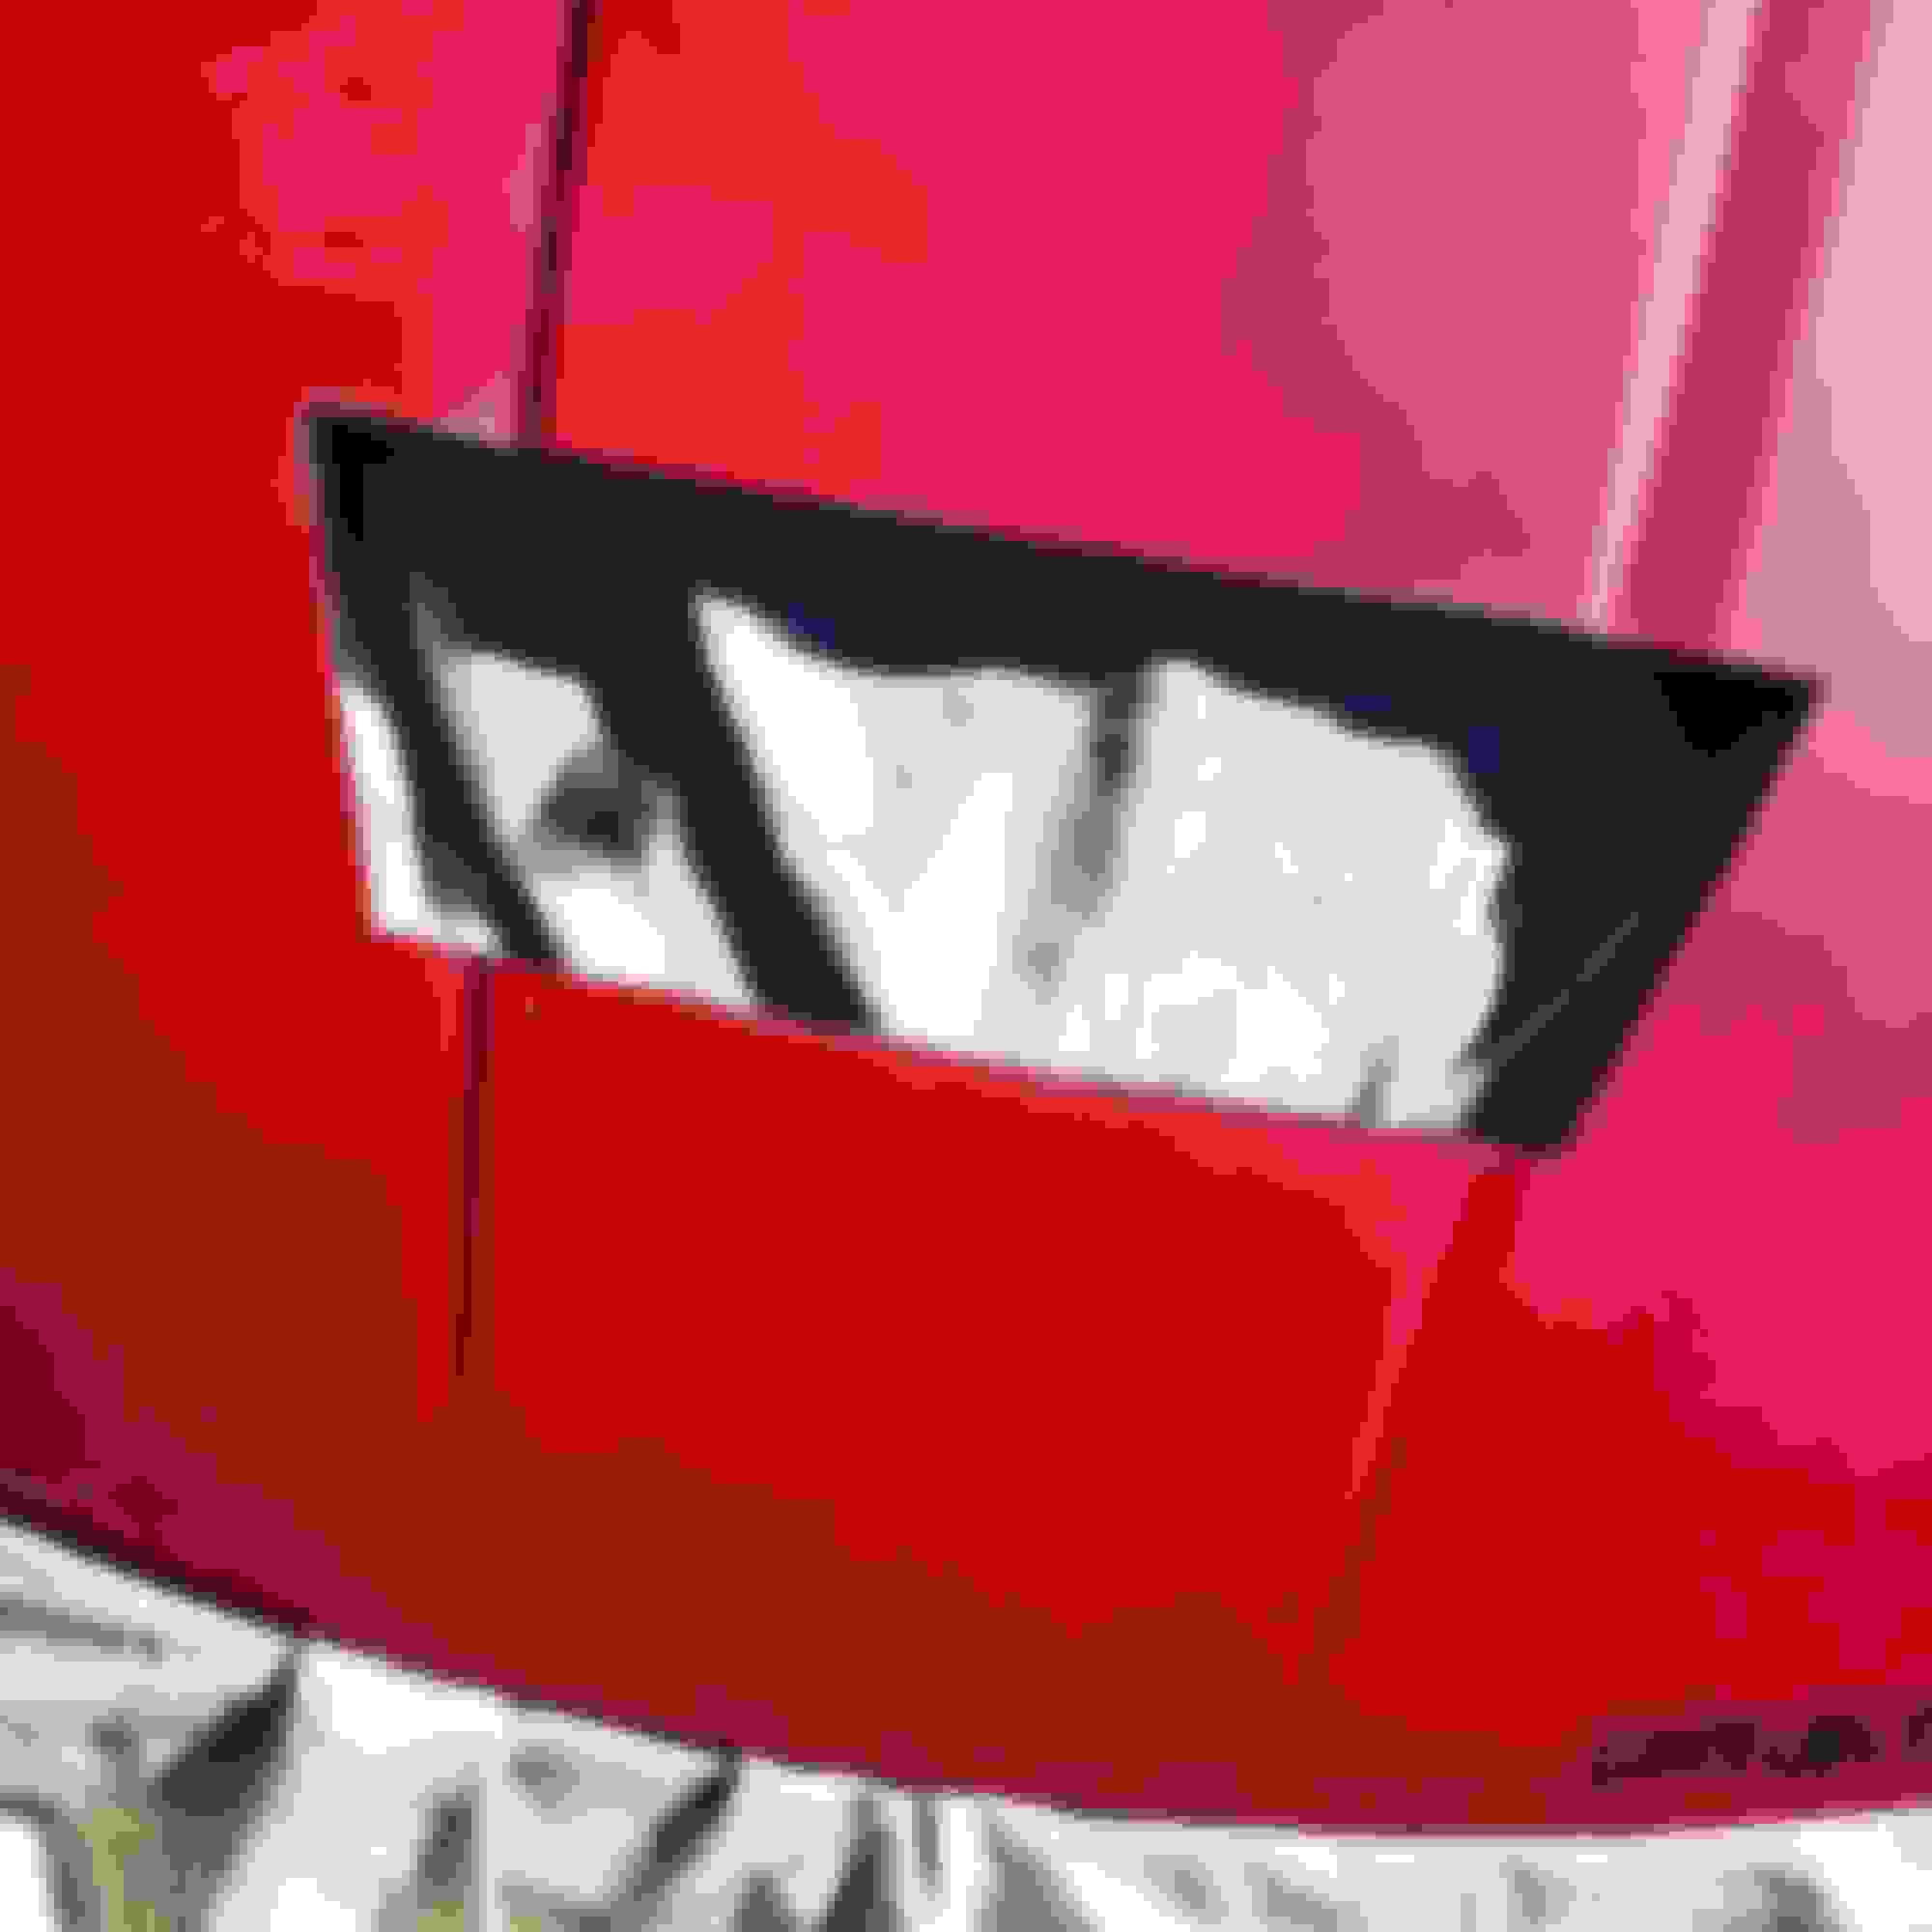
Had the pleasure of cutting a giant hole into my car today Driveway Labs out of WA offered us a killer deal in exchange for some promotion of their products, including TRACK PROVEN aero and cooling vents The GT vents were originally designed for the FRS/BRZ but they are in fact UNIVERSAL (as you can see)
** Make sure to tell him that Shawn at OvernightPartsFromJapan sent you! **
Step one was to measure. Measure 100x, then measure one last time. Cut ONCE! The vent kit comes everything you need, including a nice vinyl stencil.. we went with the masking tape method.
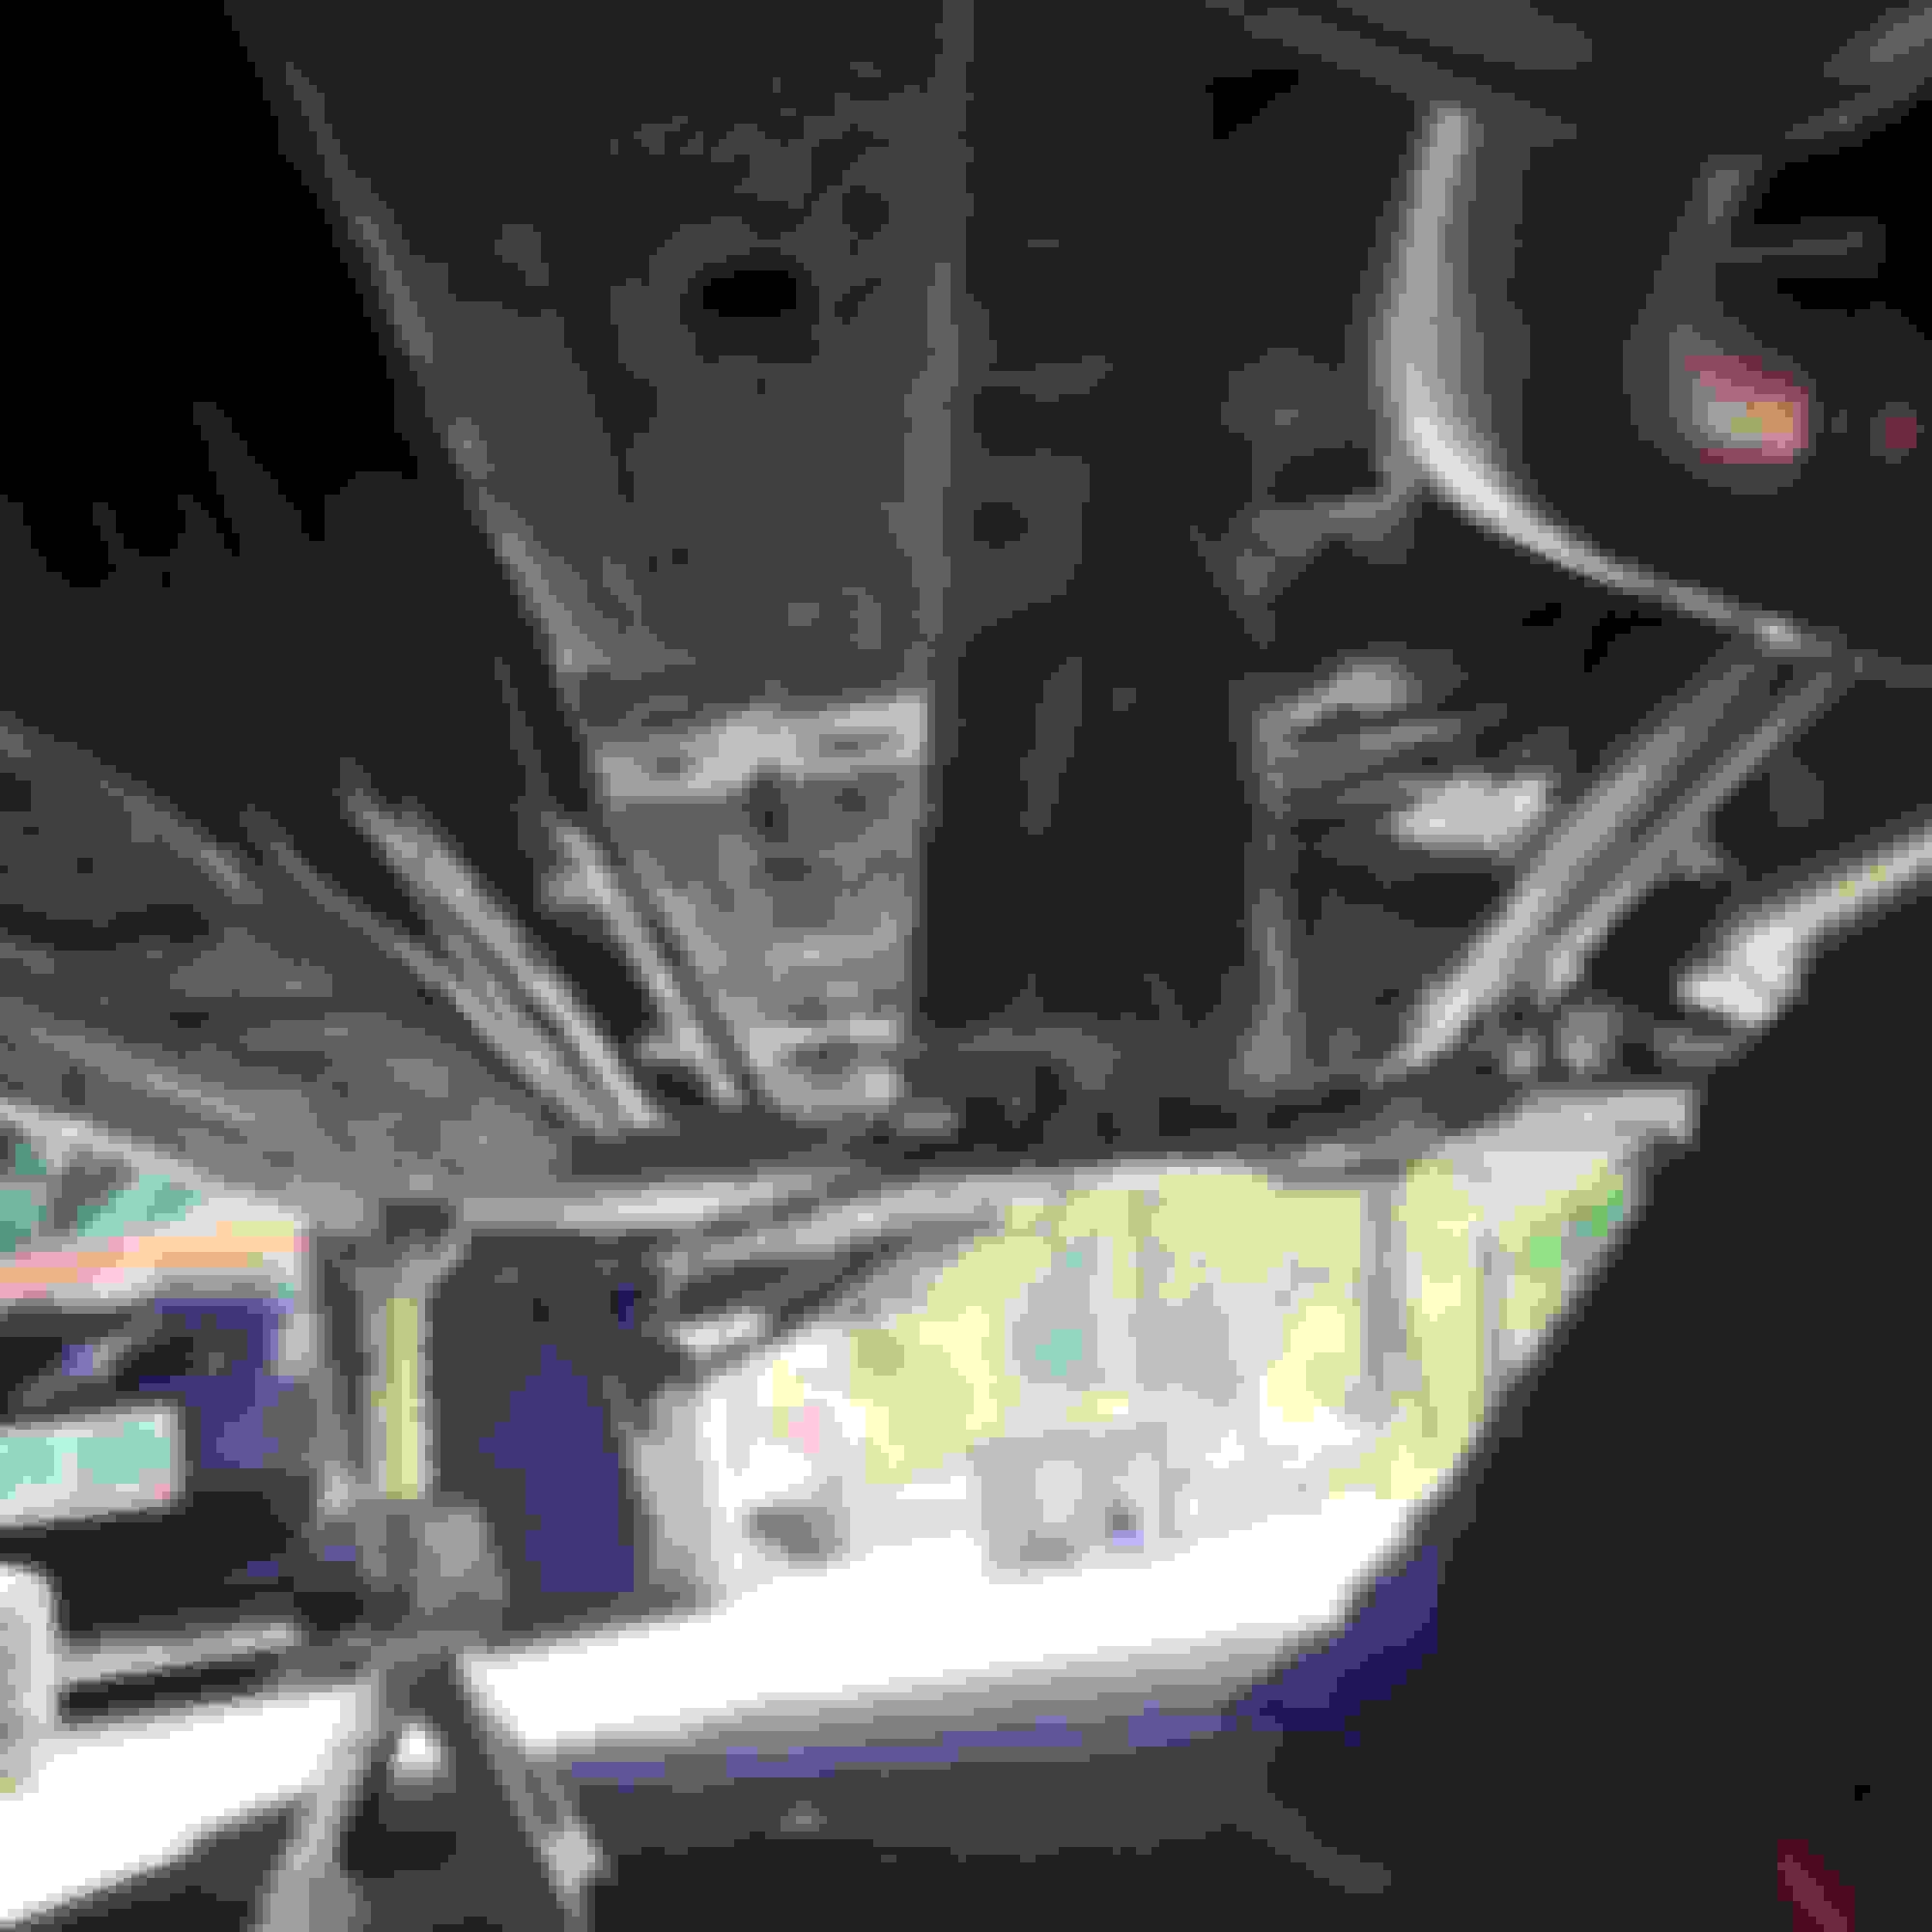
Time to break out the power tools!! We used an angle grinder with a 4.5" cutting wheel to cut from above, which went right through the top layer and most of the ribbing underneath. Cut the remainder of the ribbing from underneath with a dremel / fiber reinforced cut-off wheel. Cut an extra 2" of ribbing away so you wouldn't see any from the top.
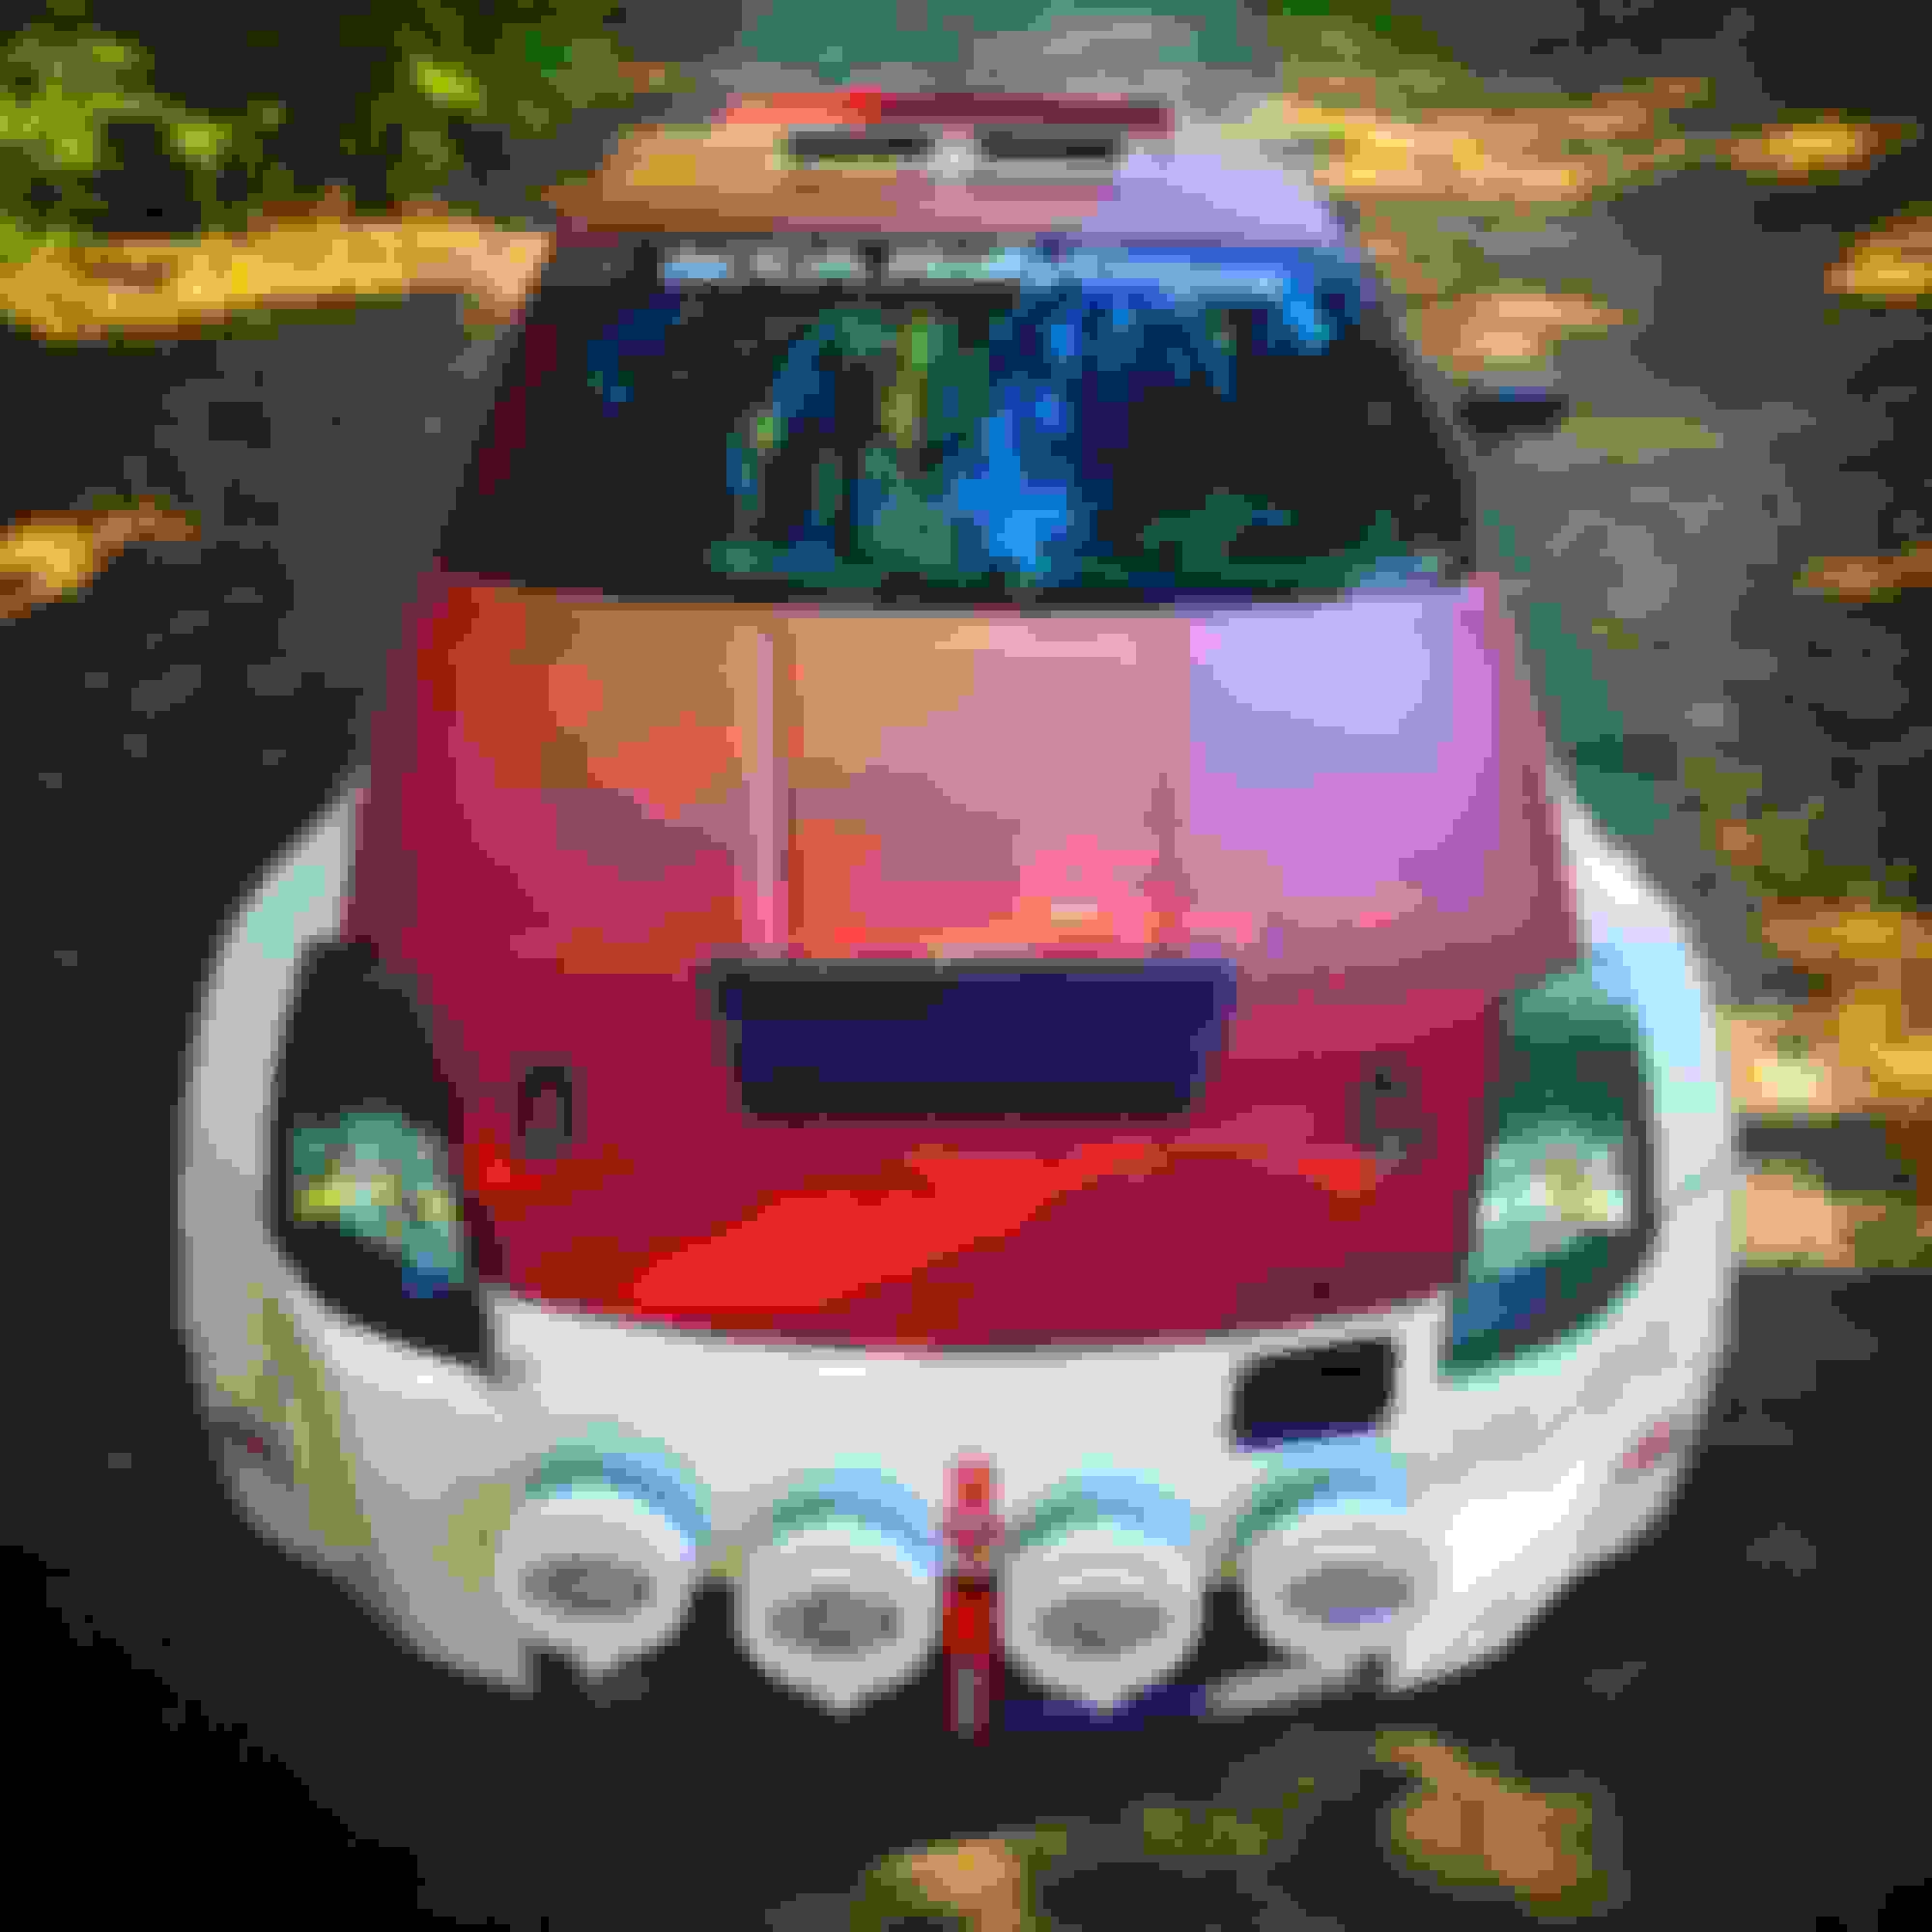
Lined up the vent and measured again (101 times), then taped it flat and marked the holes. Removed the vent, drilled the holes, then painted all of the bare metal with some bare metal primer and rustoleum. Installation time! Used the fancy Hardware that came with the kit BOOM!
Should definitely help some heat escape! The cooling fans are pulling so much air through the radiator, now all of that hot air has somewhere to go!


 09-08-2016, 10:19 AM


 The brute force is extra rugged and specifically designed for off-road racing conditions. Should be much easier to wash between events (yes.. We wash the filter after EVERY race. It's that dusty!) Also picked up some rad nomex driving gloves from RJS racing
  Better grip on the wheel, and they're fireproof which is always a plus!
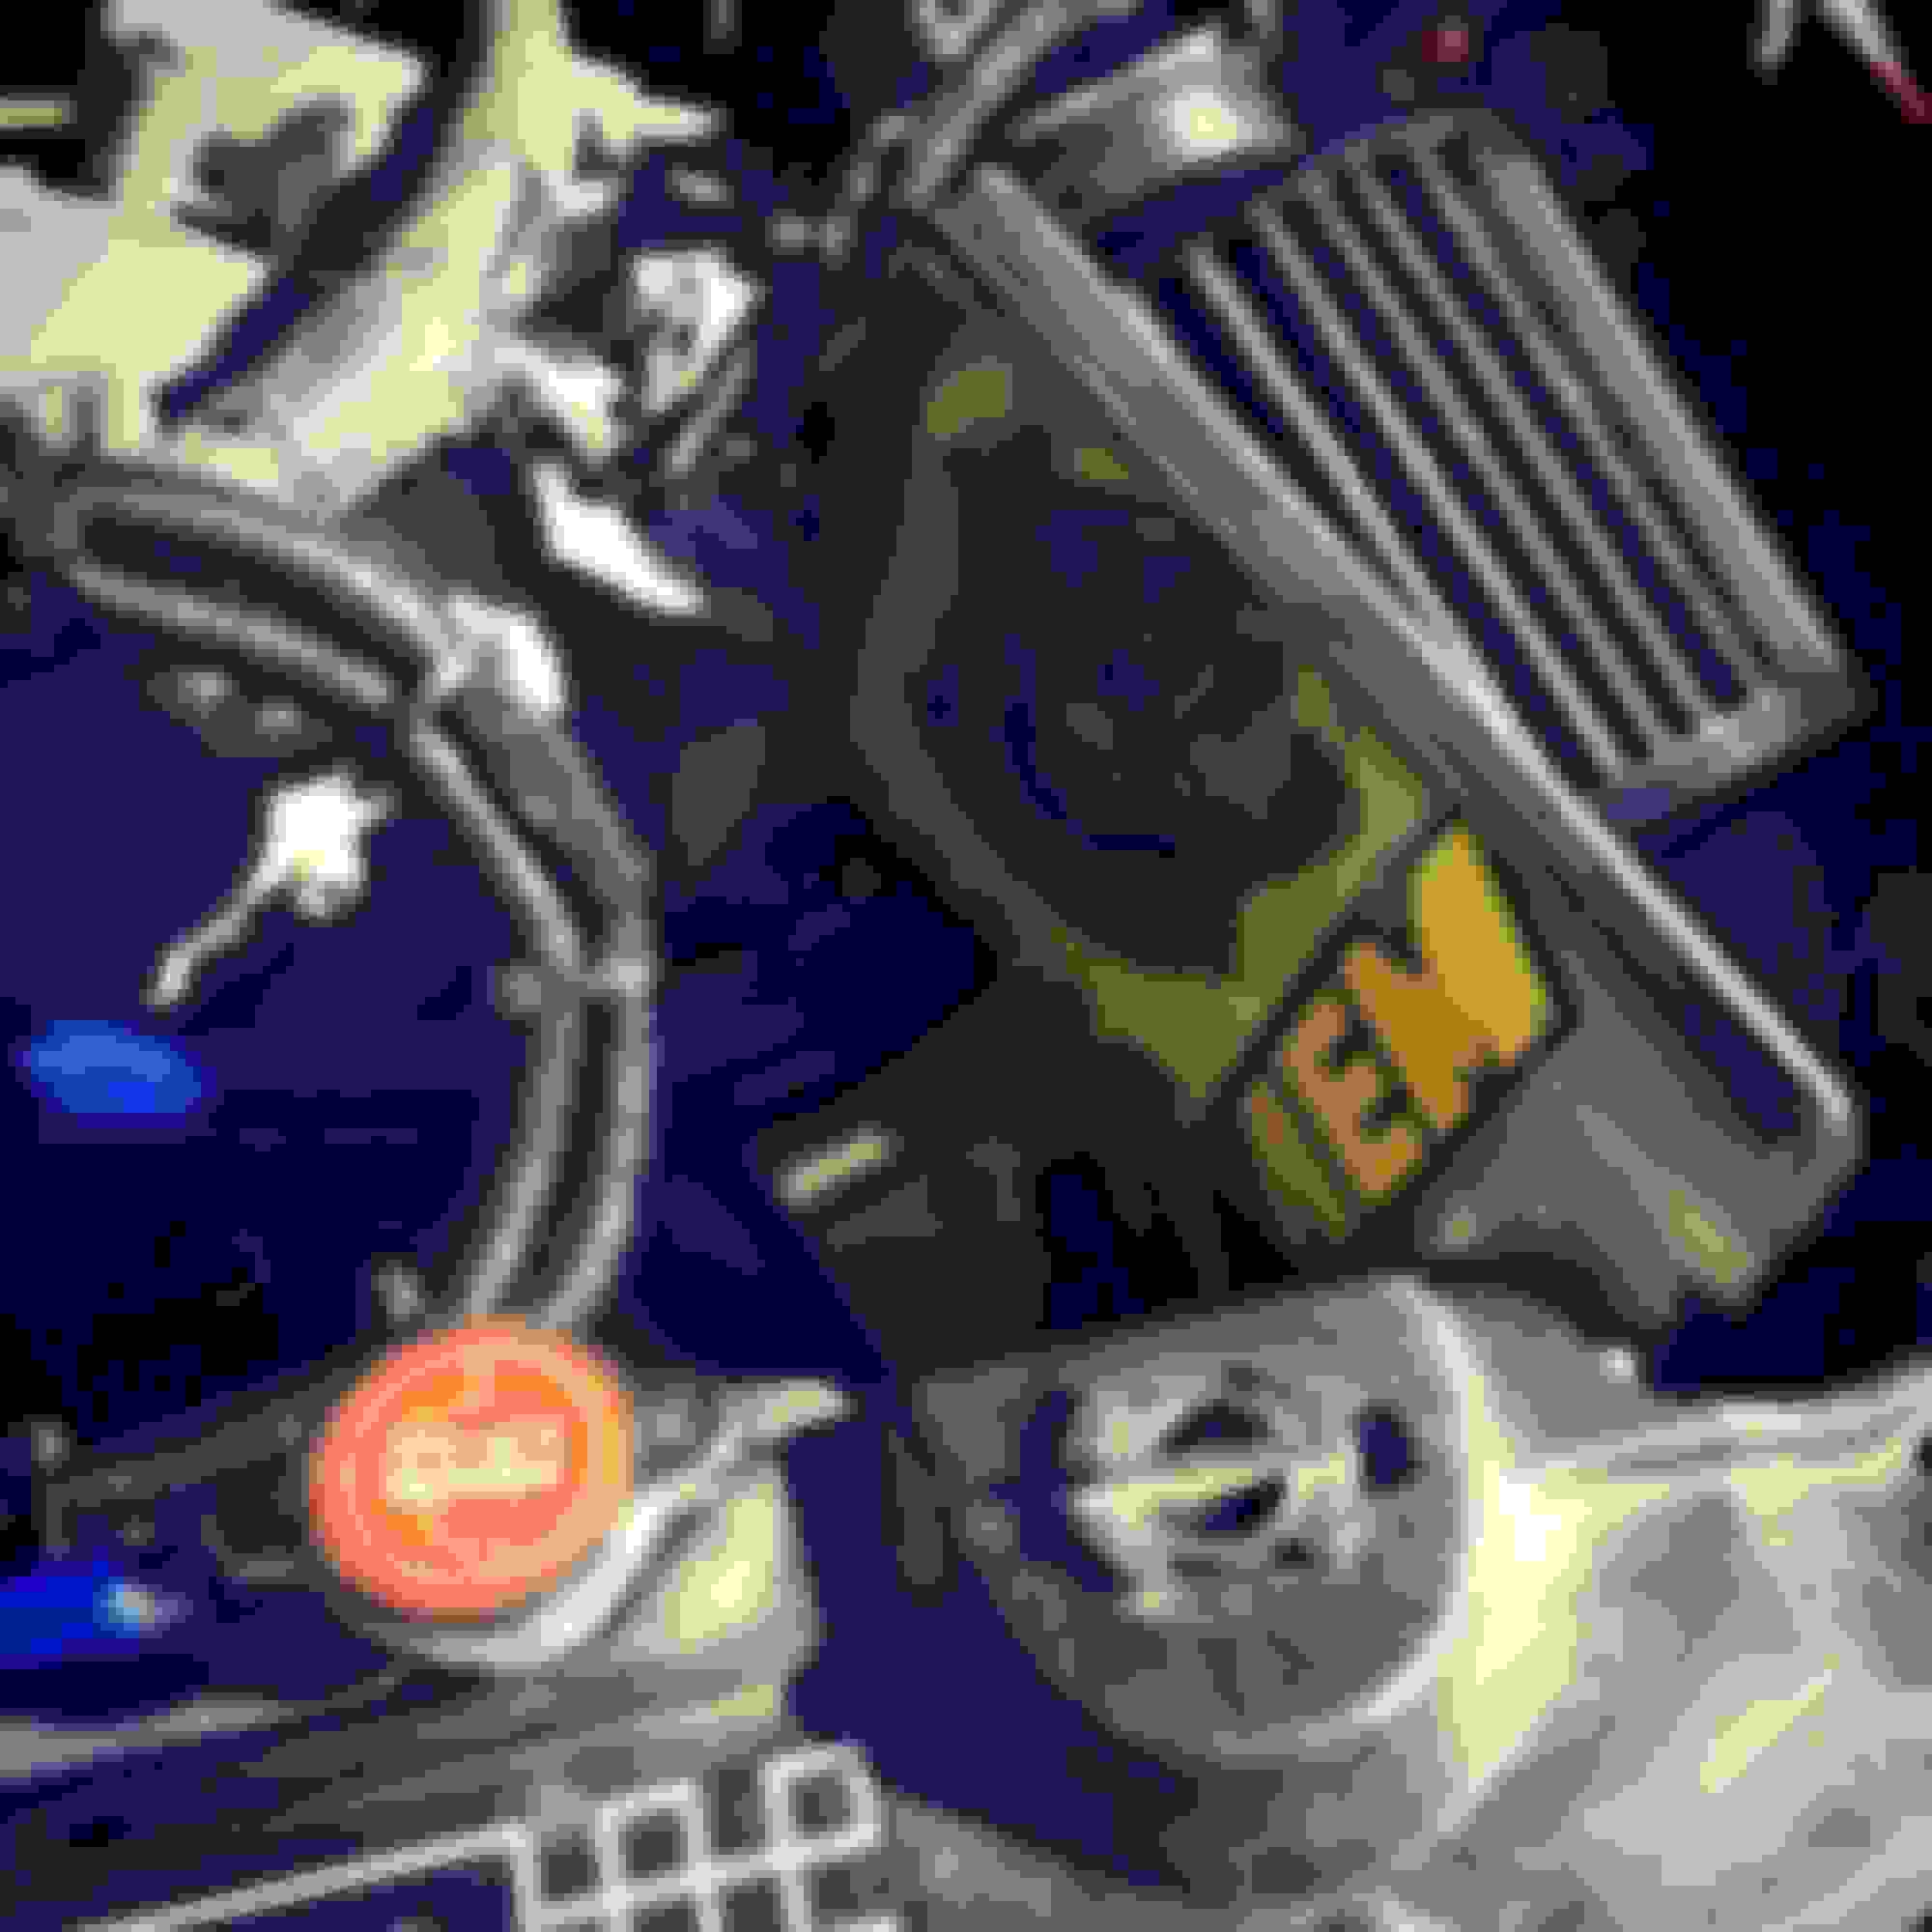


 haha. Still have a LONG way to go before she's ready to hit the stages.. cage and reinforced strut towers, passenger side seat, custom rally computer, harnesses, fire suppression, fireproof suit, open face helmet, HANS, intercom system, three or four spare wheels/tires, a bunch of little things (window hammers, safety triangles, spill/first aid kits, etc) and some custom Bilstein dampers from Team O'Neil. $$$$$$$$ We WILL get there though! Have a complete list out on paper so we can tackle things one by one when the budget allows for car parts haha. My brother and crew chief is now investing into the project as well so we are full steam ahead!!


 The vent kit comes everything you need, including a nice vinyl stencil.. we went with the masking tape method.
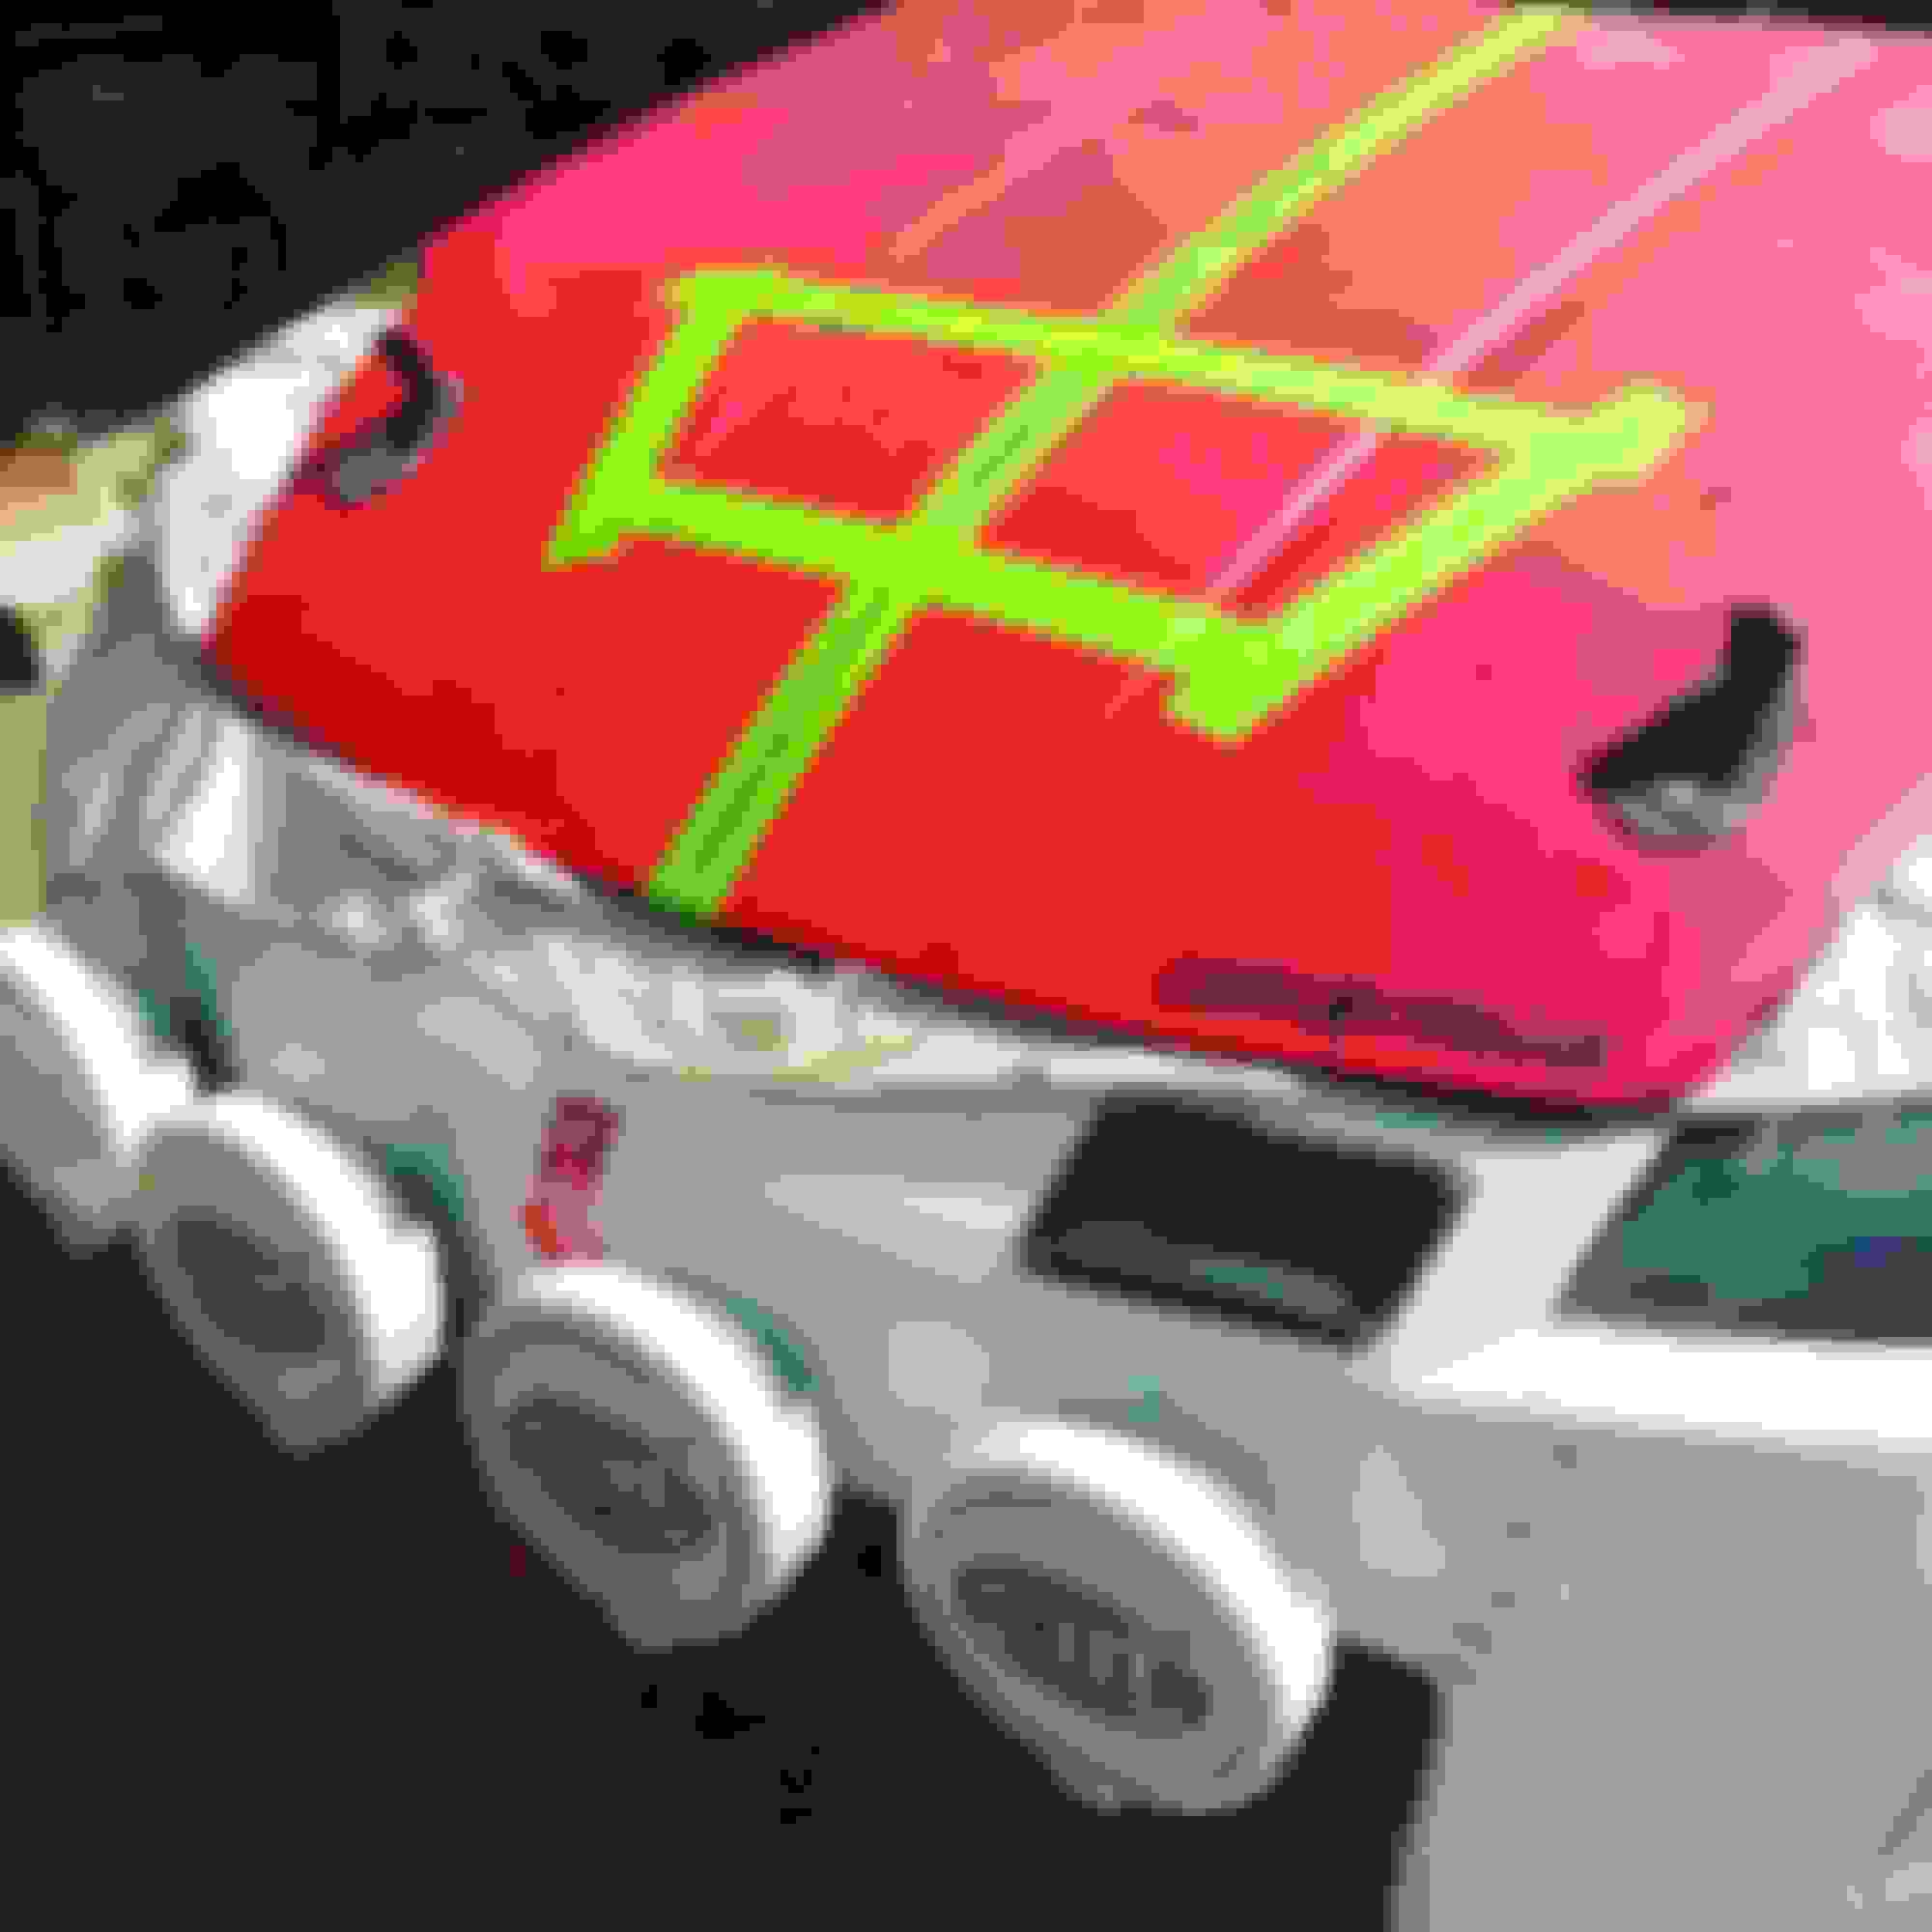
 BOOM!
BOOM!