Aggressive Wheels and Stretched Tires....Welcome
 05-21-2013, 10:54 AM
Hardest Setting

iTrader: (3)
Join Date: Feb 2008
Location: MexiCali dodging potholes
Posts: 13,406
Received 130 Likes
on
102 Posts
^^^
correct especially if he stretches a tire over that would look bonk as ****...disk type helps with clearance not specs!
You will want more once you put them on or look into fat tires to make it work
correct especially if he stretches a tire over that would look bonk as ****...disk type helps with clearance not specs!
You will want more once you put them on or look into fat tires to make it work


 05-21-2013, 08:05 PM
 05-21-2013, 08:50 PM

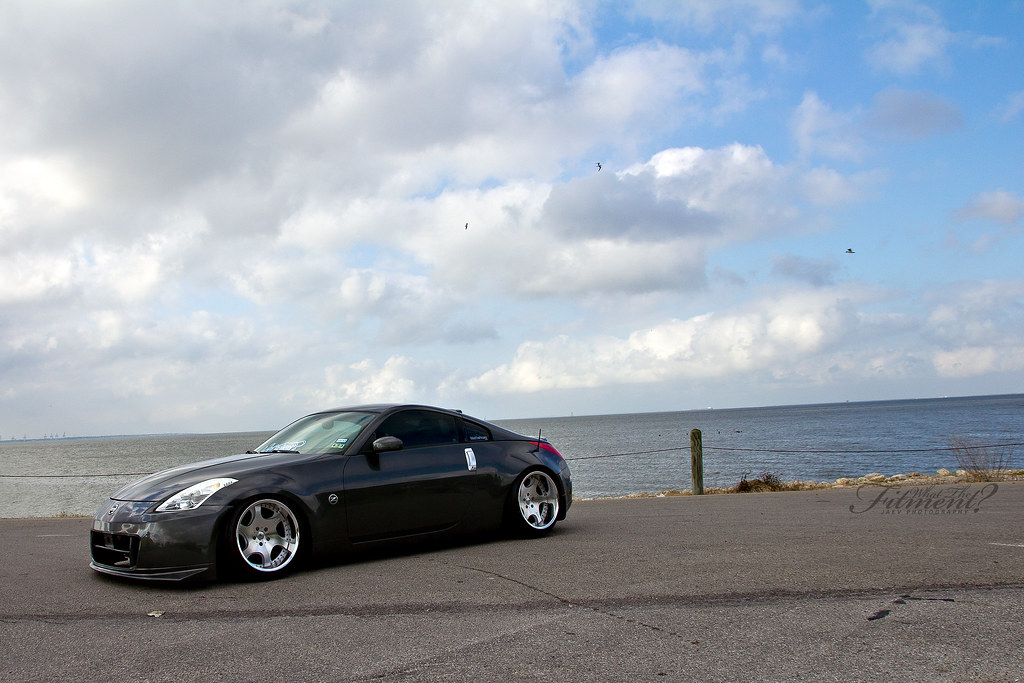
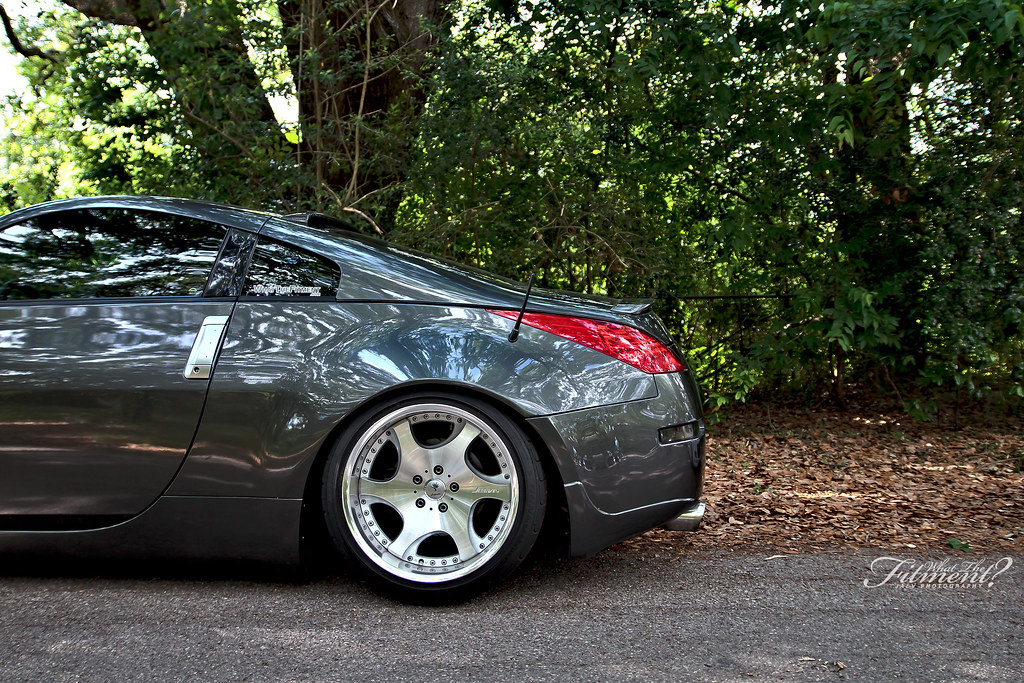
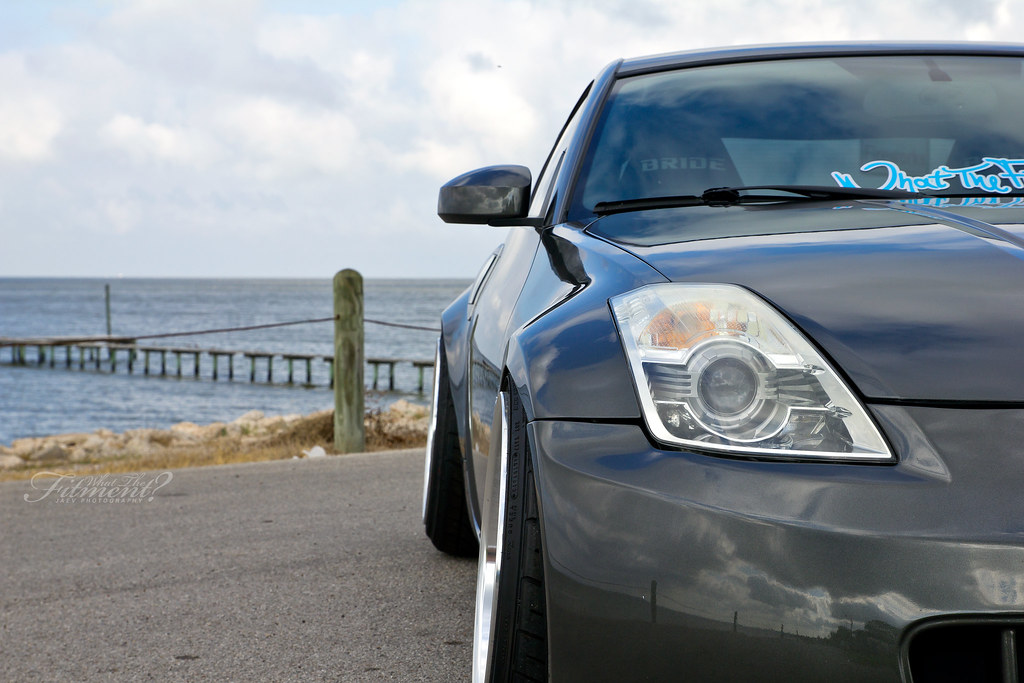
Very Clean vrbigdish
<a href="http://www.flickr.com/photos/95659849@N08/8763211714/" title="IMG_7543 copy by Thanhstar, on Flickr"><img src="http://farm9.staticflickr.com/8263/8763211714_6c99a95379_c.jpg" width="800" height="533" alt="IMG_7543 copy"></a>
<a href="http://www.flickr.com/photos/95659849@N08/8764007624/" title="IMG_7548 copy by Thanhstar, on Flickr"><img src="http://farm3.staticflickr.com/2845/8764007624_2a9af881c7_c.jpg" width="800" height="533" alt="IMG_7548 copy"></a>
Last edited by .eoJ; 05-21-2013 at 08:54 PM.

 05-22-2013, 03:34 PM

Dang potato. Sorry had to notice the bumper fitment fix? I've thrown some 10mm bolts/flat washers in there on both sides and snuggs up very tight. And do it w wheels turned so u Dont even have to jack Z up/take wheels off to do it or remove front end. Not being a smartass a single bit- ride looks great!!!
 05-22-2013, 08:47 PM
Registered User
iTrader: (3)

Join Date: Jun 2010
Location: houston
Posts: 114
Likes: 0
Received 0 Likes
on
0 Posts
lol im no longer Katyboi username anymore- but my real name is Lewis
the skirts come from a Roush Mustang, not made for a 350z but i mod them to fit. Here are a couple of pictures a few weeks ago, the day before i sold the VSXX ENJOY!!!


Soooooooooo my car doesnt look like this anymore. Last friday it was raining really hard and i drove thru a big *** puddle of water @70mph that tore off my rear bumper and Shattered my rear driverside taillight. It was a 2 lane highway with a median so i couldnt make a U-turn, so i just went straight home, plus it was rainiing really hard!! I got home 10 minutes later and took my SUV to go search for the rear bumper .
Luckily i found it with barely any scratches to the diffuser ( sign of ******* relief) But the bumper had to be replaced and so did my rear taillight.
ALSO if any of you guys remember I was involved in a hit and run a few months ago in which the ******* directly hit my rear fender in which i had custom fender work done. It was literally a few days after the body shop and my OEM widebody buckled. I had to pull it with an L BAR and my rear driver side was all JAGGED!! thats why you never see angle of that side lol
SO THE DIY bodywork begins!!
heres my process:
 \
\
shaved down my cracks for paint, and put on OEM reflectors

fcuked up fender, jagged like crazy, also i purchased 03-05 taillights thinking they would work. did not know 03-05 dont work with 06-08 lol

AFTERMATH: im quite proud of myself, my first time doing fender work......i tapped weld the inside fender after pulling it since it buckled, then once it was rigid and strong i applied filler (really little) than smooth it out with a power sander, than block sanded it. took about 2 -3 hours


how she looks now, i still love #NINABECKINSALE even though she needs a little makeover lol

it was a B!#tch the last few days, fender work....switching the brackets from old bumper to new bumper, wetsanding rear diffuser because of the scratches, reclearing it myself and than reinstalling it, all in 90plus degree weather!!......the things we do for our cars haha. than to top it off I bought a set of CHEAP older model lights that ended up not working while at the same time 2 ebay vendors refunded my paypal because their 06-08 OEM driver taillight LISTED wasnt in stock (pain in the *** cause i still cant find a rear driver side tail light!! )
OK SORRY FOR THE RAMBLING IM JUST VENTING, IVE HAD A LONG WEEK...$600 WASTED AND RETHINKING IF I SHOULD JUST PART THE Z AND GET A NORMAL CAR *SIGH* BUT IMA GIVE IT ONE MORE CHANCE LOL ANYWAYS
thanks for looking!! i wont be back here for weeks cause il be busy with the usual DAILY LIFE ROUTINE but thanks for looking my350z! keep up the good work!!
the skirts come from a Roush Mustang, not made for a 350z but i mod them to fit. Here are a couple of pictures a few weeks ago, the day before i sold the VSXX ENJOY!!!
Soooooooooo my car doesnt look like this anymore. Last friday it was raining really hard and i drove thru a big *** puddle of water @70mph that tore off my rear bumper and Shattered my rear driverside taillight. It was a 2 lane highway with a median so i couldnt make a U-turn, so i just went straight home, plus it was rainiing really hard!! I got home 10 minutes later and took my SUV to go search for the rear bumper .
Luckily i found it with barely any scratches to the diffuser ( sign of ******* relief) But the bumper had to be replaced and so did my rear taillight.
ALSO if any of you guys remember I was involved in a hit and run a few months ago in which the ******* directly hit my rear fender in which i had custom fender work done. It was literally a few days after the body shop and my OEM widebody buckled. I had to pull it with an L BAR and my rear driver side was all JAGGED!! thats why you never see angle of that side lol
SO THE DIY bodywork begins!!
heres my process:
\shaved down my cracks for paint, and put on OEM reflectors
fcuked up fender, jagged like crazy, also i purchased 03-05 taillights thinking they would work. did not know 03-05 dont work with 06-08 lol
AFTERMATH: im quite proud of myself, my first time doing fender work......i tapped weld the inside fender after pulling it since it buckled, then once it was rigid and strong i applied filler (really little) than smooth it out with a power sander, than block sanded it. took about 2 -3 hours
how she looks now, i still love #NINABECKINSALE even though she needs a little makeover lol
it was a B!#tch the last few days, fender work....switching the brackets from old bumper to new bumper, wetsanding rear diffuser because of the scratches, reclearing it myself and than reinstalling it, all in 90plus degree weather!!......the things we do for our cars haha. than to top it off I bought a set of CHEAP older model lights that ended up not working while at the same time 2 ebay vendors refunded my paypal because their 06-08 OEM driver taillight LISTED wasnt in stock (pain in the *** cause i still cant find a rear driver side tail light!! )
OK SORRY FOR THE RAMBLING IM JUST VENTING, IVE HAD A LONG WEEK...$600 WASTED AND RETHINKING IF I SHOULD JUST PART THE Z AND GET A NORMAL CAR *SIGH* BUT IMA GIVE IT ONE MORE CHANCE LOL ANYWAYS
thanks for looking!! i wont be back here for weeks cause il be busy with the usual DAILY LIFE ROUTINE but thanks for looking my350z! keep up the good work!!
Last edited by htownimports; 05-22-2013 at 09:33 PM.
05-23-2013, 05:57 AM
New Member
iTrader: (4)

Join Date: Jul 2010
Location: Houston
Posts: 771
Likes: 0
Received 0 Likes
on
0 Posts
Dang potato. Sorry had to notice the bumper fitment fix? I've thrown some 10mm bolts/flat washers in there on both sides and snuggs up very tight. And do it w wheels turned so u Dont even have to jack Z up/take wheels off to do it or remove front end. Not being a smartass a single bit- ride looks great!!!
05-23-2013, 06:57 AM
Registered User

Join Date: Mar 2012
Location: Stationed(Ft Walton Beach)
Posts: 101
Likes: 0
Received 0 Likes
on
0 Posts
-Satin Black over Flat Base. PPG shot from a gun.
Thanks for the Input. We shall see 


