sintaxeror's build log - tons of PICS/No 56k!


 03-08-2008, 01:37 PM
#63
Registered User
Thread Starter
iTrader: (3)

Join Date: Jun 2005
Location: St. Petersburg, FL
Posts: 670
Likes: 0
Received 0 Likes
on
0 Posts
UPDATE 3/8/08 Afternoon
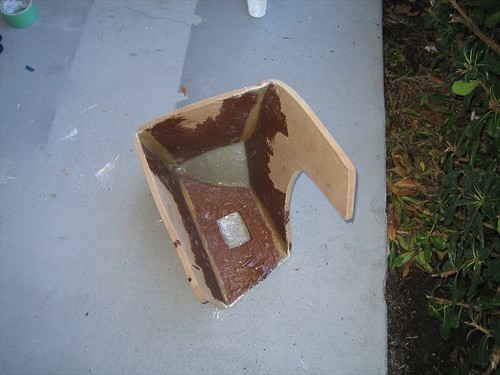
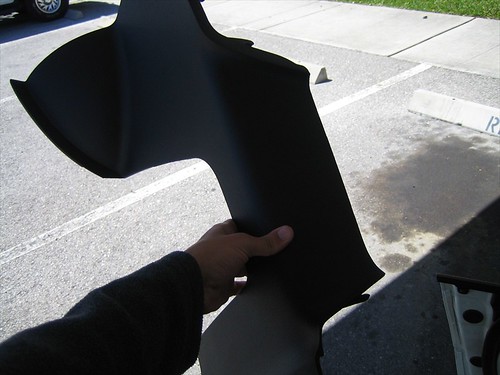
Ahh I got a good bit done today! First things first, lets go get that sub box and see what it looks like!
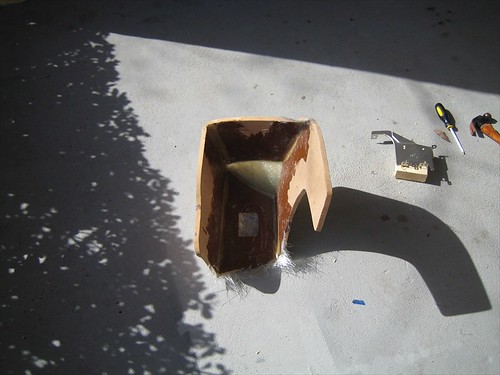
Looks great! Peeled right out too, the resin does not stick to the plastic AT ALL.
Its super strong too, I am pleased.
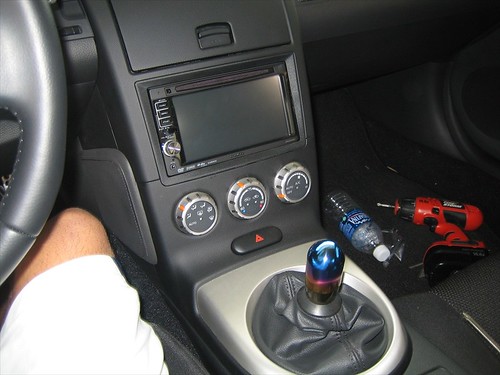
Well thats that, lets get back to that deck!
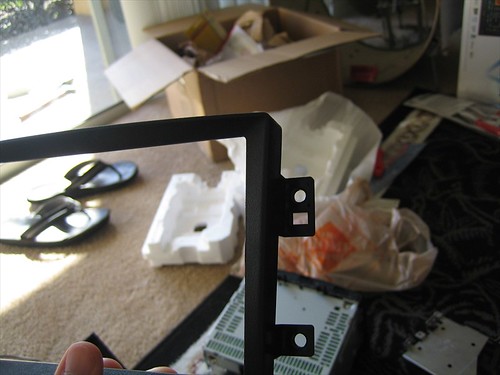
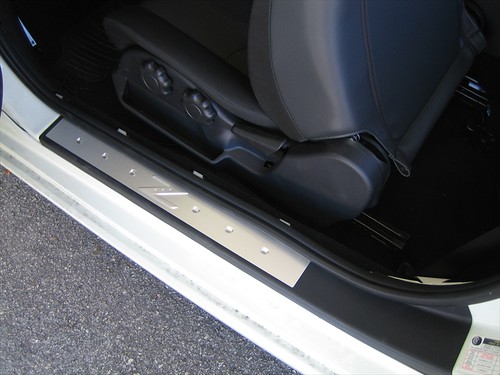
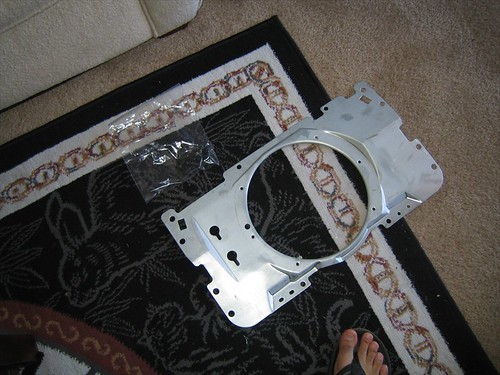
I realized this morning that the stock brackets will not work for me. With the AI kit (which mounts up very differently than the Metra kit), the frame mounts directly to the console with these holes.
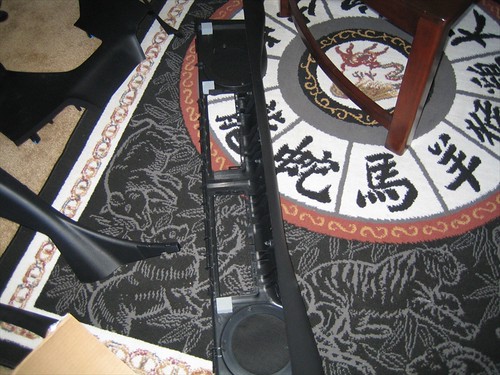
Here you see the stock bracket, which also mounts to the console in the same place..
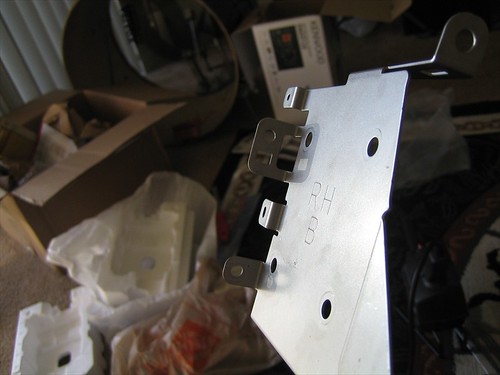
If I sandwich the frame between the console and brackets (which was the plan last night), then the console will be pushed out a little by the width of the plastic mount on the frame... get it?
So now I am back to using the AI brackets... I threw the directions out of the equation since they clearly were not accurate. I decided what they wanted me to do was to mount the frame to the console and the radio directly to the car. This is very confusing since the stock setup has the console and radio mounted together -- they really need to rewrite their directions.
This mounting configuration had a nice bonus, but a big pain in the *** un-bonus.
bonus: Its easier to take the console off or put it back on without the stereo connected.
un-bonus: to get the radio flush to the frame, you have to adjust it. You can't adjust it without putting everything back together, measuring, then taking it all apart again to adjust the brackets. I did this several times today.
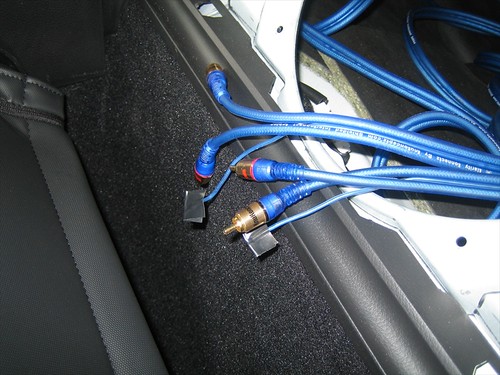
Anyhow, back to the story... I decided to go ahead and run my RCA's to save a step later when I am installing my amps.. Here's one of them..
Wow its WAY too long...
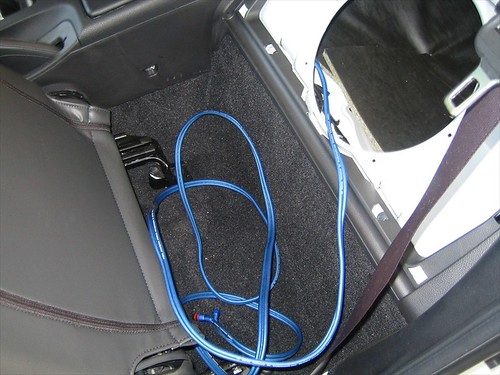
I briefly contemplated going out to pick up shorter ones, but quality RCA's at the local shops were a little pricey, so I decided to stick with the way-too-long ones.
Here is the second..
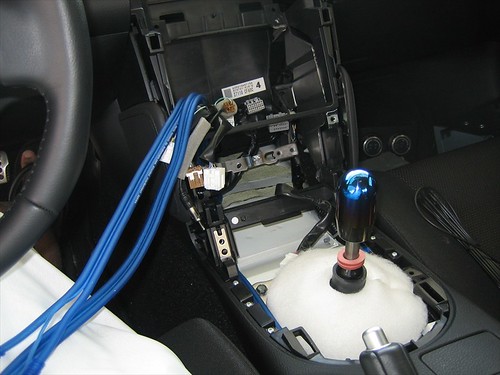
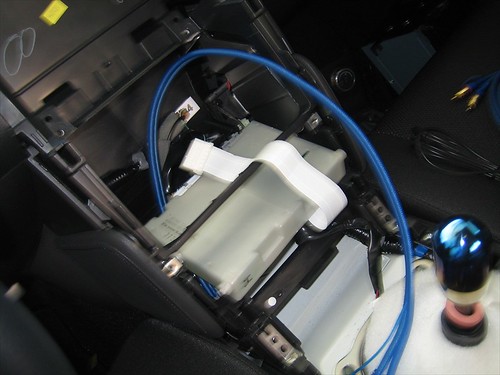
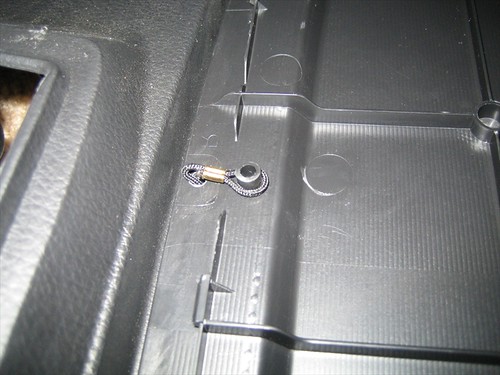
Mounted the GPS antenna up under the dash with some double sided tape.. You can see the cable fed through here...
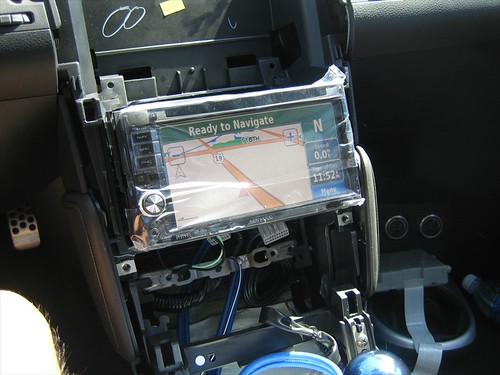
A little test to make sure I am getting satellite signal..
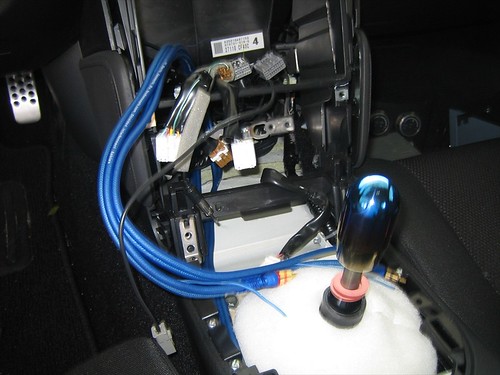
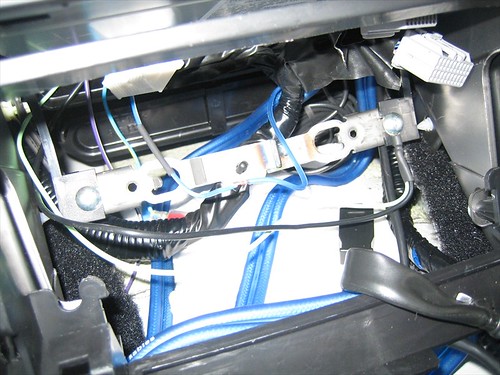
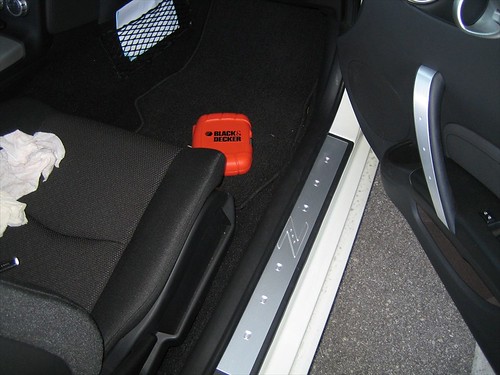
Here you can see where I grounded the deck and e-brake wire.. I mean... "accidentally" grounded the e-brake wire.

First test fit with the console.. you can start to understand my frustration at this point.
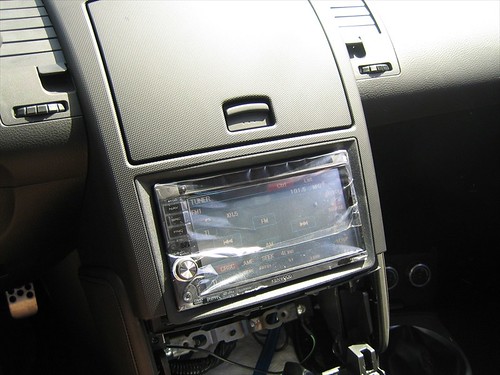
Took it apart.. adjusted... put back together.. no good.. took it apart...adjusted... put back together... repeat...repeat.. finally..
Now that I got it all back together I am going... wait... did I forget to run the remote wire? %$"*^@#$!!!!
Console back off...
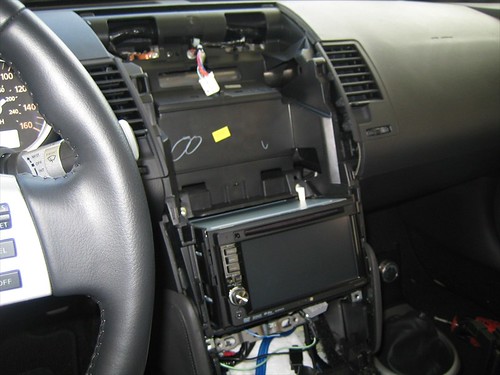
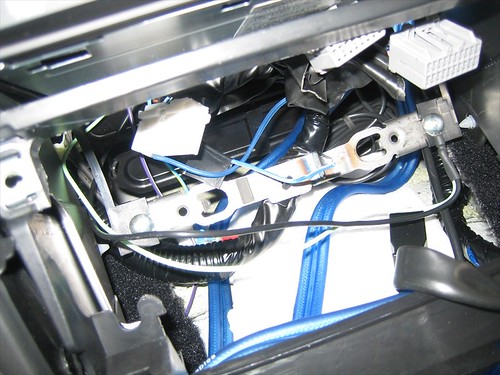
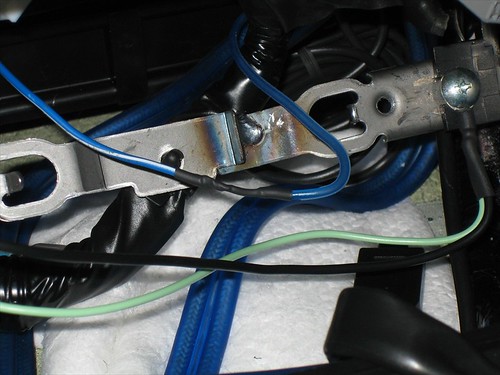
Hard to see here, but I was able to fish out the remote wire from the deck, and one of the remote wires attached to the RCA's..
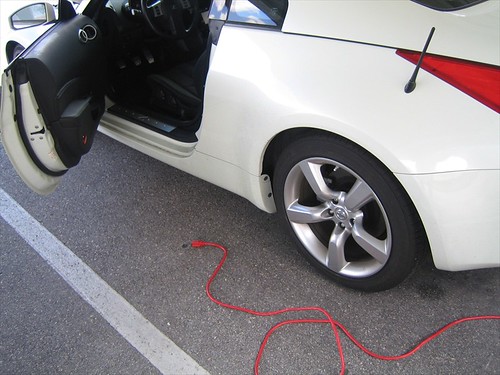
Now I need some POWAH...
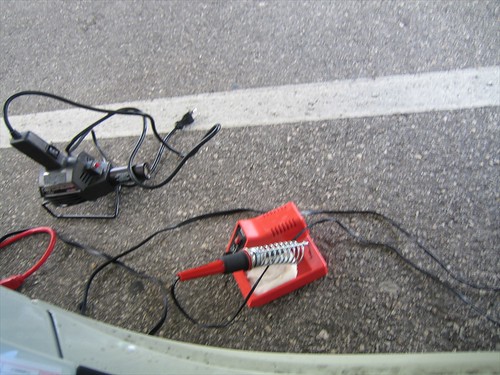
My trusty soldering iron and heat gun...
Soldered the wire... sorry for the crappy pic!
Covered with heat shrink..
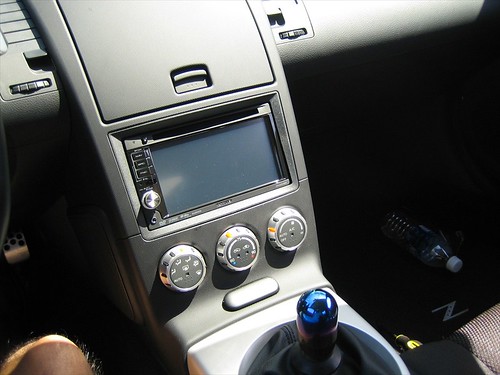
Put back together... again.
Since I had no idea which remote I hooked up i just taped both of them.. I'll figure it out later when I have my DMM handy.
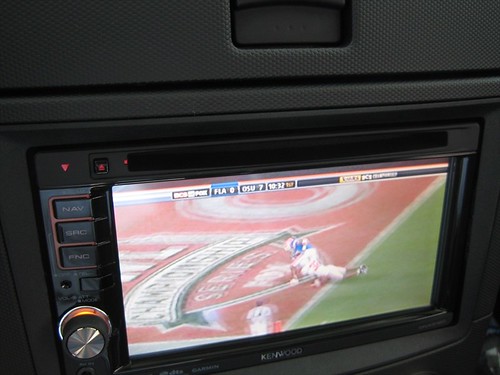
Dallas Baker scoring a touchdown in the '06 National Championship game.. GO GATORS!
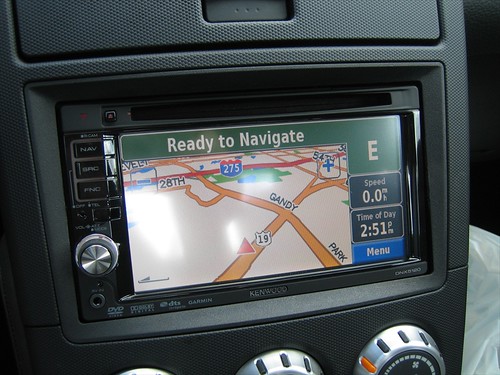
GPS.. Sorry for the glare!
Now back..to the sub box... trimmed off some frays..
Why am I masking and fitting again? Time to fill those gaps!

So far we know that resin doesnt stick to plastic.. you know what else doesn't stick to plastic?
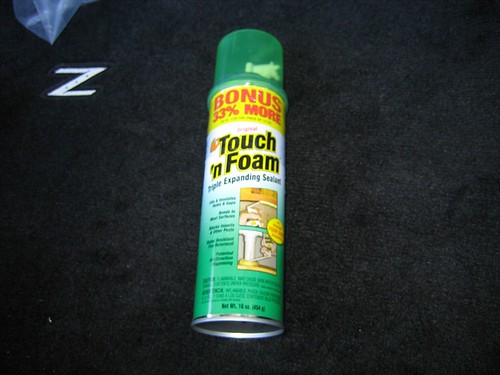
Its also sandable, paintable, etc...
This is how I'm filling the gaps..
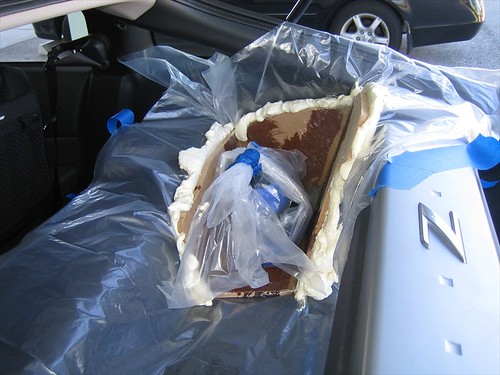
Is this my worst moment? Or my finest? I suppose we'll find out.
Ahh I got a good bit done today! First things first, lets go get that sub box and see what it looks like!
Looks great! Peeled right out too, the resin does not stick to the plastic AT ALL.
Its super strong too, I am pleased.
Well thats that, lets get back to that deck!
I realized this morning that the stock brackets will not work for me. With the AI kit (which mounts up very differently than the Metra kit), the frame mounts directly to the console with these holes.
Here you see the stock bracket, which also mounts to the console in the same place..
If I sandwich the frame between the console and brackets (which was the plan last night), then the console will be pushed out a little by the width of the plastic mount on the frame... get it?
So now I am back to using the AI brackets... I threw the directions out of the equation since they clearly were not accurate. I decided what they wanted me to do was to mount the frame to the console and the radio directly to the car. This is very confusing since the stock setup has the console and radio mounted together -- they really need to rewrite their directions.
This mounting configuration had a nice bonus, but a big pain in the *** un-bonus.
bonus: Its easier to take the console off or put it back on without the stereo connected.
un-bonus: to get the radio flush to the frame, you have to adjust it. You can't adjust it without putting everything back together, measuring, then taking it all apart again to adjust the brackets. I did this several times today.
Anyhow, back to the story... I decided to go ahead and run my RCA's to save a step later when I am installing my amps.. Here's one of them..
Wow its WAY too long...
I briefly contemplated going out to pick up shorter ones, but quality RCA's at the local shops were a little pricey, so I decided to stick with the way-too-long ones.
Here is the second..
Mounted the GPS antenna up under the dash with some double sided tape.. You can see the cable fed through here...
A little test to make sure I am getting satellite signal..
Here you can see where I grounded the deck and e-brake wire.. I mean... "accidentally" grounded the e-brake wire.
First test fit with the console.. you can start to understand my frustration at this point.
Took it apart.. adjusted... put back together.. no good.. took it apart...adjusted... put back together... repeat...repeat.. finally..
Now that I got it all back together I am going... wait... did I forget to run the remote wire? %$"*^@#$!!!!
Console back off...
Hard to see here, but I was able to fish out the remote wire from the deck, and one of the remote wires attached to the RCA's..
Now I need some POWAH...
My trusty soldering iron and heat gun...
Soldered the wire... sorry for the crappy pic!
Covered with heat shrink..
Put back together... again.
Since I had no idea which remote I hooked up i just taped both of them.. I'll figure it out later when I have my DMM handy.
Dallas Baker scoring a touchdown in the '06 National Championship game.. GO GATORS!
GPS.. Sorry for the glare!
Now back..to the sub box... trimmed off some frays..
Why am I masking and fitting again? Time to fill those gaps!
So far we know that resin doesnt stick to plastic.. you know what else doesn't stick to plastic?
Its also sandable, paintable, etc...
This is how I'm filling the gaps..
Is this my worst moment? Or my finest? I suppose we'll find out.
03-08-2008, 01:44 PM
#64
Registered User
iTrader: (20)

Join Date: May 2006
Location: Costa Mesa, CA
Posts: 369
Likes: 0
Received 0 Likes
on
0 Posts
box is lookin great, keep up the progress!
Wow, that AI kit looks really good, but not sure if it's worth the trouble you went through to mount it haha. Good job on the deck install!
Wow, that AI kit looks really good, but not sure if it's worth the trouble you went through to mount it haha. Good job on the deck install!
03-09-2008, 05:10 PM
#69
Registered User
Thread Starter
iTrader: (3)
Join Date: Jun 2005
Location: St. Petersburg, FL
Posts: 670
Likes: 0
Received 0 Likes
on
0 Posts
UPDATE 3/9/08 Night
This is what the foam looked like this morning..
Taken out and trimmed up..
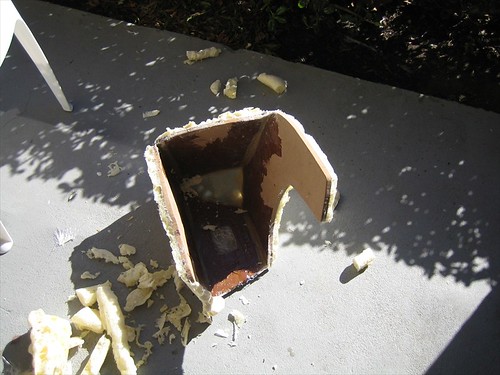
There are some gaps and bubbles..but I'll worry about that later.
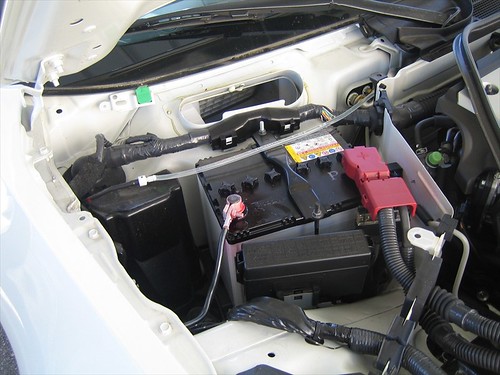
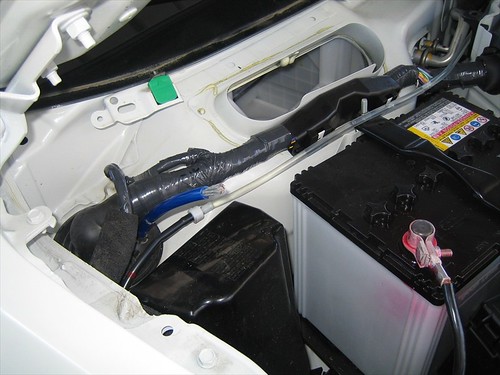
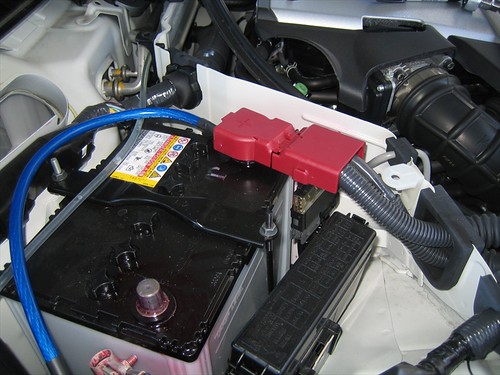
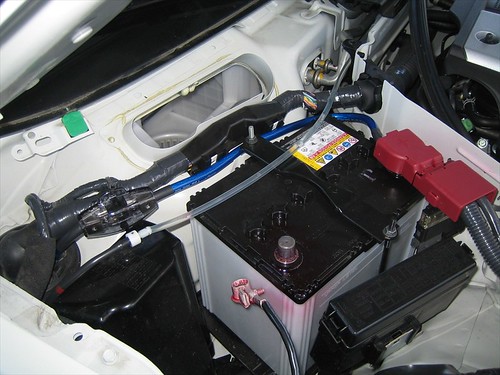
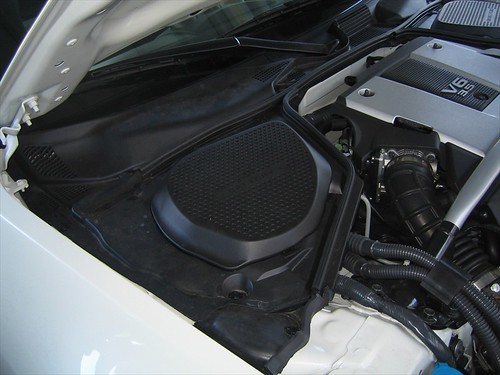
Going to start running power wire for amps... here all the battery trim removed.
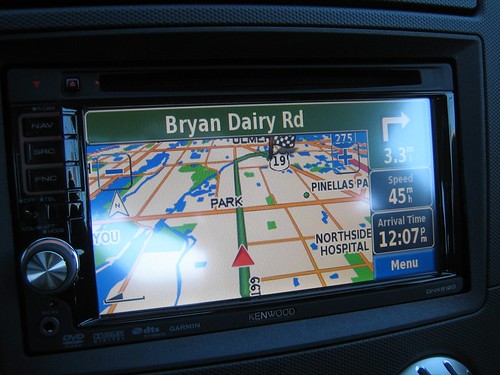
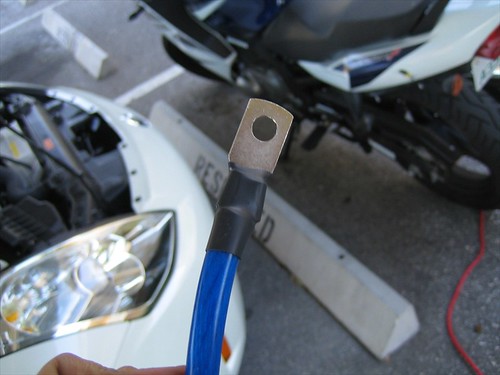
Had to run out to pick up some 4ga ring terminals... here's a shot of my nav.
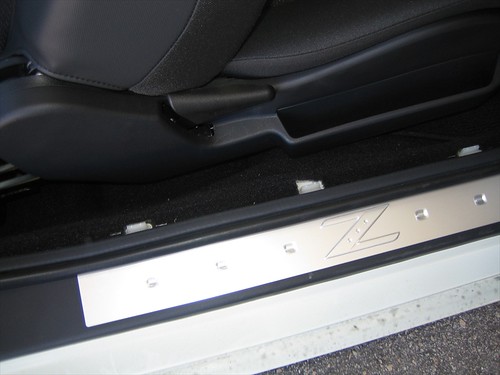
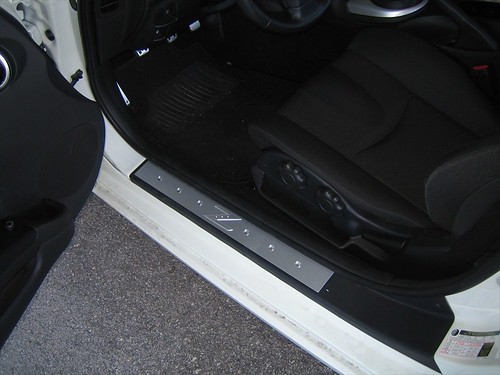
Took off passenger sill and quarter...
Same on the drivers side..
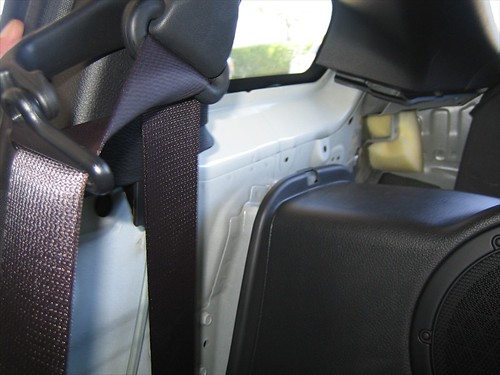
Took off the rear speaker cover... PITA.
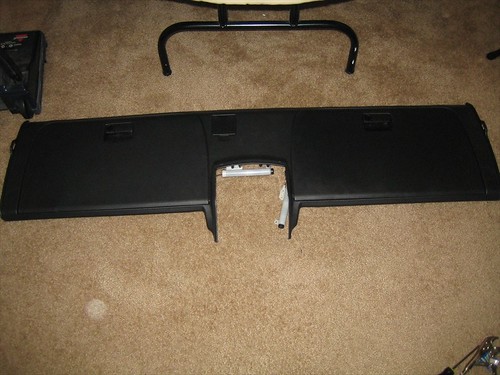
Now for the glove box area..

Took off the bose plate and alllllllll those bolts.
Pop out the bottom of the glove box...
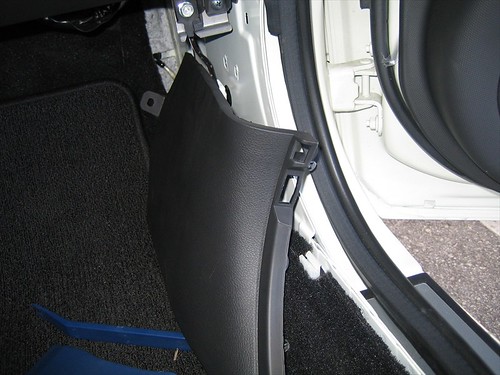
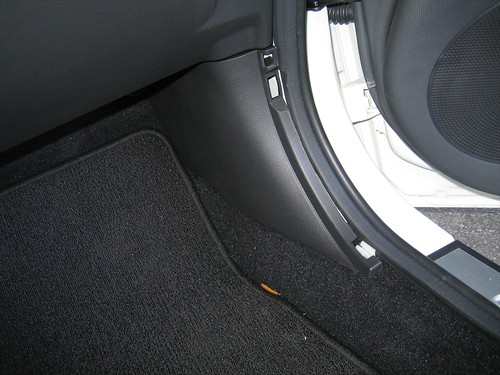
Take out the kick panel..
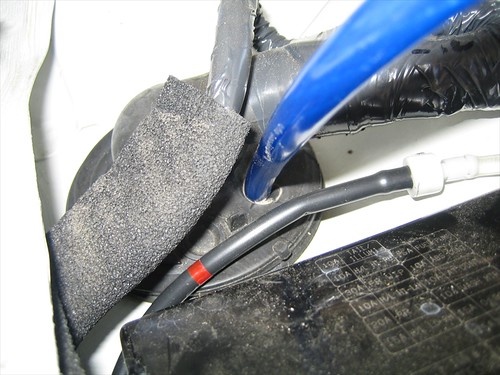
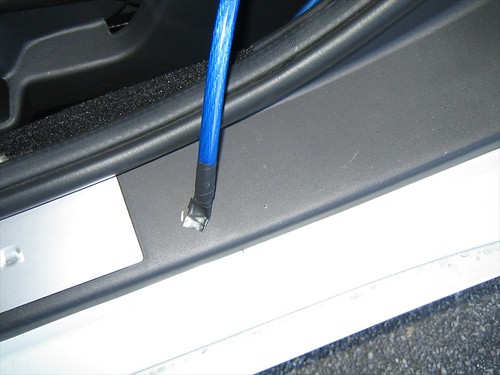
Cut a little hole in the big grommet by the battery and feed the wire through...
Pull through under the dash..
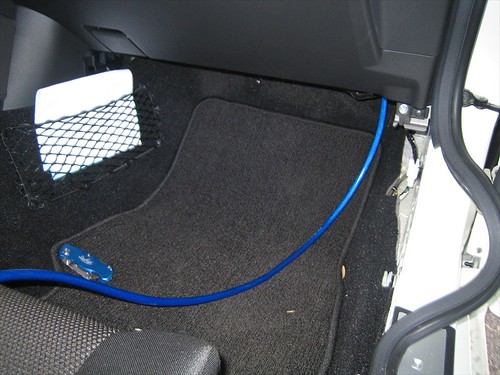
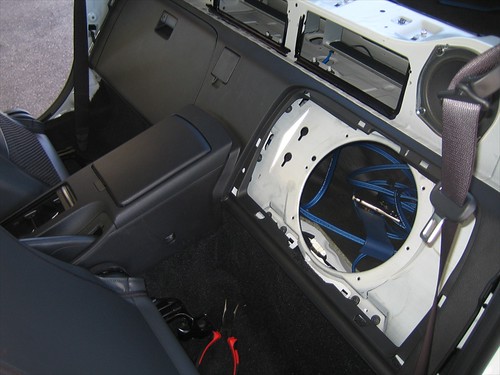
Routed into the glove box area...
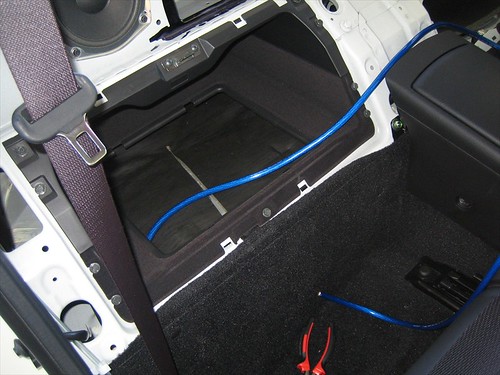
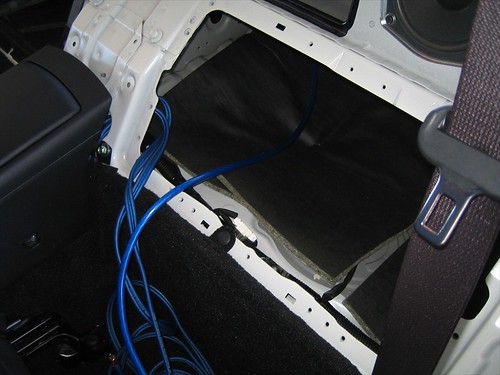
And into the bose cubby...
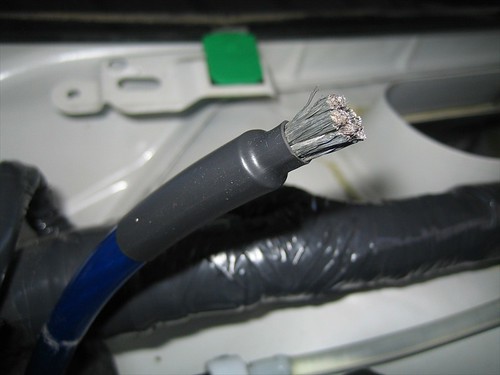
Strip the wire for the fuse block..

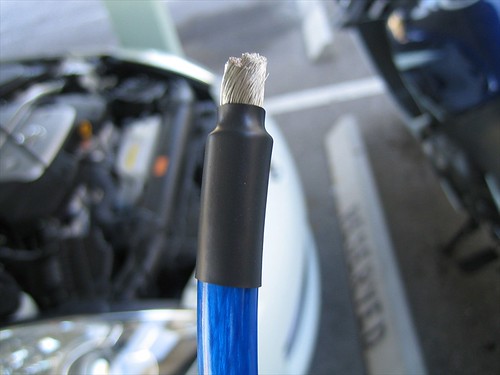
Heat shrunk to look pretty and a little extra protection..
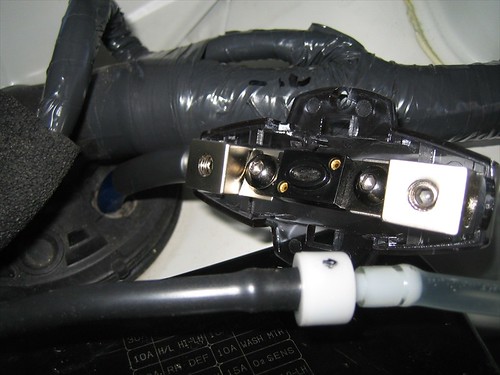
Into the fuse block...
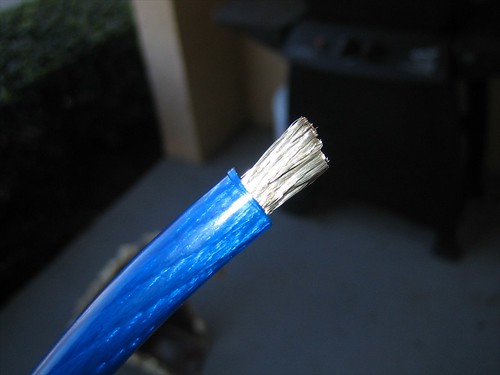
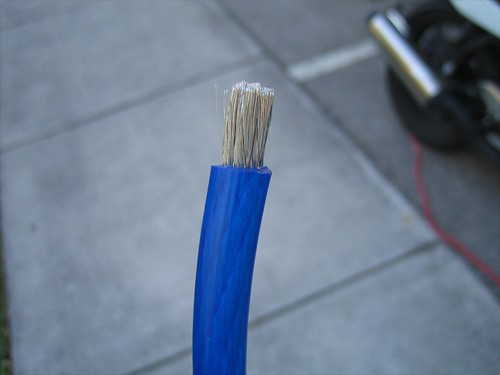
Strip the wire on the other side..
Crappy crimp job, but it stays put.
covered..
Strip and cover the other side..
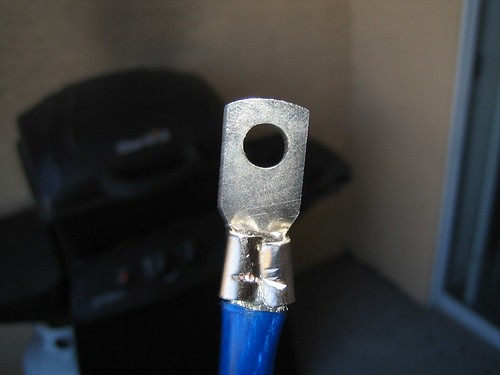
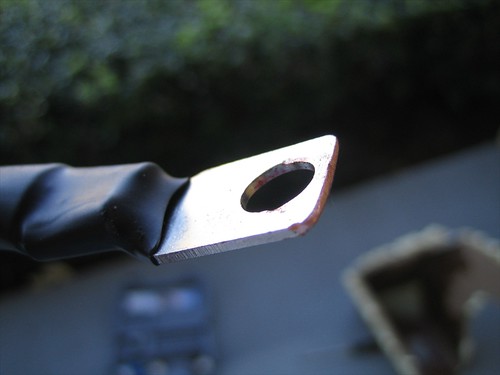
The ring terminal didn't quite fit so I had to trim a little off the edge..
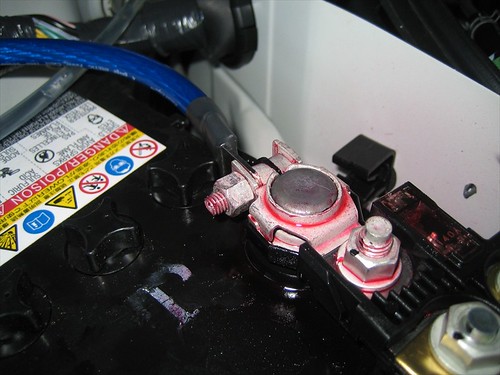
Connected to the terminal..
I bought nice aftermarket terminals but I didn't want to deal with fitting them to that stock fuse block on the positive side.
Mark the cover and cut..
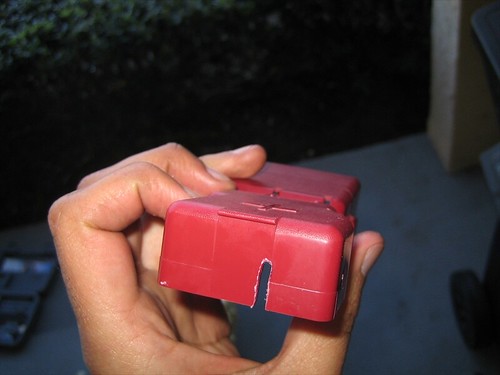
Looks good!
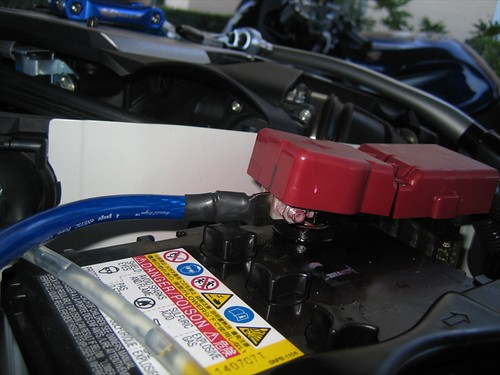
Fuse block connected and zip tied..

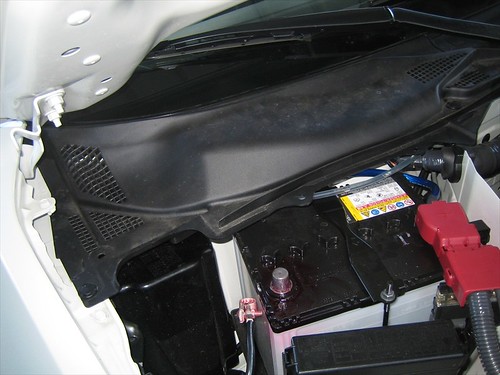
Put the battery trim back on..
Taped up the other end before I forget and hook the battery ground back up..
Kick panel back on..
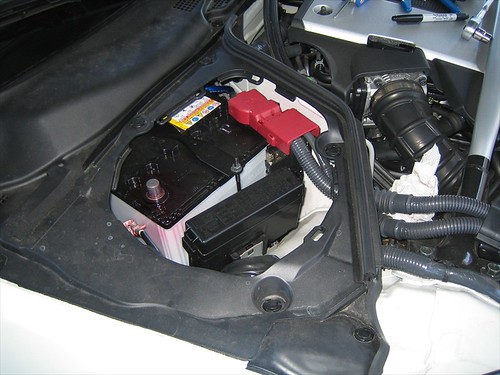
Hooked the ground back up and put the battery cover on..
Sills back into place..
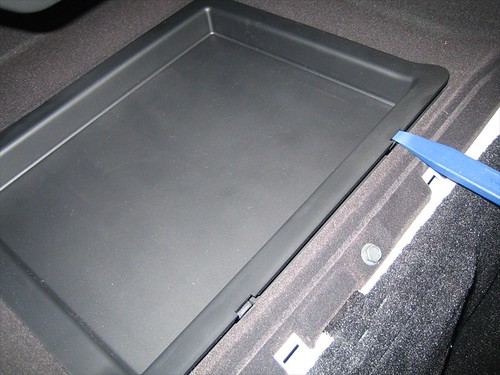
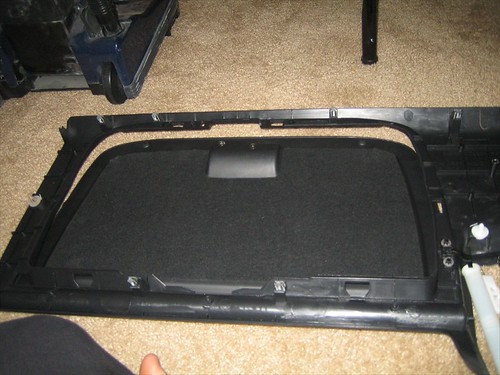
I wanted to run speaker wires to the doors, but it looks like a real task and I didn't think I had enough time.. I may try to do them one at a time during the week. For now.. lets get rid of that big blank and add a second glove box door..
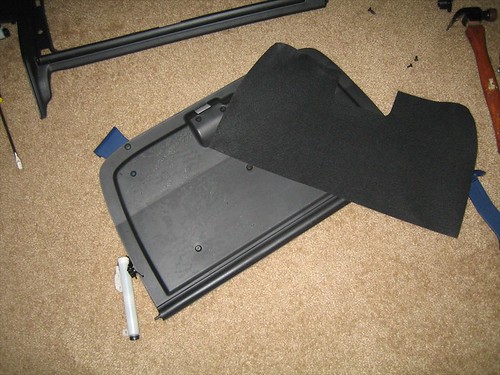
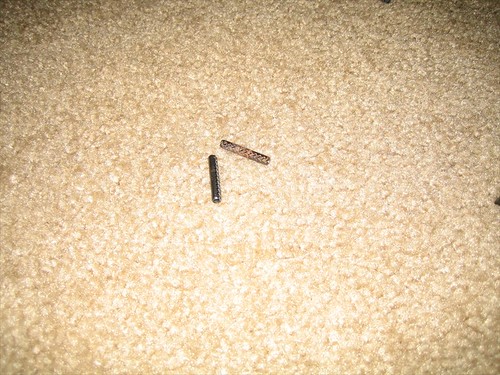
Take out the hinge pins..
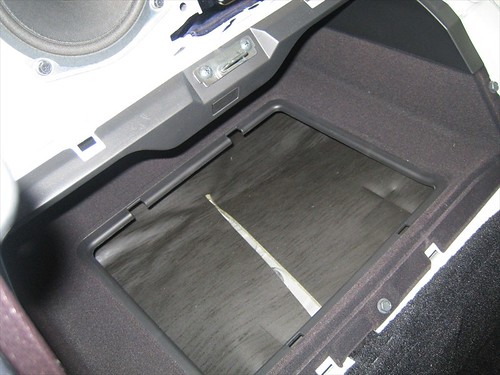
Here is the stock hole for the little elastic rope...
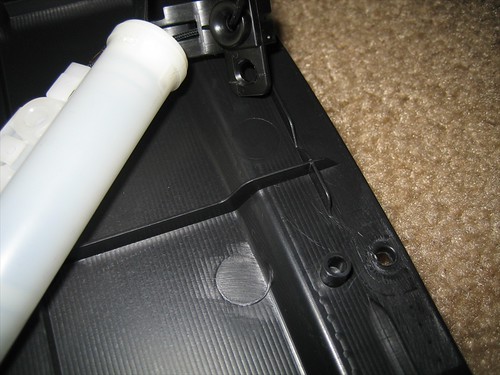
Unfortunately the hose in the trim panel is on the other side so I drilled a hole and fed the chord through.
Fit into place..
Thats done with... lets see.. I'm running out of daylight. Lets start the amp rack..
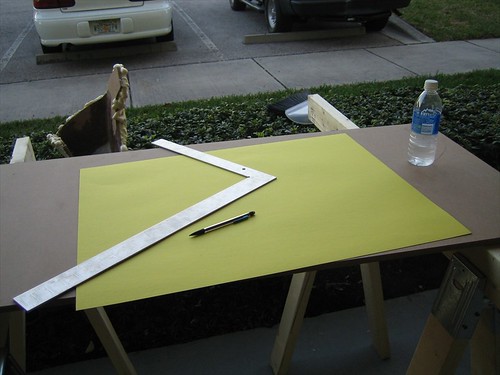
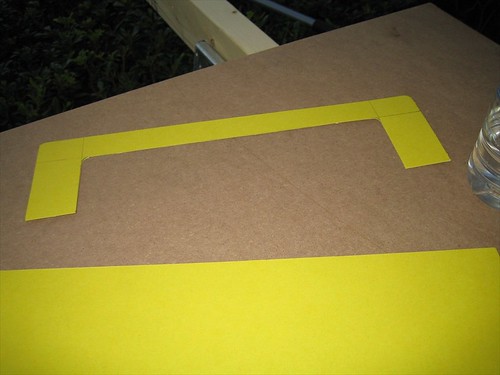
Drawn out some supports in cardboard..
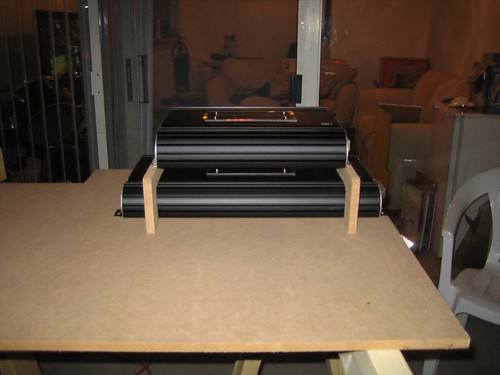
Cut out and test fitted..
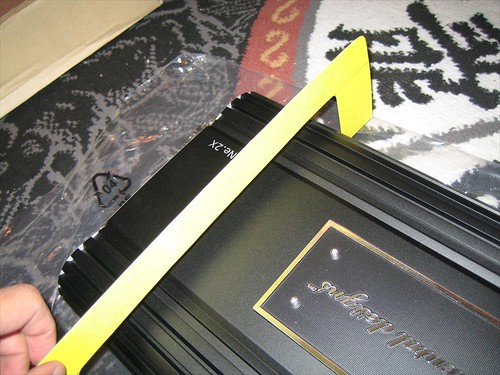
Traced and cut..
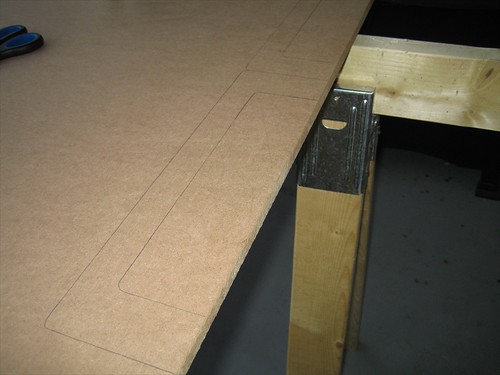
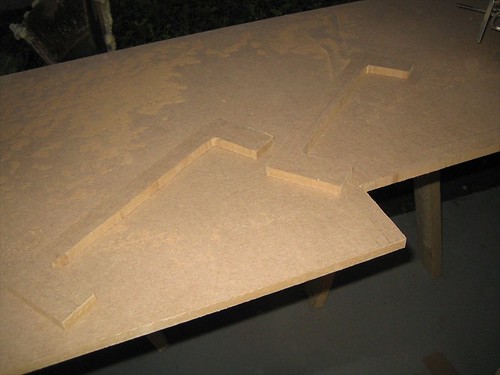
little mock up..
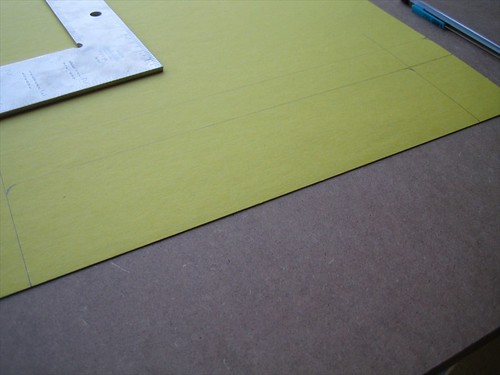
Pattern drawn out..
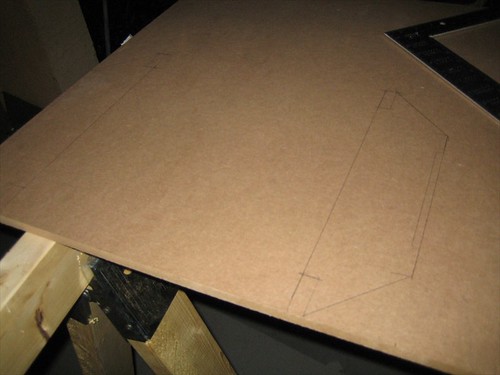
Aaaaaand I'm out of light.... throughout the day I added more foam to the places that needed it on the box.. this is what it looks like now..
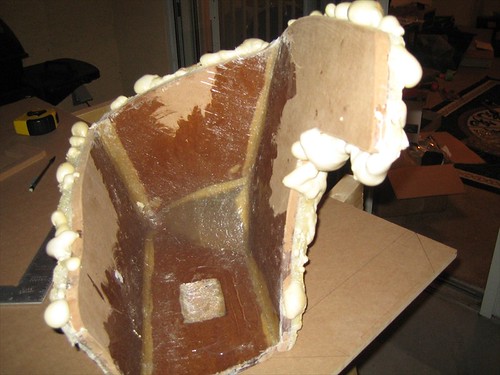
The box is not as much of a priority now... My 11ov.2 from eD has some scuffs, so eD is sending me a new one... so I don't have a sub for mock up until then -- thus the sub box is on hold while I finish other things..
still to do?
Run speaker wires to doors
Mount speakers/tweeters/crossovers in doors
Run speaker wire to sub location
Finish amp rack
Mount and wire amps
Finish sub box
Thanks for looking! Your comments are great to read so keep them coming!
This is what the foam looked like this morning..
Taken out and trimmed up..
There are some gaps and bubbles..but I'll worry about that later.
Going to start running power wire for amps... here all the battery trim removed.
Had to run out to pick up some 4ga ring terminals... here's a shot of my nav.
Took off passenger sill and quarter...
Same on the drivers side..
Took off the rear speaker cover... PITA.
Now for the glove box area..
Took off the bose plate and alllllllll those bolts.
Pop out the bottom of the glove box...
Take out the kick panel..
Cut a little hole in the big grommet by the battery and feed the wire through...
Pull through under the dash..
Routed into the glove box area...
And into the bose cubby...
Strip the wire for the fuse block..
Heat shrunk to look pretty and a little extra protection..
Into the fuse block...
Strip the wire on the other side..
Crappy crimp job, but it stays put.
covered..
Strip and cover the other side..
The ring terminal didn't quite fit so I had to trim a little off the edge..
Connected to the terminal..
I bought nice aftermarket terminals but I didn't want to deal with fitting them to that stock fuse block on the positive side.
Mark the cover and cut..
Looks good!
Fuse block connected and zip tied..
Put the battery trim back on..
Taped up the other end before I forget and hook the battery ground back up..
Kick panel back on..
Hooked the ground back up and put the battery cover on..
Sills back into place..
I wanted to run speaker wires to the doors, but it looks like a real task and I didn't think I had enough time.. I may try to do them one at a time during the week. For now.. lets get rid of that big blank and add a second glove box door..
Take out the hinge pins..
Here is the stock hole for the little elastic rope...
Unfortunately the hose in the trim panel is on the other side so I drilled a hole and fed the chord through.
Fit into place..
Thats done with... lets see.. I'm running out of daylight. Lets start the amp rack..
Drawn out some supports in cardboard..
Cut out and test fitted..
Traced and cut..
little mock up..
Pattern drawn out..
Aaaaaand I'm out of light.... throughout the day I added more foam to the places that needed it on the box.. this is what it looks like now..
The box is not as much of a priority now... My 11ov.2 from eD has some scuffs, so eD is sending me a new one... so I don't have a sub for mock up until then -- thus the sub box is on hold while I finish other things..
still to do?
Run speaker wires to doors
Mount speakers/tweeters/crossovers in doors
Run speaker wire to sub location
Finish amp rack
Mount and wire amps
Finish sub box
Thanks for looking! Your comments are great to read so keep them coming!
 03-09-2008, 07:16 PM
#74
Registered User
Damn, with all the creativity you are putting into this setup, it's almost ashame to hide the amps! I would make a nice amp rack to put in the middle, behind the arch... That's just me. Keep up the good work!!
03-09-2008, 07:20 PM
#75
Registered User
Thread Starter
iTrader: (3)
Join Date: Jun 2005
Location: St. Petersburg, FL
Posts: 670
Likes: 0
Received 0 Likes
on
0 Posts
Originally Posted by SlideFox
Damn, with all the creativity you are putting into this setup, it's almost ashame to hide the amps! I would make a nice amp rack to put in the middle, behind the arch... That's just me. Keep up the good work!!

My last car had a showy install.. I am going for a more factory look this time around.. And I don't like to waste space.. The reason I am trying to put the sub in that nook is because its more out of the way/useless space than are under the strut bar..

 03-09-2008, 10:15 PM
#79
Registered User
iTrader: (4)
Join Date: Mar 2006
Location: Lafayette LA
Posts: 3,804
Likes: 0
Received 0 Likes
on
0 Posts
LOOKS GREAT! Only thing id recommend for people doing this. Keep the batery disconnected while running the wires. Or at least take the fuse out of the fuse holder.