When you click on links to various merchants on this site and make a purchase, this can result in this site earning a commission. Affiliate programs and affiliations include, but are not limited to, the eBay Partner Network.
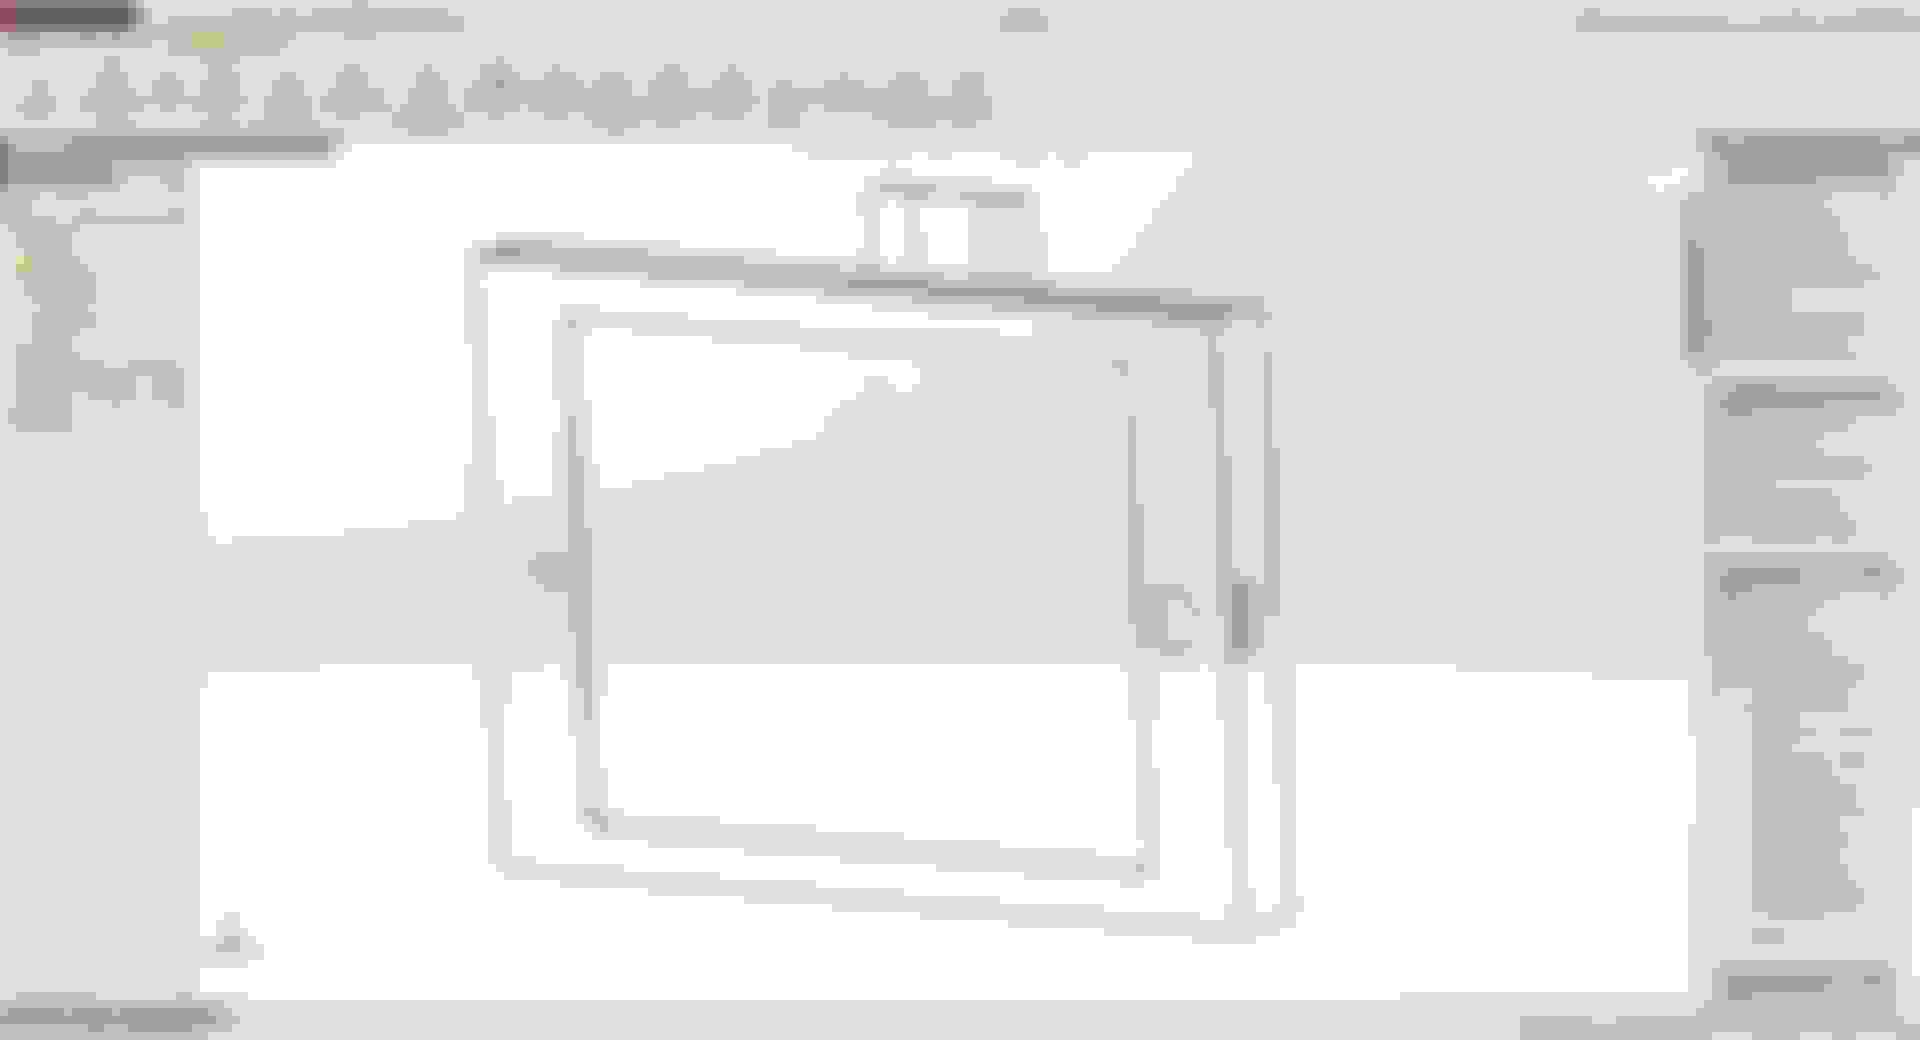
So this is something I was just messing with this past week. Recently purchased a 3D printer, wanted to see some useful applications I could do with it. My cubby was already broken so I figured this would be a good way to make use of the space and I have seem similar builds, but those were all permanent and there was the slider mount, but that was for the regular iPad. So, let me get on with it. This is what I whipped up in Solidworks.
Front shot
Back, the slot on the back is for the slider.
The bracket, slider slot, m5 hole
Slider
Assembly
Assembly
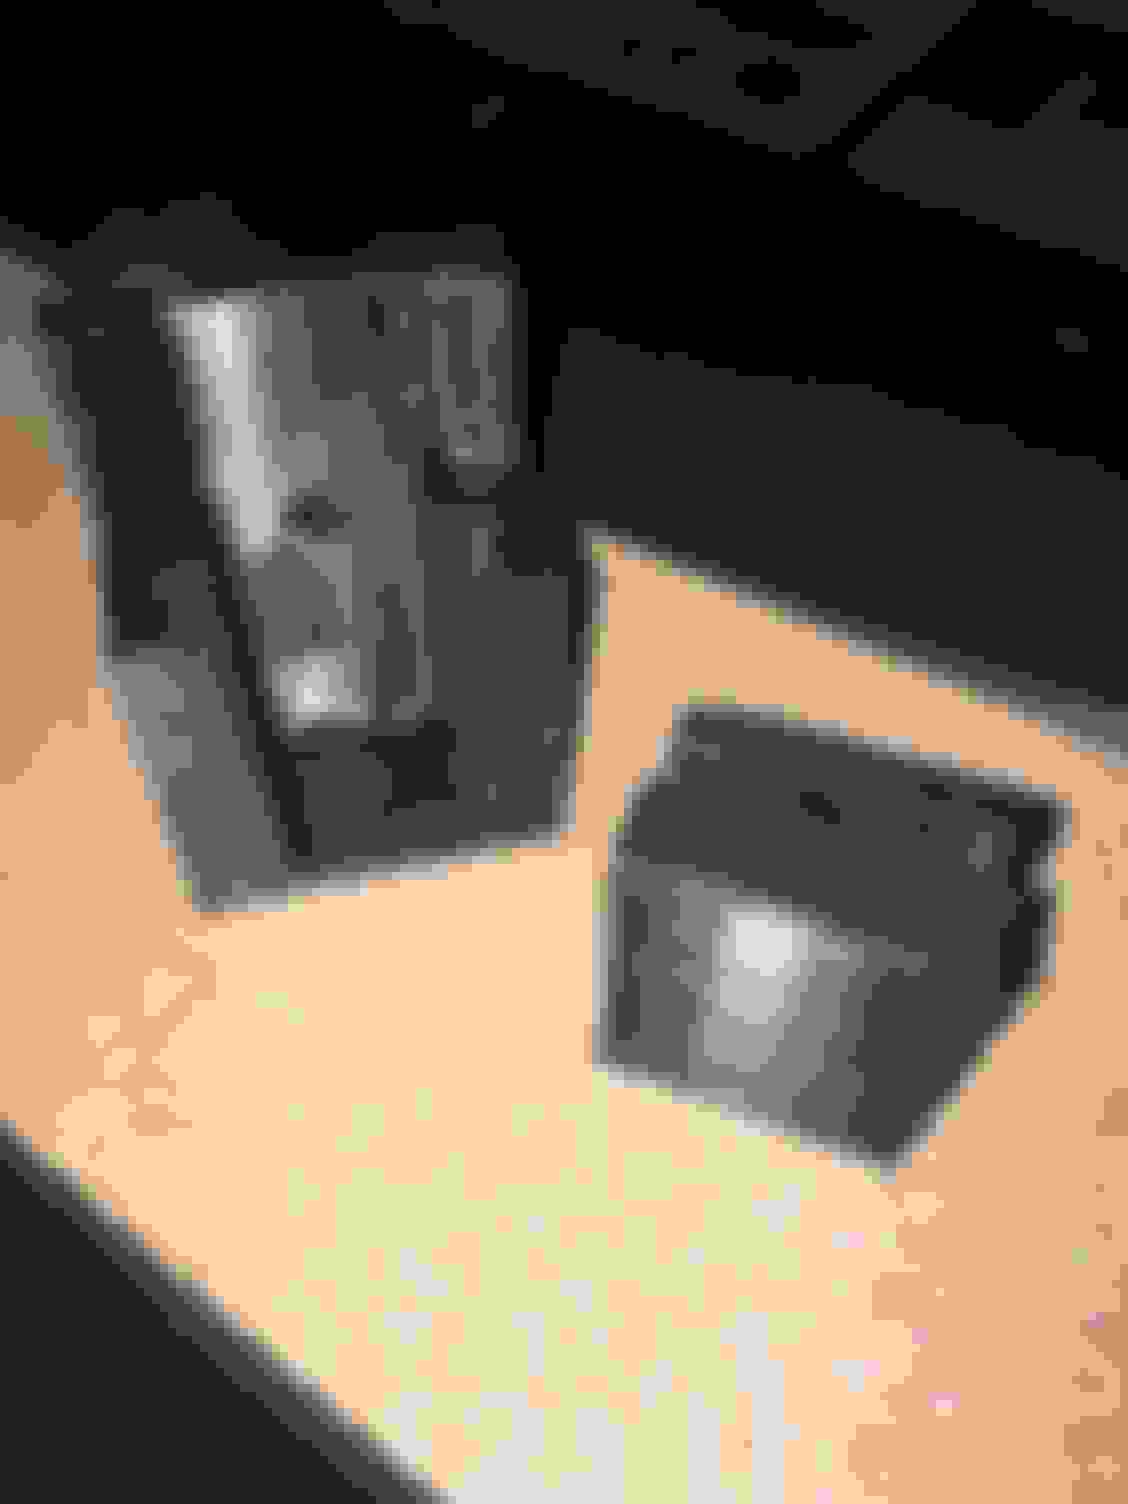
Now, it was time to get it started. I had to print the actual case part in three sections since each section took 3-4 hours to print and I couldn't leave it unattended.
Brackets printed, as you can tell, I moved the hole down later so that it sat higher up.
fitment good!
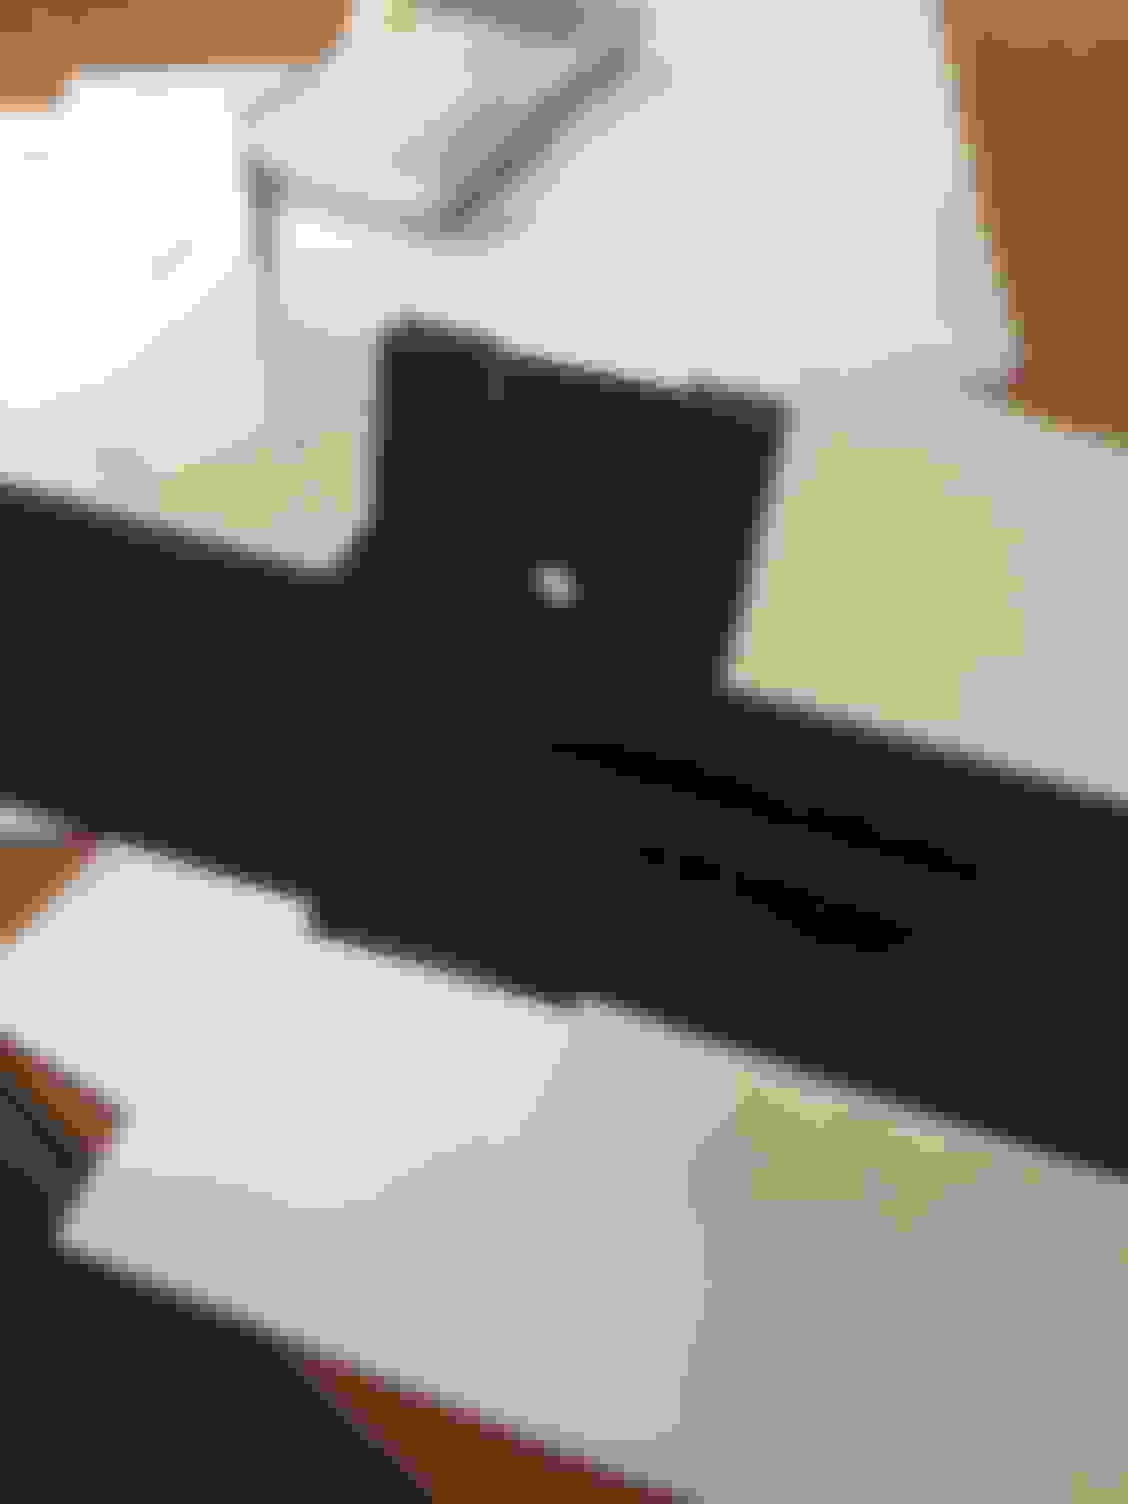
this section took 3 hours...
loctite does miracles
second section is on
just a little fitment test of the ipad
sanded this while I waited on the bottom to print
Fully sanded, ready for paint
Fit pretty well, only downside is the front camera, I'll probably drill that out next week when I paint it.
Everything else lines up
Picked up some m5 bolts, nuts, and screws at lowes
installed! just waiting for a good day to paint
I'll post pics once it's painted and hopefully some of the lines will go away from where I split the part into sections.
If anyone is interested in the .stl/solidworks files, I would be happy to give them to you. Just PM me
Last edited by leafjerky; 11-22-2015 at 06:05 PM.
Reason: free files
Thanks. You're right, but I haven't had time to paint it yet. Finals week is next week so maybe during the break if it's not too cold. Install isn't going to be anything like beautifully flush though. It is what it is, just a mount that goes over the cubby. Functional, yes. Beautiful, eh. I'll post pics when it's done.
 11-20-2015, 03:33 PM