When you click on links to various merchants on this site and make a purchase, this can result in this site earning a commission. Affiliate programs and affiliations include, but are not limited to, the eBay Partner Network.
This looks like its not fun at all but the results are awesome.
Oh it is a PITA for sure.
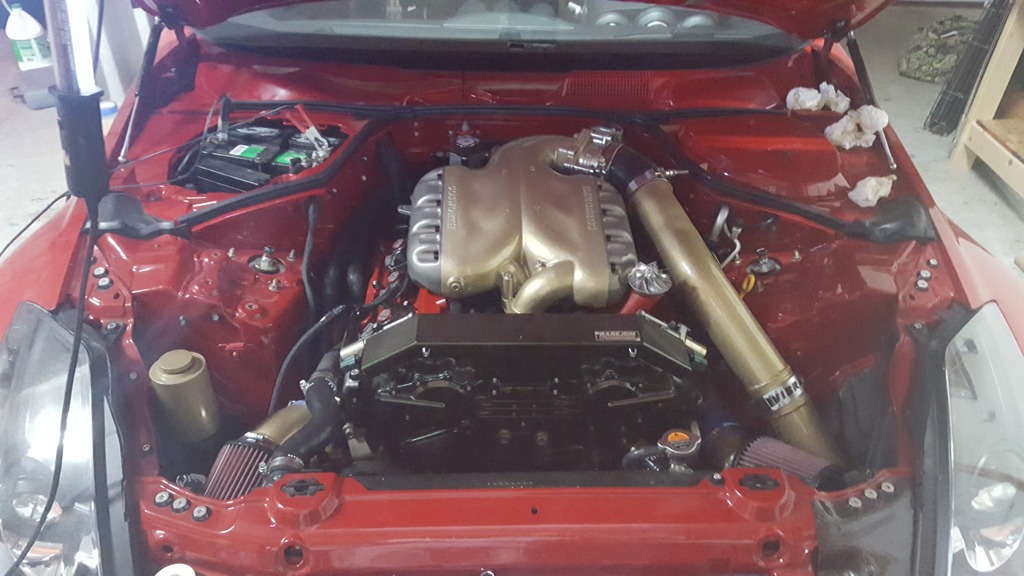
Nissan used a bunch of crappy tape, that ribbed split wire protector is garbage too. The tape and fluids (ps) make everything a mess. The most frustrating part is removing all of nissans junk. After that its just time and materials to make it all better again.
I take a ton of pics of the connectors before I depin and then label the wire groups so I can put everything back together correctly. Nissan used several different brands and pin types and each one de-pins a little differently.
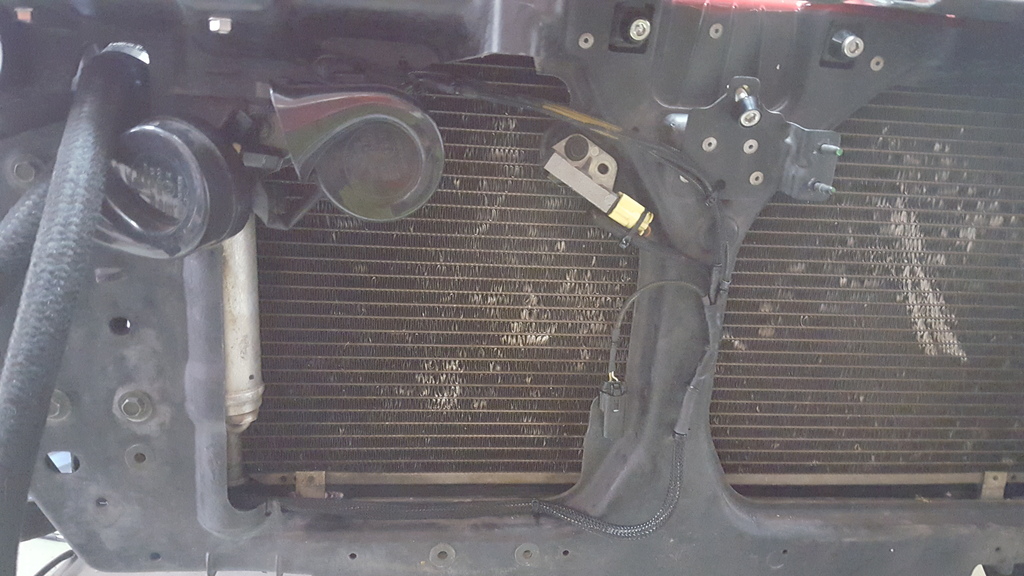
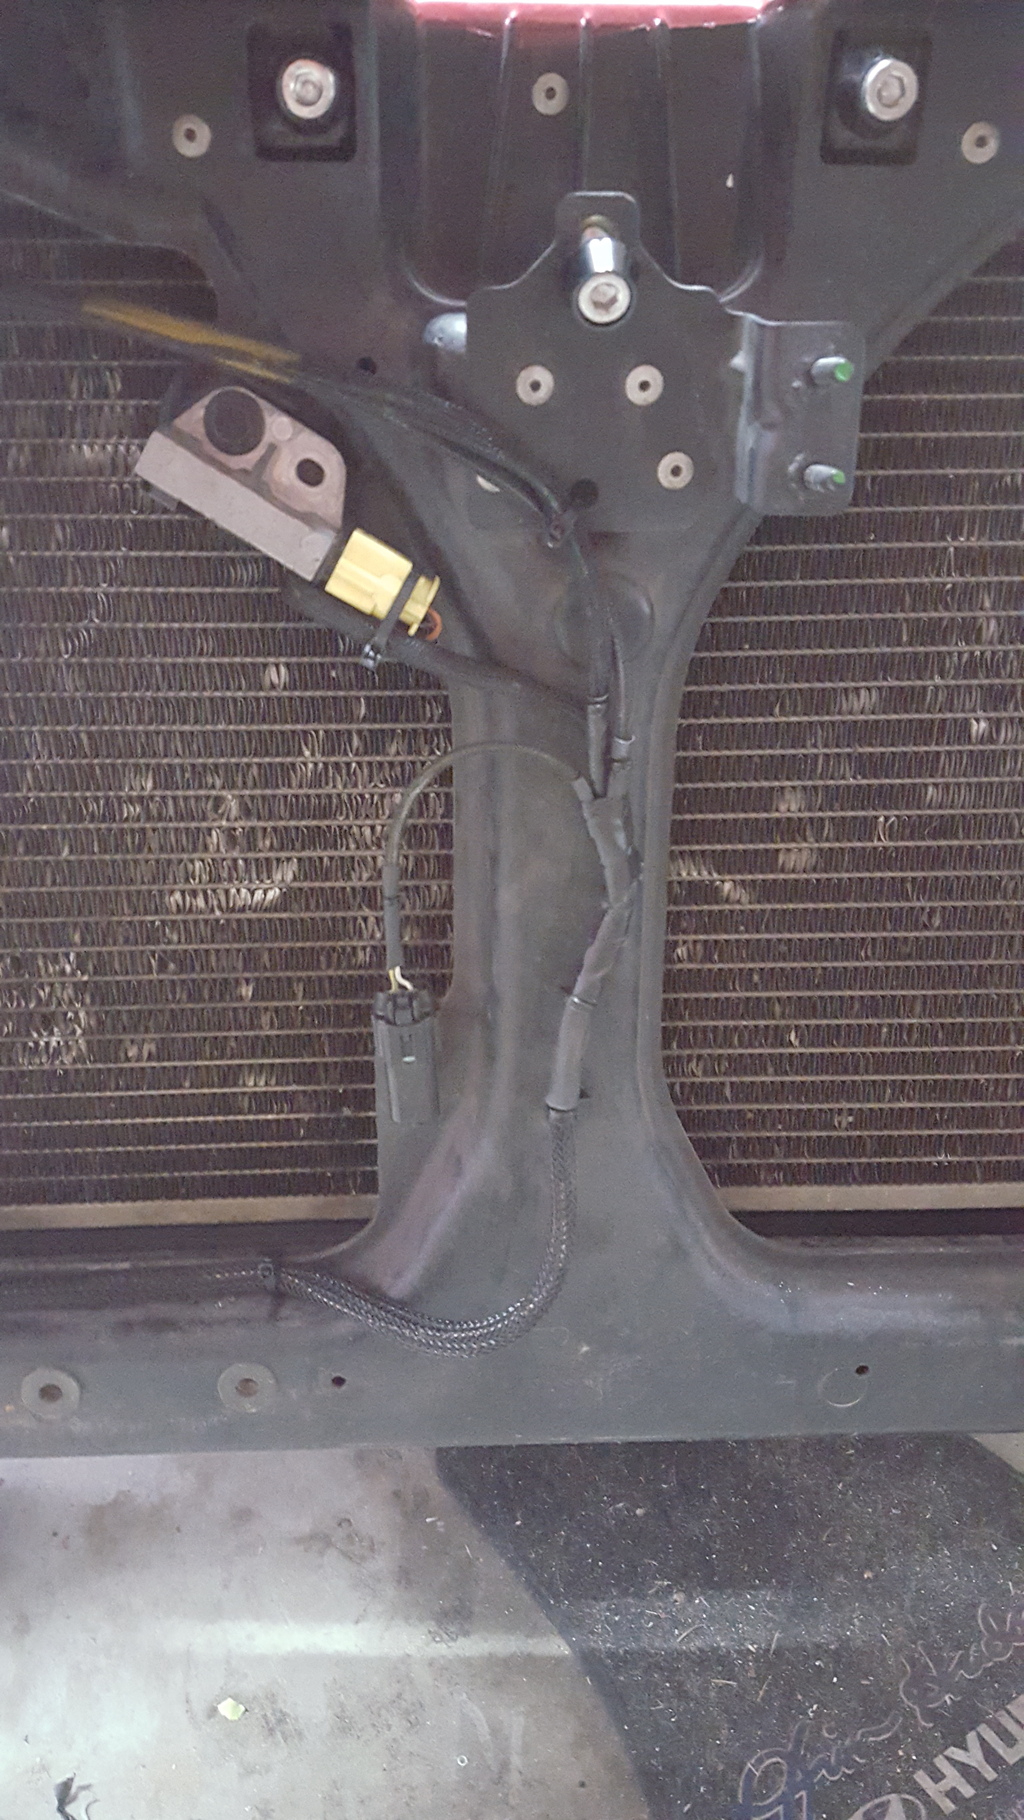
The main goal of this last bit of harness work was to remove 4 connectors and the wiring. I will never have a front washer tank again (tank/hoses/nozzles ect are all gone) and the harness just sits in the fender like a hanging booger.
Results:
Going to trim the fender liner as needed and button it all back up.
Anybody know how this was done concerning the evap solenoid and how it was deleted or relocated. Evap was removed evidentally and lines from passenger were plugged in at the fuel rail like the driver side is factory. Pics below. I'll copy 2 pics below that shows before and after it came from the G35 forum and really outdated thread and not much activity there. This was from the guy that did the full tuck where he reran all the wires from the car and under it not just moved to the back.
Also, I'm somewhat in the beginning part of the tuck. Still in the planning/cleaning stages because I need to get the car back up and running 8-10 hours after I start tomorrow morning. Where is everybody relocating the coil pack ground wires that are sitting in front on top of the timing cover. What I mean is what is the new grounding location for those wires. Intake ground, body ground or what
i moved my evap to the back of the motor, down low. I did not delete.
Also since i run aftermarket fuel, i dont have that big damper and bracket. You can take the feed damper and put it on the drivers side fuel rail (remove the big bracket) and then put the other damper on the passenger side rail. That will clean things up.
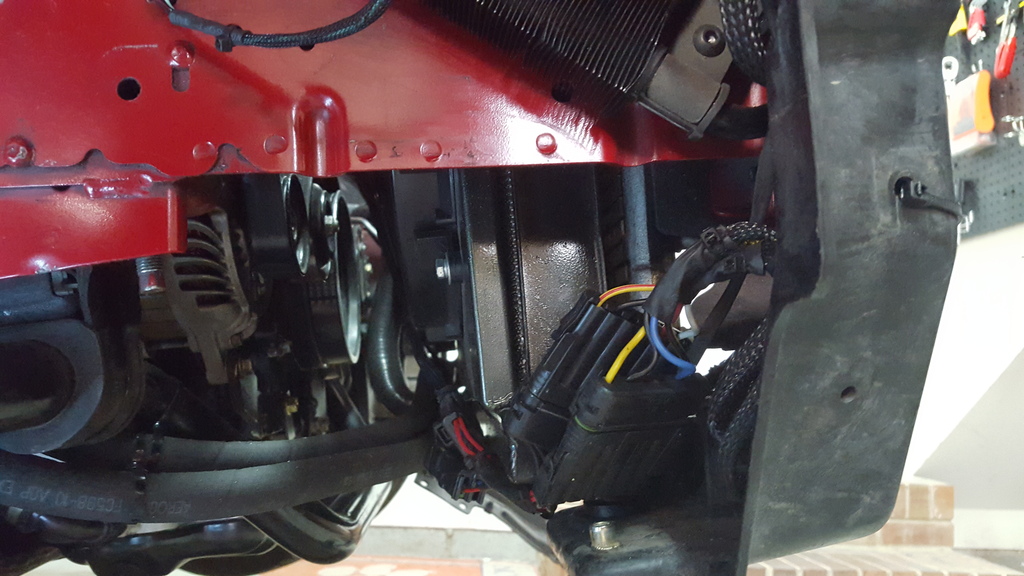
Most people run the harness that has the coil pack grounds and ends at the tb, around the back of the motor instead of the front. This cleans it up a bit. You can ground the coil pack grounds to the engine on the back, several bolts to choose from.
i moved my evap to the back of the motor, down low. I did not delete.
Also since i run aftermarket fuel, i dont have that big damper and bracket. You can take the feed damper and put it on the drivers side fuel rail (remove the big bracket) and then put the other damper on the passenger side rail. That will clean things up.
Most people run the harness that has the coil pack grounds and ends at the tb, around the back of the motor instead of the front. This cleans it up a bit. You can ground the coil pack grounds to the engine on the back, several bolts to choose from.
Awesome, thanks for the reply. On mounting the evaporator lower. Is the bracket mounted to the engine or did you ziptie it to something. It's really awkward looking and you can tell they didn't put much thought into it. I have a 7 wire homemade grounding kit I removed so trying to figure out how to cleanly throw some of those wires back on.
I made my own brackets out of aluminum. That big old bracket won't fit too well anywhere else.
I also mounted a bunch of aftermarket equipment back there too...cleans it up but makes it a pain to get to.
more recent pic:
Thanks. I like the orange, clean engine bay. It reminded me of my old small block Chevy days with the Chevy orange. If you get a chance can you grab a pic of that bracket or the rear of the engine.
As far as the fuel damper I removed mine and attached the fuel line directly to the fuel rail, Just need to unclip the fuel line from the frame rail (make sure to not kink the line while moving). Evap, I took the bracket off and just zip tied to the harness above the rear cooling pipe.
Here is a pic of the fuel tuck.
OK, That's exactly how Cux350z did in the pic I copied from his engine bay. I haven't went along with it yet because I got kind of worried because he said he wasn't running a stock fuel system.
Looking at the damper I just didn't want to hook the wrong line into the wrong spot if that makes since. I'm not really familiar with returnless fuel system which is probably why FI guys go Return style. What is that damper you deleted and I just want to clarify I just remove it and plug the feed straight into the passenger side fuel rail and remove the damper.
I ran my car for almost 2 years without it, no tune just intake, high flow cats and catback. No issues to comment on from deleting it. When I had researched from several forums before doing it, no one stated any issues.
I ran my car for almost 2 years without it, no tune just intake, high flow cats and catback. No issues to comment on from deleting it. When I had researched from several forums before doing it, no one stated any issues.
Awesome. I can't see the evaporator solenoid. Did you mount it really low. I'm gonna try to use the factory mount against the fake firewall if I can. I'm waiting on some wire loom sleeving and a few other things for the job. I would love to put some nice sleeving on all the exposed hoses and lines. Seems this is part of the engine cleanup people don't do
I don't think I have a shot of it, zip tied it really low and as hidden as possible. I have several photos in my albums and have a build thread you can look over. I actually wish I would have taken a few other pics along the way. Will eventually be taking more since I will be tearing the engine down.
I'm working on starting this project tomorrow into the week. I have to do my valve cover gaskets so now is the perfect time without taking everything off again. I'll do driver and passenger sides also.
I feel like an idiot but for the life of god I lost a connector somewhere.
The drivers side subharness for the injectors I'm assuming. I can't find the connector to plug it into. The subharnes connector I have in my hand is the giant green one with 6 wires coming out of it. I have the female one. For hours I've been searching for the male end of the connection. I did a engine harness wire tuck and that's my last connection but I don't see the other end anywhere. Also did valve cover gaskets. Painted valve covers, timing chain, intake. Deleted front coolant hose. Now when its time to get the car running, I had to splice open my already taped up tucked harness and cause a mess. So anyone have any ideas. Its easy to get pics of the subharness but the point I need is in the main harness I think. The biggest connector in the engine harness with 6 wires going into it?


 01-03-2016, 08:55 AM