

Wes_R x GT-R (82 pics)


Thread Starter
Registered User
Joined: Feb 2009
Posts: 100
Likes: 2
From: Toronto
Hi My350zers,
Not my first GT-R to work on but my second write up on one.
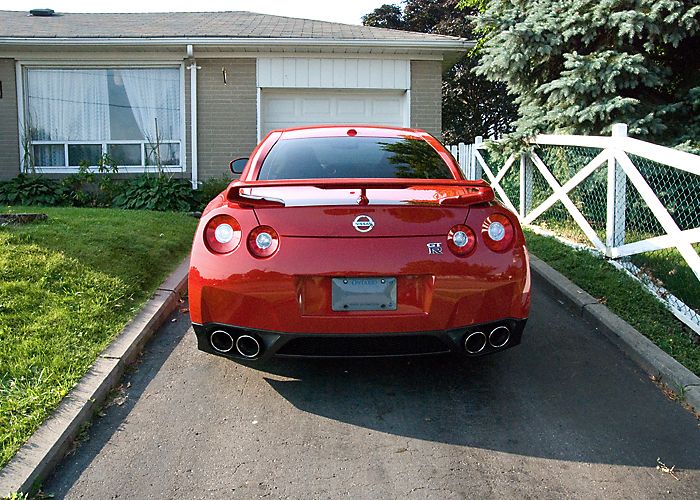
I had spoken to this owner over the span of a year and we had finally set up a date to 2 stage polish this Solid Red GT-R some time in the beginning of August. The car was a garage queen and the swirling was not so bad... actually one of the better condition GT-Rs I had worked on but we wanted to get a 9, 9.5 out of 10 correction so we agreed on a 2 stage polish.
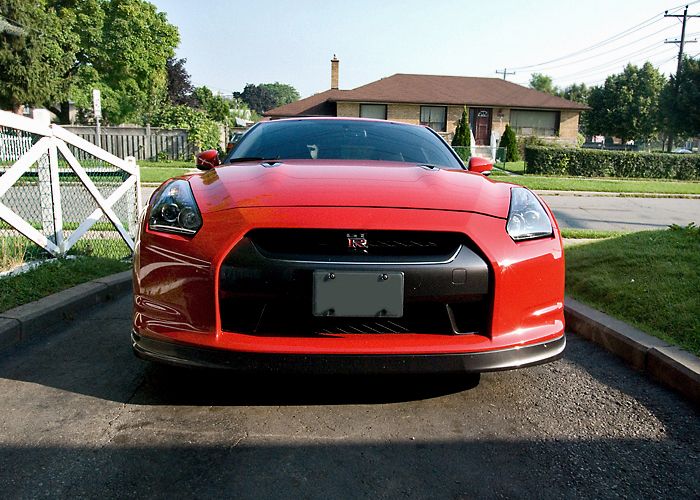
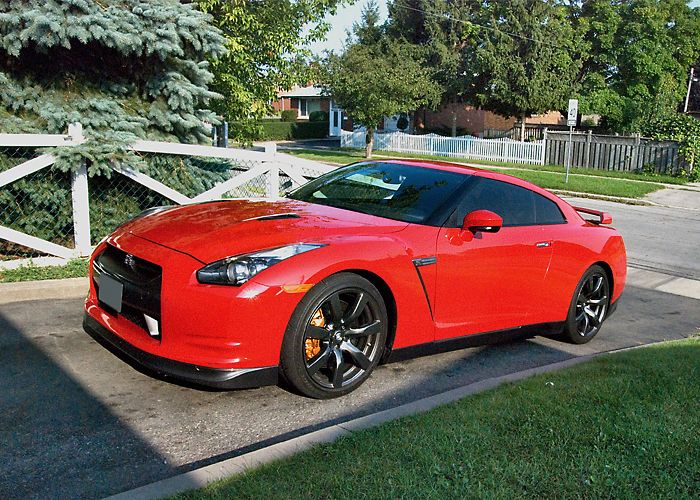
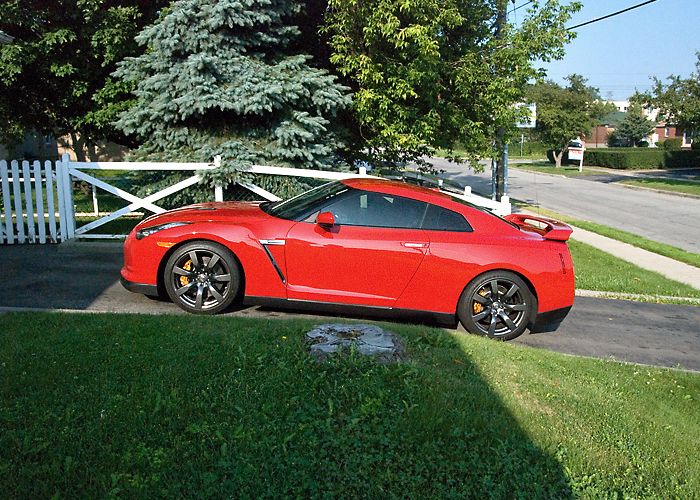
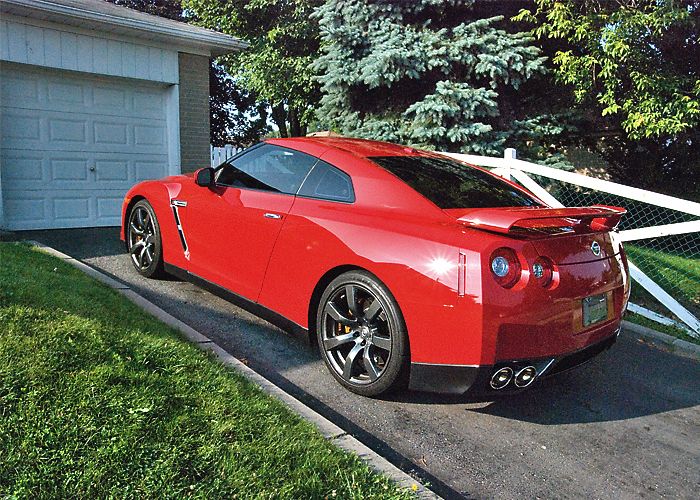
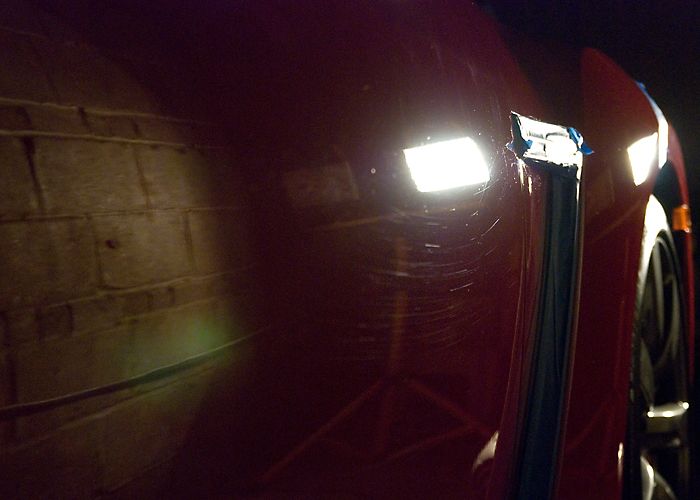
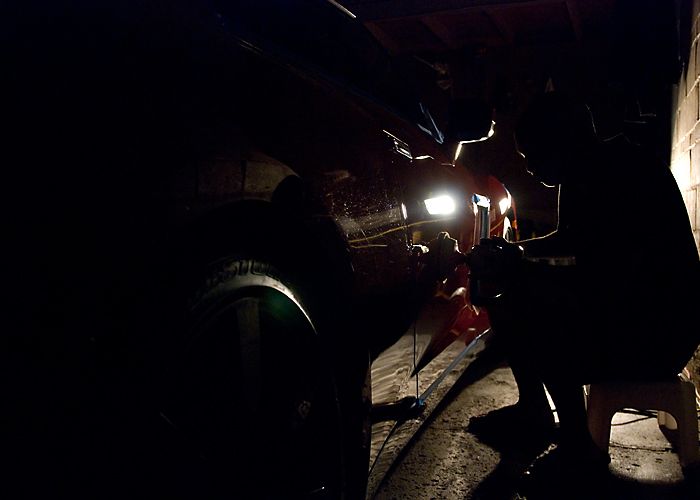
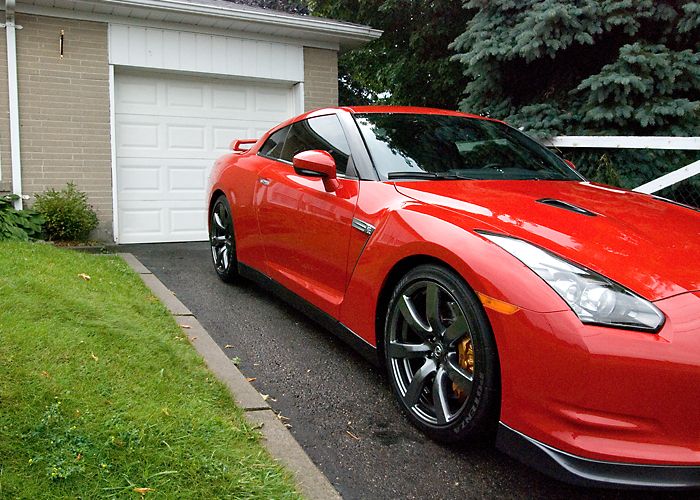
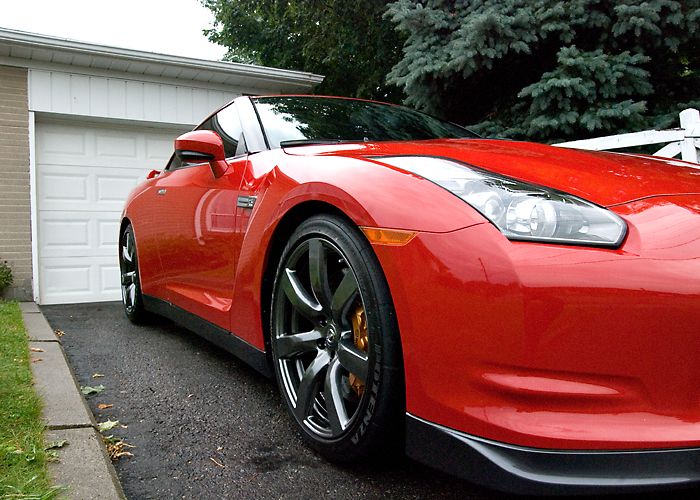
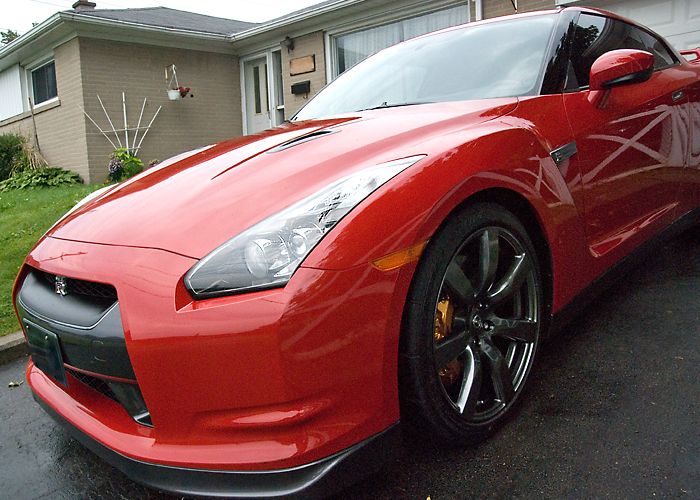
Moving on to the write up here is the first walk around the car.
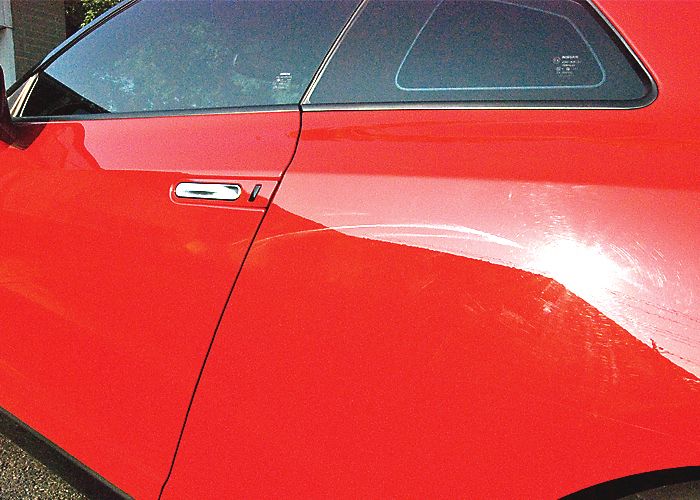
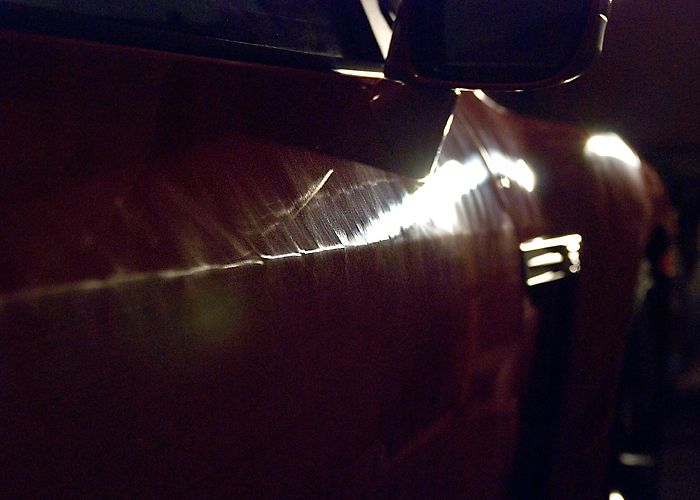
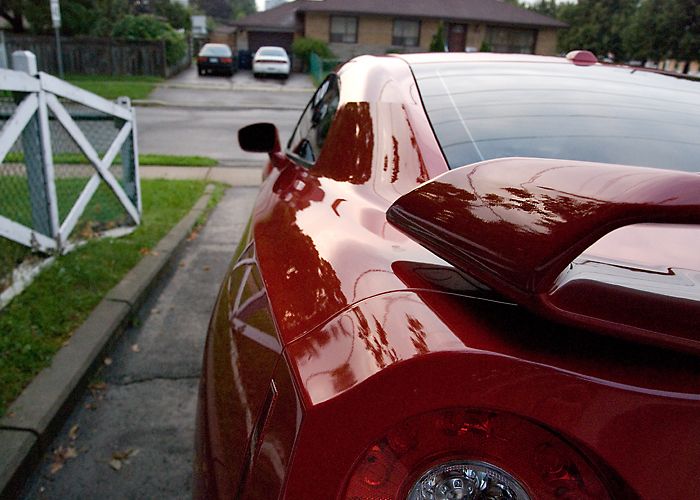
Already noticed a buffer trail that needed to be corrected
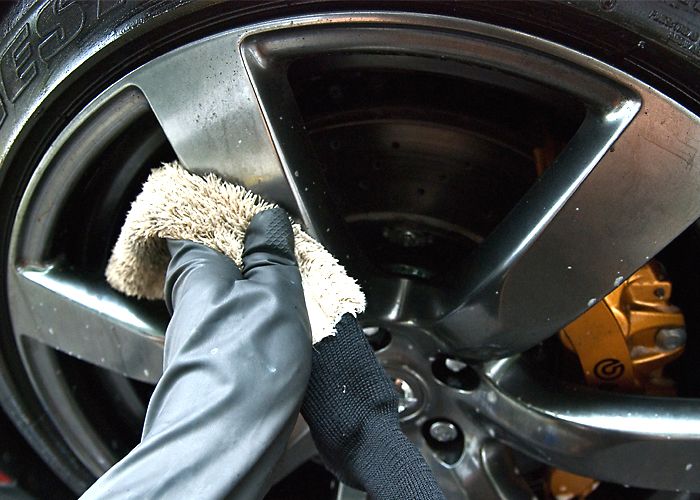
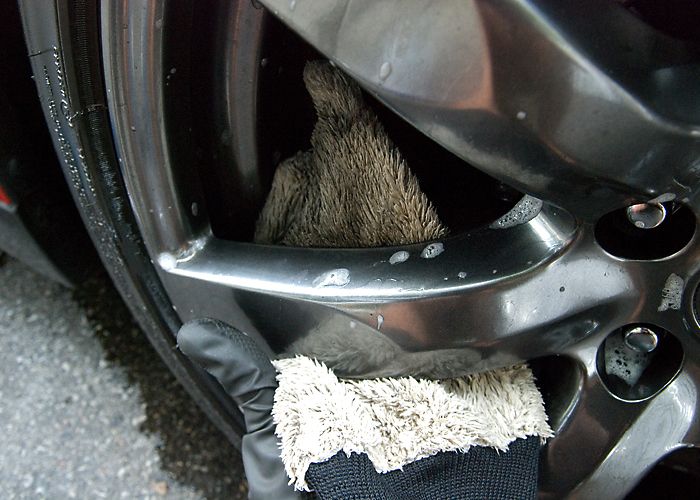
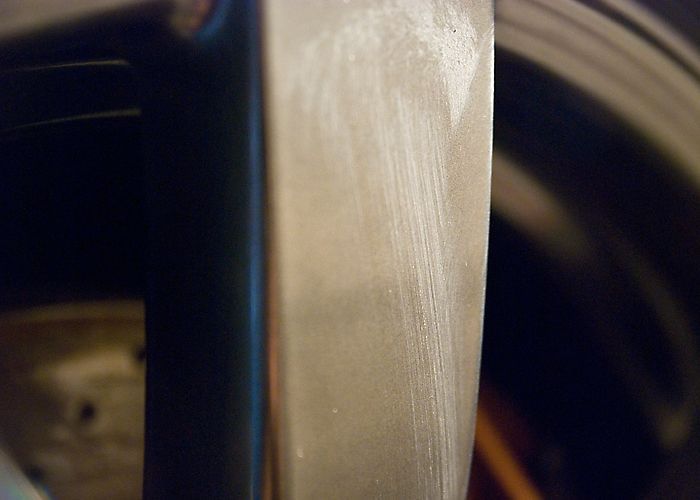
As usual starting with the rims, I cleaned the face and behind with a microfiber wash mitt
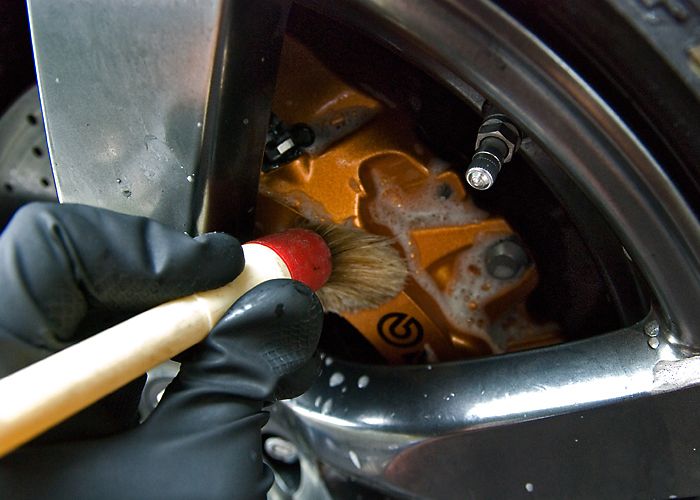
Used my brush to clean the calipers
A stiff brush to clean the tire wall
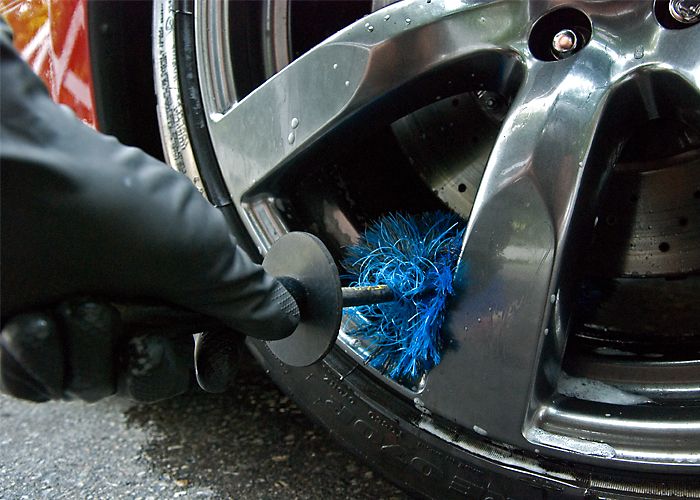
And my EZ Brush to clean the inner barrel
The wheel wells were cleaned also with APC and a curved handle brush
The exhaust was not to bad and was sort of an easy clean up
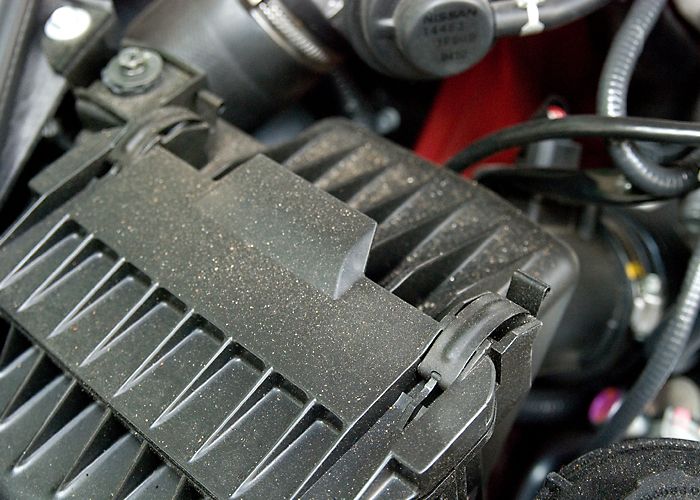
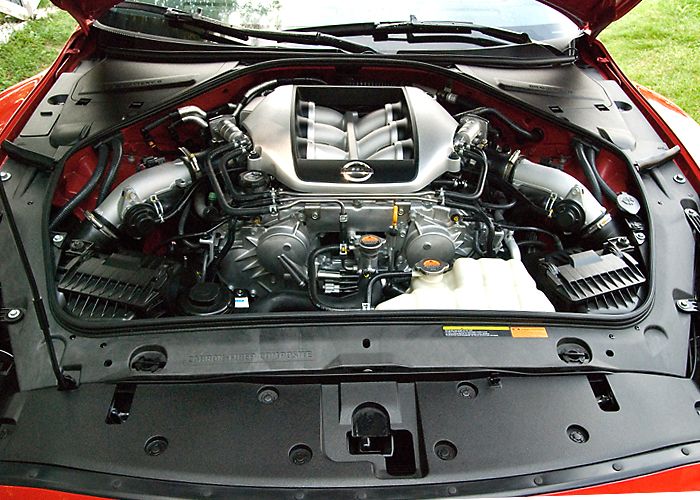
Moving on to the engine, it was not at all in bad shape but just a little dusty and could use a quick clean up and dressing to make it look new again
Dusty
All clean and dressed up
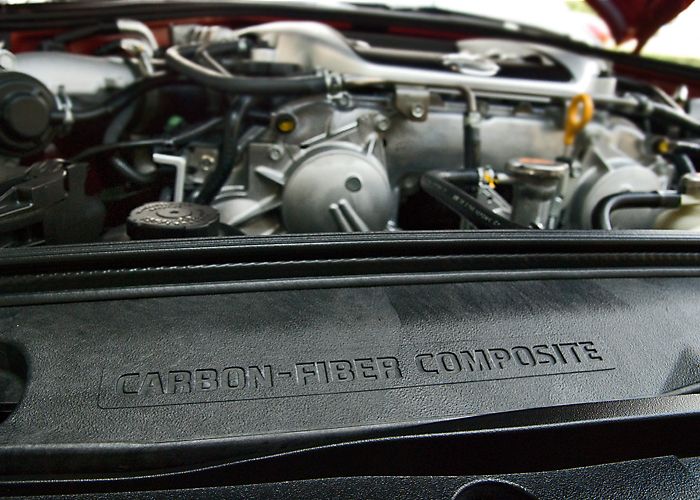
Artsy Fartsy shot
Stop lying
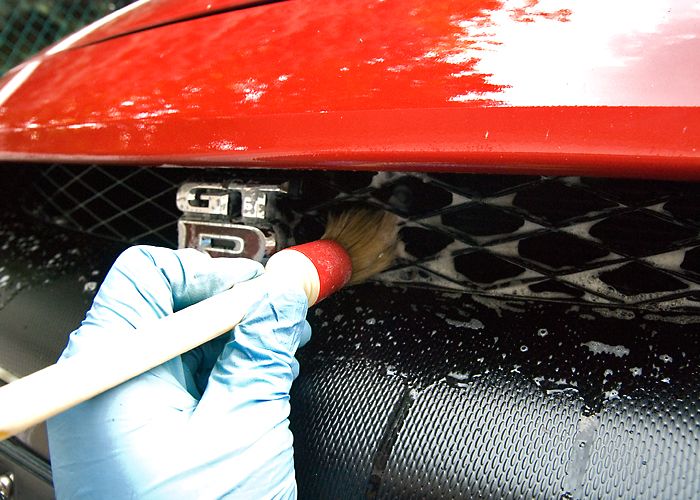
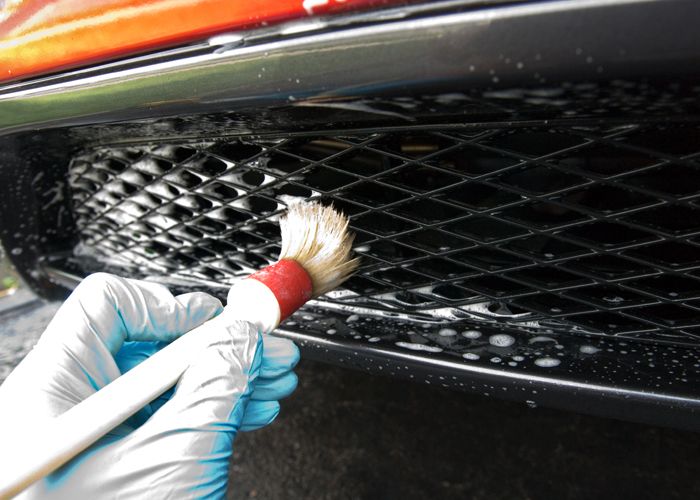
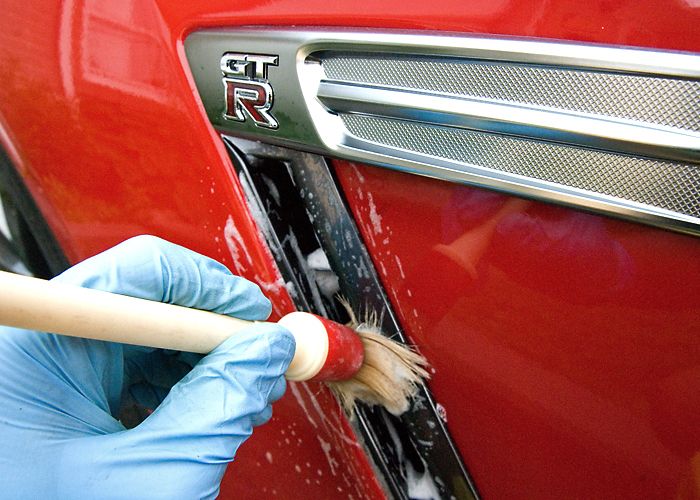
I pulled out another detail brush and took care of the tight areas like the vents etc
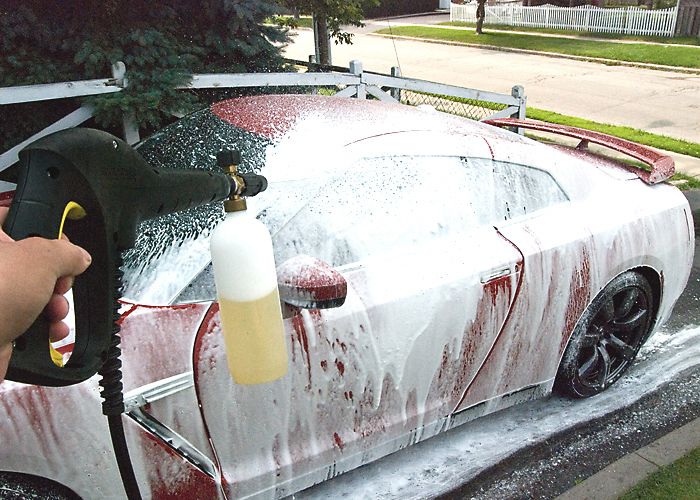
Finally getting onto the wash stage the car was foamed down

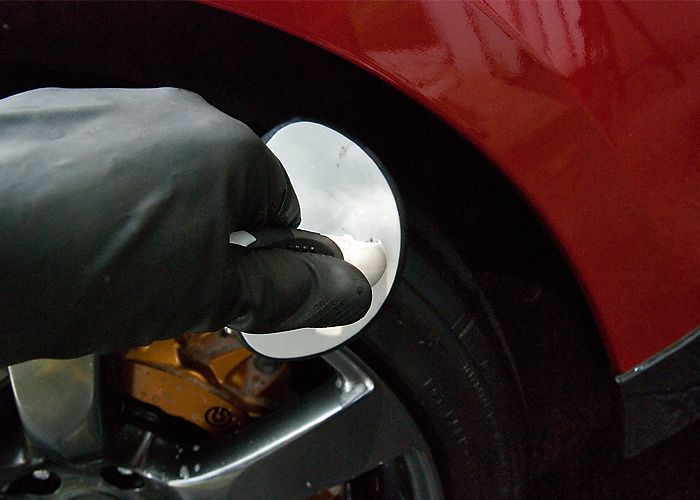
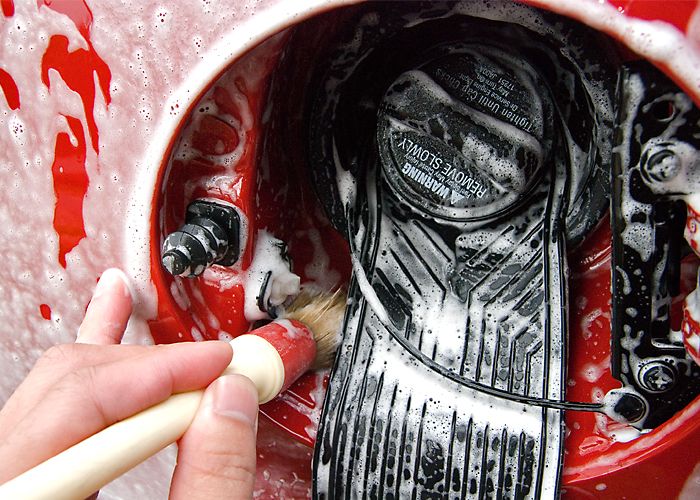
While the car was foaming I realized I had forgotten to clean the gas tank
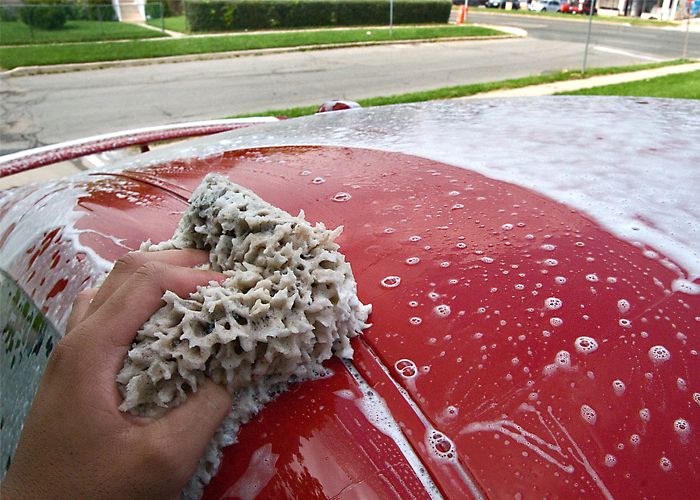
I 2 Bucket Method washed the car with my natural sea sponge
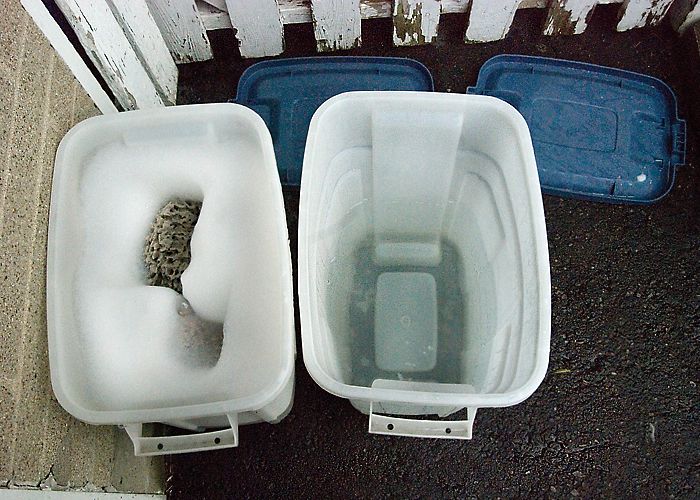
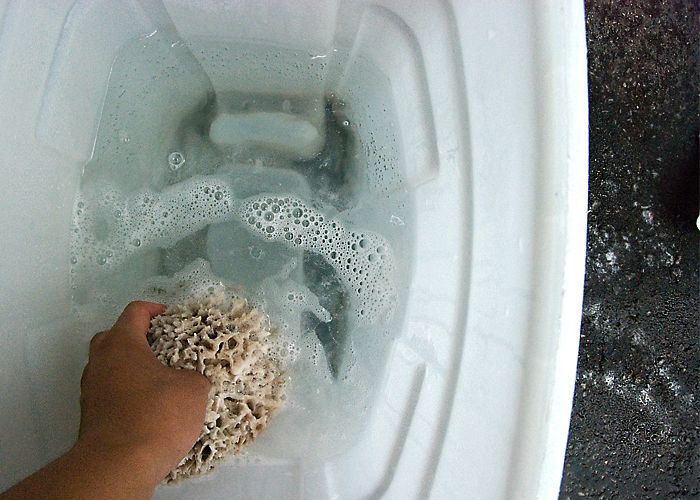
And rinsed off my sponge in the water only bucket after every panel or half a panel
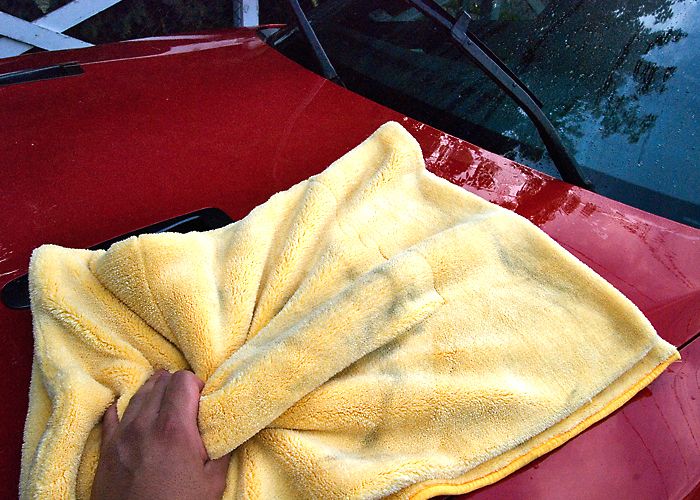
Then dried the car with a plush microfiber towel
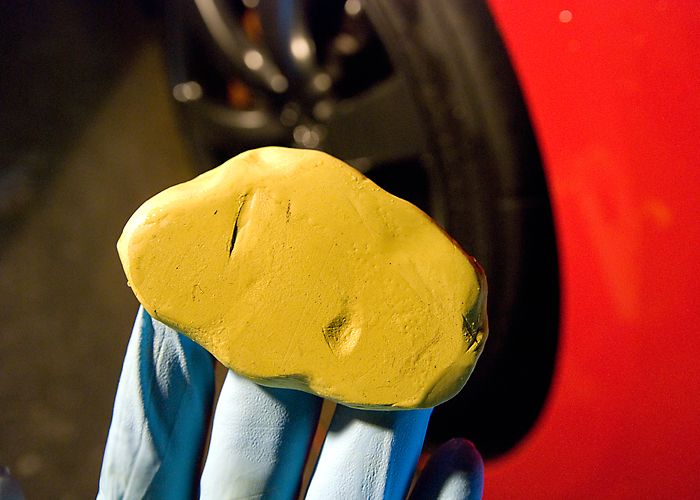
Brought the car in to clay*

And it was not in bad shape at all
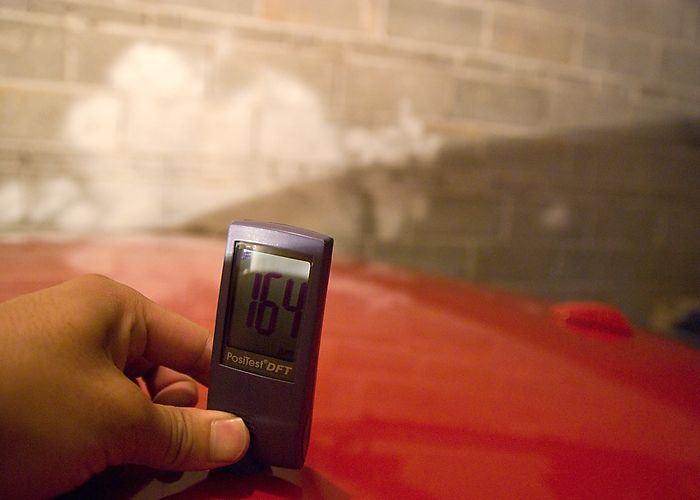
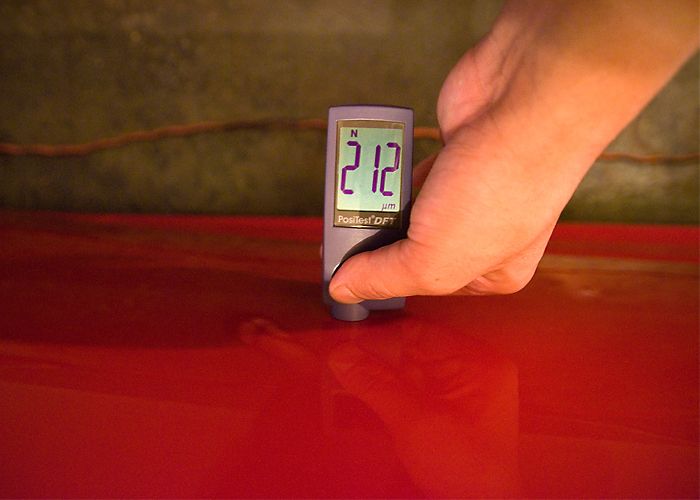
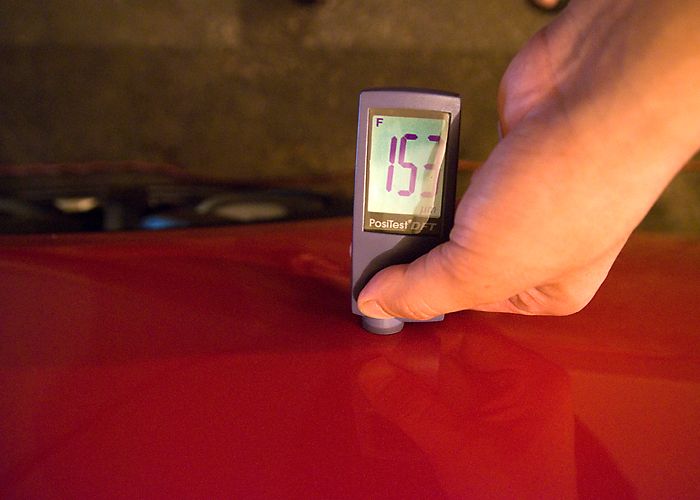
After the claying I measured the paint to see what levels I was working with

I found a section that was repainted and learned that the car had come with a huge scratch from the factory and this section was repainted under warranty which I guess also explains the buffer trail I first noticed
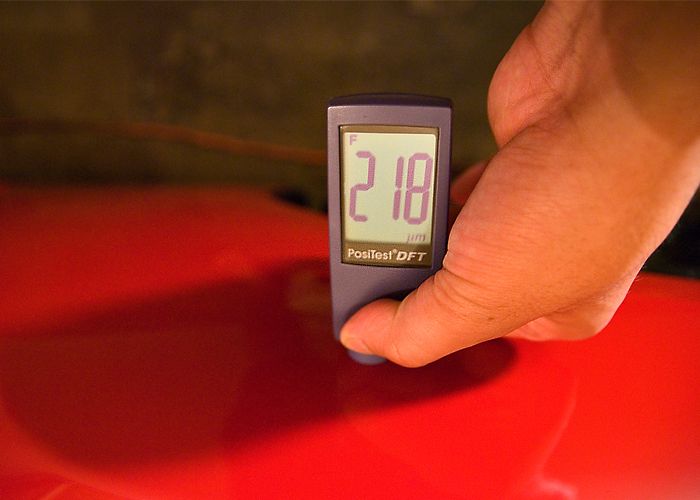
repaint
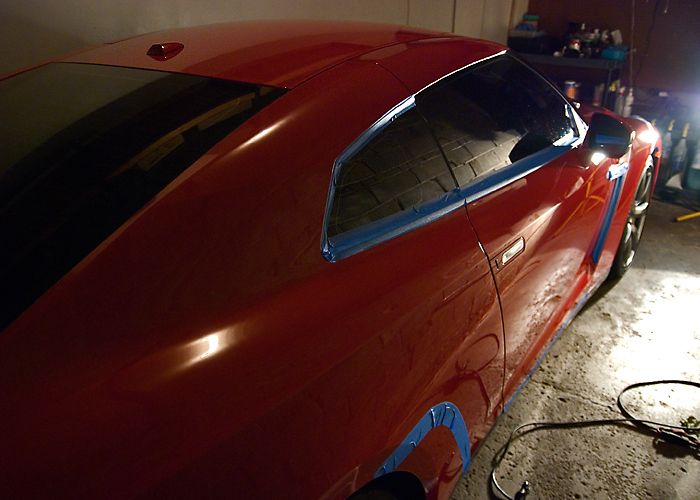
I masked all the rubber trim
And now could begin polishing. The combo I opted for was Menzerna SIP with a Orange Lake Country Pad on a Makita rotary. Here are the befores and afters of a few panels
Before
After

Before
After

A quick shot of yours truly polishing
Before

After
Before

After
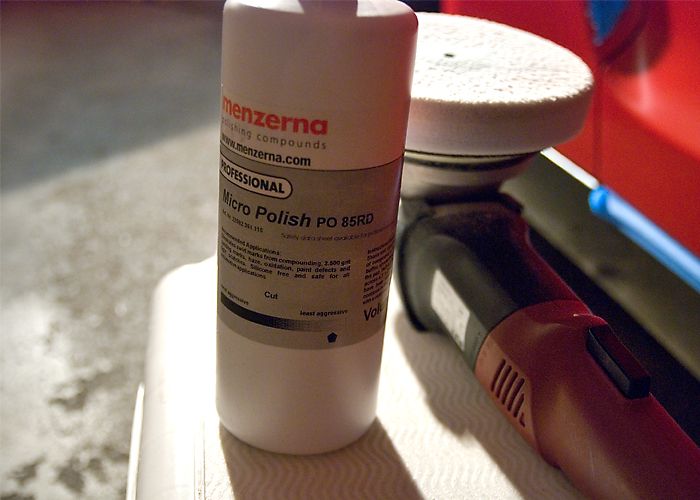
I alcohol wiped down the car and begin to prepare for the 2nd stage of polishing. The paint was already shining very well but I wanted to push the gloss a little higher so I jeweled the paint with Menzerna Po85RD a white Lake Country pad and my Flex3401.
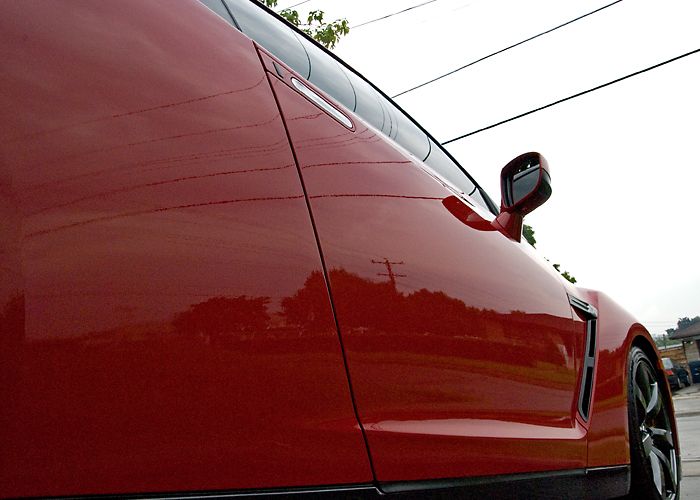
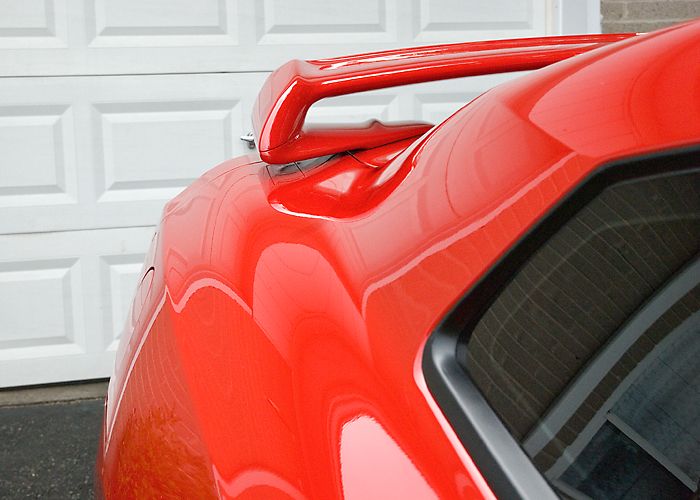
Here is a the gloss I was achieving with this combination
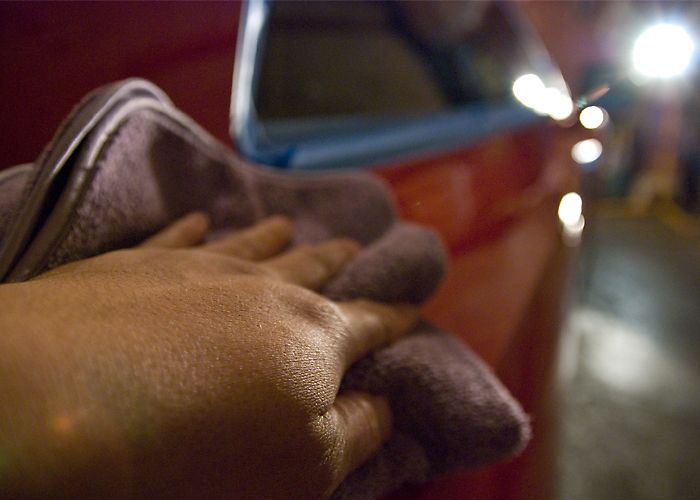
I gave the paint a 2nd and final alcohol wipe down to clean off the polishing oils then unmasked the car


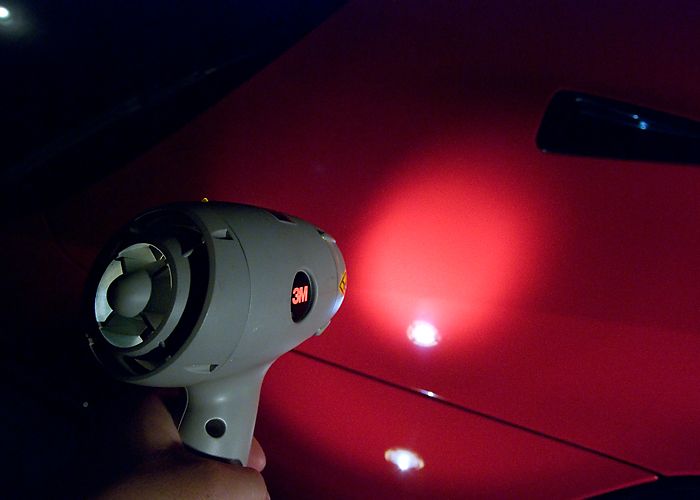
After unmasking and cleaning off the polishing oils I inspected the paint with my 3M Sun Gun which omits the same spectrum light as the sun.
Perfect
I had to take another shot of the gloss, and this was with no wax on, only polishing

Wax of the day was Swissvax Concorso
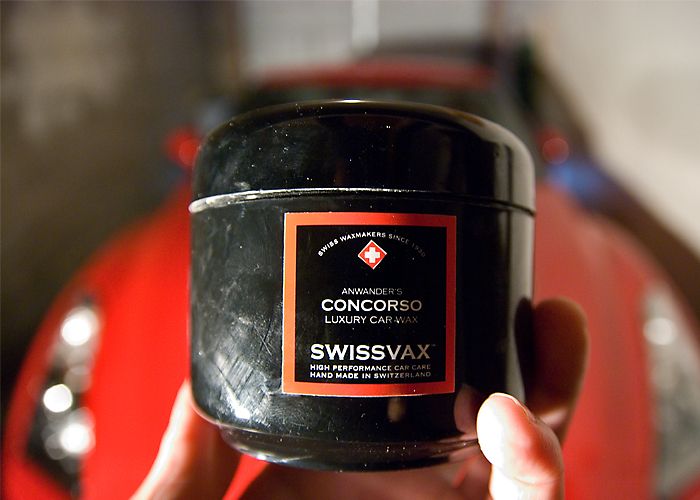
Applied
While the wax was curing I attended to other areas like putting Poor Boys Wheel Sealant on the rims and exhaust


Here are a couple after pics of the exhaust


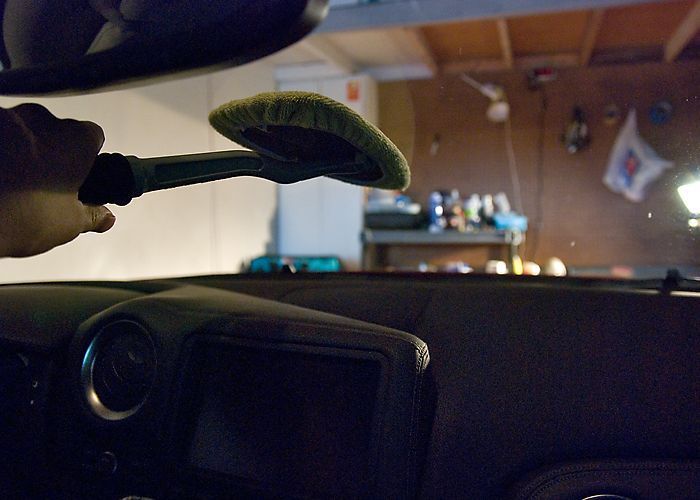
And I cleaned the windows with my Glass Master Pro.
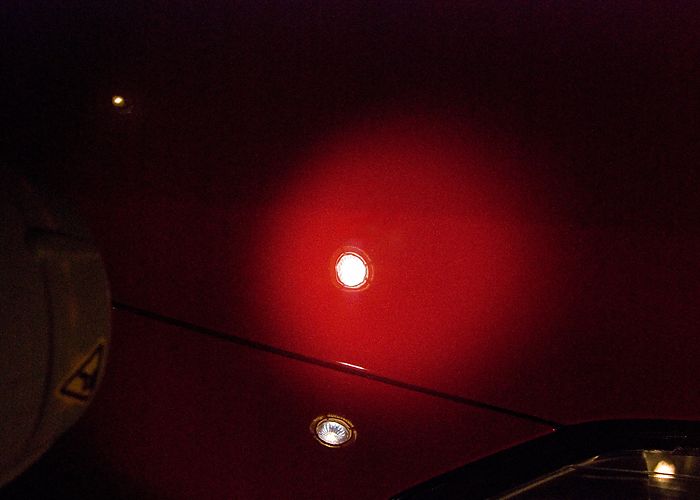
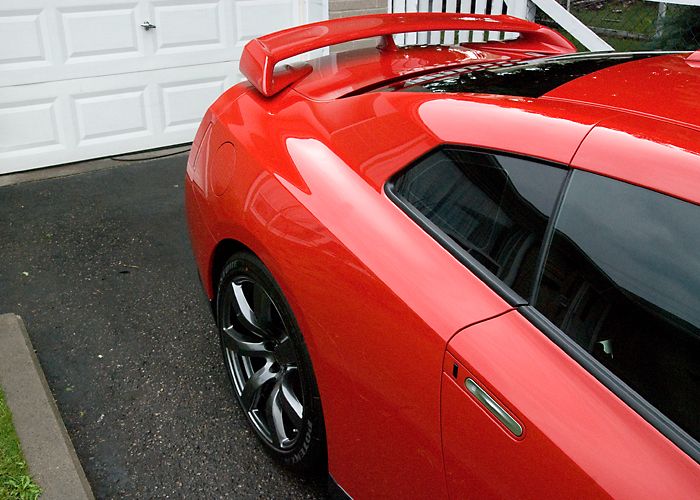
Unfortunately it had rained but I got a small window to quickly take a few after shots which I don't think turned out that bad and actually it was kind of cool to still see the paint looking very glossy on a cloudy day
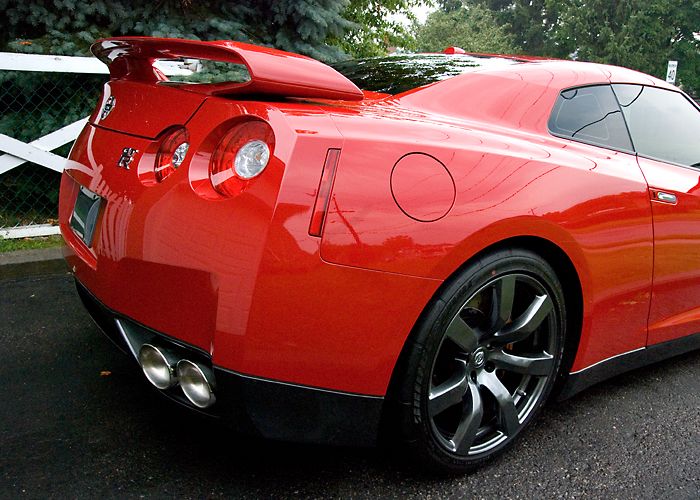
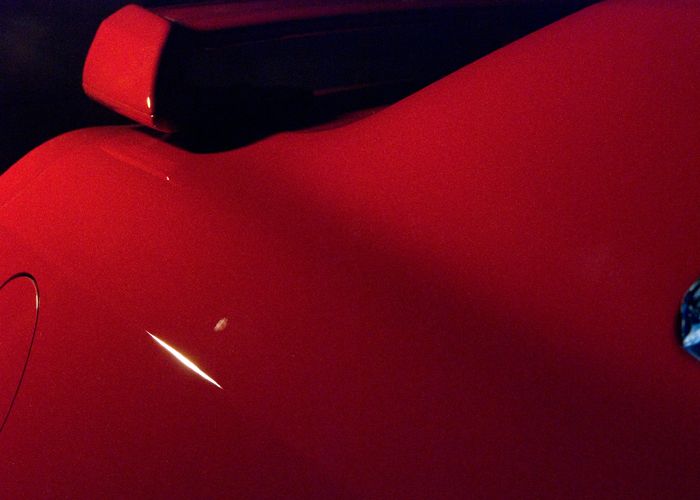
The gloss was looking very nice in this pic
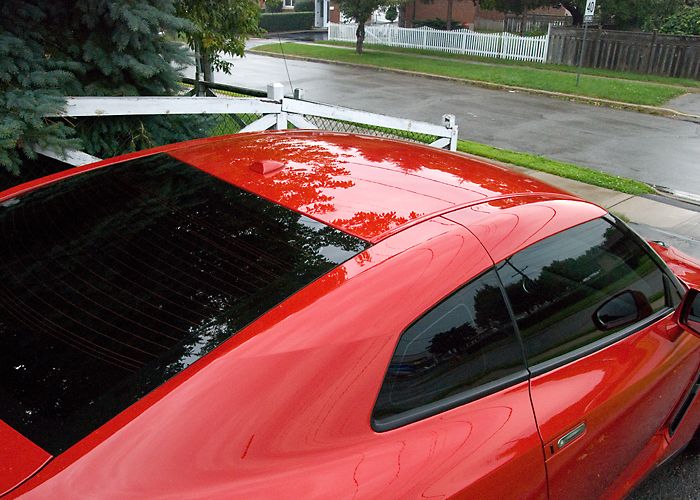
Some nice reflections
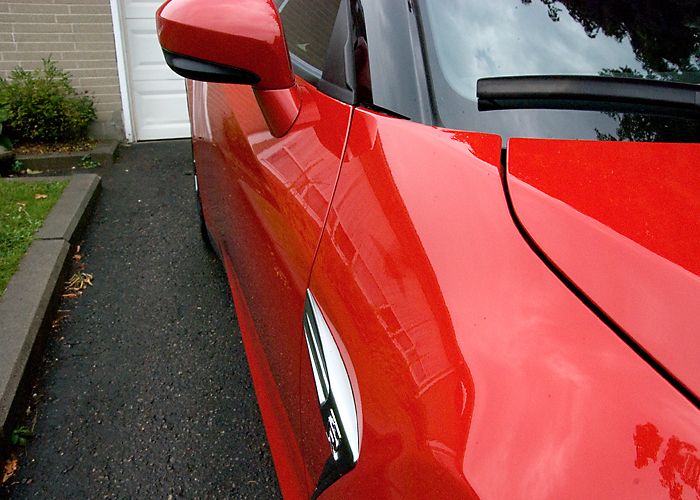

I liked the reflection in this shot


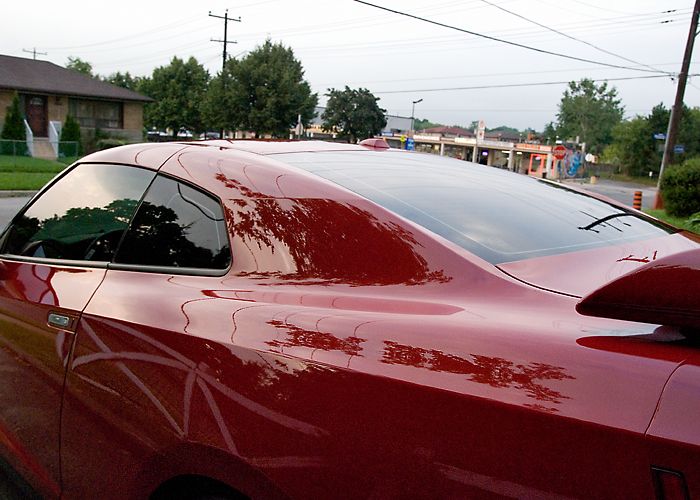
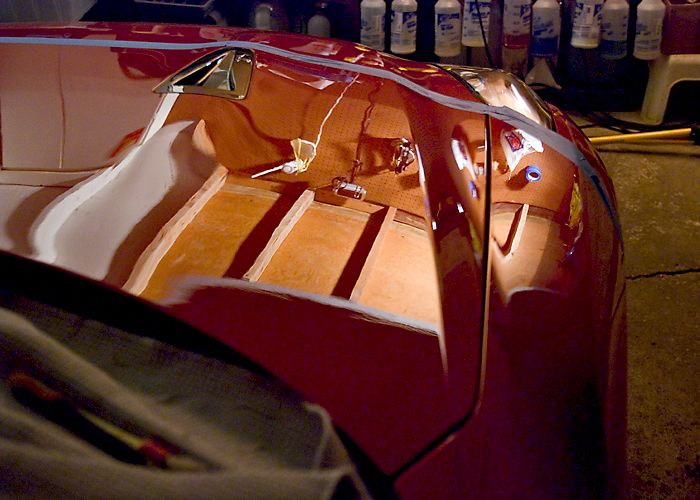
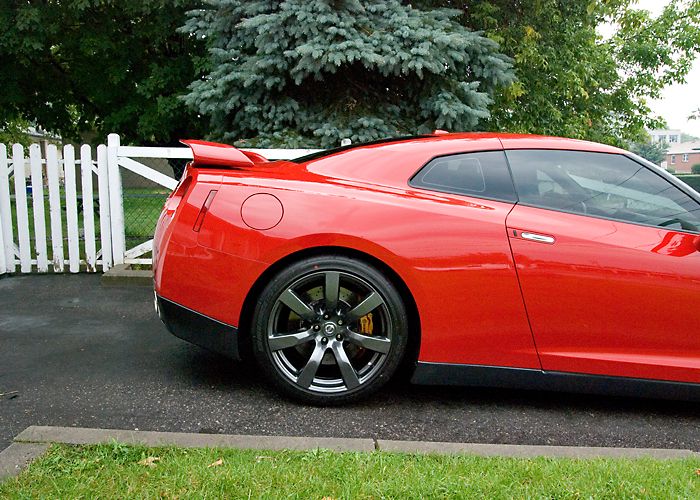
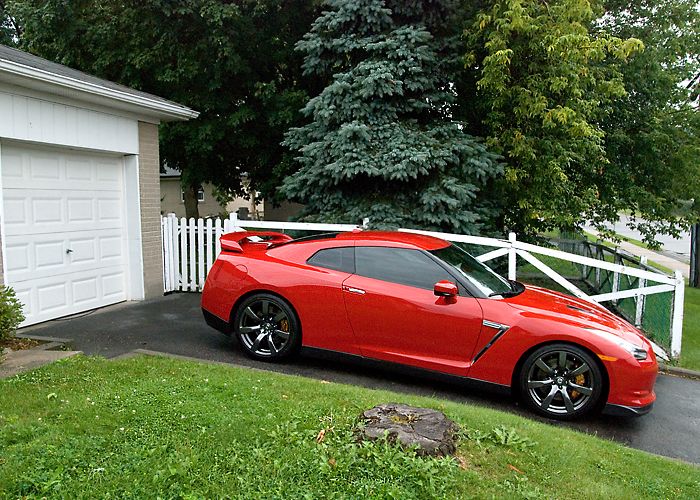
And to complete the walk around

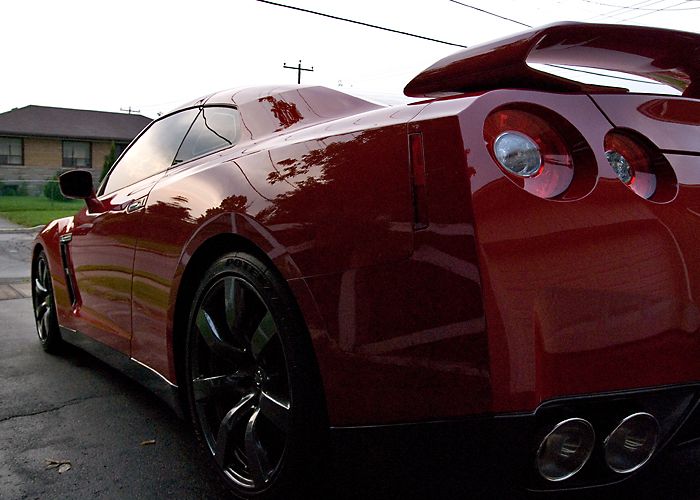
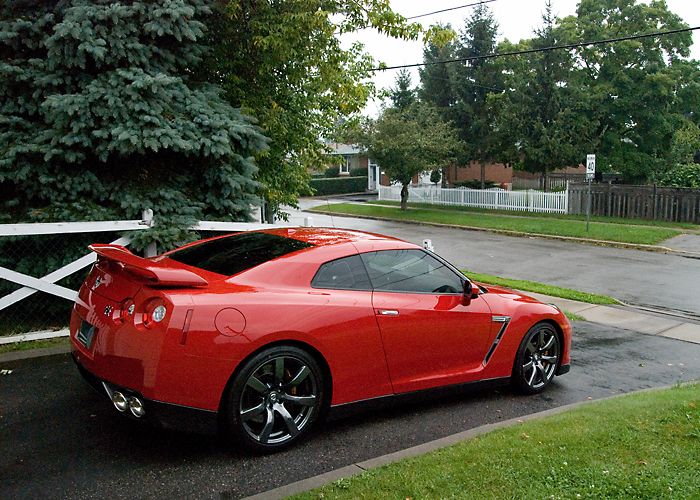
Finally my last 2 favorite pics
Not wanting to push my luck with the rain I quickly put away the GT-R in the garage.
Hope you enjoyed the write up and seeing the different steps of the detail.
Best regards!
Wes
Not my first GT-R to work on but my second write up on one.
I had spoken to this owner over the span of a year and we had finally set up a date to 2 stage polish this Solid Red GT-R some time in the beginning of August. The car was a garage queen and the swirling was not so bad... actually one of the better condition GT-Rs I had worked on but we wanted to get a 9, 9.5 out of 10 correction so we agreed on a 2 stage polish.
Moving on to the write up here is the first walk around the car.
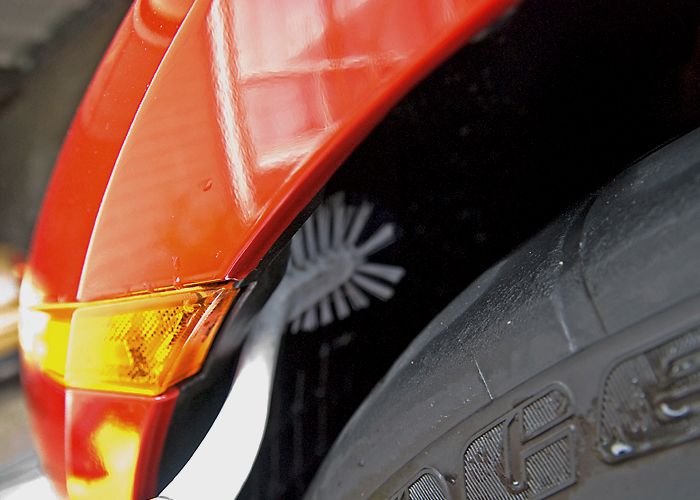
Already noticed a buffer trail that needed to be corrected
As usual starting with the rims, I cleaned the face and behind with a microfiber wash mitt
Used my brush to clean the calipers
A stiff brush to clean the tire wall
And my EZ Brush to clean the inner barrel
The wheel wells were cleaned also with APC and a curved handle brush
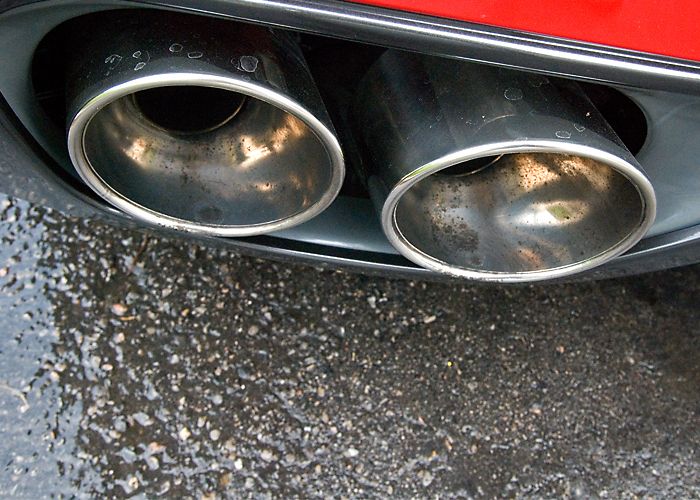
The exhaust was not to bad and was sort of an easy clean up
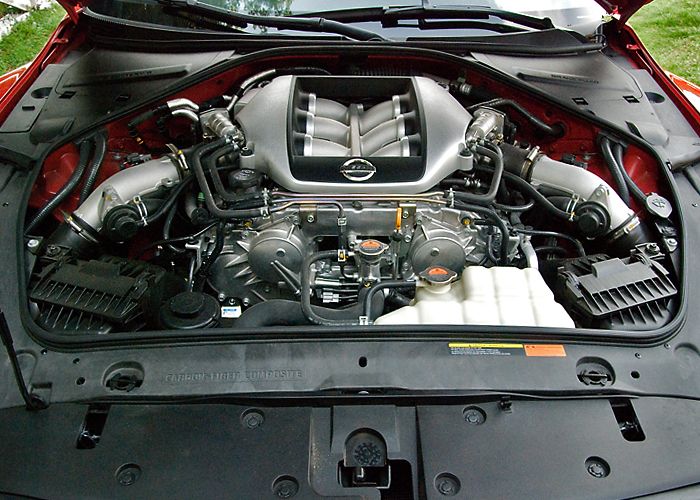
Moving on to the engine, it was not at all in bad shape but just a little dusty and could use a quick clean up and dressing to make it look new again
Dusty
All clean and dressed up
Artsy Fartsy shot
Stop lying
I pulled out another detail brush and took care of the tight areas like the vents etc
Finally getting onto the wash stage the car was foamed down
While the car was foaming I realized I had forgotten to clean the gas tank
I 2 Bucket Method washed the car with my natural sea sponge
And rinsed off my sponge in the water only bucket after every panel or half a panel
Then dried the car with a plush microfiber towel
Brought the car in to clay*
And it was not in bad shape at all
After the claying I measured the paint to see what levels I was working with
I found a section that was repainted and learned that the car had come with a huge scratch from the factory and this section was repainted under warranty which I guess also explains the buffer trail I first noticed
repaint
I masked all the rubber trim
And now could begin polishing. The combo I opted for was Menzerna SIP with a Orange Lake Country Pad on a Makita rotary. Here are the befores and afters of a few panels
Before
After
Before
After
A quick shot of yours truly polishing
Before
After
Before
After
I alcohol wiped down the car and begin to prepare for the 2nd stage of polishing. The paint was already shining very well but I wanted to push the gloss a little higher so I jeweled the paint with Menzerna Po85RD a white Lake Country pad and my Flex3401.
Here is a the gloss I was achieving with this combination
I gave the paint a 2nd and final alcohol wipe down to clean off the polishing oils then unmasked the car
After unmasking and cleaning off the polishing oils I inspected the paint with my 3M Sun Gun which omits the same spectrum light as the sun.
Perfect
I had to take another shot of the gloss, and this was with no wax on, only polishing
Wax of the day was Swissvax Concorso
Applied
While the wax was curing I attended to other areas like putting Poor Boys Wheel Sealant on the rims and exhaust
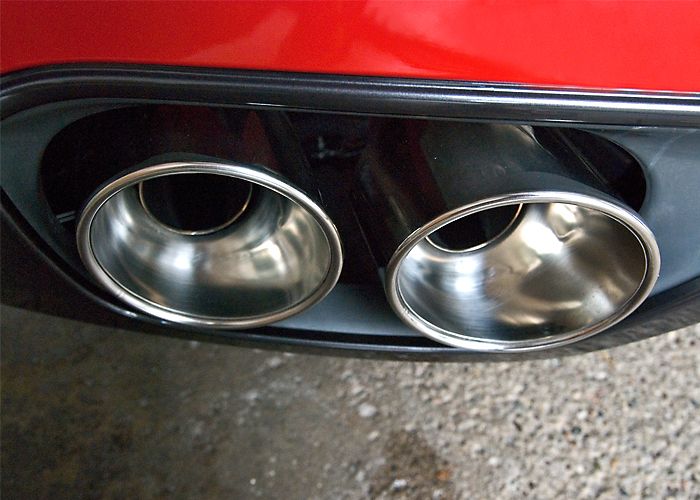
Here are a couple after pics of the exhaust
And I cleaned the windows with my Glass Master Pro.
Unfortunately it had rained but I got a small window to quickly take a few after shots which I don't think turned out that bad and actually it was kind of cool to still see the paint looking very glossy on a cloudy day
The gloss was looking very nice in this pic
Some nice reflections
I liked the reflection in this shot
And to complete the walk around
Finally my last 2 favorite pics
Not wanting to push my luck with the rain I quickly put away the GT-R in the garage.
Hope you enjoyed the write up and seeing the different steps of the detail.
Best regards!
Wes


Trending Topics


For that price buy most of the items yourself and try it out. Thats what I ended up doing. Figure I can someone else to do it, or try it myself. Looks awesome by the way I hope to get to that level sometime in the near future.


Thread Starter
Registered User
Joined: Feb 2009
Posts: 100
Likes: 2
From: Toronto
Guys, sorry for the very late reply. I totally forgot about this thread and was actually just about to post it again but something told me to double check. Sorry for any offense.
Thanks! Golf Crap?
On my way.

Sent you a pm
Cheers
PM sent
Toronto
I just spray all purpose cleaner then use a brush to agitate build up, rinse lightly, then blow dry, apply dressing, wipe, blow dry again, then let the engine idle for a bit.
Thanks!
Thanks!
It is a pretty penny but the best shine I have seen.
Thanks!
Pm sent
Products is one thing but the skill and experience is another. For the DIY it definitely is fun but if you don't have a clue what your doing with a buffer you could mess things up.
Thanks! It took me 2 days.
Thanks! Golf Crap?
On my way.
Cheers
PM sent
Toronto
Thanks!
Thanks!
Thanks!
Pm sent
Thanks! It took me 2 days.
Last edited by Wes_R; Sep 12, 2012 at 04:40 AM.