
todays project: tinted reverse lights (with pictures)


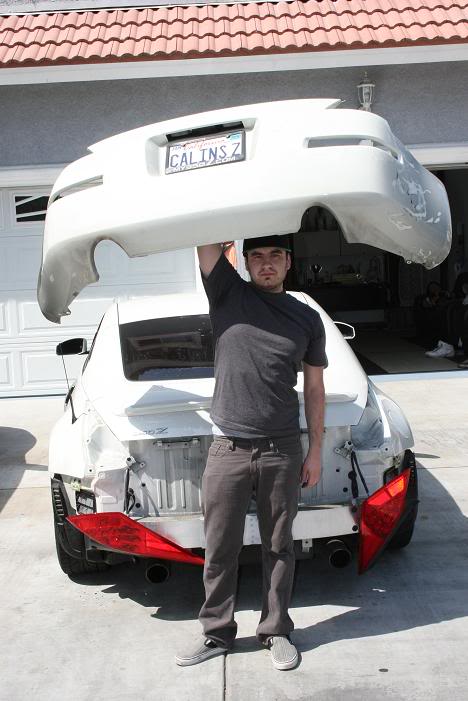
So today I decided to tint my reverse lights since I didn't like that clear/chrome too much. Went over to a friends house and he helped me with everything. I wanted to do a DIY oh removing the back bumper but only thought about it once my bumper was completely off so it was a little late. But its really not that complicated. First thing you gotta do is remove your tail lights, and then just look for any screws and plastic clips holding your bumper in place and take them out. Be careful not to break anything, I broke one of the plastic clips thats near the tail light but it's really not that important and looks just fine without it.
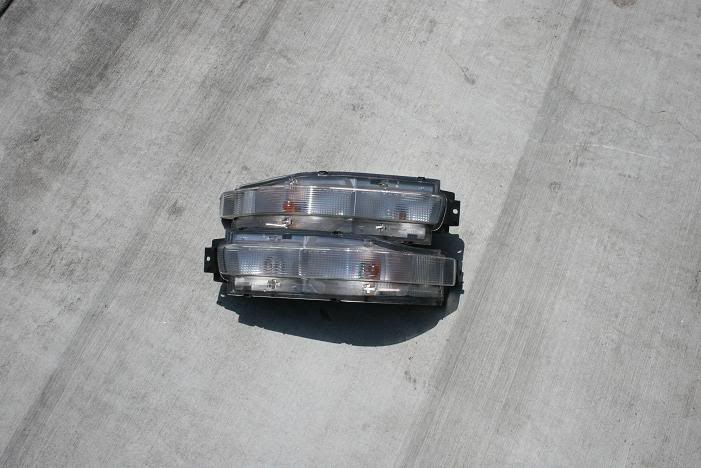
Anyways here's the bumper off the car
me = +1
Z = 0
and here's what the Z looks like with no back bumper
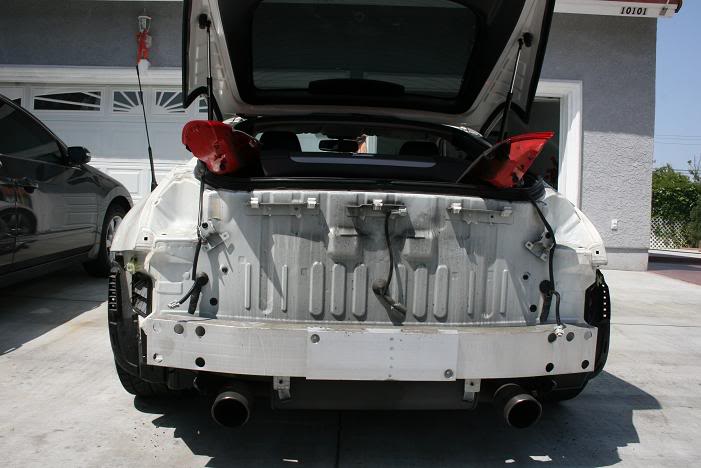

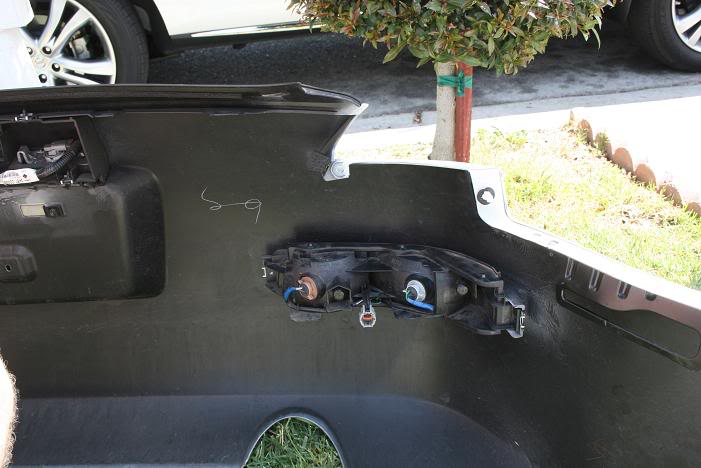
the reverse lights are screwed into the bumper with 2 screws, 1 on each side.
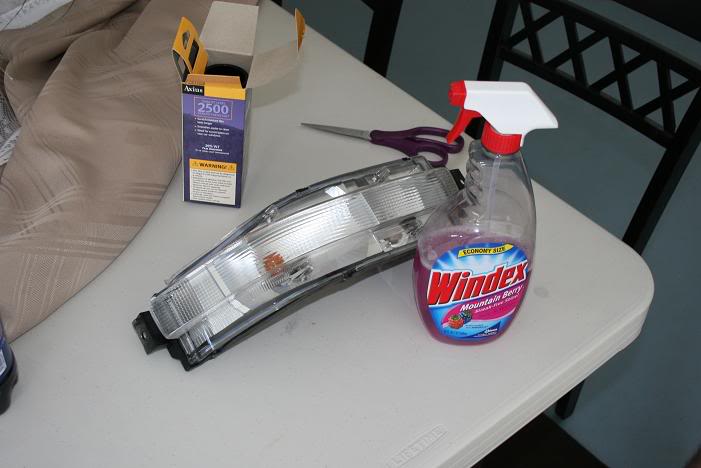
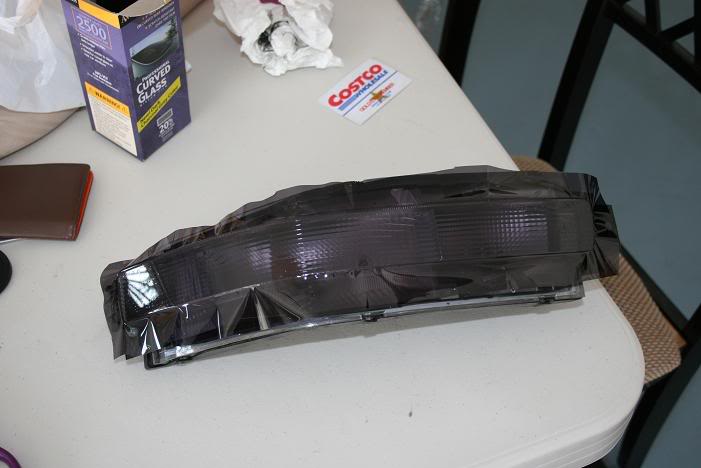
sprayed the lights off with some Windex to make sure they're clean before putting the tint on
I applied the tint very carefully and tried my best not to get any air bubbles in it. I got most the air bubbles out using my Costco card, but there were still a few very small ones I couldn't get out . I also bought this liquid that you're supposed to mix with water and apply to the light and also to the tint film itself so you can move it around a little once it's on the light. But for some reason, I ended up not using it. I'm not sure if i did the tinting correctly since I've never tinted anything before but I was pretty happy with the outcome so I'm not worried about it.
trimmed off the excess tint with a razor blade
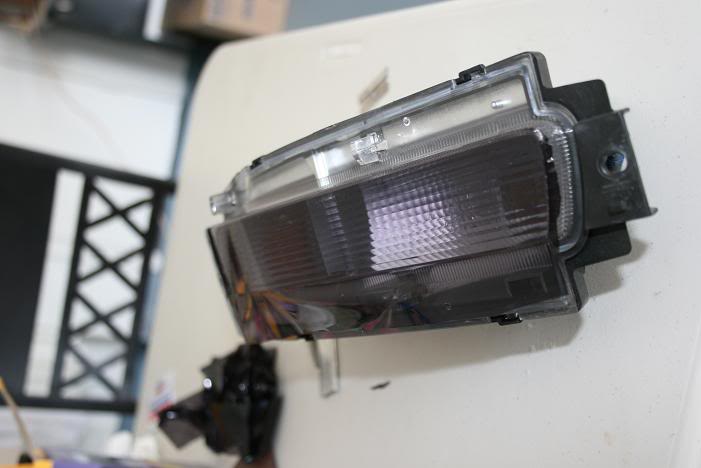
and here's the finished product
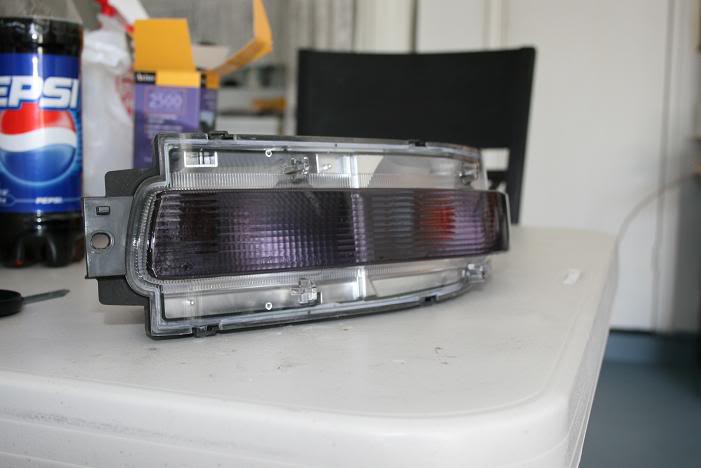
before and after shot

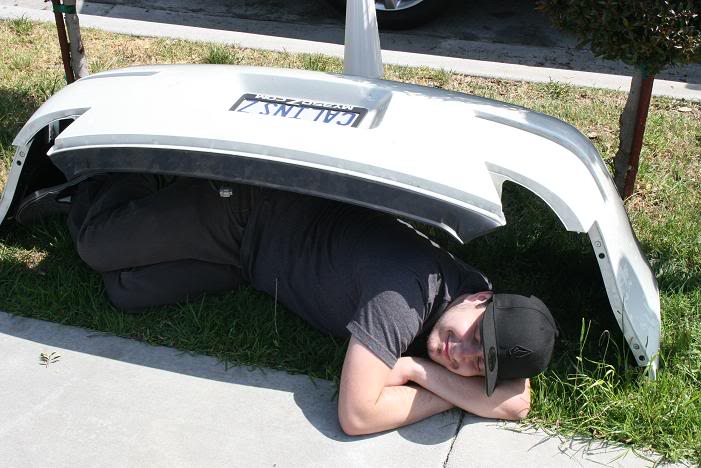
at this point I got a little tired, so I decided to take a little break

screw the lights back into the bumper using the 2 screws on each side
and it's finished...(and also dirty)

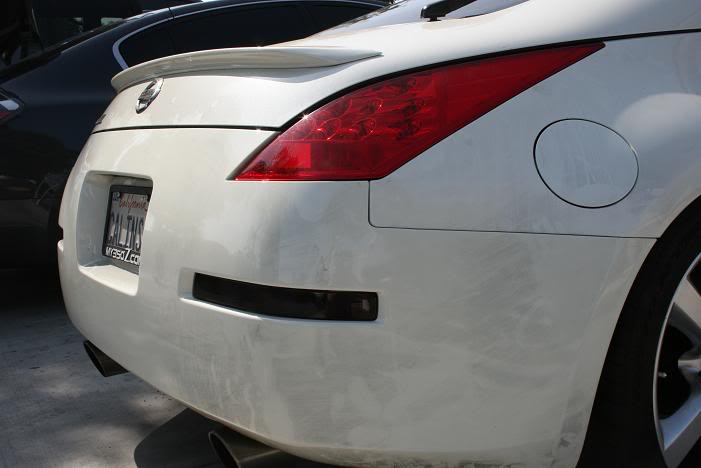
bumper is back on the car. For some reason the lights look really dark in this pic, but they're a little lighter. EWWWWWWWW my bumper looks nasty
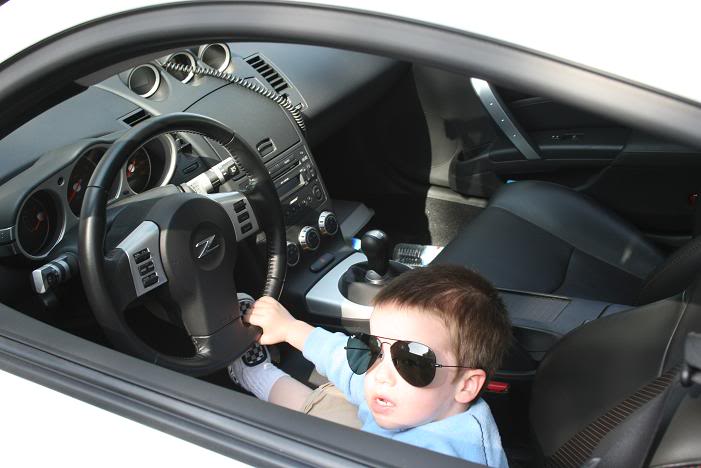
next step: make a baby!! and I made one!! (jk..that's my friends son)
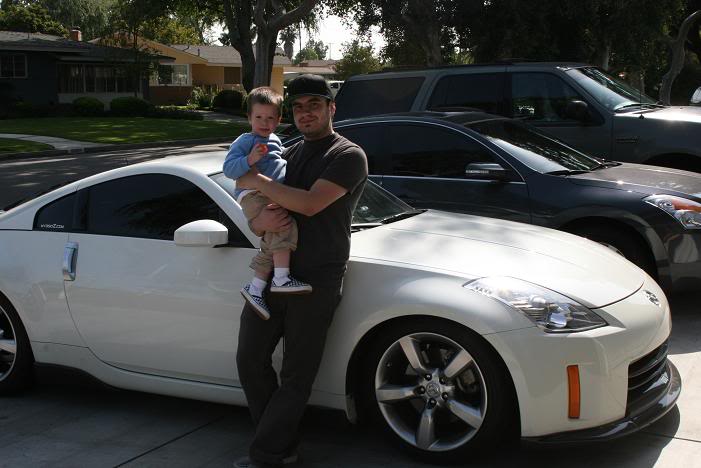
future 350Z driver

Sorry this wasn't much of a DIY since I forgot to take pics of the bumper removal but I hope you get the point. Also if you have any tips on tinting lights, I'd love to hear them since I couldn't get all the air bubbles out. But since there are only a few very tiny bubbles, I'm happy with it.
Anyways here's the bumper off the car
me = +1
Z = 0
and here's what the Z looks like with no back bumper
the reverse lights are screwed into the bumper with 2 screws, 1 on each side.
sprayed the lights off with some Windex to make sure they're clean before putting the tint on
I applied the tint very carefully and tried my best not to get any air bubbles in it. I got most the air bubbles out using my Costco card, but there were still a few very small ones I couldn't get out
. I also bought this liquid that you're supposed to mix with water and apply to the light and also to the tint film itself so you can move it around a little once it's on the light. But for some reason, I ended up not using it. I'm not sure if i did the tinting correctly since I've never tinted anything before but I was pretty happy with the outcome so I'm not worried about it. trimmed off the excess tint with a razor blade
and here's the finished product
before and after shot
at this point I got a little tired, so I decided to take a little break
screw the lights back into the bumper using the 2 screws on each side
and it's finished...(and also dirty)
bumper is back on the car. For some reason the lights look really dark in this pic, but they're a little lighter. EWWWWWWWW my bumper looks nasty
next step: make a baby!! and I made one!!
(jk..that's my friends son)future 350Z driver
Sorry this wasn't much of a DIY since I forgot to take pics of the bumper removal but I hope you get the point. Also if you have any tips on tinting lights, I'd love to hear them since I couldn't get all the air bubbles out. But since there are only a few very tiny bubbles, I'm happy with it.


Trending Topics


Originally Posted by 97mx5
Nice write up! However, if you buy the overlays precut as several vendors here sell, it takes mabe 5 minutes to install. No tools needed, except for a rubber squeege.

