build full under tray and diffuser
#81
Living in 350Z

iTrader: (30)
Join Date: May 2009
Location: Spartanburg(SparkleCity), SC
Posts: 4,293
Likes: 0
Received 2 Likes
on
2 Posts
I made a full undertray last year out of lexan for my roadster. The hardest part from a fabrication standpoint was getting all of the spacing correct to have mount points throughout the length and middle of the car to keep the tray from flexing/deflecting in certain areas. The other challenge was to make it safe and simple to regularly/repetitively remove a section for maintenance, but still insure there were no gaps between sections where airflow would be negatively affected.
You'll also want to form the tray or cut it out in sections where the exhaust or other low hanging items get in the way so that you don't have gaps between sections and the body. I worked with my whole car up in the air with no exhaust, made sure that I had an overall rake from front to back, and then determined what was the reasonable mounting depth. Since I had already created the stacked lexan for each mounting gasket/bracket and had it at the appropriate rake, I could then raise or lower the entire tray just by adding or taking away the layers of lexan for each gasket/bracket until I found the appropriate height for the tray that worked with my body kit, exhaust, and suspension. Once I had figured out the appropriate height, I made the appropriate openings for exhaust, suspension, and maintenance access to insure proper fitment. It was a bit easier in my case because I was running a front bumper that was MUCH lower than stock. That really helped me out in getting the appropriate rake and allowing for a proper match to the side skirts and rear to avoid gaps.
Again, I'm just trying to share helpful items that I learned while building mine. If you have any questions, feel free to hit me up in PM. I'd love to see this done successfully.
Last edited by SparkleCityHop; 03-29-2012 at 03:40 PM.
#82
Registered User
iTrader: (5)
Join Date: Feb 2010
Location: Guelph
Posts: 721
Likes: 0
Received 0 Likes
on
0 Posts
It would have been much better to have a side exit exhaust for this. Not only are you trapping heat throughout the length of the car, but you now have to deal with a dual exhaust and all the piping, which as you said is the lowest point in the car. Will also make a rear diffuser very difficult.
Having it sit an inch lower than your body work is fine. In fact I would suggest having the front lower with an airdam. The sides are fine as long as you put some kind of skirt to keep high pressure air out.
I would also make sure you have extremely stiff springs. With the HP you have you do not want the rear to squat lifting the front end.
Is this a street car? Ideally you want the floor to sit as low as possible (close to the surface I mean), while keeping high pressure air from the front and sides getting in. I would also duct your front bumper up and out of the car. Otherwise the air will move to the back of the engine and sit in between the flat bottom and the chassis.
#83
progress as we go...
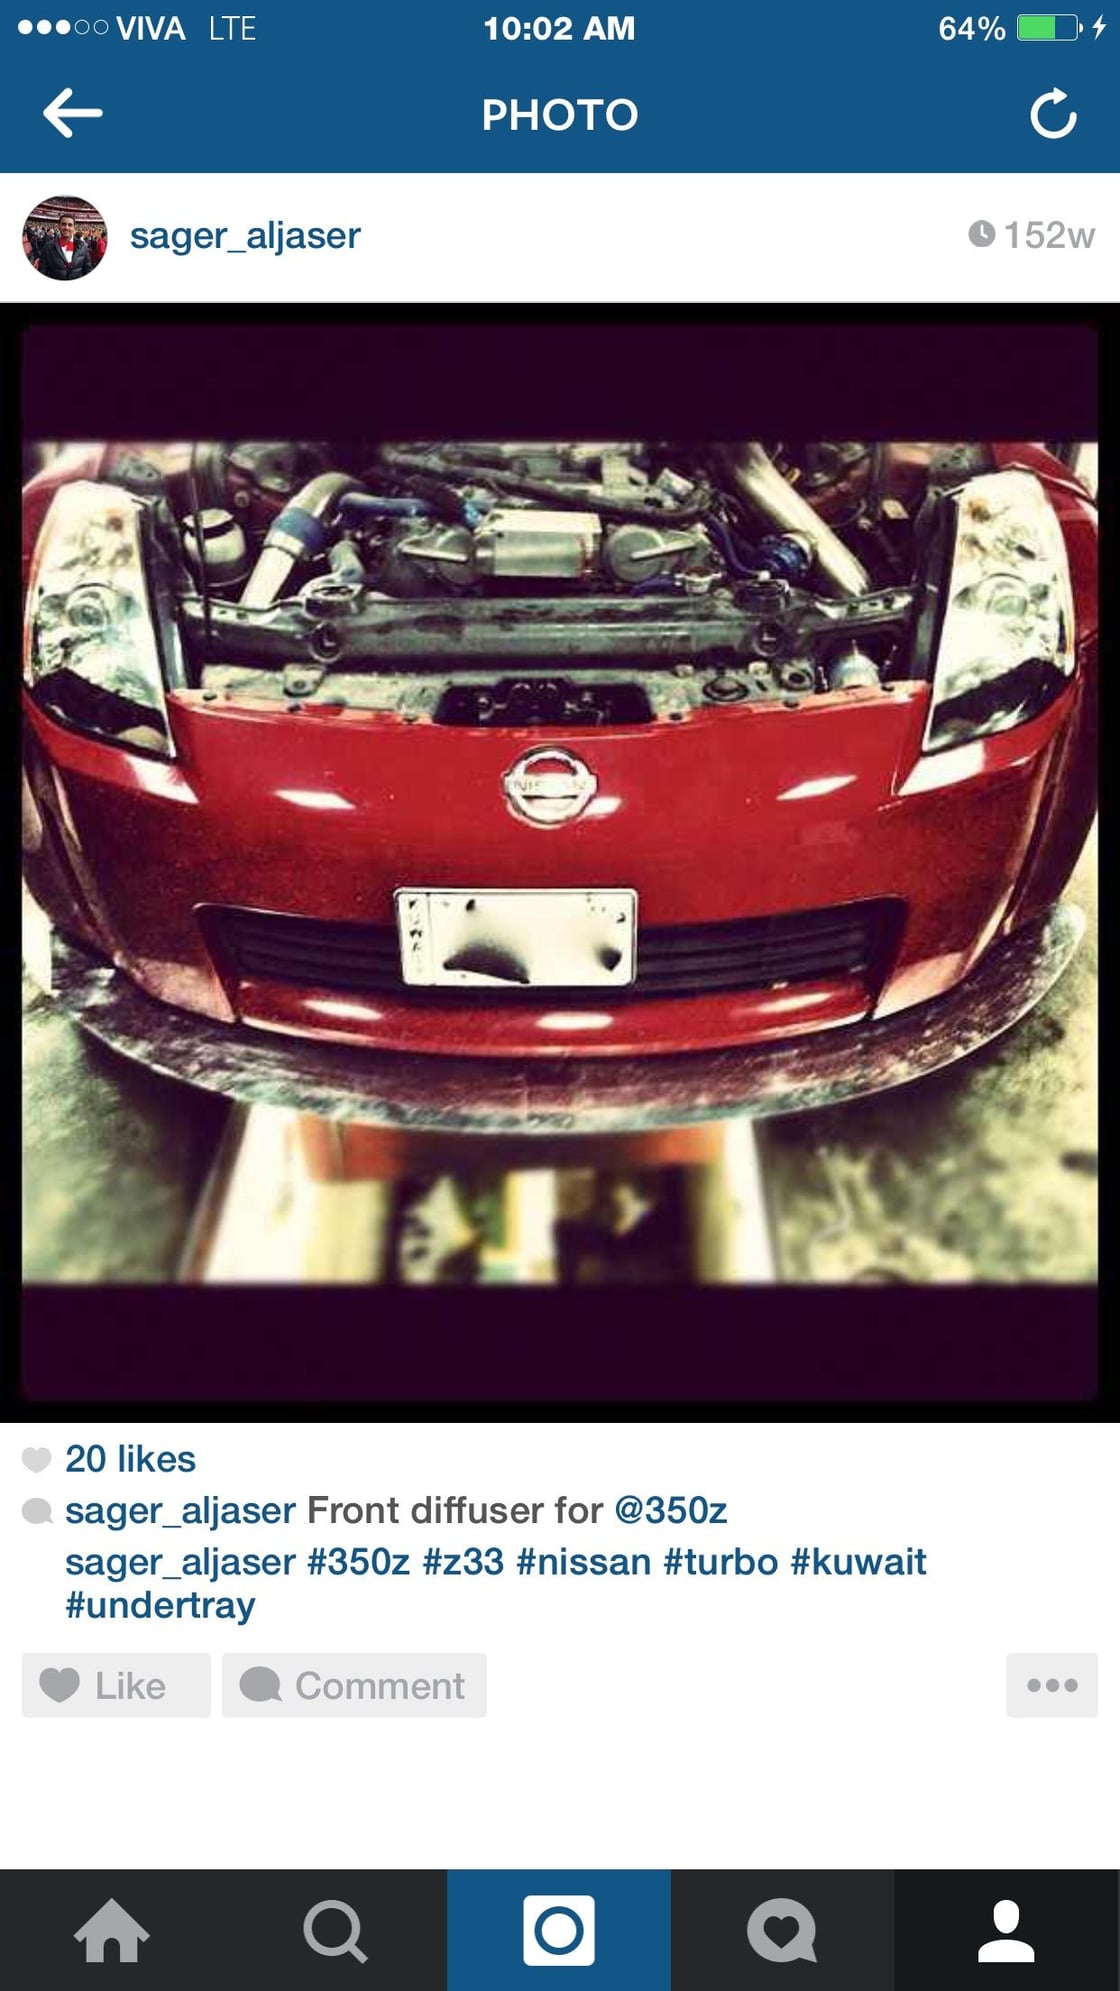
first picture its an idea of front diffuser plus lip or air dam for my intercooler. also the front will be sealed to insure no air comes in.
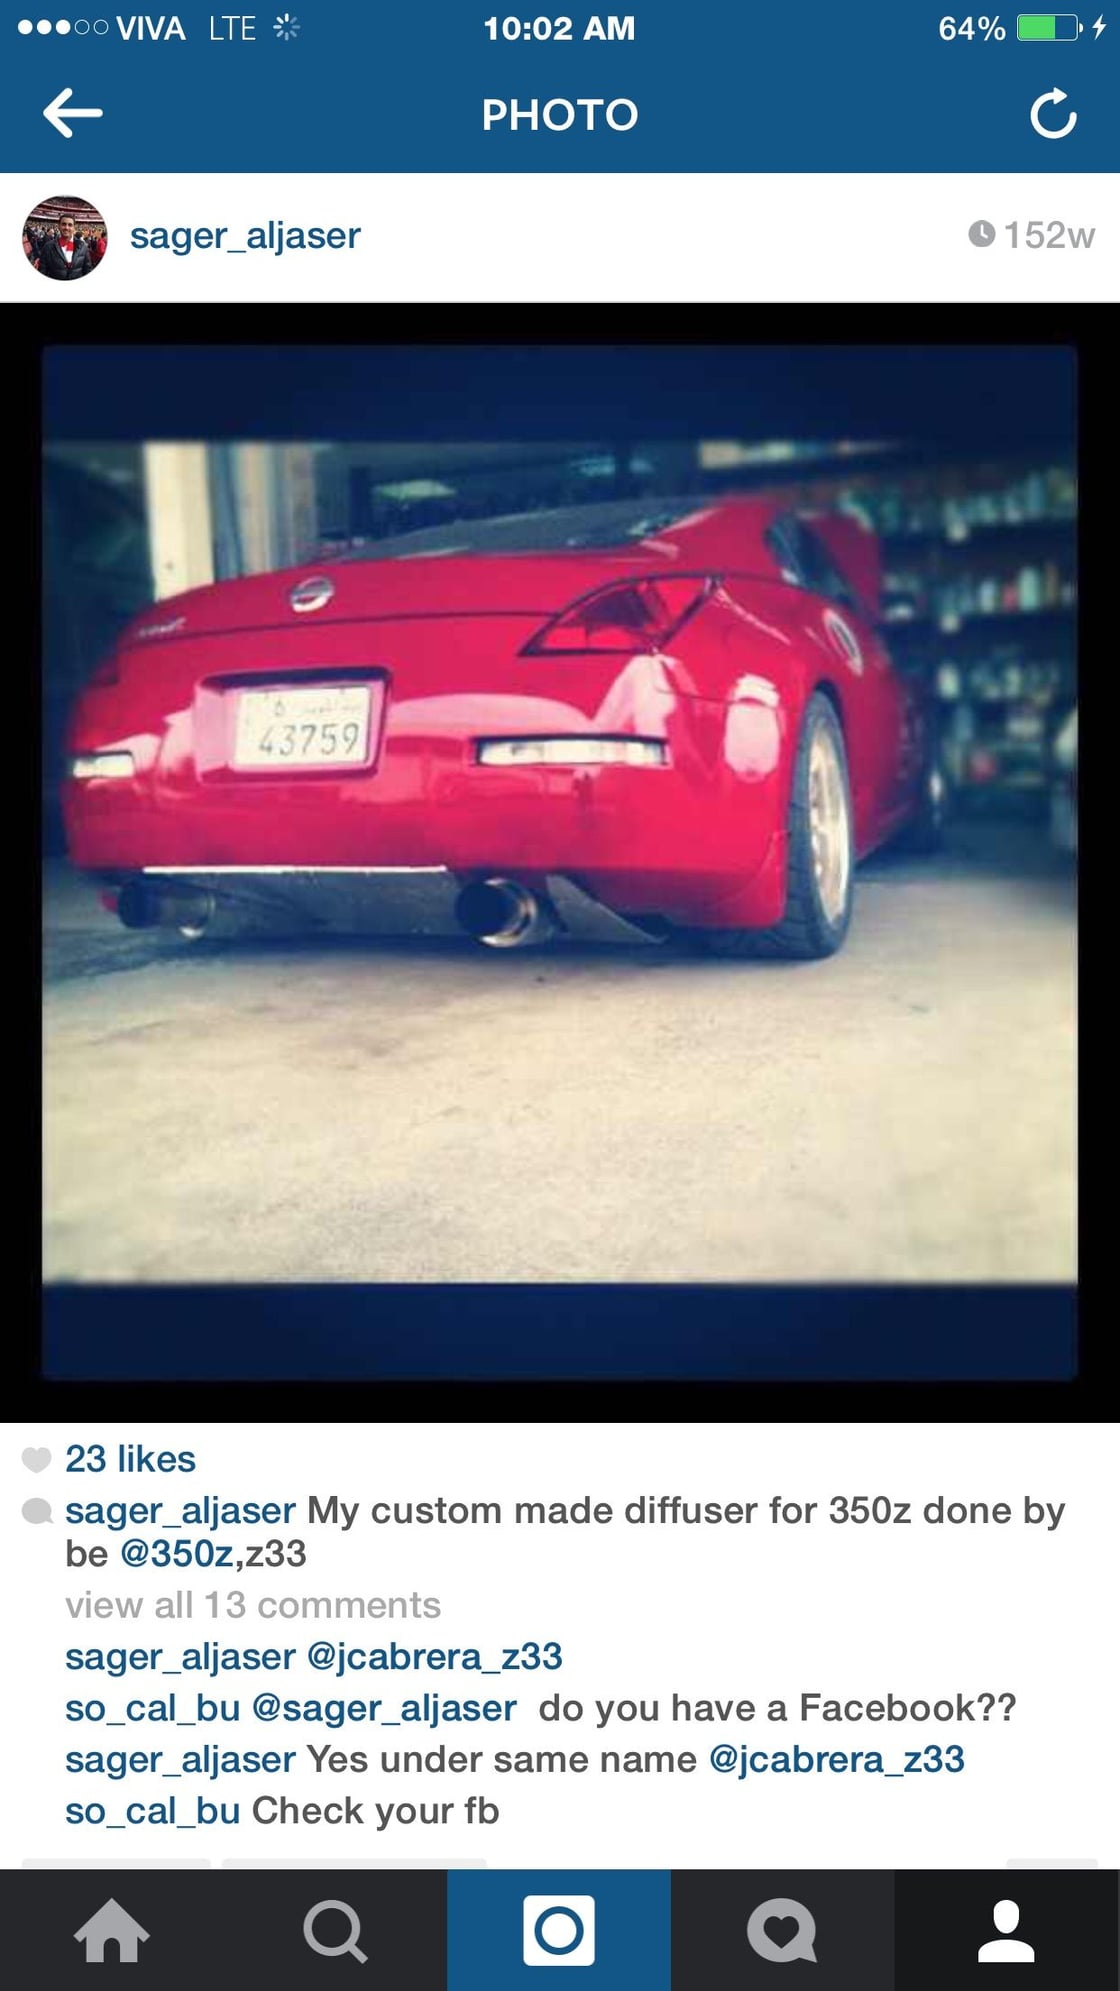
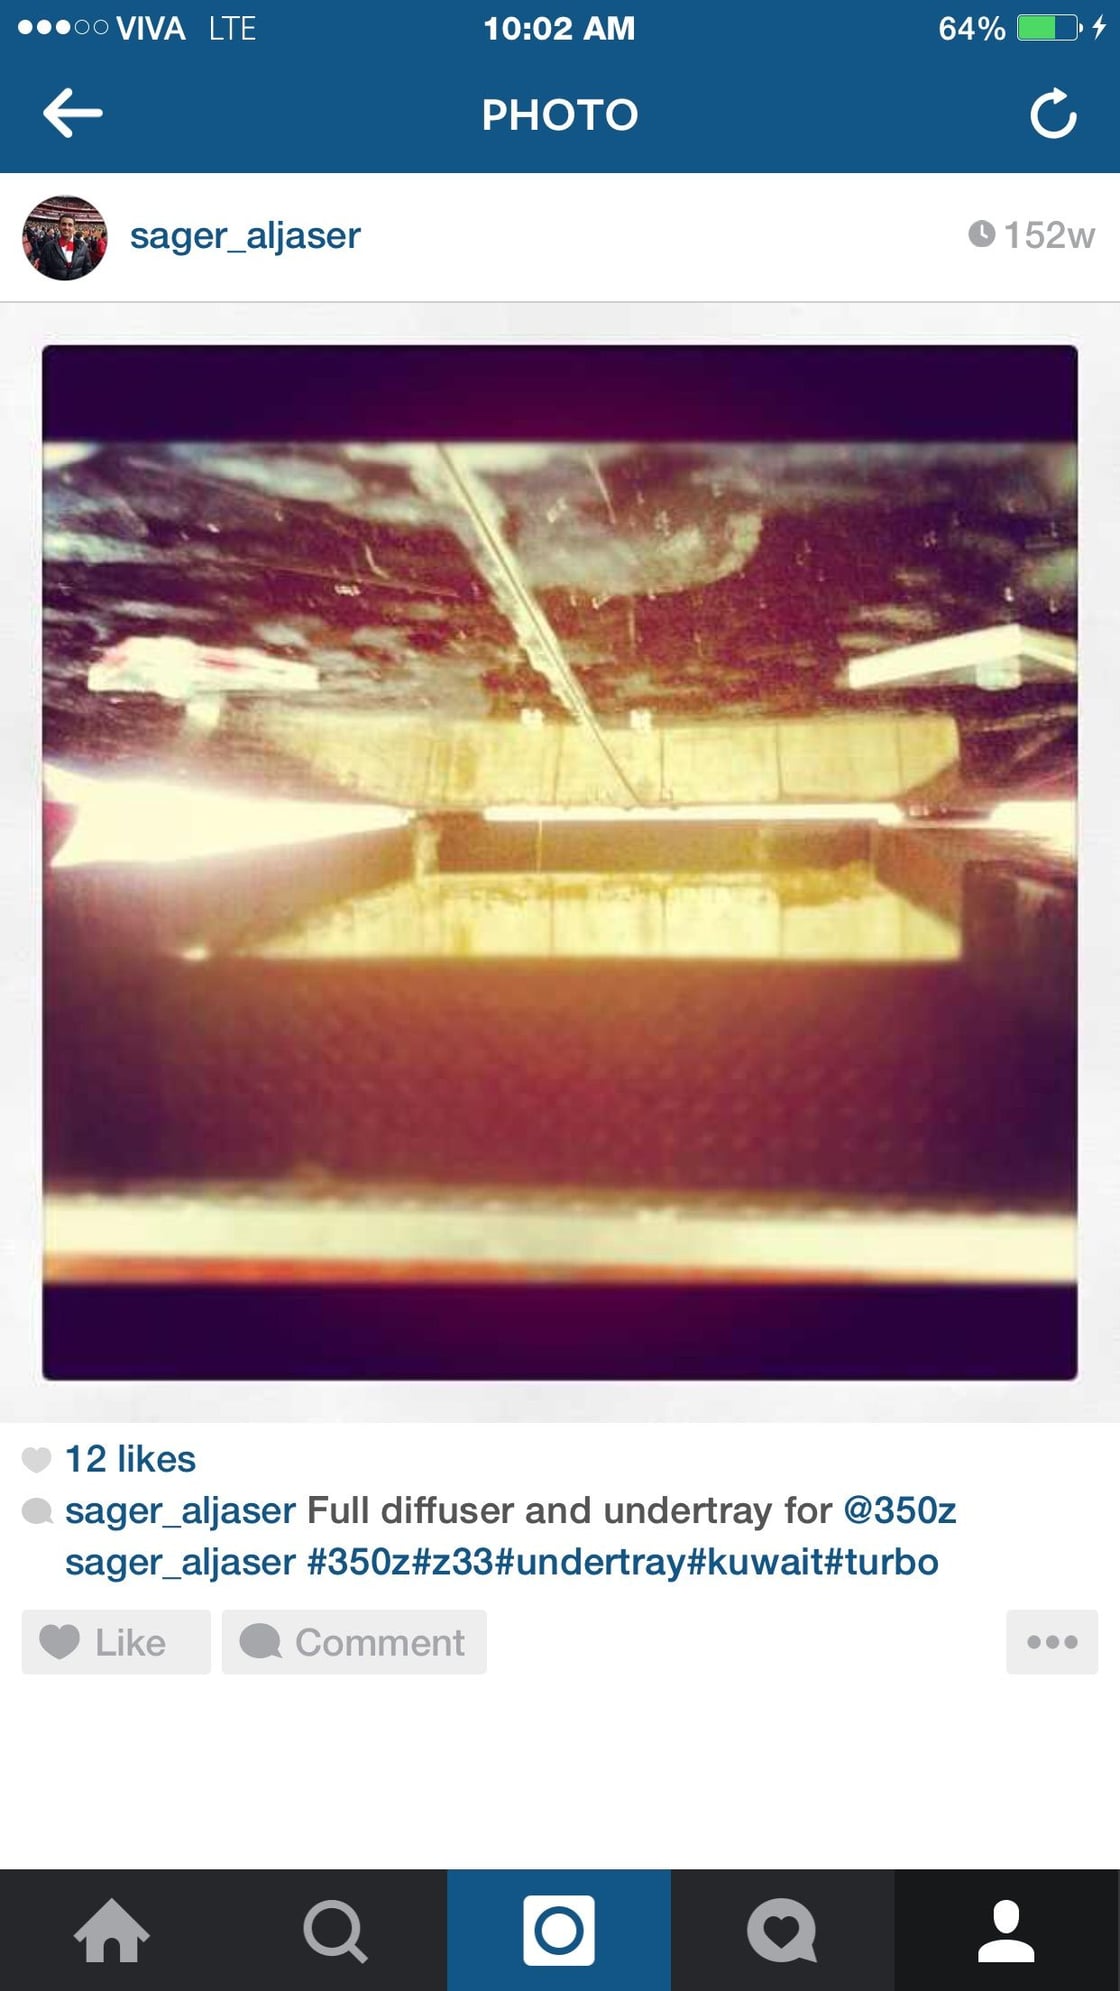
second one as you can see rear diffuser bent 35 degrees not done yet need some alinement, trimming,cut extra metal, fins and vent
forth pic off sides also bent it so you cant really see it unless you look down.
am thinking either to paint it black or use 3m carbon overlay for look but am afraid vinyl wont hold the heat ?
plz remember its not done yet i would say 80% done right now. also bolt are bolted on hinges bolted to the chassis of the car not welded so if needed i can be take them of.
bonus picture of my brother rocker c custom paint
Last edited by 350z-900whp; 04-03-2012 at 04:40 PM.
#85
Registered User
iTrader: (13)
35 degrees is too much man. The air is going to stall and possibly create lift. Have you thought about just buying a rear diffuser and tying the undertray into it? Here's a voltex rear diffuser that i've seen on a friends car that looks really good.
https://my350z.com/forum/5141918-post1.html
https://my350z.com/forum/5141918-post1.html
#86
Registered User
iTrader: (5)
Join Date: Feb 2010
Location: Guelph
Posts: 721
Likes: 0
Received 0 Likes
on
0 Posts
Even Voltex is too much. Just because an after market company makes it does not make it functional!! The diffuser on the F430 is more for looks than function (hence why the Scuda has a less aggressive angle).
7 degrees tops, maybe 10 if you have a big rear wing sitting pretty low.
7 degrees tops, maybe 10 if you have a big rear wing sitting pretty low.
#89
Hardest Setting

iTrader: (3)
Join Date: Feb 2008
Location: MexiCali dodging potholes
Posts: 13,406
Received 130 Likes
on
102 Posts
What could of been done also that would of been lees painful...
would to take the stock diffuser plates thingies below the car and make them longer...

in for more function
would to take the stock diffuser plates thingies below the car and make them longer...

in for more function
#90
my project is not done yet. since tech traveled for 2 weeks i decided to take my car and drive it around to see how it feels and if we need any adjustment to the design. after tech comes back i might readjust rear diffuser to 7 degrees make opening for LSD and might need two vents for turbos my water temp increased by 5-7 C degrees my normal is 90c now 95 to 97.
i test drove my car past 3 days every thing seem to hold just fine. no rattle what so ever its rigged can take some beating i scrapped it over few speed bumps (not intentional) look afterward for any damage and there was nothing.
i reached speed of 130-mph multiple times and every thing was holding just fine. increasing my speed accordingly to see how it holds and there is sound surpassingly no what so ever.
2 picture of rear diffuser with carbon vinyl what do you think should i rap it all ?
Last edited by 350z-900whp; 04-07-2012 at 04:07 PM.
#92
my top speed is 182mph@7100 rpm verified via gps without any aero mods stock body.
link
https://my350z.com/forum/forced-indu...-tt-z-gtm.html
you can check video on you tube search for 350z 180+mph
link
https://my350z.com/forum/forced-indu...-tt-z-gtm.html
you can check video on you tube search for 350z 180+mph
Last edited by 350z-900whp; 04-07-2012 at 07:12 PM.
#93
Registered User
iTrader: (13)
Damn that's awesome haha. Definitely take it easy on these first couple of runs and if you have a GoPro you should mount it on the side of the rear bumper looking forward so you can see the wheel gap on the rear tire. This way you can review the video and see if the car starts to squat or if the wheel gap gets bigger and the car starts to raise up. It should definitely do one of these two but if the car starts to lift you should be able to notice it easily.
#95
Registered User
iTrader: (10)
Join Date: Sep 2011
Location: Danbury, CT
Posts: 403
Likes: 0
Received 0 Likes
on
0 Posts
I'm trying my best to find the thread from my under tray setup on my time attack Silvia, But I will be building a new one for the hill climb 350z soon.
Joe
RDZ Motorsports
203-628-7725
facebook.com/rdzmotorsports
Joe
RDZ Motorsports
203-628-7725
facebook.com/rdzmotorsports
#96
as long as the rear slant starts from the rear axel back, a gradual slope will work, with a sharp 35 degrees back, i'd suspect flow separation half way to the rear bumper..
if you could custom make your exhaust to sit higher, if you had a gradual rake from the front to the rear it would work even better imho.
the 2finger gap on the sides isn't THAT bad, i dont think you'll introduce that much lift from the sides.. you're going to seal it off right? i would even suggest you make rubber side runners that go from the side of the car down to the ground and rub away to completely seal off any chance of side airflow..
i think you need this car to be lower, i think variations in suspension when going over high speed bumps will definitely induce lift unless you rake the entire car to be nose lower than the rear... but this is nice fab work you got going on.
don't forget to put some type of front flaps infront of the front tires to prevent the airflow coming forward from the tires...
if you don't change the rear 35 degree slope, i'd suggest adding vortex generators to keep the airflow attached longer
#97
as long as the rear slant starts from the rear axel back, a gradual slope will work, with a sharp 35 degrees back, i'd suspect flow separation half way to the rear bumper..
if you could custom make your exhaust to sit higher, if you had a gradual rake from the front to the rear it would work even better imho.
(if by this you mean from the front splitter to the rear then yes i do have a gradual rake from the front to the rear ... my mid section start to move slitty down gradually then re-flat before LSD but i didn't measure it. as for exhaust maybe later cause i just found out i have a craked manifold plus my clutch start to slip slightly.)
the 2finger gap on the sides isn't THAT bad, i dont think you'll introduce that much lift from the sides.. you're going to seal it off right? i would even suggest you make rubber side runners that go from the side of the car down to the ground and rub away to completely seal off any chance of side airflow..
yes, i sealed it you can see it in page 3 i think i bent the sheet on both sides v shape .
i think you need this car to be lower, i think variations in suspension when going over high speed bumps will definitely induce lift unless you rake the entire car to be nose lower than the rear... but this is nice fab work you got going on.
no in fact it the other way around but that because of speed bumps her in kuwait i even went back to stock suspension so i can barley pass them
don't forget to put some type of front flaps infront of the front tires to prevent the airflow coming forward from the tires...
i will post picture of evo to clear the picture for me
if you don't change the rear 35 degree slope, i'd suggest adding vortex generators to keep the airflow attached longer
if you could custom make your exhaust to sit higher, if you had a gradual rake from the front to the rear it would work even better imho.
(if by this you mean from the front splitter to the rear then yes i do have a gradual rake from the front to the rear ... my mid section start to move slitty down gradually then re-flat before LSD but i didn't measure it. as for exhaust maybe later cause i just found out i have a craked manifold
the 2finger gap on the sides isn't THAT bad, i dont think you'll introduce that much lift from the sides.. you're going to seal it off right? i would even suggest you make rubber side runners that go from the side of the car down to the ground and rub away to completely seal off any chance of side airflow..
yes, i sealed it you can see it in page 3 i think i bent the sheet on both sides v shape .
i think you need this car to be lower, i think variations in suspension when going over high speed bumps will definitely induce lift unless you rake the entire car to be nose lower than the rear... but this is nice fab work you got going on.
no in fact it the other way around but that because of speed bumps her in kuwait
 i even went back to stock suspension so i can barley pass them
don't forget to put some type of front flaps infront of the front tires to prevent the airflow coming forward from the tires...
i will post picture of evo to clear the picture for me
if you don't change the rear 35 degree slope, i'd suggest adding vortex generators to keep the airflow attached longer
under most paragraph my answer
Last edited by 350z-900whp; 04-13-2012 at 01:46 AM.


