When you click on links to various merchants on this site and make a purchase, this can result in this site earning a commission. Affiliate programs and affiliations include, but are not limited to, the eBay Partner Network.
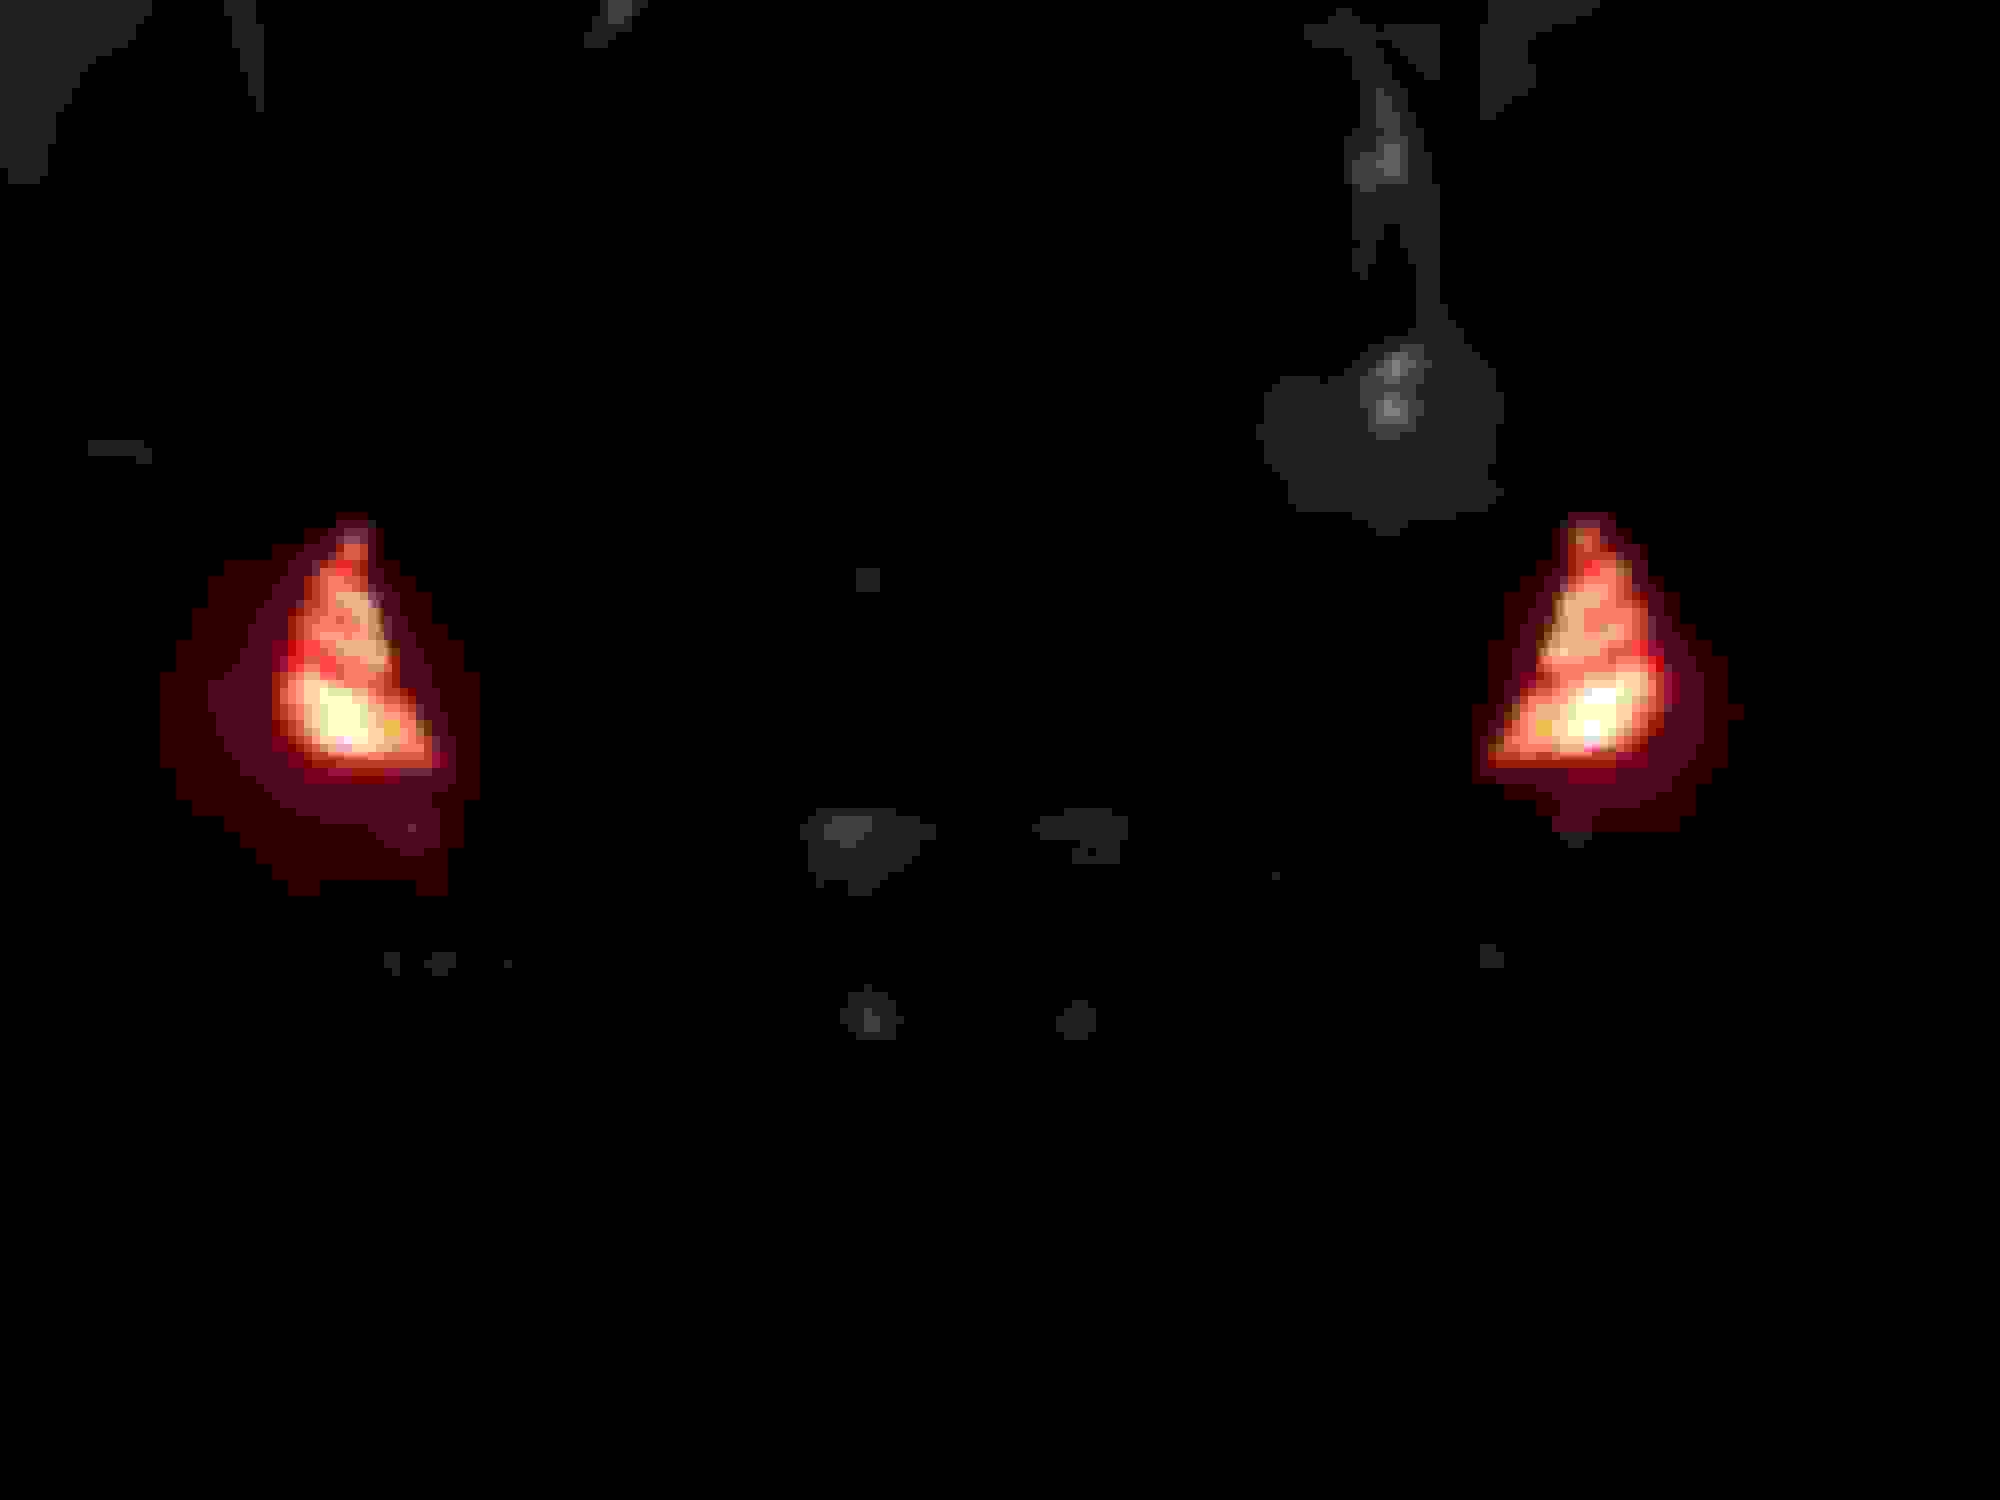
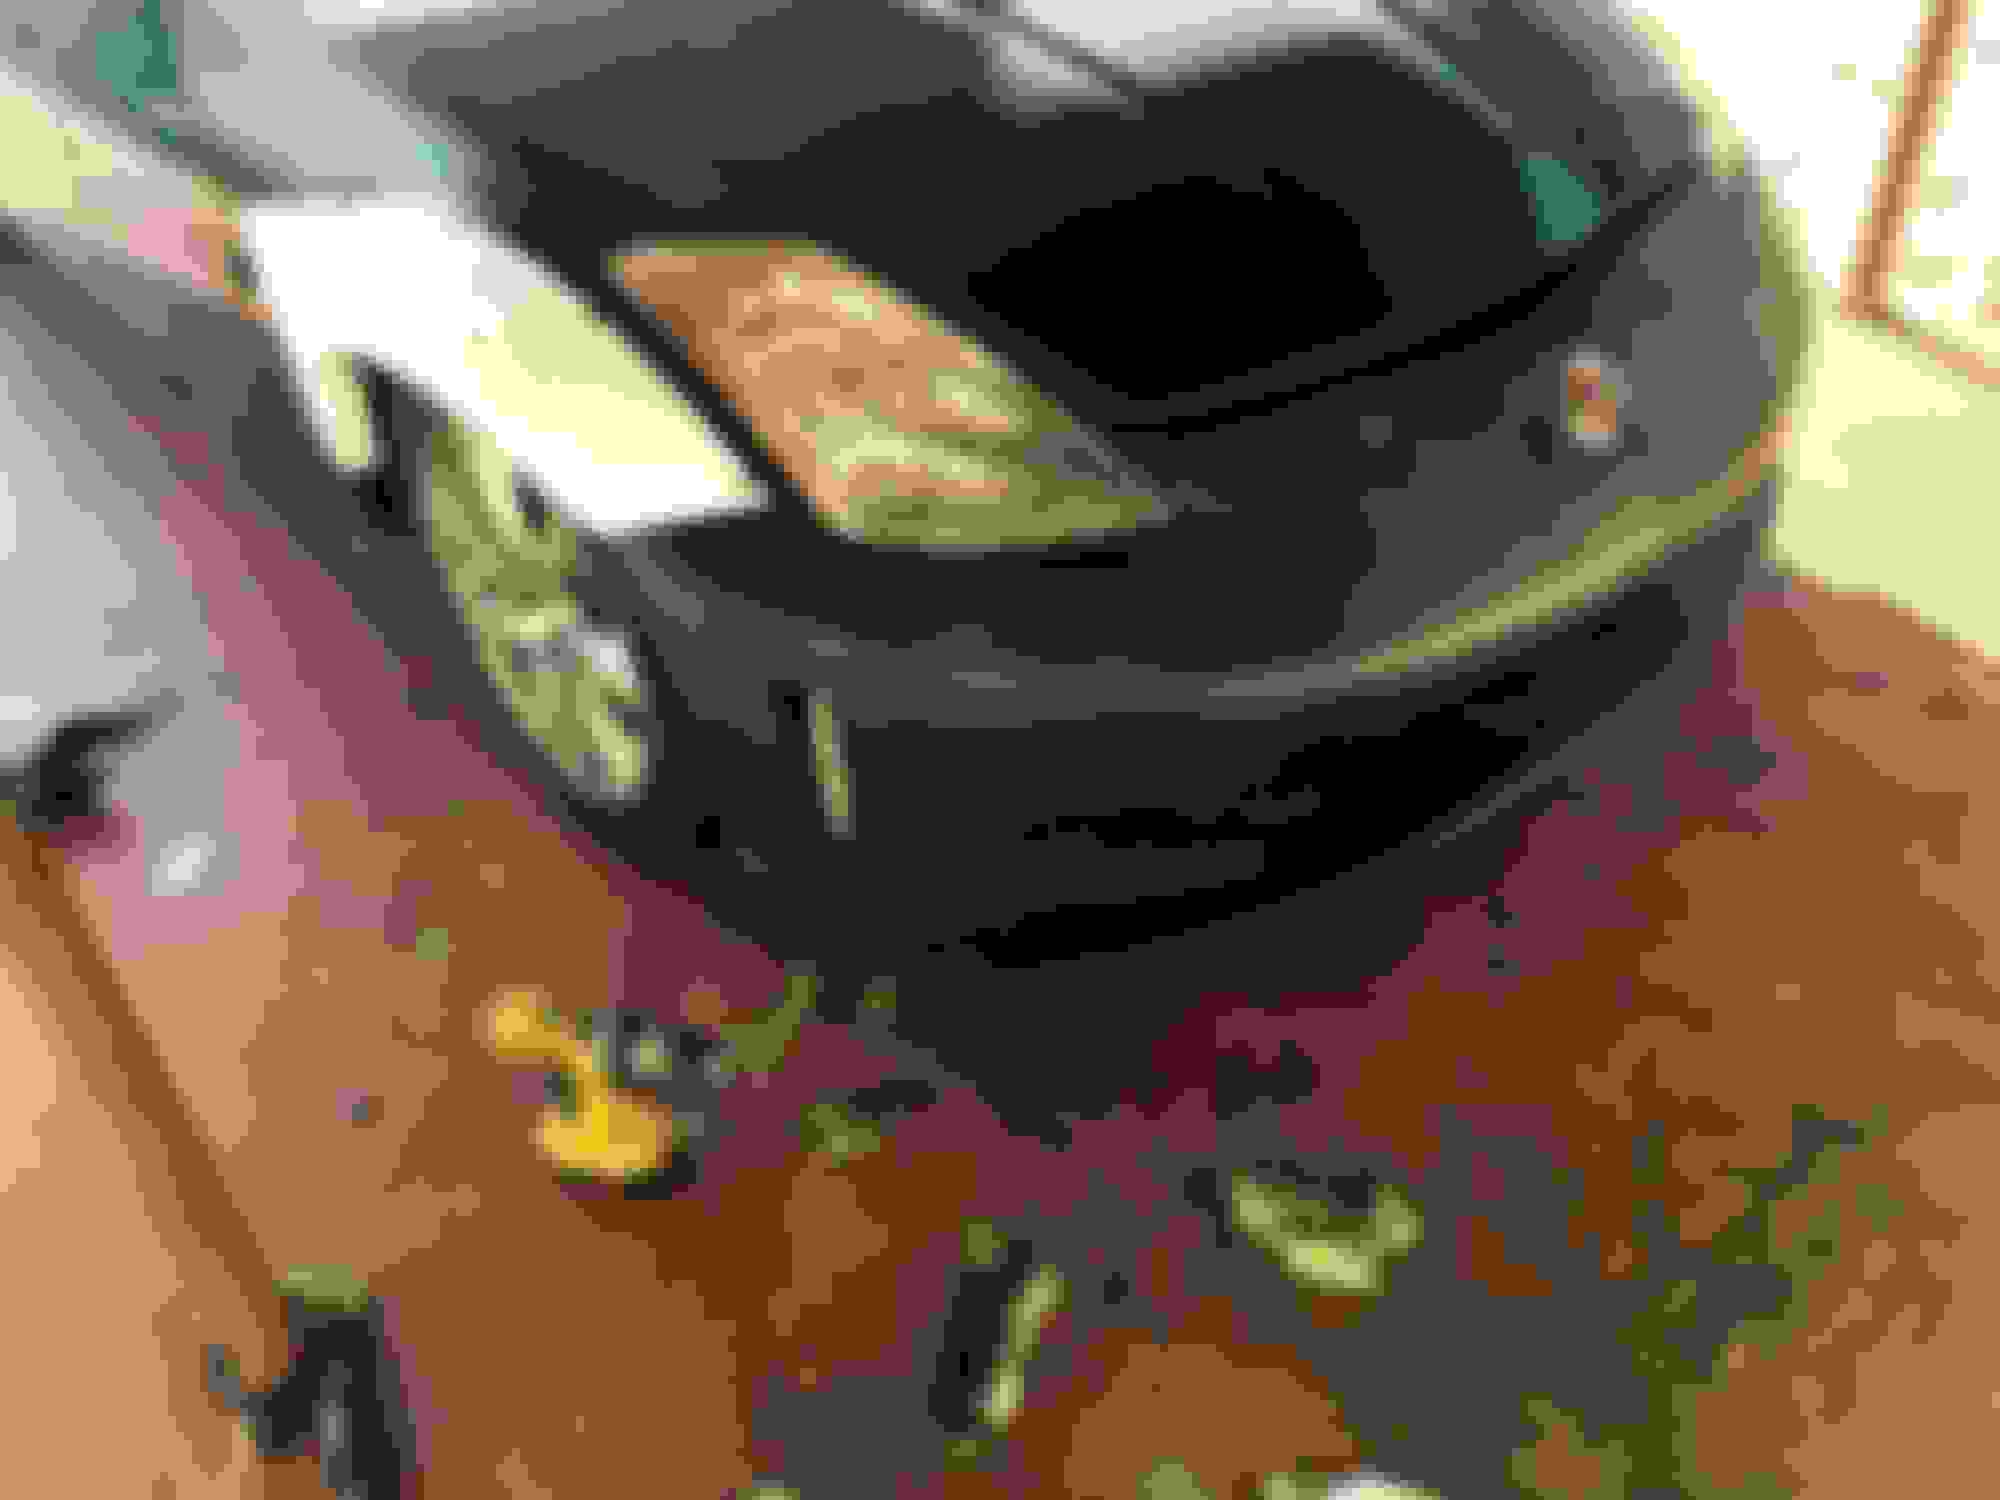
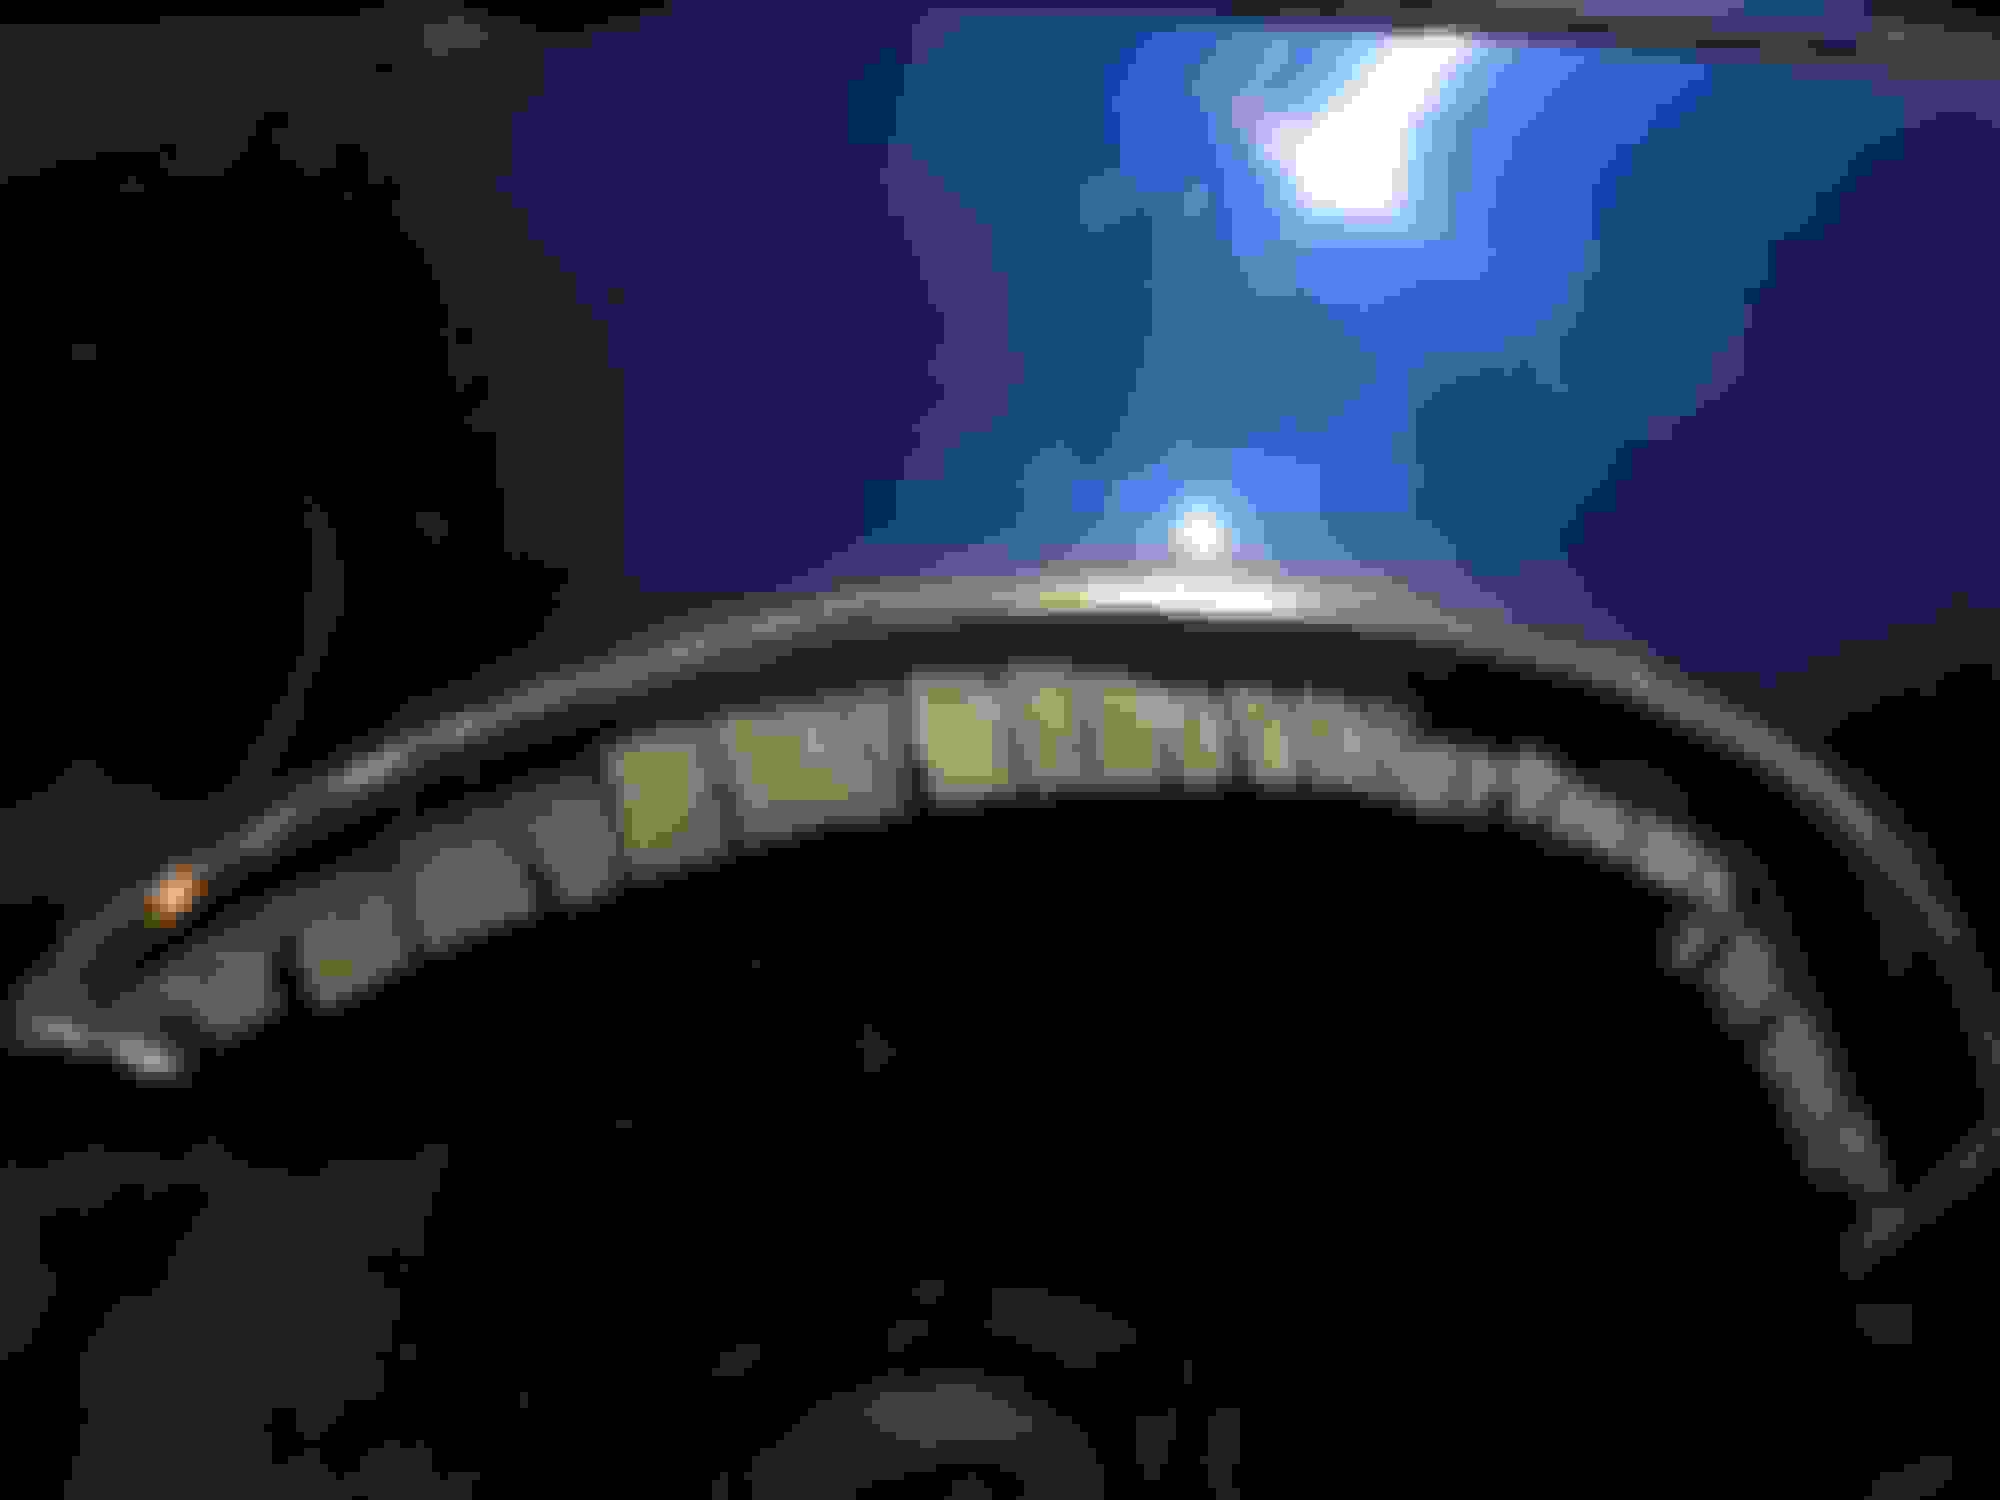
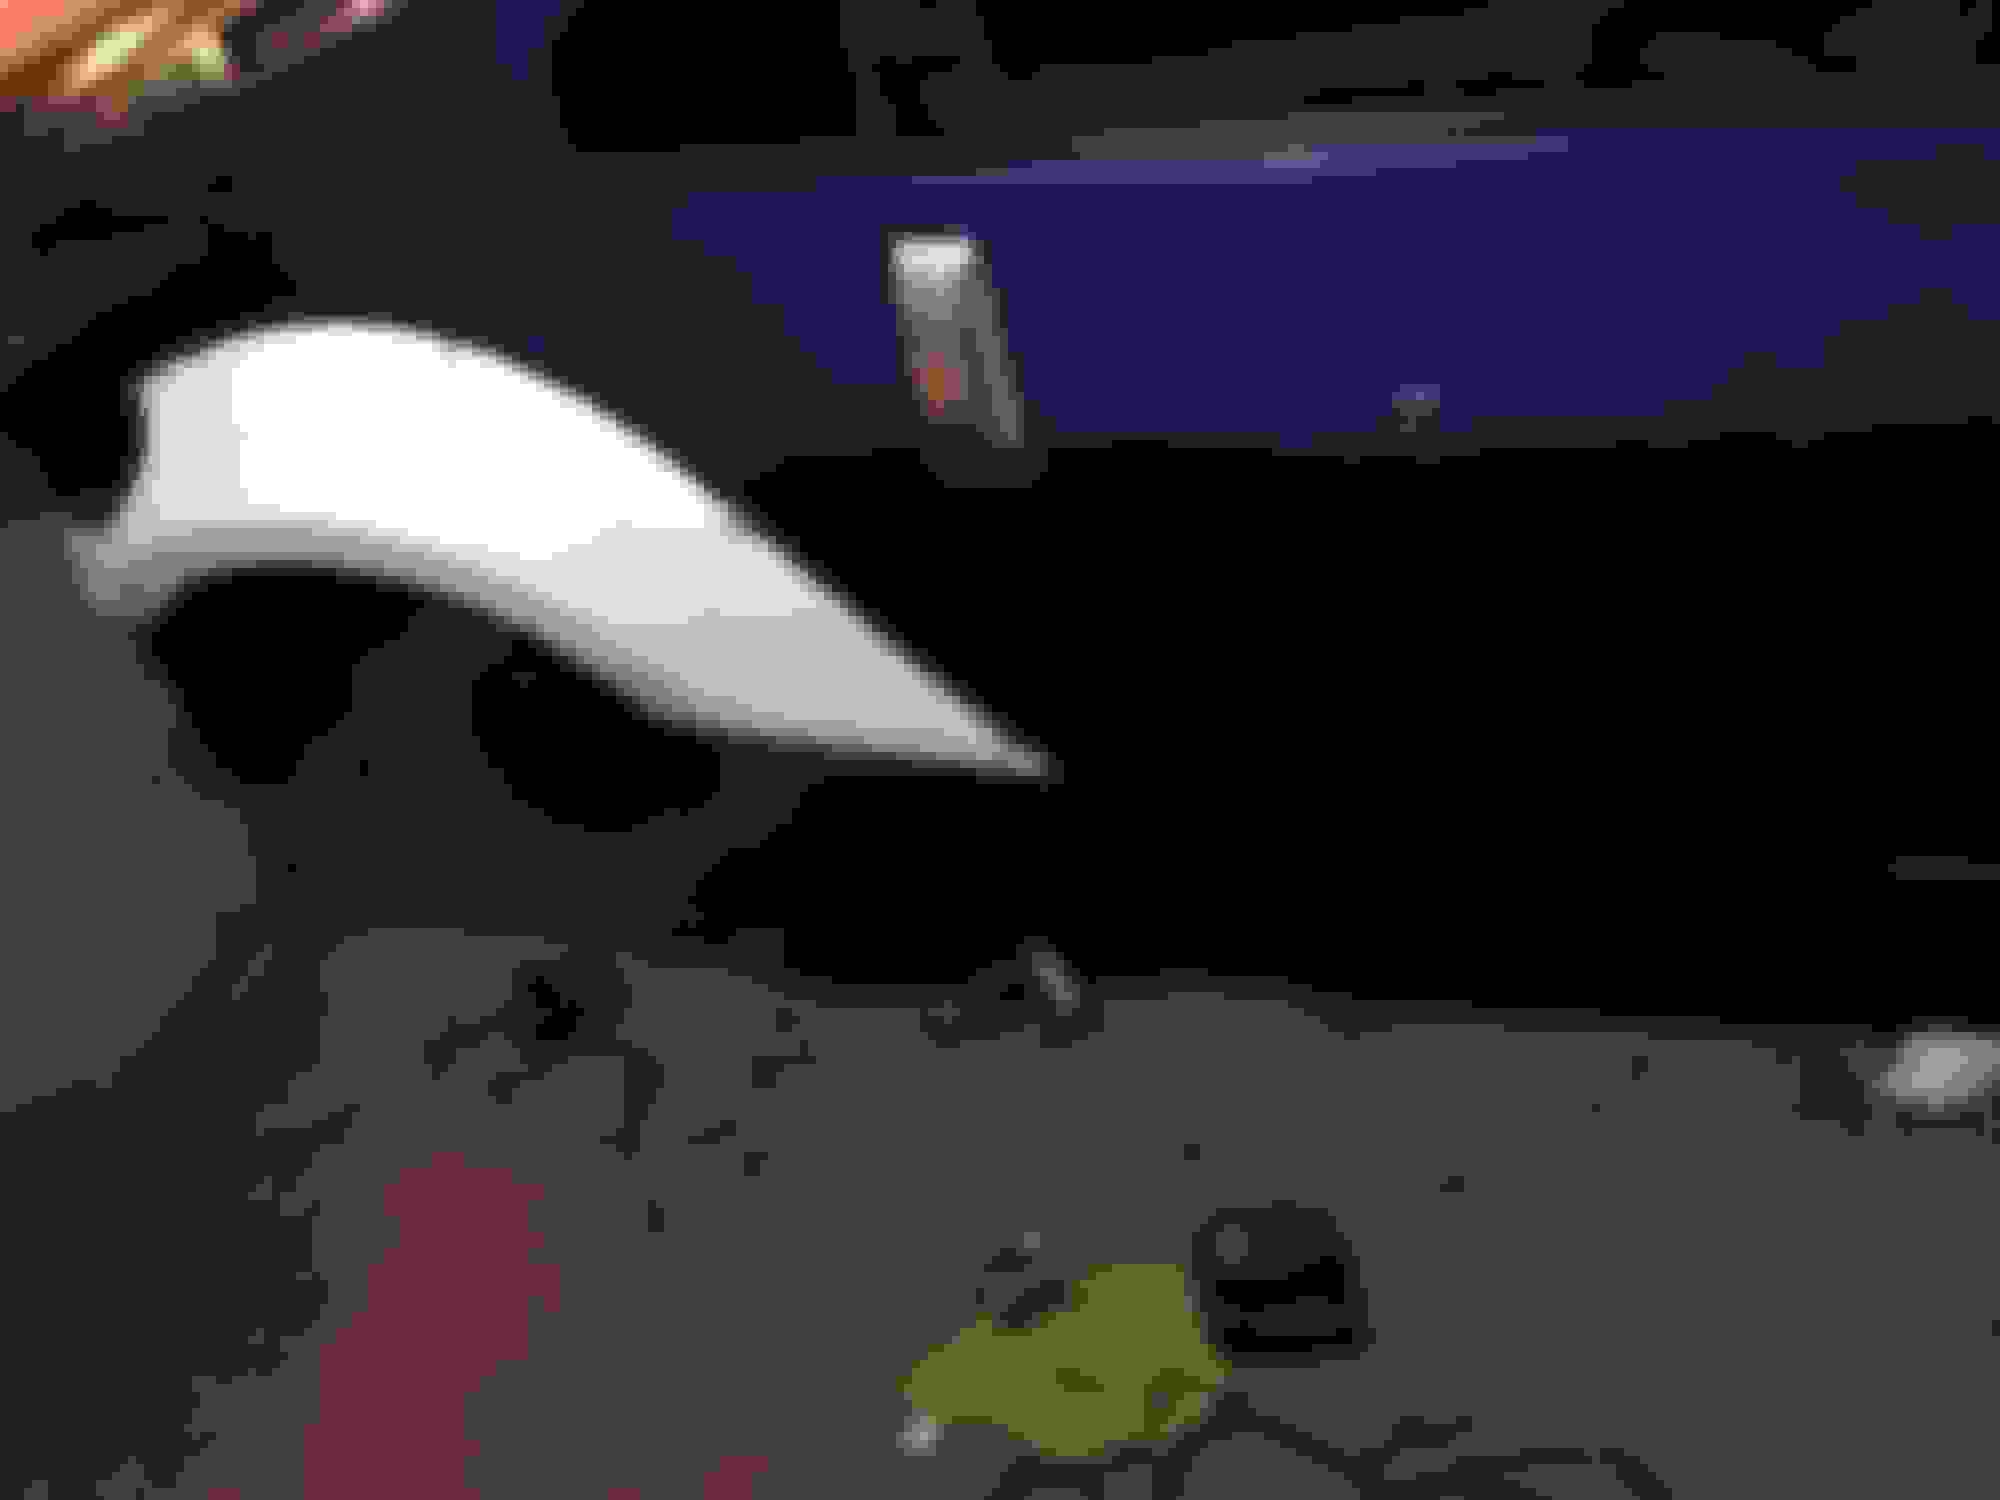
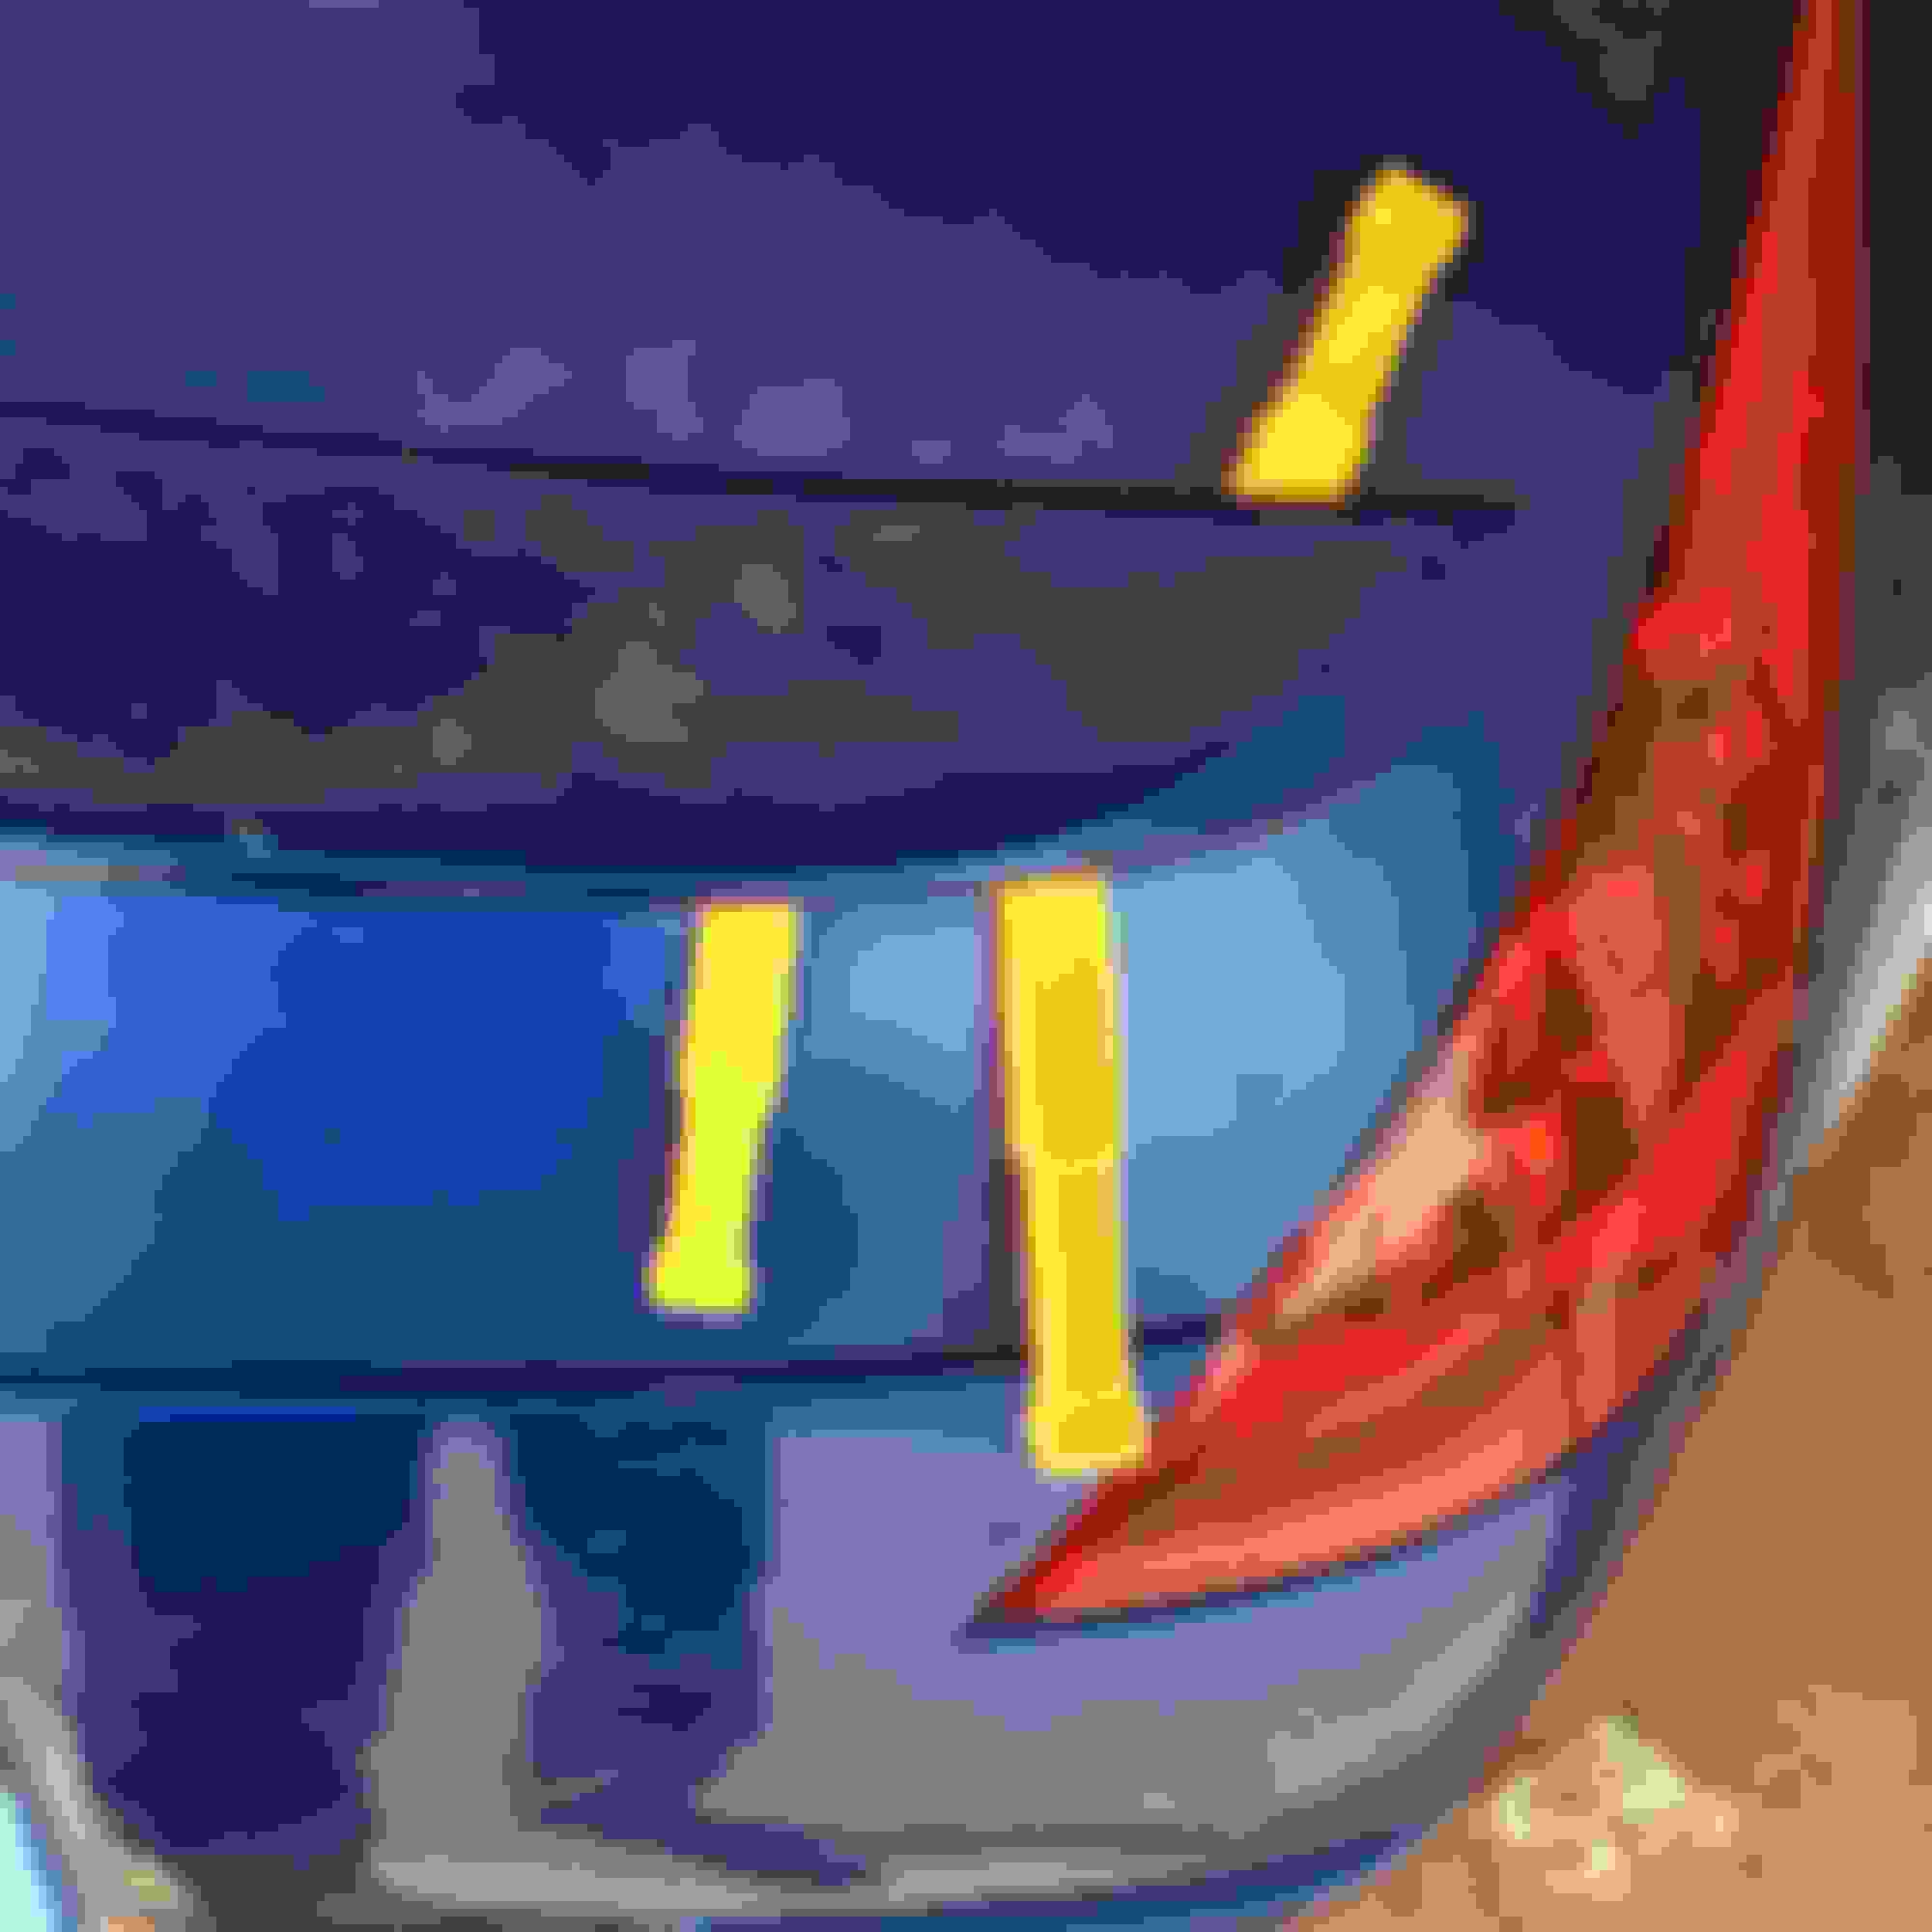
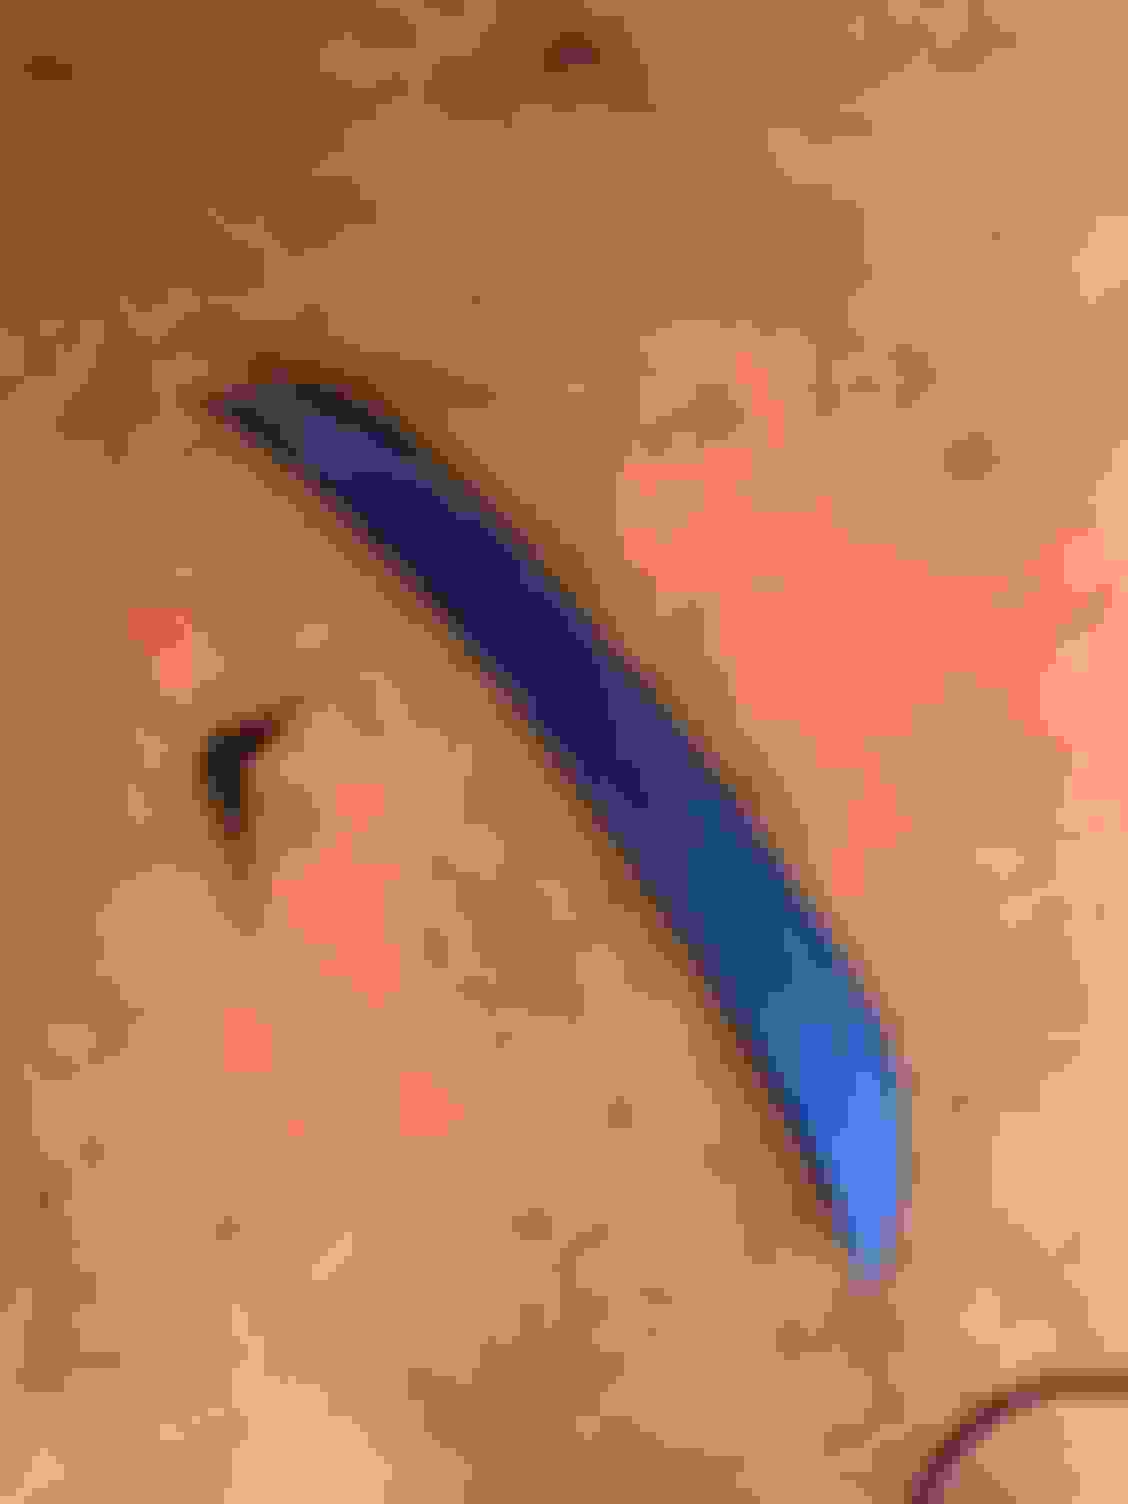
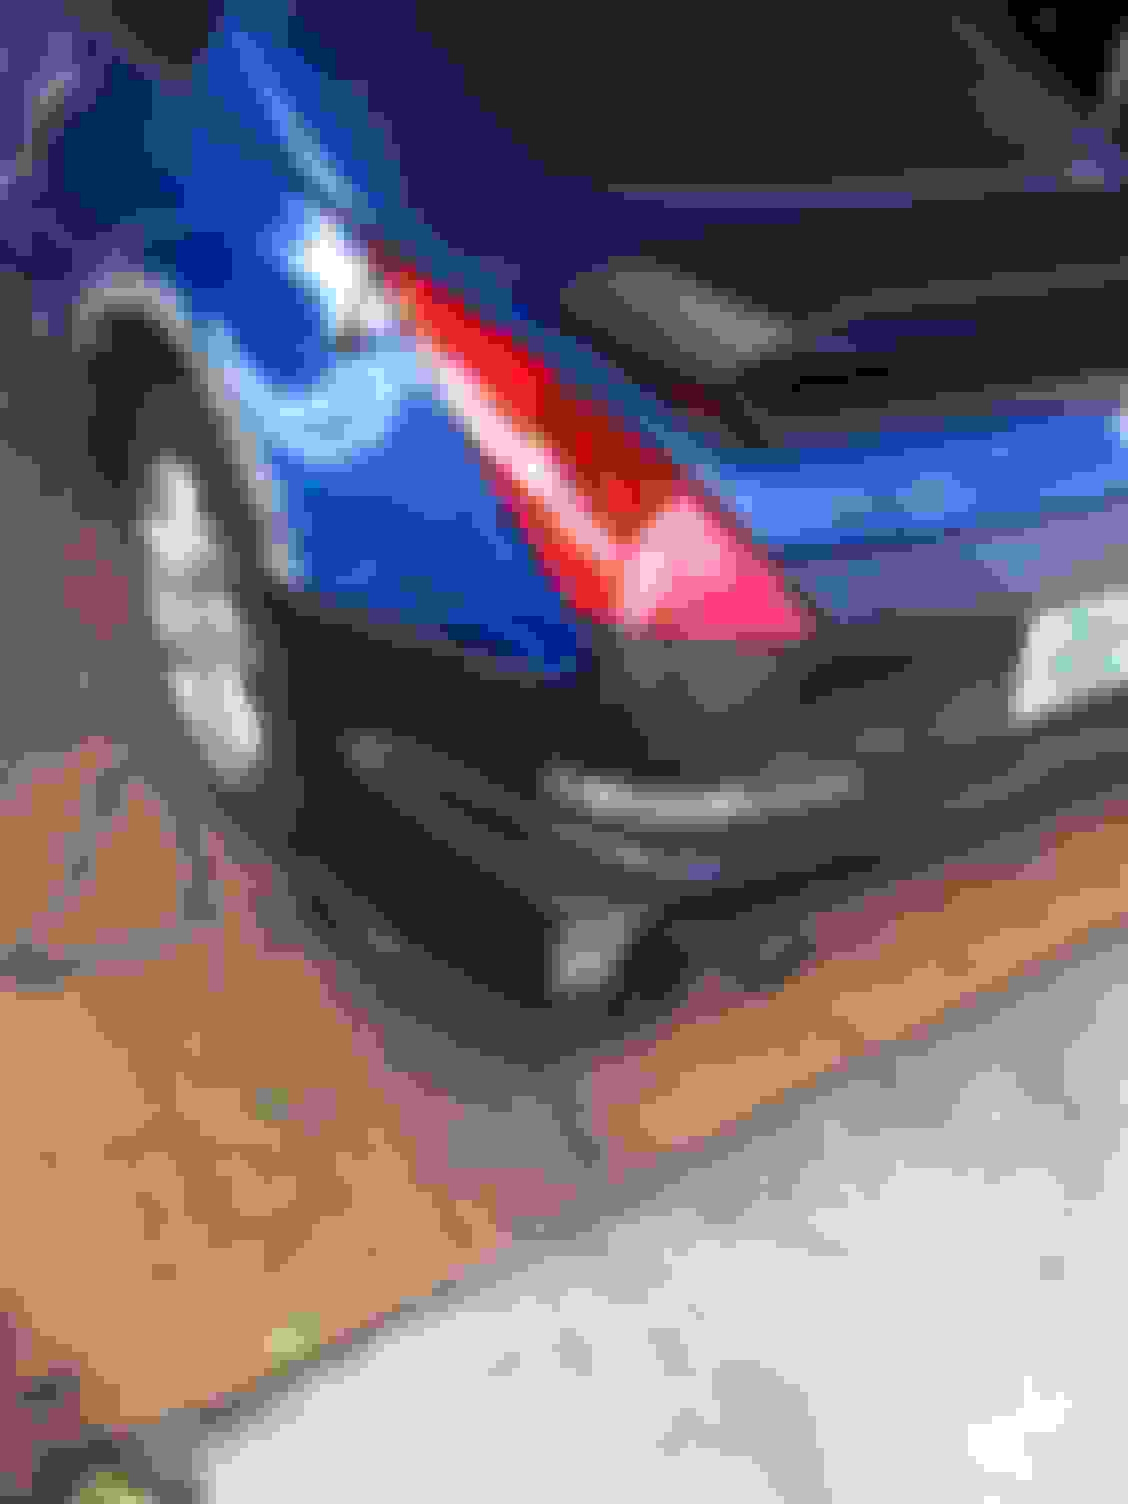
Haha I knew someone would jump me on the fluid haha. When I was lifting the motor I was like ohhh crap I left the tranny fluid in. The more I lifted the motor and trans the more fluids came out. Was a slip and slide for some time haha. Cleaned it up before I continued the motor swap. Good news is everything is going well. This weekend I should have most if not everything done body wise. Since I have Sunday off as well. Also picked up a new set 06+ led tailights for the Z. I can honestly say these are much worlds better then the 03-05 tailights. Also picked up a new housing set for the lower bumper turn signal/reverse. Previous set was pretty worn out and the lens on it was well like a dirty old pair of 03-05 headlights. More pics throughout the weekend. I will be Opening up my new 06+ headlights shortly and start the led work. Plan to keep it simple and match the brightness of everything I will have light wise upfront. Also plan to keep the front side markers. More on that later... LEDs tails
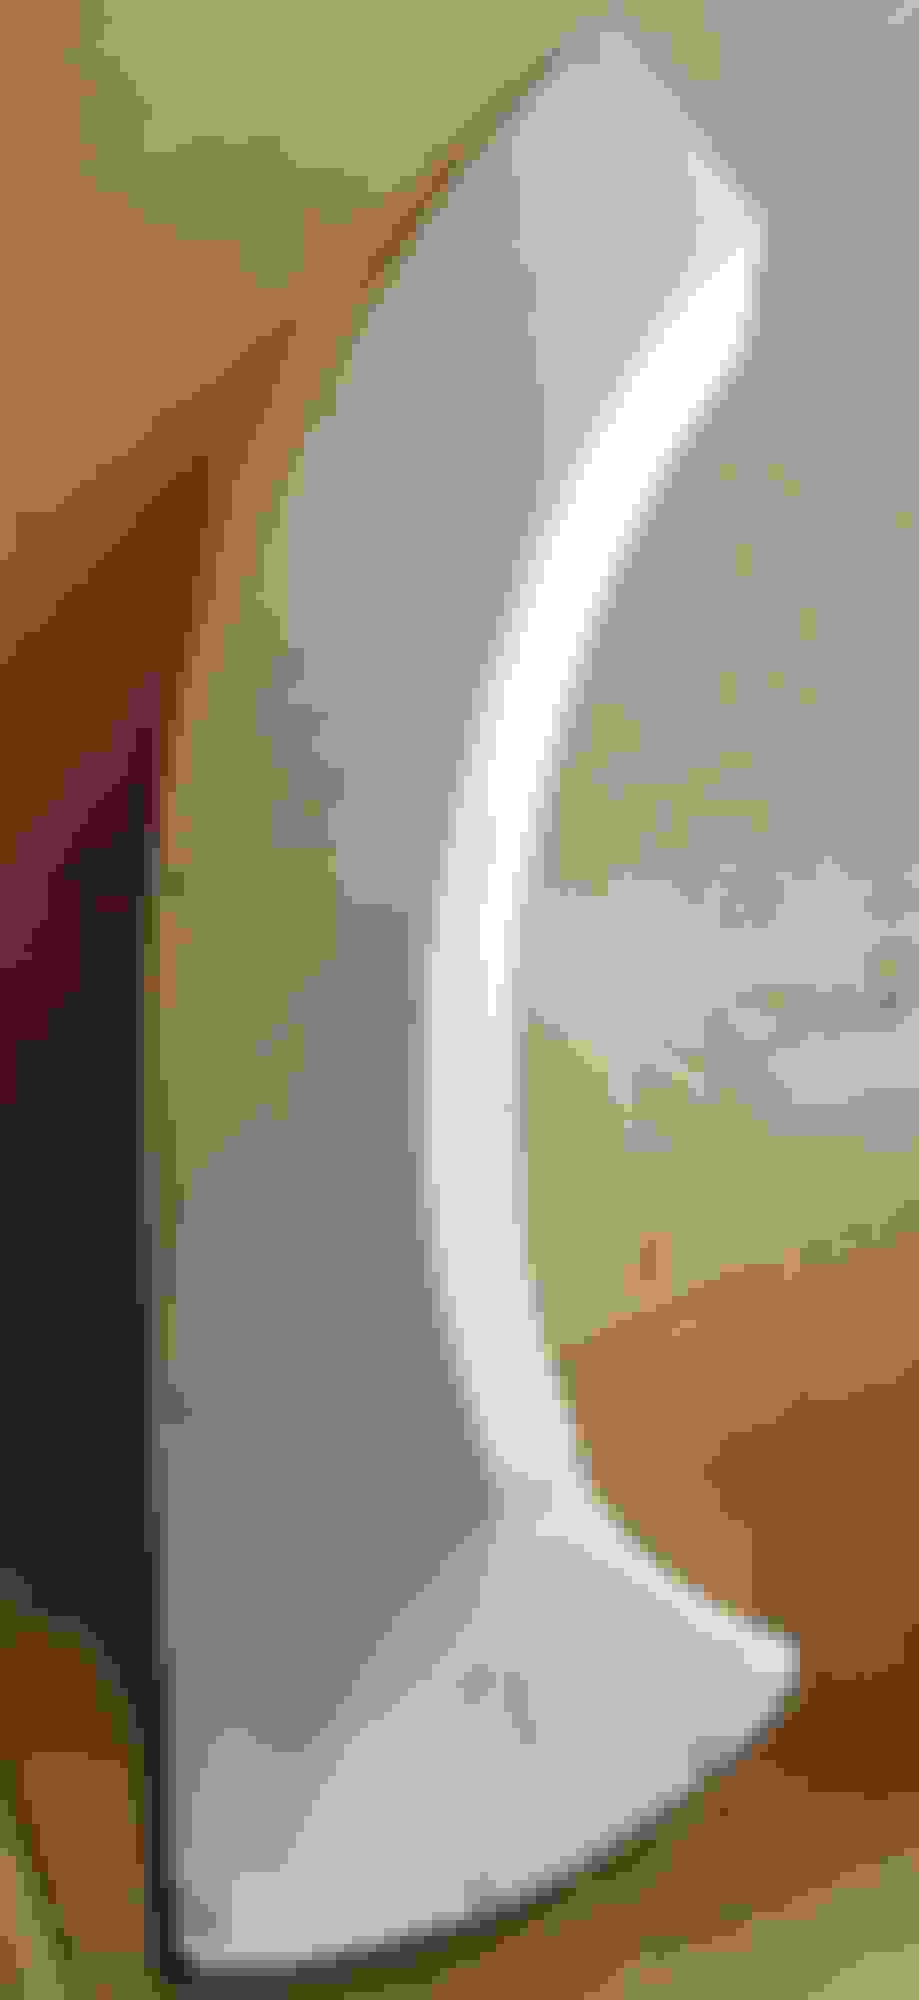
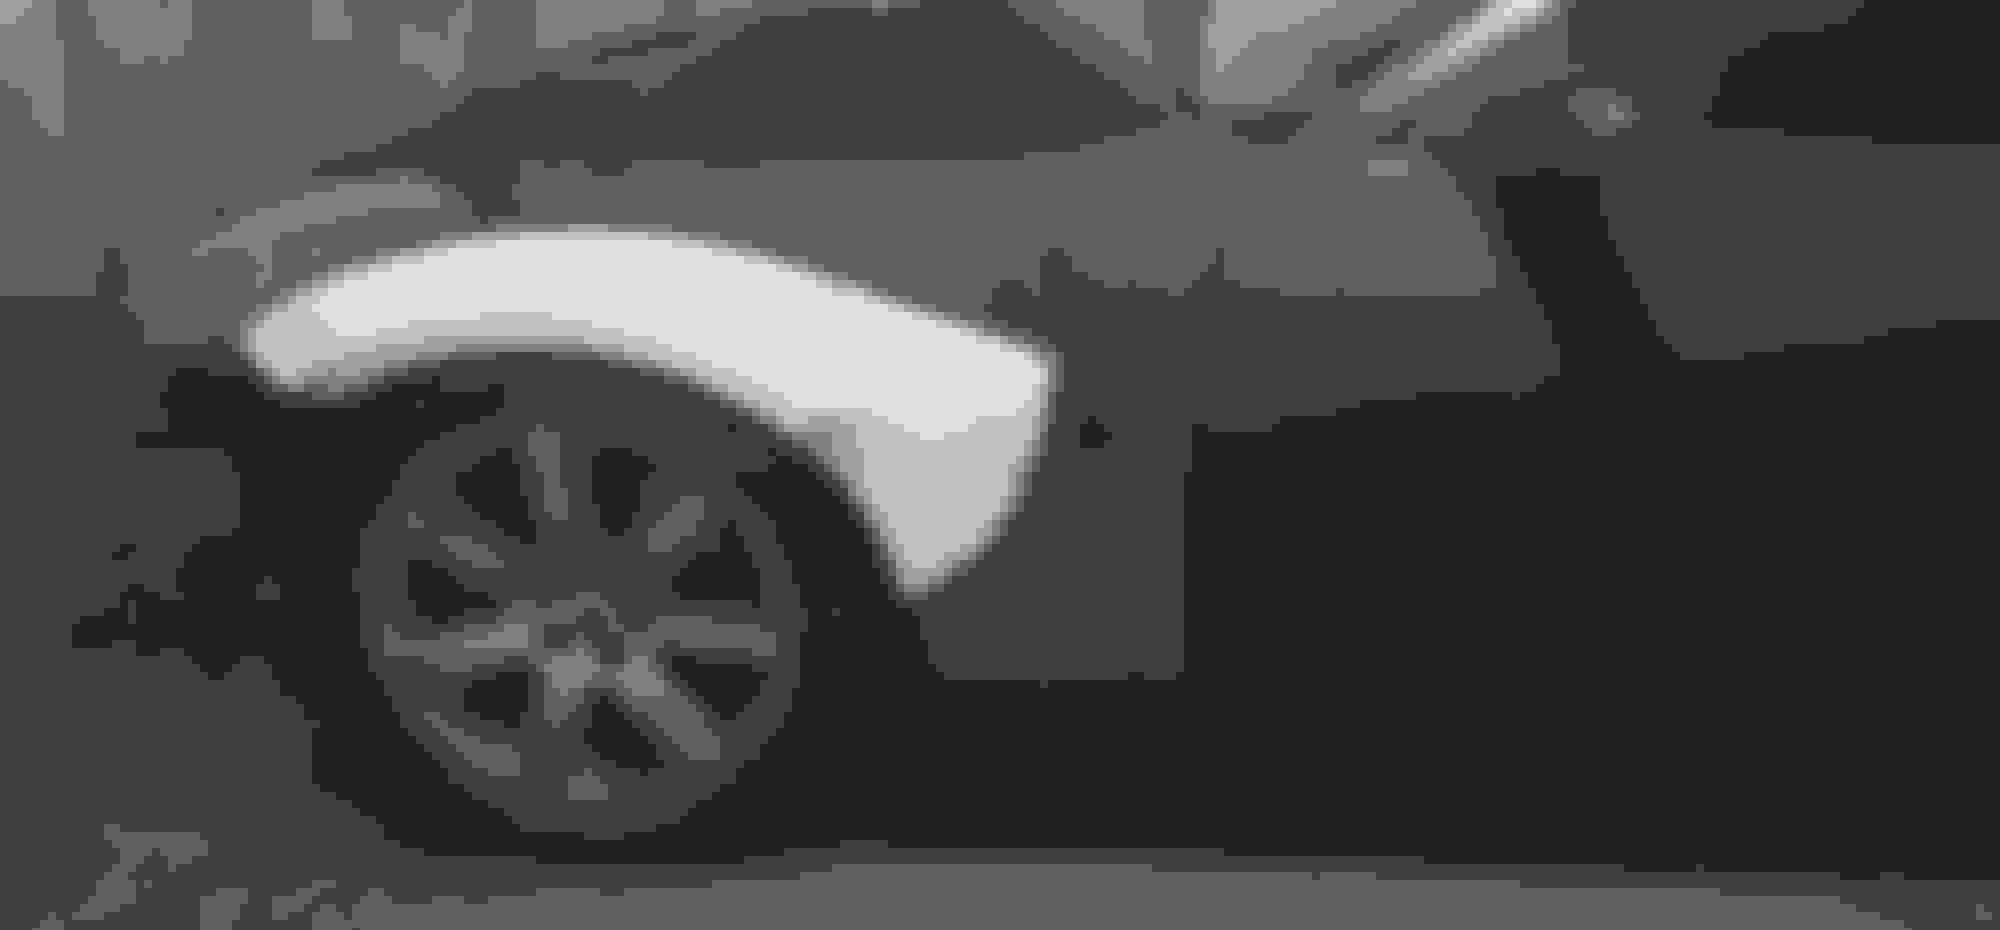
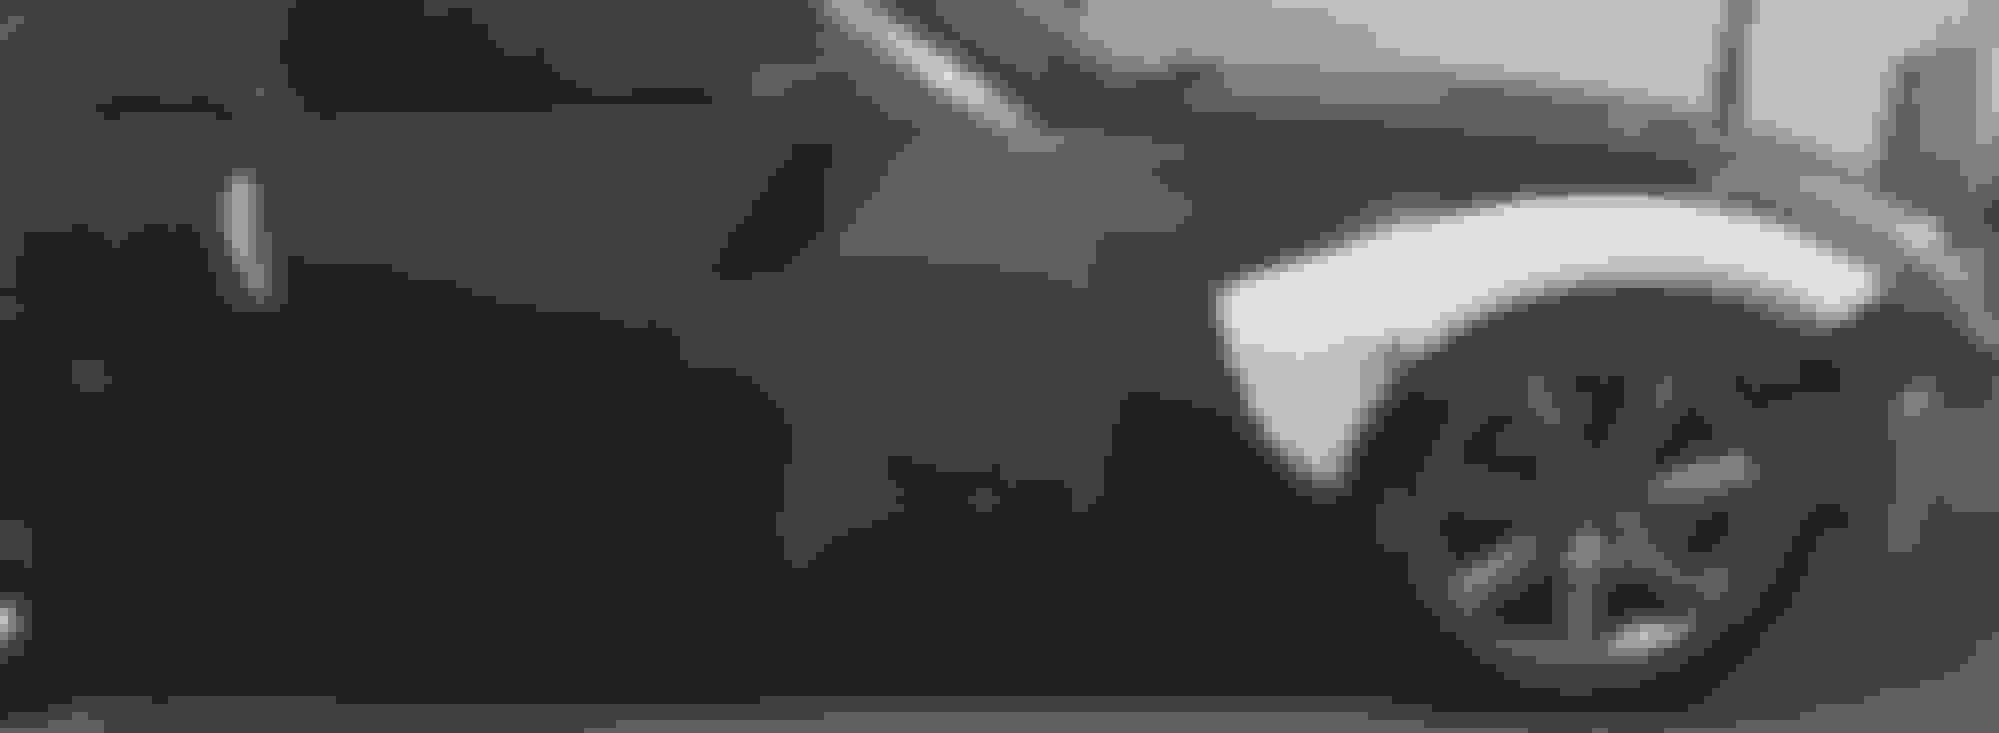
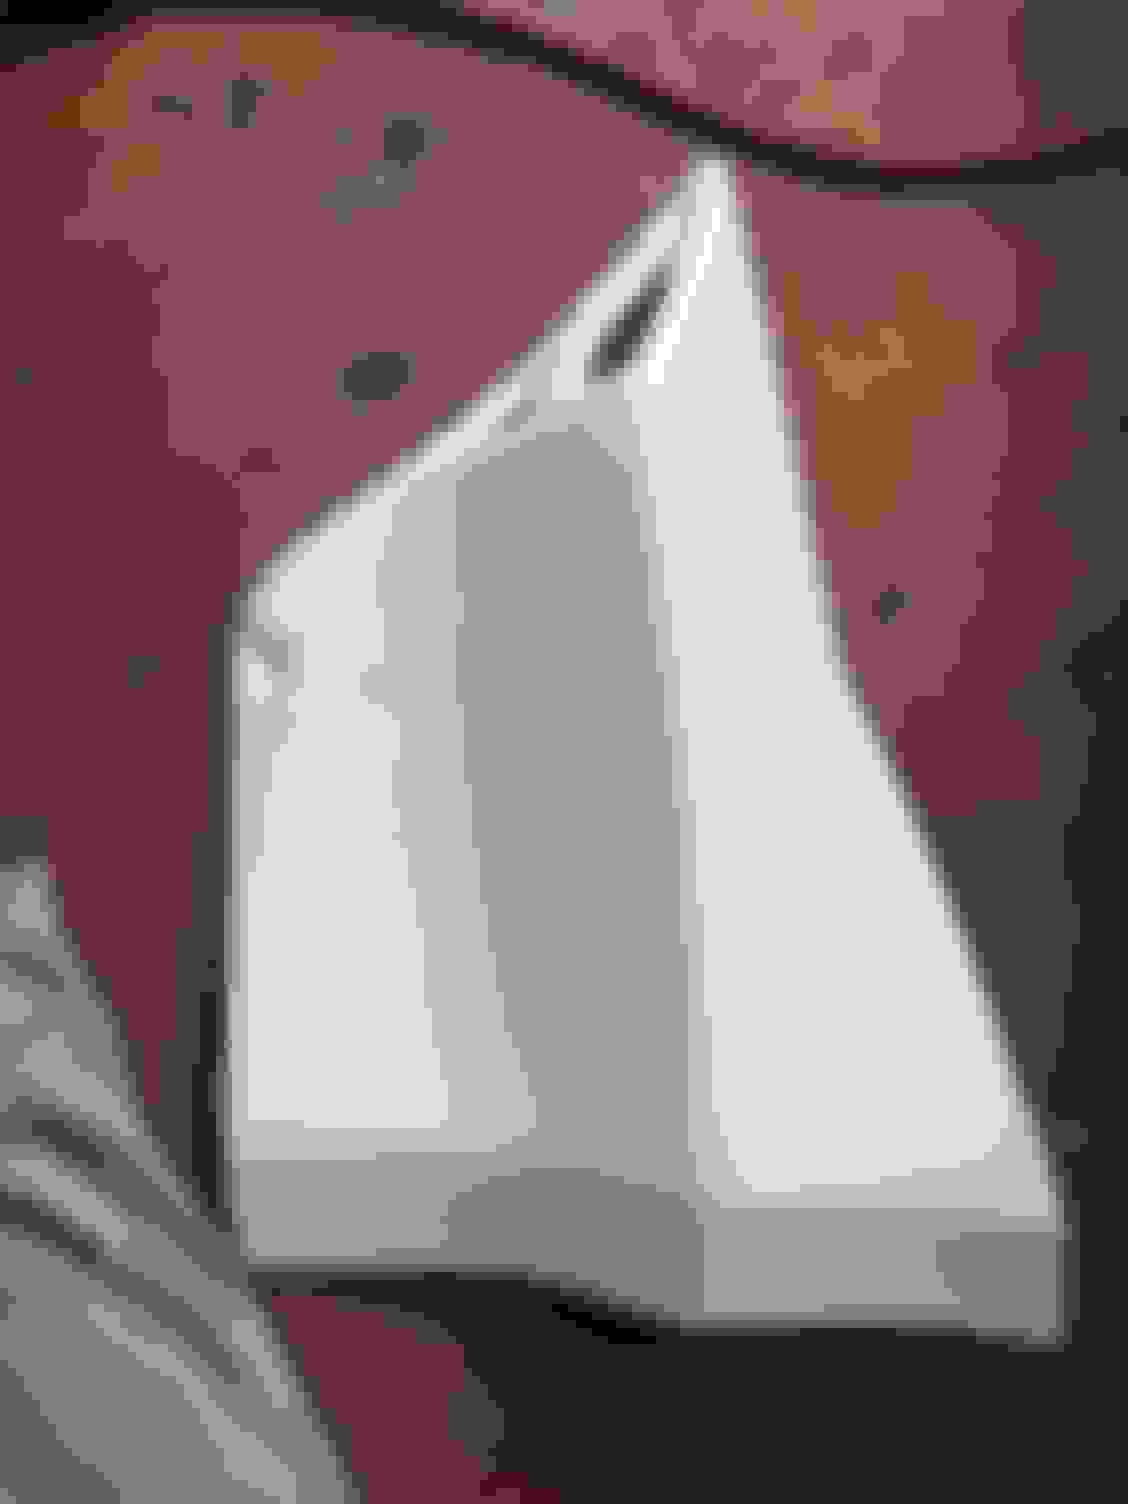
Update. Actually put a mini Hault to the cutting due to rivnut gun issues. but I 1 day shipped the rivet gun thanks to Amazon and was able to start shooting rivets in today. Goal is to finish the front of the car and work my way towards the back. The Stardast flares are really nice and flow with the body of the Z. Here area few pics. I am currently working on the front bumper end pieces which get a little tricky.
Last edited by Stinvil93; Feb 23, 2016 at 01:56 AM.
Work work work work work work work. Rivnuts are pretty cool. Never really installed these before this was my first time doing it. Also my welds are not 100% clean but the rear upper and lower portions of the fender are together. First time welding but it's all a learning experience. Will knock out the rear portion on the other side later tonight. So far next on my list of body work is.
-The rear Driver side of the Stardast flare
-Nismo wing install
-rear Nismo bumper Stardast flare end pieces
Will be doing this most likely this weekend stay tuned for pics.
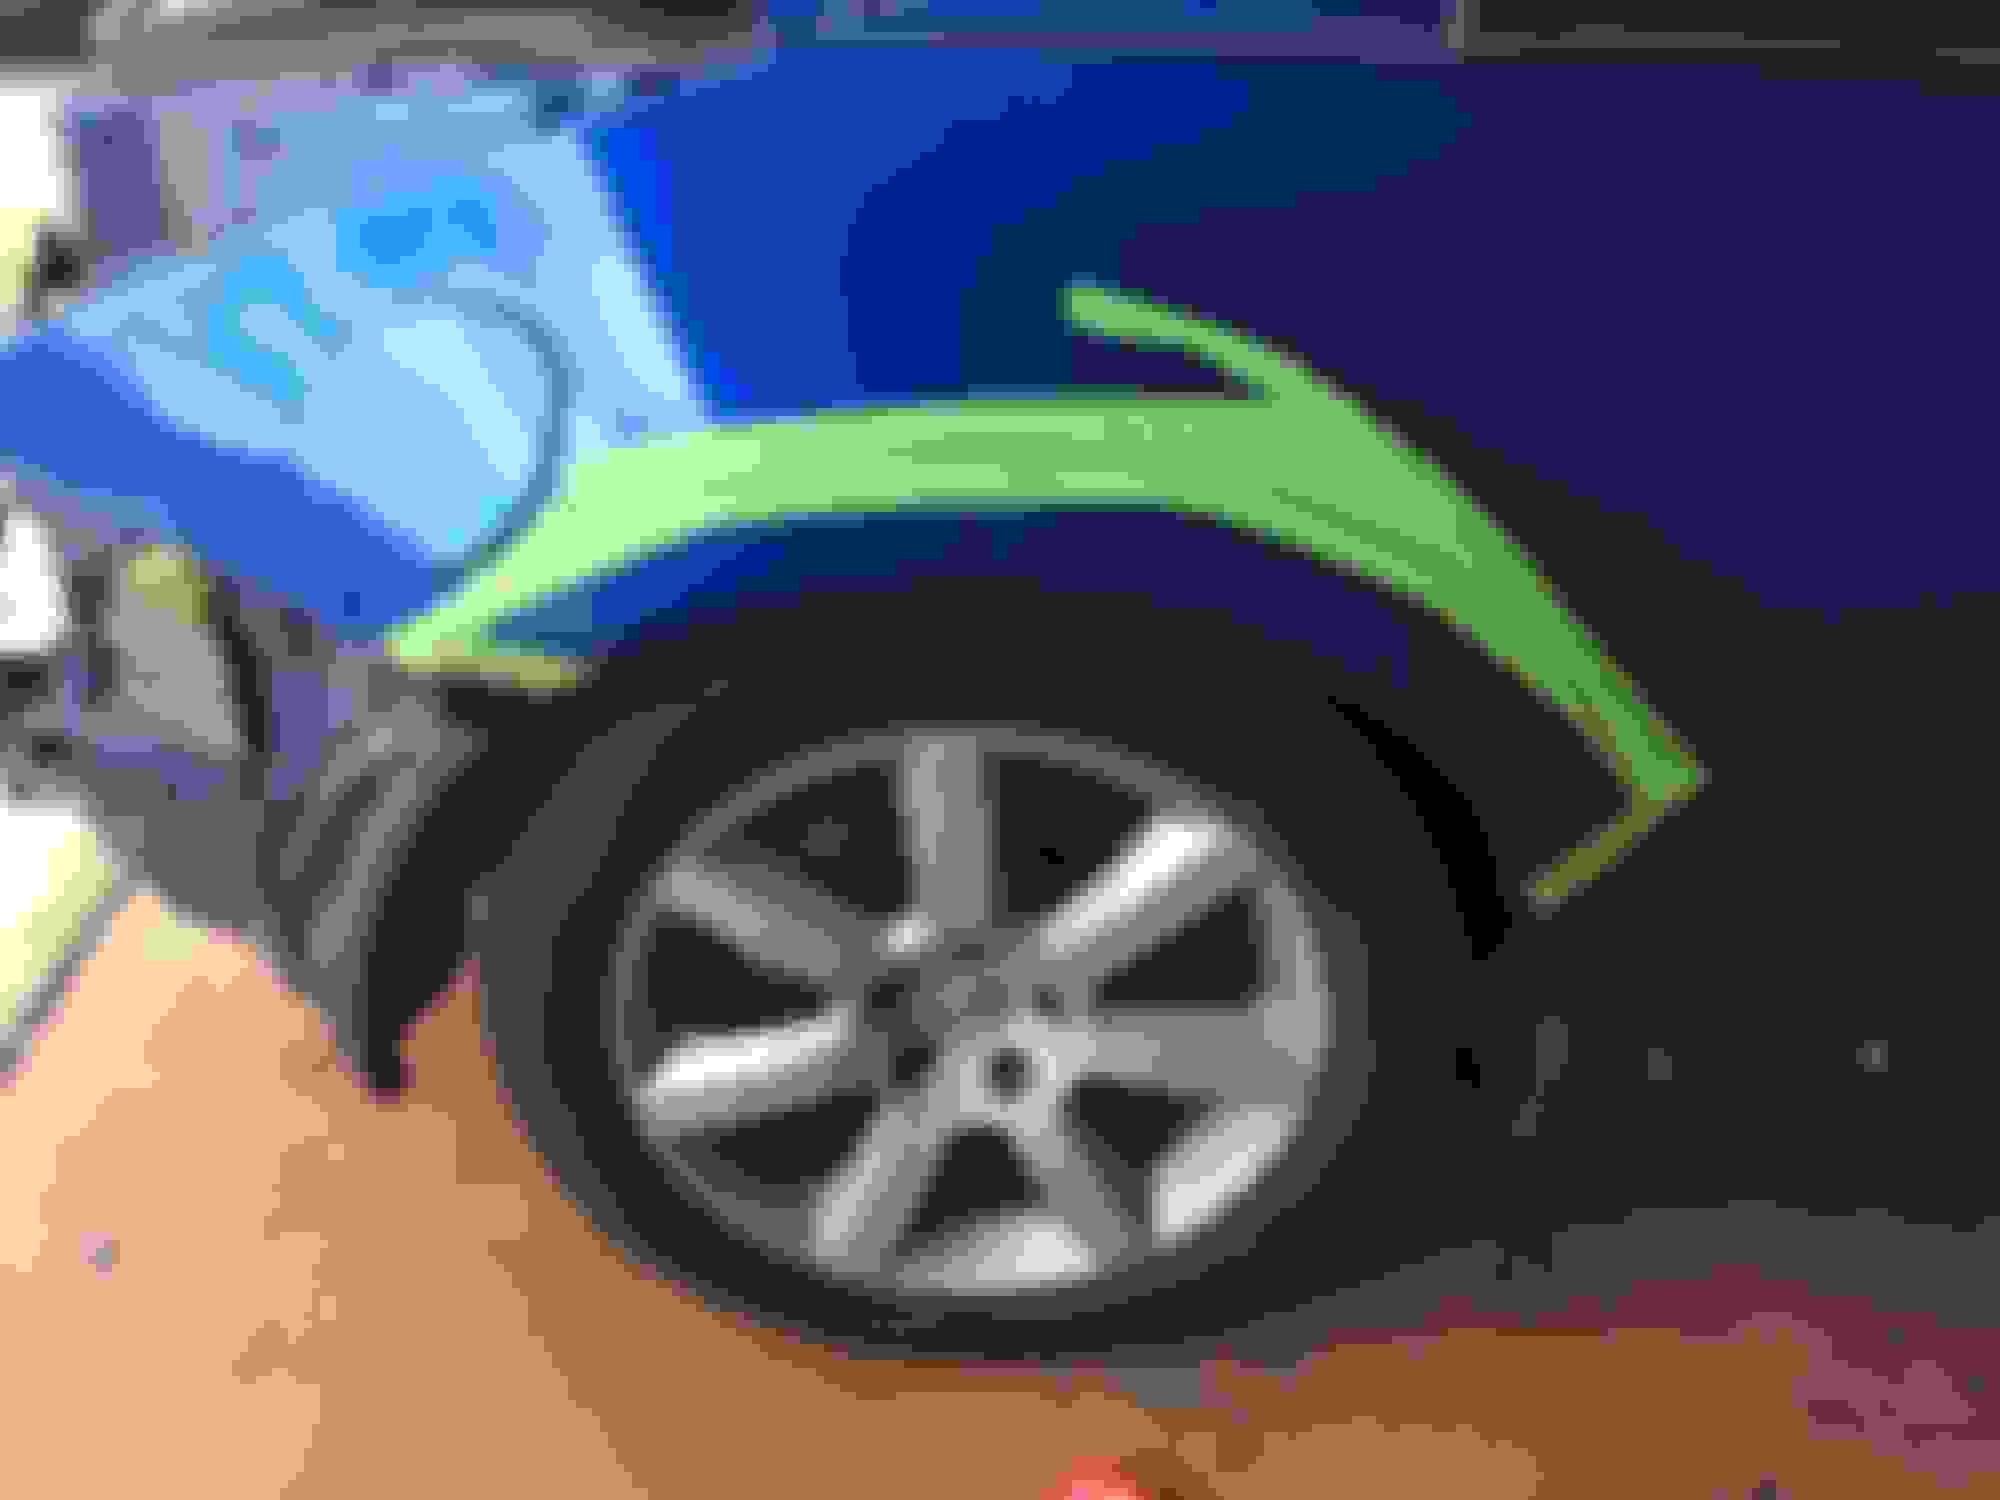
That wheel fitment tho!!!!! Haha new wheels sit much closer to the fender and look nicer lol. The stock wheels are just rollers I promise haha.
Looks good man, making great progress, think ive talked to you on the 350 Facebook page before, your name is Alex right? my names Kyle McAlpin on there ive got the black Z with the SBC Rpf1's love your car man one of the best colors of the Z to me haha
Last edited by Spoolin'Fool; Feb 25, 2016 at 09:58 AM.
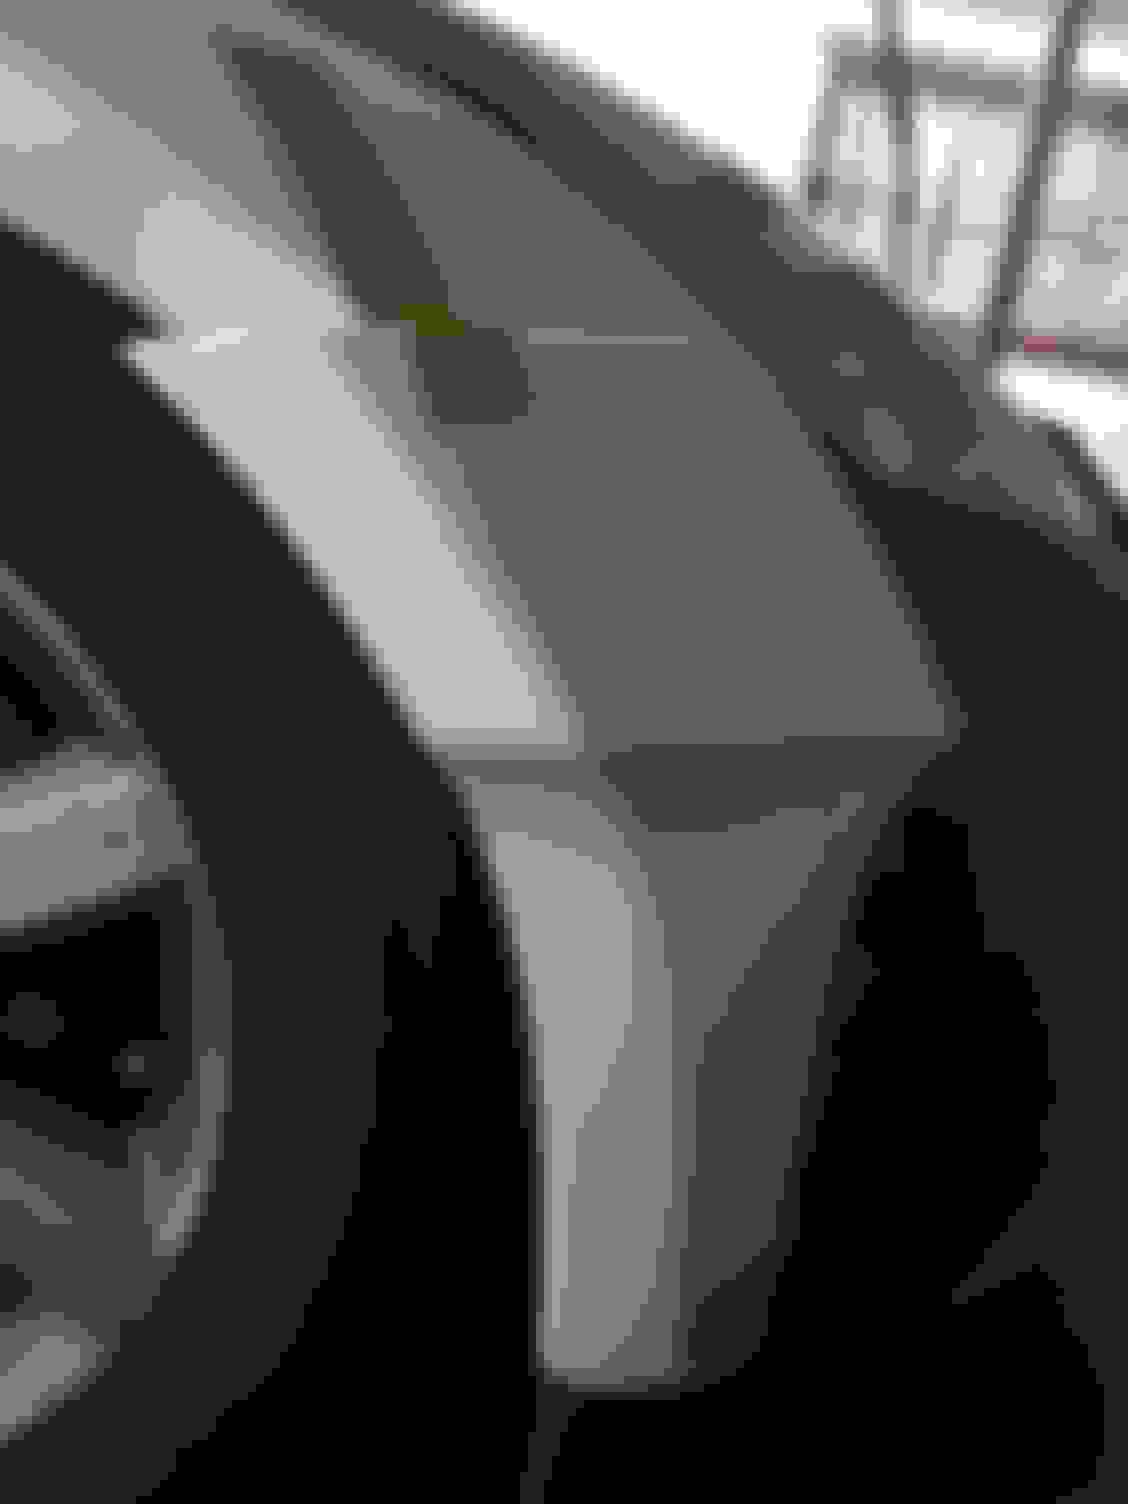
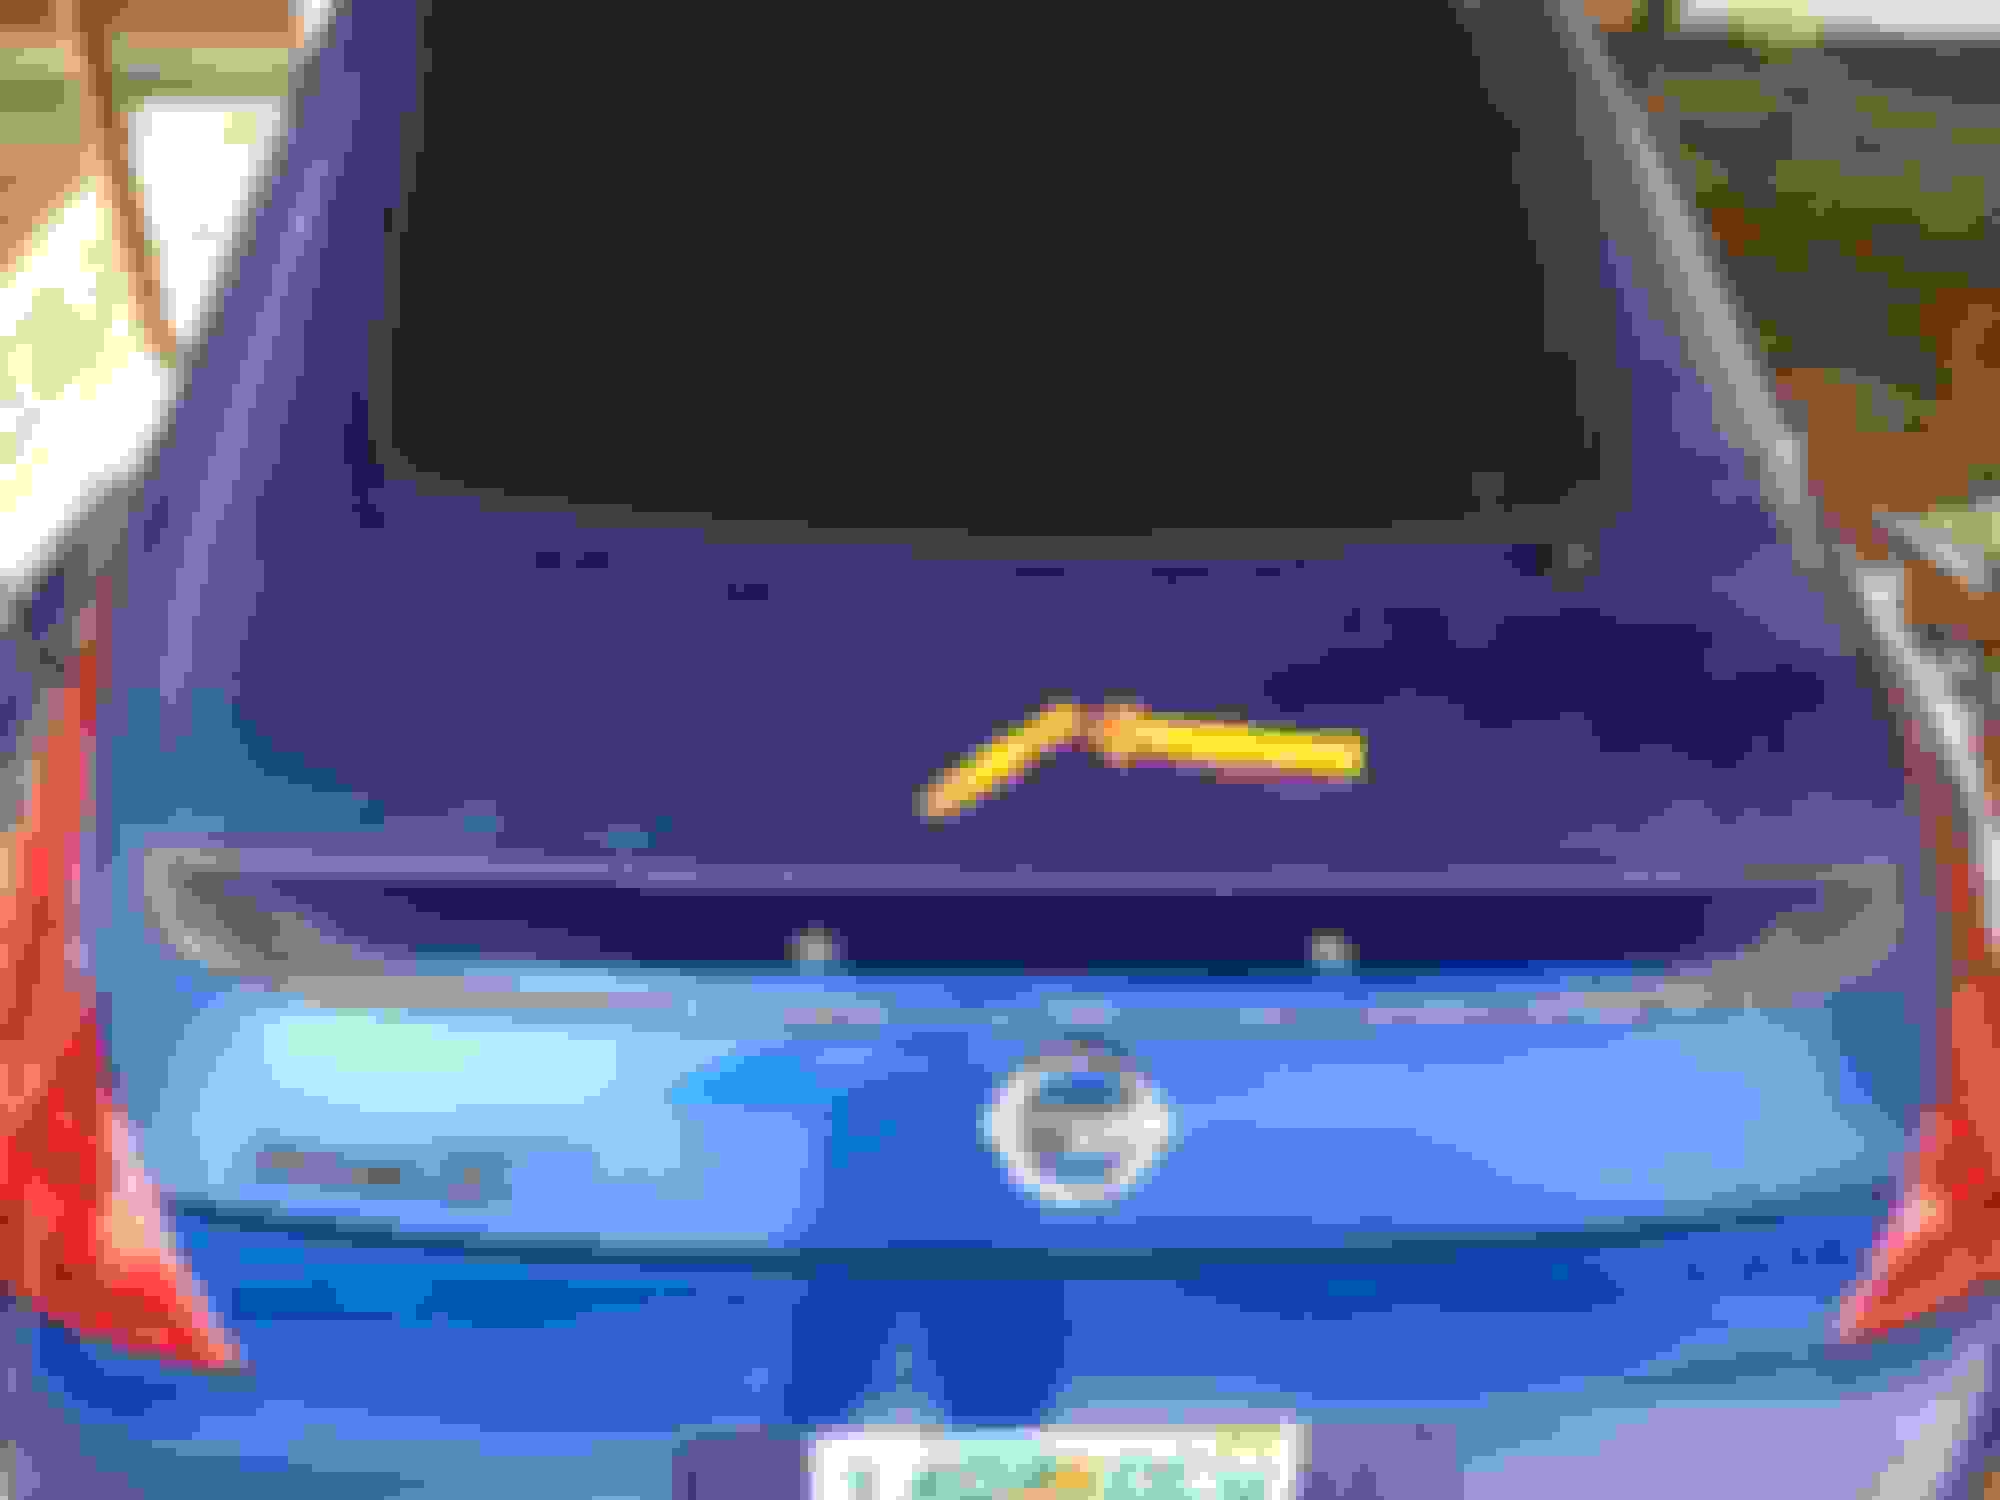
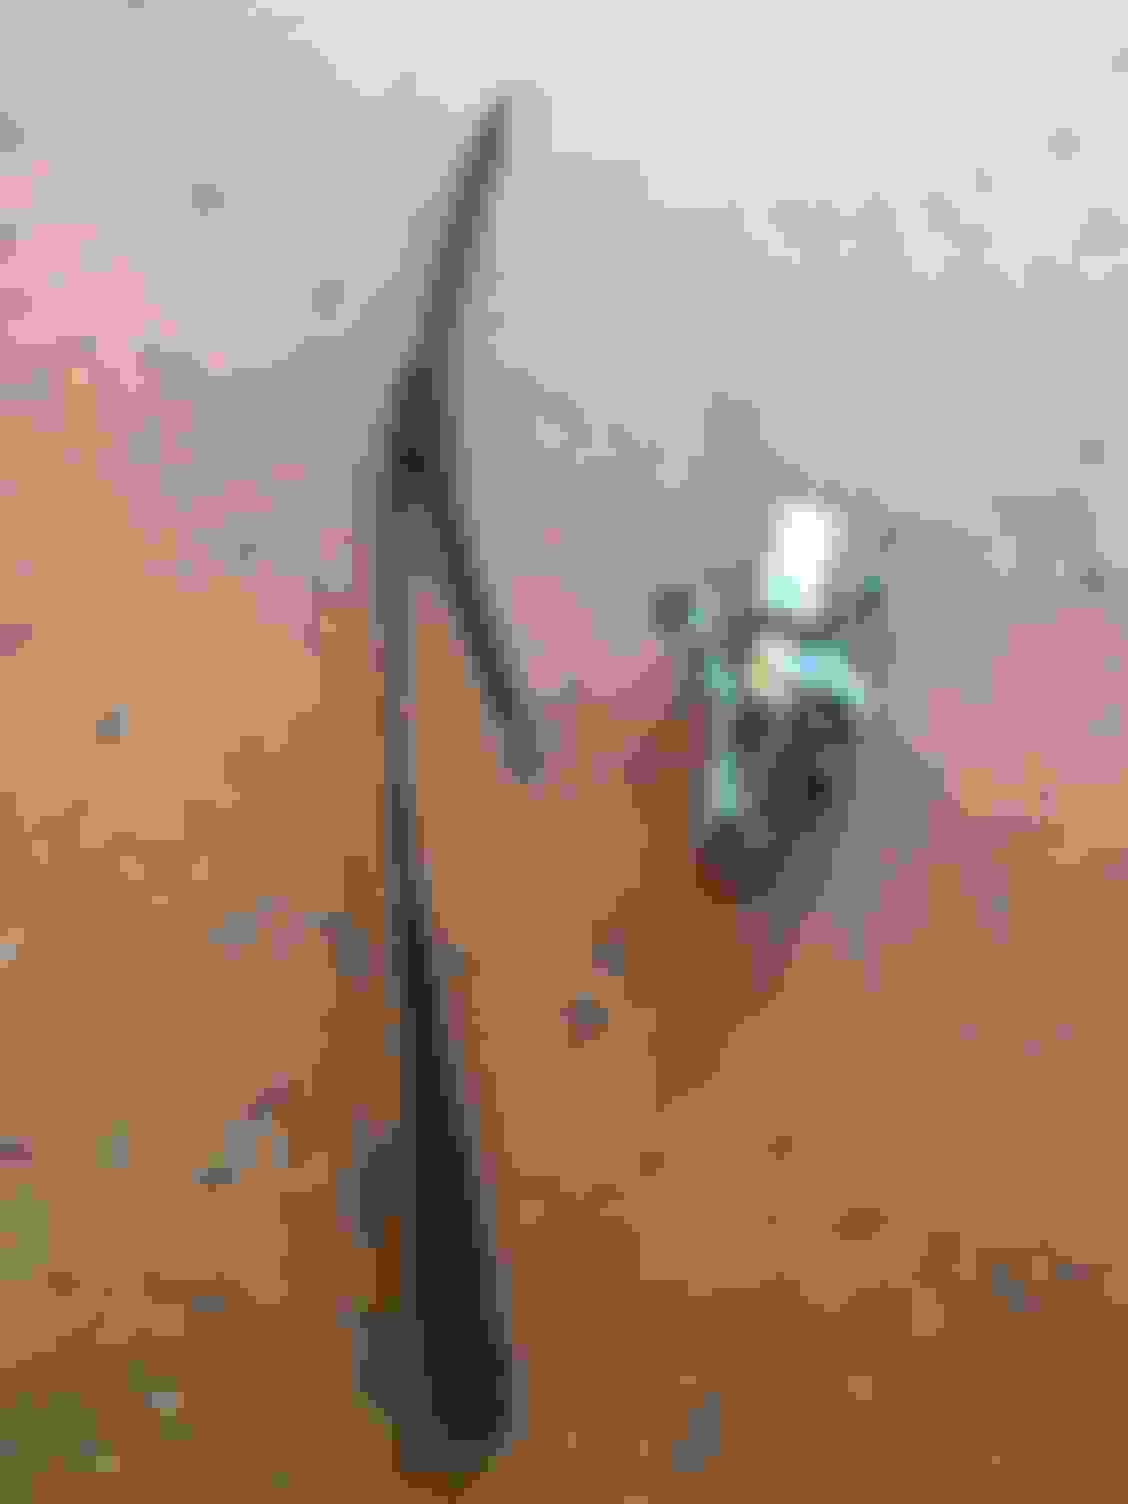
Hey Kyle and yeah it's Alex. More pics to come been busy with work but I have been doing a lot of mini things like dent work. Surprisingly I only had about 3 since owning the car which is pretty good I think haha. Nothing big all very tiny 1 of which was by the fender well and that was cut off anyway lol. Also a few rock chips but that is expected. Things I have done so far in between work was remove the rear OEM wing (To make room for my OEM Nismo V3 wing) and also delete that in my opinion useless rear wiper. I have more pics of the car on my MacBook but here are some pics of the spoiler and wiper delete. I am running with the house of color Show clear so believe me this Z is going to shine like glass haha. Ordered the paint already should be here soon. Debating if I should spray the Z myself. I am pretty good with paint in general. I also have l the neccary equipment as well. Basically finishing up the body work and more on the front portion of the car. The rear was cake. The front is a challange but can be done
Last edited by Stinvil93; Mar 6, 2016 at 03:19 PM.
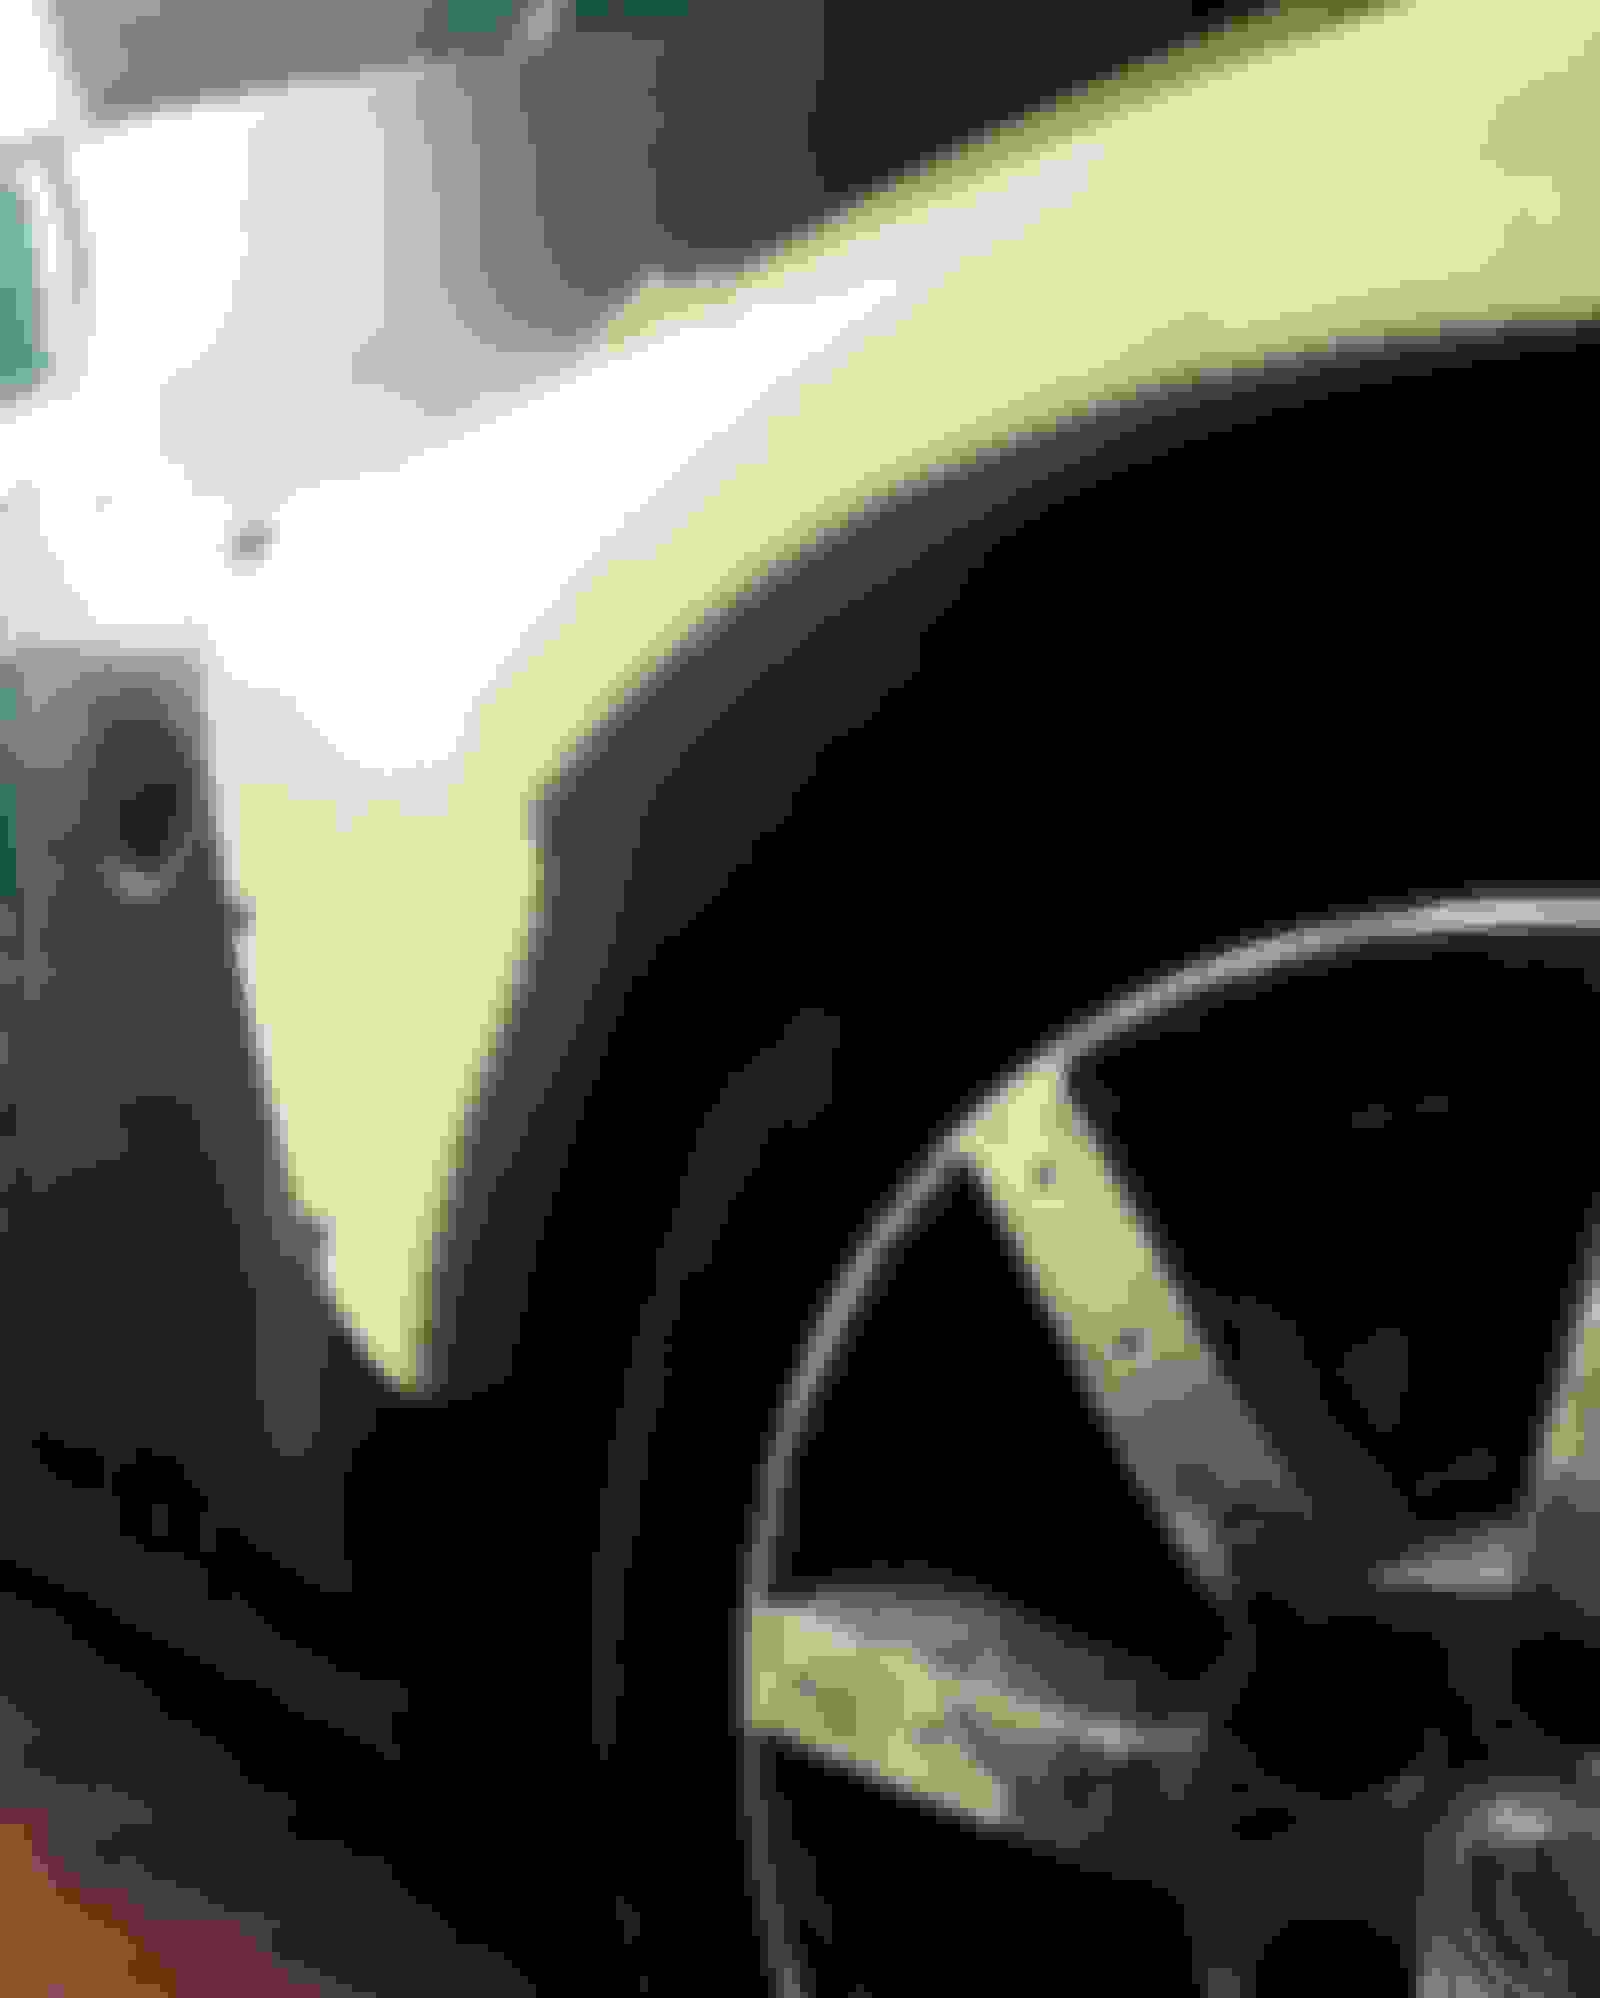
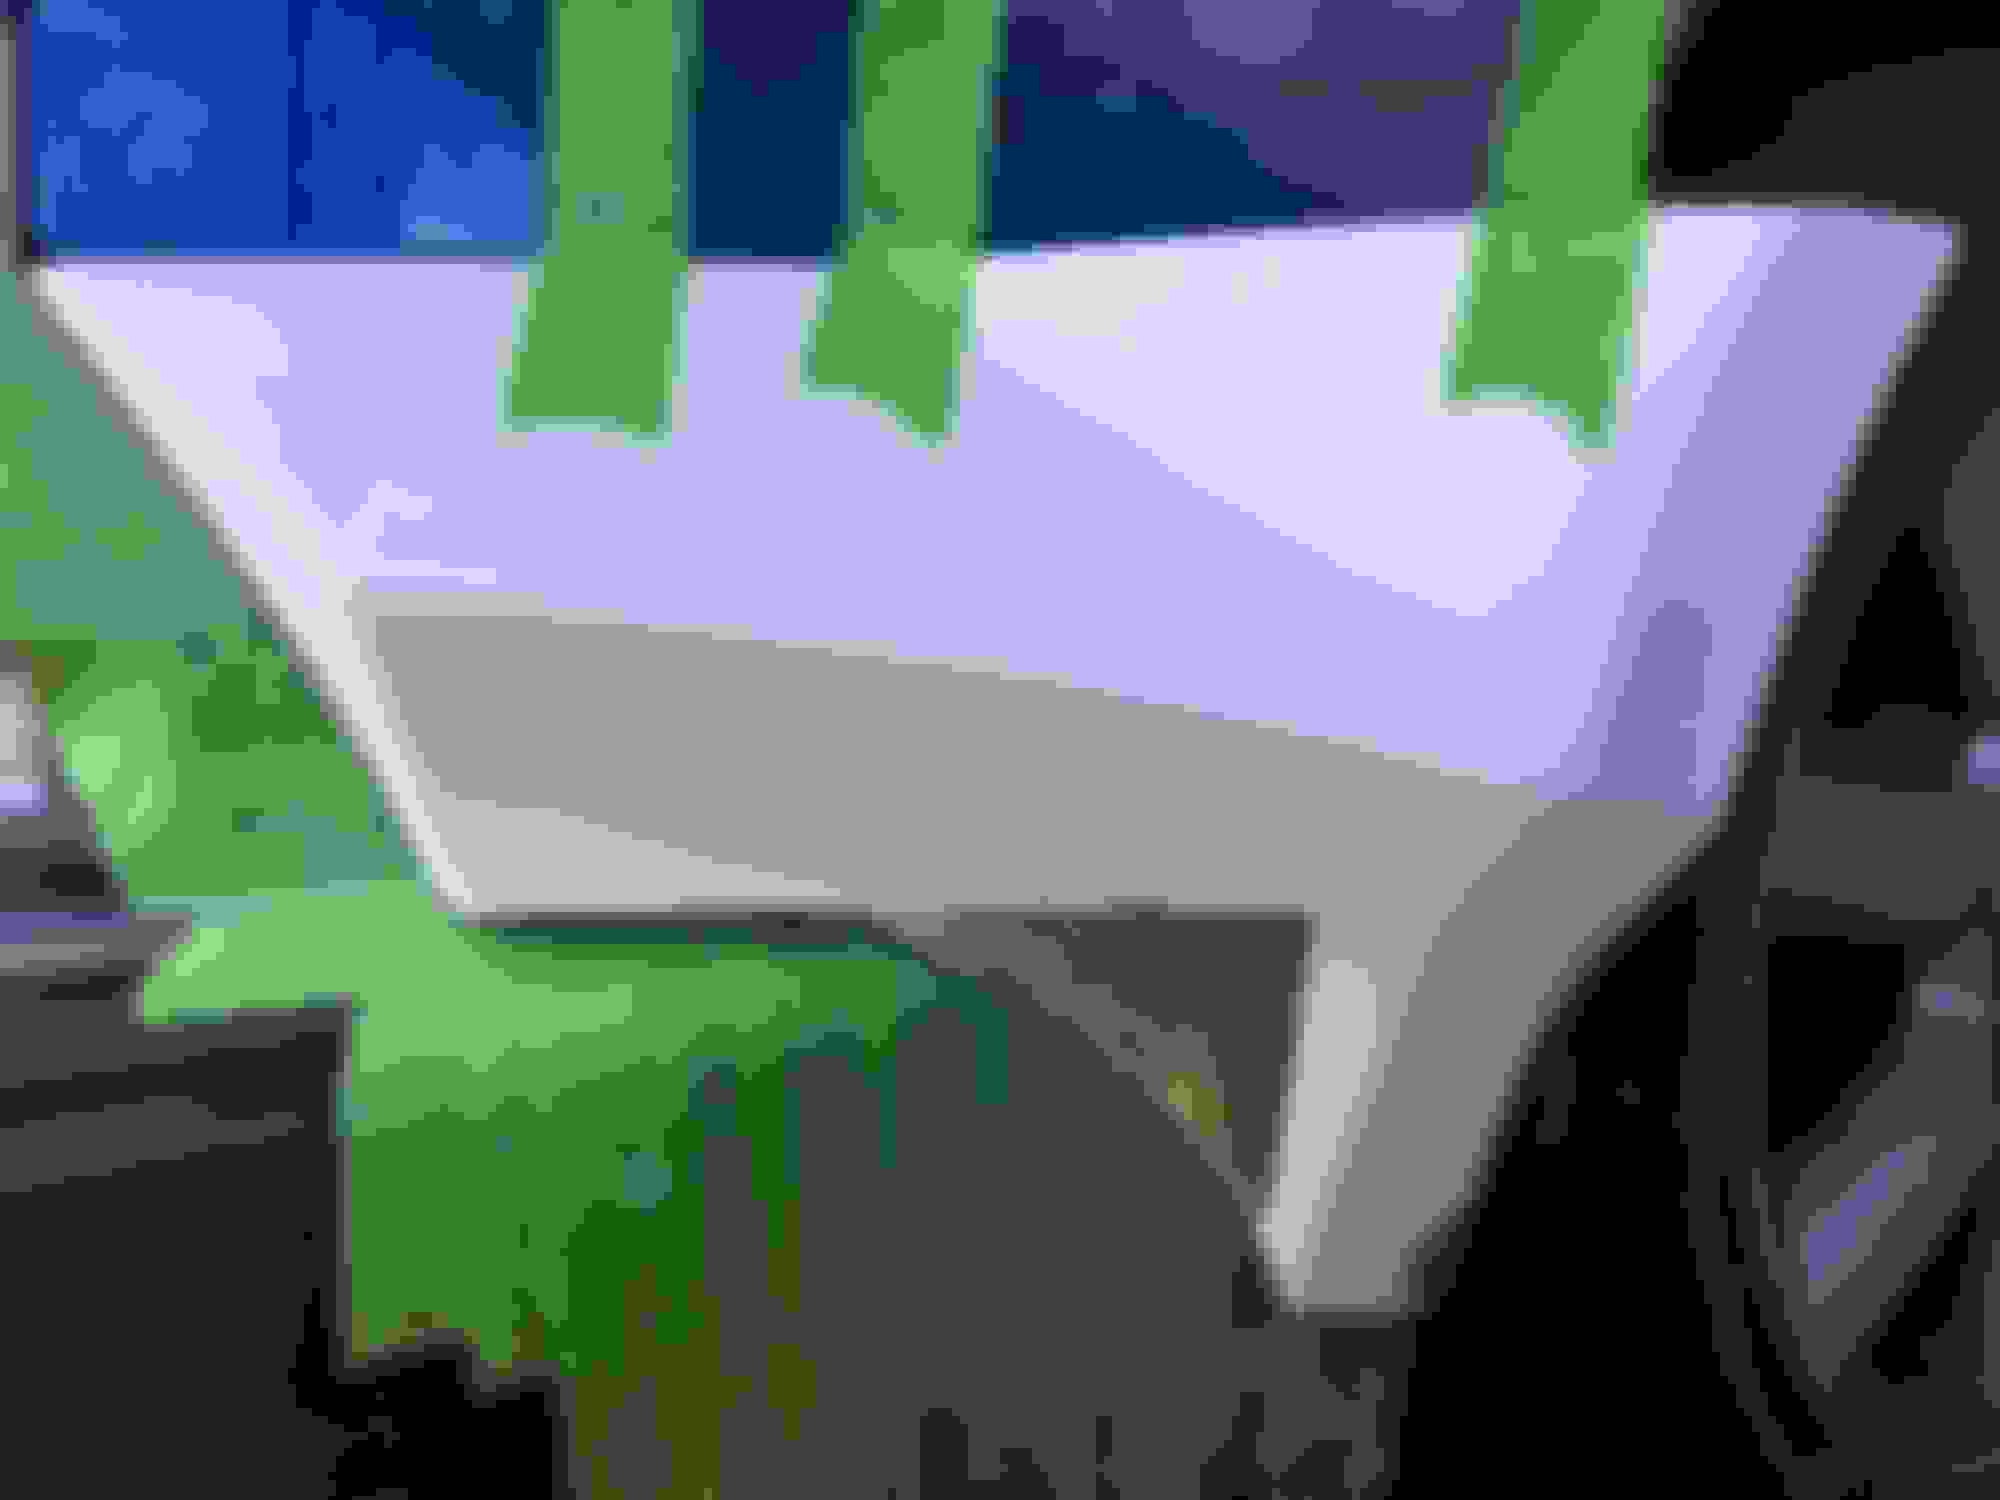
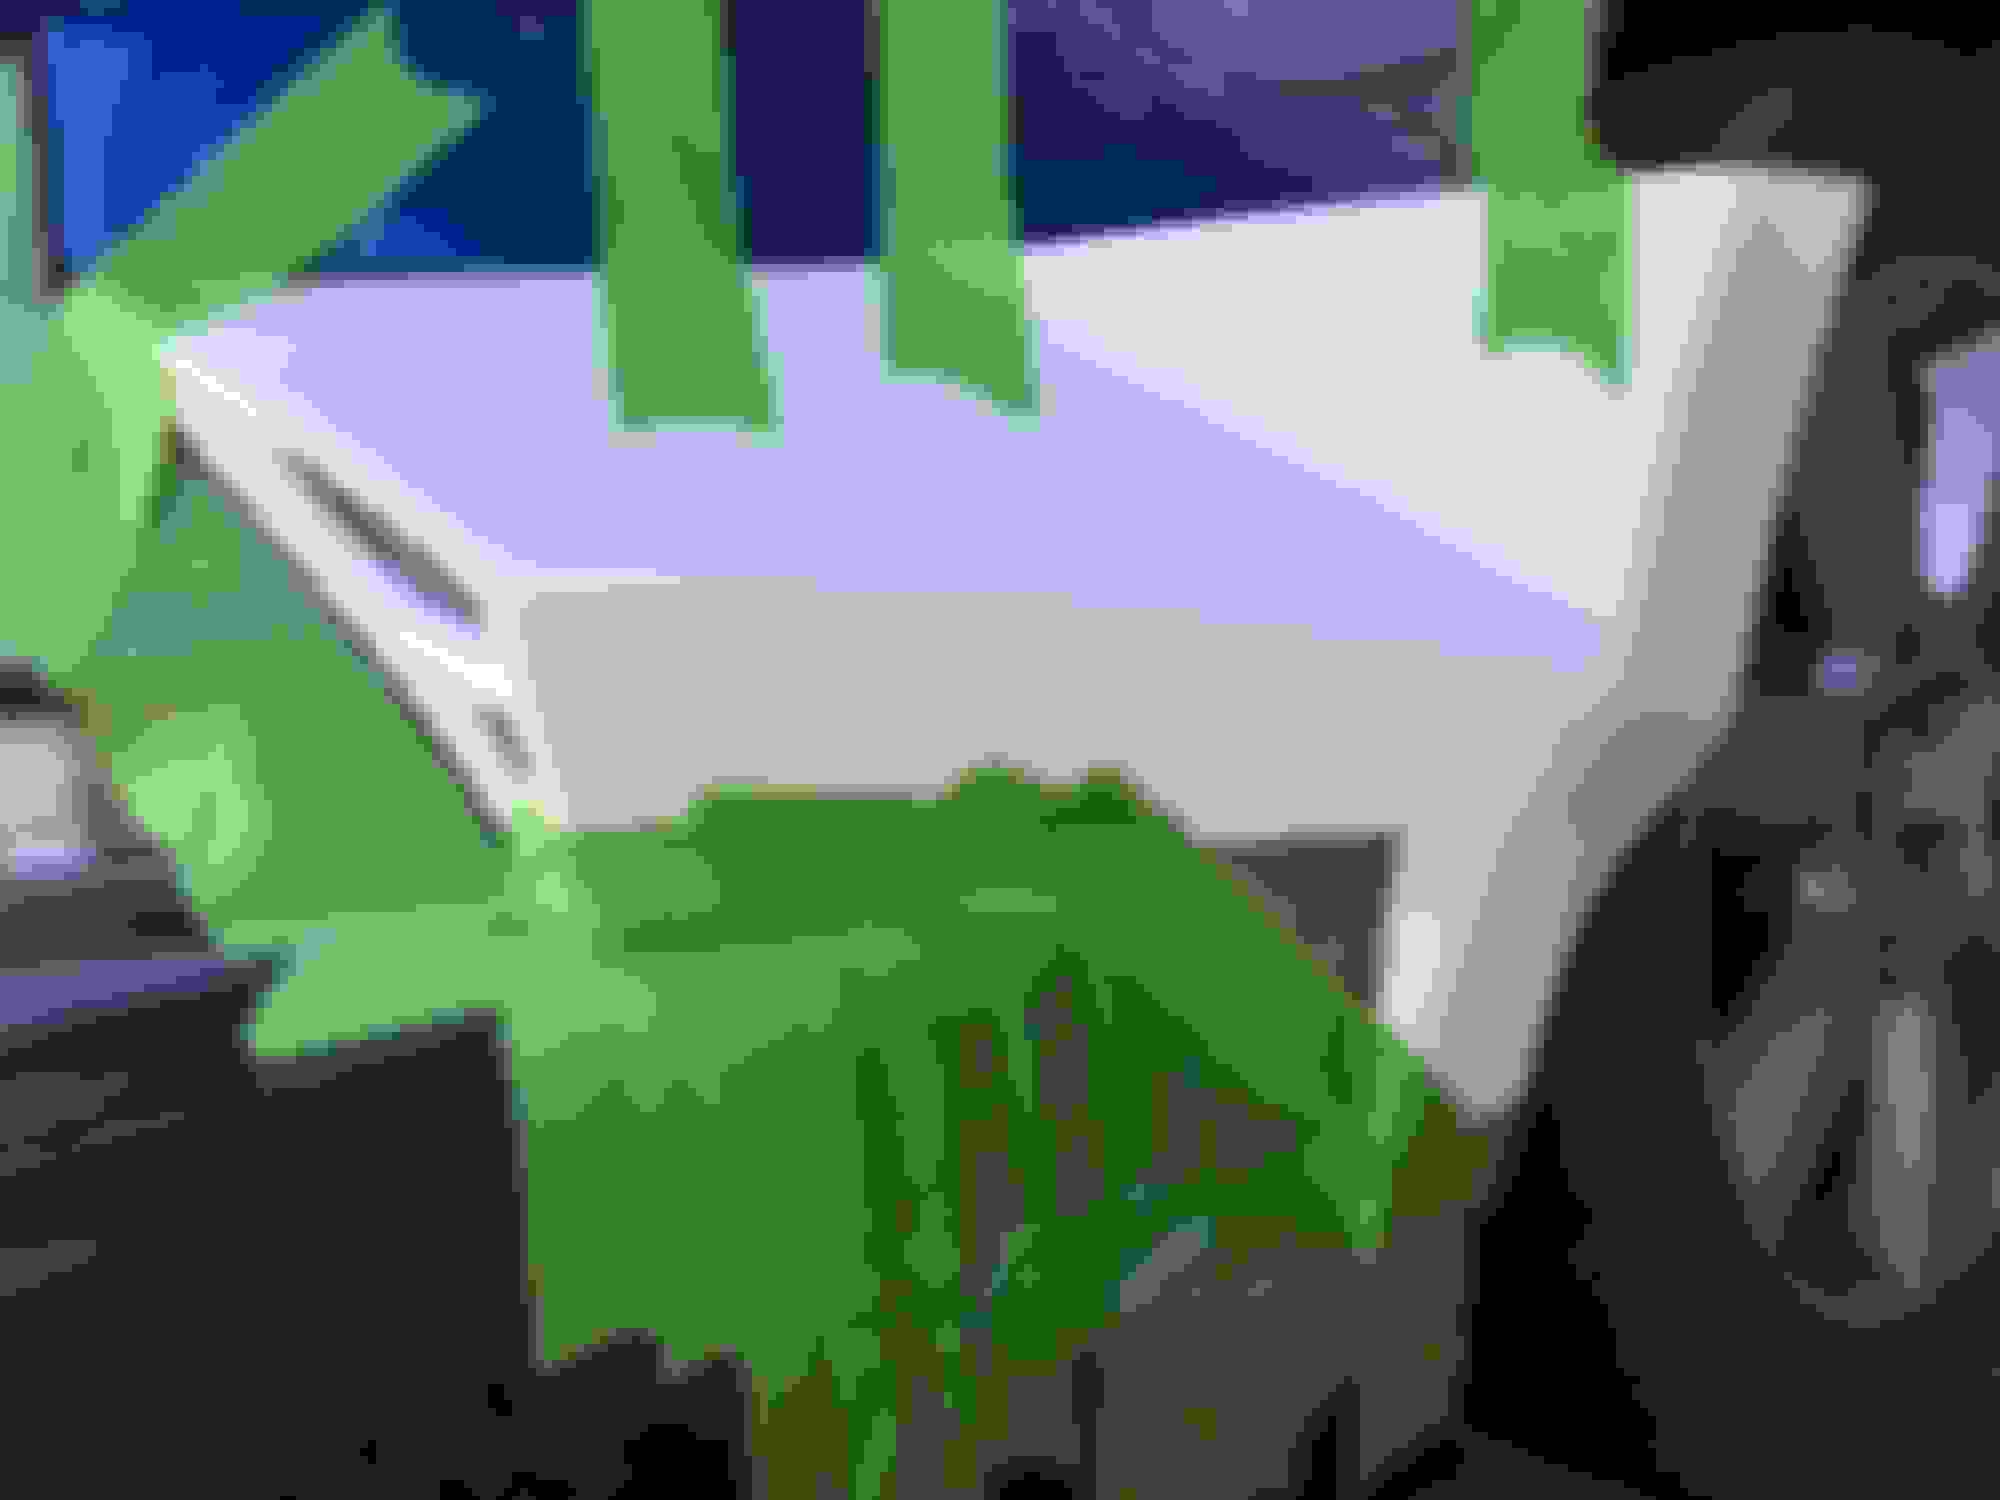
Z is getting more and more into that GT stance that I like. Here is a pic of the rear Stardast fender cut out. It is a little fiber glass work and a little body filler as well. Came out great for that clean OEM fit that I was aiming for. The Nismo bumper wasn't made for these Stardast flares but with a little work they look amazing. Nismo Spoiler and bumper also installed as of now. Since I am getting more comfortable with fiberglass work I will be hitting the front next. Busy with work but the Z will get done since I am doing all the body work at my pace. Late nights/early mornings are paying off. Stay tuned........
Recently just sponsered By Evo-R. Be on the lookout for some clean Evo-R Signature pieces for the Stardast Japan Nismo 350z. Stepping out to a beast of a car everyday and I know for sure all these Evo-R parts are going to kill it! Stay Tuned for more....
I used body filler for the plug. must sand down to bear metal for a perfect bond then add the primer. And sand down until it's invisible. And thanks man the body work is kicking my *** haha. All fun really get to see how it is looking and where it's going doing all the work myself.
Thanks first time fiberglassing on my end came out pretty darn good haha. I will resume more of the work when I get a day off of work! This weekend looks promising. Little kinks here and their but I got it. Experimenting a little with extra paint I have laying around for the ground effect. More on that later.
I used body filler for the plug. must sand down to bear metal for a perfect bond then add the primer. And sand down until it's invisible. And thanks man the body work is kicking my *** haha. All fun really get to see how it is looking and where it's going doing all the work myself.
You aren't worried about the bondo cracking out after about a year? If not welding i would have at least used some 3m 8115 panel bond and reinforced the back side with a small piece of sheet metal. Then followed up with some evercoat flex glaze before priming.