
Winter project:Carbon Fiber sideskirt repair and restoration

Thread Starter


Joined: Apr 2005
Posts: 15,390
Likes: 1,085
From: Greenville, SC
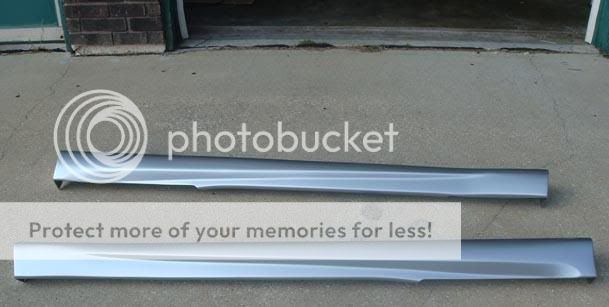
Well, I have had these side skirts for a few months now. I got a sweet deal on them from a member here. They are RSW plain weave full carbon fiber sideskirts for my 350z.
The original owner had them painted his car color, some sort of silver. They were in great shape paint wise and structurally........that is before DHL got a hold of them. I knew i was going to have to remove the paint but wasnt aware i was going to have to repair cracks as well.
Pics:
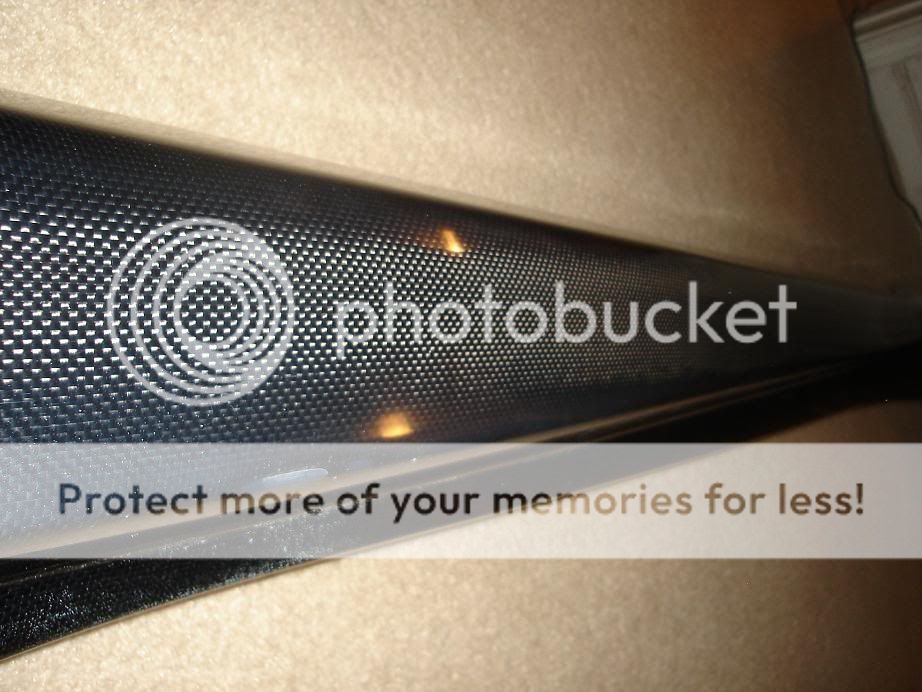
What itll look like on the car:

What they looked like before they were sent:
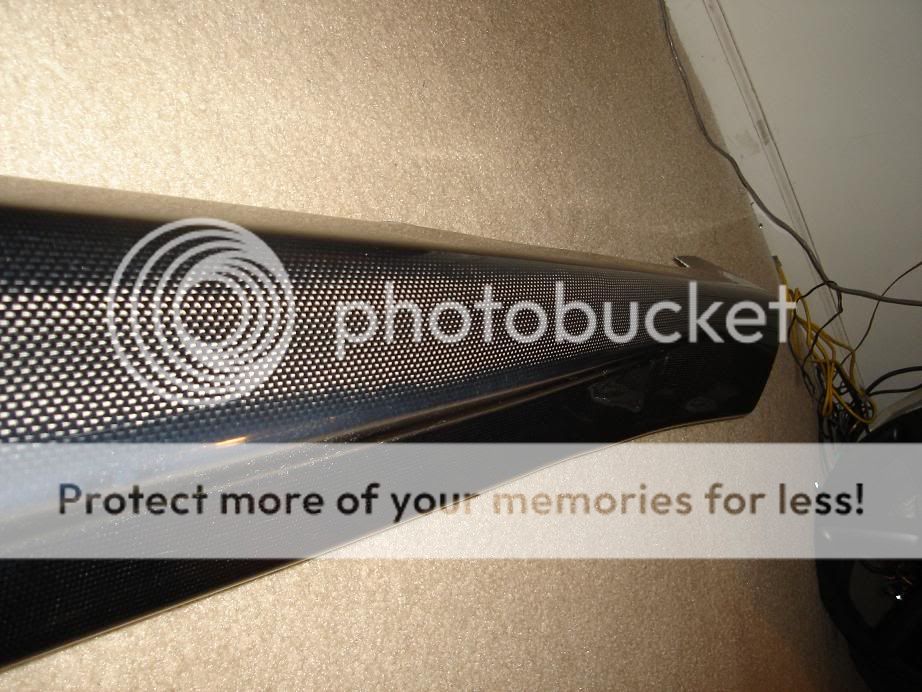
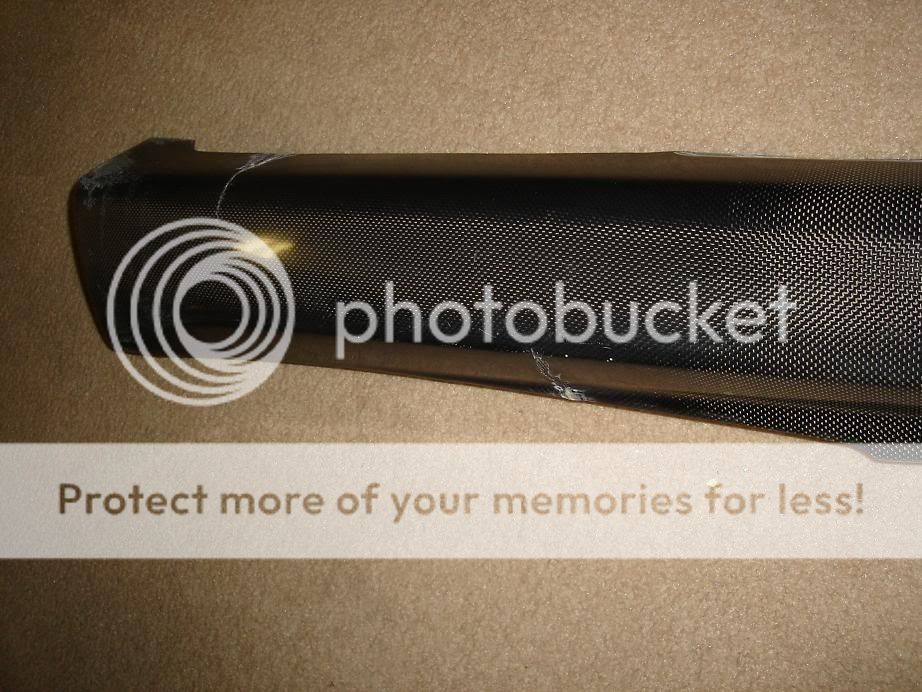
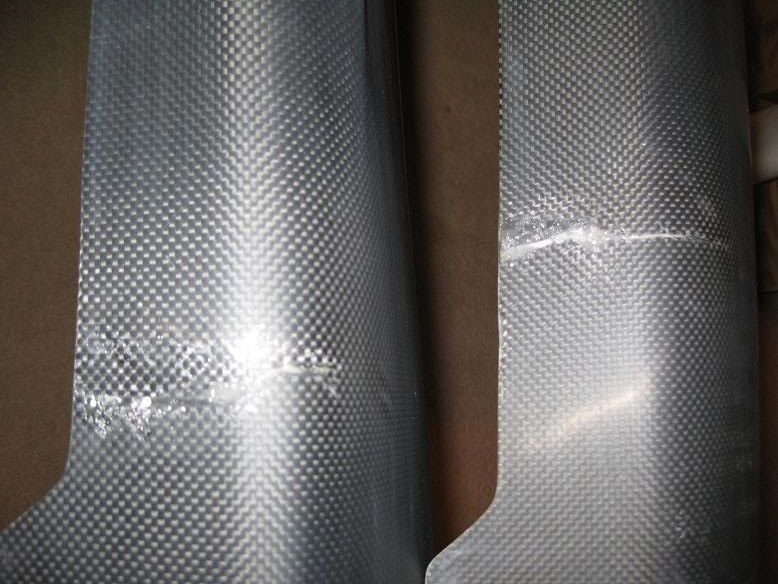
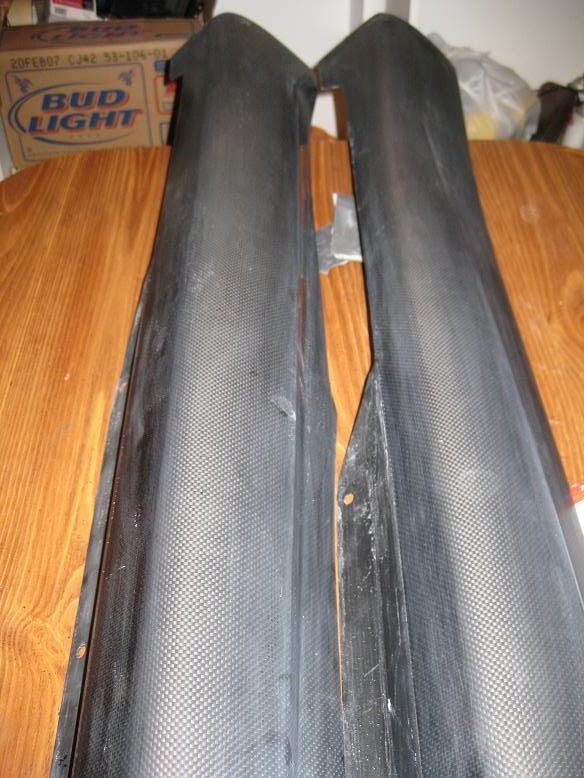
What they looked like after i received them:


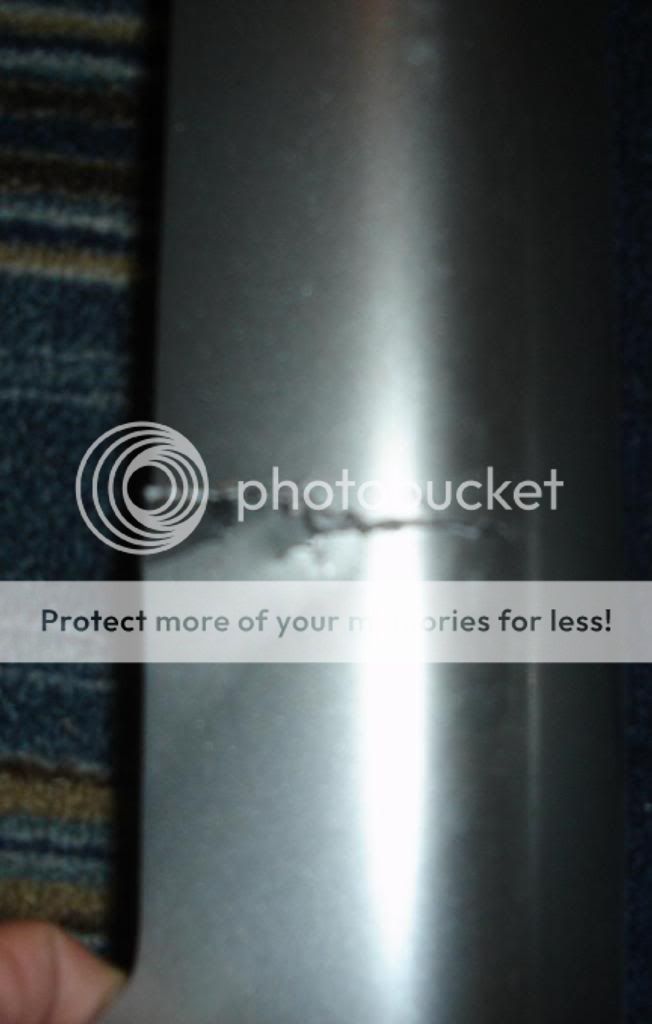
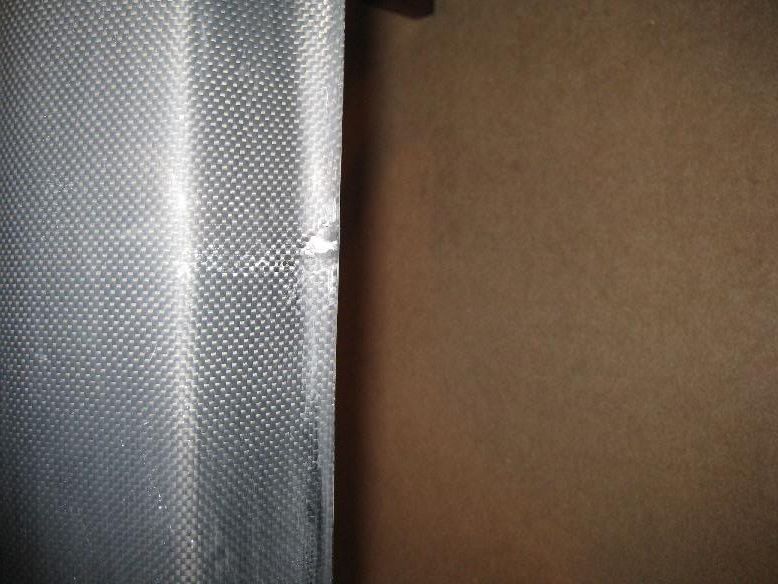
Close ups:
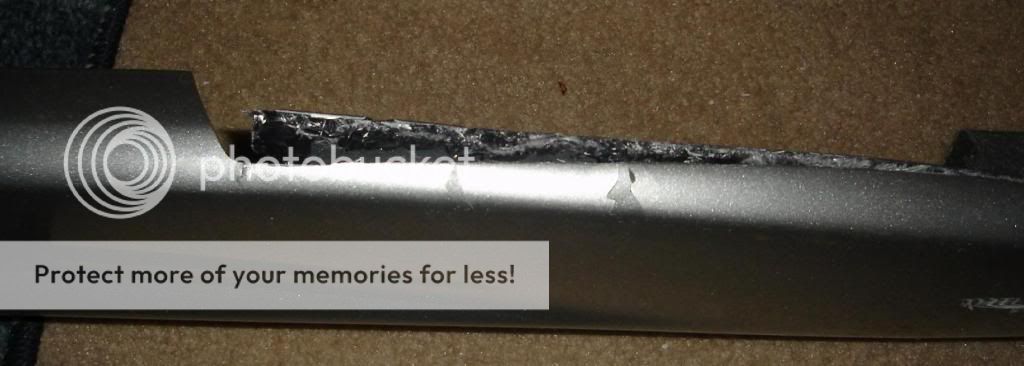
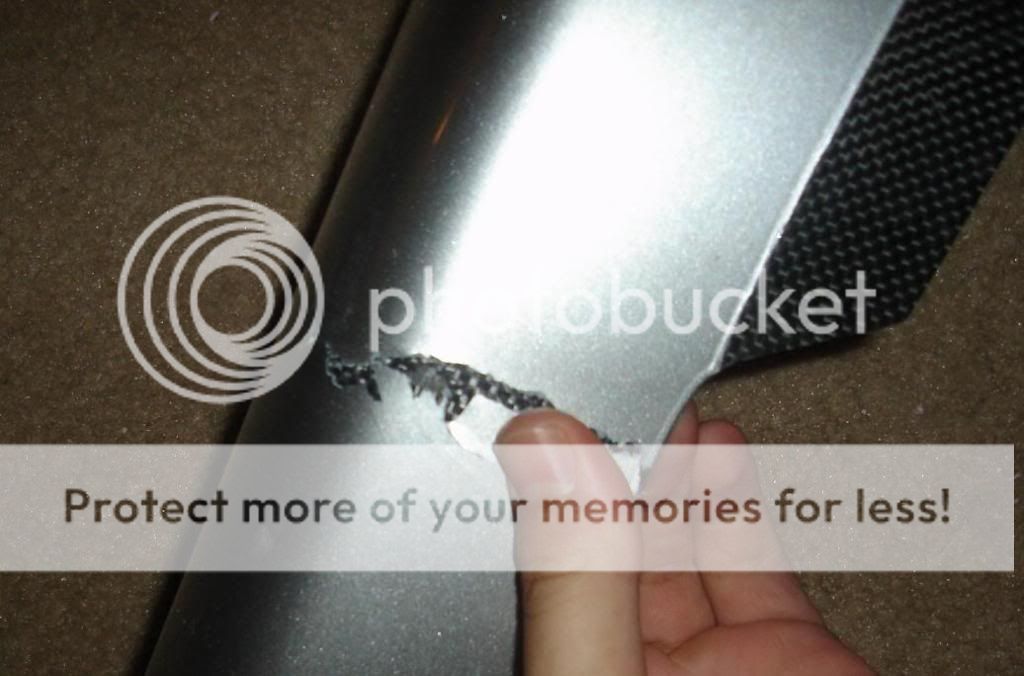
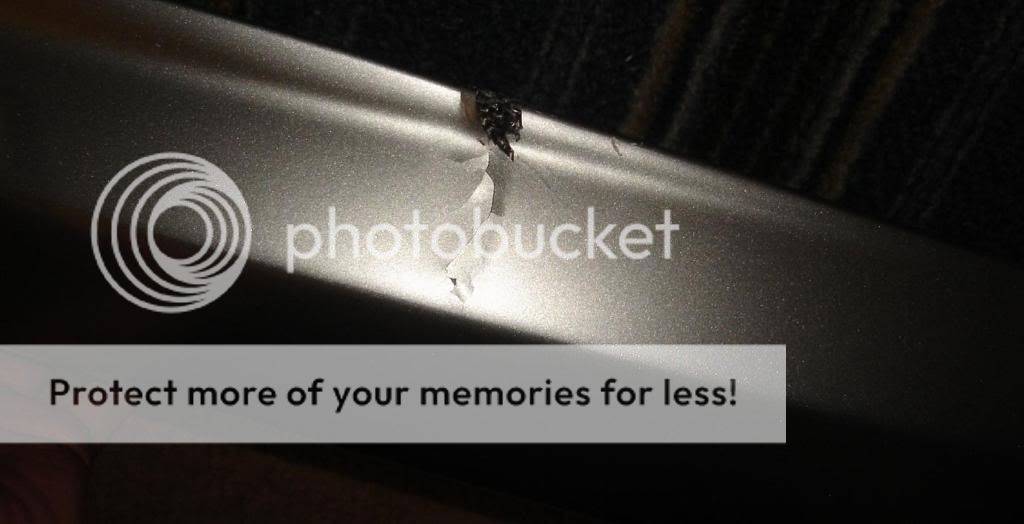
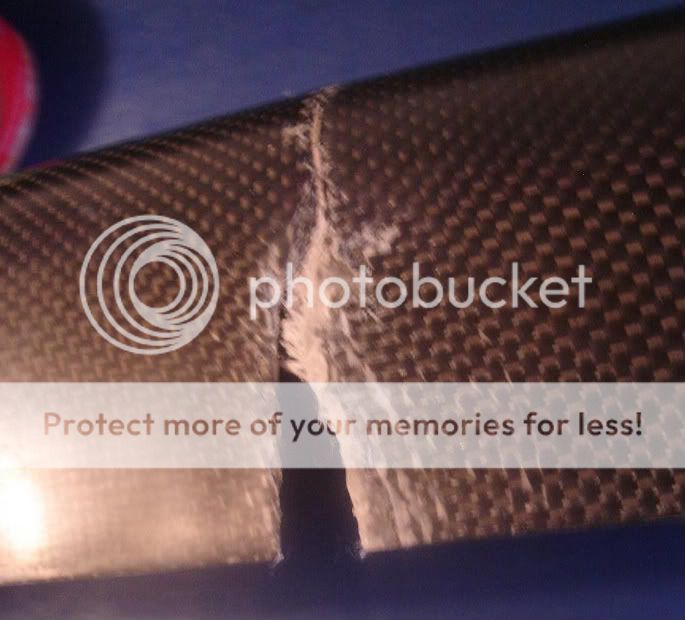
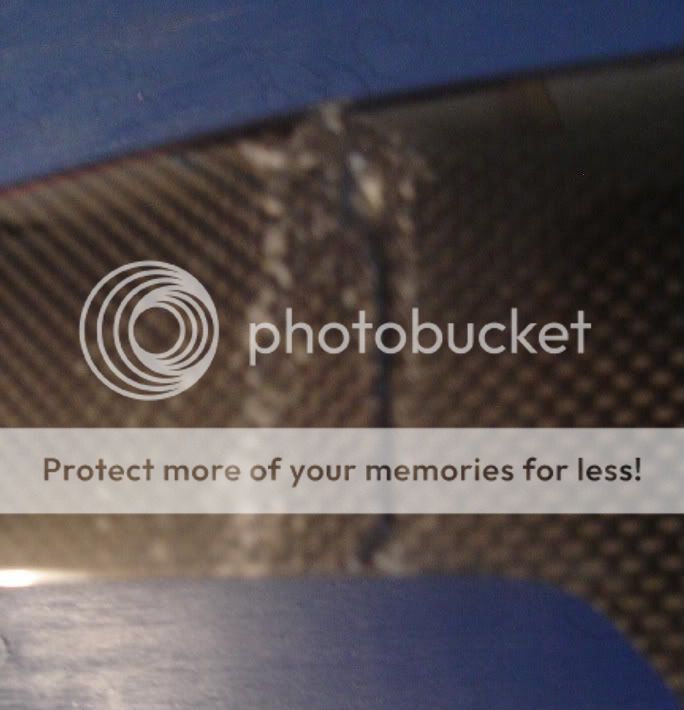
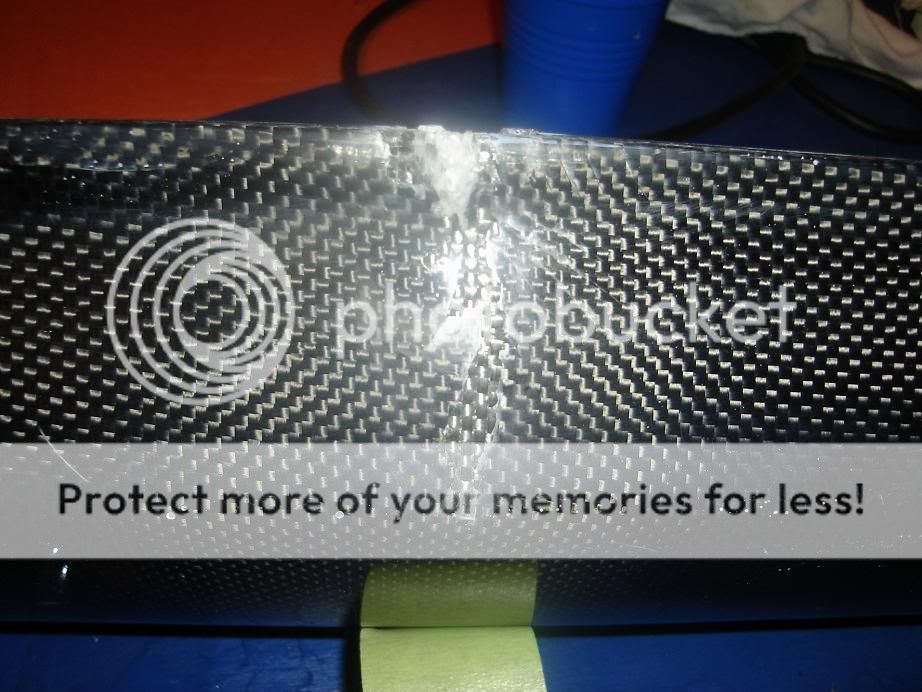
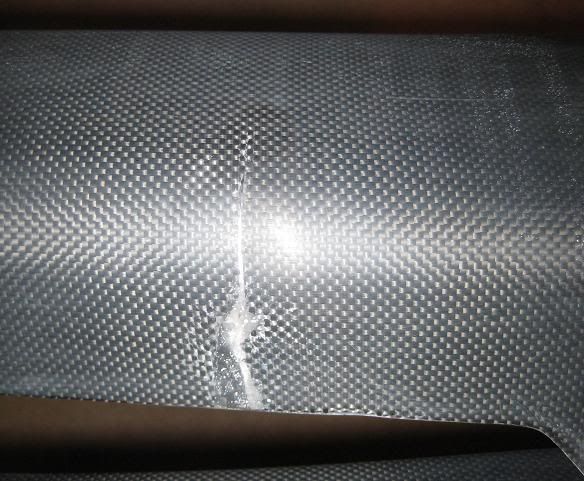
DHL did a number on them. They accordion pressed the box by over 3 inches!!! The side skirts had no where to go = cracks.
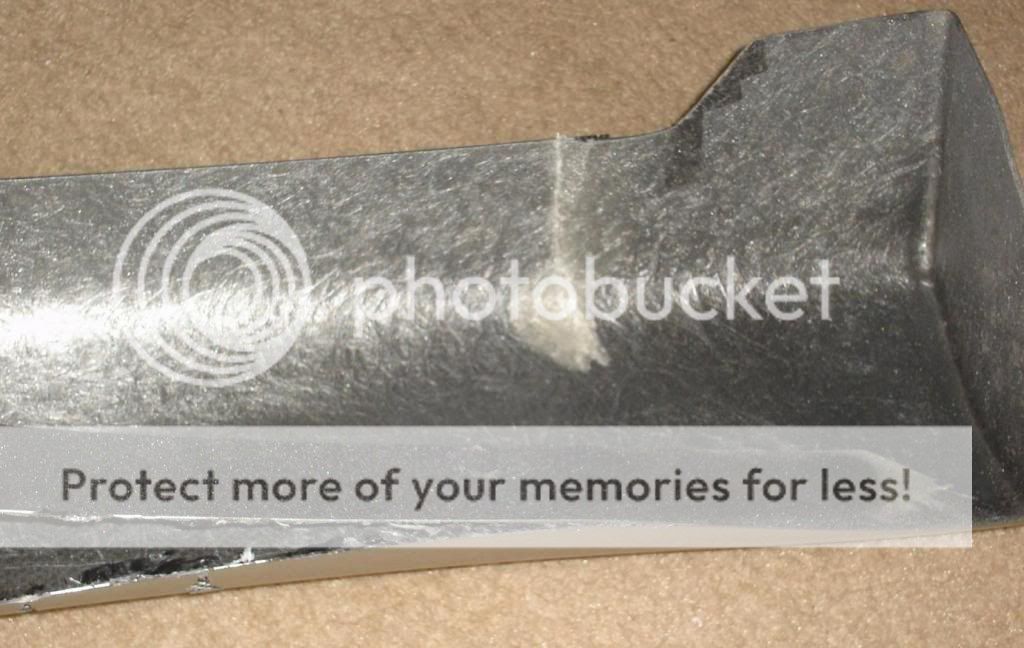
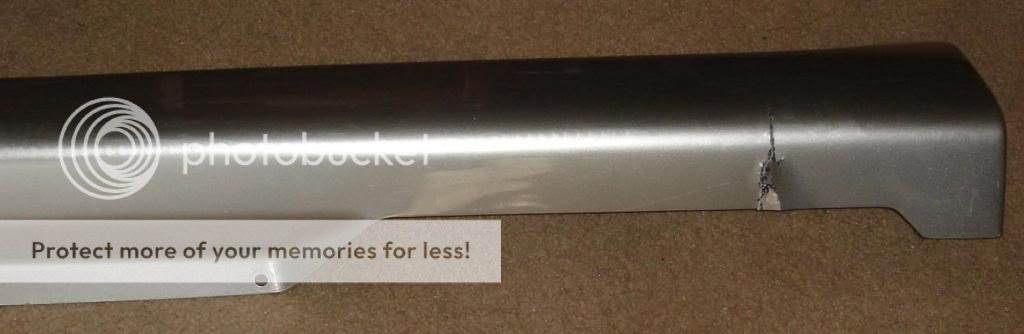
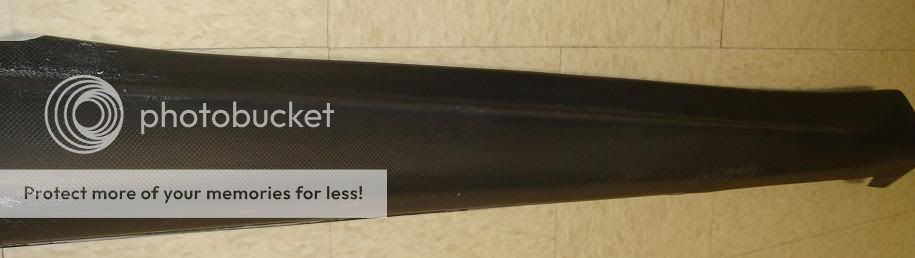
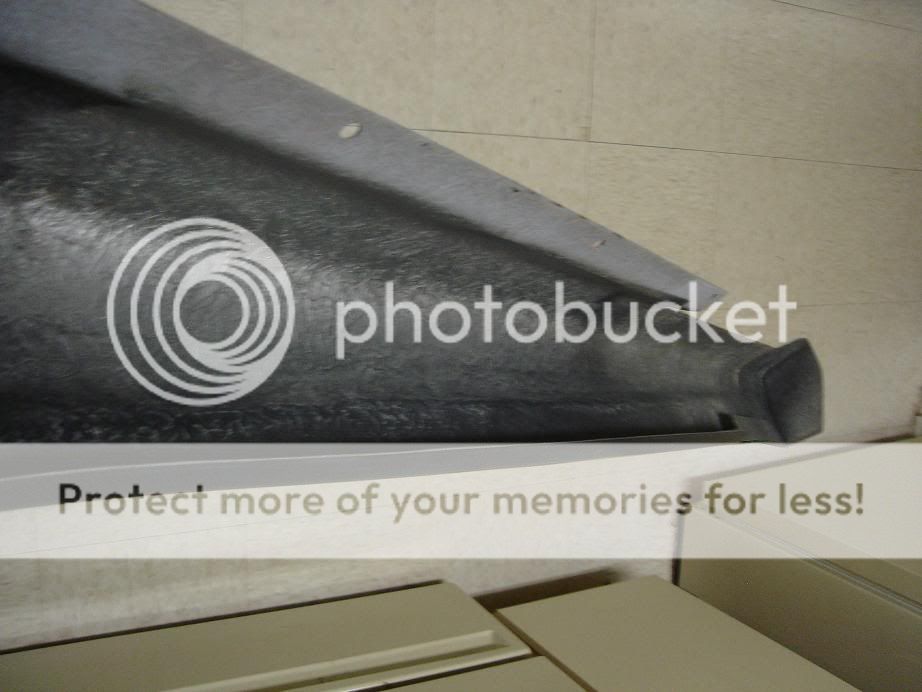
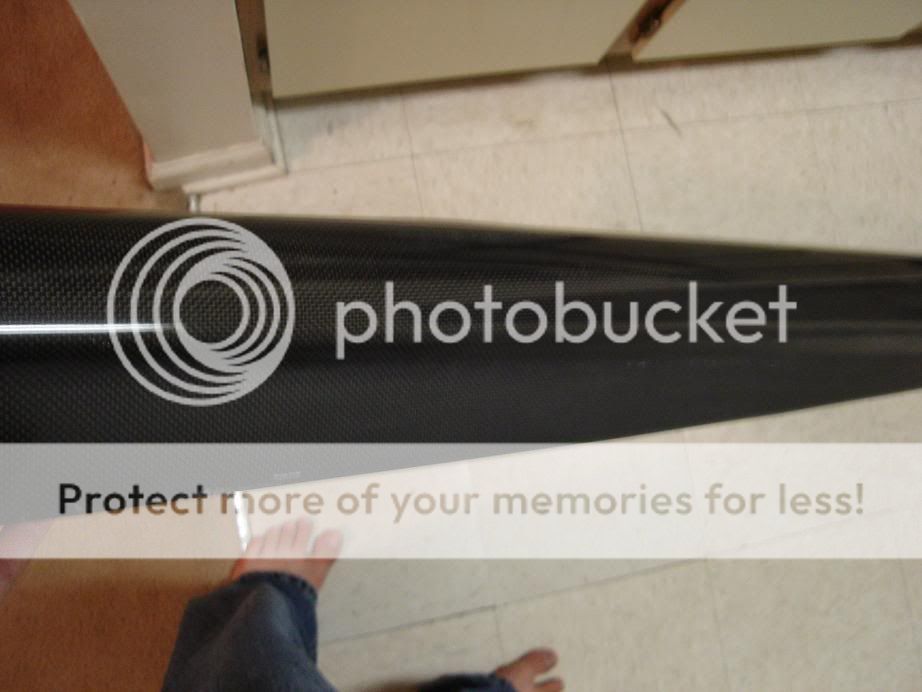
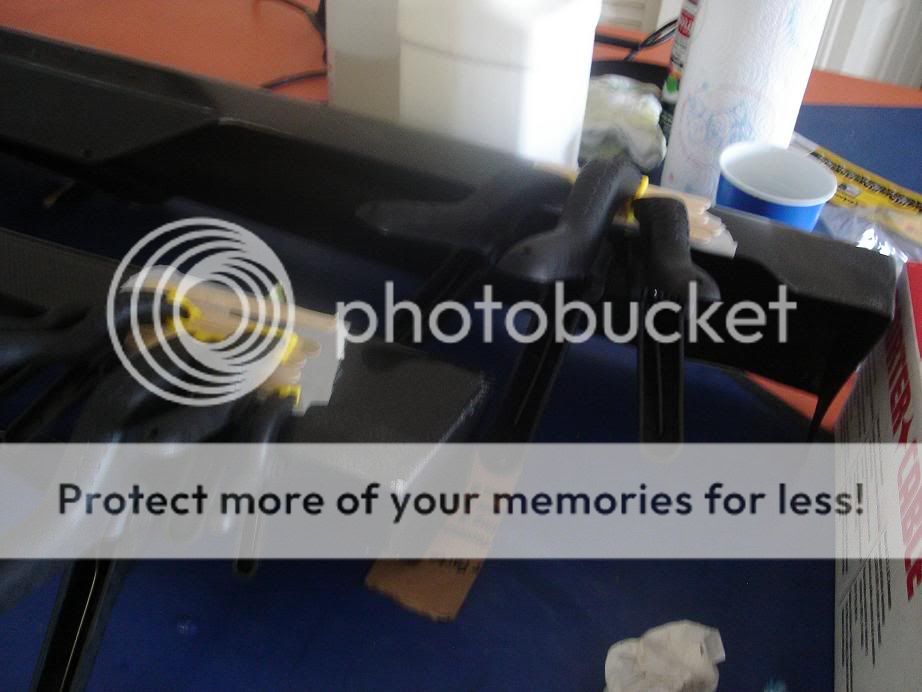
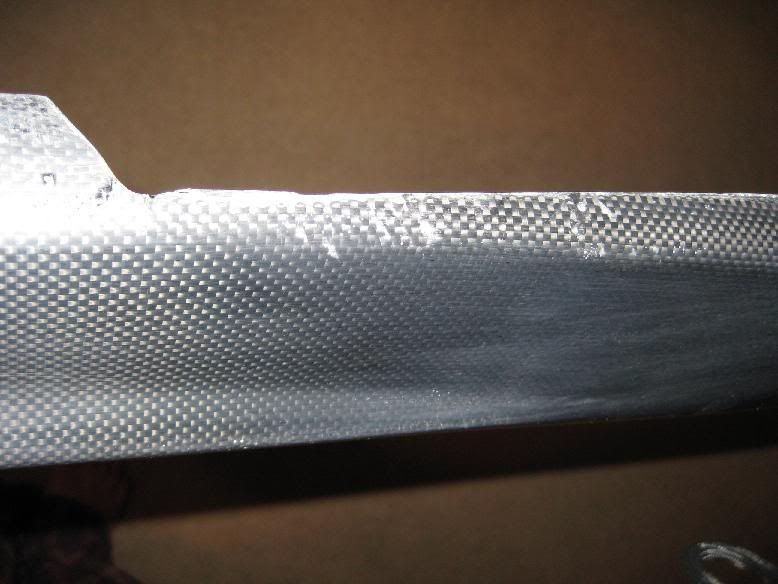
Well.....this is what the drivers side looks like after over 15hrs of labor:

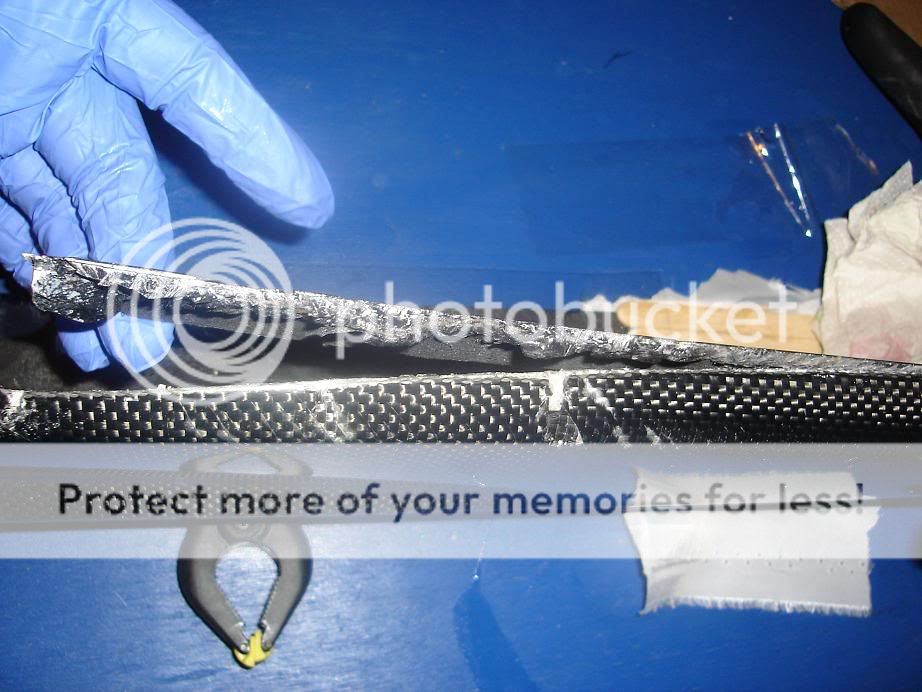
As you can see, there was also some underlying damage that the paint covered up. Most likely the original owner had run them on the car unpainted at first and messed them up a bit and then had them painted.
Now iIget to repair/patch the cracks. I will be using some carbon fiber cloth i had laying around. Most of the cracks will get 2 layers of 2x2 twill weave and resin. The 2 layers will be strong enough to hold its shape while being thin enough to not effect fitment. I will also use some special cloth used for vacuum bagging CF that will leave a nice matte finish on the surface and releases well. I can then re-sand to a nice shiny surface.
I will also be painting the backside in flat black as well as the end caps since they are not 100% exposed carbon fiber on both sides
UPDATE 12/18:
After about 10 more hours of labor I have gotten a bit further. Both side skirts are almost at the same point. The passenger side is being buffed shiny right now and the backsides of both will be painted flat black tomorrow. Hopefully tomorrow night ill have them setup and curing some of the cracks.
Pics:
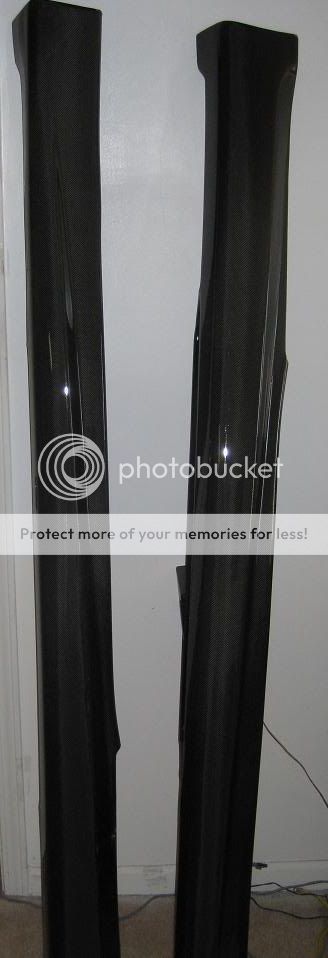
Passenger side, sanded up to 1500 grit, before buffing:
The back side......ugly silver and black. Will be painted flat back shortly:
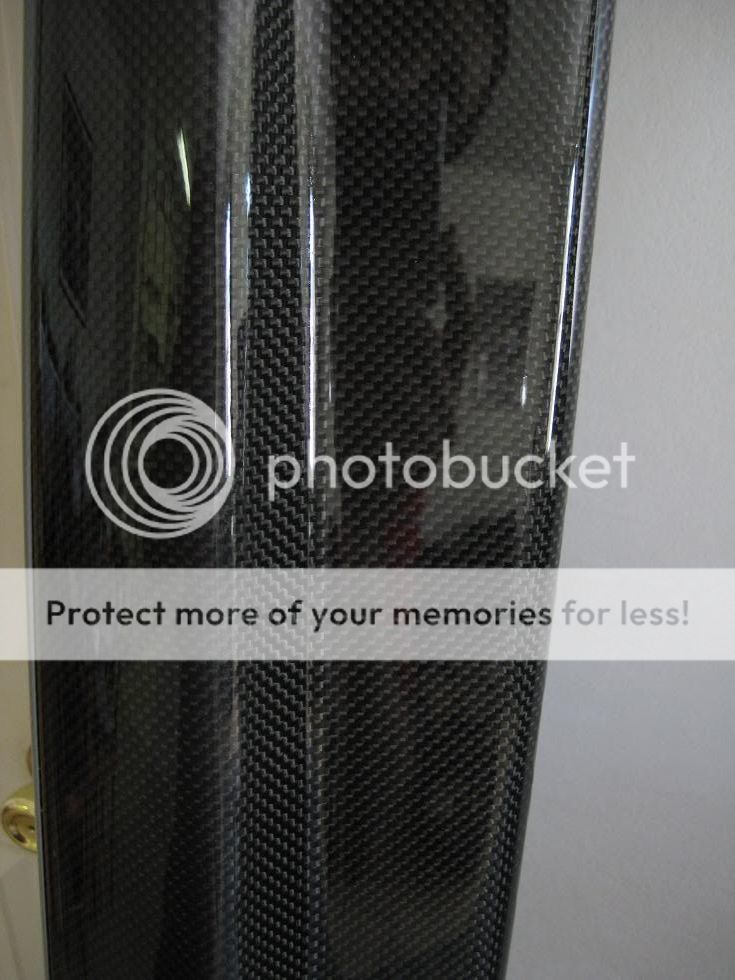
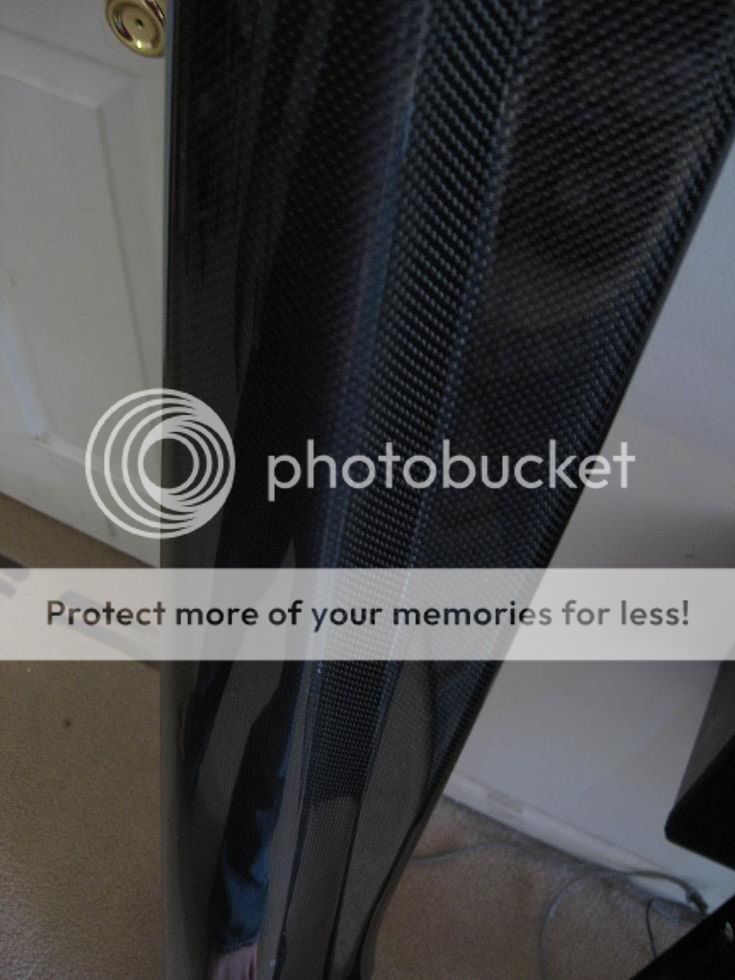
Comparison of buffed to unbuffed surfaces:

What I am using to buff:
Zaino PC ( green stuff)
Porter Cable, speed 5-6
Lake County orange buffing pad
*my camera sucks and im no help, sorry if the pics didnt come out well. Its much easier to see the difference of buffed to unbuffed in person*
UPDATE 12/21/2008
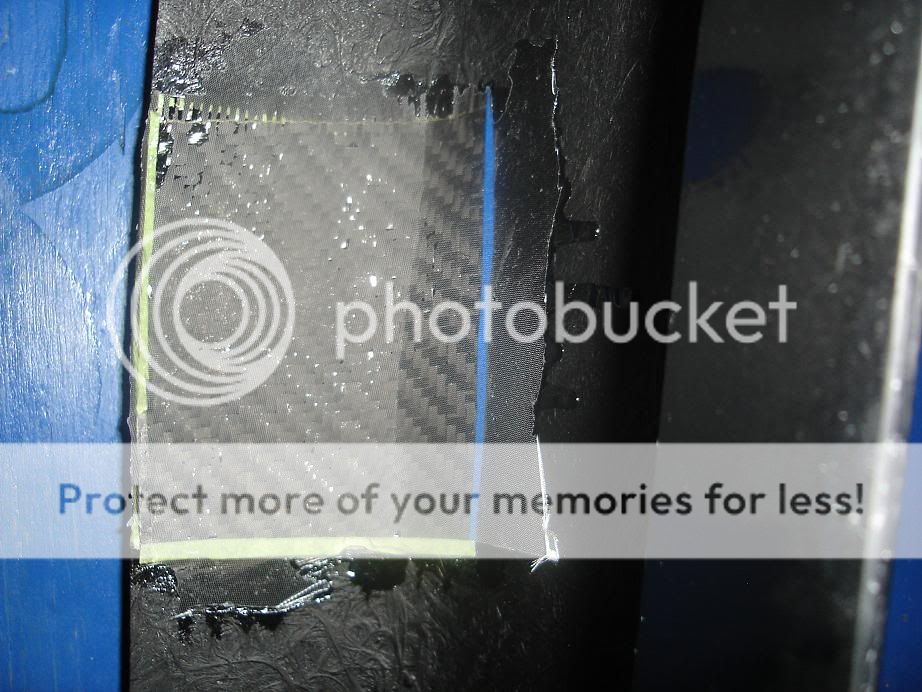
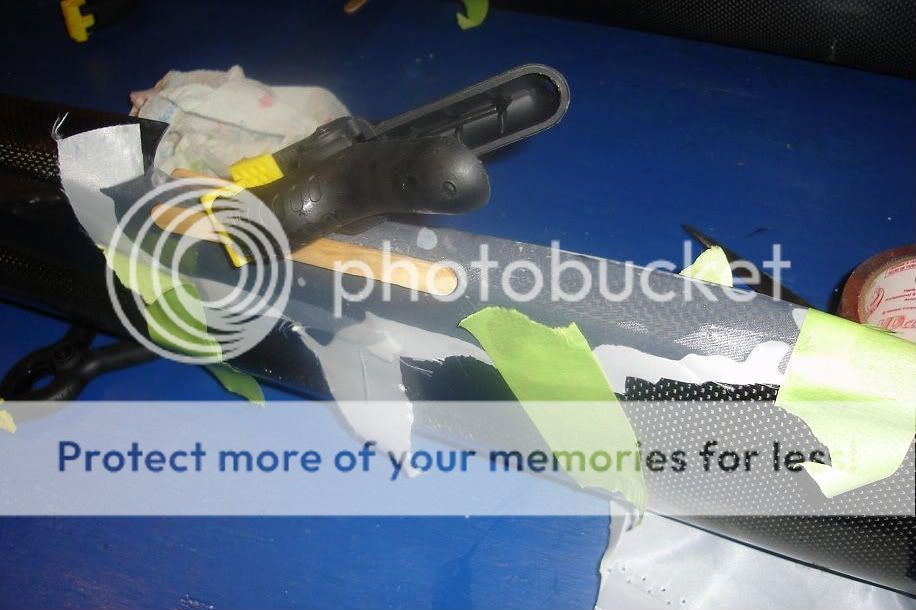
Working on the first two structural cracks.
Crack 1:
This crack will have to be held in compression for curing. I cut out the filler piece since it was getting in the way when compressing the skirt back into its original shape.
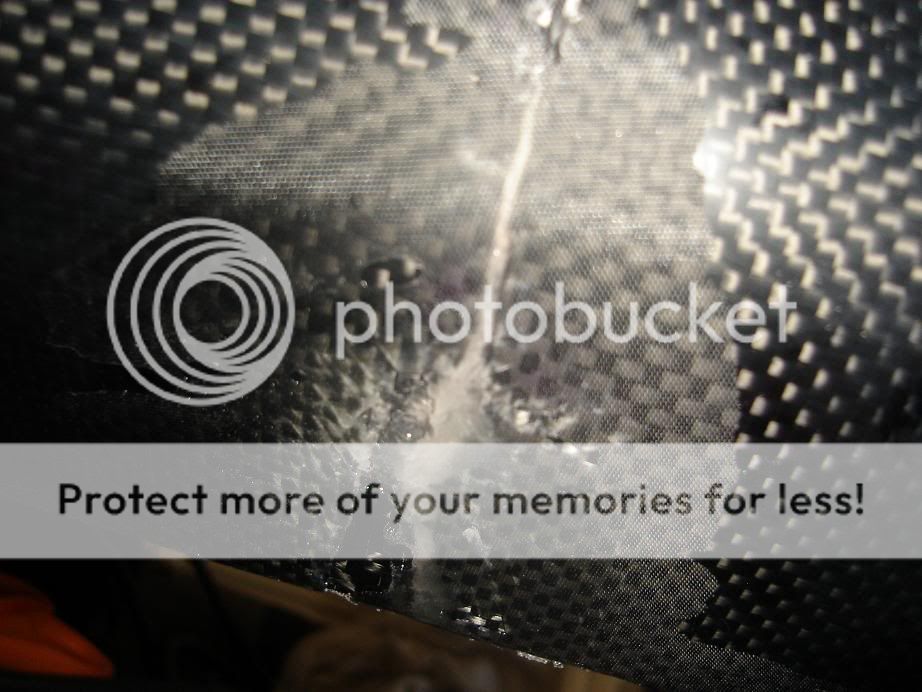
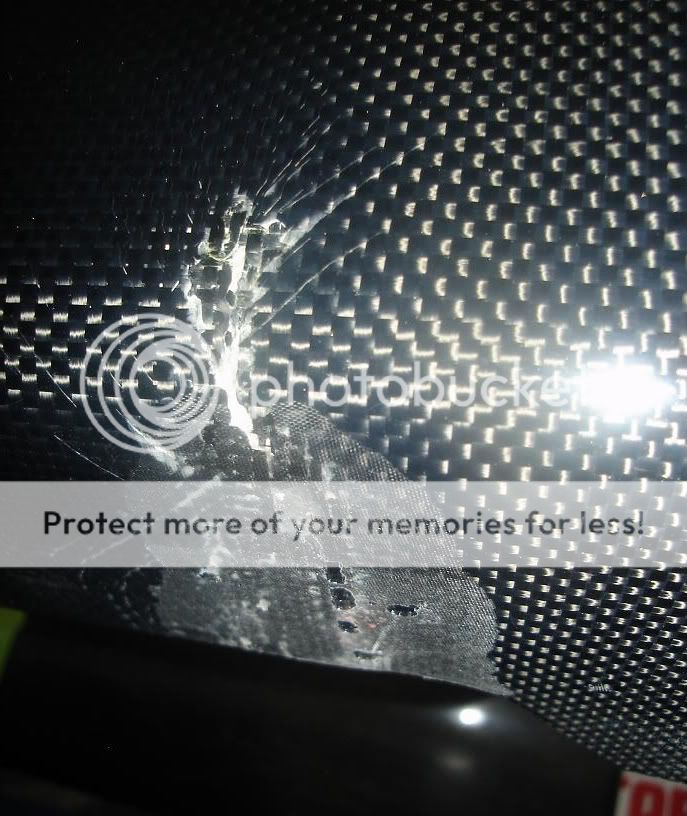
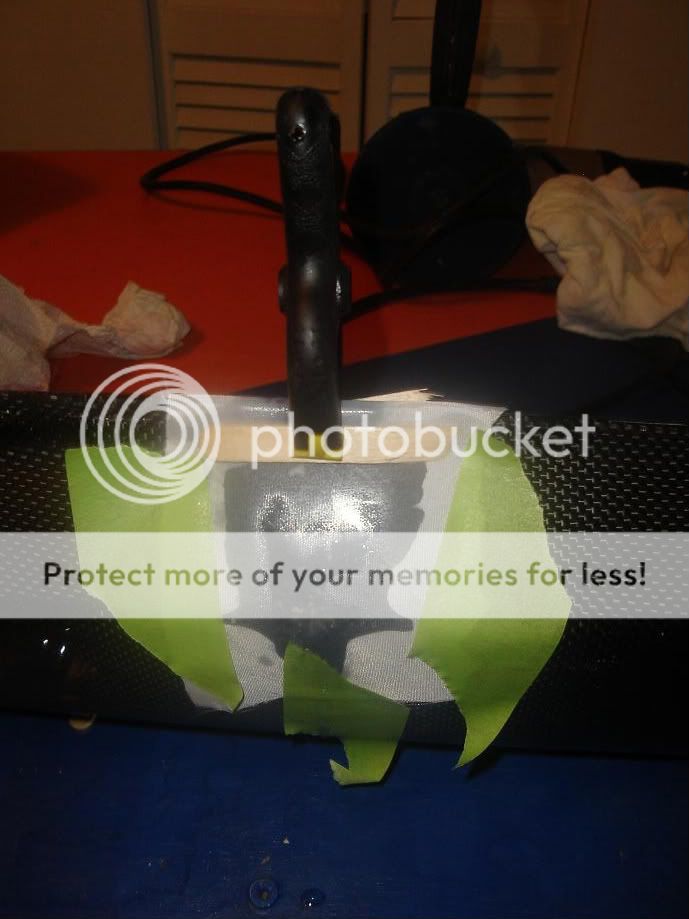
Crack 2:
This crack has to be held in tension for curing. Its hard to see the crack since it doesnt have any CF missing and the crack receded under the top(reason it has to be in tension to bring it back to its original position)
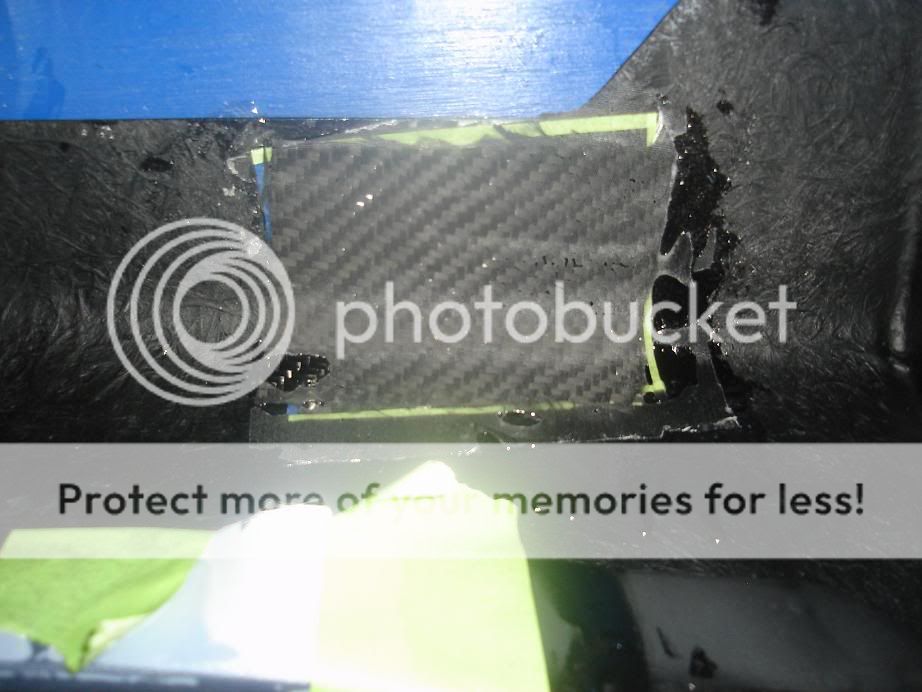
I used a special cloth used in vacuum bagging that releases easily from resin and leaves a nice matte finish.
Carbon Fiber twill weave sheets that i used:
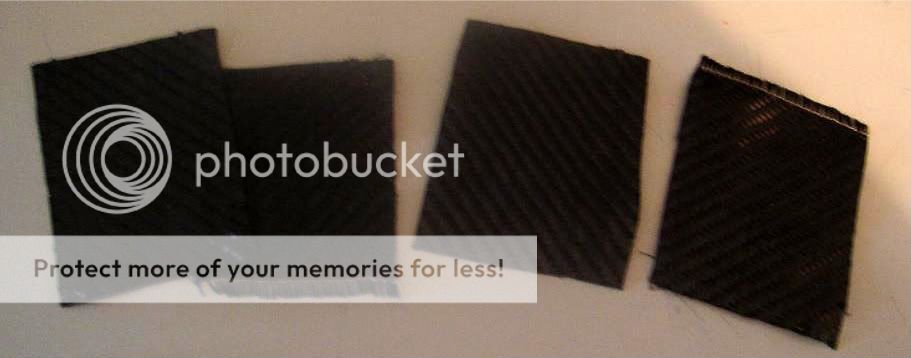
Sheets were cut so that when overlapped onto each other their weaves were going in opposite directions. This will give the maximum strength for the CF used. Twill weave is not as strong as plain weave. Twill is normally used for curvy surfaces since it wraps around curves better. Its what I had and should suffice.
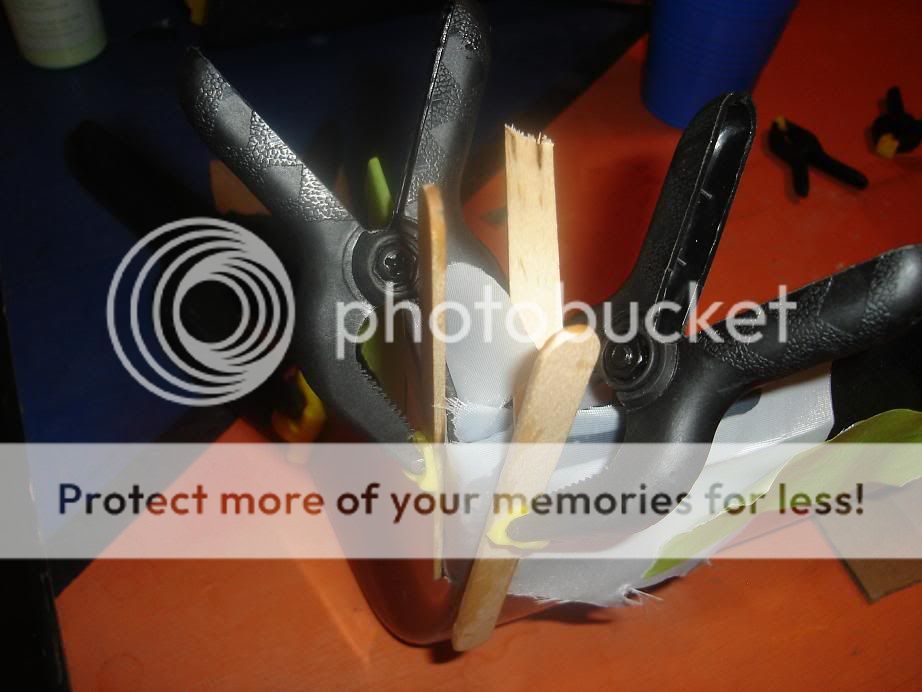
All clamped up:
GOT CLAMP!

I used popsicle sticks to help distribute the force of the clamps so there would not be any major pressure points. In these pics you can see the white cloth that protects my clamps and other items from adhering to the side skirts.
The resin will fully cure in 36 hours. Tomorrow I will fix the last remaining huge cracks and leave them to set over the break. After that ill fill the remaining cracks/chips ect and hopefully come January theyll be ready for some sanding and coats of clear and more sanding/buffing and then onto the car.
I can see this project being a 50hr project when all is said and done. The total cost will be under $225 for all materials and the side skirts.
UPDATE 12/22/2008
Round two of crack repair:
Took off the clamps and all from the first two huge structural cracks and i started on the other cracks/visual defects.
Crack 3:
Crack 4:
Busted corners:
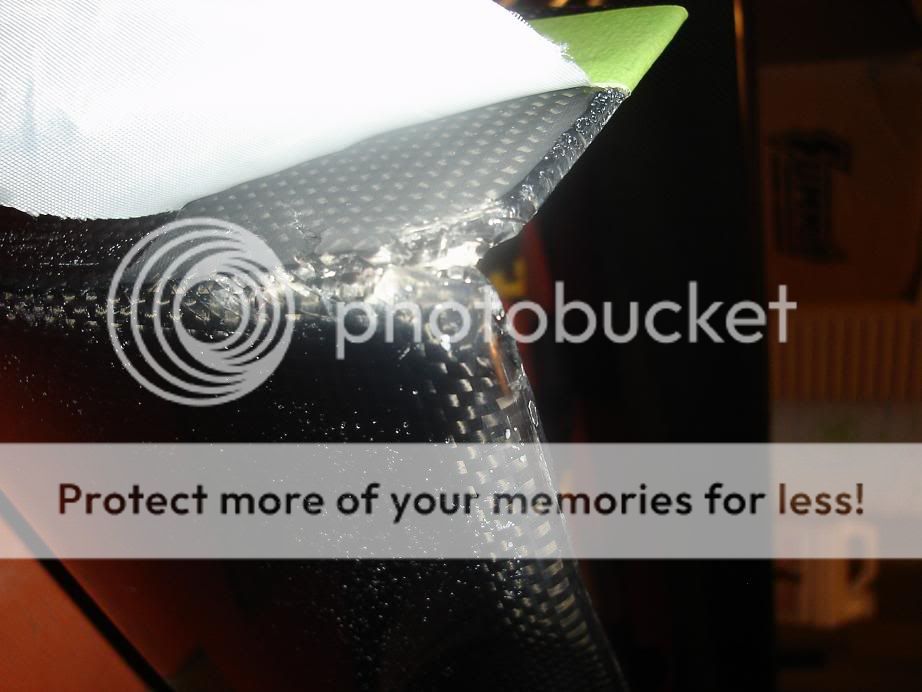
These corners will take a few layers of resin since theyre missing so much material. You cannot expect the resin to play nice and just fill the corner like you want it to, kinda sucks. I may have been able to use some clay to help the process but thats just one more thing to deal with
Crack 1 repair results:
backside:
Frontside:
Crack 2 repair results:
Backside:
Front side:
Not the prettiest but this round was for just the structural portion, ill add another layer of resin to smooth it out and make them pretty.
Current clamped up cracks:
Crack 3:
Crack 4:
Corner:
Comments on the structural integrity of the patches:
So far the patches seem VERY strong. They definitely stopped the flex of the skirts in that local area. I had contemplated adding a third layer of CF when I was repairing the cracks. I had done some mold work using just 2 layers and for a non load bearing piece it seemed to be sufficient. I also feel that I used sufficient size area of patches as well.
UPDATE 1/5/2009
This update skipped a few steps. Mostly after all the resin was dried, it was sanded level with the original surface. As you can see now in the pictures the entire sideskirt is sanded to 600grit.....no longer shiny. Not to worry! Ive got some clear coat spray on the way which will go on and make it all shiny again. Looking to do about 5 coats of clear minimum! Then ill let it dry and buff to a shine.
Pics:
Crack 1:
Crack2:
Crack 3:
Crack 4:
I may have the crack numbers wrong, but you get the idea.
Entire skirt pics:
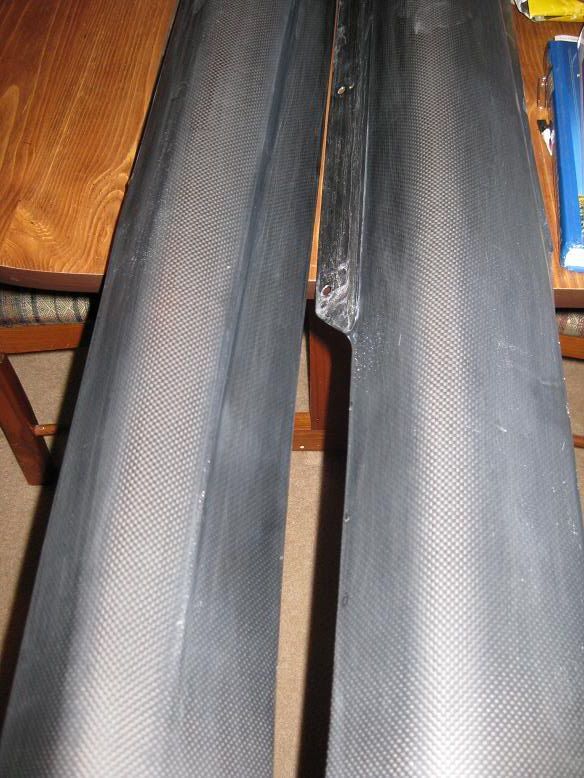
Theyre still a bit dirty! Gonna clean them up with some soapy water.
UPDATE 2/12/2009
Here are some pics after the initial 4 coats of clear. Glossy and reflective!! WOOT! Gotta wetsand some runs out and surface imperfections and then reclear with 4 more coats.
PICS:

The original owner had them painted his car color, some sort of silver. They were in great shape paint wise and structurally........that is before DHL got a hold of them. I knew i was going to have to remove the paint but wasnt aware i was going to have to repair cracks as well.
Pics:
What itll look like on the car:
What they looked like before they were sent:
What they looked like after i received them:
Close ups:
DHL did a number on them. They accordion pressed the box by over 3 inches!!! The side skirts had no where to go = cracks.
Well.....this is what the drivers side looks like after over 15hrs of labor:
As you can see, there was also some underlying damage that the paint covered up. Most likely the original owner had run them on the car unpainted at first and messed them up a bit and then had them painted.
Now iIget to repair/patch the cracks. I will be using some carbon fiber cloth i had laying around. Most of the cracks will get 2 layers of 2x2 twill weave and resin. The 2 layers will be strong enough to hold its shape while being thin enough to not effect fitment. I will also use some special cloth used for vacuum bagging CF that will leave a nice matte finish on the surface and releases well. I can then re-sand to a nice shiny surface.
I will also be painting the backside in flat black as well as the end caps since they are not 100% exposed carbon fiber on both sides
UPDATE 12/18:
After about 10 more hours of labor I have gotten a bit further. Both side skirts are almost at the same point. The passenger side is being buffed shiny right now and the backsides of both will be painted flat black tomorrow. Hopefully tomorrow night ill have them setup and curing some of the cracks.
Pics:
Passenger side, sanded up to 1500 grit, before buffing:
The back side......ugly silver and black. Will be painted flat back shortly:
Comparison of buffed to unbuffed surfaces:
What I am using to buff:
Zaino PC ( green stuff)
Porter Cable, speed 5-6
Lake County orange buffing pad
*my camera sucks and im no help, sorry if the pics didnt come out well. Its much easier to see the difference of buffed to unbuffed in person*
UPDATE 12/21/2008
Working on the first two structural cracks.
Crack 1:
This crack will have to be held in compression for curing. I cut out the filler piece since it was getting in the way when compressing the skirt back into its original shape.
Crack 2:
This crack has to be held in tension for curing. Its hard to see the crack since it doesnt have any CF missing and the crack receded under the top(reason it has to be in tension to bring it back to its original position)
I used a special cloth used in vacuum bagging that releases easily from resin and leaves a nice matte finish.
Carbon Fiber twill weave sheets that i used:
Sheets were cut so that when overlapped onto each other their weaves were going in opposite directions. This will give the maximum strength for the CF used. Twill weave is not as strong as plain weave. Twill is normally used for curvy surfaces since it wraps around curves better. Its what I had and should suffice.
All clamped up:
GOT CLAMP!
I used popsicle sticks to help distribute the force of the clamps so there would not be any major pressure points. In these pics you can see the white cloth that protects my clamps and other items from adhering to the side skirts.
The resin will fully cure in 36 hours. Tomorrow I will fix the last remaining huge cracks and leave them to set over the break. After that ill fill the remaining cracks/chips ect and hopefully come January theyll be ready for some sanding and coats of clear and more sanding/buffing and then onto the car.
I can see this project being a 50hr project when all is said and done. The total cost will be under $225 for all materials and the side skirts.
UPDATE 12/22/2008
Round two of crack repair:
Took off the clamps and all from the first two huge structural cracks and i started on the other cracks/visual defects.
Crack 3:
Crack 4:
Busted corners:
These corners will take a few layers of resin since theyre missing so much material. You cannot expect the resin to play nice and just fill the corner like you want it to, kinda sucks. I may have been able to use some clay to help the process but thats just one more thing to deal with
Crack 1 repair results:
backside:
Frontside:
Crack 2 repair results:
Backside:
Front side:
Not the prettiest but this round was for just the structural portion, ill add another layer of resin to smooth it out and make them pretty.
Current clamped up cracks:
Crack 3:
Crack 4:
Corner:
Comments on the structural integrity of the patches:
So far the patches seem VERY strong. They definitely stopped the flex of the skirts in that local area. I had contemplated adding a third layer of CF when I was repairing the cracks. I had done some mold work using just 2 layers and for a non load bearing piece it seemed to be sufficient. I also feel that I used sufficient size area of patches as well.
UPDATE 1/5/2009
This update skipped a few steps. Mostly after all the resin was dried, it was sanded level with the original surface. As you can see now in the pictures the entire sideskirt is sanded to 600grit.....no longer shiny. Not to worry! Ive got some clear coat spray on the way which will go on and make it all shiny again. Looking to do about 5 coats of clear minimum! Then ill let it dry and buff to a shine.
Pics:
Crack 1:
Crack2:
Crack 3:
Crack 4:
I may have the crack numbers wrong, but you get the idea.
Entire skirt pics:
Theyre still a bit dirty! Gonna clean them up with some soapy water.
UPDATE 2/12/2009
Here are some pics after the initial 4 coats of clear. Glossy and reflective!! WOOT! Gotta wetsand some runs out and surface imperfections and then reclear with 4 more coats.
PICS:
Last edited by Cux350z; Feb 12, 2009 at 06:27 PM. Reason: update


Thread Starter
Joined: Apr 2005
Posts: 15,390
Likes: 1,085
From: Greenville, SC
^Im not repairing the broken weave. Im just restoring some of the structure of the side skirts and filling in the chipped resin areas. The final visual appearance will not be 100% like new but will still give me a nice rare set of side skirts.
Jason, try www.fiberglast.com . Their prices are not too bad and they have a lot of info on their site. A lot of places will unload carbon fiber on ebay as well. As far as a resin, read up on what you want to work with. Theres several different types. I use an epoxy based resin that has good characteristics for flow and working time. One of the hardest parts of CF work is manipulating the resin to do what you want it to do.
check out this video for a start, itll get you through the basics.
http://video.google.com/videoplay?do...q=carbon+fiber
Trending Topics

Thread Starter
Joined: Apr 2005
Posts: 15,390
Likes: 1,085
From: Greenville, SC
They werent given away, they were practically given away. 
Noraprat gave me a sweet deal on them.
Theyre going to look like a freshly shaved face tomorrow when i patch all the bad areas/cracks/pits ect.
Noraprat gave me a sweet deal on them.
Theyre going to look like a freshly shaved face tomorrow when i patch all the bad areas/cracks/pits ect.

Thread Starter
Joined: Apr 2005
Posts: 15,390
Likes: 1,085
From: Greenville, SC
Thanks for the kind words guys!
One last update before Christmas. Ill start round 3 once I get back from traveling.
Whats left to do:
-Round 3 and 4 of crack repair/surface leveling
-Sand repairs to 600 grit and resand entire surface to make it match.
-Clear coat---------several coats of automotive clear to protect the surface from UV
-Sand the clear coat smooth up to 1500 grit, buff!
Ill get pics all along the way......cant wait to get these mounted itll really connect my front and rear diffusers to each other.


