
DeatschWerks Injector Install w/ PICS!!!


Thread Starter
Registered User
iTrader: (8)
Joined: Apr 2003
Posts: 3,869
Likes: 4
From: Vero Beach, Florida
I decided to document the install of my DeatschWerks Injectors. If you are familiar with these injectors, they are modified factory-style injectors. They are flowed and matched. They come packaged as a set with flow sheets. I think mine varied from 549 cc/min -552 cc/min. that very tight!!!
I am starting the install process assuming that you have already removed the intake manifold......
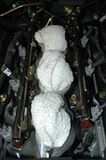
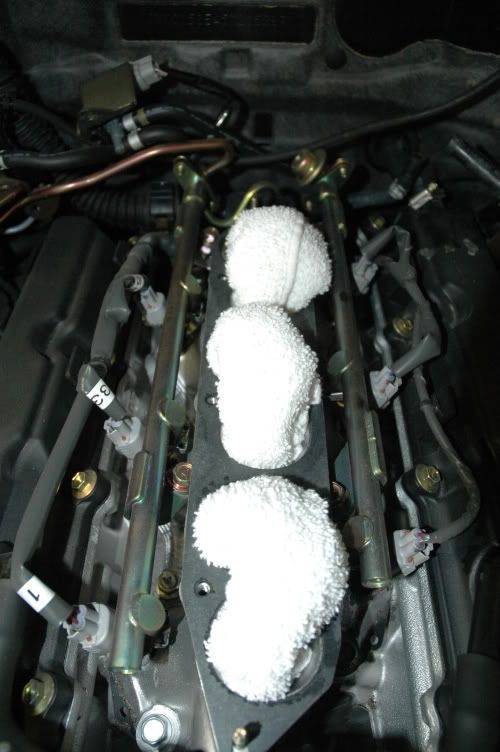
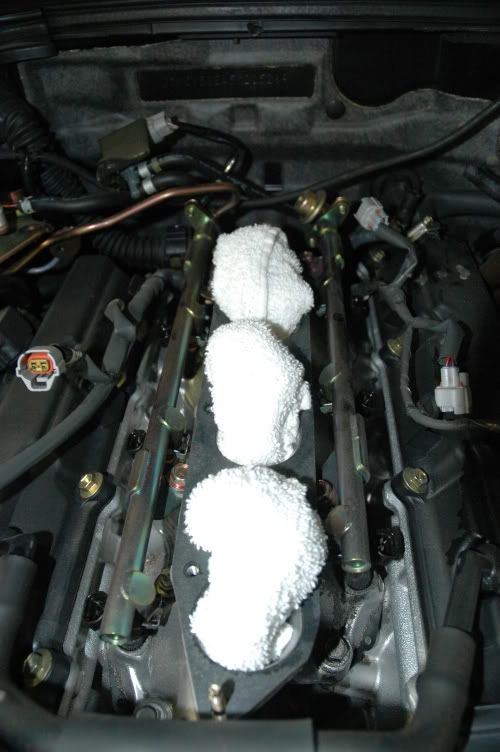
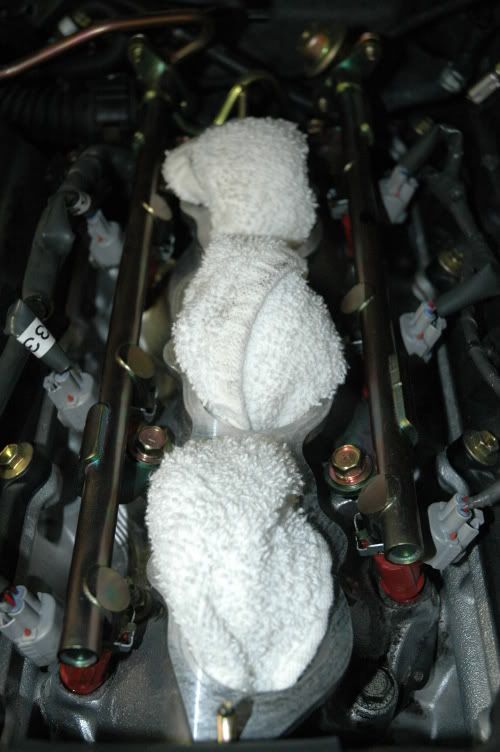
1) plug the lower manifold holes with shop rags or use masking tape. Remember to remove the manifold gasket. I forgot to,a nd I had to take it off prior to step 3.
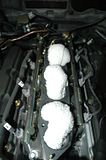
2) unplug the injector harness from the 6 injectors. They unplug very easily. no tools are necessary, just your fingers.
3) Unbolt the 4 bolts that hold down the rails to the manifold. IIRC, you need a 12mm socket. There are 2 bolts toward teh front of the rails and 2 bolts toward the back.. They are easily identifiable.
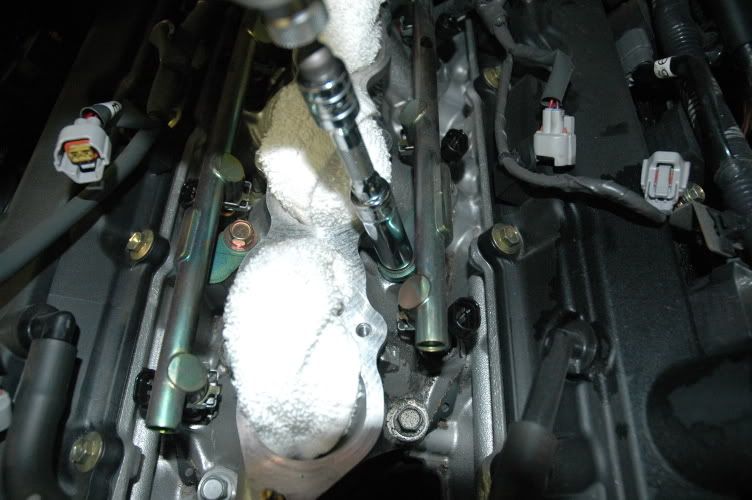
4) Once the rails are unbolted from the manifold, you can lift up on the front of the rails to pull the injectors out of the manifold. pull up on both rails at the same time with even but moderate pressure. They should pop out fairly easily.
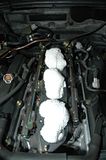
5) Now comes the injector removal. This is also easy, but you will spill some gas! The injectors are held onto the rail with a clip. the clip comes off easily with your fingers. Just wiggle them off. You can the clips where the injector connects to the rail. I choose to unclip each injector one at a time, but you can take them all off if you want to. Save the clips. you'll need them to reinstall the new injectors. Once you have the clips off, pull straight down on the injector. There is an O-ring that is holding and sealing the injector into the rail. again, light force will get the injector out. no tools needed.
Here's a pic of the stock injectors.

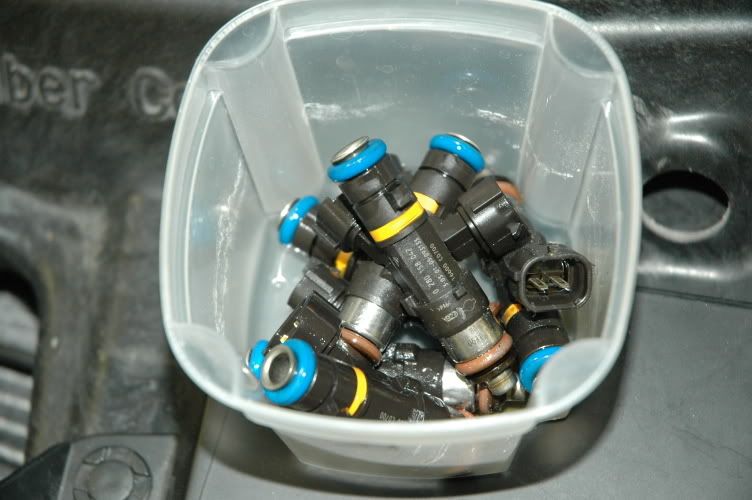
Here's how the DeatschWerks injectors come packaged

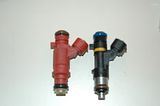
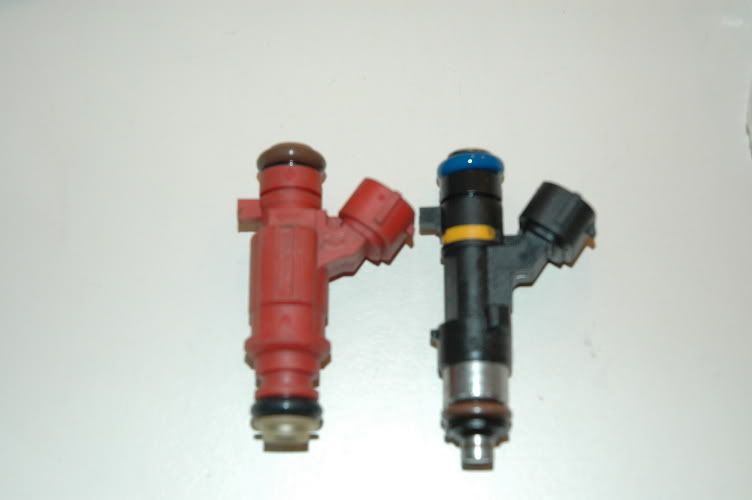
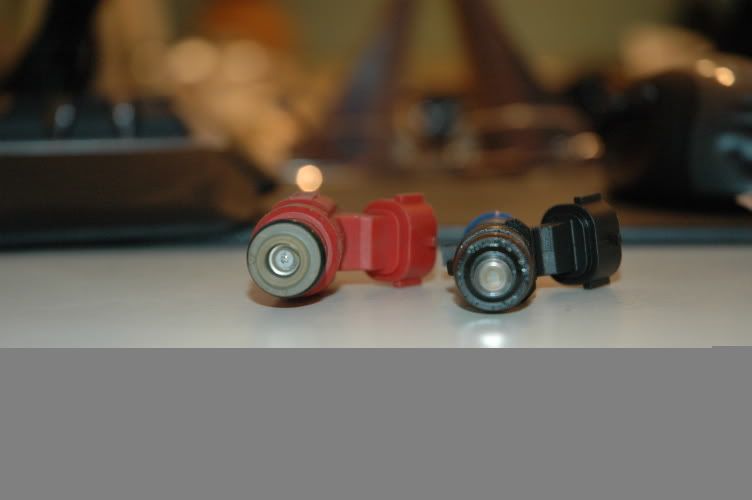
A shot of the new injector side-by-side with the stock injectors. The new one are slightly shorted on the nozzle end. all else is the same! That's what makes these injectors so nice!
here's the nozzle openings...sorry the pic didn't come out too clearly.

6) Back to the installation. Prior to installing the new injectors, DeatchWerks recommends lubing the o-rings with a little motoroil. I used some Mobil 1 5W30 I had on the shelf. I just dipped my finger into the oil and then massaged a little oil into the O-rings. very simple. You don't need much!
7) Now that the injector O-ring are lubed, it is time to seat the injectors into the rail. The injectors fir perfectly up into the rail, but you can push them in too far. If you do, the injector reatining clip won't have it's little slot to clip into. Again, I installed each inject on-at-a-time and then installed the reataining clip. The clips are easy to put on, but it takes a little wiggling to make sure they are seated correctly. At first, I thought I had it clicked in right, but then I wiggle the injector and realized that I could moved it around and pull it out. When clipped properly, the injector is well locked into place.
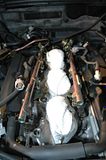
8) Once all the injector are seated and clipped, you can push the injectors/rails back into the manifold. the, finger tighten the 4 bolts to hold the rails onto the manifold. Then toque the bolts sequentially....1st torque then to 8ft-lbs. Then go back and retorque then to 19 ft-lbs. (this is from the service manual.)
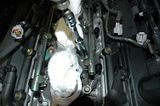
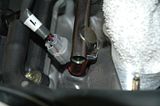
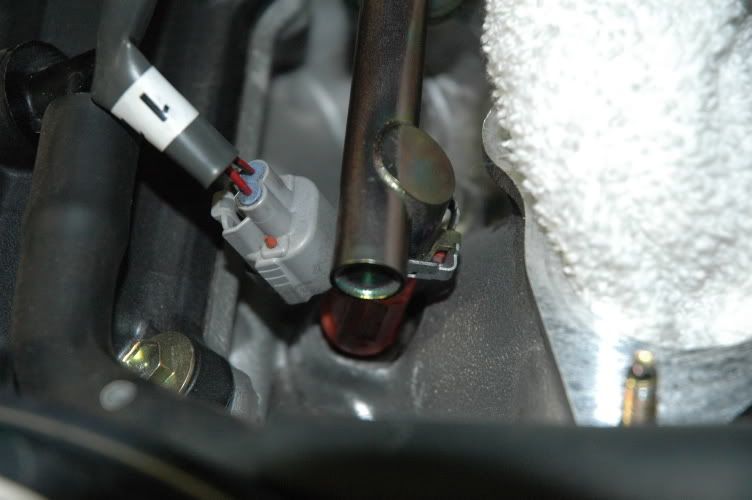
9) almost done. clip the wiring harness connectors back onto each injector. It should look like this.
10) at this point I doubled checked my installation and wiped up any excess fuel that spilled from the rails during removal. Then, I turned the key to the "ON" position. I did this about 5 times (wait about 5 seconds between each time). This is doen to pressurize the fuel rail so that you can check for leaks. Hopefully, NO LEAKS!!!!
go ahead, and put your upper manifold back on and all other piping , TB, hardware, etc. I am using a UTEC, and I had to make an educate guess on how much to scale back these larger injectors. For those familiar with UTEC, I used a "-15%" value on the "0" column to scale the injectors. The car started right up and idled perfectly. the idle A:F ratio was rith between 14.7:1 and 15:1,....just like stock.
I haven't had a chance to do much testing yet, but I am really happy with these injectors. I don't know if there are any downsides to them.
The upsides are these:
Less expensive....about $400 for 6) 550cc/min injectors
wiring harness is plug-n-play! NO SOLDERING!!!! and no harness adapters to buy!!
Reuses Factory rataining clips!!! some other injectors don't use any at all.
Have Fun!!!
Andrew
I am starting the install process assuming that you have already removed the intake manifold......
1) plug the lower manifold holes with shop rags or use masking tape. Remember to remove the manifold gasket. I forgot to,a nd I had to take it off prior to step 3.
2) unplug the injector harness from the 6 injectors. They unplug very easily. no tools are necessary, just your fingers.
3) Unbolt the 4 bolts that hold down the rails to the manifold. IIRC, you need a 12mm socket. There are 2 bolts toward teh front of the rails and 2 bolts toward the back.. They are easily identifiable.
4) Once the rails are unbolted from the manifold, you can lift up on the front of the rails to pull the injectors out of the manifold. pull up on both rails at the same time with even but moderate pressure. They should pop out fairly easily.
5) Now comes the injector removal. This is also easy, but you will spill some gas! The injectors are held onto the rail with a clip. the clip comes off easily with your fingers. Just wiggle them off. You can the clips where the injector connects to the rail. I choose to unclip each injector one at a time, but you can take them all off if you want to. Save the clips. you'll need them to reinstall the new injectors. Once you have the clips off, pull straight down on the injector. There is an O-ring that is holding and sealing the injector into the rail. again, light force will get the injector out. no tools needed.

Here's a pic of the stock injectors.
Here's how the DeatschWerks injectors come packaged

A shot of the new injector side-by-side with the stock injectors. The new one are slightly shorted on the nozzle end. all else is the same! That's what makes these injectors so nice!
here's the nozzle openings...sorry the pic didn't come out too clearly.
6) Back to the installation. Prior to installing the new injectors, DeatchWerks recommends lubing the o-rings with a little motoroil. I used some Mobil 1 5W30 I had on the shelf. I just dipped my finger into the oil and then massaged a little oil into the O-rings. very simple. You don't need much!
7) Now that the injector O-ring are lubed, it is time to seat the injectors into the rail. The injectors fir perfectly up into the rail, but you can push them in too far. If you do, the injector reatining clip won't have it's little slot to clip into. Again, I installed each inject on-at-a-time and then installed the reataining clip. The clips are easy to put on, but it takes a little wiggling to make sure they are seated correctly. At first, I thought I had it clicked in right, but then I wiggle the injector and realized that I could moved it around and pull it out. When clipped properly, the injector is well locked into place.
8) Once all the injector are seated and clipped, you can push the injectors/rails back into the manifold. the, finger tighten the 4 bolts to hold the rails onto the manifold. Then toque the bolts sequentially....1st torque then to 8ft-lbs. Then go back and retorque then to 19 ft-lbs. (this is from the service manual.)
9) almost done. clip the wiring harness connectors back onto each injector. It should look like this.
10) at this point I doubled checked my installation and wiped up any excess fuel that spilled from the rails during removal. Then, I turned the key to the "ON" position. I did this about 5 times (wait about 5 seconds between each time). This is doen to pressurize the fuel rail so that you can check for leaks. Hopefully, NO LEAKS!!!!
go ahead, and put your upper manifold back on and all other piping , TB, hardware, etc. I am using a UTEC, and I had to make an educate guess on how much to scale back these larger injectors. For those familiar with UTEC, I used a "-15%" value on the "0" column to scale the injectors. The car started right up and idled perfectly. the idle A:F ratio was rith between 14.7:1 and 15:1,....just like stock.
I haven't had a chance to do much testing yet, but I am really happy with these injectors. I don't know if there are any downsides to them.
The upsides are these:
Less expensive....about $400 for 6) 550cc/min injectors
wiring harness is plug-n-play! NO SOLDERING!!!! and no harness adapters to buy!!
Reuses Factory rataining clips!!! some other injectors don't use any at all.
Have Fun!!!
Andrew


Thread Starter
Registered User
iTrader: (8)
Joined: Apr 2003
Posts: 3,869
Likes: 4
From: Vero Beach, Florida
i think they have 650s.
it is just nice not to have to solder new connectors onto the factory leads....especially if you need to go back to stock!!!
here's the link:
http://www.deatschwerks.com/nissan63.htm
it is just nice not to have to solder new connectors onto the factory leads....especially if you need to go back to stock!!!
here's the link:
http://www.deatschwerks.com/nissan63.htm

Although they still use the factory retaining clips in your application it does not look like you would have any problems not using retaining clips in applications where an aftermarket fual rail is used which does not use retaining clips.
Correct?
Correct?

Is there any advantage, power-wise, to getting larger injectors and a high flow pump? It seems like i read somewhere that the stock pump is undersized and there is some benefit to upsizing even w/o FI. In fact there is some hop-up shop that just replaces the pump and gets something from it.
Trending Topics

DeatschWerks injectors are fantastic. Stock everying, just a lot more flow. I've been running them for 10K miles now on my APS TT kit since they were better balanced than the APS injectors. No problems to date...tuned by GRD. 

i have this ..theya re sinply amazing for the price, simplicity of intalation... they literally save you a lot mroe than the RC... intensepower.com has this available on a a good deal
btw
btw
Thread Starter
Registered User
iTrader: (8)
Joined: Apr 2003
Posts: 3,869
Likes: 4
From: Vero Beach, Florida
thanks craig. The prics is right on these injectors and you don't have to hack you wiring harness to make them work. You can't ask for anyting more. Start up is easy. they just work!


