Wire Tuck in progress


 Same here got all my coolant pipe welded up and ready to power coat. Just been so lazy. lol

 06-11-2013, 08:08 PM
#28
Registered User

Looks great so far! I've been wanting to tuck at least my main harness for a while.
Did you stick the majority of it behind the engine and on top of the valve covers/under the plenum? Is there any worry about heat melting any of the wires?
Did you stick the majority of it behind the engine and on top of the valve covers/under the plenum? Is there any worry about heat melting any of the wires?

 06-18-2013, 04:37 PM
#31
hatersgonnahate

Thread Starter
iTrader: (162)
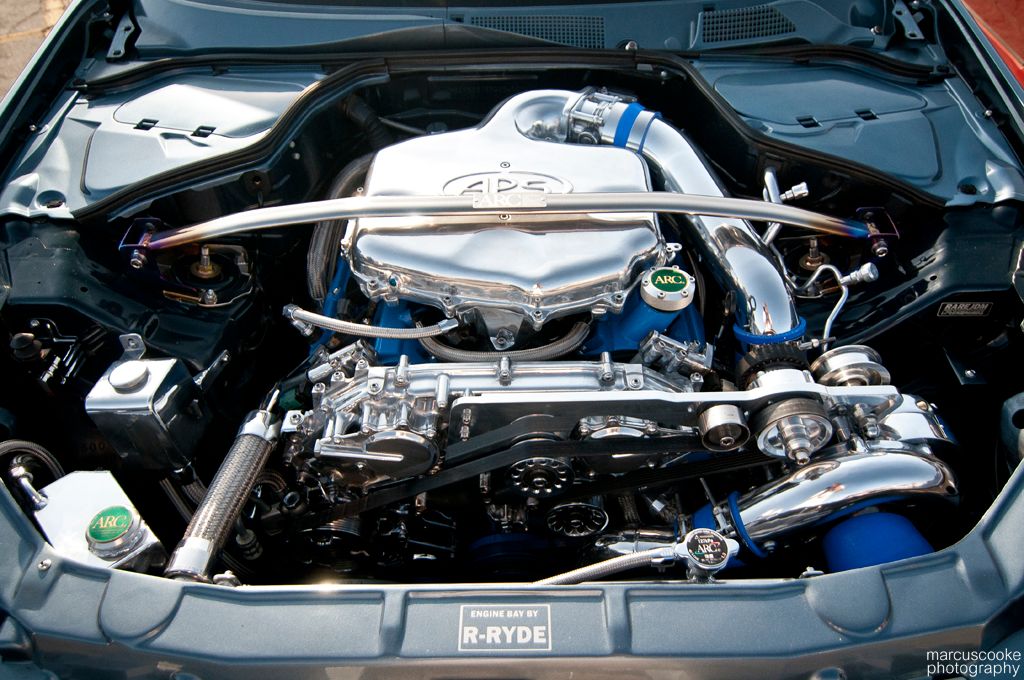
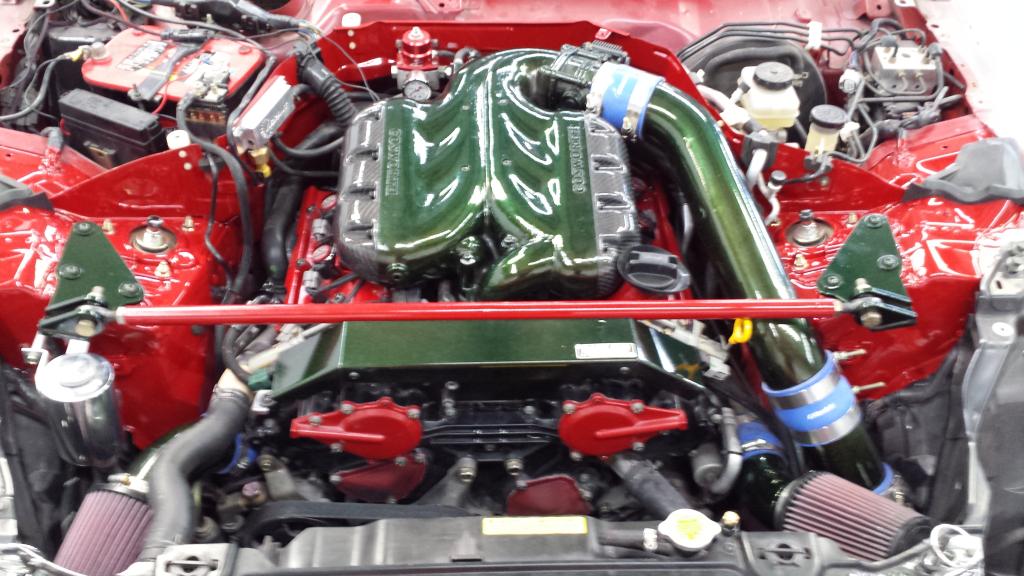
well aware or RRYDE. I have taken some of their ideas  . Love their engine bays.
I have even posted in some of the other wire tuck threads.
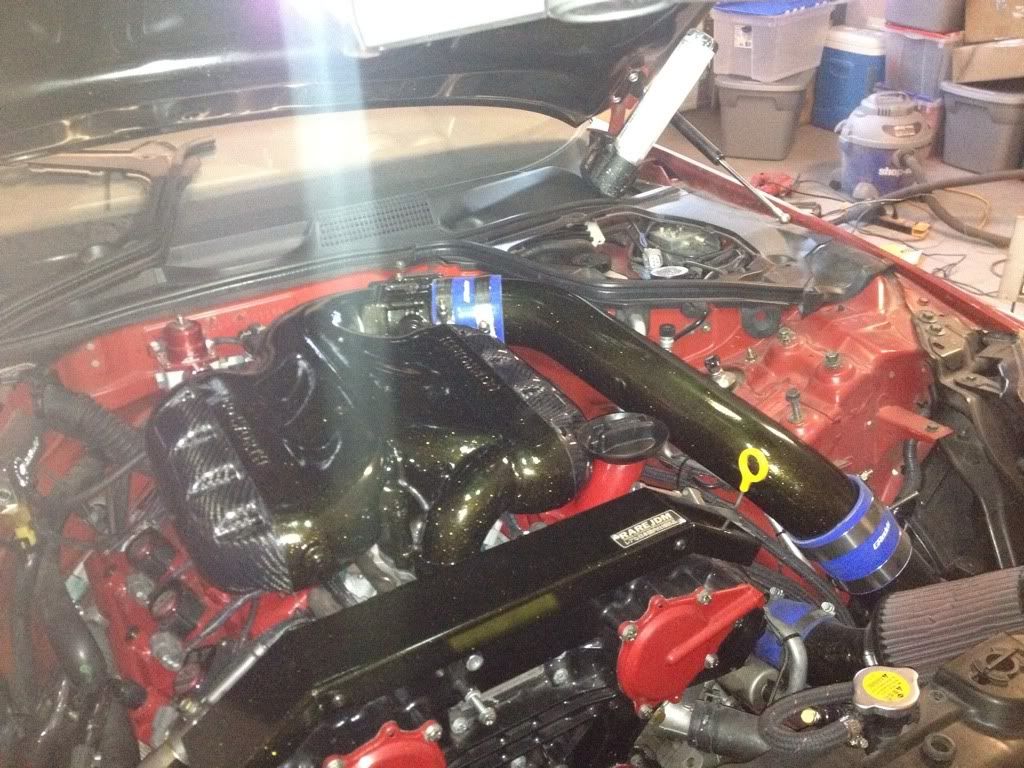
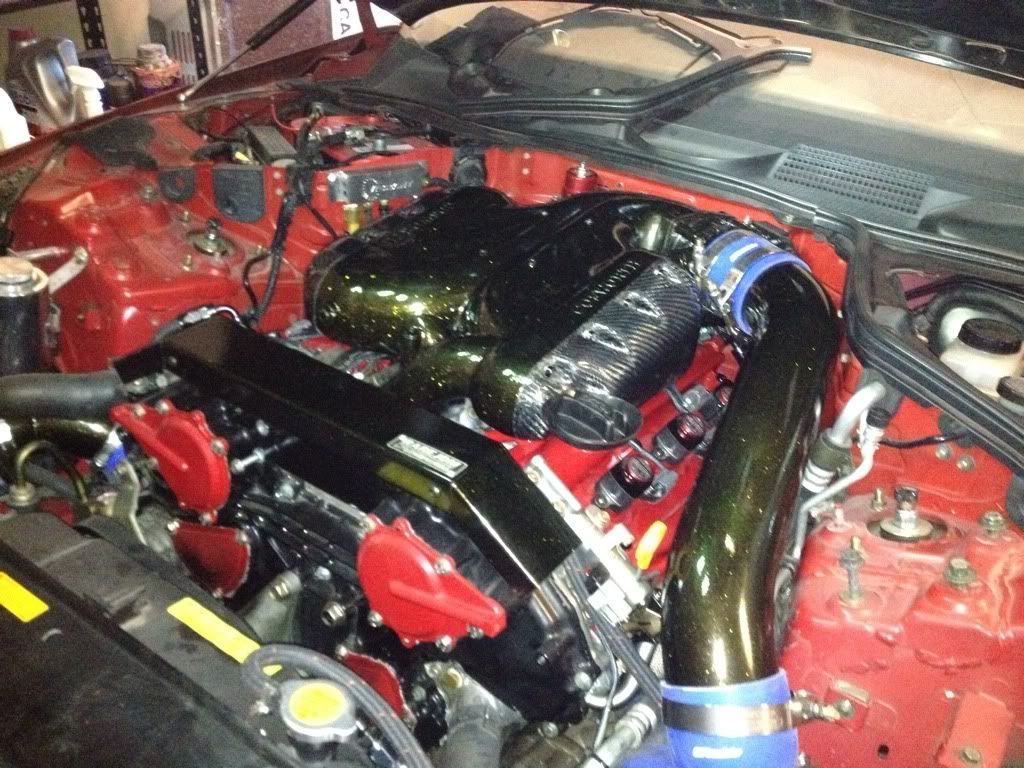
my bay so far....and this is not even complete.

. Love their engine bays. I have even posted in some of the other wire tuck threads.
my bay so far....and this is not even complete.


 06-13-2015, 06:34 PM
#37
hatersgonnahate
Thread Starter
iTrader: (162)
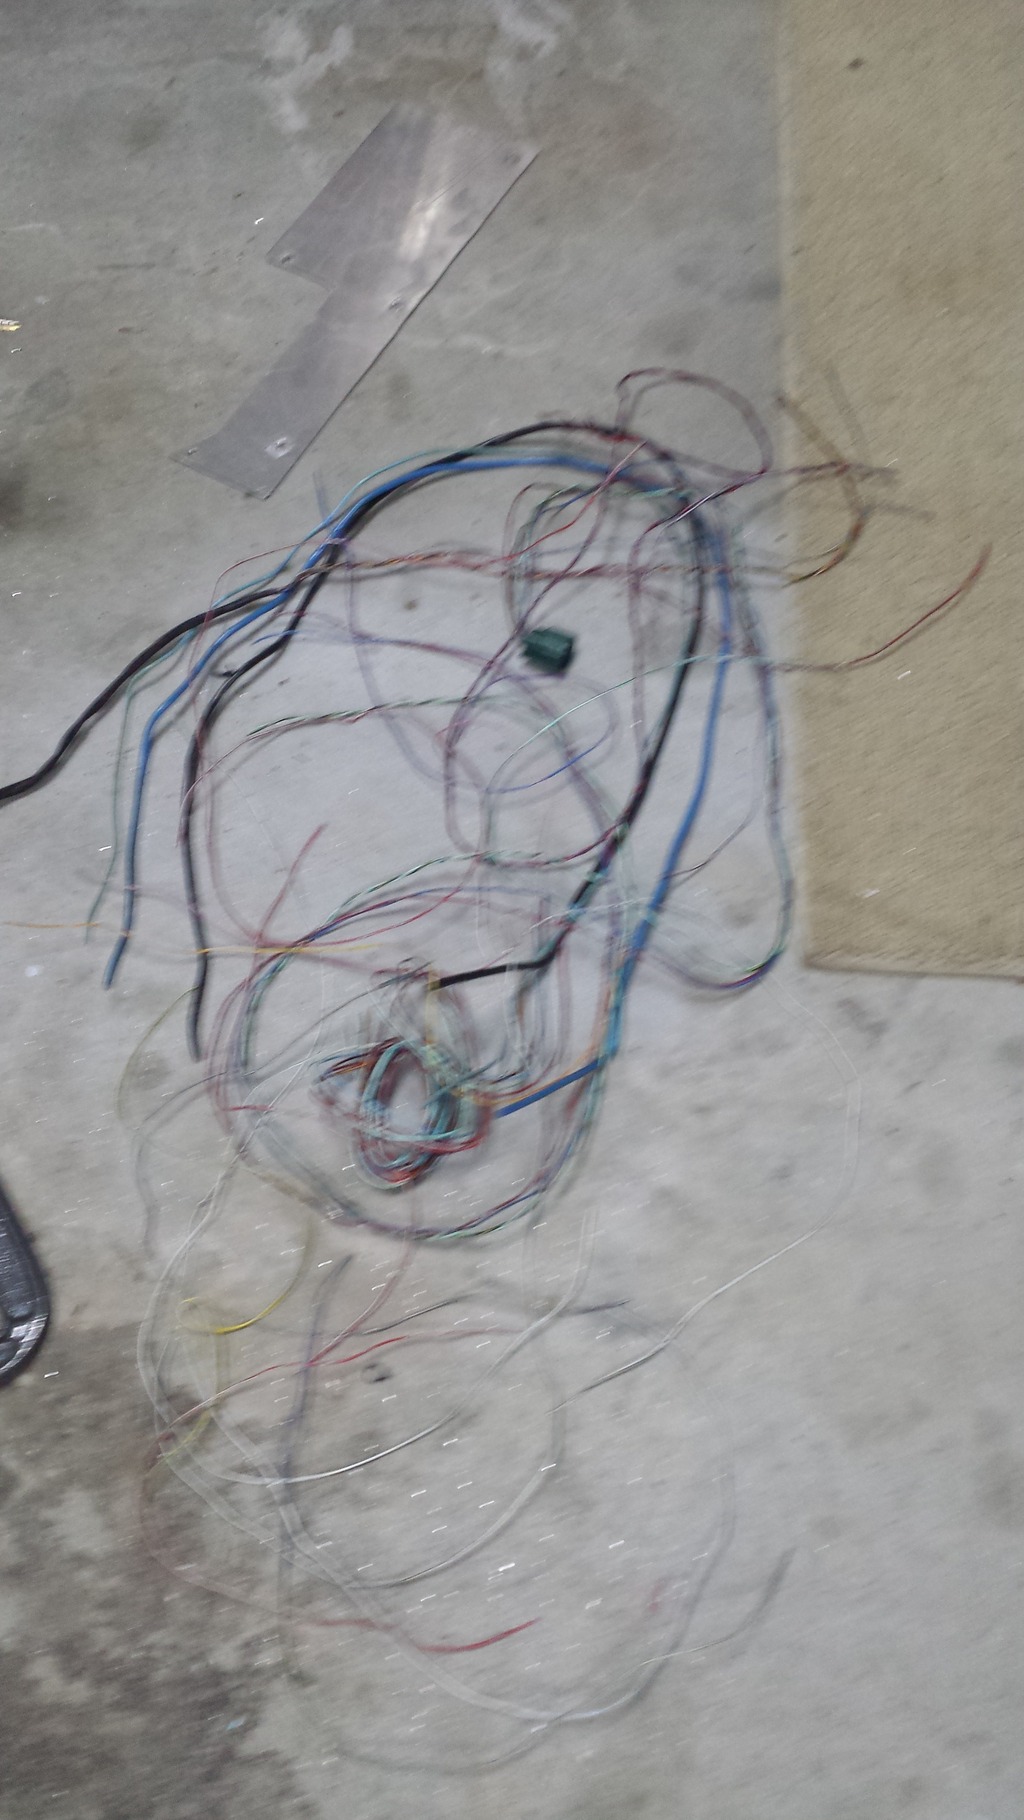
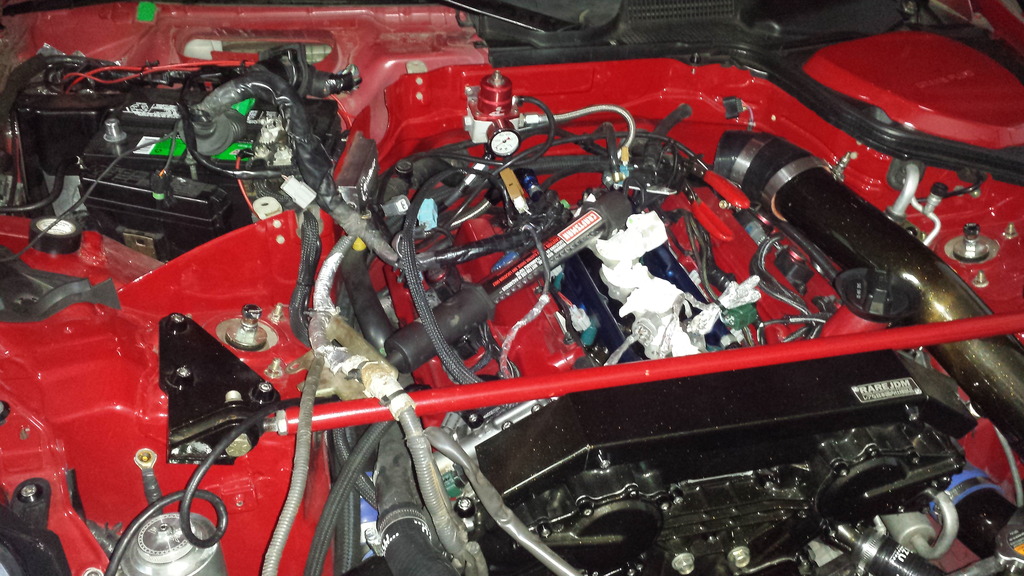
More updates. Decided to remove all the extra wire that Nissan just gives us for no reason!
Things that I am working on:
Deleted 2 upper O2 narrow sensor clips (unused with haltech)
Removing excess wire from TB, CAM position sensor cables. RE-sleeving
Removing excess cable, wire wrap and brackets that nissan put behind the engine (im on Solid Motor mounts..very little movement..dont need all that flex)
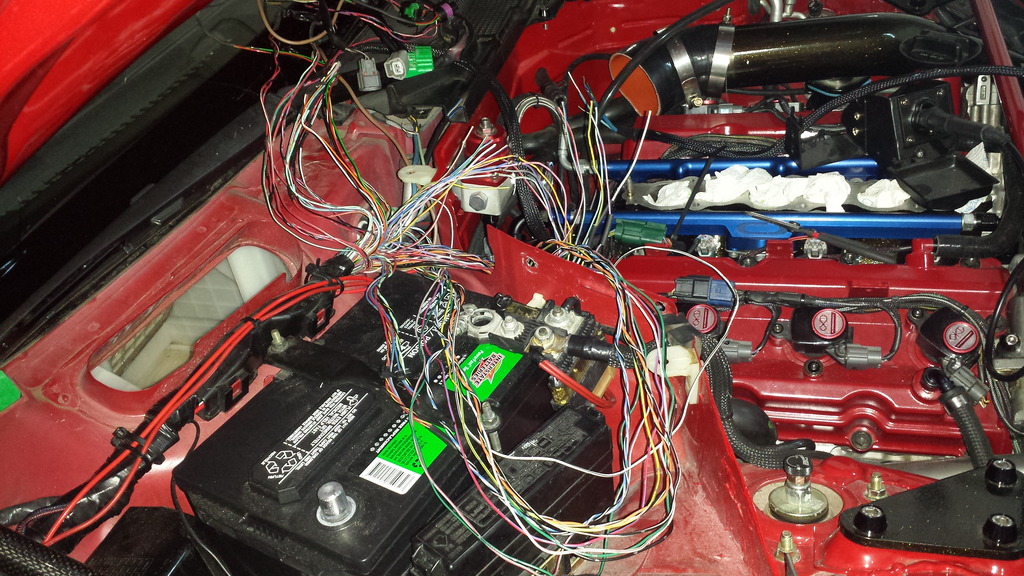
Relocated EGR, Boost Control Solenoid and Vacuum Dist block to the valley below the plenum just above the tranny. Plates are mounted to the rear coolant pipe...so much room back there when you delete the extra wiring Missan gives.
Wire that has been removed so far:
Some pictures of the progress:
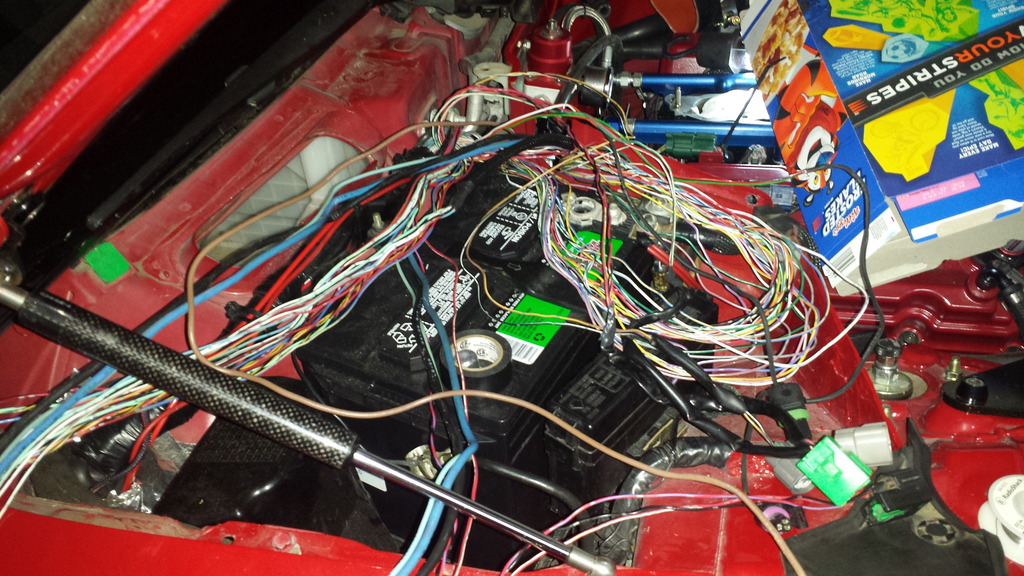
Here you can see the amount of excess wire that sits behind the motor.
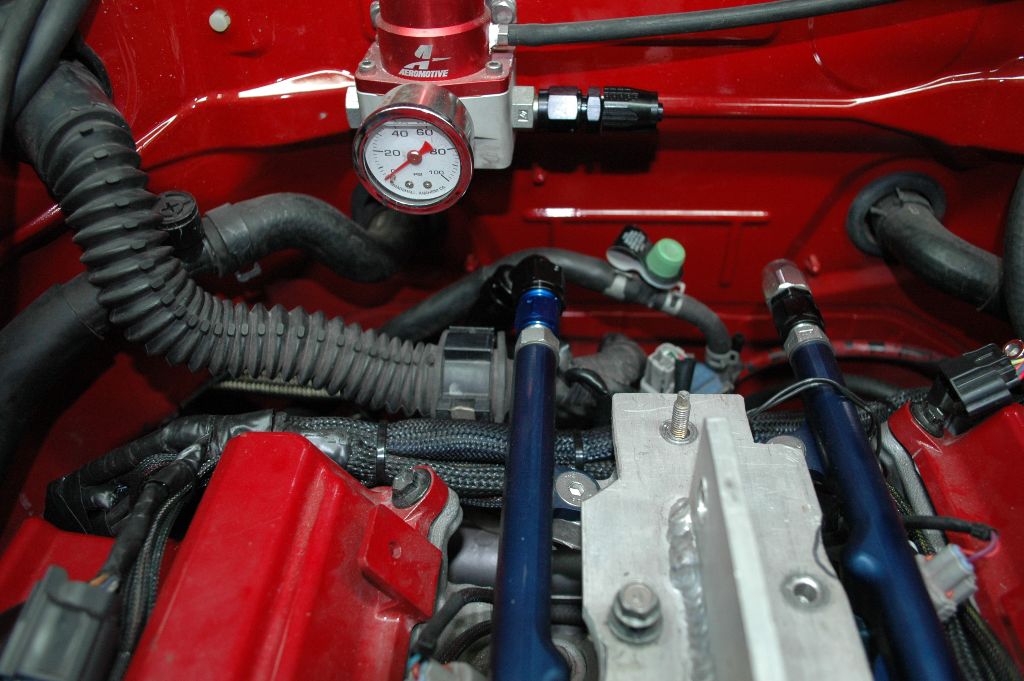
here you can see the vibrant vac distribution block and some of nissans oem wire routing. All the nissan junk got removed and the vac block got hidden
Had to pull the harness from he tranny/o2 sensors ect back on up since it is all tied together
The carnage
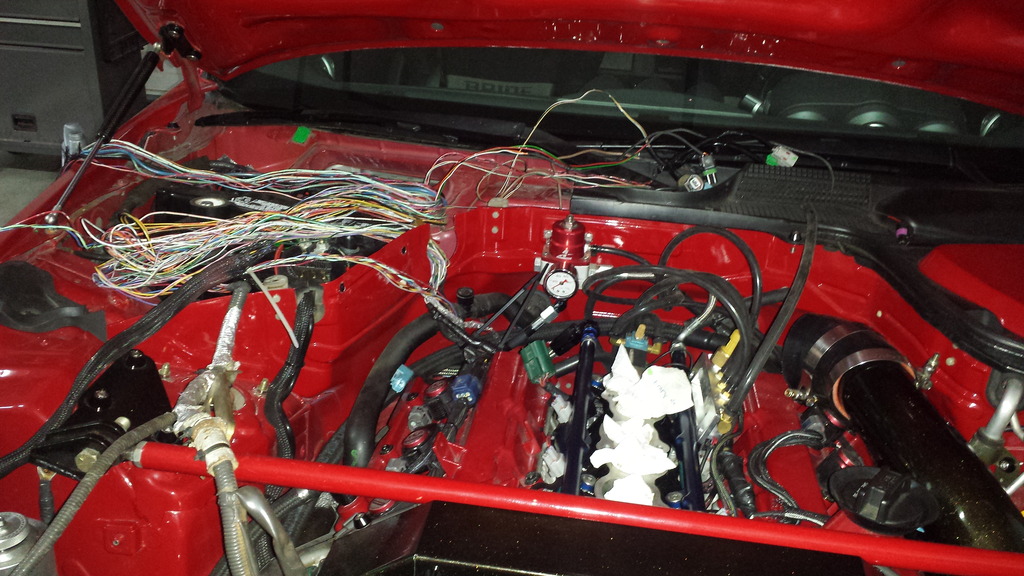
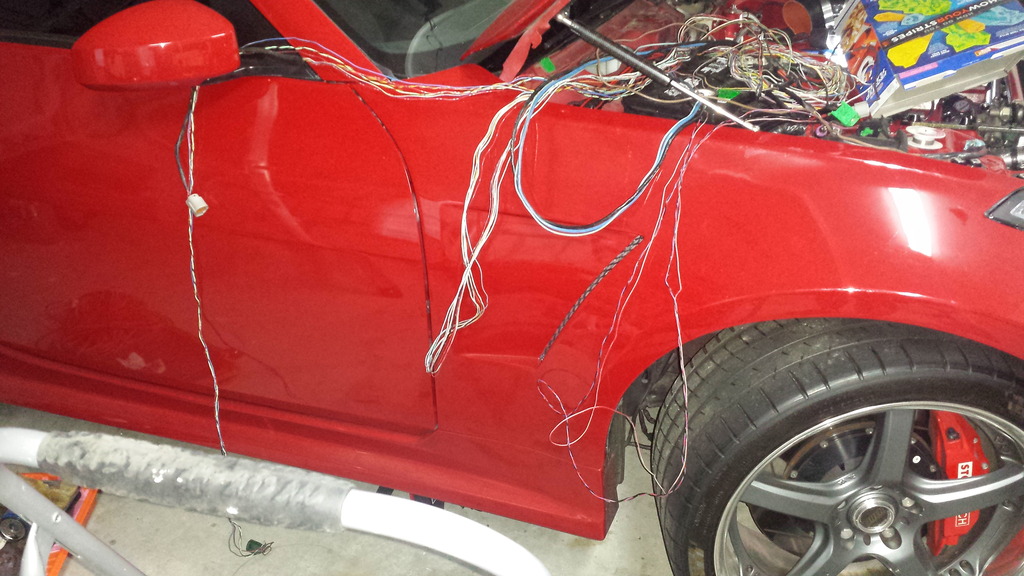
Got more sleeving coming (lost it in the move i guess) and will wrap all the individual sensor connectors and the big loom once it arrives. Should be done next weekend. Lots of soldering, splicing and heat shrinking.
Things that I am working on:
Deleted 2 upper O2 narrow sensor clips (unused with haltech)
Removing excess wire from TB, CAM position sensor cables. RE-sleeving
Removing excess cable, wire wrap and brackets that nissan put behind the engine (im on Solid Motor mounts..very little movement..dont need all that flex)
Relocated EGR, Boost Control Solenoid and Vacuum Dist block to the valley below the plenum just above the tranny. Plates are mounted to the rear coolant pipe...so much room back there when you delete the extra wiring Missan gives.
Wire that has been removed so far:
Some pictures of the progress:
Here you can see the amount of excess wire that sits behind the motor.
here you can see the vibrant vac distribution block and some of nissans oem wire routing. All the nissan junk got removed and the vac block got hidden
Had to pull the harness from he tranny/o2 sensors ect back on up since it is all tied together
The carnage
Got more sleeving coming (lost it in the move i guess) and will wrap all the individual sensor connectors and the big loom once it arrives. Should be done next weekend. Lots of soldering, splicing and heat shrinking.
Last edited by Cux350z; 06-14-2015 at 04:10 AM.
06-13-2015, 06:54 PM
#38
New Member

I thought the cam and tb wires could not be cut shorter due to being rf sheilded and ohm reference from the computer? Can you change the values via haltech since you are not running stock ecm?
When I did my tuck, I left all my wires the same length for the time being until I could find a good reference for those that could be modified.
When I did my tuck, I left all my wires the same length for the time being until I could find a good reference for those that could be modified.
06-14-2015, 03:46 AM
#40
hatersgonnahate
Thread Starter
iTrader: (162)
I thought the cam and tb wires could not be cut shorter due to being rf sheilded and ohm reference from the computer? Can you change the values via haltech since you are not running stock ecm?
When I did my tuck, I left all my wires the same length for the time being until I could find a good reference for those that could be modified.
When I did my tuck, I left all my wires the same length for the time being until I could find a good reference for those that could be modified.
20awg (rough equivalent to japanese MM wiring) has a value of .01 Ohm per foot. I removed maybe 6 ft...so were looking .06 ohm.
TB has 2 potentiometers in it...most likely in the 10k ohm range.
Most ECU inputs have 1k pull up resistors
So looking at the change in wire vs the target devices...its insignificant.
Ill let you know how it goes when i go to re-crank the motor.
In most small electrical circuits...wiring is negligible.