
DIY: Rear Strutbar Cover Removal & Paint


Thread Starter
Registered User
iTrader: (8)
Joined: Mar 2008
Posts: 1,492
Likes: 4
From: Pensacola, FL
The last owner of my car did a horrible job painting my rear strutbar cover, and it had bubbles everywhere. So I finally got around to refinishing it. I messed up once by not using primer which caused the paint to have a strange texture to it.
Tools you will need:
Small hands/interior panel poppers/flathead screwdriver
Dremel
Microfiber towel
BIN Shellac-Base Primer
Enamel paint of your choice (I used Dupli-Color auto spray flat black)
Clearcoat (I used Rustoleum Painter's Touch Matte Clearcoat
Directions:
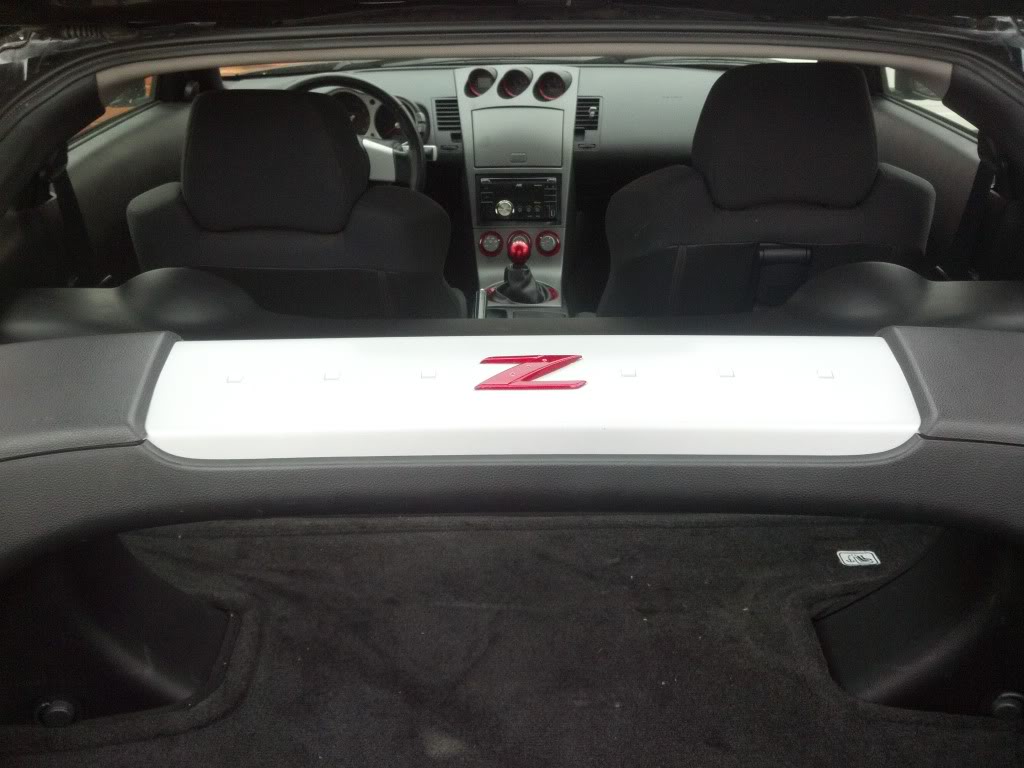
1) Remove the rear strutbar cover with either small fingers, or a flathead screwdriver. Pop away the surrounding panels with your fingers or a flathead screwdriver. It's best to just find a loose part of the plastic to pry away with your hands so you don't scratch anything. Remove in the order of A, B, C, D (not visible), and then the strutbar cover (E).

It may be difficult to remove, but don't worry the last two things holding it down are not screws or bolts. They are two snaps shown here:

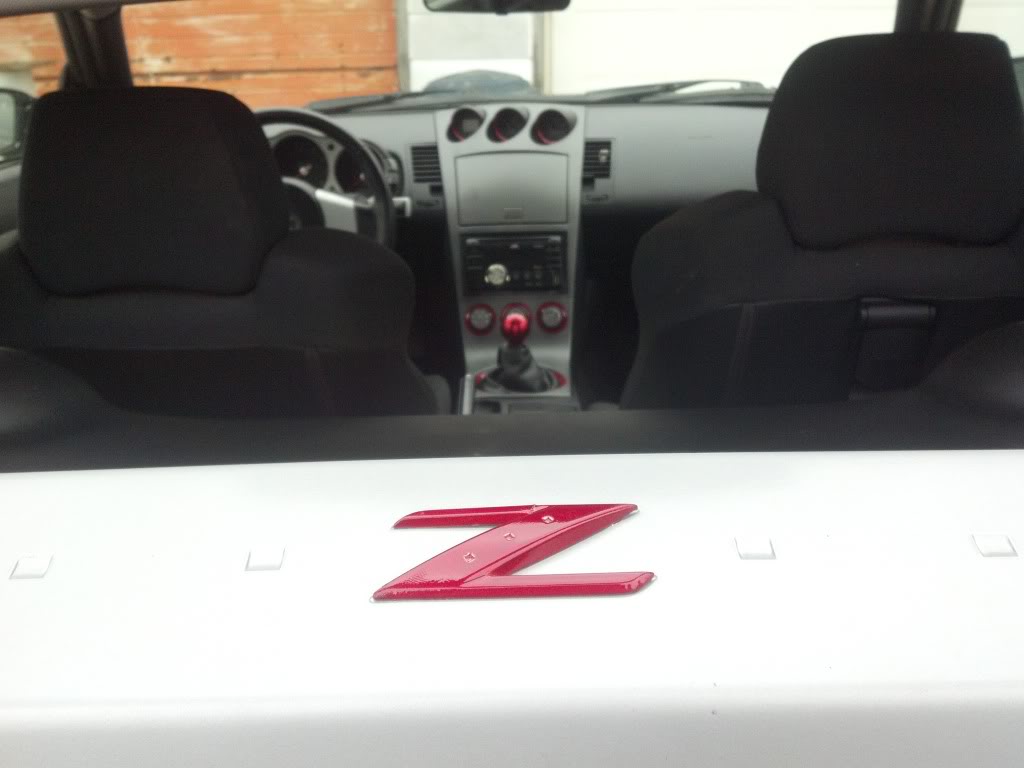
2) Then take out the Z emblem by cutting away at the 5 plastic bubbles behind it, and simply poke it out from the back side.

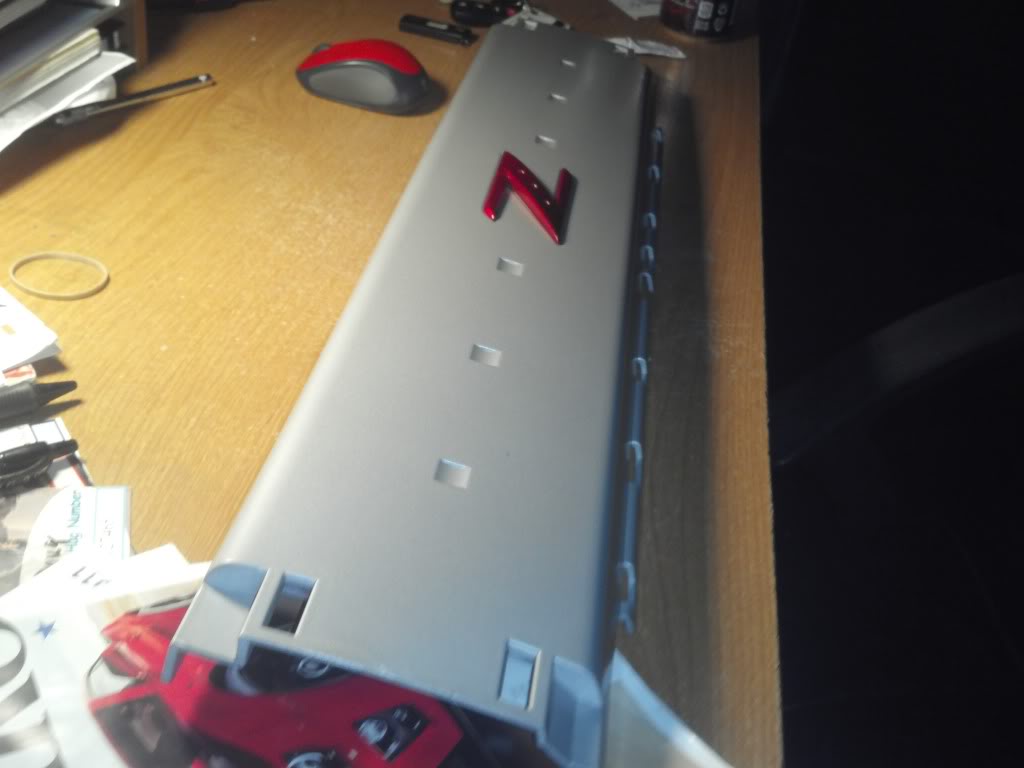
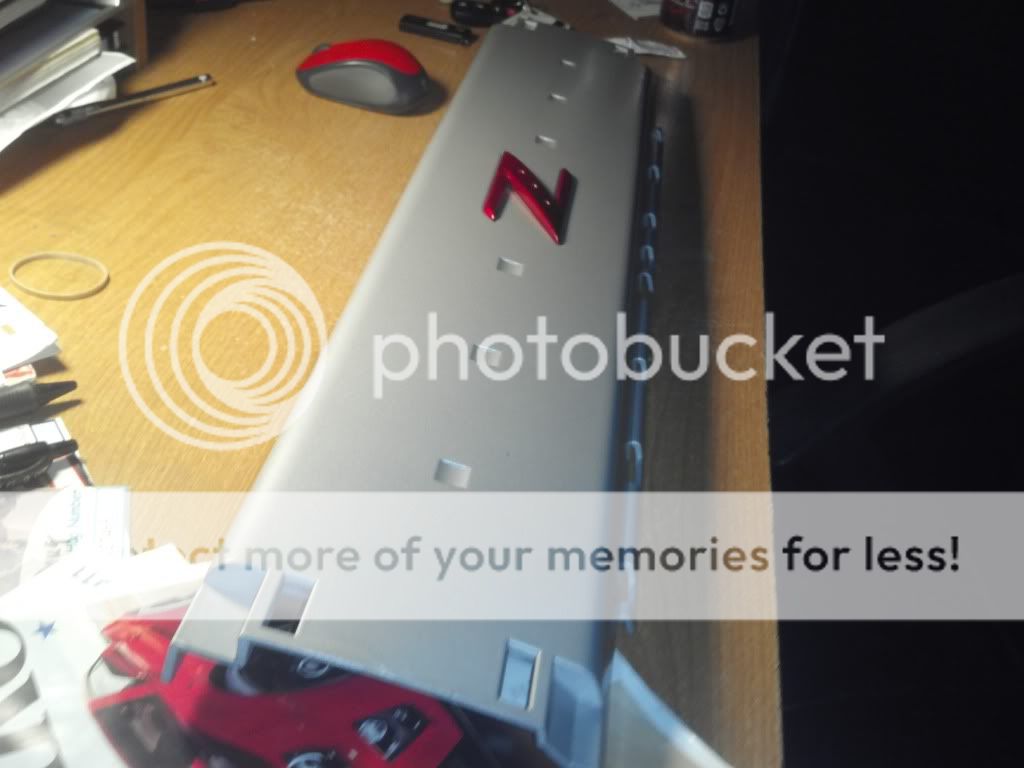
3) Once you have the cover off, sand it down with 200 grit paper longways (in the direction of the dimples). Then sand it until it's smooth with 400 grit sandpaper in the same direction. Take a microfiber towel and wipe away all the dust.
4) Apply thin coats of primer, one every couple minutes or so until you're content with the even coverage of primer. Spray from about 12 inches or more away, and shake can occassionally between sprayings. It should look like this when primered:

5) Let the primer dry for an hour. Sand it lightly with 600 grit paper in the same direction as before. Wipe away the dust with a microfiber towel.
6) Apply thin coats of paint in the same manner as the primer until coverage is even and complete. It should look like this:

7) Apply two layers of clearcoat similarly. (At first I tried not clearcoating, but it wasn't realistic because dust would settle and get stuck on the dried paint). I used rustoleum painters touch matte clearcoat.
Optional, and recommended to remove imperfections in the smoothness of the paint:
8) Allow clearcoat to dry (I waited a day), then wetsand with 1000+ grit sandpaper VERY LIGHTLY. You don't want to dig back into the paint through the clearcoat. Wipe away the dust and water with a microfiber towel.
9) Spray on one more layer of clearcoat and allow it to dry. Wallah, Nice and smooth!
Let the clearcoat dry, and re-attach the Z emblem with glue on the back side where those 5 holes are. Then just put it all back together!
Tools you will need:
Small hands/interior panel poppers/flathead screwdriver
Dremel
Microfiber towel
BIN Shellac-Base Primer
Enamel paint of your choice (I used Dupli-Color auto spray flat black)
Clearcoat (I used Rustoleum Painter's Touch Matte Clearcoat
Directions:
1) Remove the rear strutbar cover with either small fingers, or a flathead screwdriver. Pop away the surrounding panels with your fingers or a flathead screwdriver. It's best to just find a loose part of the plastic to pry away with your hands so you don't scratch anything. Remove in the order of A, B, C, D (not visible), and then the strutbar cover (E).
It may be difficult to remove, but don't worry the last two things holding it down are not screws or bolts. They are two snaps shown here:
2) Then take out the Z emblem by cutting away at the 5 plastic bubbles behind it, and simply poke it out from the back side.
3) Once you have the cover off, sand it down with 200 grit paper longways (in the direction of the dimples). Then sand it until it's smooth with 400 grit sandpaper in the same direction. Take a microfiber towel and wipe away all the dust.
4) Apply thin coats of primer, one every couple minutes or so until you're content with the even coverage of primer. Spray from about 12 inches or more away, and shake can occassionally between sprayings. It should look like this when primered:
5) Let the primer dry for an hour. Sand it lightly with 600 grit paper in the same direction as before. Wipe away the dust with a microfiber towel.
6) Apply thin coats of paint in the same manner as the primer until coverage is even and complete. It should look like this:
7) Apply two layers of clearcoat similarly. (At first I tried not clearcoating, but it wasn't realistic because dust would settle and get stuck on the dried paint). I used rustoleum painters touch matte clearcoat.
Optional, and recommended to remove imperfections in the smoothness of the paint:
8) Allow clearcoat to dry (I waited a day), then wetsand with 1000+ grit sandpaper VERY LIGHTLY. You don't want to dig back into the paint through the clearcoat. Wipe away the dust and water with a microfiber towel.
9) Spray on one more layer of clearcoat and allow it to dry. Wallah, Nice and smooth!
Let the clearcoat dry, and re-attach the Z emblem with glue on the back side where those 5 holes are. Then just put it all back together!
Last edited by mcarther101; Feb 17, 2009 at 08:30 PM. Reason: Clearcoat is a MUST!


Trending Topics


Did mine in black but i used 400, 1000 and 2000 for the sanding. Needs to go back and redo it with a different color. I did mine in flat black and it just looks gross in the daylight.

Registered User
Joined: Nov 2011
Posts: 21
Likes: 0
From: Chesapeake, VA
Did mine today. This made taking it apart a lot easier.. I painted mine red though, and the z is black.. to match the black / red I got going on with the car. I'll put pics up when I can get to a computer.


I did mine a few weeks ago when I painted some of my interior trim. The previous owners of my Z didn't care about scraping the strut bar, because that thing looked awful. The chrome plating on the Z in the center of the strut bar was wrinkling a bit too, so I figured I should do something about it. In the pics the bar looks white, but it's silver. It actually isn't as reflective as the stock silver that was on the strut bar either, which I like.
I did mine a few weeks ago when I painted some of my interior trim. The previous owners of my Z didn't care about scraping the strut bar, because that thing looked awful. The chrome plating on the Z in the center of the strut bar was wrinkling a bit too, so I figured I should do something about it. In the pics the bar looks white, but it's silver. It actually isn't as reflective as the stock silver that was on the strut bar either, which I like.


Thanks. I love the way it looks. Definitely a great simple diy that makes your car look much better. (Especially if your strut cover is all scratched up) I got the shift **** on Amazon I think. It was real cheap, I liked the way it looks, and it has a similar weight to the stock shift ****. It isn't as tall as the stock one either.


