
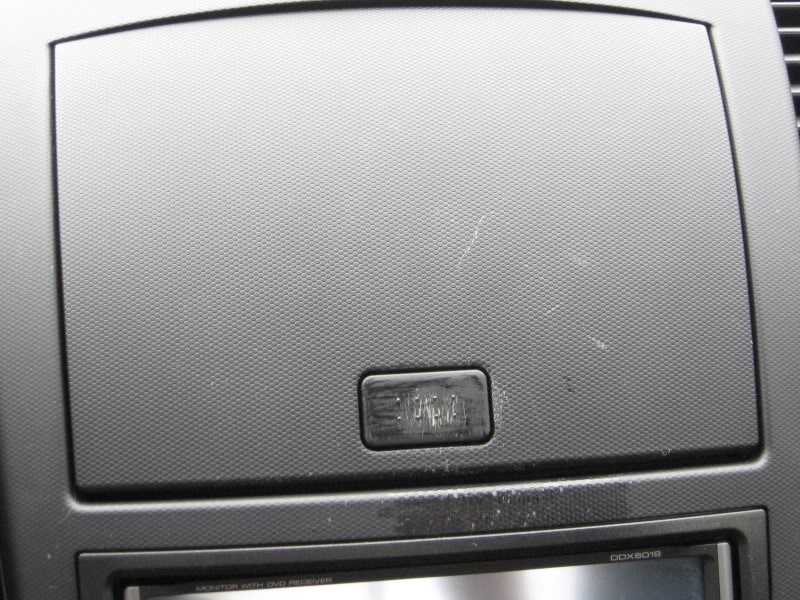
door handle and cubby hole scratches


Rather than replace, try removing and painting with Duplicolor Vinyl and Fabric Flat Black.
There is a bit of color difference on the door handle compared to the vinyl arm rest just aft of it, something you have to be looking for to notice though, but the center console and lower finisher matches were amazingly close. A little bit more reflective, but overall, much better than buying and then ending up with new scratches later.
I did some light sanding on the door handle but no prep of the center console other than to clean it with mild soapy water, rinse and dry, because of the texture.
BEFORE
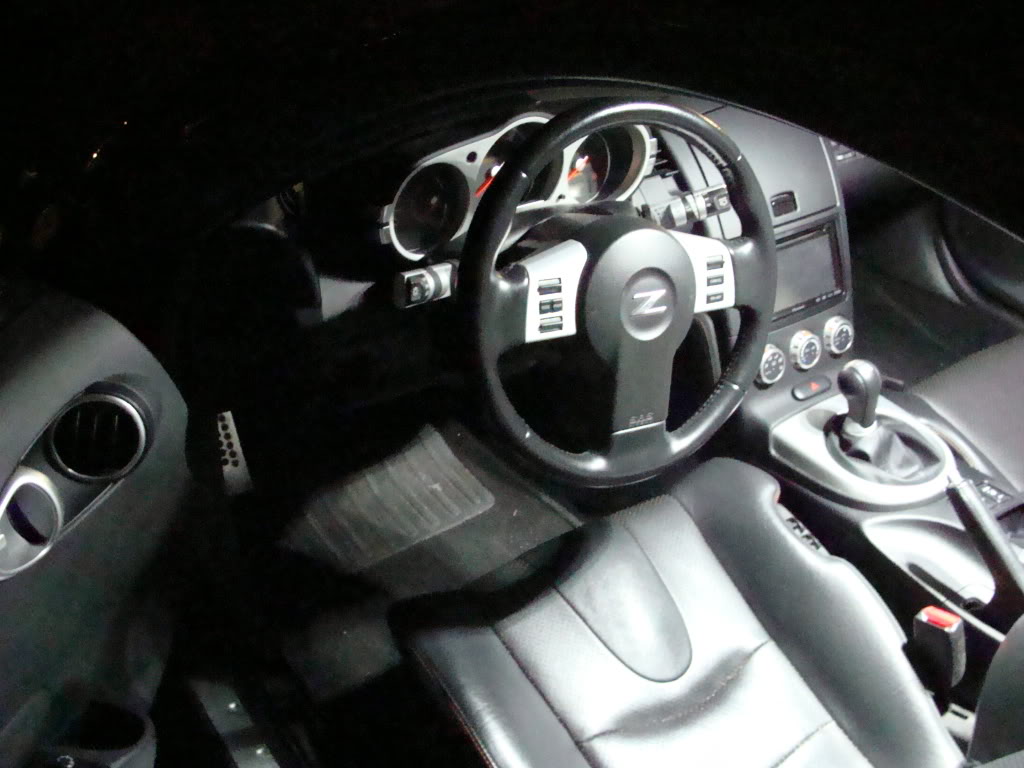
AFTER
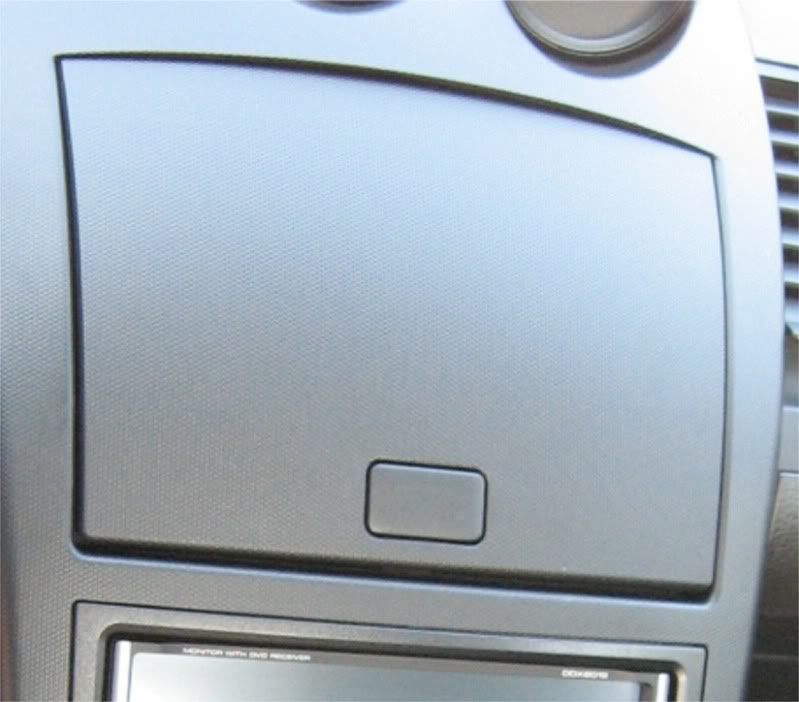
Check out the match
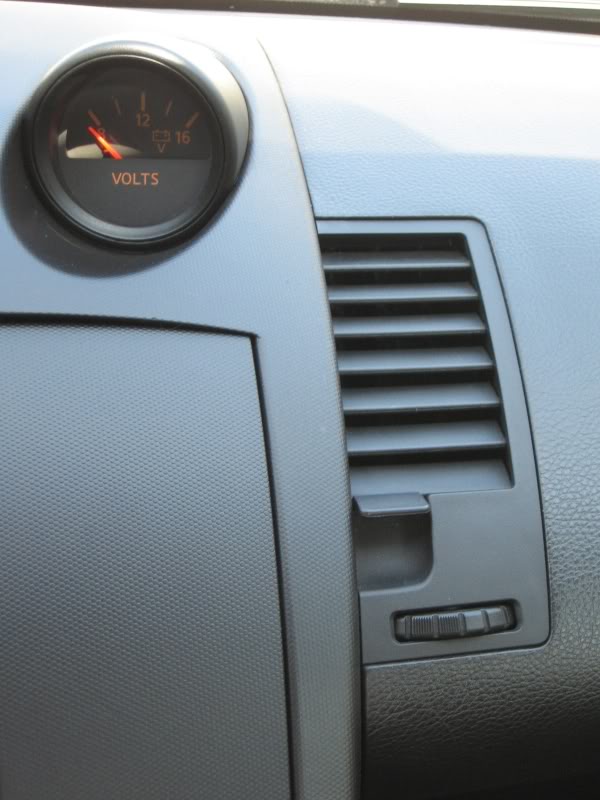
There is a bit of color difference on the door handle compared to the vinyl arm rest just aft of it, something you have to be looking for to notice though, but the center console and lower finisher matches were amazingly close. A little bit more reflective, but overall, much better than buying and then ending up with new scratches later.
I did some light sanding on the door handle but no prep of the center console other than to clean it with mild soapy water, rinse and dry, because of the texture.
BEFORE
AFTER
Check out the match
Last edited by lbz; May 2, 2009 at 11:19 PM.

Great. I emoved the cubby door release button and sanded that down, seemed the only thing to do with it. It pops out with a little prying but watch that the spring doesnt jump out and go missing.
Trending Topics

Bump...nice results!
Does anyone know: would the Flat Black color apply to 2006+ models?? The Duplicolor site is not very informative, I'll keep googling but figured someone might know...thanks!
EDIT: To confirm, yes, the flat black still matches the '06+ interior.
Does anyone know: would the Flat Black color apply to 2006+ models?? The Duplicolor site is not very informative, I'll keep googling but figured someone might know...thanks!
EDIT: To confirm, yes, the flat black still matches the '06+ interior.
Last edited by Zedcar35; Mar 1, 2010 at 05:15 PM.


New Member
Joined: Feb 2010
Posts: 33
Likes: 0
From: Houston
Does this stuff stick well? The factory paint chips off with just a touch of a fingernail.
Do I need any special instructions on removing the cubby door?

Registered User
Joined: Sep 2010
Posts: 37
Likes: 0
From: Owensboro, Ky
Anyone know how to remove the cubby door only, instead of having to remove the entire center dash?
Or if anyone knows how to remove the button on the cubby door that would be great, i'm tempted to get a screwdriver and pry on it but i dont wanna break anything.
Or if anyone knows how to remove the button on the cubby door that would be great, i'm tempted to get a screwdriver and pry on it but i dont wanna break anything.

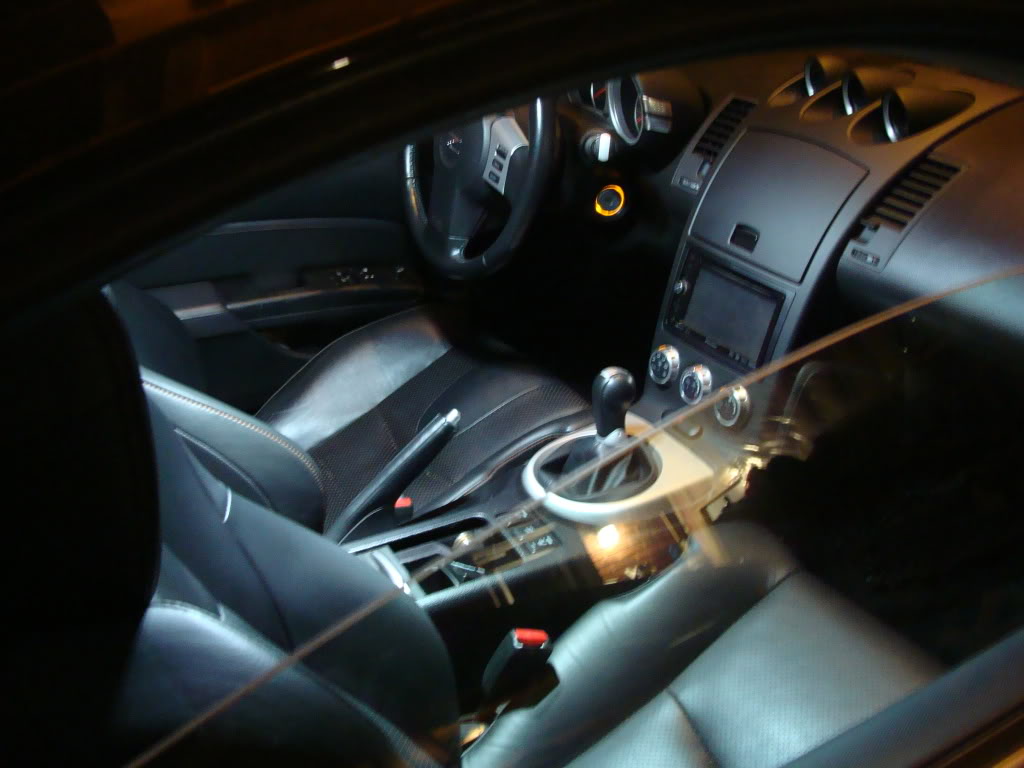
Finished results (from my LED diy, i can take close ups, but you can see its a a nice glossy but subtle black, not mirror finish thats for sure)
There is no way to remove the door only, you have to take apart the entire dash + radio + disassemble the cubby. Its a real pain in the a$$, springs flying everywhere. Just a heads up

If you are fine with touchup results, just go that route. IMO it was worth the labour. Im actually looking to sell mine or trade for an 06+ navi bezel. I cant find any used ones so i may just get the new part listing

Good luck
C
Registered User
Joined: Sep 2010
Posts: 37
Likes: 0
From: Owensboro, Ky
There is no way to remove the door only, you have to take apart the entire dash + radio + disassemble the cubby. Its a real pain in the a$$, springs flying everywhere. Just a heads up
If you are fine with touchup results, just go that route. IMO it was worth the labour. Im actually looking to sell mine or trade for an 06+ navi bezel. I cant find any used ones so i may just get the new part listing
Good luck
C
If you are fine with touchup results, just go that route. IMO it was worth the labour. Im actually looking to sell mine or trade for an 06+ navi bezel. I cant find any used ones so i may just get the new part listing
Good luck
C


Anyone who tried this knows if there is some sort of 'touch up' application for it? I have some very minor 'scratches' on my cubby hole door for my 07 model (its more like a couple of the little bumps missing the color) so its a bit of an overkill for me to remove the entire piece and paint the whole thing....as well as the cubby hole button (can the button be removed?)
Thanks!
Thanks!
Its easy to figure out once you are knee deep in it but just be patient and dont rush.
Only touch up solution if any would plastiDip, im going to try it on my spare set of door handles since it has that same rubbery feel.
A shortcut i guess would be to mask off A LOT of your interior and give plastic Dip a try, its pretty good and has limited overspray so you could get away with painting the button assembled. I wouldnt do it since you might mess up your interior if the paint flies everywhere.
Good luck
Hmm wow that sucks...I was hoping there might be some sort of small spray can/touchup. If you do try Plastidip please let me know how it works out.
I live in a condo so I do not have a garage, taking apart the center dash would be a pain especially in this Florida sun/rain. You never know when you'll be baking outside one minute and pouring the next...
Thanks for the info though..
I was thinking, how about buying the Duplicolor spray, perhaps spraying some into some sort of plastic cup and use a toothpick to touch up the little missing dots, would that even be feasible?
Im picking up my plastic dip at the end of this week to redo my door handles, they are stock and look horrible with the scratches esp. on the driver's side.

I just made a DIY for the 06+ console dash last weekend. I really didn't have any problems with disassembling it or reassembly. Just be patient and careful. The one thing i made sure to do was to analyze the cubby resistance mechanism to make sure i knew how it worked before i took it apart. (i also took a quick video of it with my phone while opening/closing the door a few times) It's actually very simple to take apart and also easy to put back together. I took mine apart, painted it, and put it back in the car in somewhere around 3-5 hours.. most of which was painting
It's all still pretty fresh since i just did it a few days ago so feel free to ask questions.
DIY 06+ remove and paint center console, cubby, guages
It's all still pretty fresh since i just did it a few days ago so feel free to ask questions.
DIY 06+ remove and paint center console, cubby, guages
I was thinking, how about buying the Duplicolor spray, perhaps spraying some into some sort of plastic cup and use a toothpick to touch up the little missing dots, would that even be feasible?
As for the sunshine and then rain the next minute.. taking apart the dash can actually be completely done with the doors closed. I did mine while i was just sitting in the passenger seat as normal.. the door was open about 8 inches, but it didn't need to be.
Haha.. and even though it was a poor choice, i painted my pieces while they were in my house. I laid down a big, thick canvas drop cloth and went at it. Just be sure to open the windows. I didn't get any visible overspray on anything.. except the intake vent for my central air. It came off pretty easily though. The room was about 8' x 10' with offwhite walls. no black specs or discoloration.