
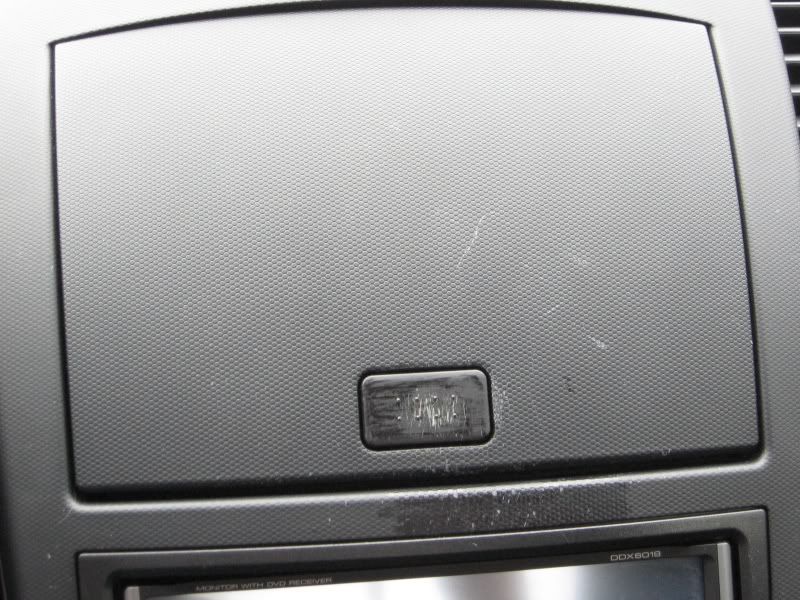
door handle and cubby hole scratches


I just made a DIY for the 06+ console dash last weekend. I really didn't have any problems with disassembling it or reassembly. Just be patient and careful. The one thing i made sure to do was to analyze the cubby resistance mechanism to make sure i knew how it worked before i took it apart. (i also took a quick video of it with my phone while opening/closing the door a few times) It's actually very simple to take apart and also easy to put back together. I took mine apart, painted it, and put it back in the car in somewhere around 3-5 hours.. most of which was painting 
It's all still pretty fresh since i just did it a few days ago so feel free to ask questions.
DIY 06+ remove and paint center console, cubby, guages
It's all still pretty fresh since i just did it a few days ago so feel free to ask questions.
DIY 06+ remove and paint center console, cubby, guages
You should try to get the button down to the bare plastic, not just the beige/grey primer. Mine has been bulletproof for several months now, but then again we dont get Florida summers here.
I have a feeling the primer/paint combo caused the oem paint to peel so easily. Or the paint was of very poor quality/too soft.
Great looking write up btw

Thanks. I took my door pulls down to bare plastic and put new prime on it so i'll be able to use that as a comparison to the cubby button(which i only took down to the original primer). Though, to be honest, i never actually use the cubby so it should last forever, lol.
If you want to take the it down to bare plastic then use sand paper. It doesn't come off as easily with the knife as the black does. Another option is to use rubbing alcohol on the brownish-grey primer then then scrape it off. I actually learned this the hard way... i had originally taken my doors down to the brown primer and then "prepped" them by cleaning them with rubbing alcohol. I painted on the black, waited for it to dry then started sanding and got the unpleasant surprise of the primer coming up with the black in chunks. Lesson learned: rubbing alcohol eats paint :P The primer then caused sand paper to clog up so i just tried scraping it off with a knife and it worked easily.
If you want to take the it down to bare plastic then use sand paper. It doesn't come off as easily with the knife as the black does. Another option is to use rubbing alcohol on the brownish-grey primer then then scrape it off. I actually learned this the hard way... i had originally taken my doors down to the brown primer and then "prepped" them by cleaning them with rubbing alcohol. I painted on the black, waited for it to dry then started sanding and got the unpleasant surprise of the primer coming up with the black in chunks. Lesson learned: rubbing alcohol eats paint :P The primer then caused sand paper to clog up so i just tried scraping it off with a knife and it worked easily.


Registered User
Joined: Apr 2011
Posts: 52
Likes: 0
From: California
Rather than replace, try removing and painting with Duplicolor Vinyl and Fabric Flat Black.
There is a bit of color difference on the door handle compared to the vinyl arm rest just aft of it, something you have to be looking for to notice though, but the center console and lower finisher matches were amazingly close. A little bit more reflective, but overall, much better than buying and then ending up with new scratches later.
I did some light sanding on the door handle but no prep of the center console other than to clean it with mild soapy water, rinse and dry, because of the texture.
BEFORE
AFTER

Check out the match

There is a bit of color difference on the door handle compared to the vinyl arm rest just aft of it, something you have to be looking for to notice though, but the center console and lower finisher matches were amazingly close. A little bit more reflective, but overall, much better than buying and then ending up with new scratches later.
I did some light sanding on the door handle but no prep of the center console other than to clean it with mild soapy water, rinse and dry, because of the texture.
BEFORE
AFTER
Check out the match
I didn't sand my ping pong down at all. I just made sure to wash them with mild soap (hand soap) reallllllly well first. I pumped the soap right onto the pieces and rubbed it all over it to make sure that all of the oily protectants were off. Mine's been on there roughly 3 or 4 weeks and it's still looking great.
Check my link up above for the paint i used (with UPC code).
Check my link up above for the paint i used (with UPC code).
Can someone please tell me how you removed the hazard lights switch from the shifter finisher?
I noticed it has 2 little 'tabs' on the sides and i pressed those and pushed the piece down (towards the button/shift boot) but it did not completely come out. I am afraid to push down hard and break the damn thing..
Thanks!
I noticed it has 2 little 'tabs' on the sides and i pressed those and pushed the piece down (towards the button/shift boot) but it did not completely come out. I am afraid to push down hard and break the damn thing..
Thanks!