
DIY: Bumper Tuck


The credit goes to RCAnismo off of nicoclub.com
http://forums.nicoclub.com/350z-diy-...k-t415681.html
I'm sure there are a few different ways to do this but this method worked well for me. I'm extremely happy with the end result and I'm glad I decided to do this. I highly recommend doing this mod if you have the HKS Hi Power Tru Dual exhaust but I'm sure it would look good with just about any aftermarket exhaust.
Difficulty: 1
Tools needed:
1) Drill/drill bits
2) screws/washers
3) 2nd set of hands is helpful but not required, Also recommended to jack the car up in the rear.
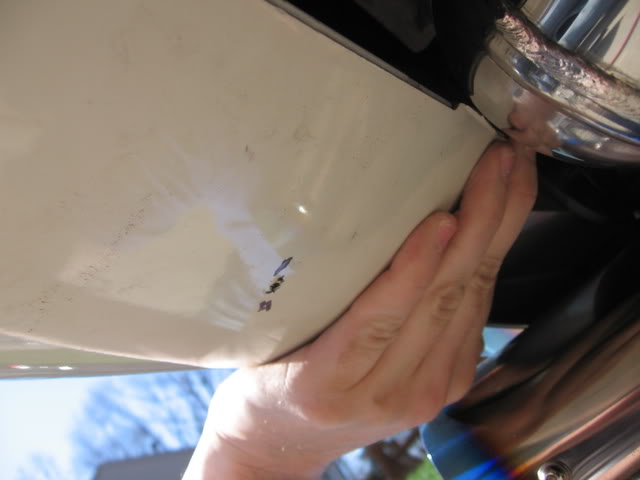
The bumper is just supported by 2 plastic tabs (one on each side by the exhaust outlet)
First, remove the black pop out screws.
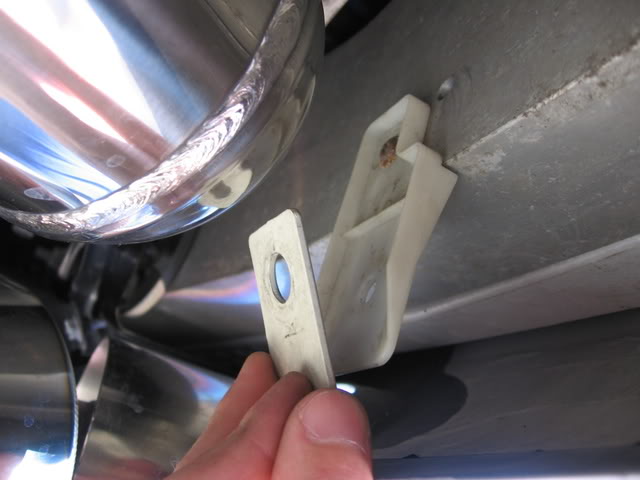
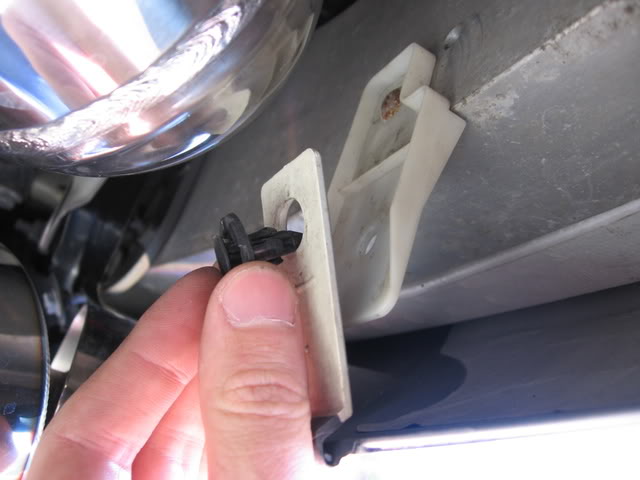
The tabs are left attached to the bumper and they are just hanging there. I thought about using these to help hold the bumper up in some way but that idea was quickly disregarded after one tab about fell off after bending it back and forth a couple of times. I went ahead and removed them fully. They came right off without hurting anything.

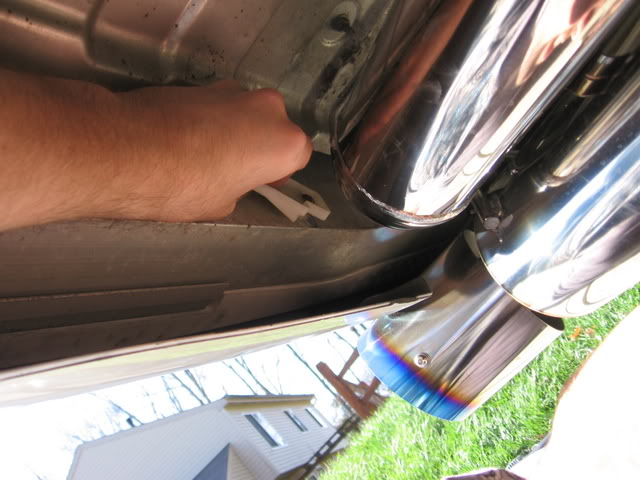
Next, if you have the HKS Hi power exhaust I would recommend taking these white plastic support brackets off before installing the exhaust. Even with the shortest stubbiest screwdriver I could find, I couldn't get to the screw heads b/c the exhaust was in the way. I ended up just twisting the entire bracket around and around and the screw came with it.
Next, get out a drill bit which is slightly smaller than the screw you decide to use. I used a 1/8th size drill bit along with the following screws.
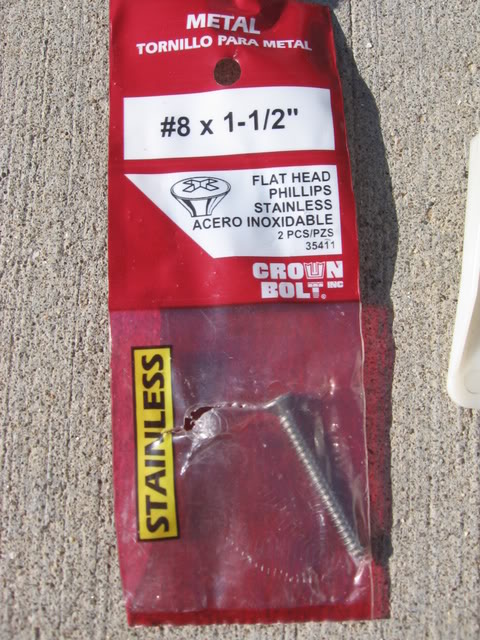
This is where the second set of hands helps out. Start on the end and hold up the bumper where you would like to mount it. I marked mine with a sharpie where I wanted to put the screw and then drilled the first hole into the bumper and into the metal beam behind the bumper.
After you drill the hole, put the screwdriver attachment on the drill and screw the screw/washer into the bumper until it is tight.
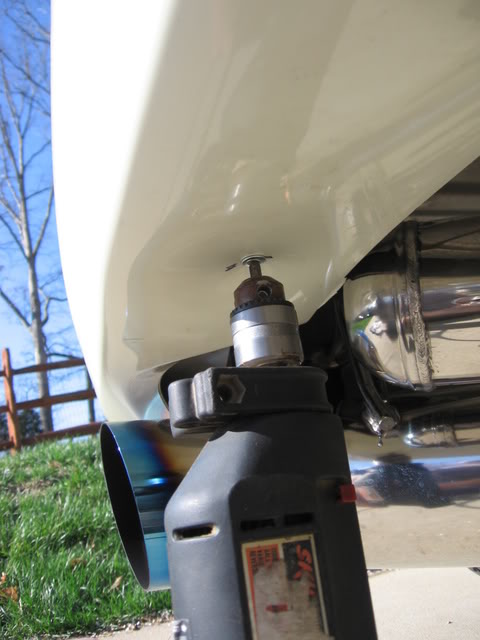
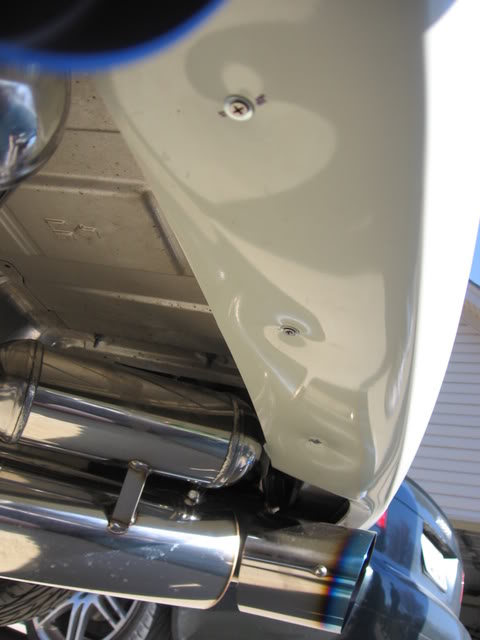
Repeat this 2 more times evenly across the rear and bam you're done.
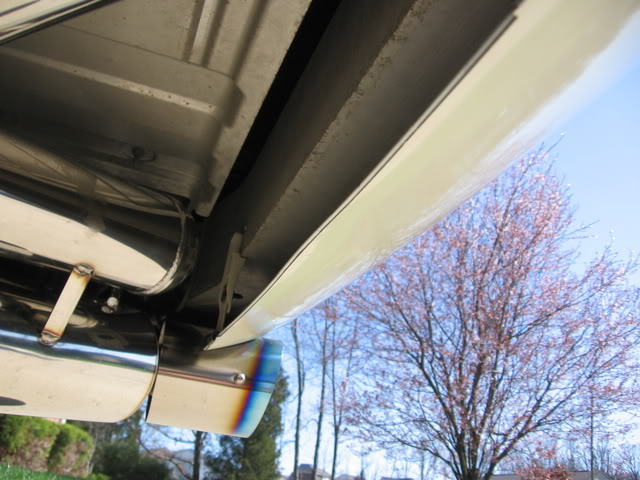
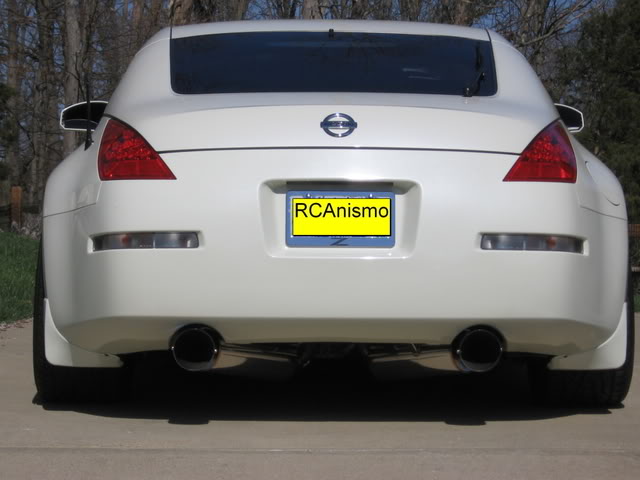
Here is a pic before the bumper tuck:
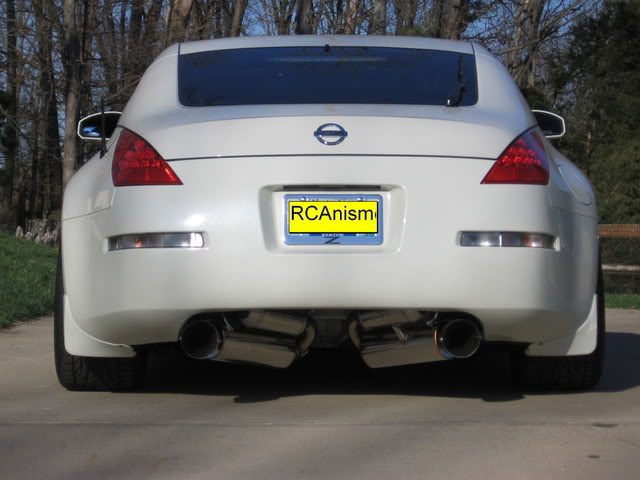
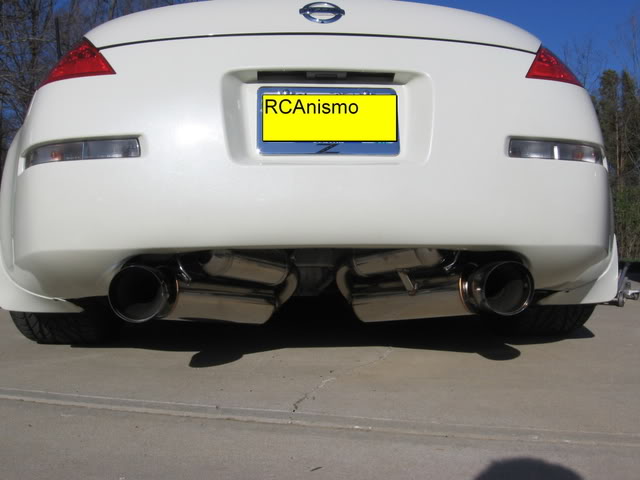
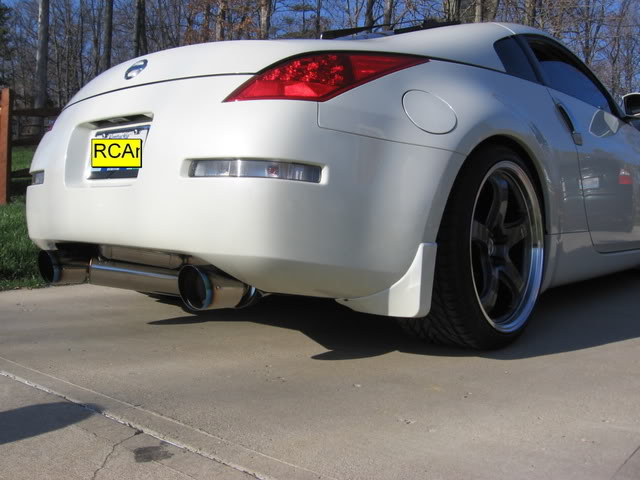
After:
http://forums.nicoclub.com/350z-diy-...k-t415681.html
I'm sure there are a few different ways to do this but this method worked well for me. I'm extremely happy with the end result and I'm glad I decided to do this. I highly recommend doing this mod if you have the HKS Hi Power Tru Dual exhaust but I'm sure it would look good with just about any aftermarket exhaust.
Difficulty: 1
Tools needed:
1) Drill/drill bits
2) screws/washers
3) 2nd set of hands is helpful but not required, Also recommended to jack the car up in the rear.
The bumper is just supported by 2 plastic tabs (one on each side by the exhaust outlet)
First, remove the black pop out screws.
The tabs are left attached to the bumper and they are just hanging there. I thought about using these to help hold the bumper up in some way but that idea was quickly disregarded after one tab about fell off after bending it back and forth a couple of times. I went ahead and removed them fully. They came right off without hurting anything.
Next, if you have the HKS Hi power exhaust I would recommend taking these white plastic support brackets off before installing the exhaust. Even with the shortest stubbiest screwdriver I could find, I couldn't get to the screw heads b/c the exhaust was in the way. I ended up just twisting the entire bracket around and around and the screw came with it.
Next, get out a drill bit which is slightly smaller than the screw you decide to use. I used a 1/8th size drill bit along with the following screws.
This is where the second set of hands helps out. Start on the end and hold up the bumper where you would like to mount it. I marked mine with a sharpie where I wanted to put the screw and then drilled the first hole into the bumper and into the metal beam behind the bumper.
After you drill the hole, put the screwdriver attachment on the drill and screw the screw/washer into the bumper until it is tight.
Repeat this 2 more times evenly across the rear and bam you're done.
Here is a pic before the bumper tuck:
After:


car should have come from the factory this way.
If i ever buy another Z to daily drive around with, id go the simple route and rock this look w some spacers,drop springs, stock wheels and a single exh all day long. Cost a guy 1500 bucks for a sick looking car.
in hindsight, i feel like an idiot.
looks good op. far easier to clean the pipes this way than my set up.


Trending Topics


Registered User
Joined: May 2010
Posts: 23
Likes: 0
From: Nashville, TN
Wasn't really a fan of this until I saw a local Z running around with this done with the GReddy single outlet exhaust. It looked absolutely sick.
Kind of made me start kicking around the idea of a single exhaust + bumper tuck for my G. I'll keep this writeup in mind in the future.
Kind of made me start kicking around the idea of a single exhaust + bumper tuck for my G. I'll keep this writeup in mind in the future.
Last edited by SLCPunk267; Jul 16, 2012 at 07:46 AM.
Joined: Jan 2009
Posts: 7,287
Likes: 189
From: Eastern NC

Registered User
Joined: Sep 2012
Posts: 237
Likes: 0
From: West of Hell, Arizona
You might as well drill holes into the bumper because once you have it in that position for a while, its not going to go back to its original position anymore.


They provide a greater support radius as compared to the diameter of the screw head. Also decreases the chances you torque the screw to tight in turn cracking the bumper rendering your attempt as an epic fail...
Feels like a stupid question now lol